
Utility Knife with Scraper Mode
Print Profile(7)
Description

Congratulations on finally discovering FunOrNothing :)
TAPESY, Innovative 3D printed TAPE Dispenser, and Gadgets for Unboxsing
Clicking on a letter will take you to the page for that design.
While there are various tape dispensers for 3D printing, I propose a completely innovative and practical dispenser that stands apart from the others. And its name is 'TAPESY.'
'TAPESY' is a combination of 'TAPE' and 'EASY'.
TAPESY PAKER with Metal blade is ready.
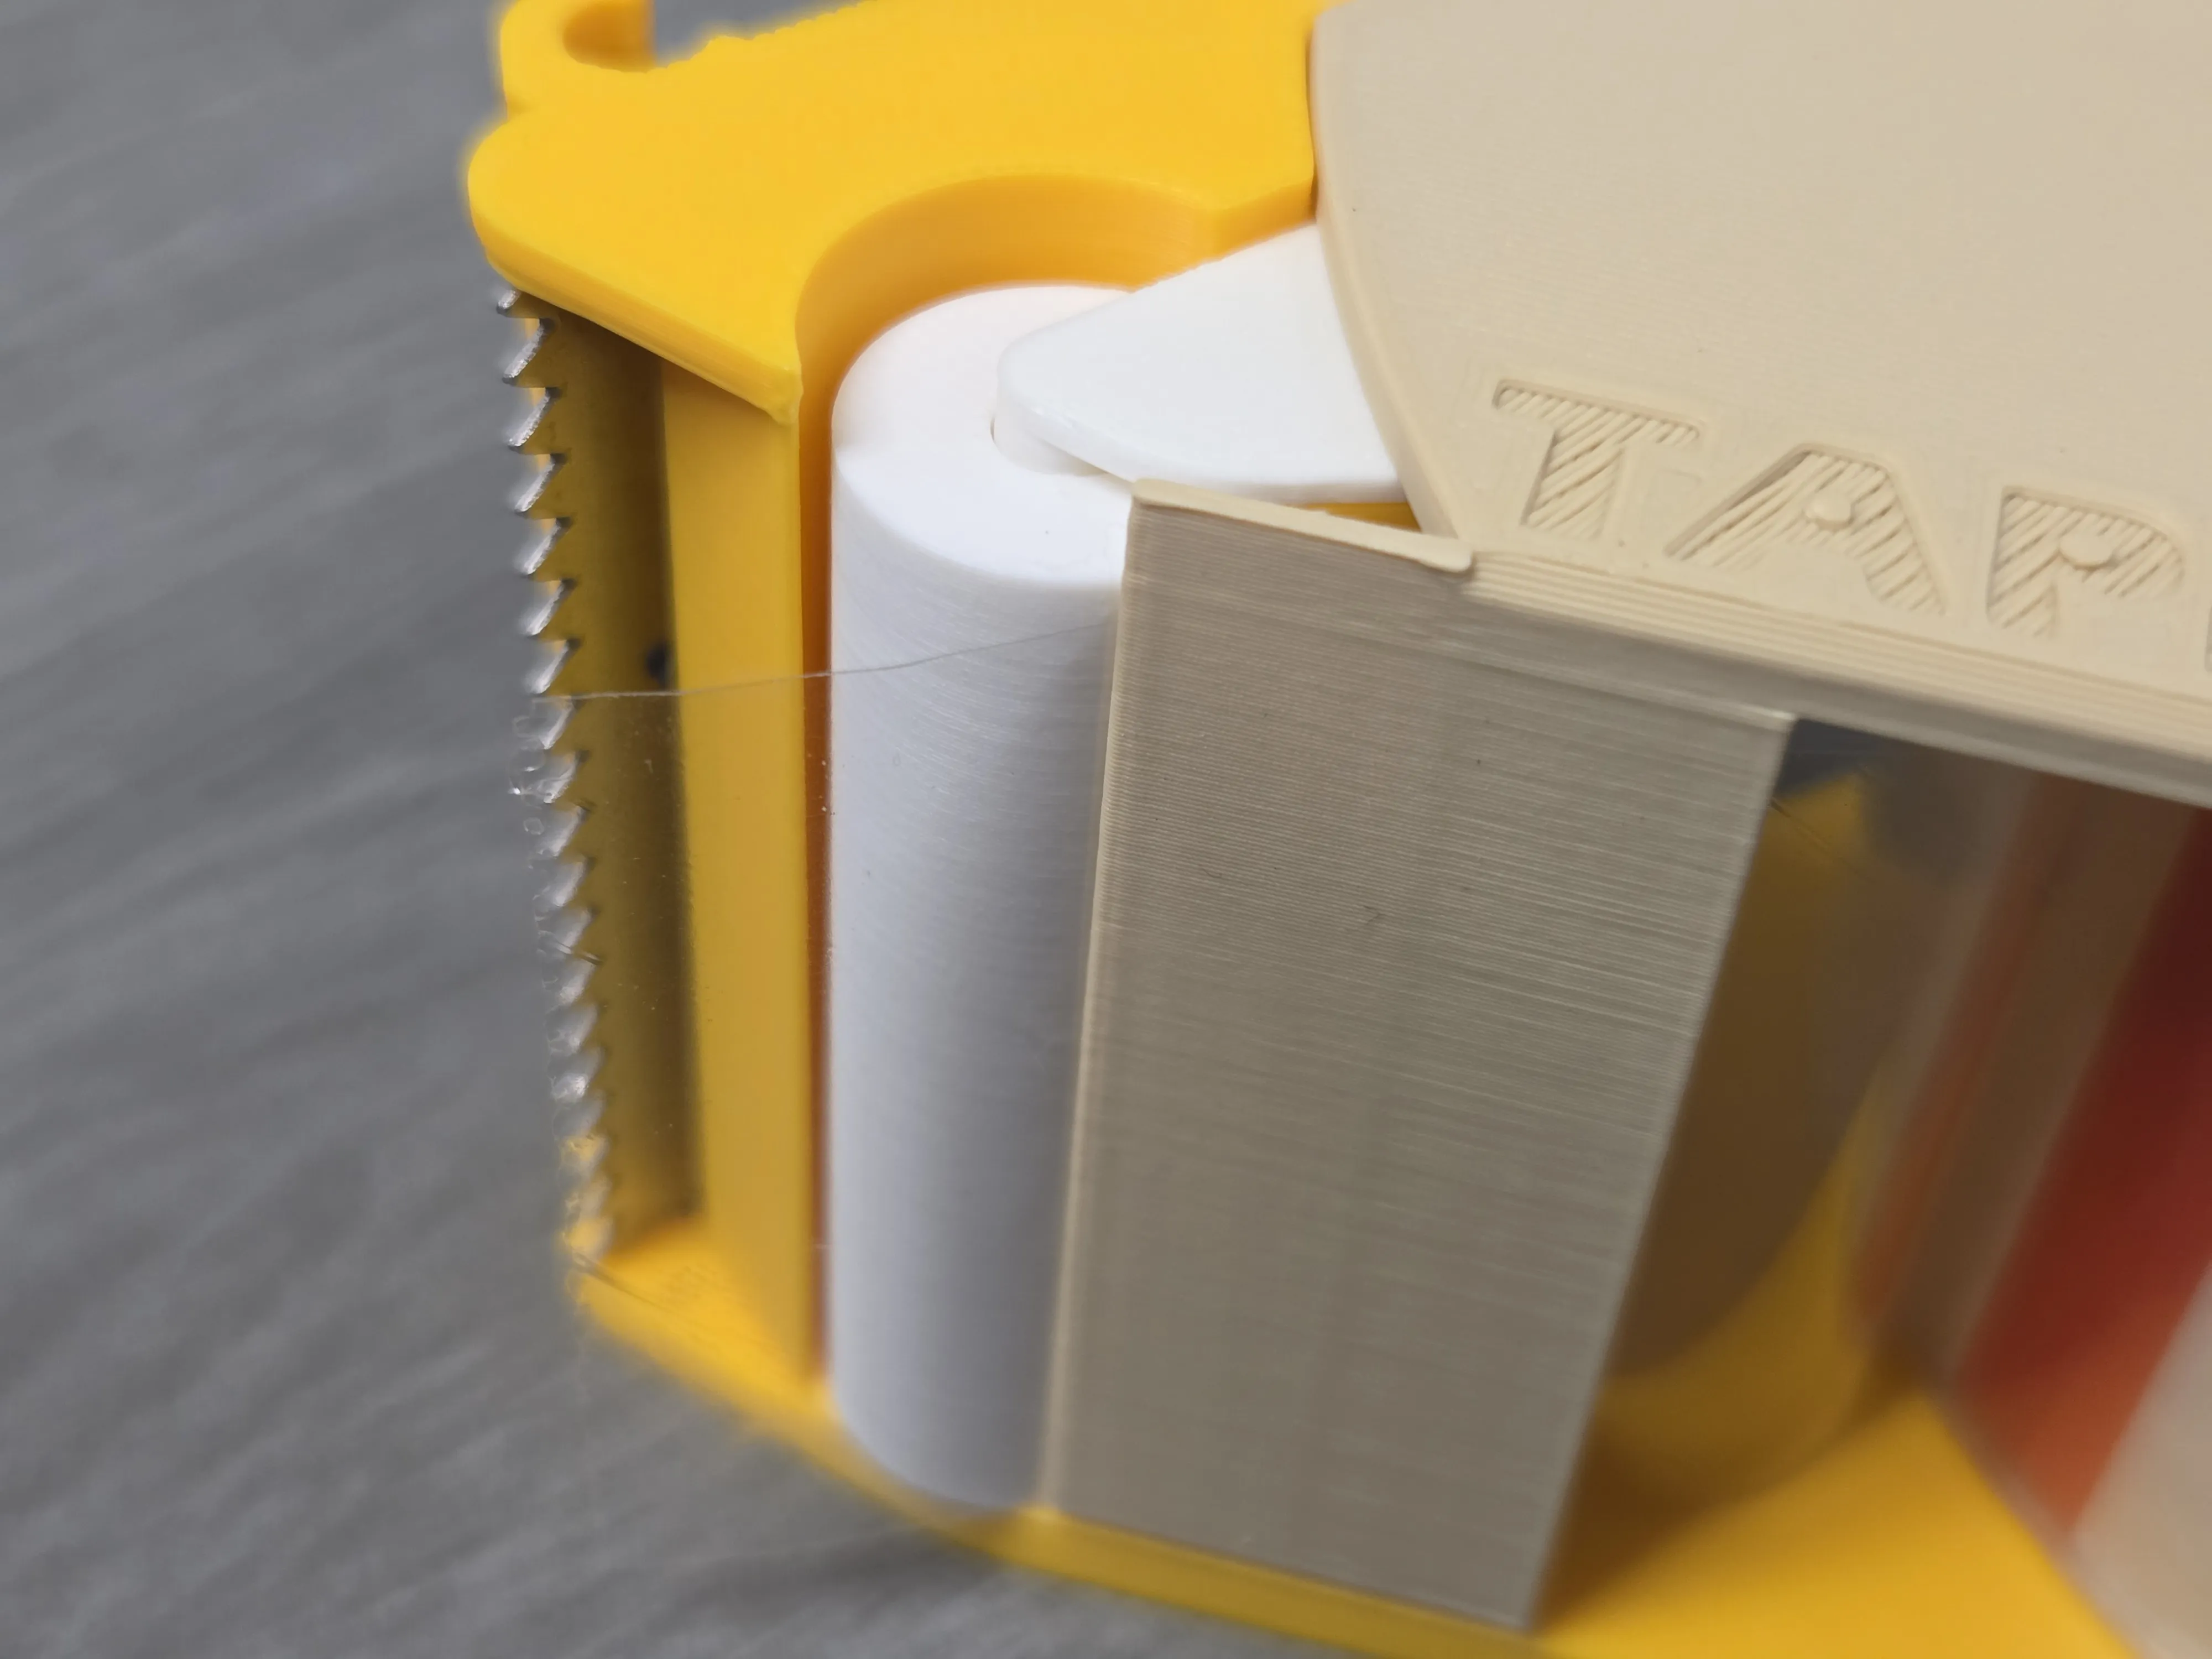
You can use the same design with 3d printed blade (Click)
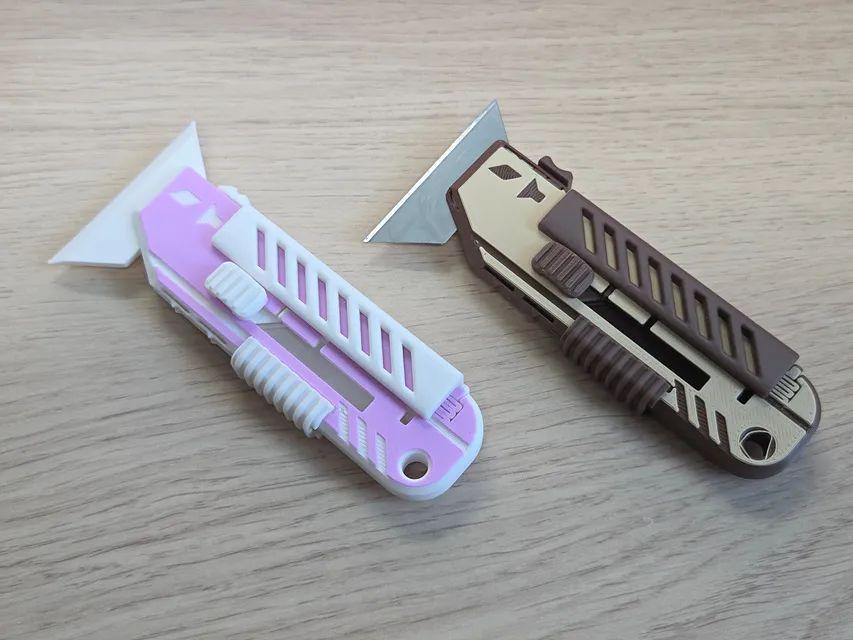
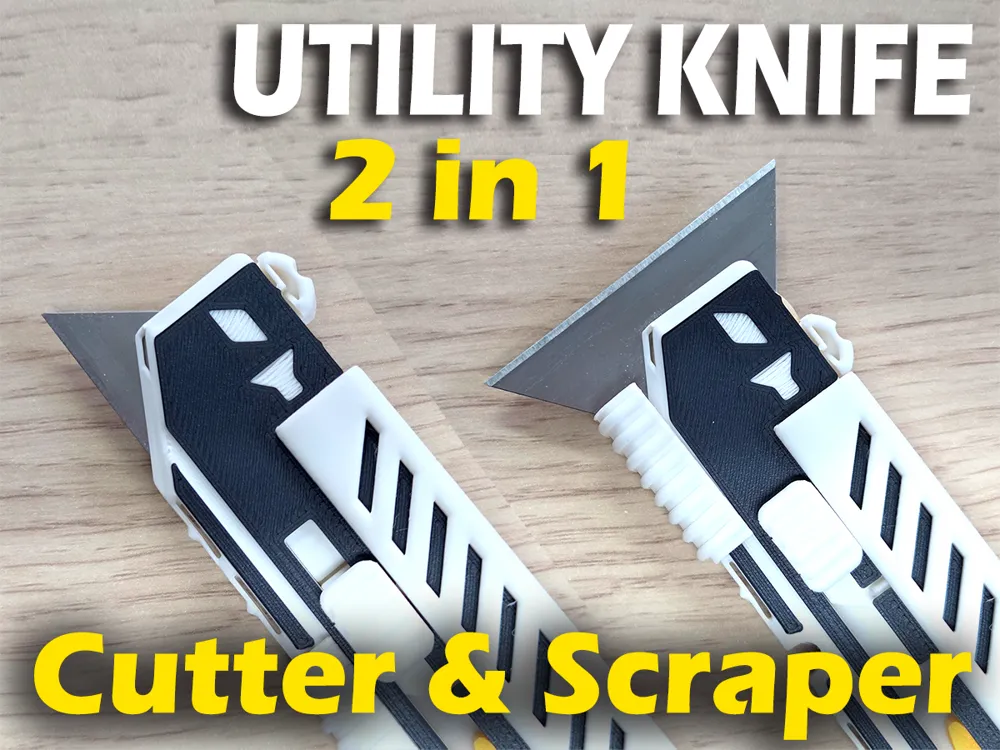
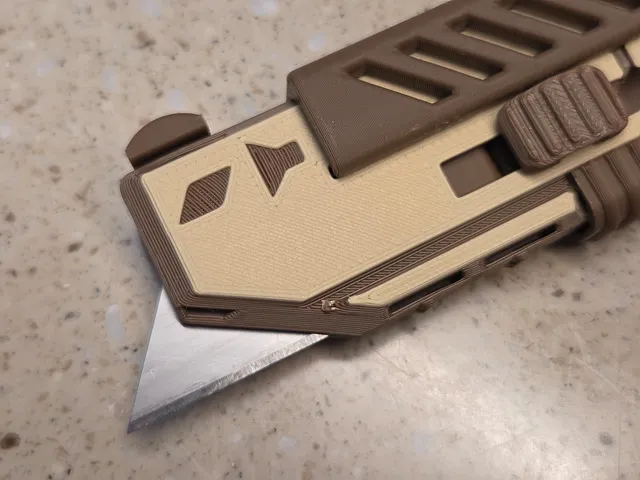
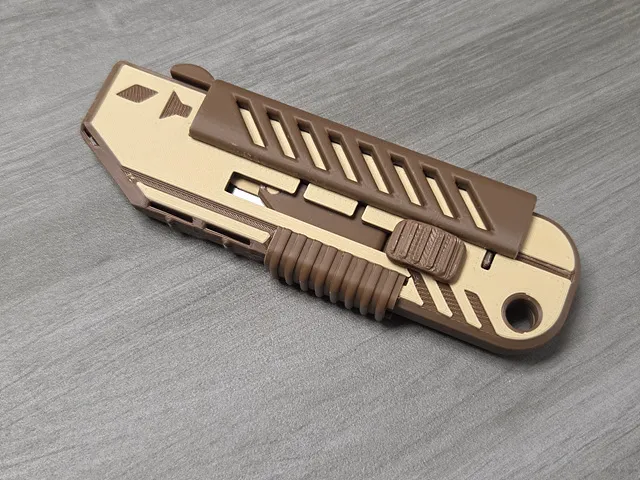
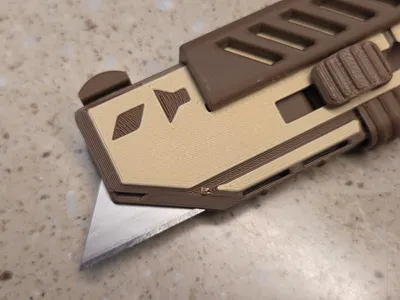
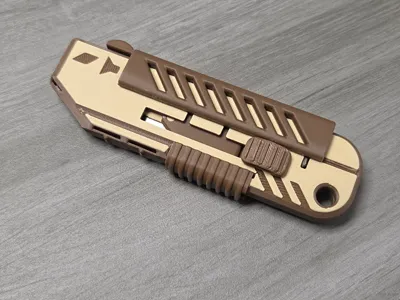
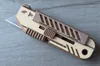
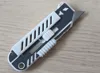
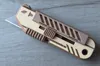
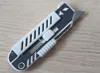
TAPESY UTILITY KNIFE - Utility Knife that supports scraper mode.

This design uses no hardware other than the blade, yet is very robust and provides reliable functionality for its intended use.
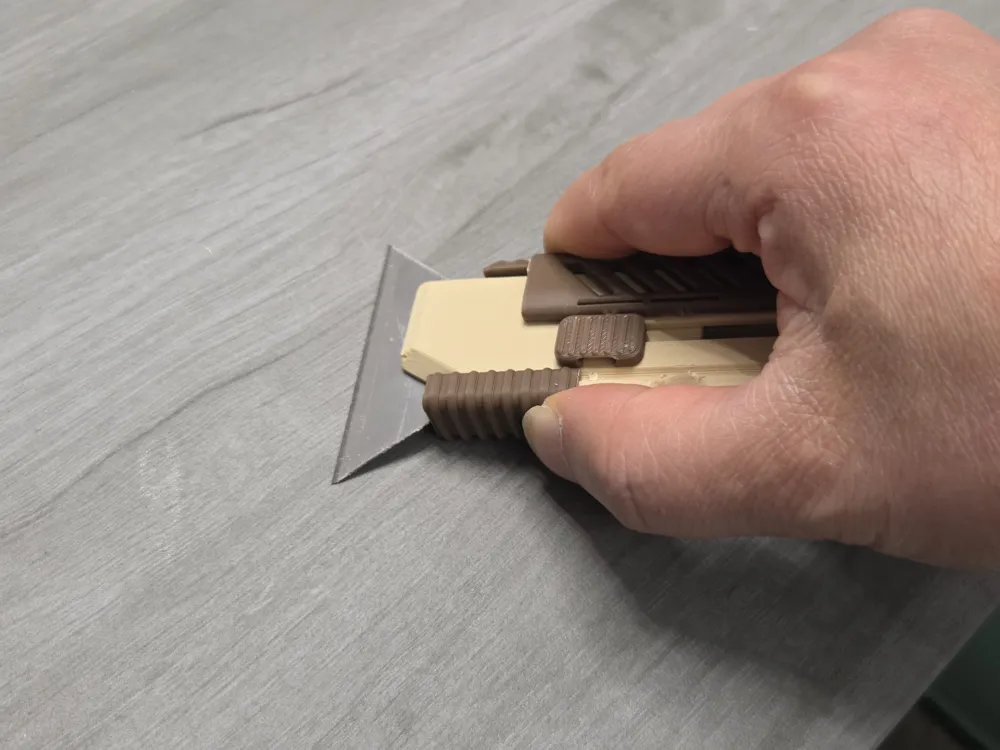
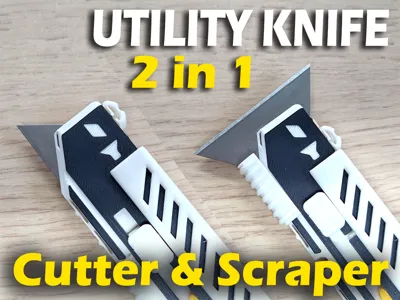
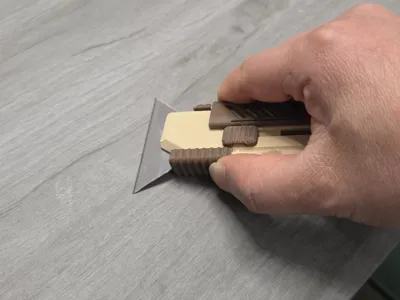
In addition to the standard use of the blade's tip, this knife can also be used as a scraper by rotating the blade.
It's easy to operate and features multiple safety features for safe use.

This model is also very useful for those who only want to use it as a scraper. This is because, unlike typical scrapers with fixed blades, the blade is exposed and dangerous even when not in use, and this device's blade is normally stored inside the body.
The blade operates in a sliding manner and snaps into place for storage, normal use and scraper use modes.
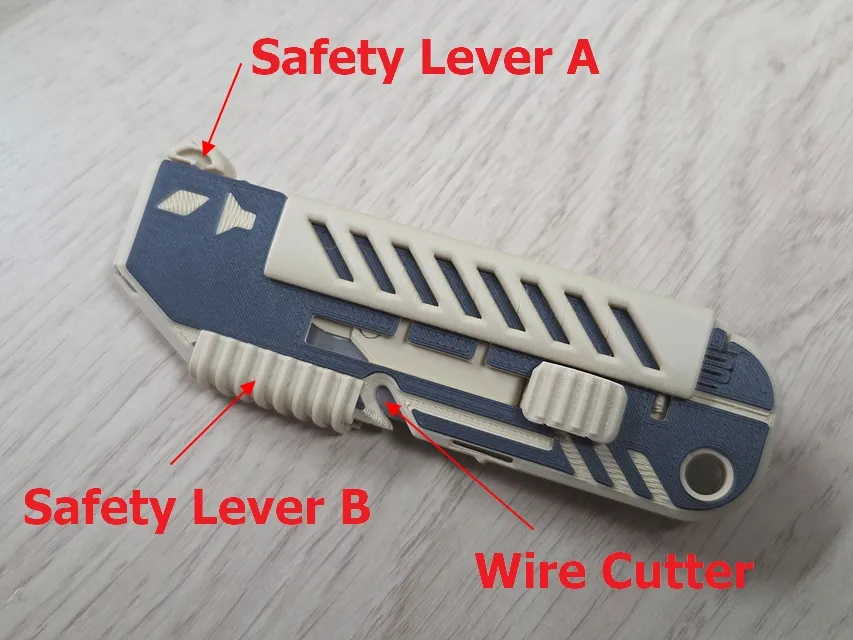
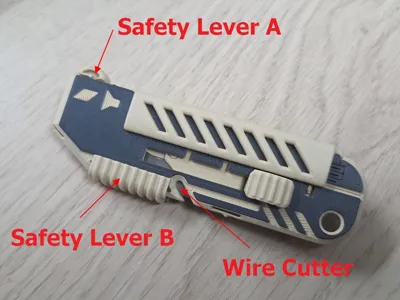
- Safety lever A: Located on the top of the body, this button essentially prevents the blade from rotating when locked.
Safety lever B: Located on the bottom of the body (towards the blade) and prevents the blade from accidentally falling down when locked (unless the blade is fully glued).
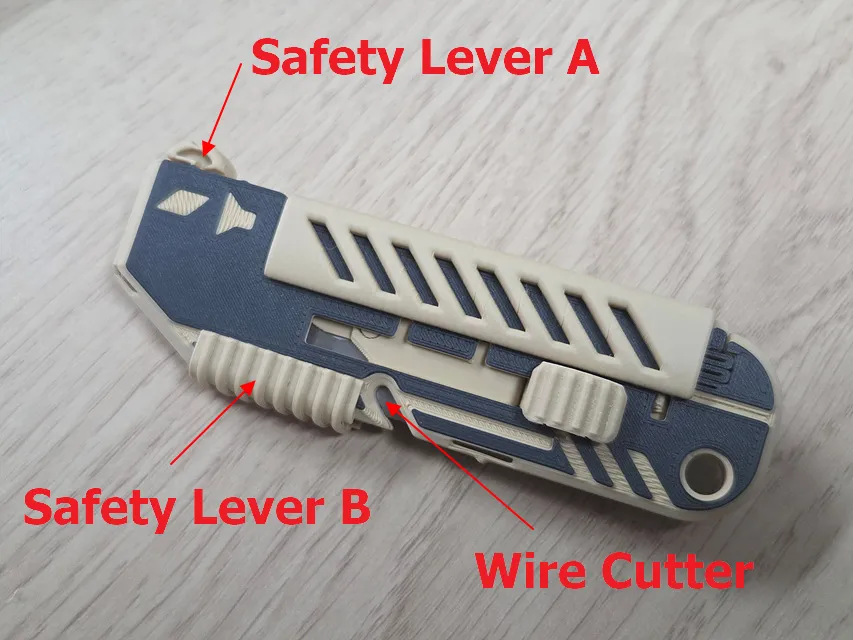
4. Wire cutting groove - allows you to easily cut wire or thin rope while the blade is stored.
5. For safety reasons, the tool cannot be switched to scraper mode while in storage state. It can only be switched to scraper mode in regular knife state, and when the slider is fully lowered into storage state, the safety lever automatically switches to regular knife mode. (New feature 02/04/2026)
All levers snap into place. However, it's safer to support the blade slider button with your finger when using the knife.
Boost Me (for free)
Your boost helps me spend more time creating better designs. And don’t forget to check my other models — you might discover something useful! 😊
Assembly Instructions (I recommend protecting the blade with scotch tape to avoid injury during assembly.)
Since the body must be disassembled to replace the blade, all parts are designed to be easily assembled and disassembled using a snap-fit method.
It would be nice if the blades were easily replaceable, but I think a knife is defined by how it cuts, not how often you change the blade.
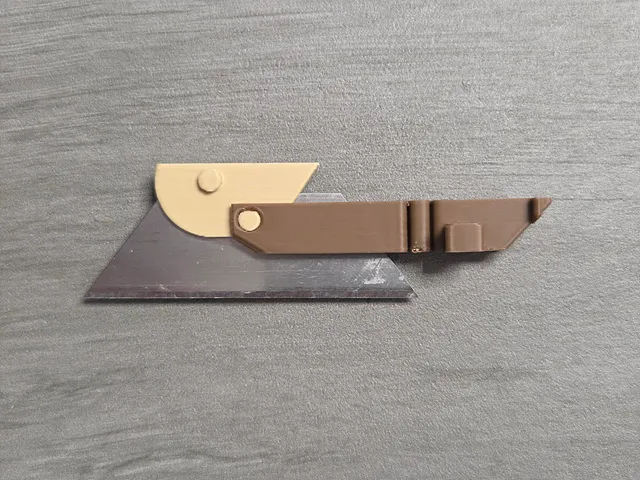
Attach the utility blade to the blade holder. There's a groove inside that fits the utility blade, allowing for a certain degree of attachment. However, Using adhesive is recommended for a more secure attachment and safety. Before gluing the blade, be sure to thoroughly remove any oil from the blade. (When replacing the blade, print a new blade holder.)
When bonding the blade and holder, apply a few drops of adhesive to the intended bonding areas on both sides of the blade before bonding. (See photo.)After bonding the blade and holder, apply brief pressure from both sides of the holder for better results.
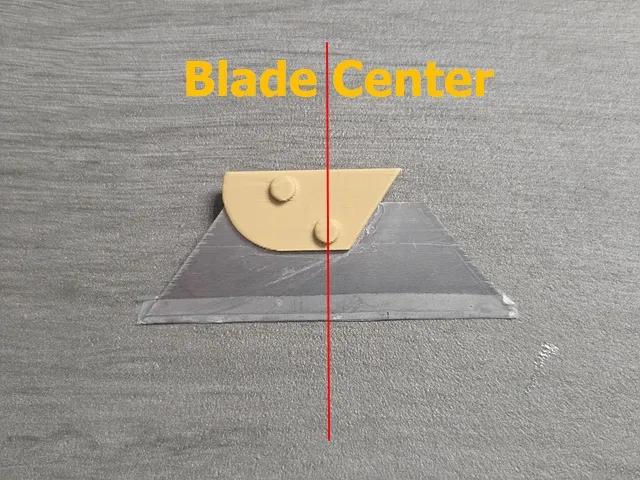
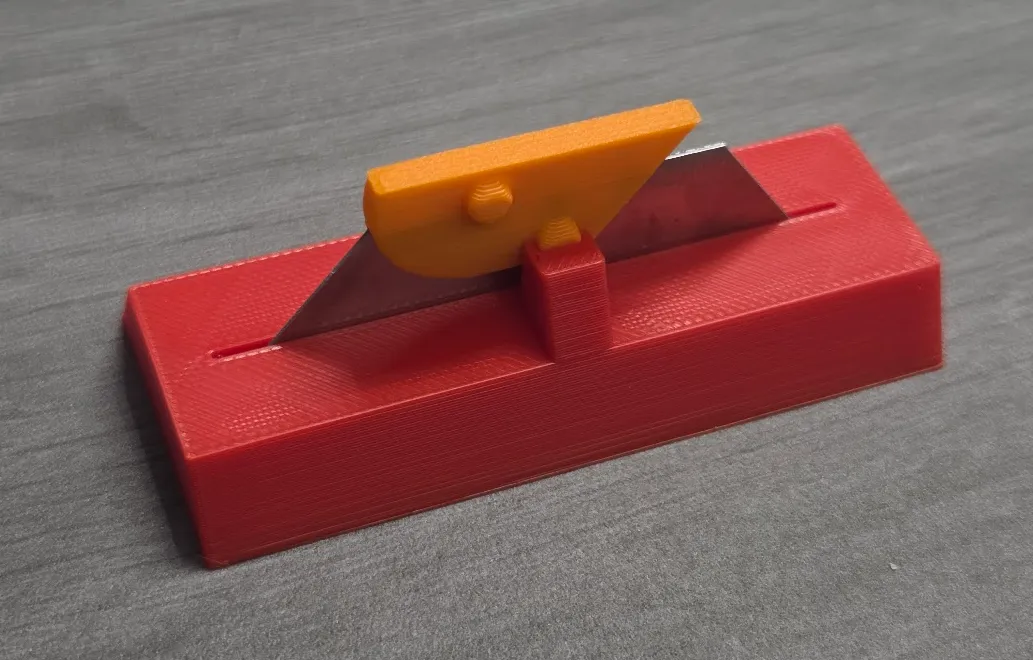
A guide is provided to help you easily combine the blade and holder (download separate profile).
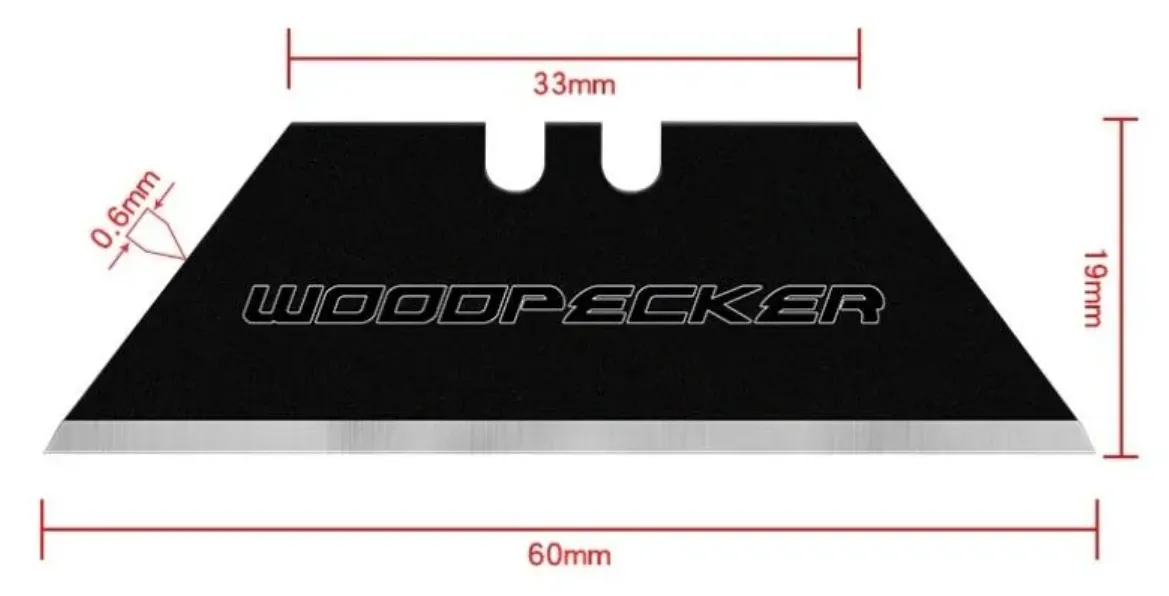
Use blades of the following specifications.
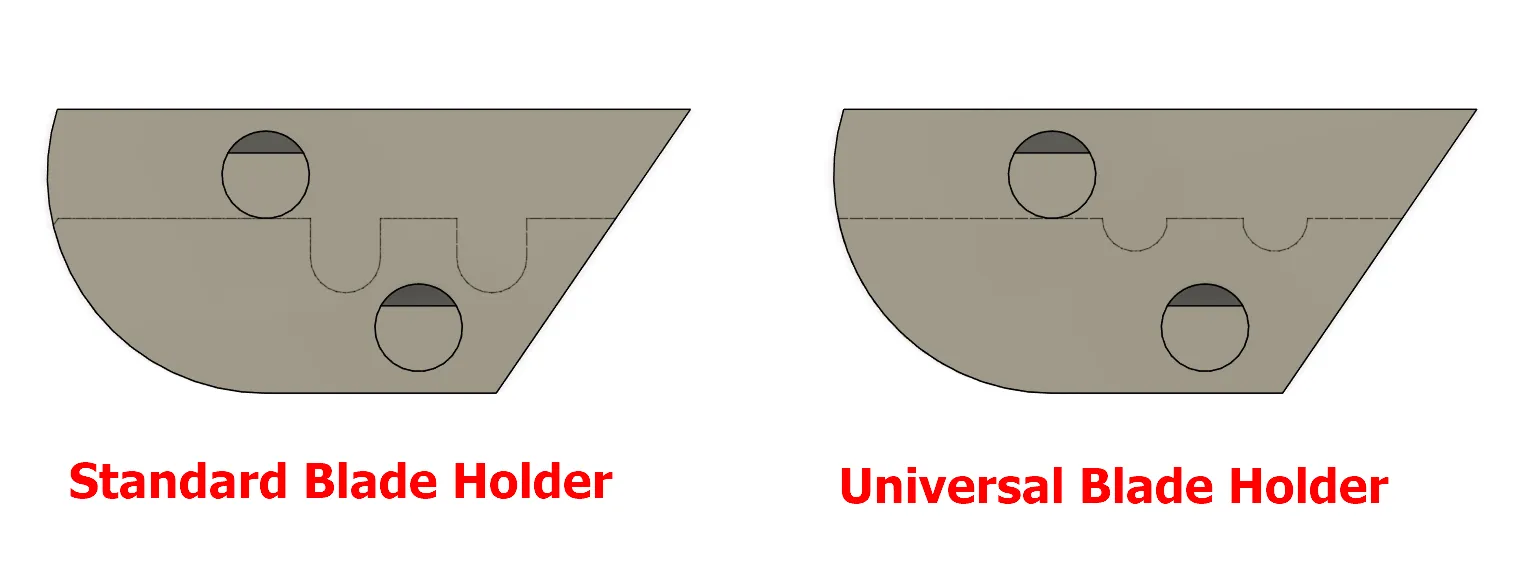
If you're using a blade that doesn't fit the standard holder, use the universal holder, which comes with a separate profile. The universal holder is compatible with most utility blades, but its bonding strength is somewhat weak, so be sure to use it with adhesive.
Combine the blade assembly and slider parts above. (After positioning them in the holes, hold the joints with your hands and rotate them a few times to ensure smooth operation.)
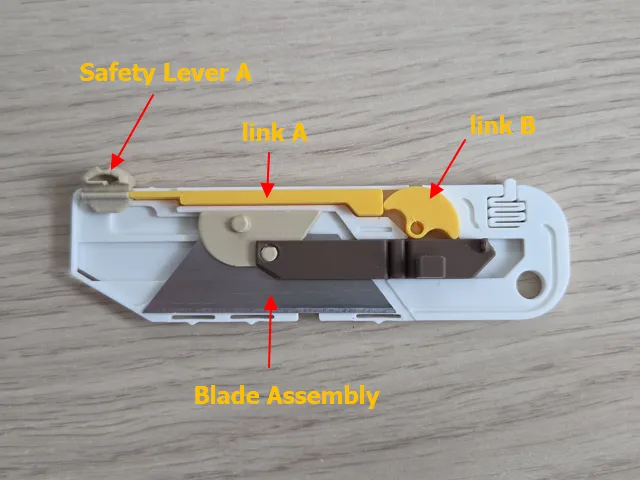
Position the safety lever A, link A, link B and blade assembly above on body A as shown in the photo.
Link A and Link B are parts that automatically reset the blade to normal knife mode when stored. If you primarily use scraper mode, you can remove them if they are inconvenient. However, for safety reasons, I recommend including them in your assembly. If only one of the two links is missing, the auto reset will not work.
Position Body B exactly on top of the assembly above.
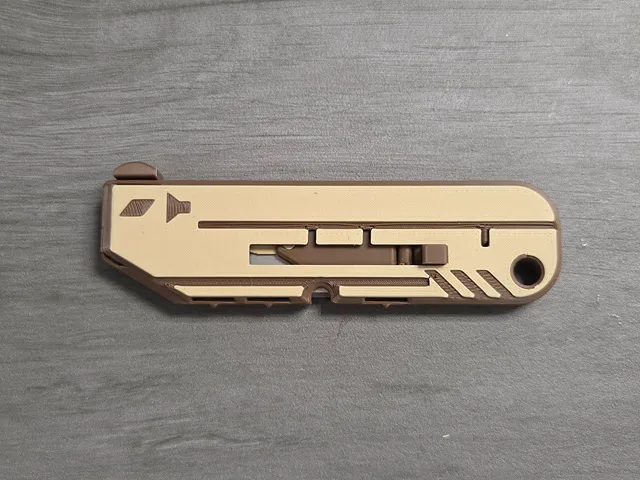
Assemble the slider lever. Be careful to insert it in the correct direction (insert from top to bottom at the photo below)
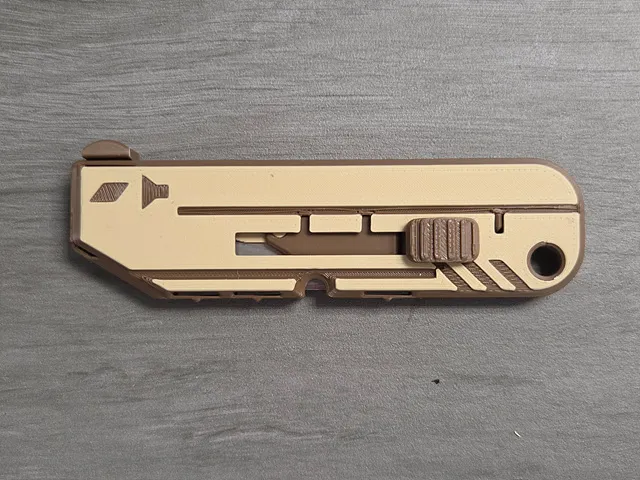
Assemble the body fixing cover. (Assemble so that the part with the groove for attaching the belt clip is on the right side of the photo.)
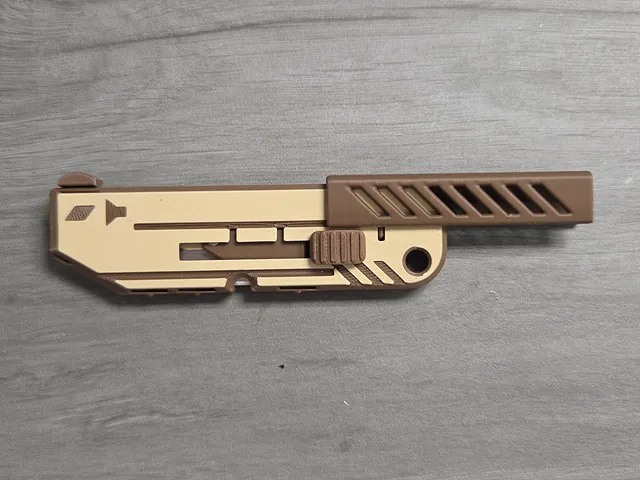
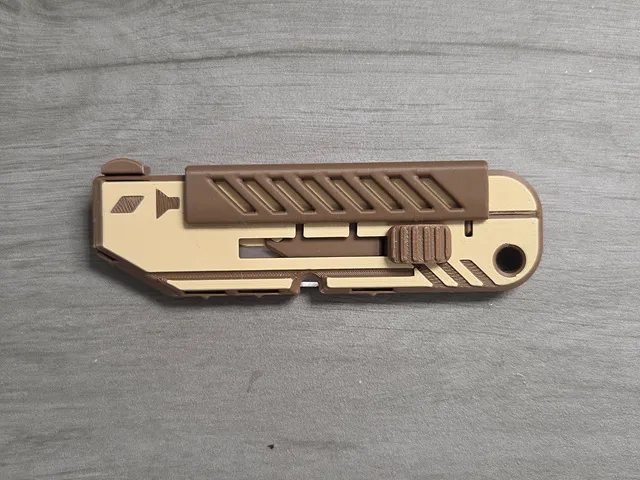
Assemble safety lever B. (check direction)
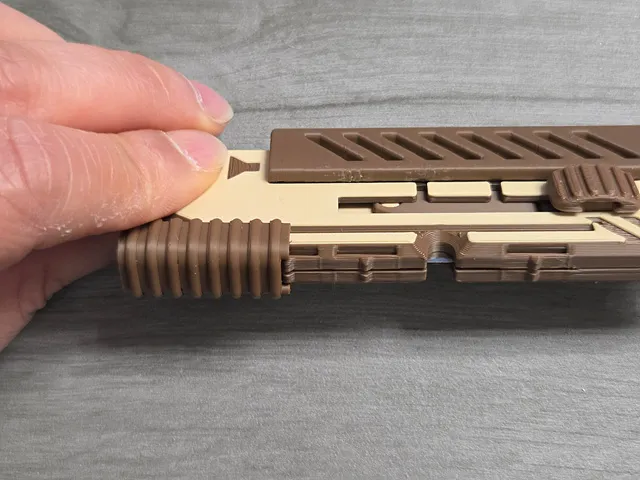
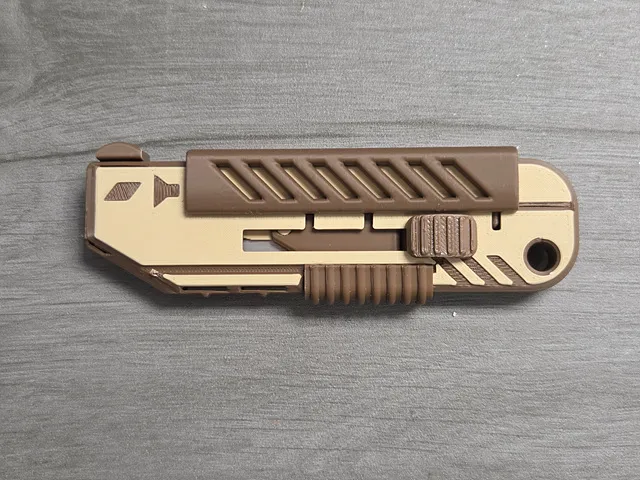
8. A belt clip can be attached if needed (optional)
-It's hard to believe, but the grip is better with the belt clip attached. It also acts as a non-slip grip.

Congratulations! Assembly is complete.
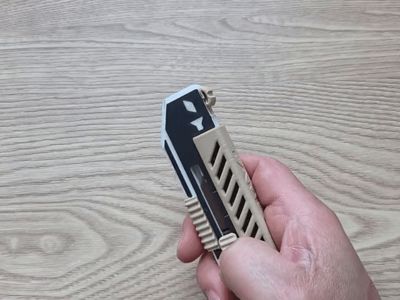
Use the slider button to manipulate the blade.
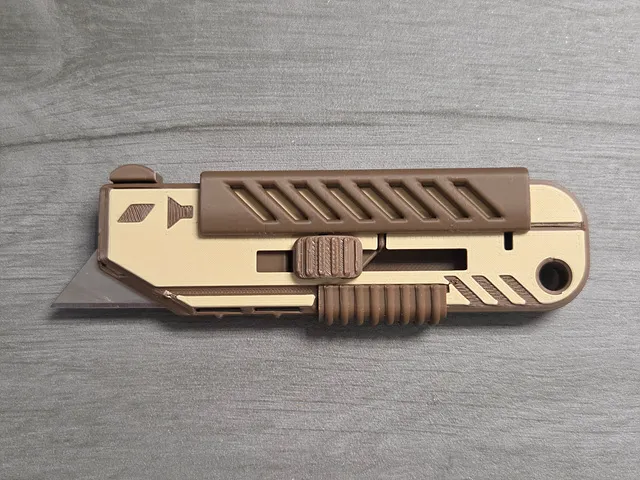
The button is designed to be locked in storage, normal, and scraper modes. When sliding, press gently while pushing.
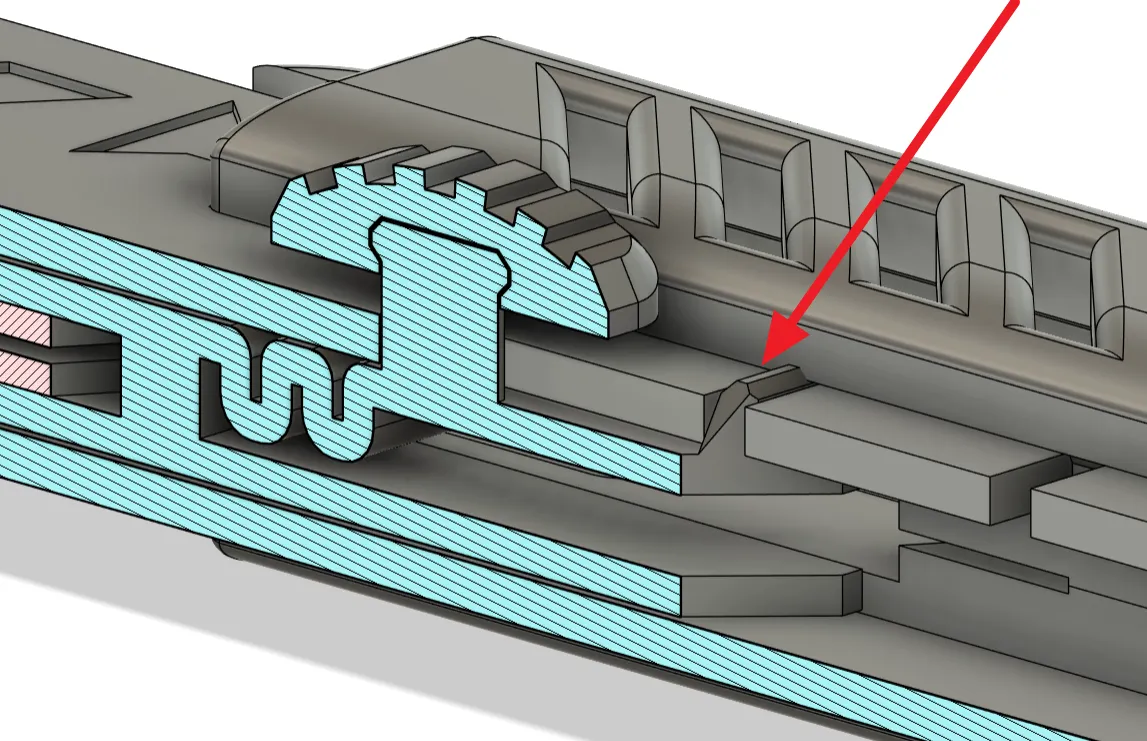
To enter scraper state, first switch safety lever A to scraper mode while using a regular knife, then push the slider all the way up. Safety lever A automatically switches back to regular knife mode when the blade is retracted.
When entering scraper state, be careful where your fingers are positioned as the blade will rotate and protrude from the side of the body.

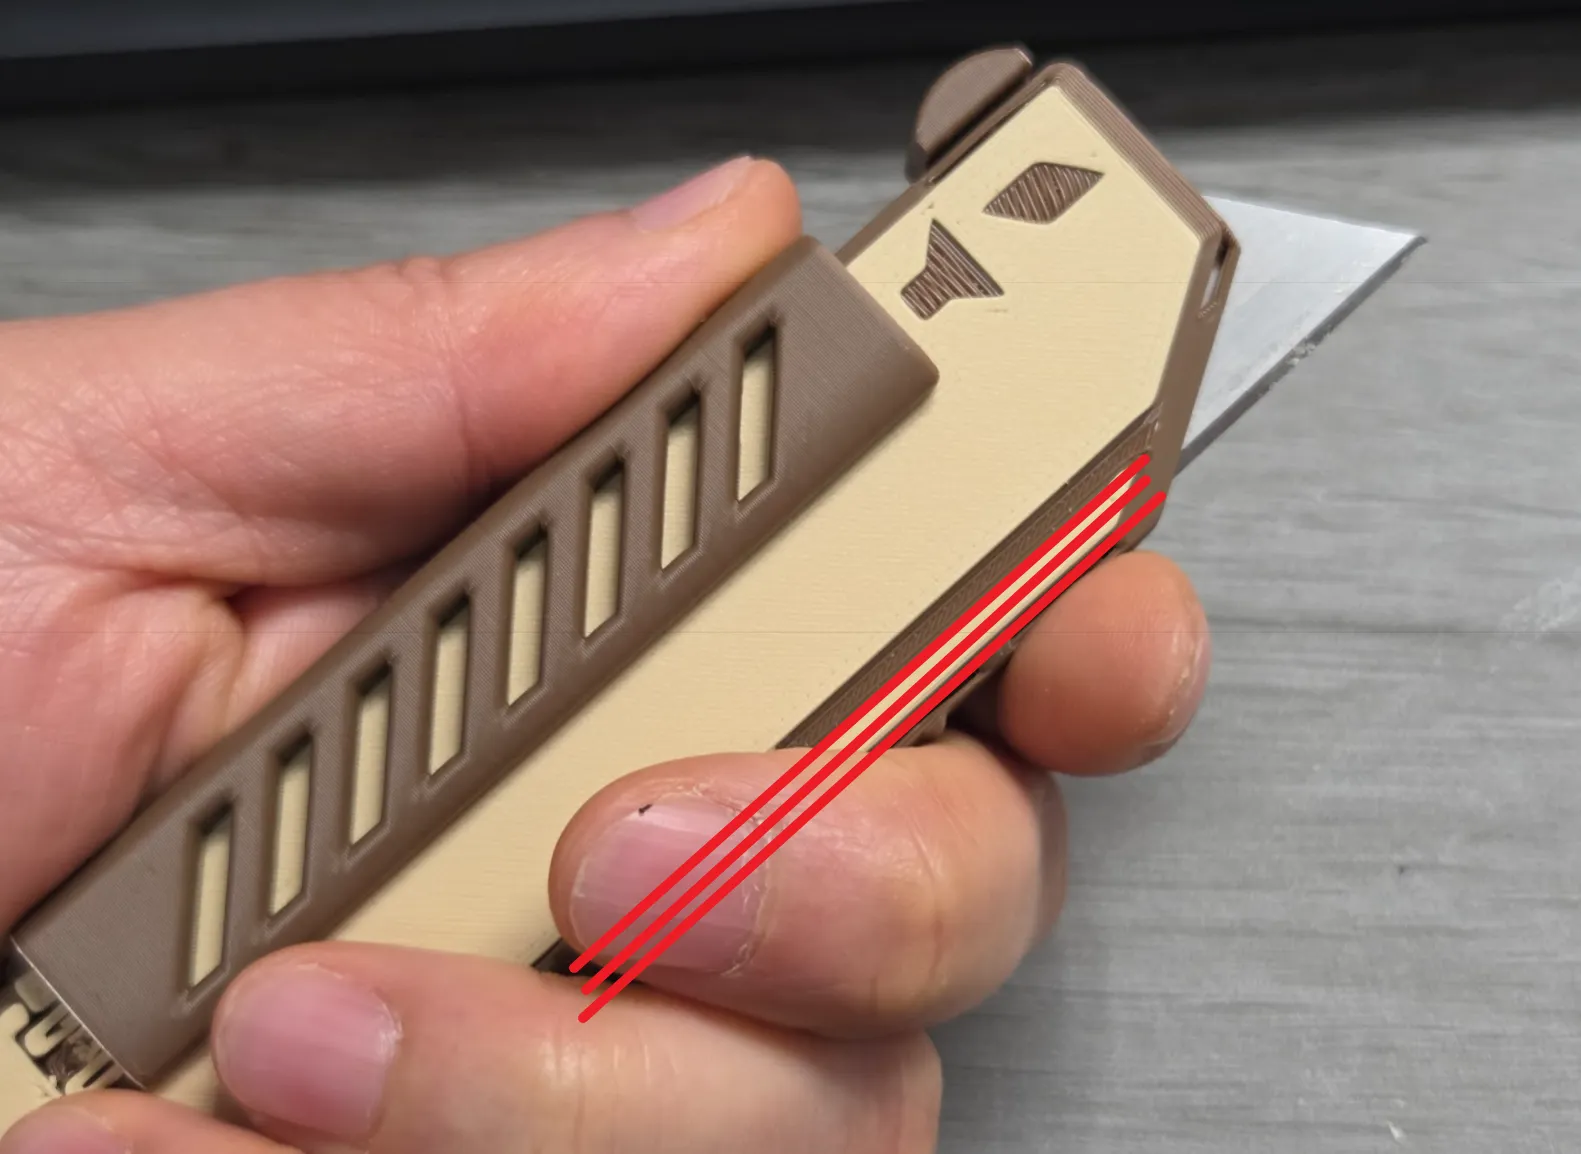
Never hold the knife like the photo below.
Even if safety lever A is locked, never place your finger on the area with the red line.
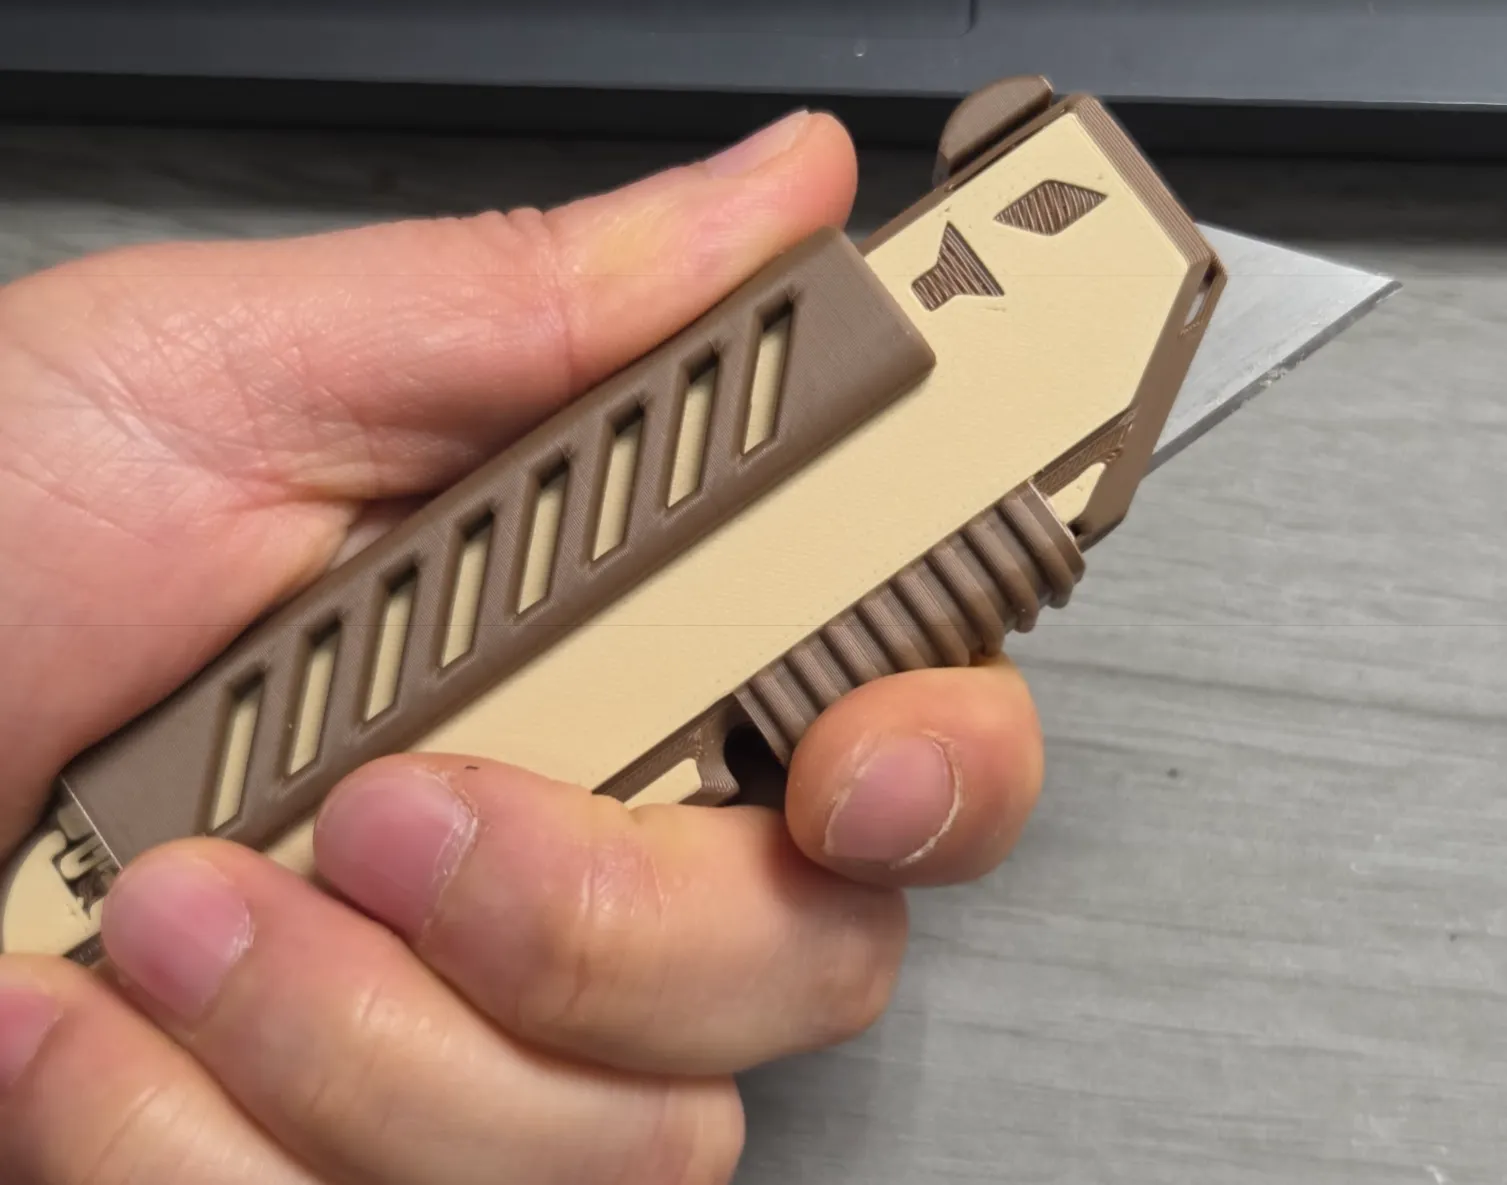
If you need this grip, be sure to use safety lever B to protect your fingers from the blade.
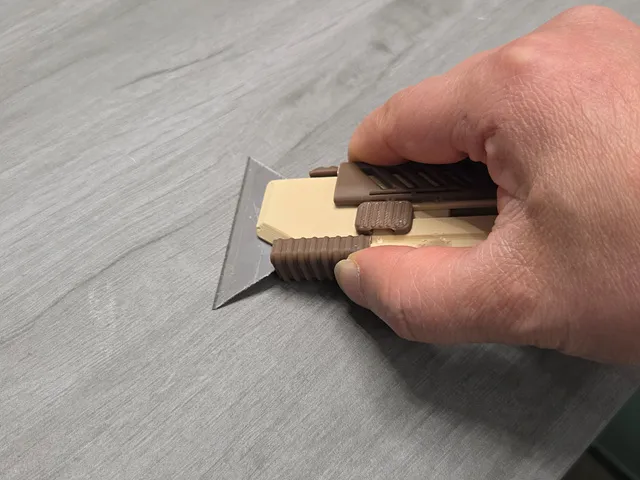
In scraper mode, the blade protrudes from the side of the body, so be careful where you place your fingers.
When using in scraper mode, push up the safety lever B to support the blade after the blade rotates.
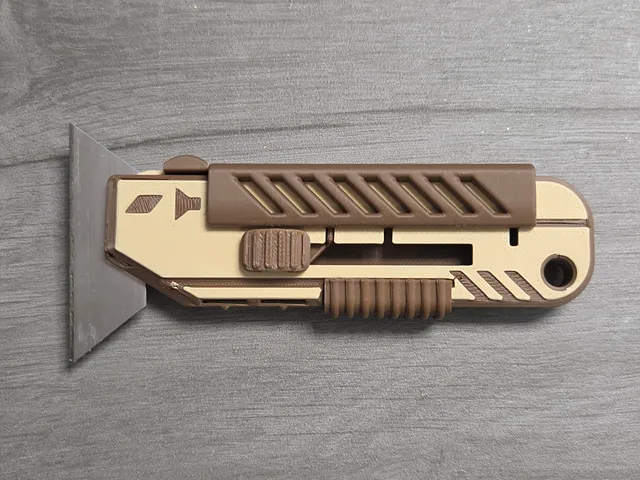
The snap-fit fastening parts may feel a little stiff when first used, but they will gradually become smoother with repeated use.
________________________
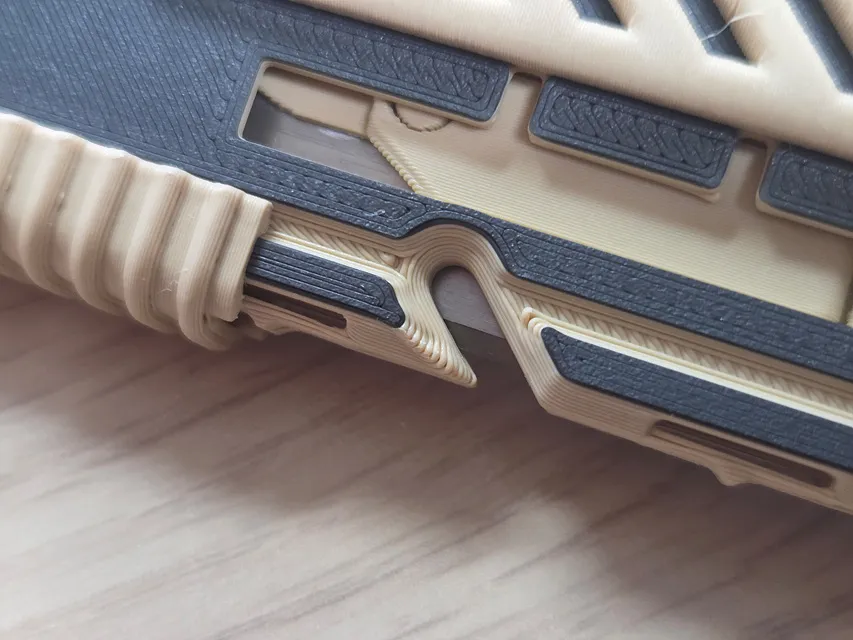
02/12/2026 Model Update
The wire cutter's groove design has been changed. It has been slightly reduced in size for safety and the groove has been angled to allow for easier application of force.
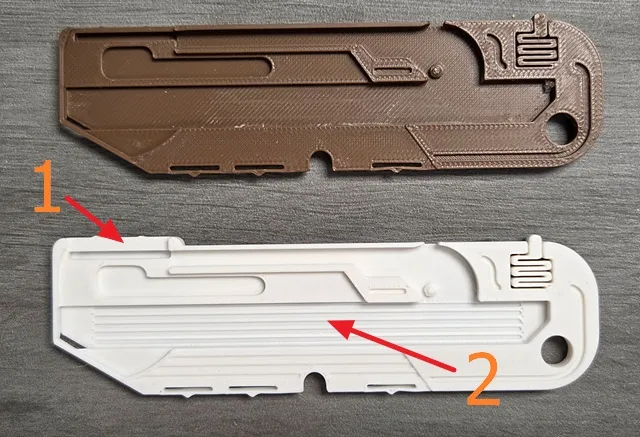
02/06/2026 Model Update
- The rail section of Safety Lever A has been reinforced. It has been confirmed that there is a risk of damage if a certain level of force is applied when using it in knife mode. While the non-metal body cannot completely prevent damage, the rail has been tripled in thickness to withstand fairly strong forces.
- The area where the slider and body contact each other has been modified to minimize friction.
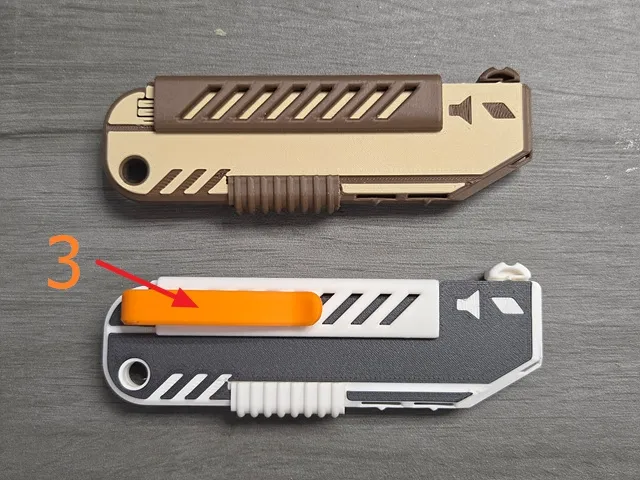
3. A belt clip has been added to make it an EDC item. (optional)
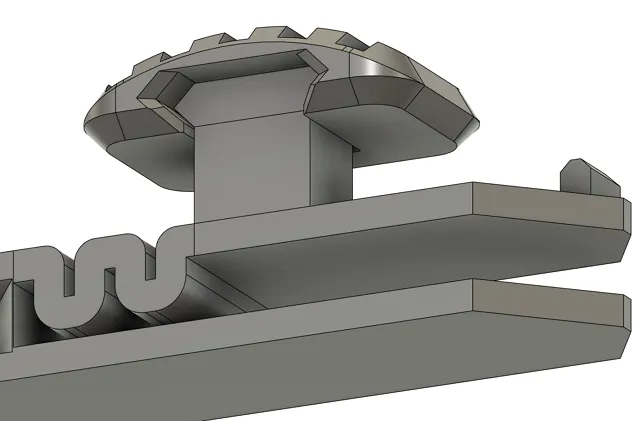
02/05/2026 Model Update
I discovered that the slide button could become loose depending on the filament and printing environment. The joint between the slide button and the slider component has been modified to ensure a better fit.
02/04/2026 Model Update
For safety reasons, I've made it so that the blade can't be switched to scraper mode while the blade is at storage state. It can only be switched to scraper mode from regular knife state, and it automatically switches to regular knife mode when the slider is fully lowered to storage state.
I've been using it for a few days, and when I slide the blade while holding the lever in scraper mode, the blade unexpectedly comes out to the side. This always made me feel uneasy. With this update, even those unfamiliar with this model can automatically switch to regular knife mode when stored, preventing the blade from suddenly protruding from the side.
With this update, to enter scraper mode, you must first push the blade up to regular knife state and then operate safety lever A (mode switching lever). While this may seem a bit inconvenient, I'm confident this is a much safer approach.

01/31/2026 Model Update
1. Model modifications were made to increase the strength of safety lever A and ensure accurate fixation.
2. The slider was modified to move more smoothly.
3. The spring part for securing the cover was modified to be smoother.
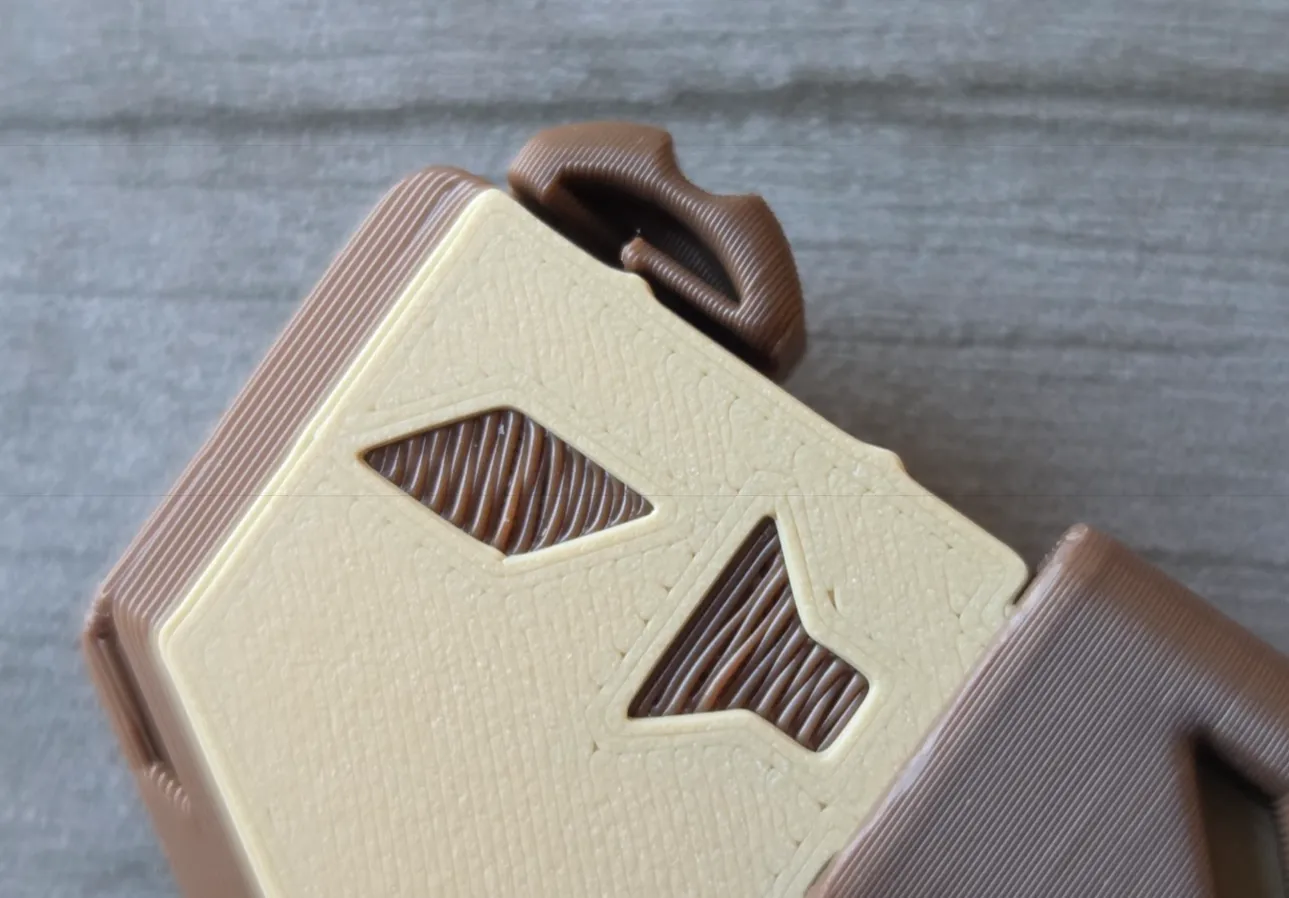
01/27/2026 Model Update
1. Modified to allow the use of blades longer than the standard blade length (60mm) (up to 62mm).
2. Added a separate profile for the Universal Holder, compatible with most Utility Blade types.
3. Modified the storage box and assembly guide to accommodate blades up to 62mm.
01/27/2026 Model Update
The models below have been added as separate profiles:
1. A storage box that can store 10 assembled blades at once.
You can make 10 blades at a time and store them by gluing them to the holder.
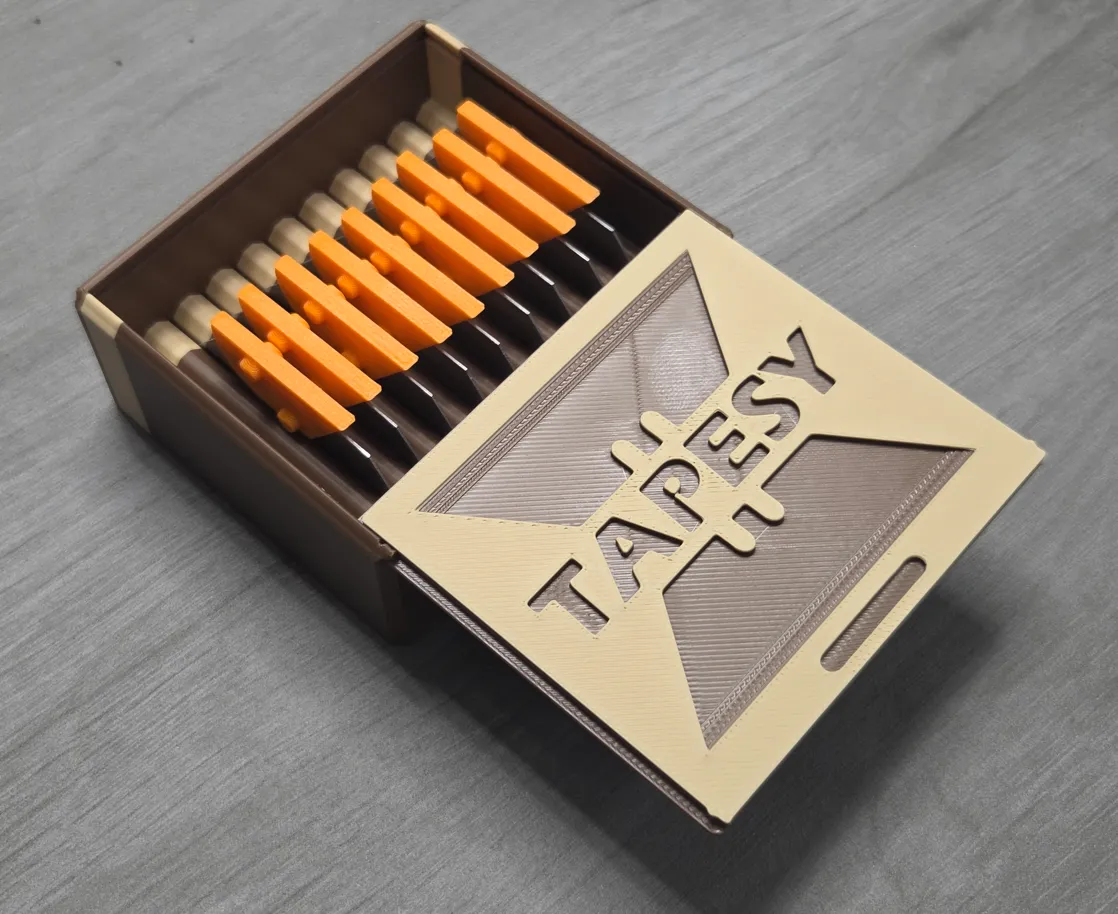
2. 10 blade holders and a blade assembly guide.
Assembly is easy by inserting the blade into the guide and assembling it with the blade holder.
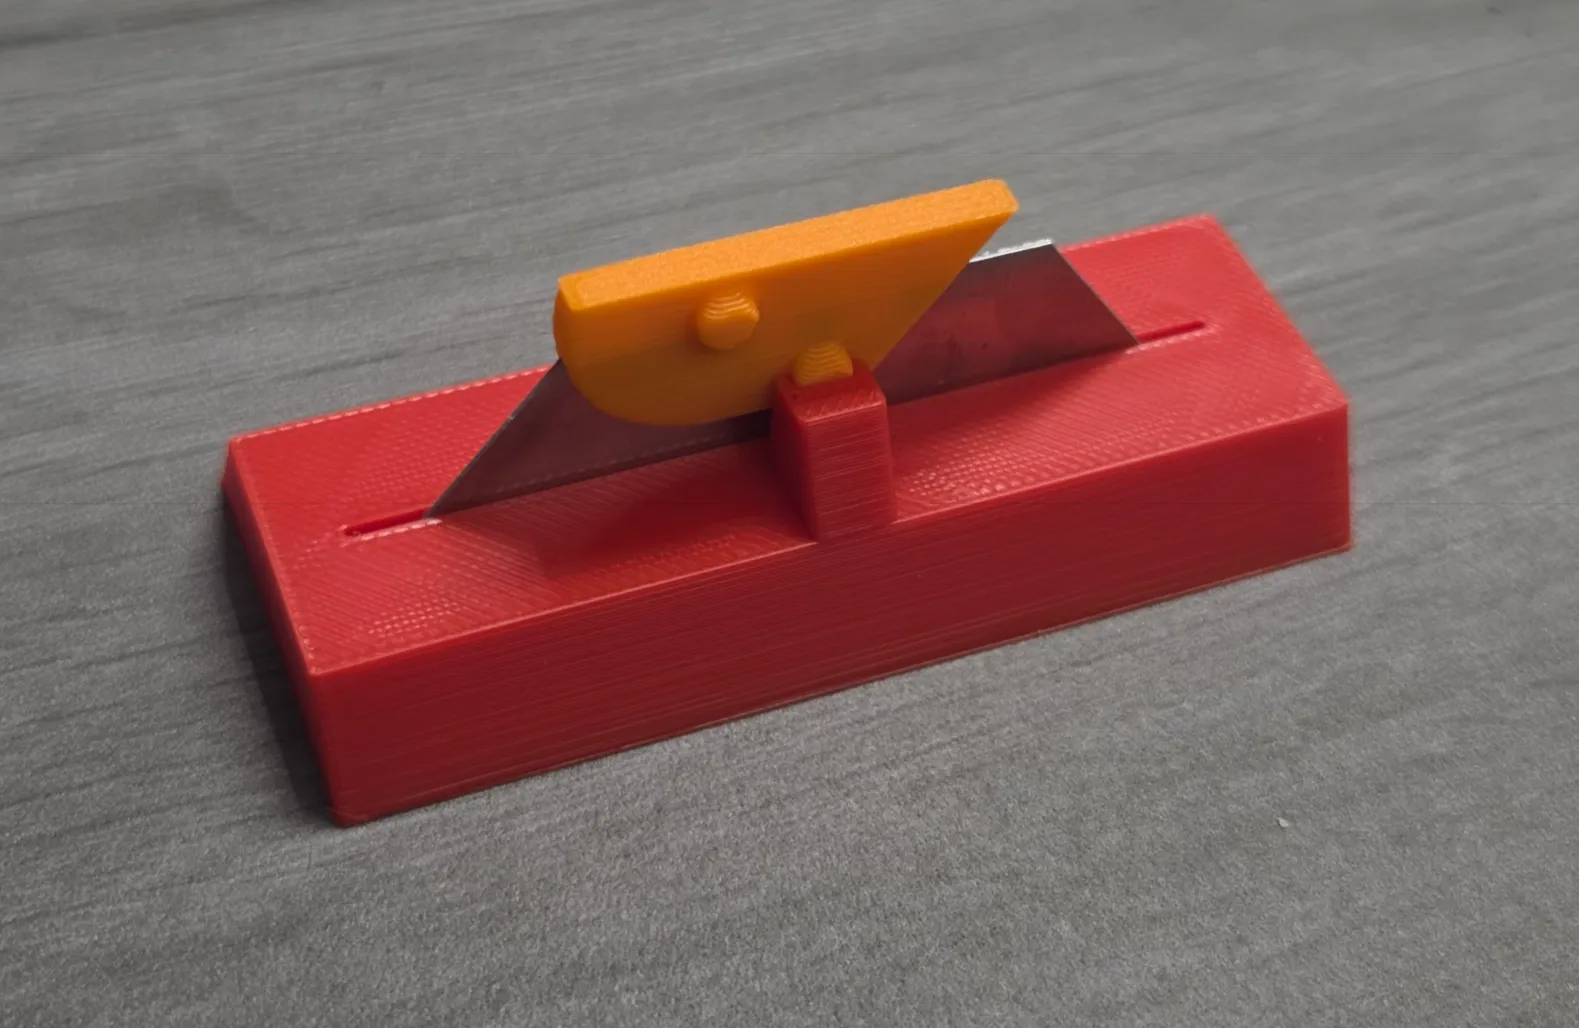
01/26/2026 Model Update
A new spring structure for fixing the body cover has been added.
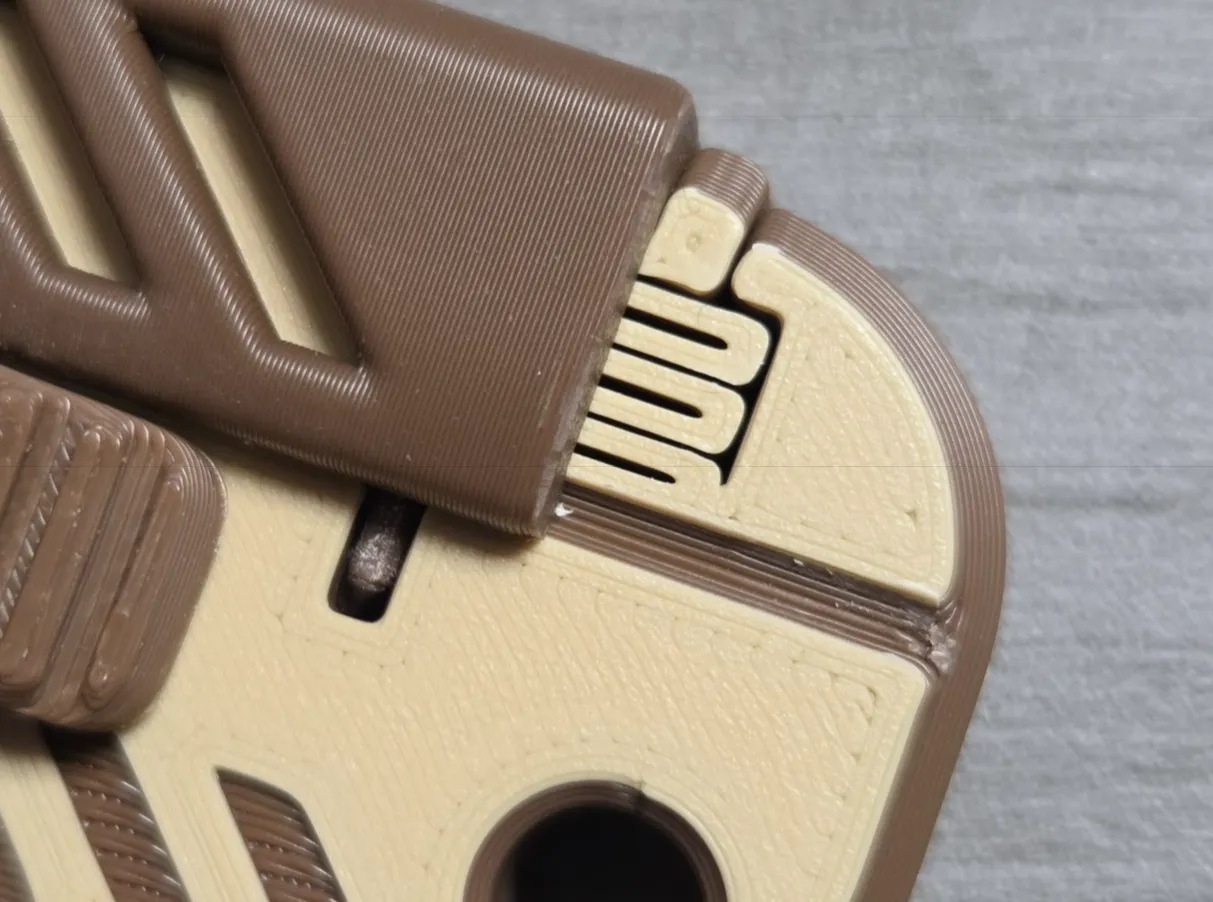
01/24/2026 Model Update
Added an icon to indicate the mode of the safety lever.
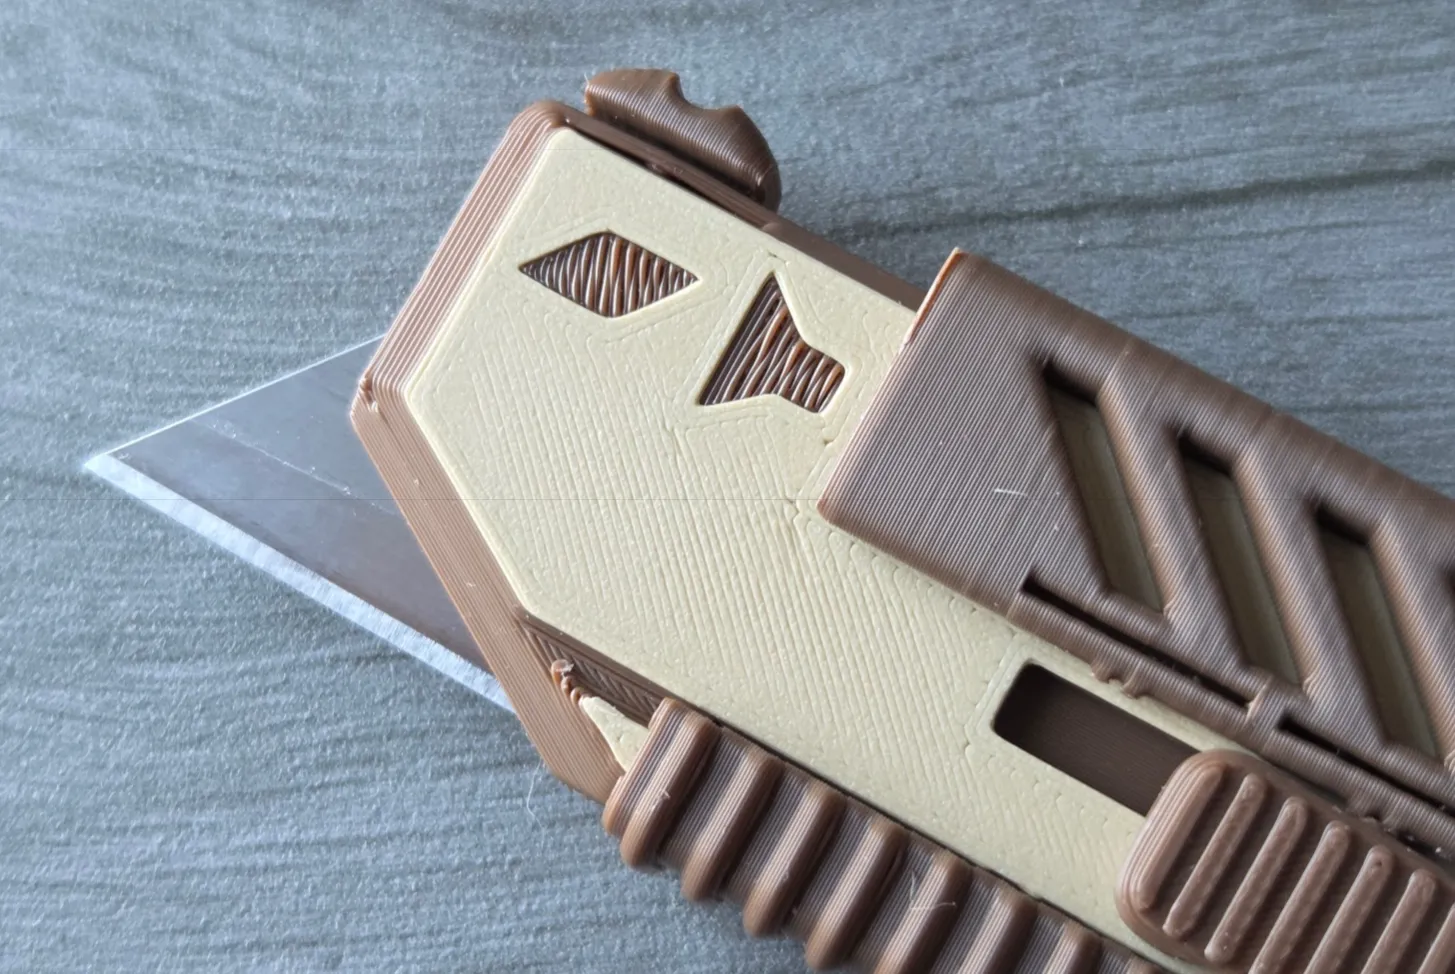
______________________
You may also like…
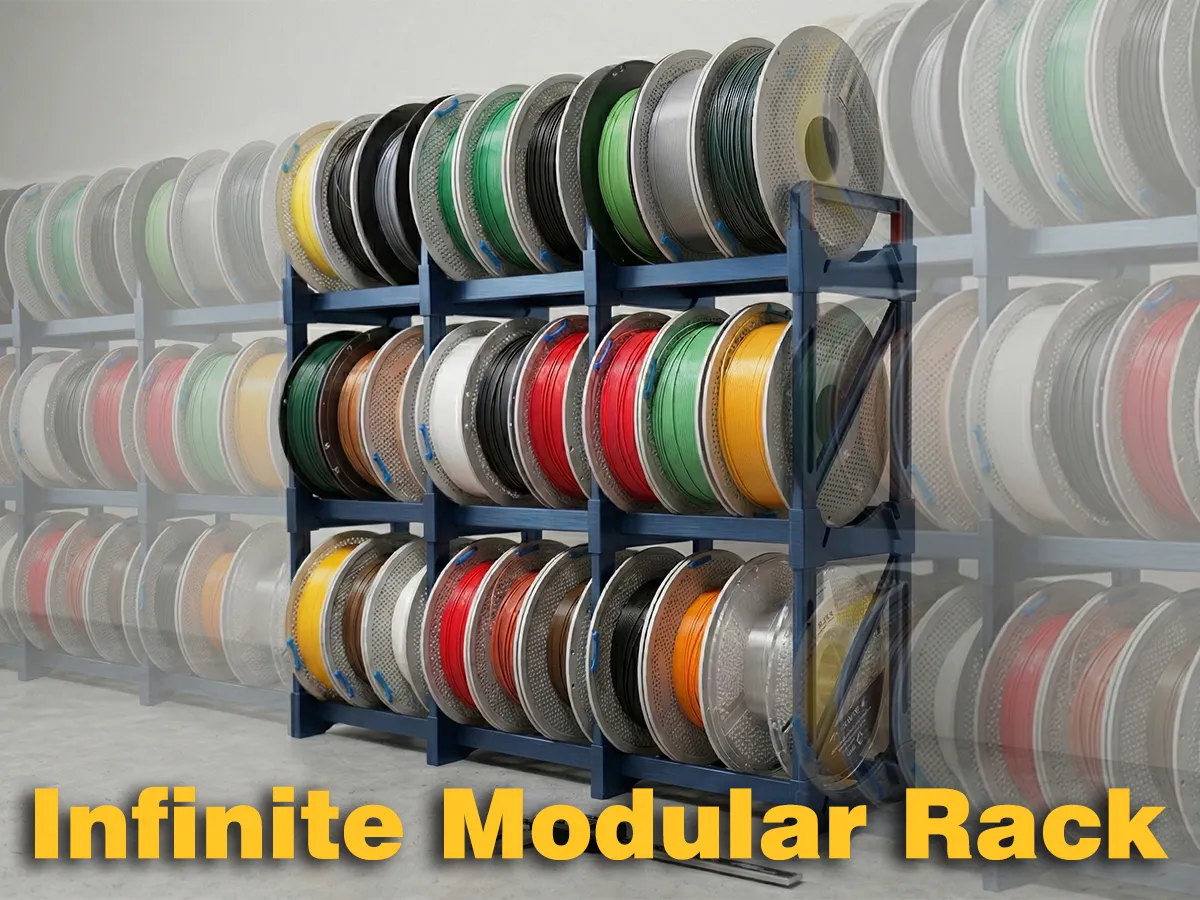
Infinite Modular Spool Rack (Highly Recommended)
Hope you Enjoy this model.
As always, I welcome your feedback.
Click to Check out FunOrNothing's interesting designs.
Boost Me (for free)
Your boost helps me spend more time creating better designs. And don’t forget to check my other models — you might discover something useful and fun! 😊
You can sell printed products of my models by joining FON Membership, please sign up for the membership below. Please do not become a thief.
Membership
The best way to support my work is to join the FON membership. You can be my Supporter, Seller, or Partner. If you join the membership, you can communicate more closely with me through Discord.
You can be a friend who encourages me by buying me a cup of coffee.
License

You shall not share, sub-license, sell, rent, host, transfer, or distribute in any way the digital or 3D printed versions of this object, nor any other derivative work of this object in its digital or physical format (including - but not limited to - remixes of this object, and hosting on other digital platforms). The objects may not be used without permission in any way whatsoever in which you charge money, or collect fees.


Comment & Rating (533)