IKEA Kallax Drawer System


Print Profile(5)

Description
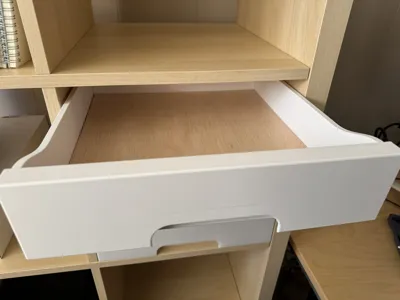
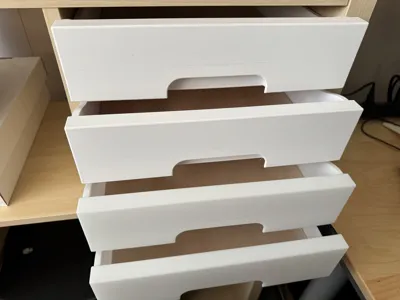
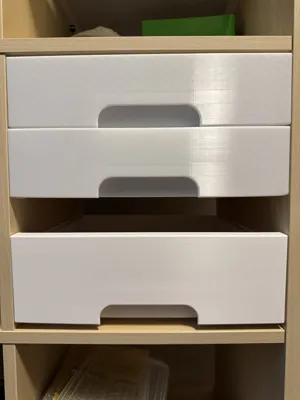
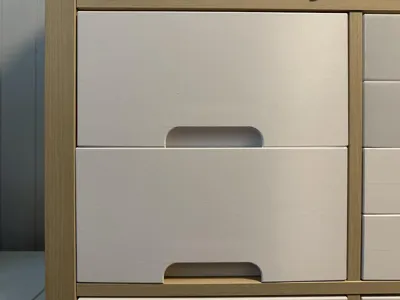
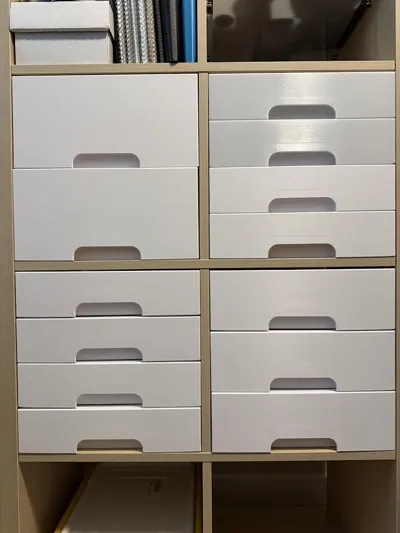
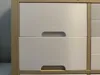
Organize your IKEA Kallax shelves with these low profile drawers to help organize small items that might get lost in the full height cube bins or 2-drawer systems that IKEA sells. This was inspired another model - loved the concept, and redesigned from the ground up in Fusion to improve some frustrations I had with the other model. The other model had a lot of post processing of excessive supports and tolerances ended up being difficult to close and open after installation.
V2 Improvements (2026-07-04):
- Reduced the shrink line from the front handle while reducing the support needed
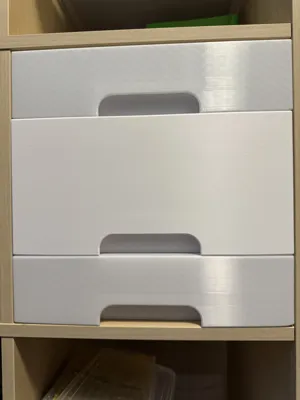
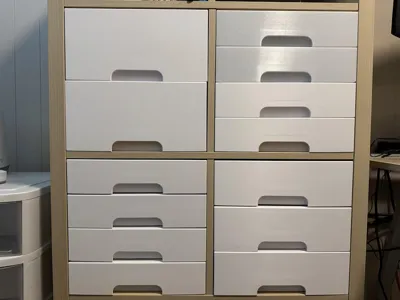
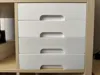
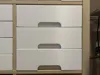
- Included variations for 2-drawer and 3-drawer setups
- Increased drawer spacing and tolerances for more flexible installation (0.6 to 1.8mm)
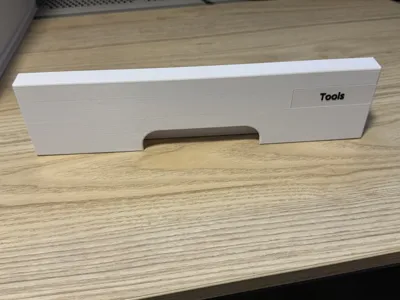
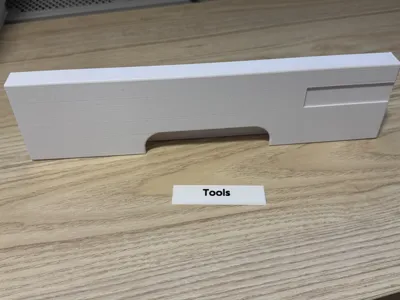
- Included a front variation that includes a slot for a printable label insert.
Original Improvements:
- Redesigned the rail system to eliminate the need for supports for a smoother glide and fit
- Chamfered interlocks to eliminate overhangs causing slicer generated supports
- Durable assembly guides and guide for pilot holes for precise installation.
- Left/ Right offset screws hole so that drawer systems side by side won't collide.
I printed these drawers on a P2S with PETG (Generic & Bambu HF) for the drawer and PLA for the assembly guides. Would recommend Bambu PETG HF (top 2 drawers) - both for reduced print time and prefer the look and feel. That said, works well with Bambu PETG Basic, PLA, and so forth. With the reduced supports of V2, I recommend tree hybrid supports so the supports are easier to remove from the build plate.
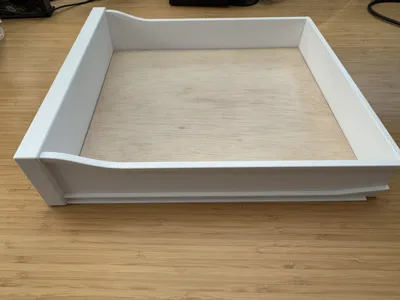
Internal Dimensions: 314mm x 340mm x ~ 70mm (height depends on thickness of wood).
Other Materials needed:
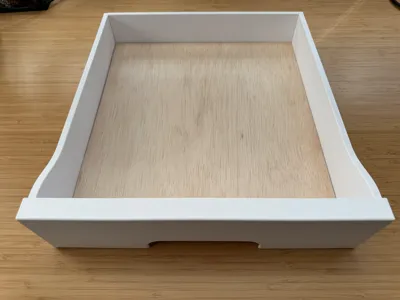
- Thin plywood or tempered hardboard. I used a 5mm poplar plywood as it felt more sturdy over 1/8" hardboard. For future prints, I'm using ¼" birch plywood.
- I also applied a clear coat (water-based polyurethane) to the wood to both seal the wood from moisture and for a smooth finish.
- Highly recommend to cut these at 313mm x 339mm to give you some clearance for slotting it in.
- Screws. I used #6- 5/8'' flat head wood screws. The screw holes in the rails are countersunk to allow for US or metric wood screws (M4).
- Drill. Highly recommend drilling pilot holes for precise installation. I used a 1/16th drill bit for the pilot holes.
- Adhesive. I used super glue to bond the parts together and the plywood to the base.
- [Optional] Dry Lubricant. The new rail design is already very smooth, however you can level up with paraffin wax or WD-40 Dry Lube.
- [Optional] Shelf/Drawer Liner or Gridfinity Baseplate. Helps prevent your items from sliding around given how smooth the rails are.
Installation Instructions:
- Print out the various plates. The only supports needed are for the handle overhang, which should be easy to remove cleanly. Deburr the handle if needed.
- Glue the various drawer pieces together to get a shell.
- Cut, sand, and optionally seal the wood you want to use. Note the dimensions above and recommendation on giving yourself a bit of clearance. Test out the wood fit in the shell before sanding.
- Glue the wood to the shell. The wood should sit on top of the inner lip. While not fully necessary, this will help with side to side shear forces.
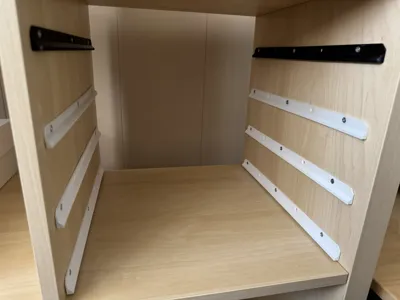
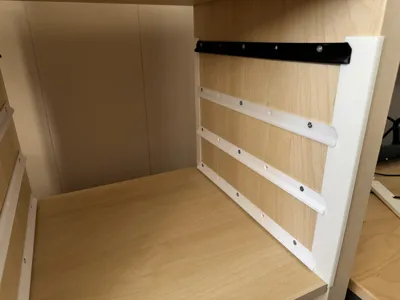
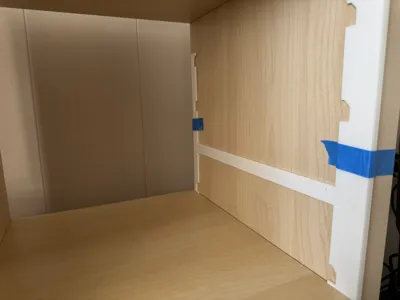
- Use the assembly guides and the pilot hole guide to first drill pilot holes into your kallax. The top of the pilot hole print should face the inside, however check the rails hole first since the left and right holes are offset.
- Using the assembly guides and the rails, screw in the rails to the side of the wall.
- Test out the drawers and optionally apply dry lubricant.
- Insert your drawers and enjoy!
Let me know how it goes and if you have any feedback.
Troubleshooting / Tips:
- If the original drawers are a bit too tight there are a few things you can do.
- For the bottom drawer, you can print out new rails by taking the existing rails and cutting ~2mm from the bottom side of it. This will give it more space if the holes anchor it too low.
- You can print out the v2 and mix/match them (with the v1 drawers taking the top slot). Usually for the Kallax there is a few mm of extra clearance on the top, which you can use for some of the original height drawers.
Boost Me (for free)
I loved designing this to tidy up my own space, and I hope it helps you too. If you like the design, a Boost is always appreciated—and don't forget to share a picture of your setup!
License
You shall not share, sub-license, sell, rent, host, transfer, or distribute in any way the digital or 3D printed versions of this object, nor any other derivative work of this object in its digital or physical format (including, but not limited to, publishing derivative works outside the Makerworld platform or hosting on other digital platforms). The objects may not be used without permission in any way whatsoever in which you charge money or collect fees. Subject to the above restrictions, derivative works may be published only within the Makerworld platform, and all such derivative works must be licensed under the same SDFL‑C license, without modification or additional terms. You may download the digital versions of this object, 3D print it, and display images, videos, or usage demonstrations of 3D printed versions of the object on personal social media platforms or Makerworld official channels, provided that no digital versions of the object are shared or distributed.
Comment & Rating (50)