
50x Peptide Vial Case (3ml)
Print Profile(2)

Description
Updates
- 2026-01-30
- Added a “Shorter Insert” Print Profile
- Shorter insert to save on filament, still holds the vials just as securely.
- Added a “Shorter Insert” Print Profile
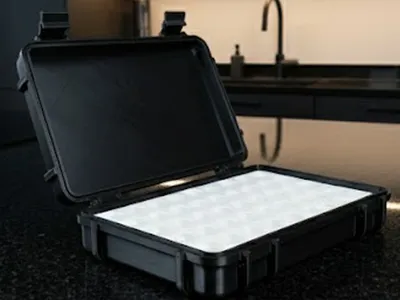
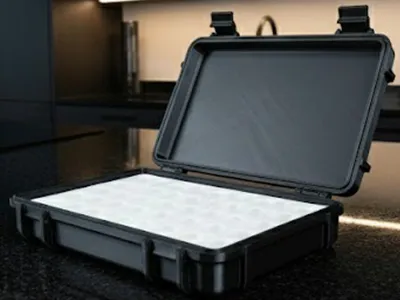
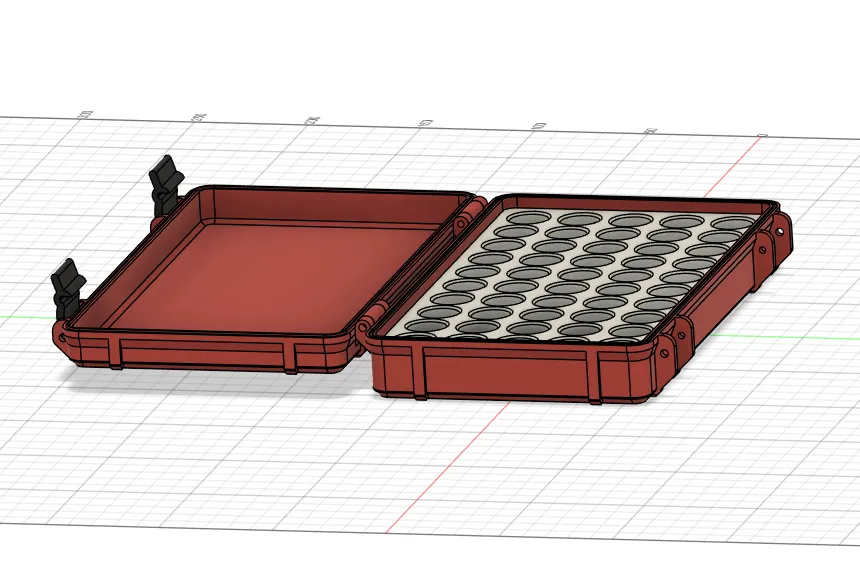
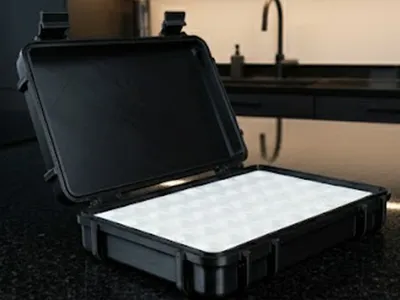
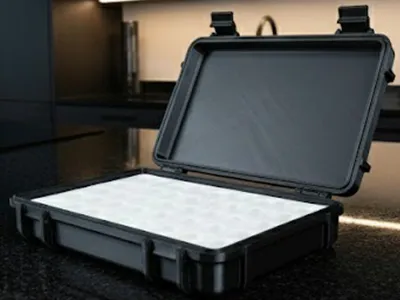
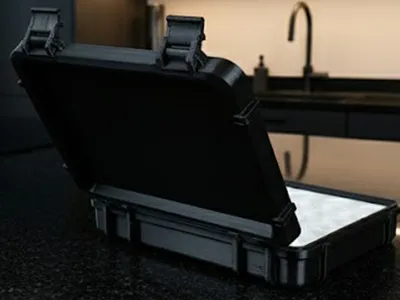
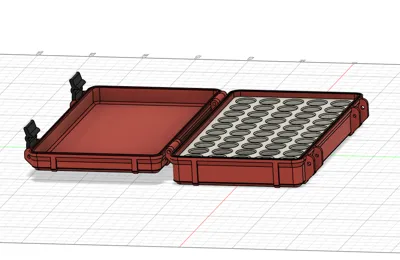
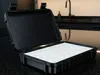
This is a 50-slot case for 3ml peptide vials. I modified the original concept to scale it up efficiently while keeping the overall footprint as compact as possible to save space in the fridge or freezer. A custom internal insert was designed to keep all vials secure, upright, and prevent rattling or clinking during handling.
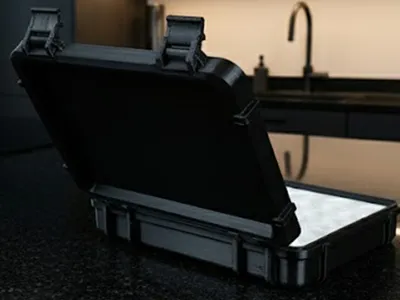
The case uses mechanical hardware for strength and durability, making it well-suited for frequent opening and closing in a refrigerated or frozen environment.
Design Details
- Fits 50 Vials: Designed for standard 3ml peptide vials (17mm diameter) with caps
- Hardware Assembly: Uses (6) M3x30 screws
- (2) screws for the hinges
- (4) screws for the latches
- Secure Insert: Custom internal layout keeps all vials upright and evenly spaced
- Compact Scaling: Optimized to hold a large number of vials while remaining fridge-friendly
- Material: Printed in PLA+, PLA, or PETG.
- PLA+/PETG recommended for increased durability and moisture resistance.
- Regular PLA is the default profile as a baseline for beginners.
Has an optional seal that can be printed in TPU (not required by any means, just added peace of mind).
Print Settings
- Filament: PETG, PLA+, or PLA (PLA silk not recommended), TPU for the optional seal.
- Supports: None used, tree supports can be added if any overhangs didn't print clean.
- Walls: 3 (Tolerances aren’t super tight; all mechanisms work smoothly with little friction)
- Infill: 15% (Gyroid is my preferred)
Assembly
Once printing is complete, align the lid and base at the hinge points and secure them using two M3x30 screws. Install the remaining four M3x30 screws into the latch mechanisms. Finally, press the insert into place—it's designed to be a tight fit so it stays locked in position during use.
Boost Me (for free)
If you find value in this design, please consider giving it a Boost. Seeing your successful prints is one of the best parts of being a creator - don't forget to upload a photo of your print!
If you’d like to support my work and/or help prioritize your request, donations are appreciated but completely optional.
- PayPal: @ZiahMikael
- Cash App: @ZiahMikael
- Venmo: @ZiahMikael
If you do donate, include your MakerWorld username so I can match it to your request.
This remix is based on

License

You shall not share, sub-license, sell, rent, host, transfer, or distribute in any way the digital or 3D printed versions of this object, nor any other derivative work of this object in its digital or physical format (including - but not limited to - remixes of this object, and hosting on other digital platforms). The objects may not be used without permission in any way whatsoever in which you charge money, or collect fees.


Comment & Rating (118)