Bambu Lab Spool Insert - SPECIAL EDITION


Print Profile(3)


Description
Boost Me (for free)
If you wish, you can help me by supporting my work with a Boost, don't have a Boost? You can like the project and Follow me, thanks in advance for your help!
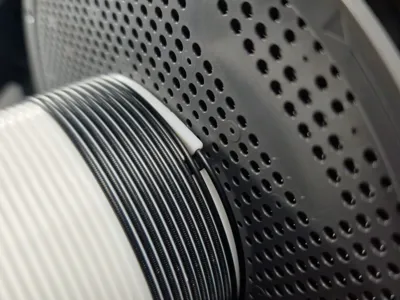
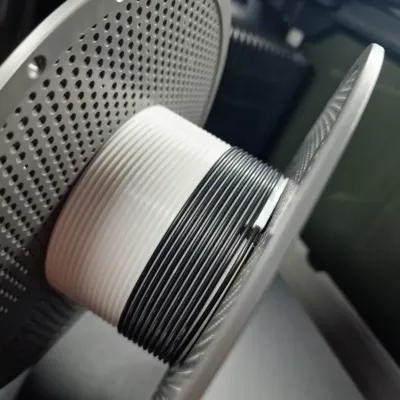
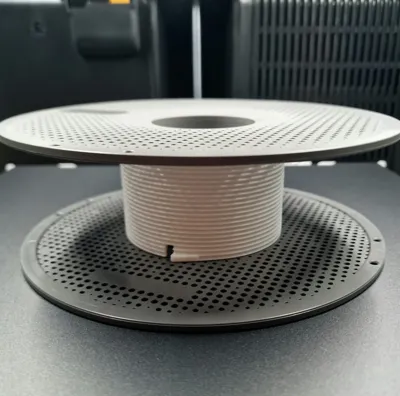
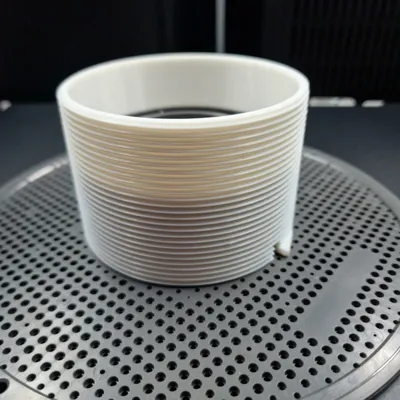
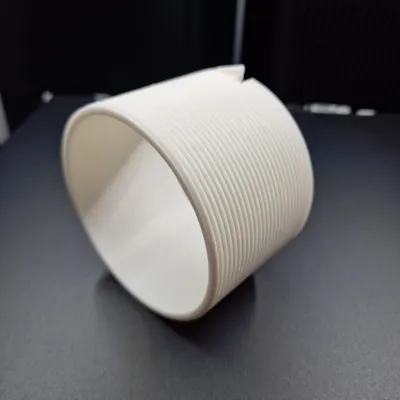
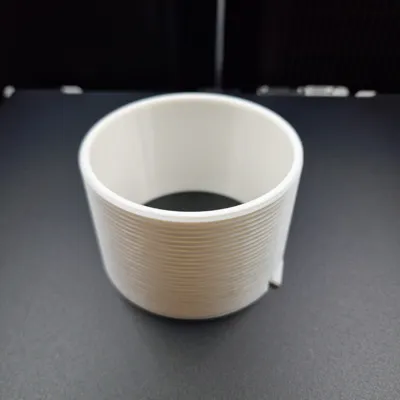
New and revolutionary filament spool for all Bambu Lab spools, created with accurate dimensions to fit perfectly, this spool, unlike the original, allows for simple and correct filament positioning during winding, enabling the first part and then the rest of the filament to be positioned very evenly across the entire width of the spool, no more tangled filaments from today! Rewind the filament with ease thanks to the simplified attachment, no more tape to block the end of the filament, no more worries if the filament runs out!
📐 DESIGN FEATURES:
- Project dimensions suitable for all Bambu Lab spools.
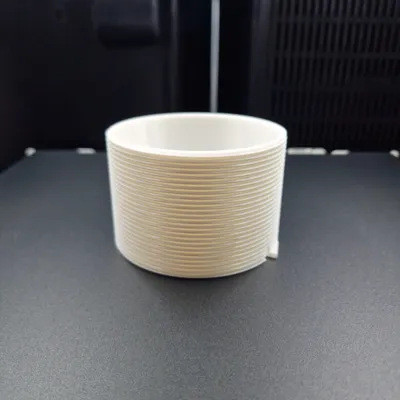
- Accurate project creation with a robust and easy-to-print structure.
- Optimized design for 3D printing with 0.4 mm nozzle.
- Filament spool suitable only for 1.75 mm diameter filament.
🖨️ CUSTOMIZATION:
- Ability to print it in your preferred color according to your tastes or preferences.
- I do not recommend resizing, as it would compromise assembly.
🎨 FILAMENT USED and TIPS plus ACCESSORIES:
- To maintain the characteristics seen in the photo, Bambu Lab PLA Basic, PETG, or ABS filaments.
- Do not change the settings or positions on the plate, as printing problems may occur.
- To insert the filament into the starting hole, use small pliers if necessary, but it can also be done easily by hand.
⚙️ ASSEMBLY:
- Insert the filament spool into the coil starting from the grooved side.
- Close the coil securely, making sure it clicks into place.
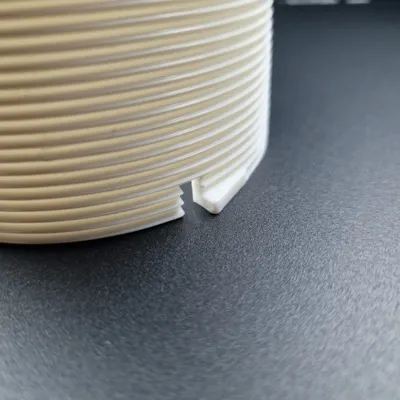
- Insert the end of the filament all the way into the designated hole.
- Bend the filament towards the adjacent groove as shown in the photo.
- Rotate the coil slowly in the correct direction for the first turn, then go faster for subsequent turns if desired.
✨ Did you like this project?
- Check out my profile for more original models by clicking HERE!

*Photos, drawings, and manufacturer brands cited on this page are the exclusive property of their respective owners.
(If you are interested in commercial use of my models, early access, exclusive designs, or if you simply like my work and want to support me, contact me privately)
License
You shall not share, sub-license, sell, rent, host, transfer, or distribute in any way the digital or 3D printed versions of this object, nor any other derivative work of this object in its digital or physical format (including - but not limited to - remixes of this object, and hosting on other digital platforms). The objects may not be used without permission in any way whatsoever in which you charge money, or collect fees.
Comment & Rating (153)