
Print Profile(3)

Description
Boost Me (for free)
Thanks for your support!
Josie :)
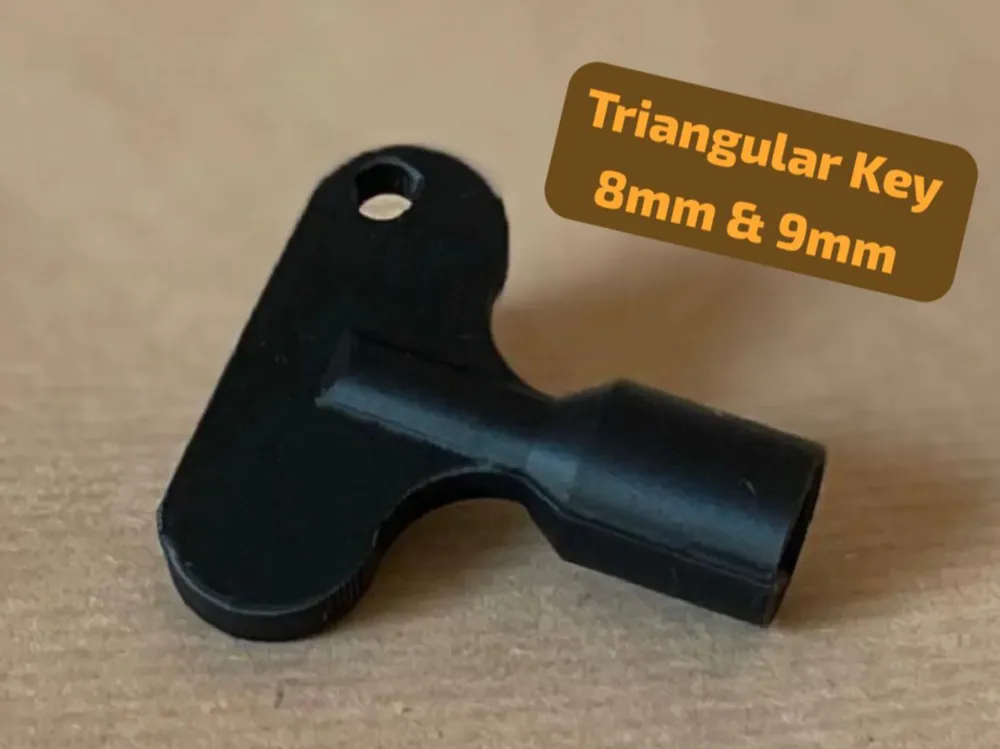
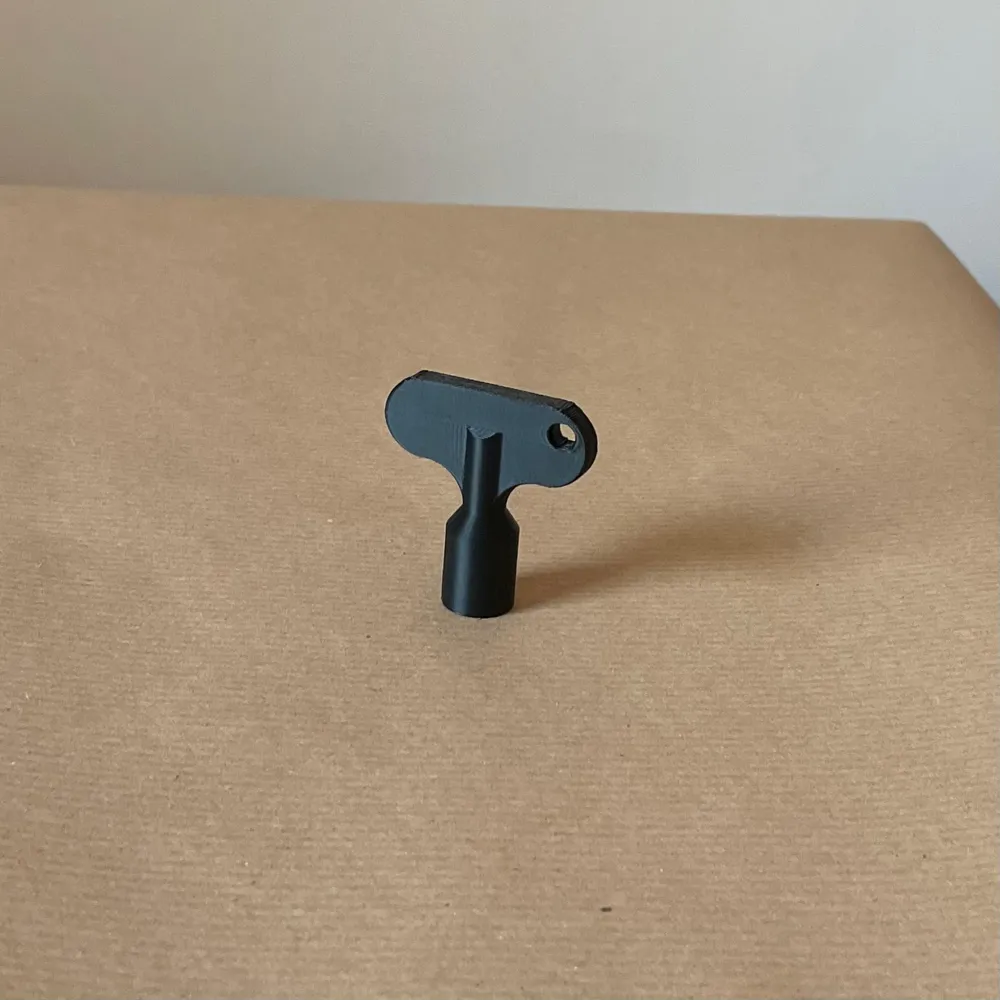
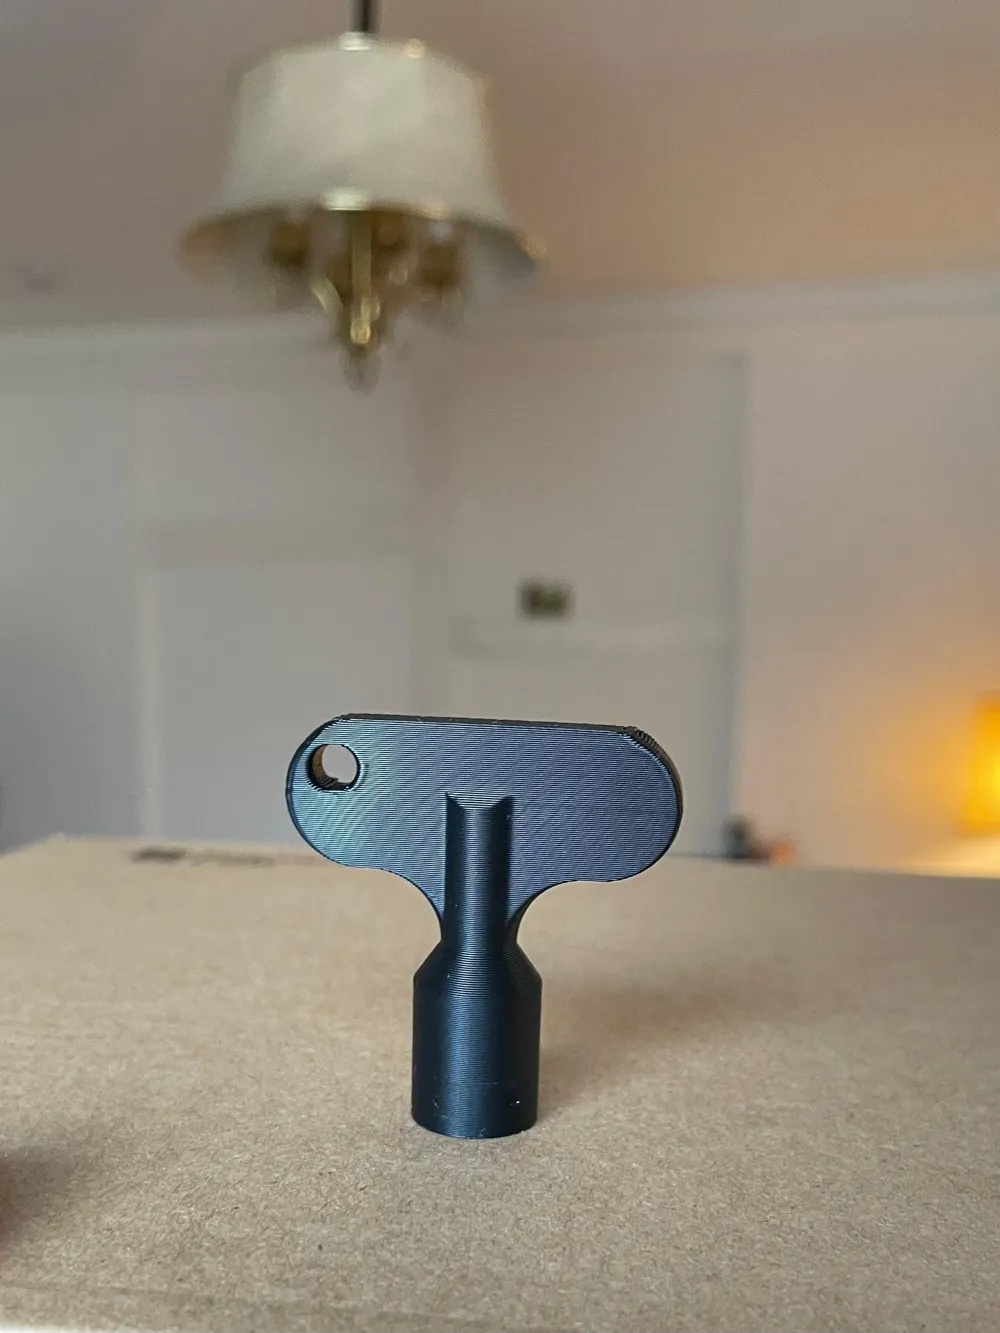
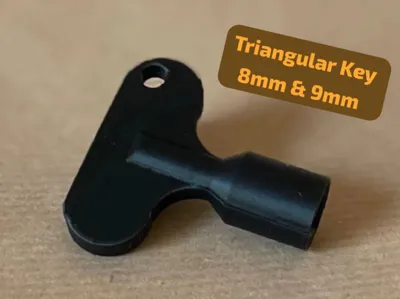
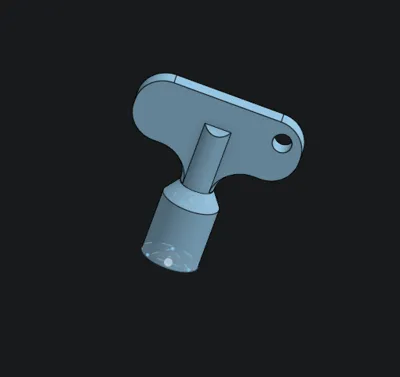
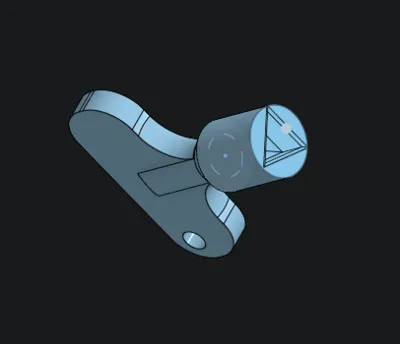
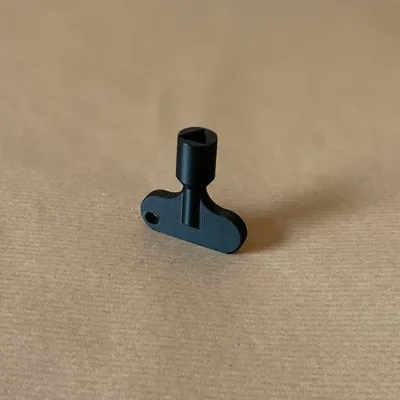
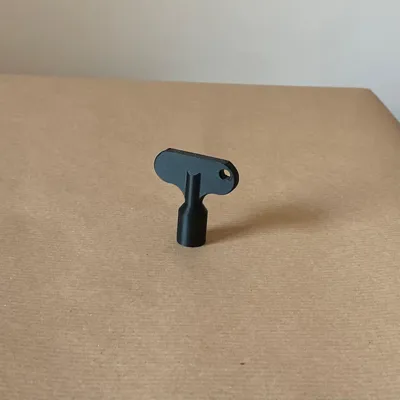
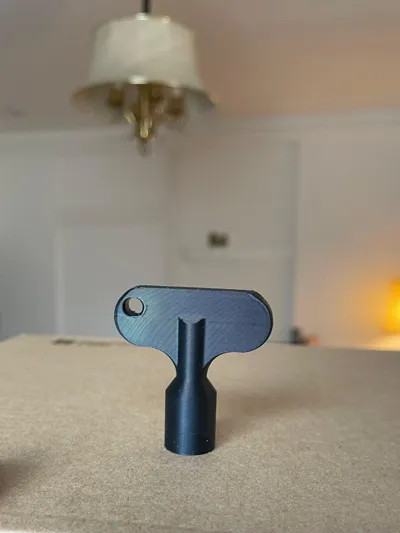
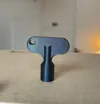
Triangular Key 8mm and 9mm
I also have an model for Universal Double-Bit Key Set (3mm & 5mm) – Industrial Edition if you need it as well.
https://makerworld.com/de/models/2294208-3mm-5mm-double-bit-key-control-cabinet-electrical#profileId-2503551
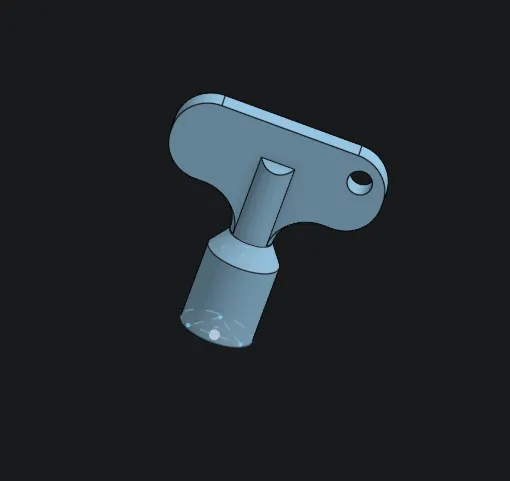
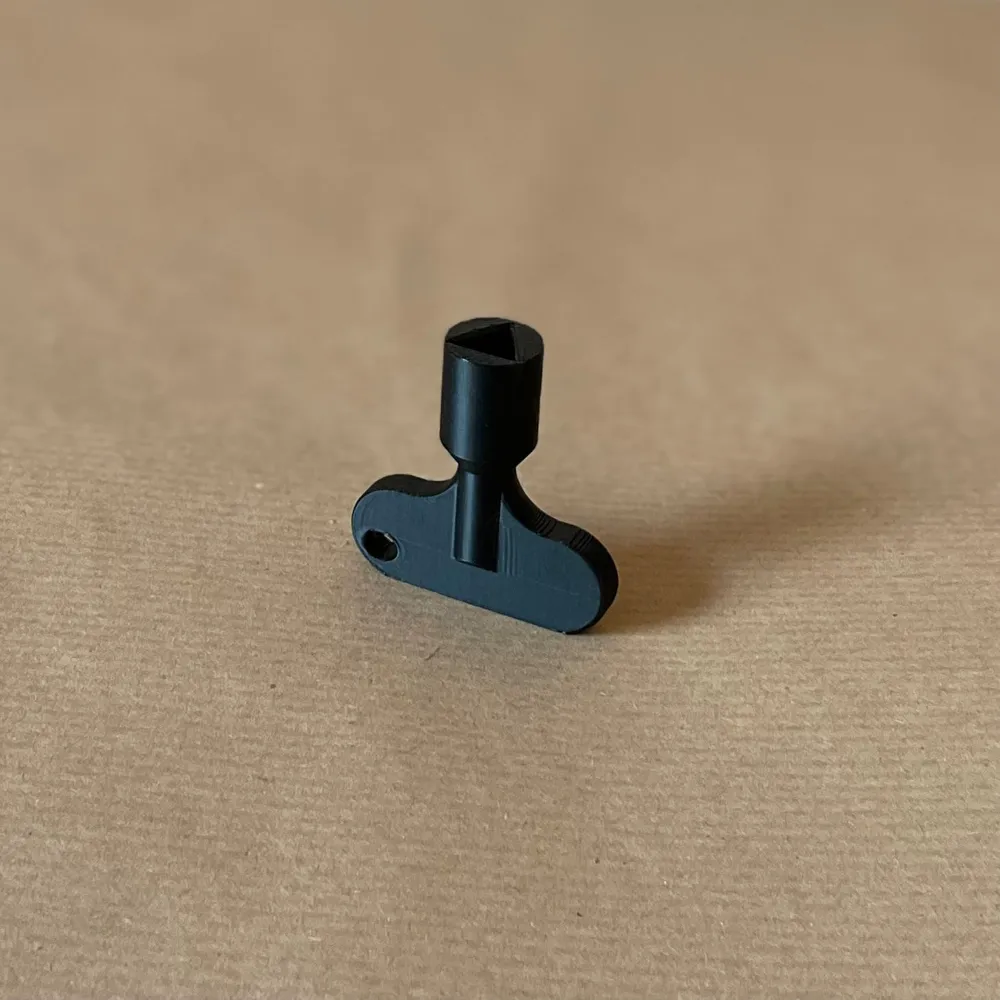
But back zu this robust triangular key, it was specifically designed for use with industrial patent fasteners, waste containers, doors or utility hatches. The design is trimmed for maximum mechanical durability with minimal material consumption.
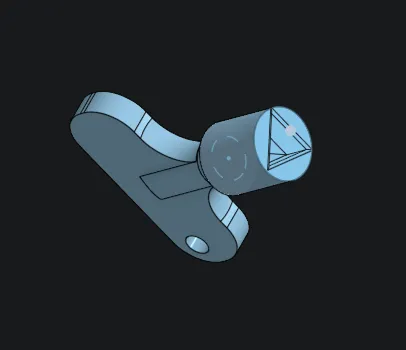
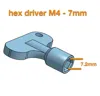
- Designed for 8mm and 9mm triangular bolts. The internal socket is dimensioned with a tolerance to guarantee smooth attachment and removal.
- A subtle chamfer at the opening serves as a lead-in for smooth handling and easy insertion.
- Engineered for mechanical stability and to withstand torque during use.
- Features a keyring hole in the handle for easy attachment to your keychain.
- Lightweight: Weighs only approx. 6.1 g
Recommended Print Settings (Tested on Bambu Lab P2S):
- Material: PETG or PETG HF (for toughness and stability).
- Wall Loops: min. 4–6.
- Infill: 40-50% Gyroid.
- Support: Minimal support can be used, but it also works without.
- Brim: Usually not necessary, as the contact surface is flat. But if your key is falling over, you should activate it.
Notes:
Let the build plate cool down completely to below 40°C before removing the key. PETG adheres very strongly, and removing it too early could deform the handle or damage the build plate.
If you have any requests, dimension adjustments, or tips for further versions, I look forward to your comments or a picture of your make!
Boost Me (for free)
Thanks!
Josie :)
License

You shall not share, sub-license, sell, rent, host, transfer, or distribute in any way the digital or 3D printed versions of this object, nor any other derivative work of this object in its digital or physical format (including - but not limited to - remixes of this object, and hosting on other digital platforms). The objects may not be used without permission in any way whatsoever in which you charge money, or collect fees.


Comment & Rating (18)