
Nerf Dart-Rival Ball Vacuum Attachment Dyson
Print Profile(1)

Bill of Materials
- Tub with screw lid for collection x 1:
Description

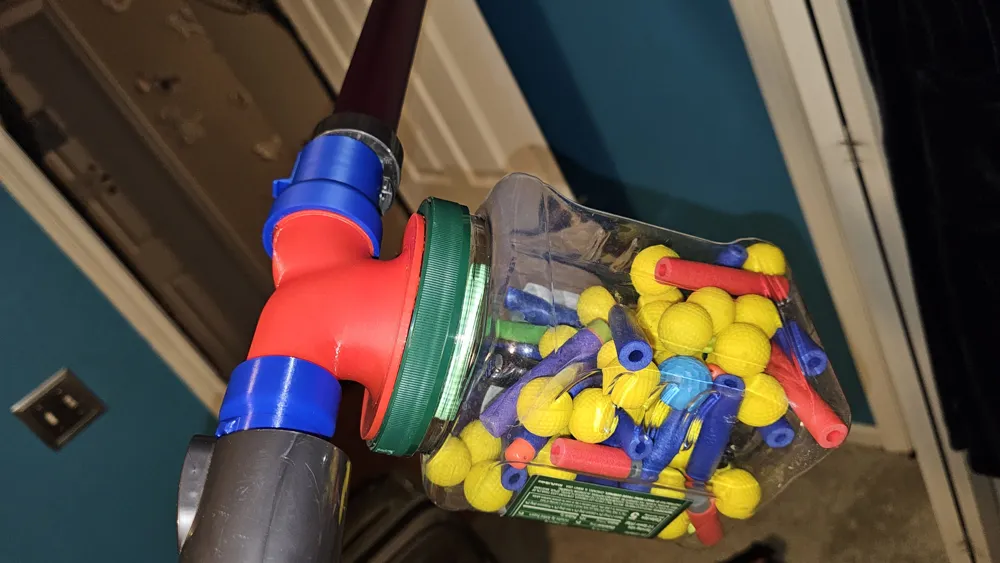
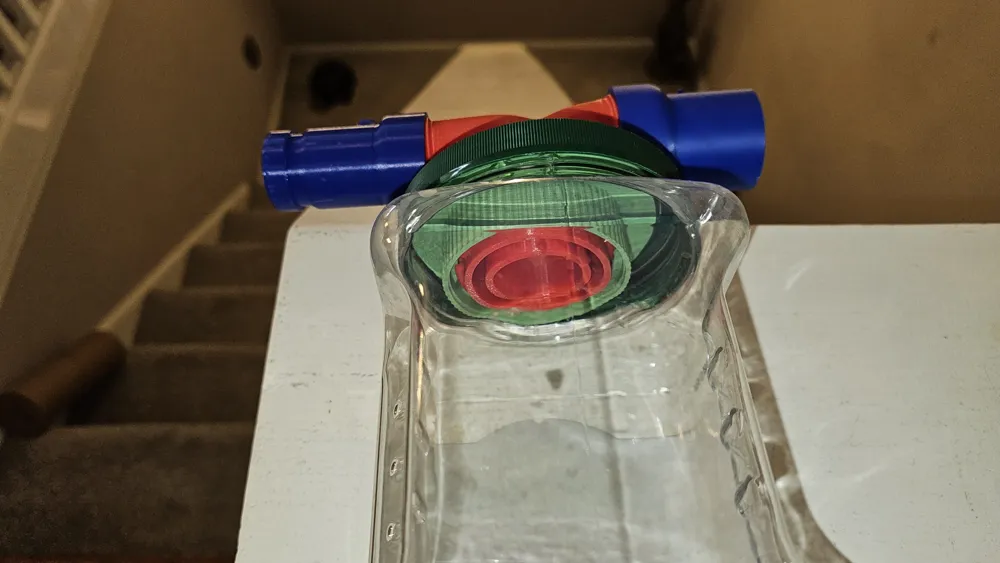
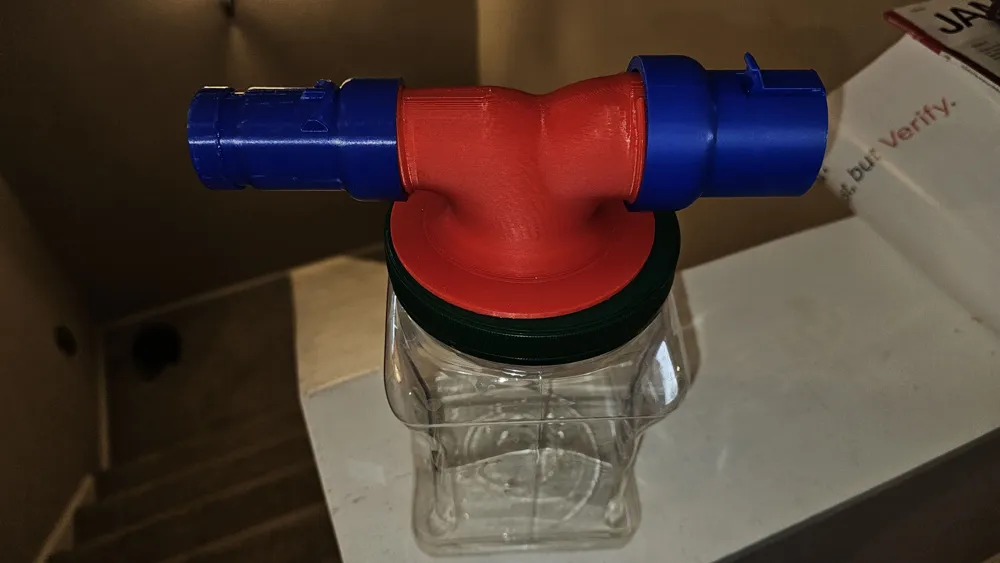
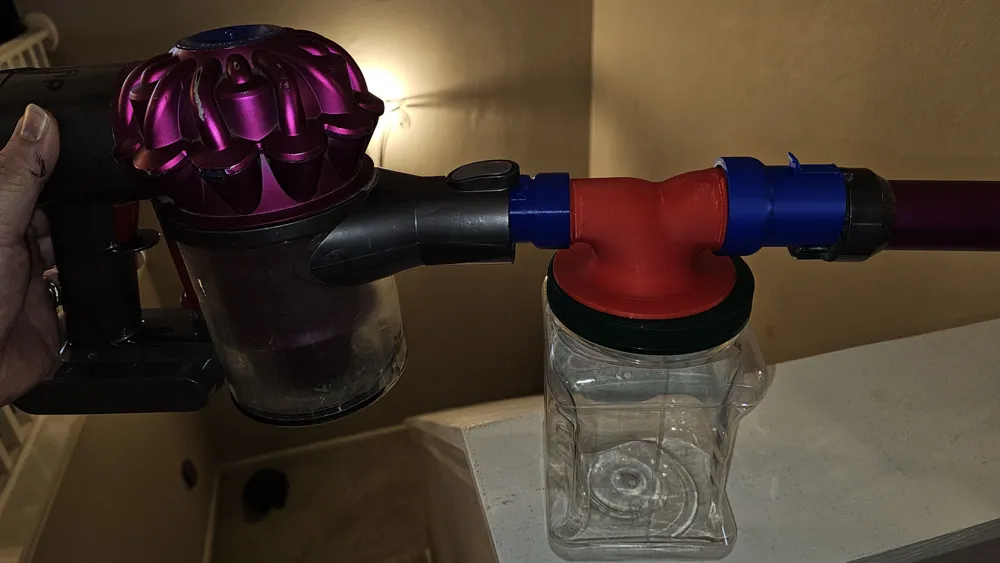

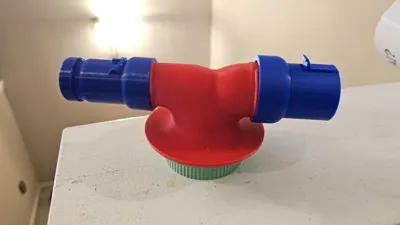
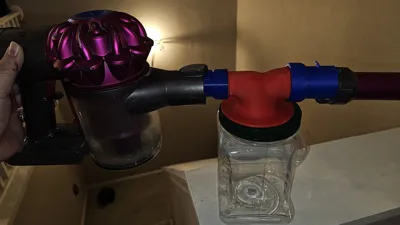
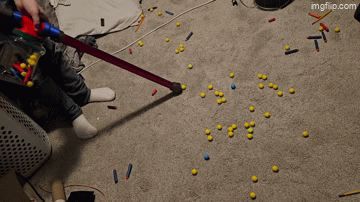
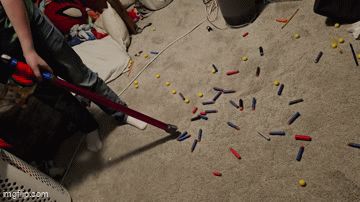
Bend over No More! My son was recently introduced to Rival Nerf guns by his FANTASTIC Uncle, and we now have balls all over the house. The single ball pickup was taking to long, and started to hinder the time they had to play with the guns in the house. So I came up with this ball/dart separator for my Dyson v6 stick vac.
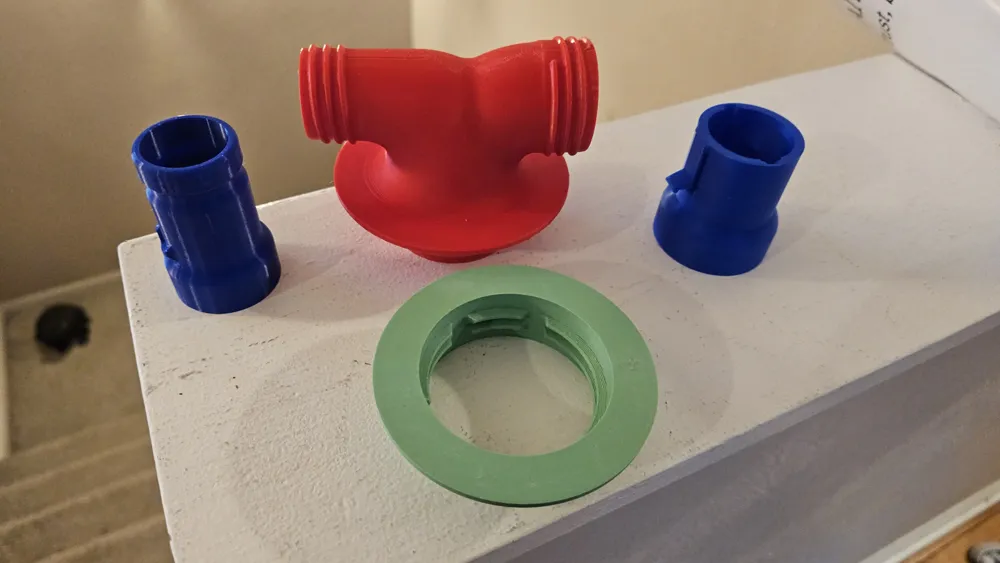
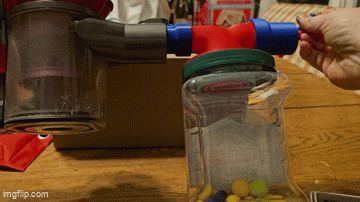
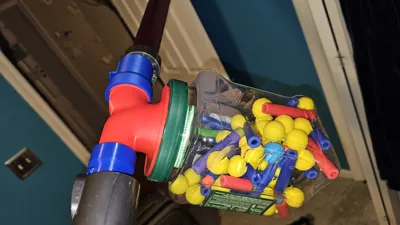
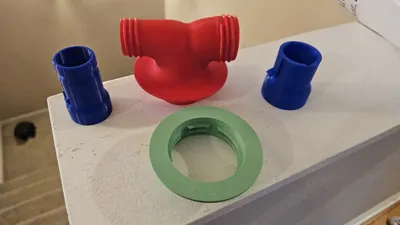
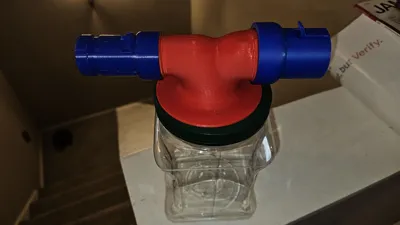
You will need to print the 4 main parts, the main body, retention ring, and the tool and vac side adapters, and you have to supply any contain you would like that has a screw lid and will fit the retention ring. I have used a plastic pickle jar, a dog treat tub, and for giggles we used a giant cheeze puff barrel.
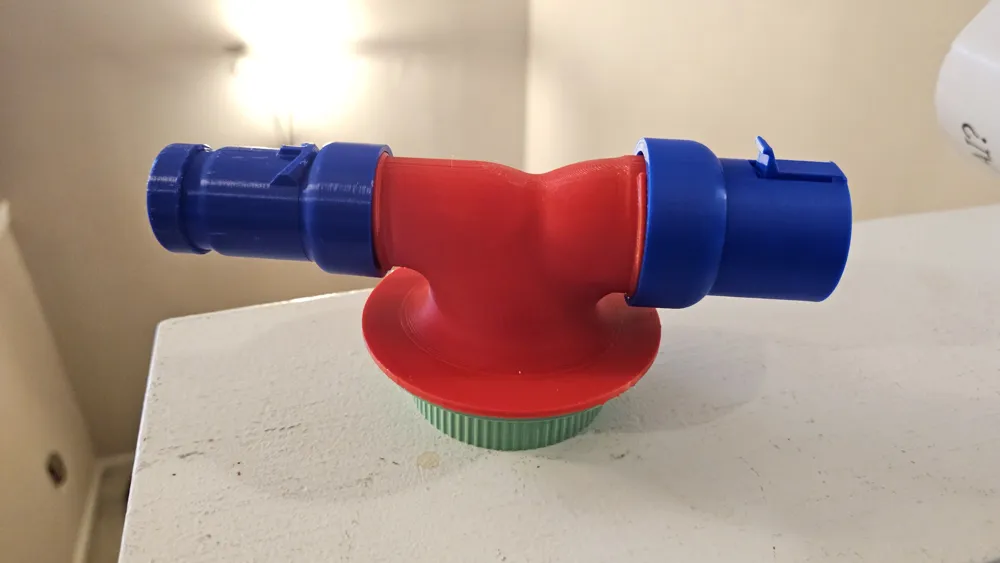
I designed the air flow path to minimize the size tub you need. I found a lid that was at least 3inches. I orginally had the adapters attached to the main body, but after a few versions where I had to reprint the whole thing when the clips broke, I figured I would make it modular and separated the two ends from the main body
To assemble this, you just print out the Main Body, the retention ring, and the two different vacuum adapters, one Vac side (male) and one tool side (female). screw them to the main body.
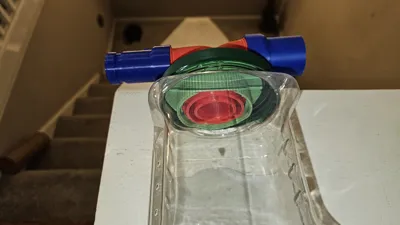
Take the retention ring and trace the inside on the lid of your tub.
Cut out the hole, wittleing it wider untill the main body threads fit in the hole
Screw the retaining ring to the main body pinching the lid between the ring and the main body.
Attach the tub to the lid, and the assembly to the vacuum and start cleaning.
As long as you dont try to suck up too many too fast I found it was clog free. But sometimes the balls would get stuck side by side in the downturn in the body.
I have also included my threaded tips with the v6 parts cut off. That way you can attach you favorite vacuum parts to those and have it work with what ever vacuum you have. If you look you will see there are notches on them that indicate the top position. So as long as you line up the top of your adpter(if they have an orientation) the whole stack will line up right when you assemble it.
I borrowed Dyson v7+ attachments
https://makerworld.com/en/models/576032-dyson-round-adapter?from=search#profileId-496581
https://makerworld.com/en/models/1459879-dyson-v6-to-new-adapter?from=search#profileId-1522125
A huge shout out to users Rudi R. and disguy2k for posting their models under the creative commons license instead of the restrictive default license.
License



Comment & Rating (9)