
EXA Mech Suit


Print Profile(3)

![[EXA extra arms x2] 0.2mm layer, 2 walls, 15% infill](https://makerworld.bblmw.com/makerworld/model/USbe2e145787065c/556338499/instance/2026-01-09_0d7267fc9a66c.jpeg?x-oss-process=image%2Fresize%2Cw_100%2Fformat%2Cwebp)
![[Tightened Ball Joints x4] 0.2mm layer, 2 walls, 15% infill](https://makerworld.bblmw.com/makerworld/model/USbe2e145787065c/569149337/instance/2026-01-17_f843bb3e242a1.jpg?x-oss-process=image%2Fresize%2Cw_100%2Fformat%2Cwebp)
Description
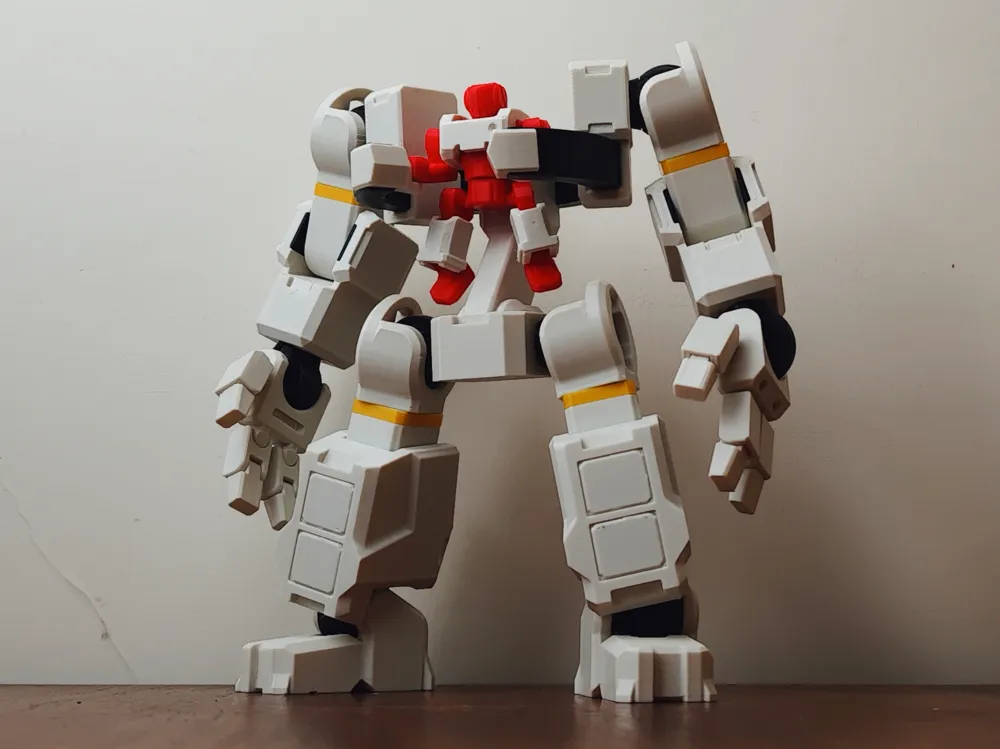
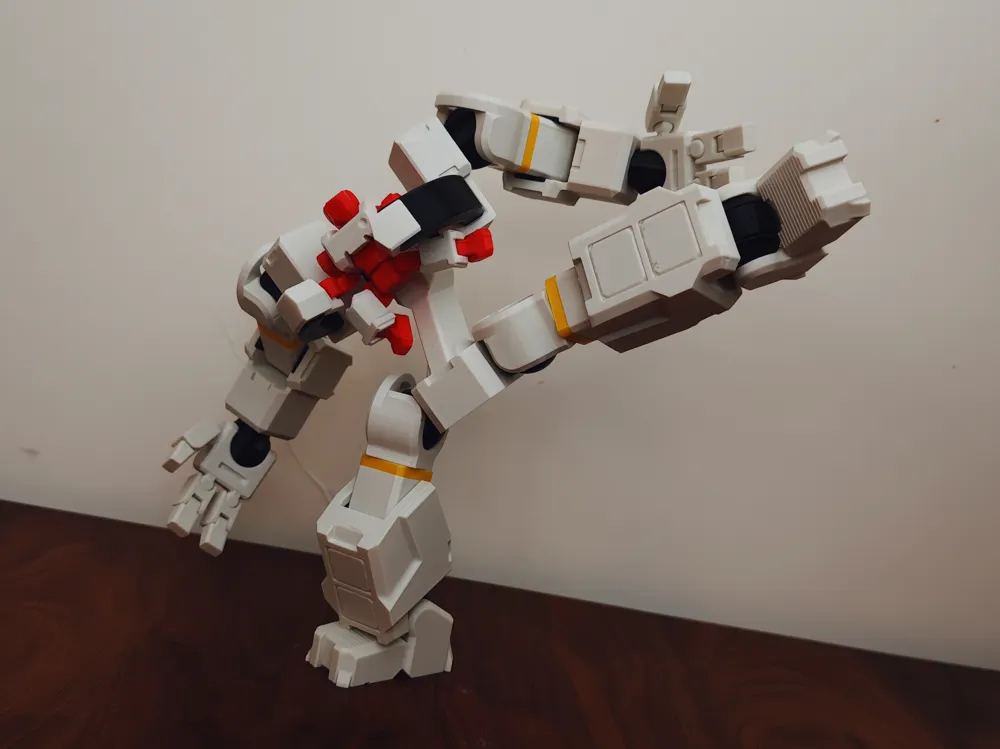
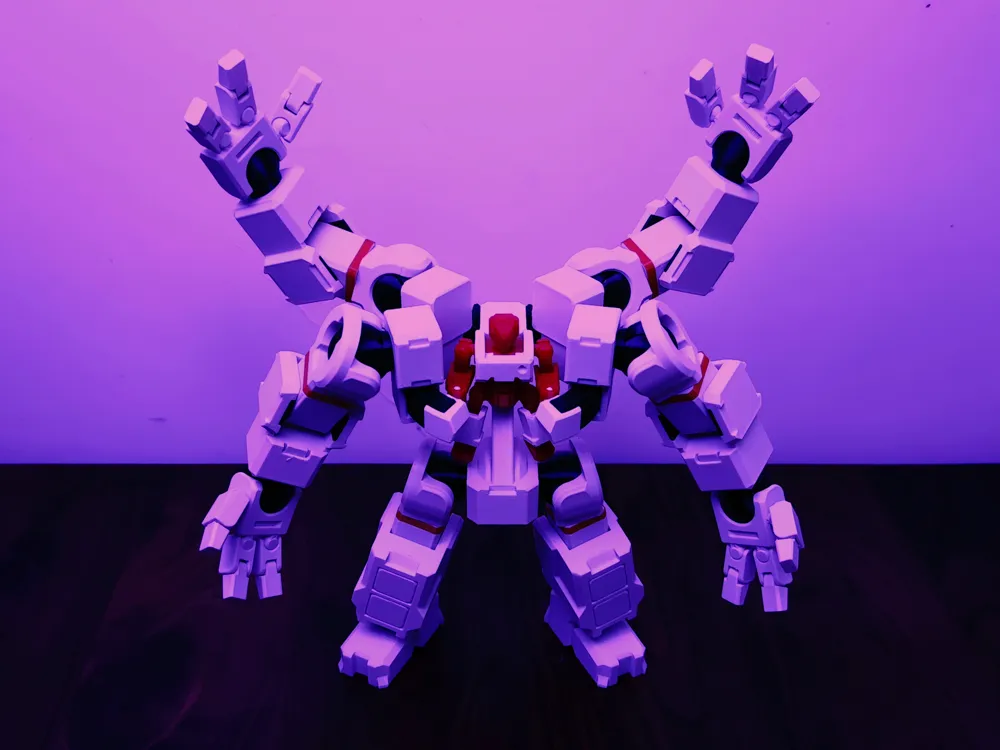
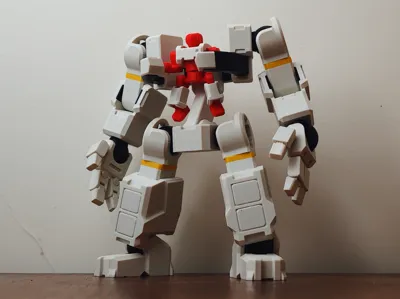
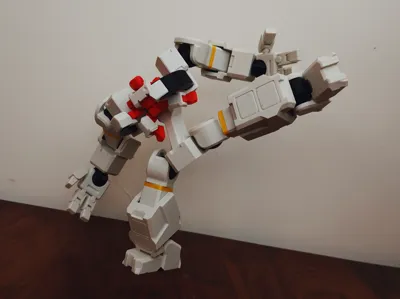
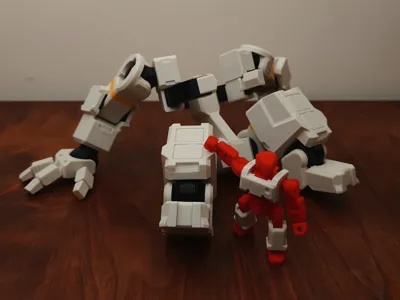
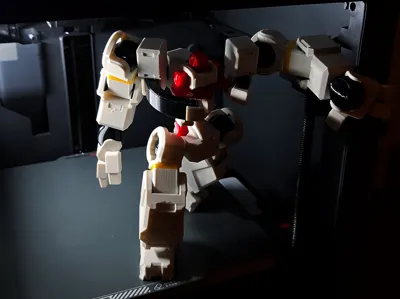
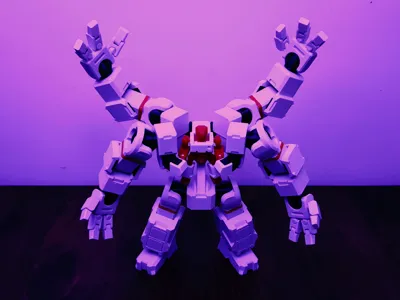
Introducing EXA, a mech suit for your mech!
Boost Me (for free)
This is my first model! If you like my work please consider giving me a boost!
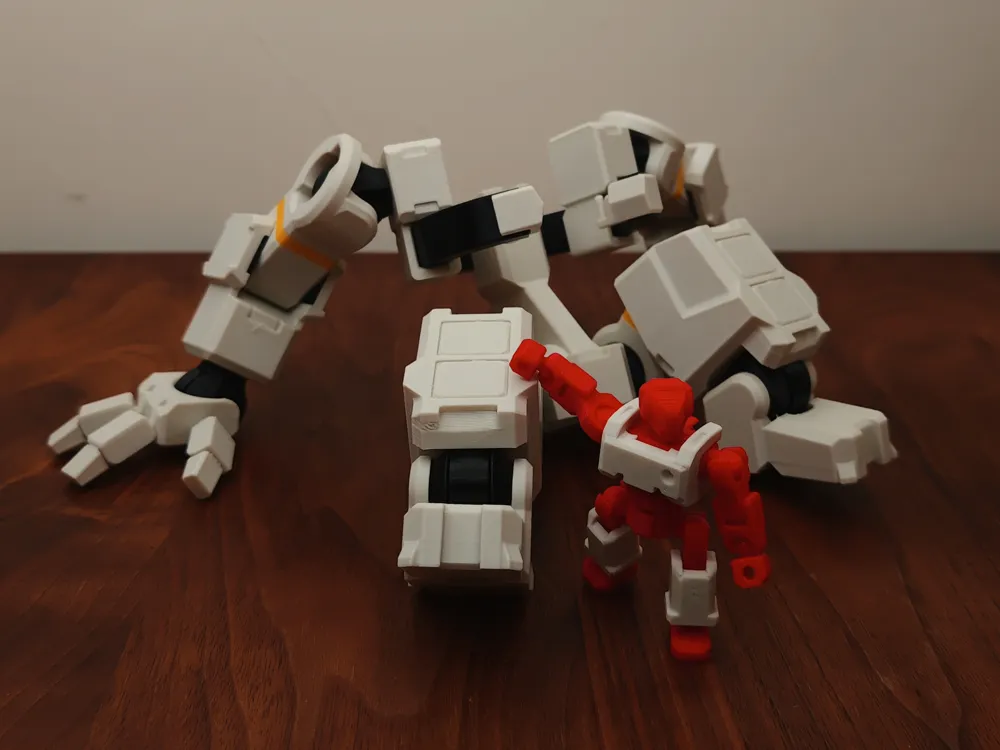
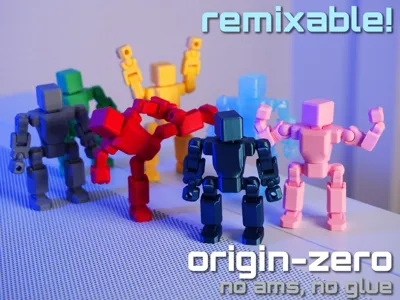
Based on the Origin-Zero Mecha by Kit Crafters. A highly posable mech suit designed to interface with with the connector on the back of the Origin-Zero. The EXA can also be equiped with 4 arms instead of 2, for those wanting even more power.
The pilot figure is directly remixed from the Origin-Zero, and is made to fit with the EXA and grab onto its handle bars. But you can also swap it out with other remixes based on the Origin-Zero, as long as the connector on the back remains unchanged. Alternate parts without handle bars are provided.
Features:
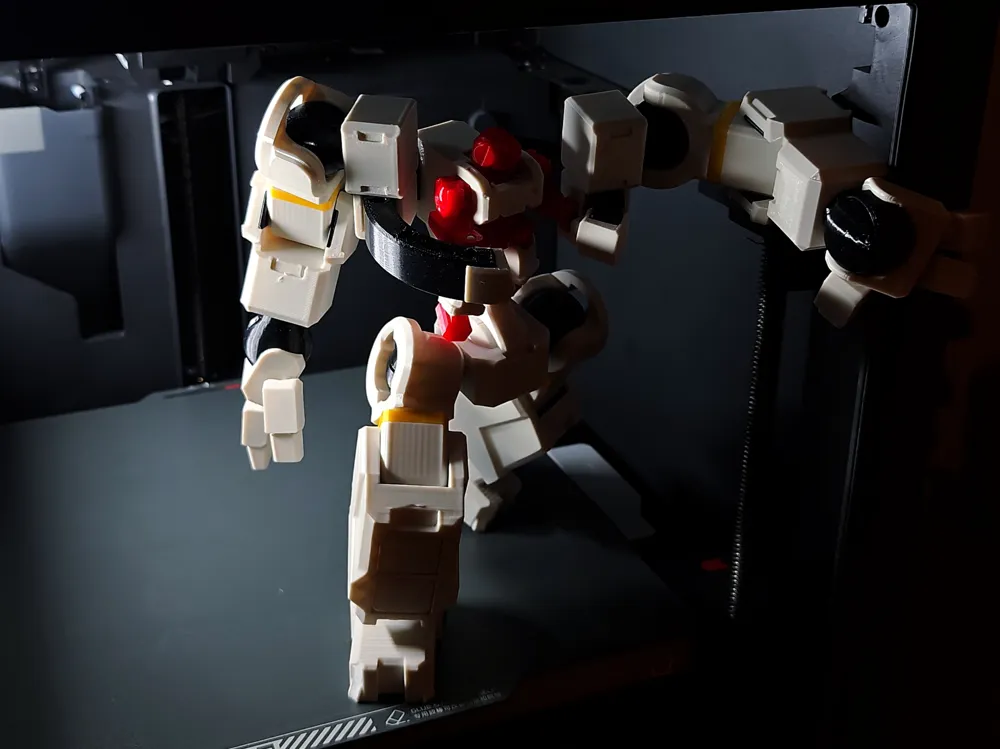
- Support-free printing
- No glue required
- Exclusively snap-fit joints
- Easy to assemble and disassemble
- Multipart Pop-proof joints
- Alternate configurations (e.g. 4 arms)
- Fortified joints on the pilot
- Compatible with other remixes of the Origin-Zero Mecha
Instructions:
PETG / ABS is recommended for joint durability
Ball Joints
- If the ball joints turn out loose, try printing the tightened verison STL / profile.

Upper Limb x4
- The outer part of the ball joint (shown in yellow) should be fairly easy to insert once you get the angle right, don't force it
- The ring in the middle is purely decorative and can be printed in any material, including PLA
Hands and Feet x2
- Note that the thumb has a different design than the other 2 fingers
- The joints are compatible with Origin-Zero Mecha
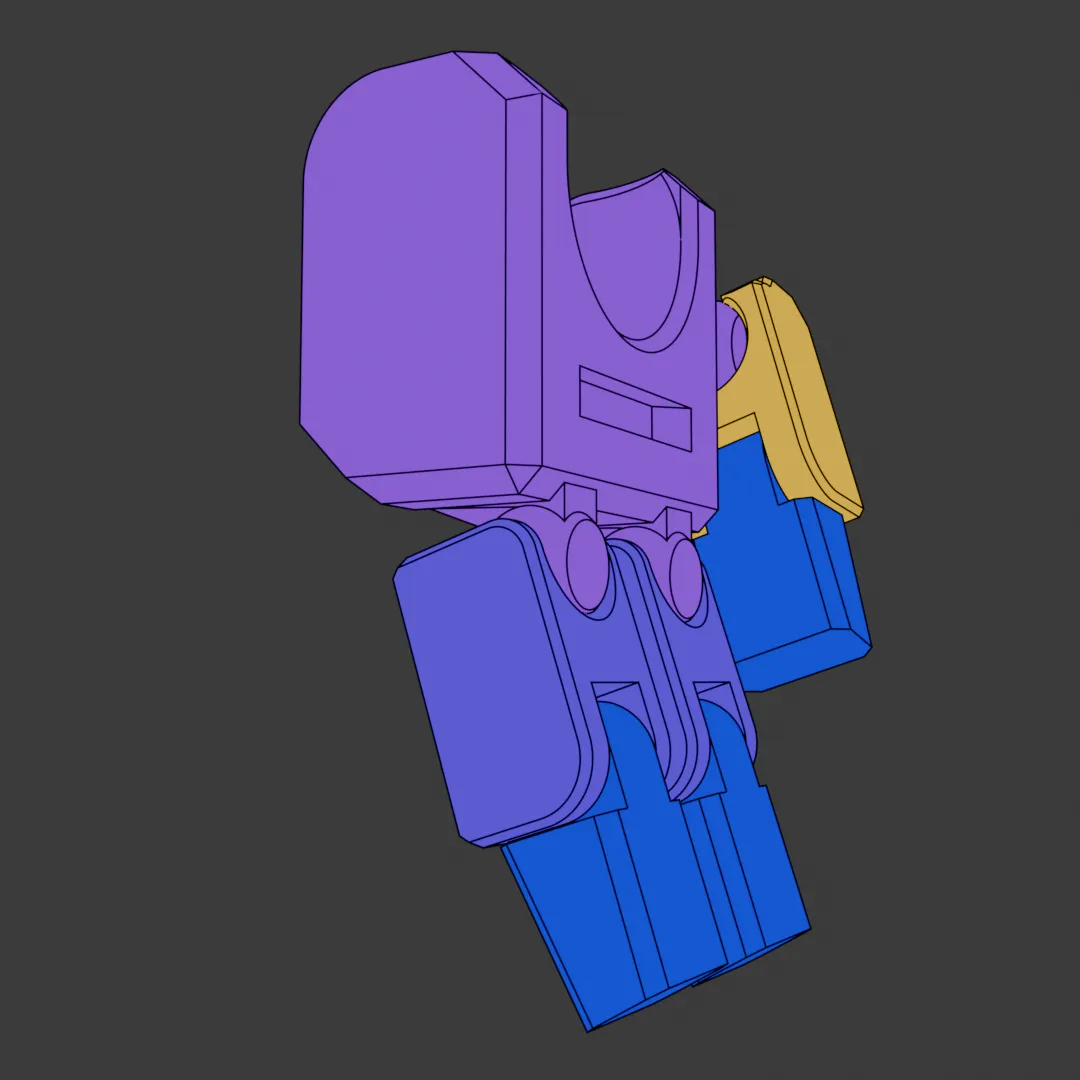
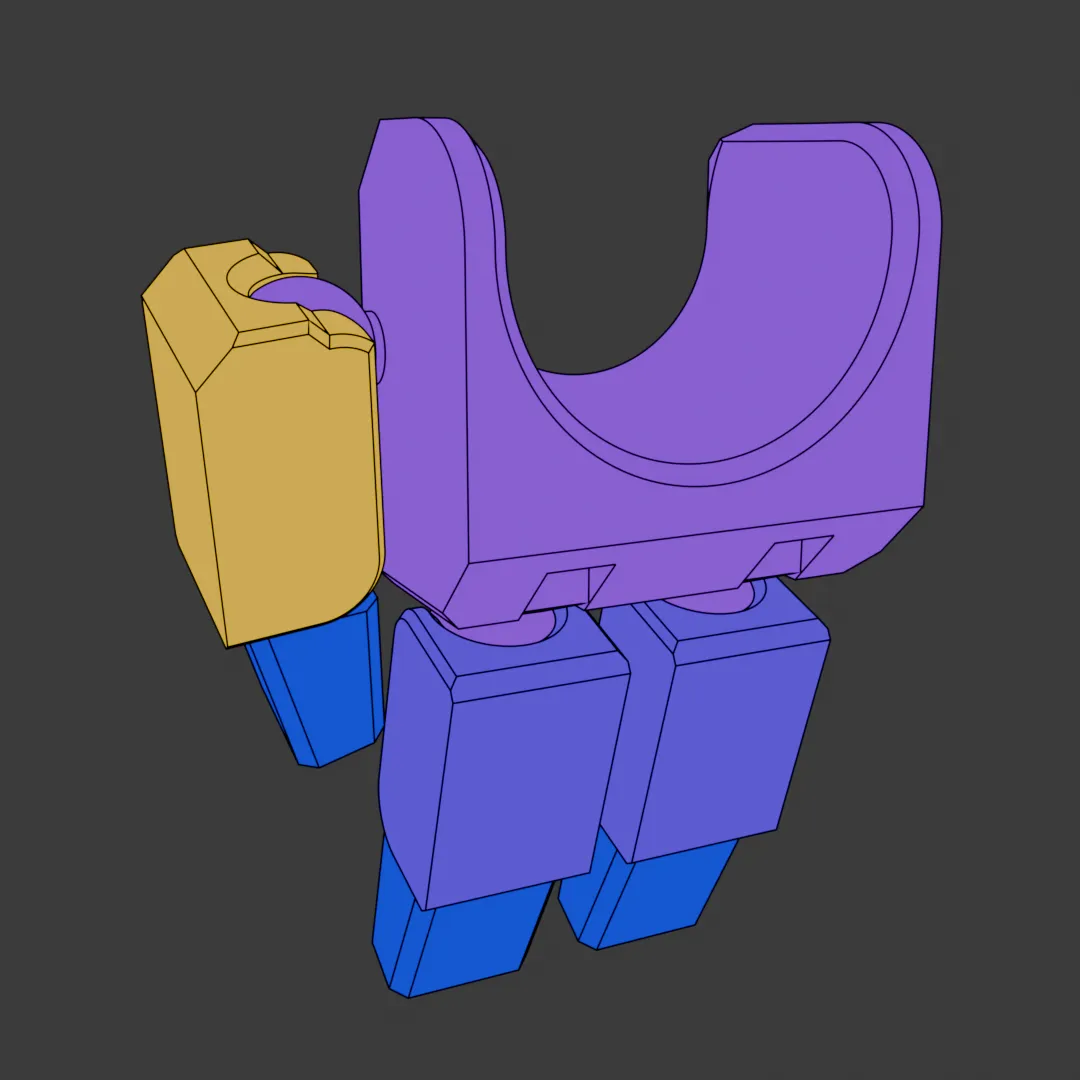

Arms and Legs x2

- Pay attention to the orientation of the knee joint (shown in green), the letters should be upright
Final Assembly
- You can choose to install 4 arms instead of 2
- Pay attention to the orientation of the ball joints during assembly, they should lock in with a ‘click’
- The handle bar parts (shown in red) prevent the arms from sliding off, alternate parts without handle bars are provided

Pilot
- The head and pelvis should first be attached at a 90 degree angle, before rotating into their normal orientations

This remix is based on

License

You may create derivative works based on this object, provided that all such derivative works are published exclusively on the MakerWorld platform and include proper attribution to the original creator. You may not share, upload, host, distribute, or publish this object—or any derivative work of this object—on any other digital platform, marketplace, or distribution channel. Commercial use of this object and any derivative works is strictly prohibited. This includes, but is not limited to, selling, renting, sublicensing, or using the object in any context in which you receive monetary compensation or other financial benefits.


Comment & Rating (261)