Kestrel 5700 Rotating Vane Mount


Print Profile(2)


Description
Weather vane compatible with many Kestrel series devices such as the 5700X Elit, etc. If your device has Bluetooth, you can always receive the current values for wind direction, wind speed and other weather parameters live on your HUD.
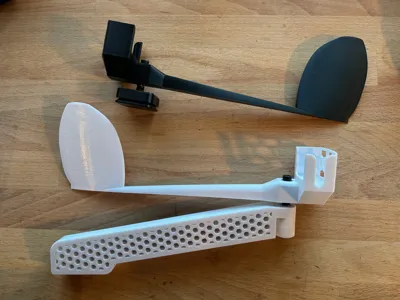
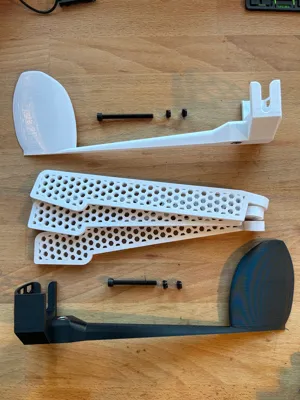
Two versions are available in my printer profile:
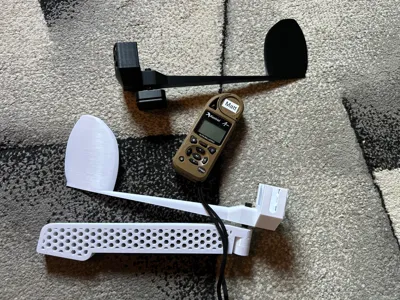
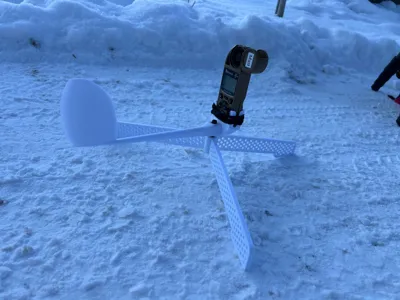
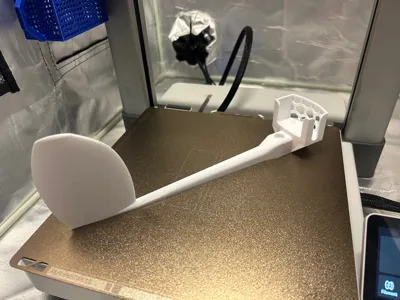
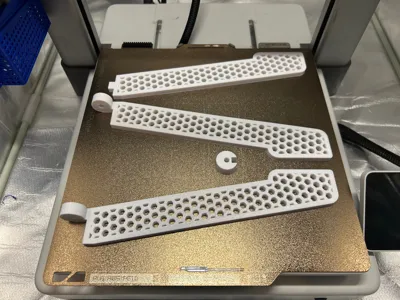
The first is the white model. It has its own tripod stand, allowing you to place the device on a table, for example.
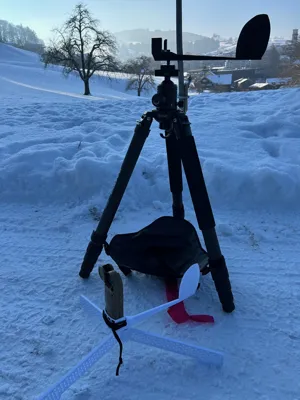
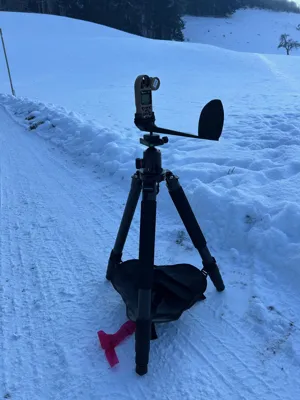
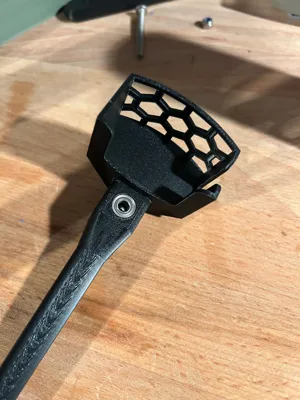
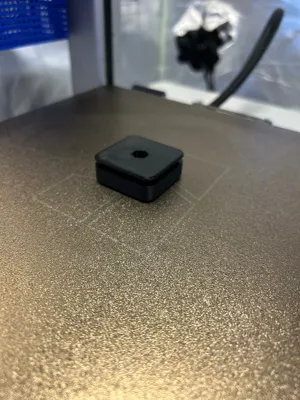
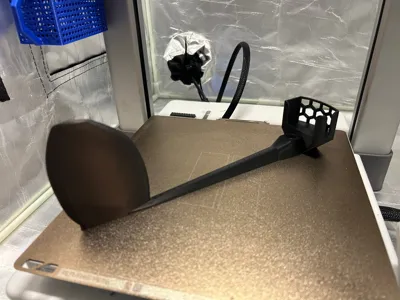
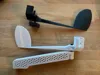
The second model is black in the photo and has a mounting base with an ARCA-Swiss connector on the bottom. This allows you to mount it on your tripod, for example. I recommend reading the assembly instructions before printing to know which parts you need for your anemometer.
Boost Me (for free)
Here's another model from me that will only appeal to a small fan base. I don't expect too many downloads. Therefore, I ask you to support me with your booster so that I can continue to upload models like this in the future.
Parts list:
2x Bearings 685ZZ (5x11x5)
M5x55 (tripod) or M5x45 (ARCA Swiss)
M5 stop nut
M5 washer
Assembly instructions for ARCA-Swiss:
- Carefully press the two bearings at the bottom and top into the weathervane, as shown in the photo.

- Attach the M5x45 bolt from above and tighten it with the M5 lock nut. Be very careful! The lock nut should only be tightened very slightly. The bolt should still turn without the slightest resistance, but should have almost no play. If the flag no longer turns completely freely, loosen the nut slightly until the play and free movement are correct.

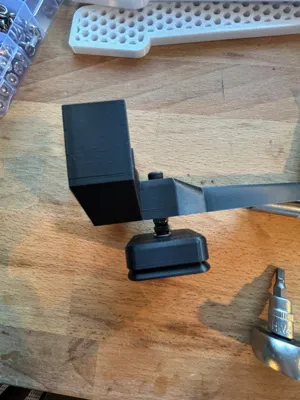
- Create a gap at the bottom using a spacer, nut, or washers so that the protruding thread is still about 15mm. See photo.

- Insert another M5 lock nut into the bottom of the ARCA-SWISS mount and tighten it securely until it looks like the photo. (Caution: Hand-tightening is sufficient to avoid damaging the mount.)

Assembly instructions for tripod:
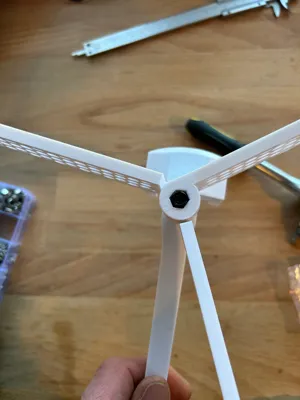
- The middle foot needs to have the "mounting eye" glued on, see photo. Make sure it's straight. I recommend roughening the surfaces to be glued slightly with sandpaper before gluing and cleaning them with isopropyl alcohol. I use 5-minute epoxy.

- Carefully press the two bearings at the bottom and top into the weathervane, as shown in the photo above (Arca-swiss).
- Attach the M5x55 bolt from above and tighten it with the M5 lock nut. Be very careful! The lock nut should only be tightened very slightly. The bolt should still turn without the slightest resistance, but should have almost no play. If the flag no longer turns completely freely, loosen the nut slightly until the play and free movement are correct.

- Now place an M5 washer on the thread before sliding the three legs onto the thread in the correct order. An M5 lock nut goes on the bottom. Tighten it just enough so that the legs can still be unfolded without force.

As always, use at your own risk. Print, use, whatever you do; I take no responsibility.
Have fun with it.
License
You shall not share, sub-license, sell, rent, host, transfer, or distribute in any way the digital or 3D printed versions of this object, nor any other derivative work of this object in its digital or physical format (including - but not limited to - remixes of this object, and hosting on other digital platforms). The objects may not be used without permission in any way whatsoever in which you charge money, or collect fees.
Comment & Rating (19)