
The Captain's Escape - Pirate Book Nook/ Diorama
Print Profile(1)

Bill of Materials


Description
🏴☠️ Transform your bookshelf into the Seven Seas!
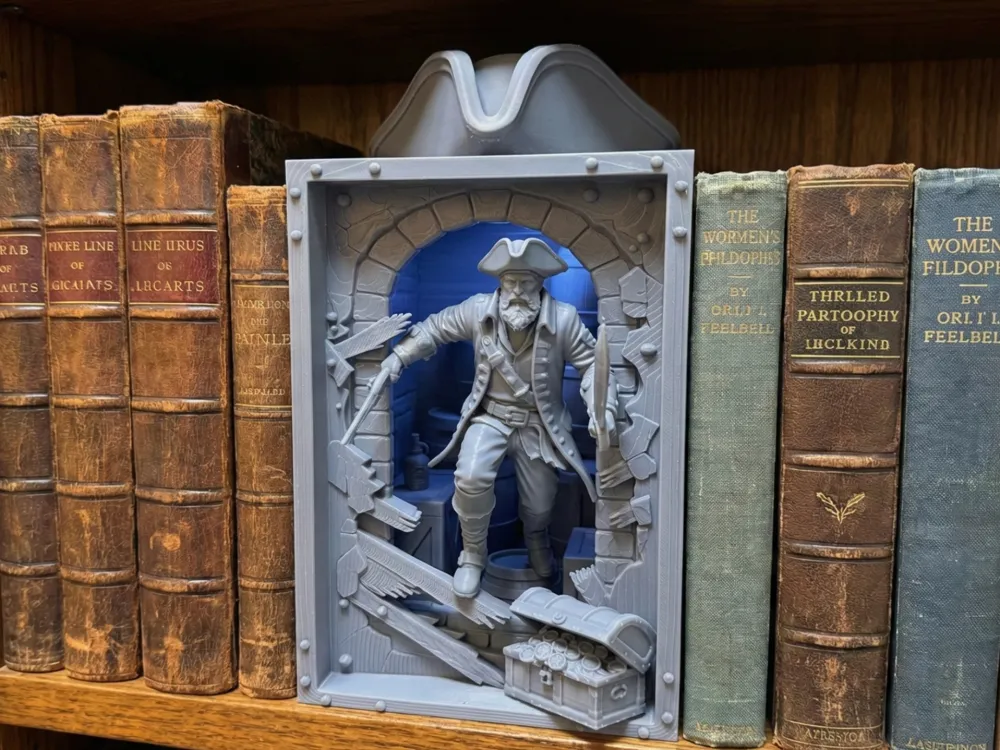
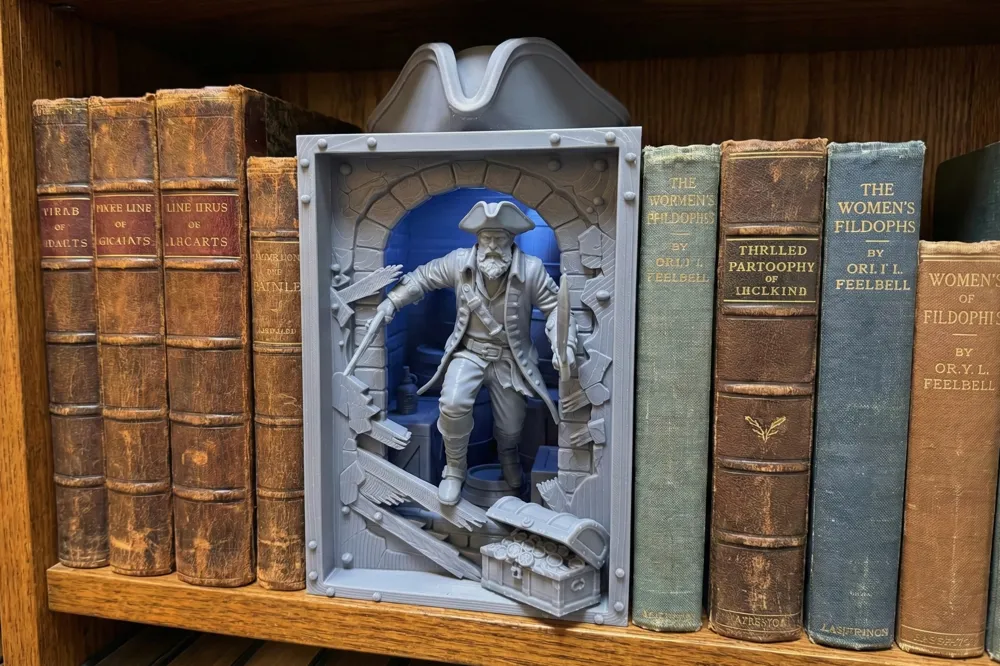
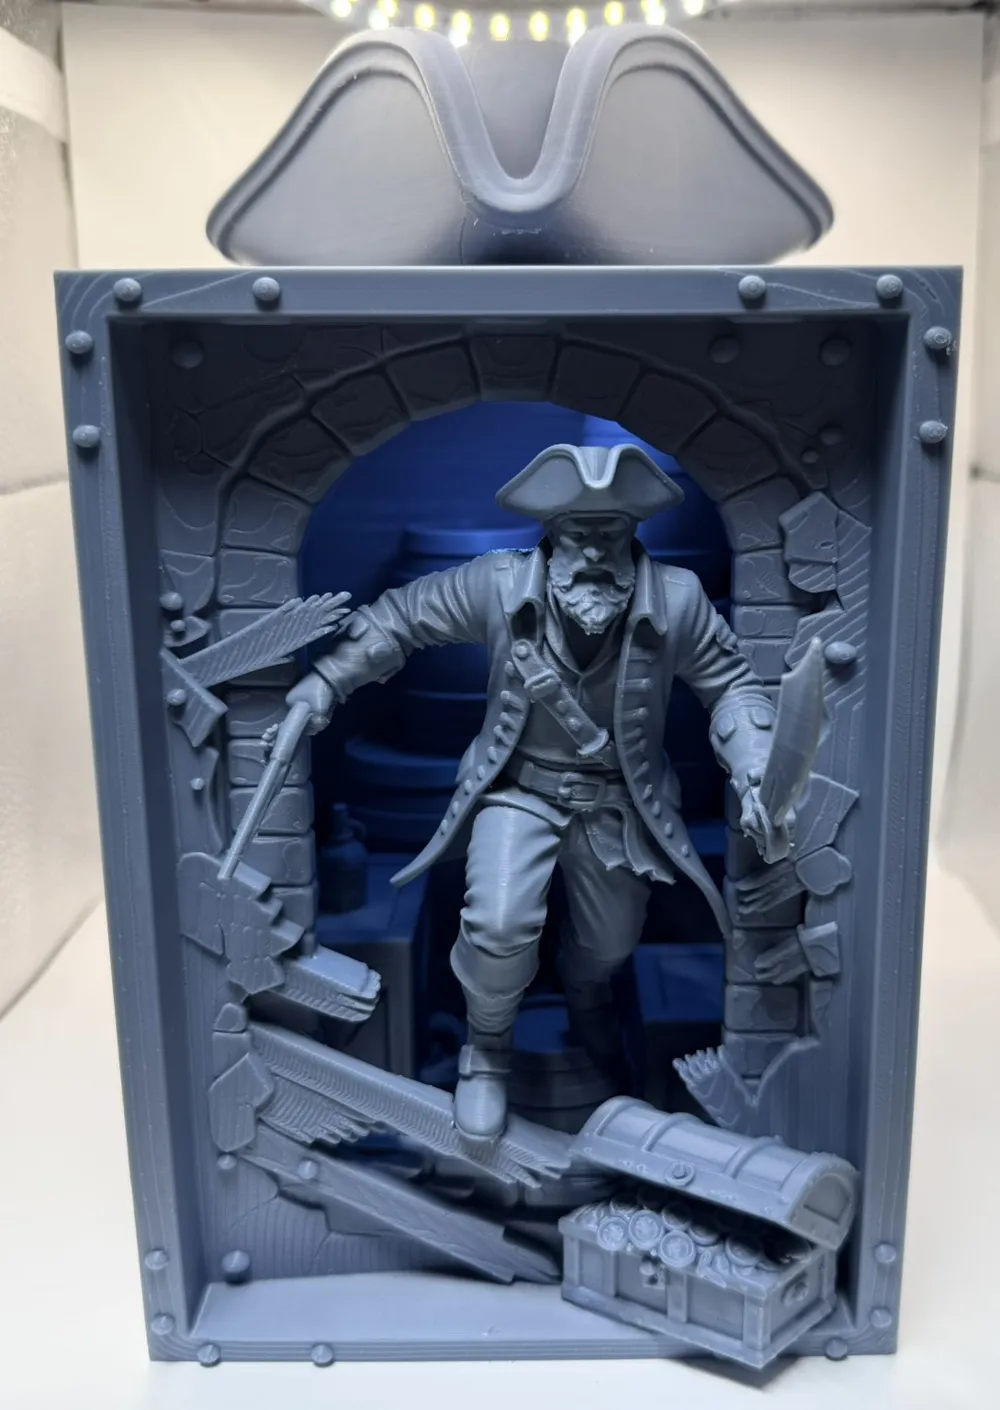
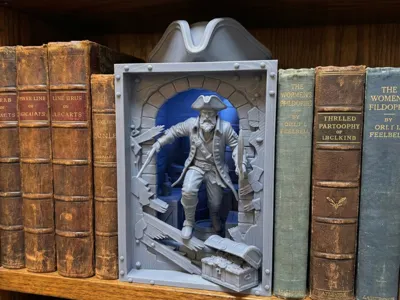
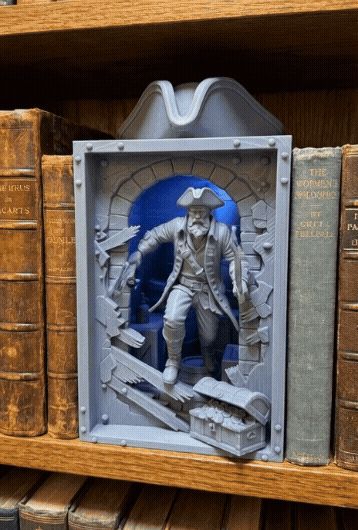
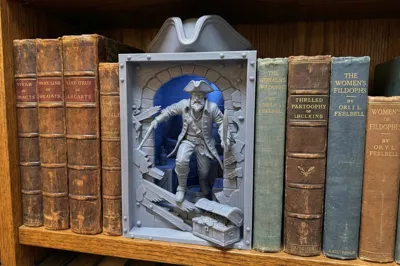
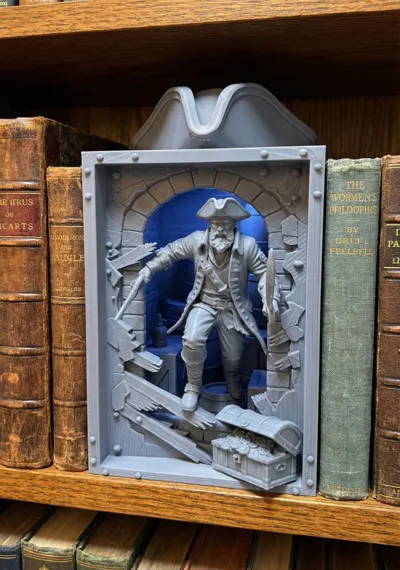
Do your adventure novels need a guardian? Bring life to that dull space between your books with this Pirate Captain Book Nook

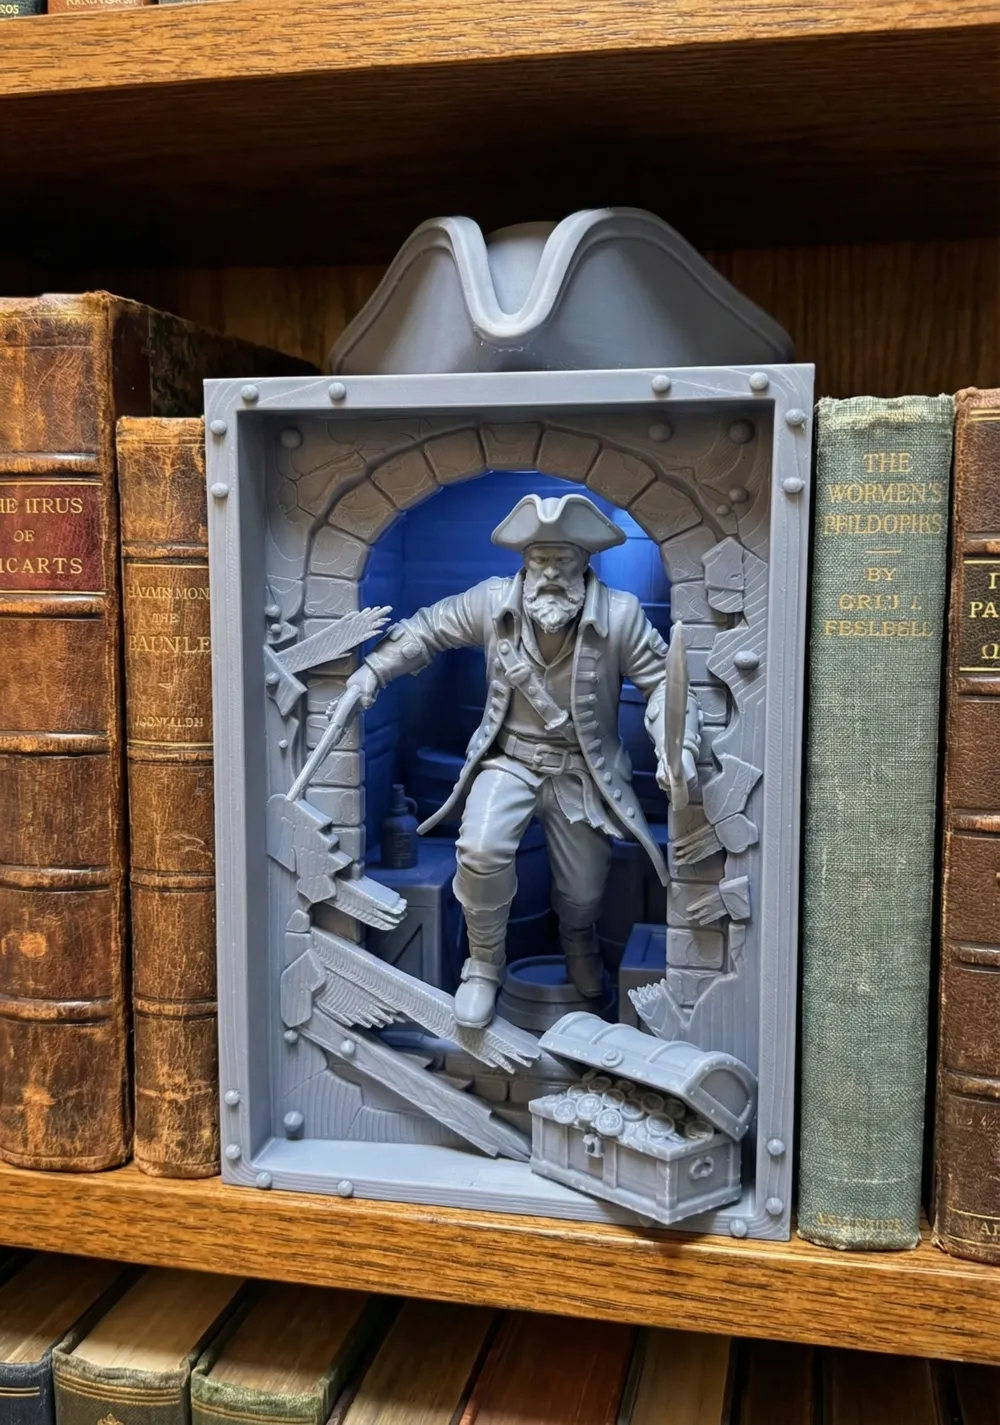
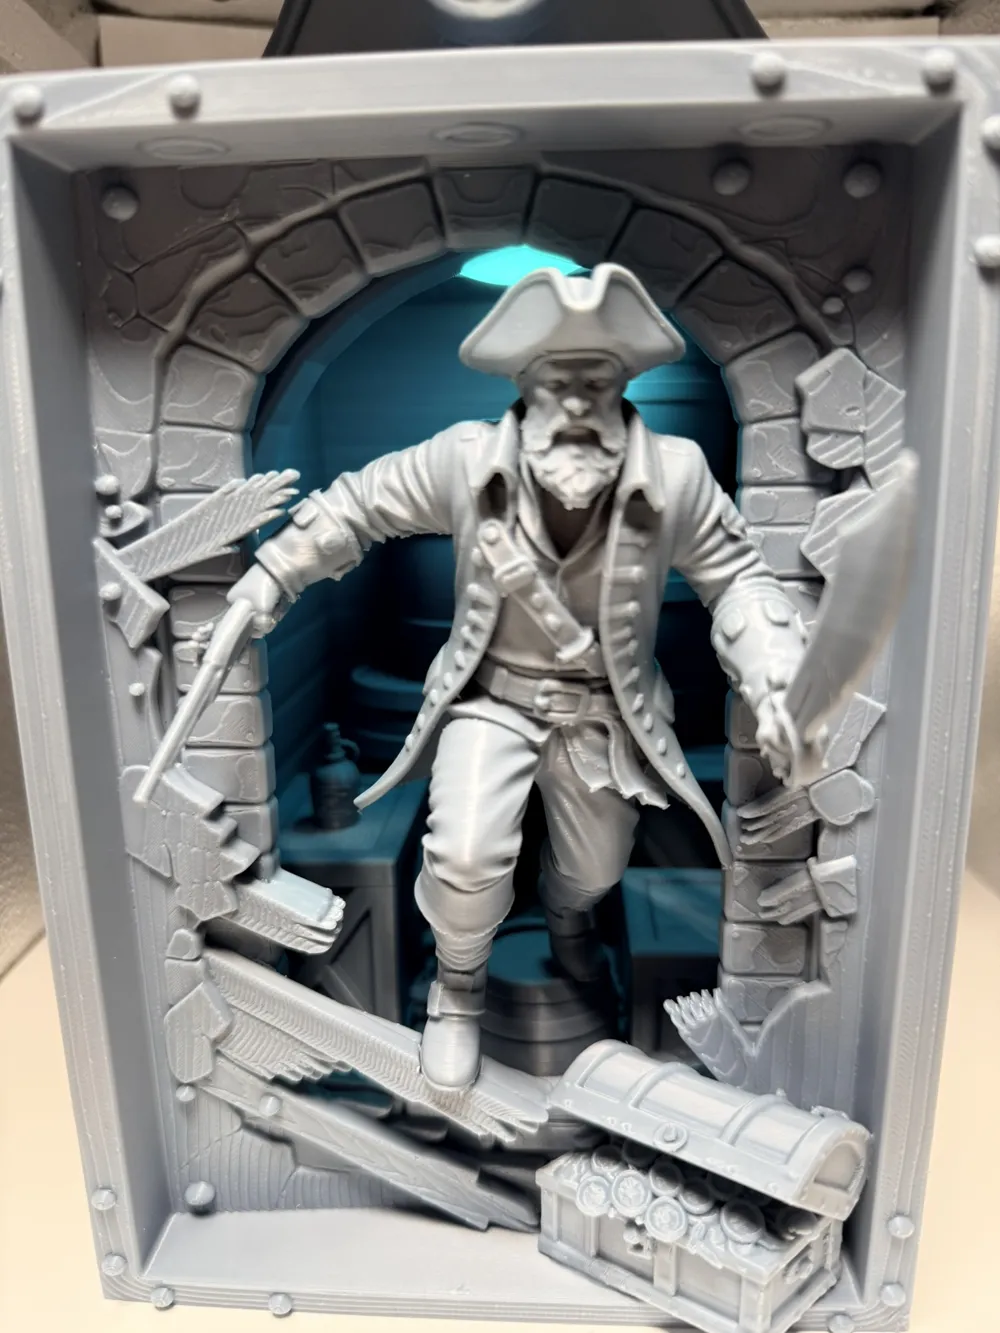
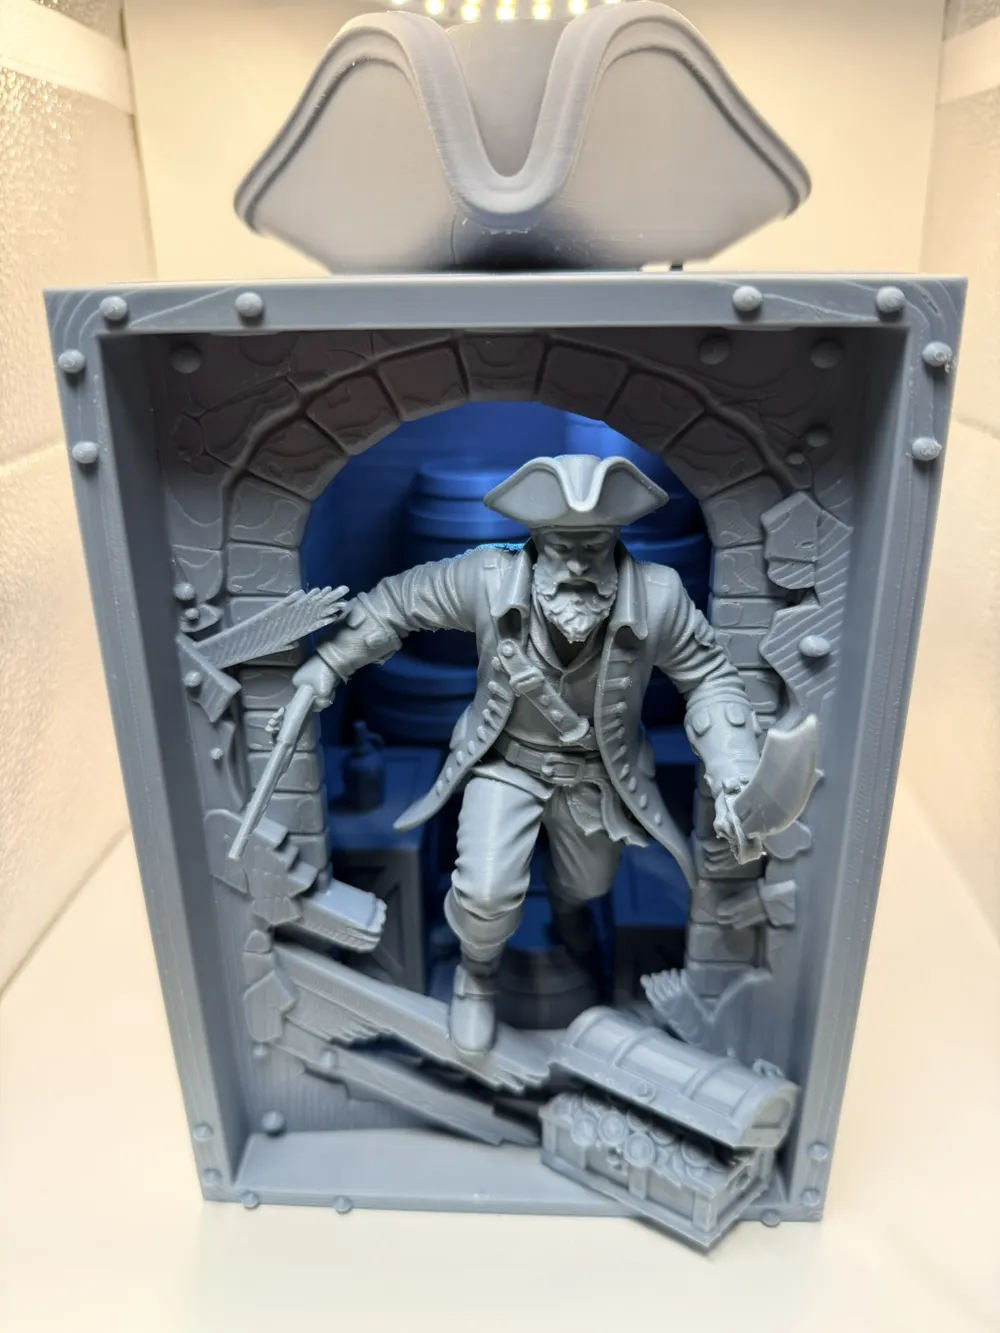
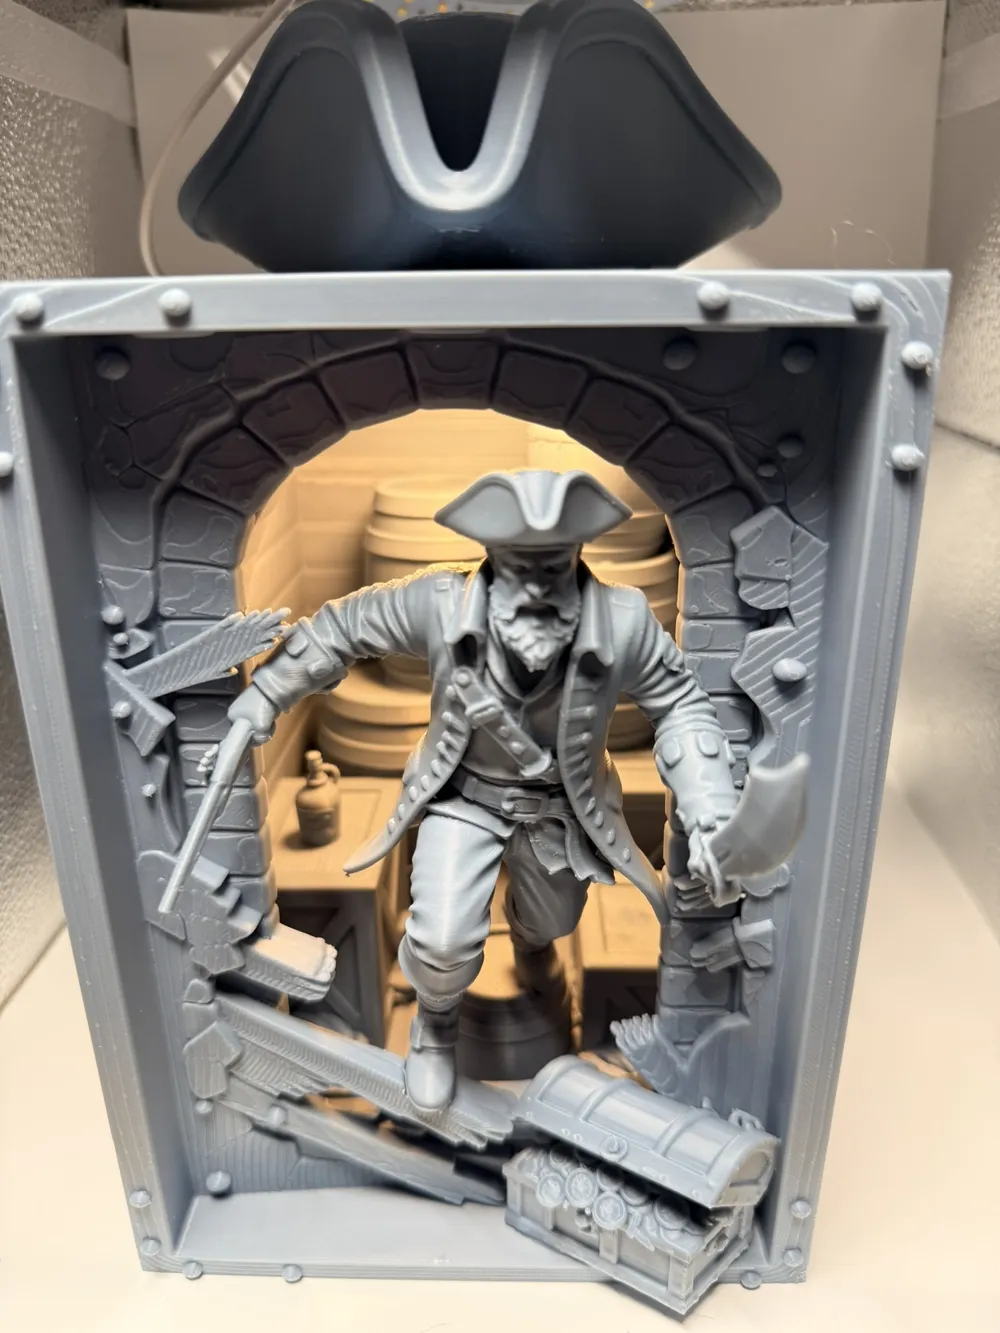
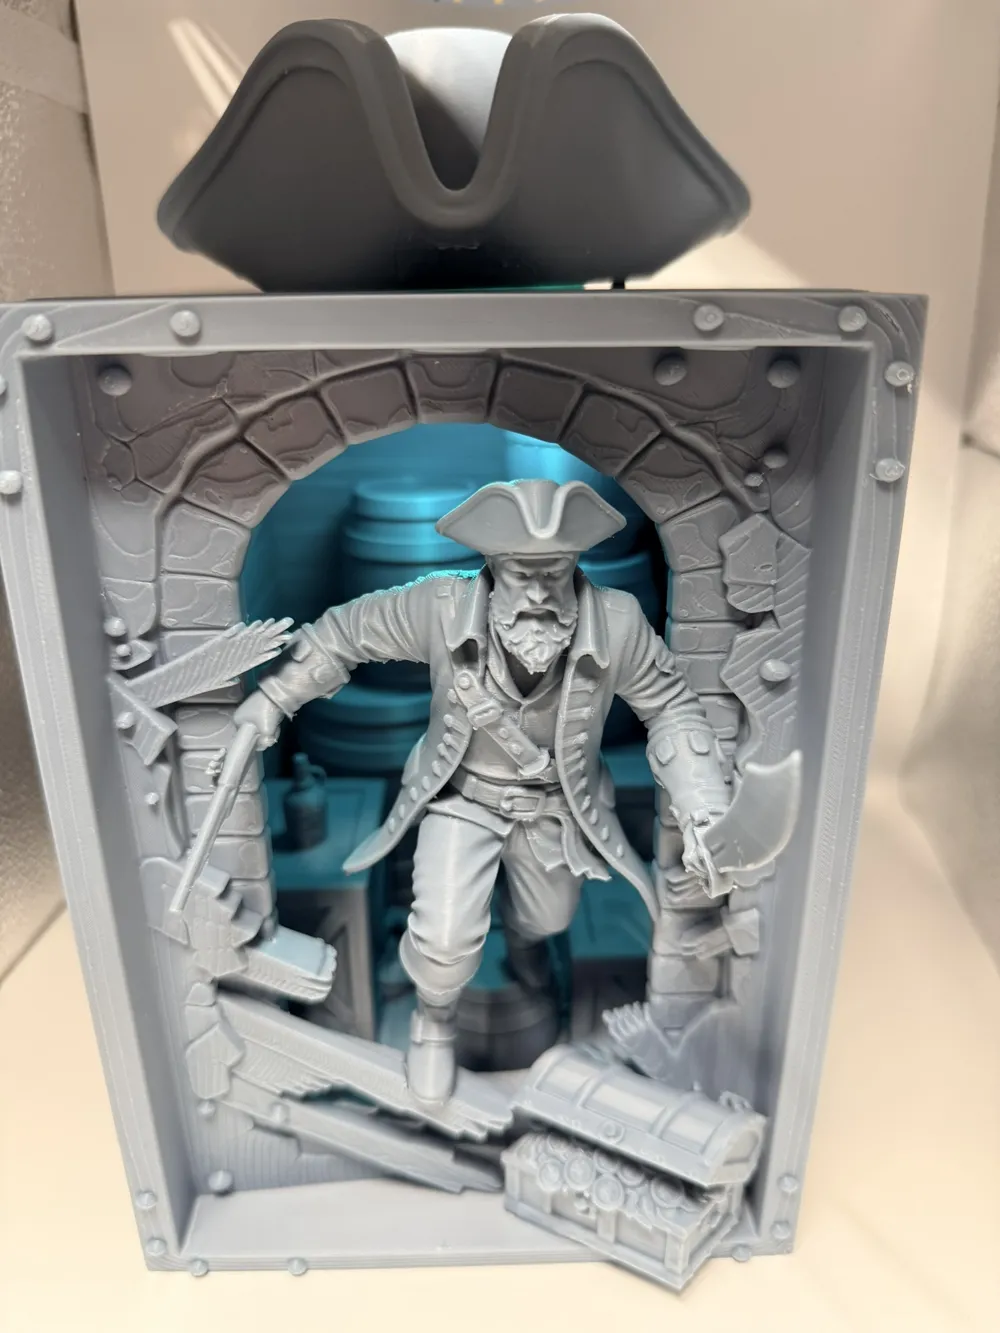
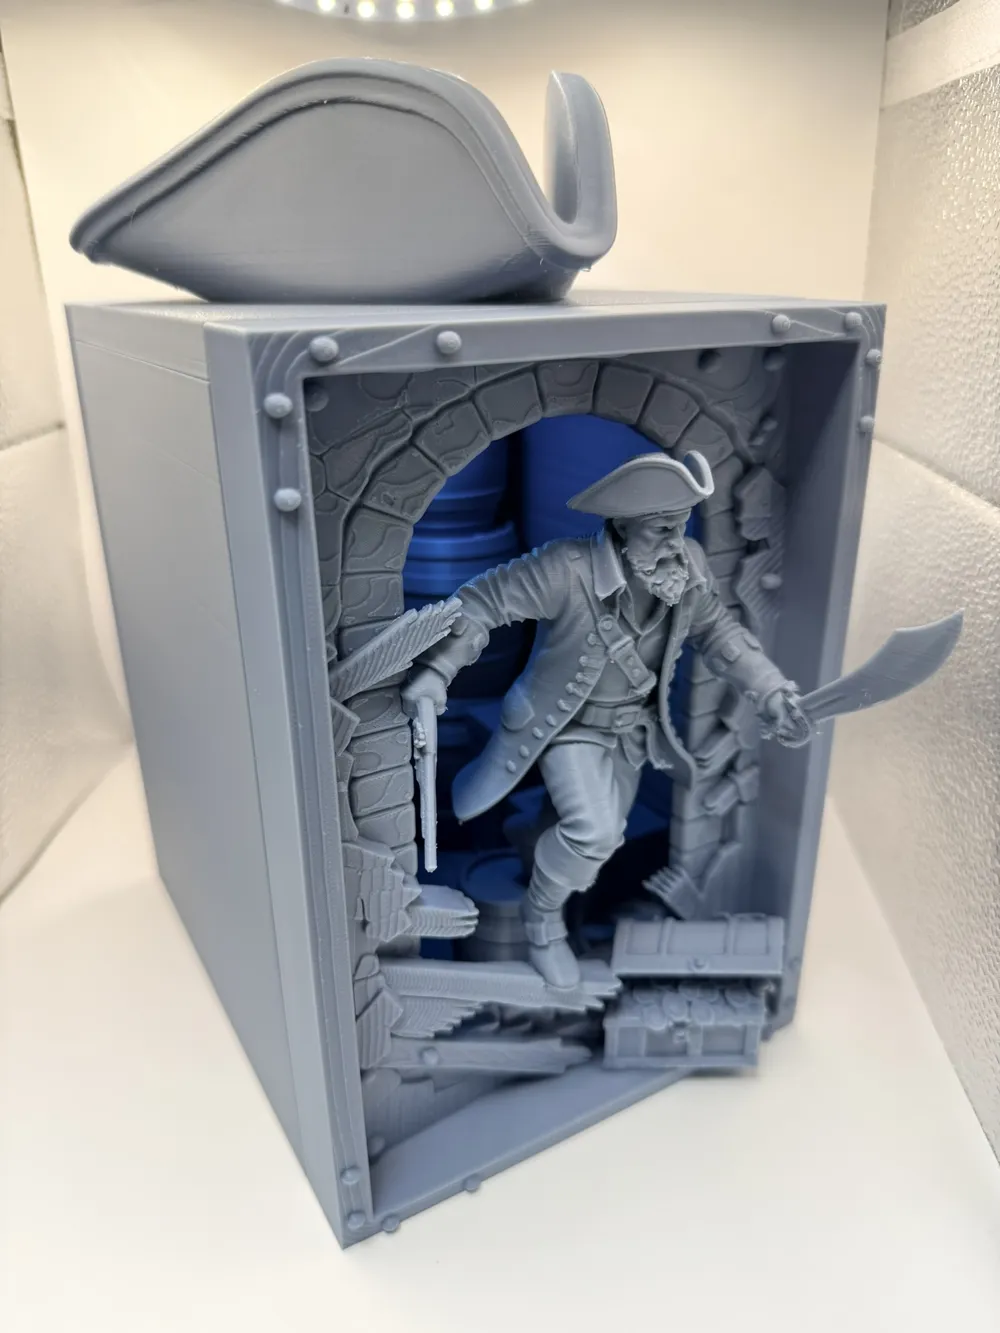
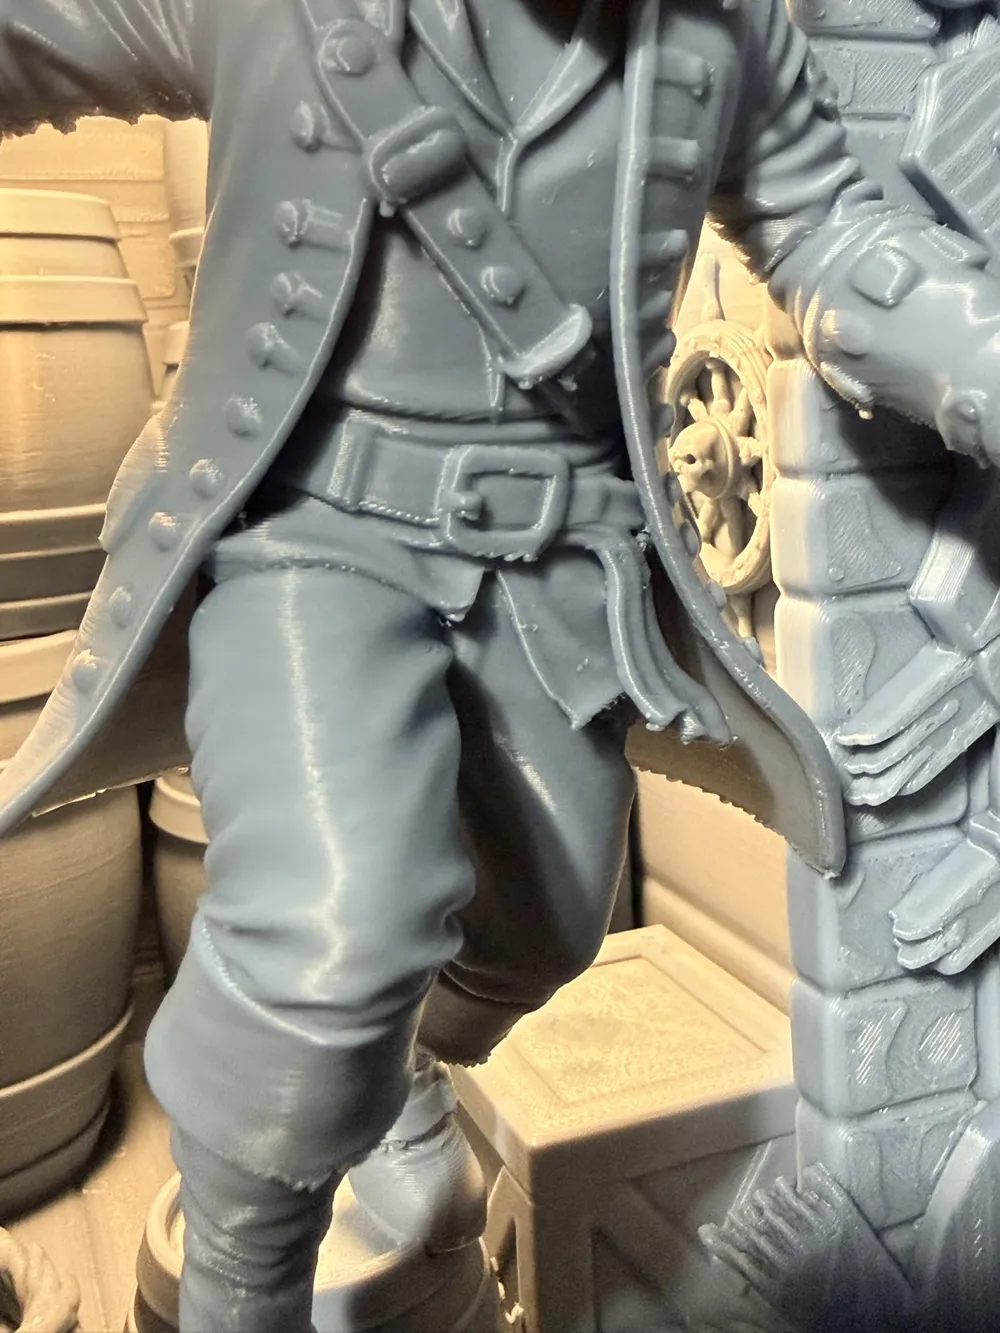
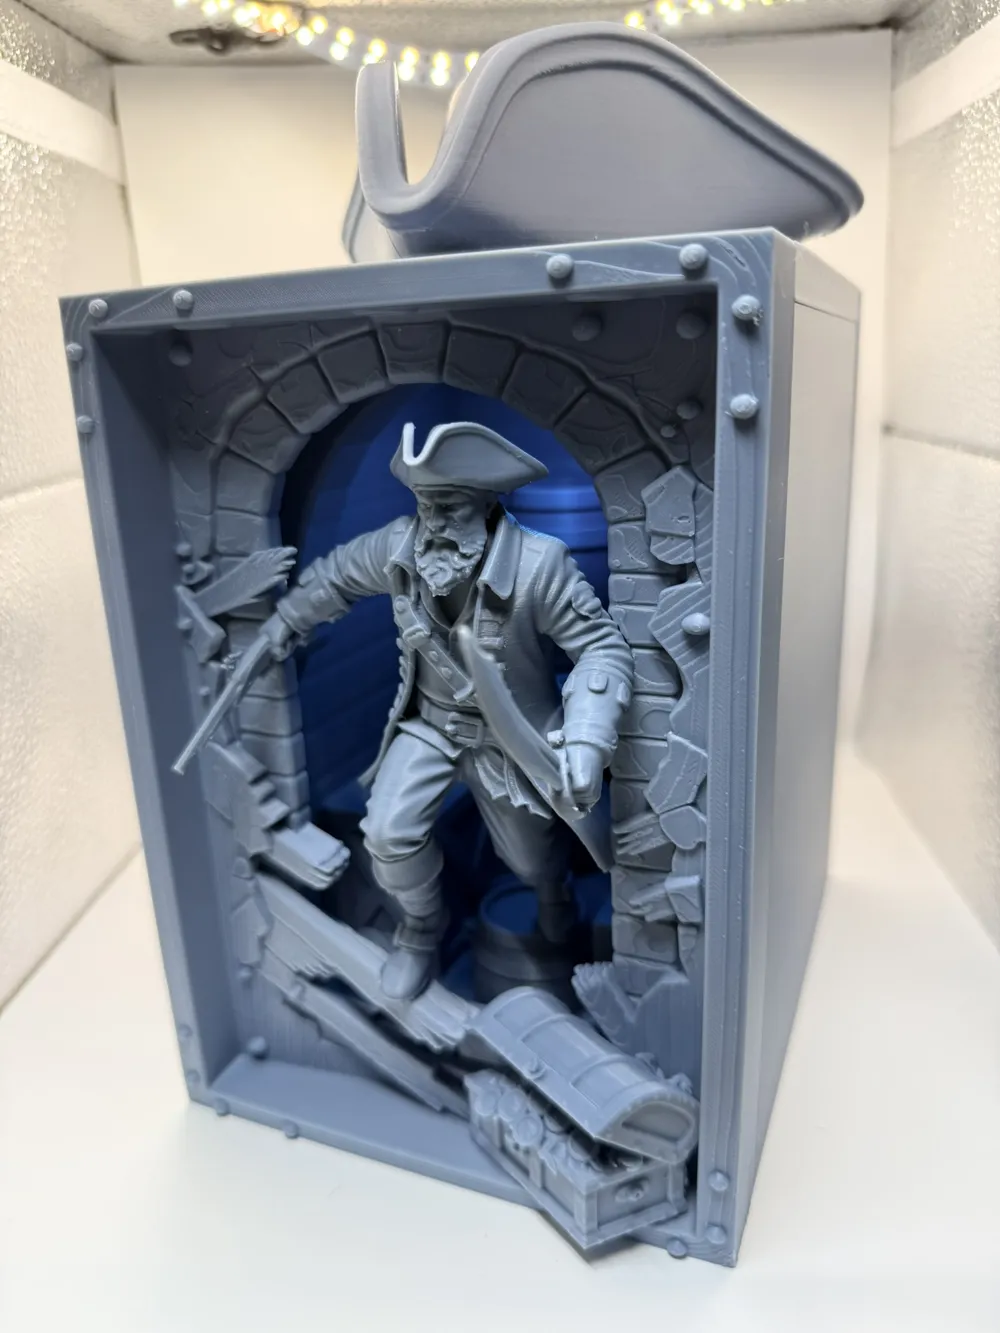
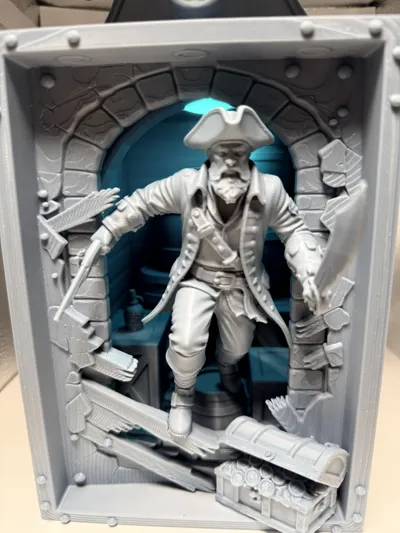
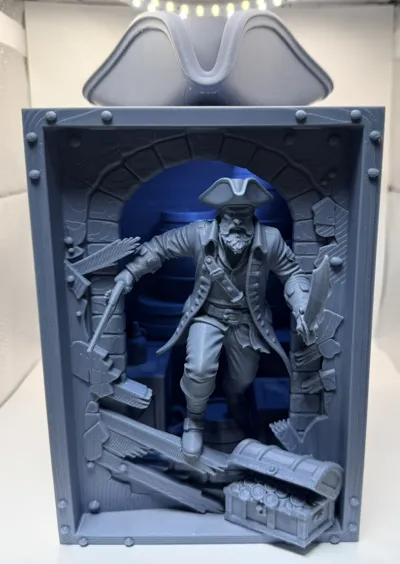
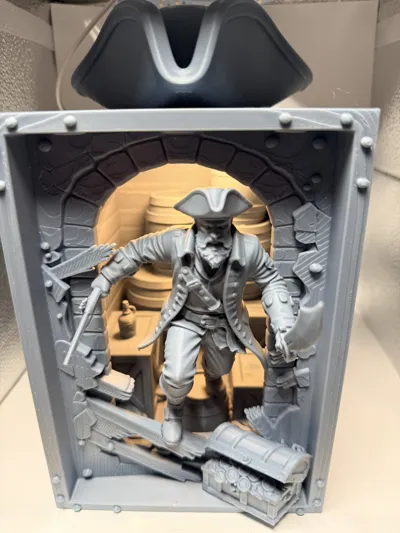
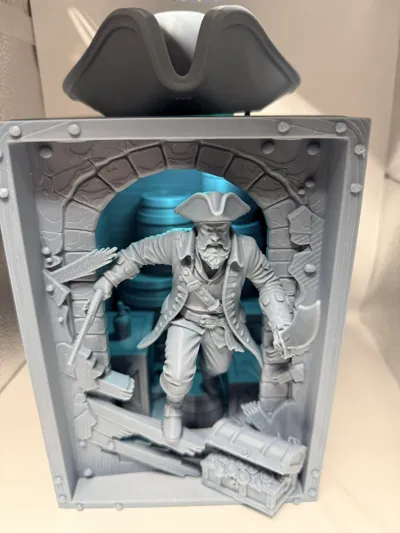
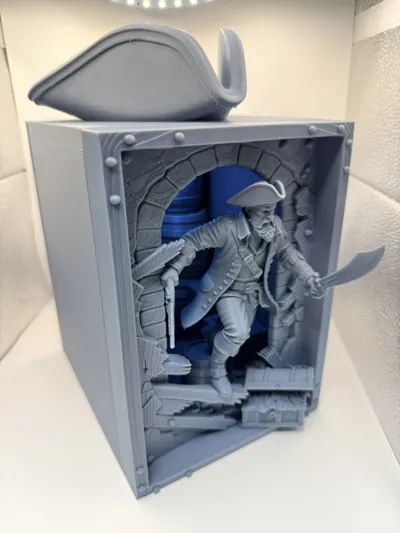
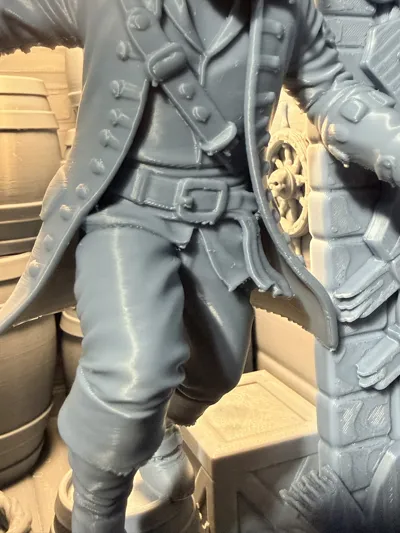
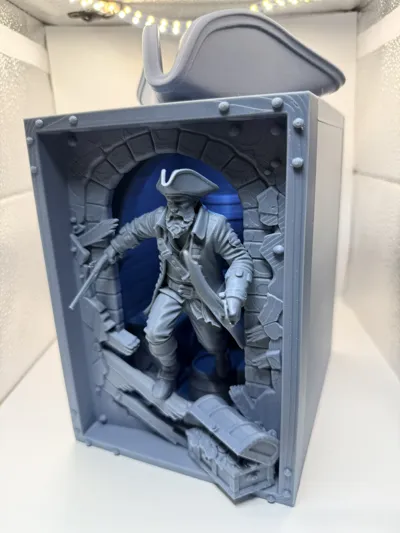
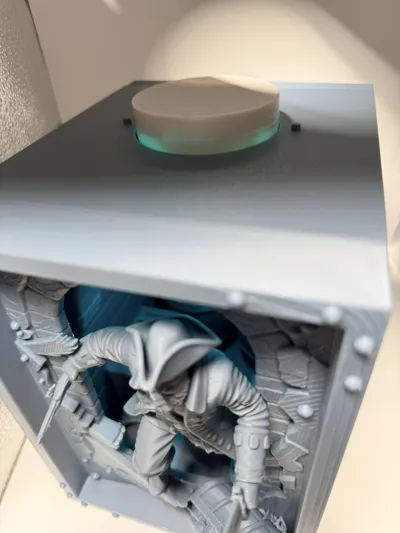
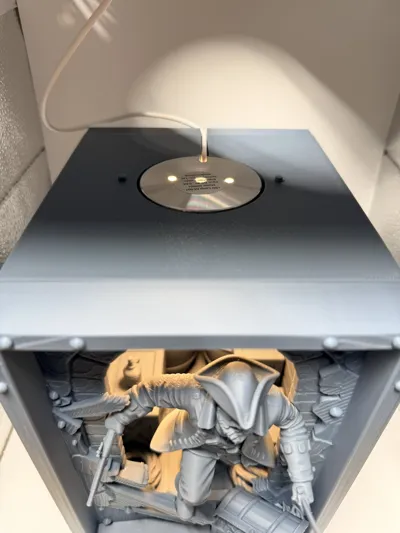
This is not just a simple bookend. It's a scene frozen in time: a pirate captain, with his newly recovered loot, bursting through an ancient stone wall directly into your room. The level of detail in the clothing, beard, broken wood texture, and chest coins is designed to look spectacular both in gray (as seen in the photos) and when painted
Key Features:
- Dynamic Design: Unlike static book nooks, there's action here. The pirate is "emerging" from the frame, creating a very powerful 3D effect
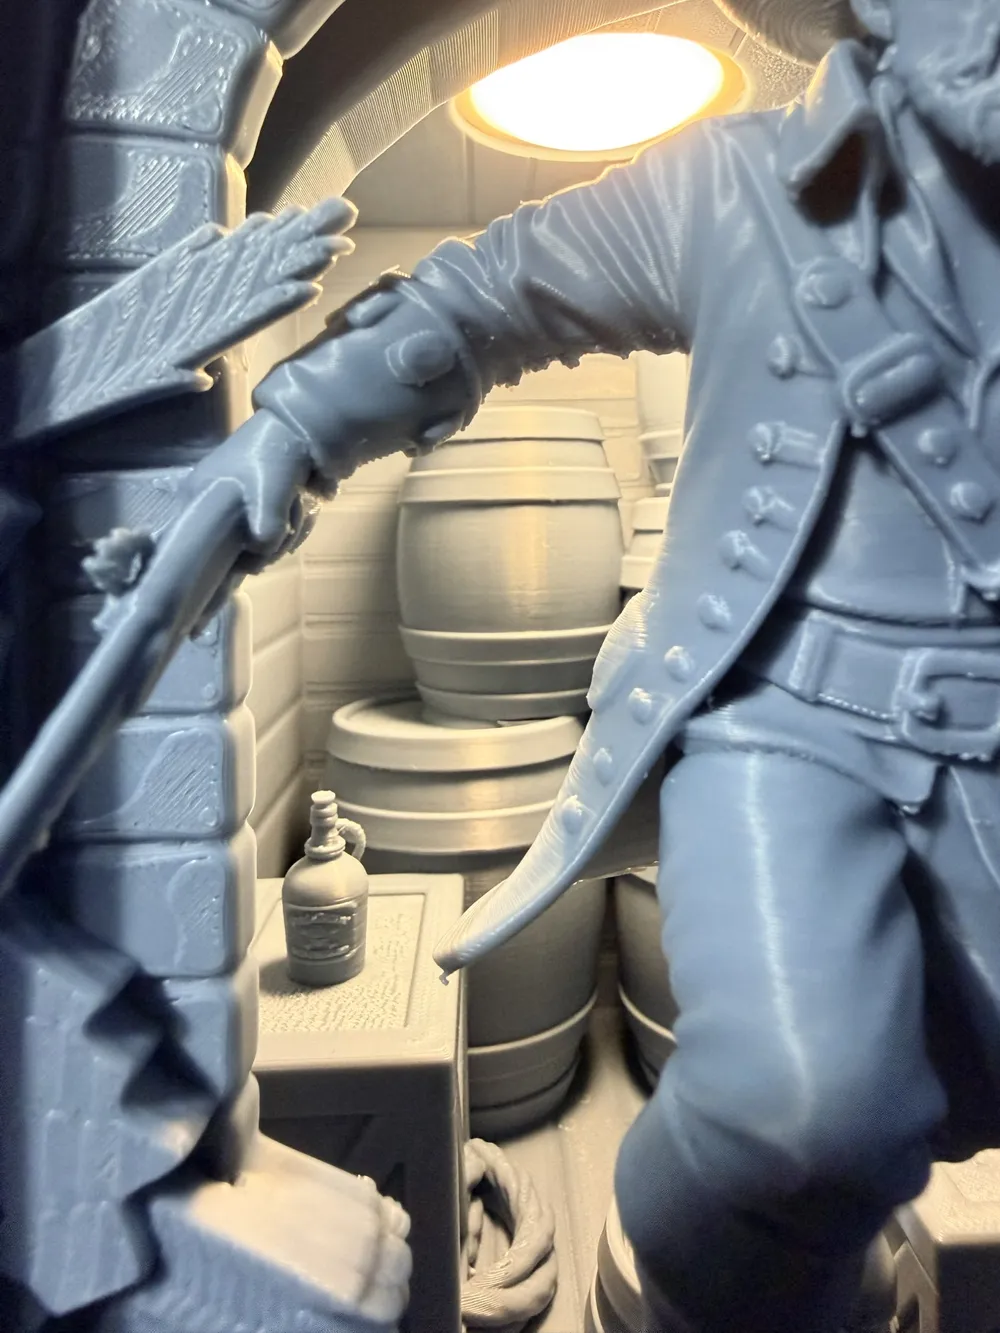
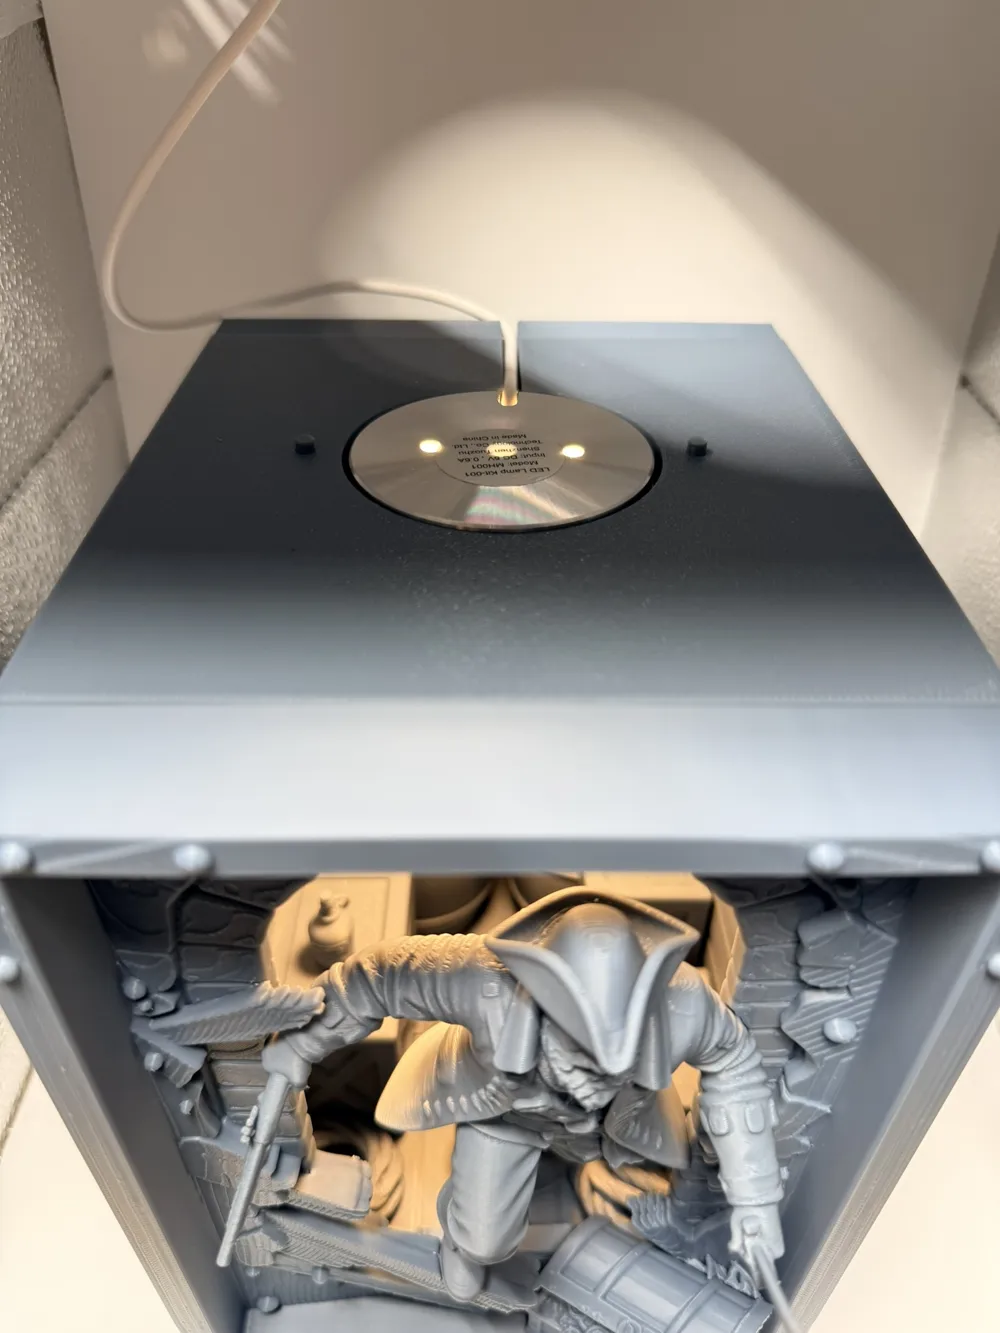
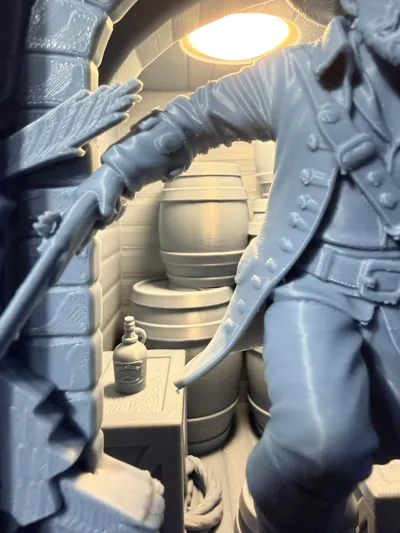
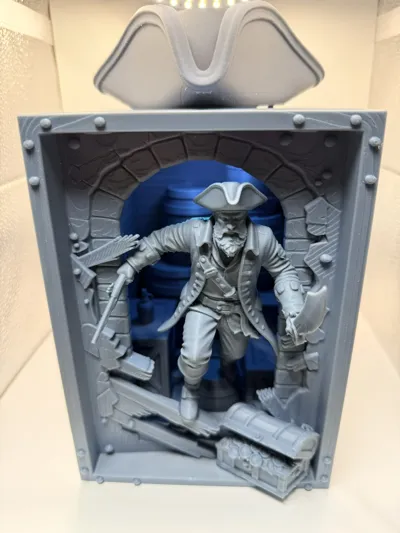
- Ready for Lighting: The design includes a hollow space at the back, perfect for concealing a small blue or warm LED strip (battery or USB powered) to create that mysterious depth effect you see in the photos. Light is the magical touch!
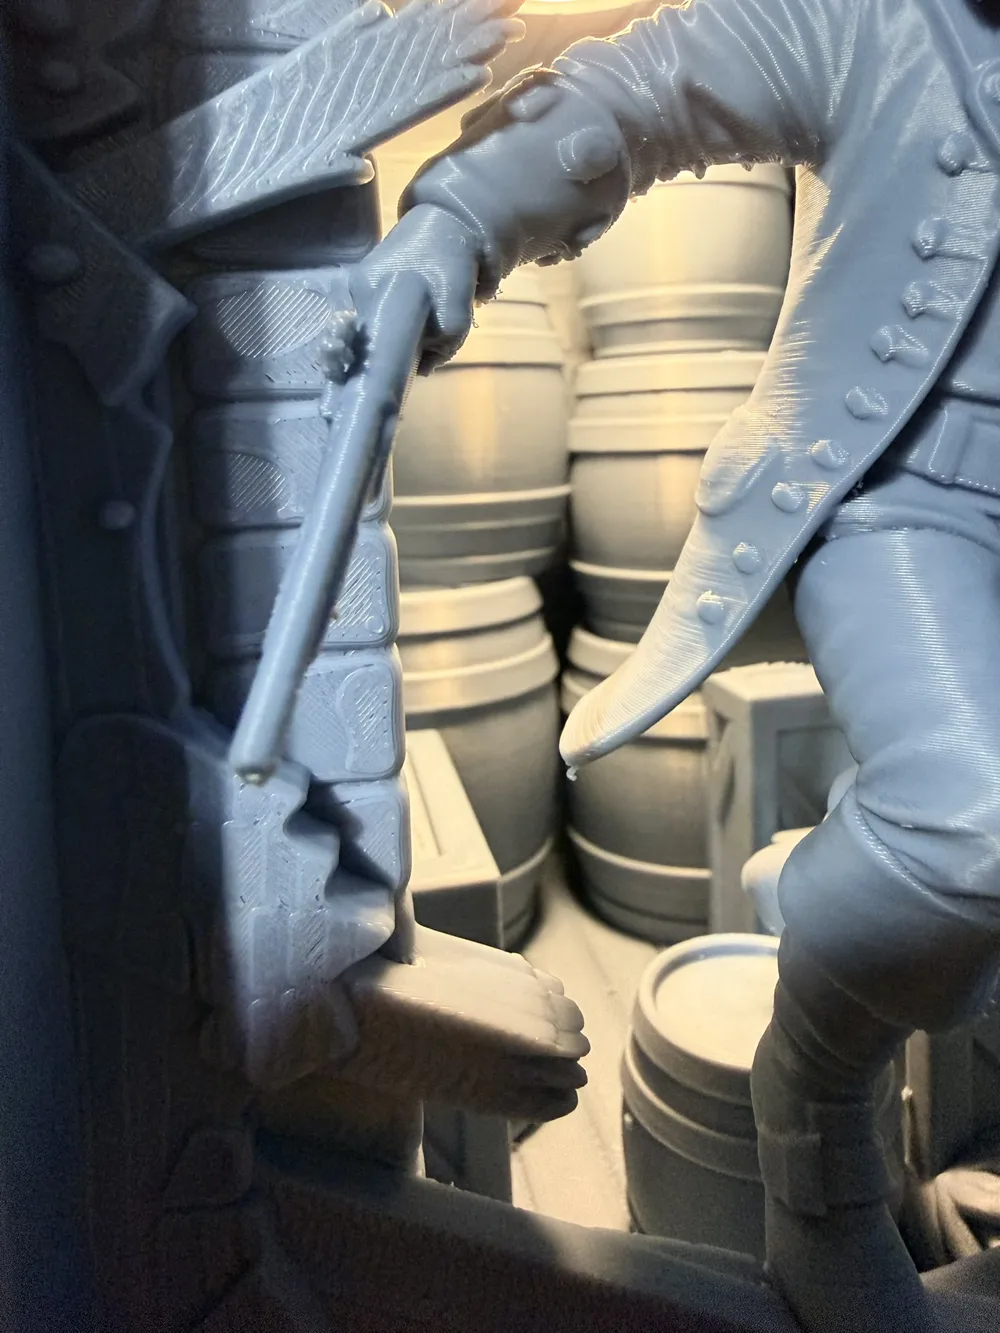
High Definition: Optimized so that stone and fabric textures print sharply
🎨 Dare to paint it? This model is a perfect canvas for miniature painting enthusiasts. I can't wait to see your painted versions!
📢 Share your treasure!
If you print this model, please upload a photo of your "Make" (anchored on your bookshelf) and leave a rating. It helps me immensely to keep creating designs!
Happy printing, scallywags! 🏴☠️
🛠️ Assembly and Post-processing
Assembly Guide: 'Pirate Boarding' Book Nook
Follow these step-by-step instructions for precise assembly. It is recommended to perform a pre-assembly without adhesive to ensure all pieces fit together.
1. Side and Interior Structure
\* Left Beam: Begin by installing the beam located to the left of the diorama. Align the 3 fastening pins into their respective slots.
\* Helm: Install the helm using the smaller pin. Ensure it is firm before proceeding.
2. Closing the Structure (Roof and Bottom)
\* Top Panel: Place the top piece. This fits using 4 main pins and an additional connection that joins with the beam installed in the first step.
\* Back Panel: Slide in the back part and secure it using the 4 connection pins (two at the base and two at the top to secure the roof).
3. Positioning the Protagonist
\* Pirate Figure: Insert the figure from inside the block.
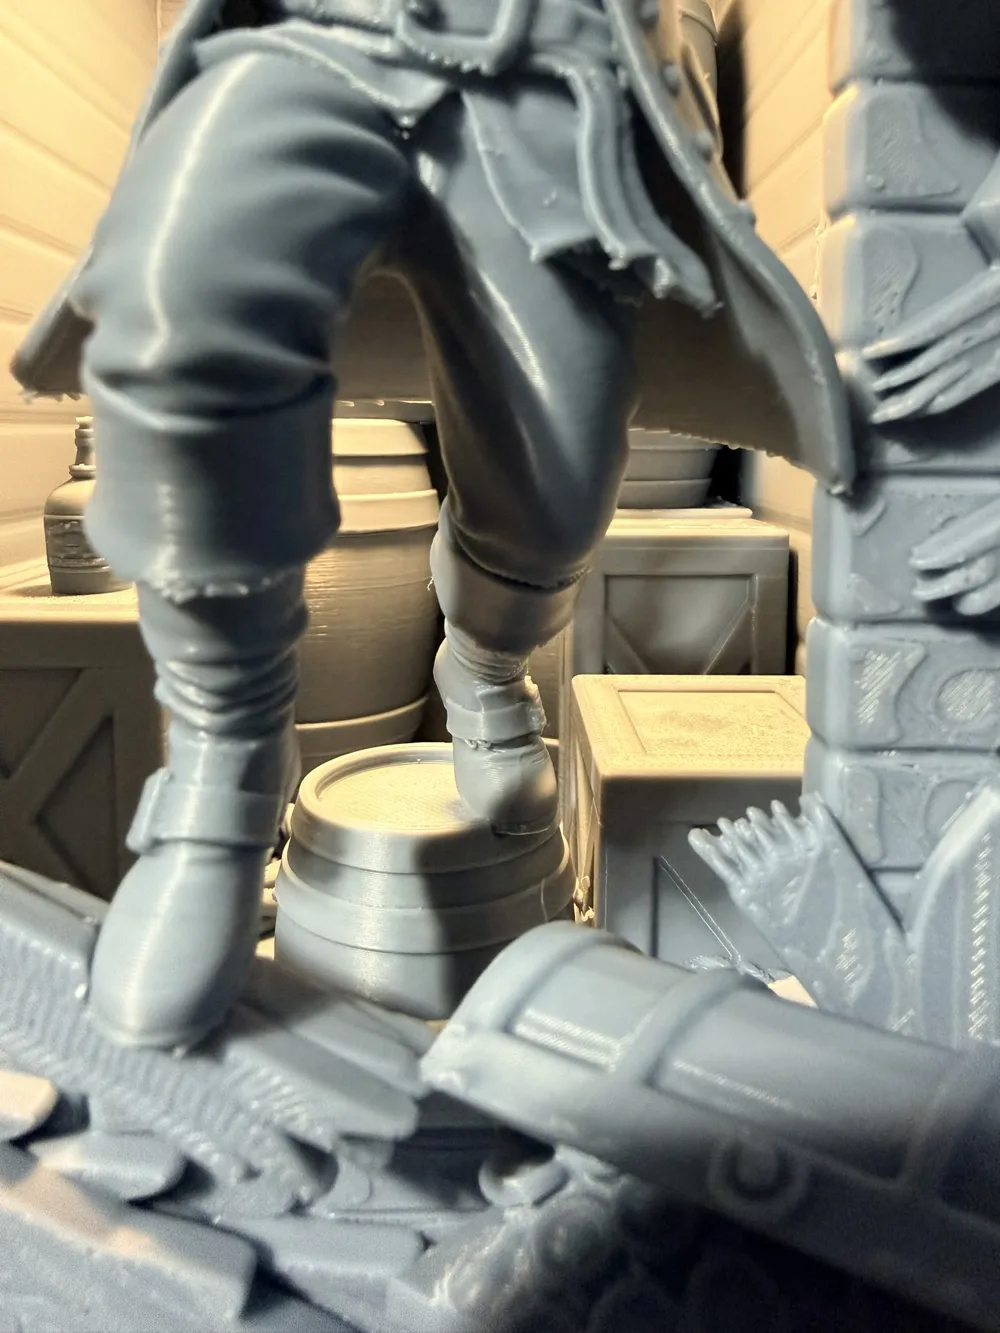
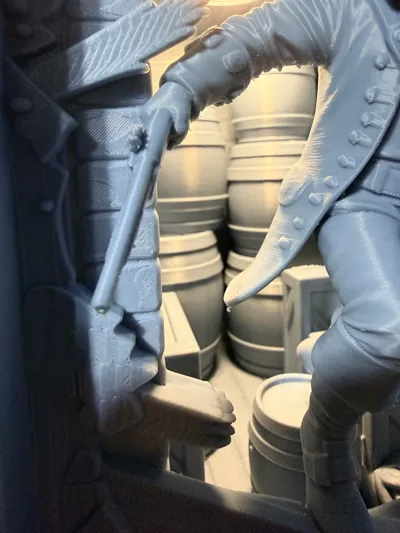
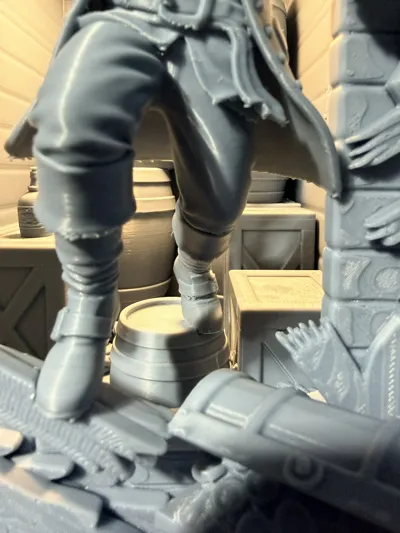
* Rest the left boot on the small central barrel. Note that the barrel has a carved notch specifically designed to fit and secure the foot's position.
* The figure should face forward, in an advancing posture.
4. Front Frame and Final Adjustment
\* Diorama Front: Prepare the front frame by inserting the 4 precision pins (7 mm).
\* Assembly of the Set: Join the front to the main block, carefully guiding the pirate figure through the stone arch.
* The right boot (the one positioned forward) should rest on the central wooden plank of the front frame.
* The hand holding the pistol should rest on the right side of the stone arch.
* The left elbow should rest on the opposite side of the arch, providing the three necessary support points to stabilize the figure.
5. Lighting and Top Finish
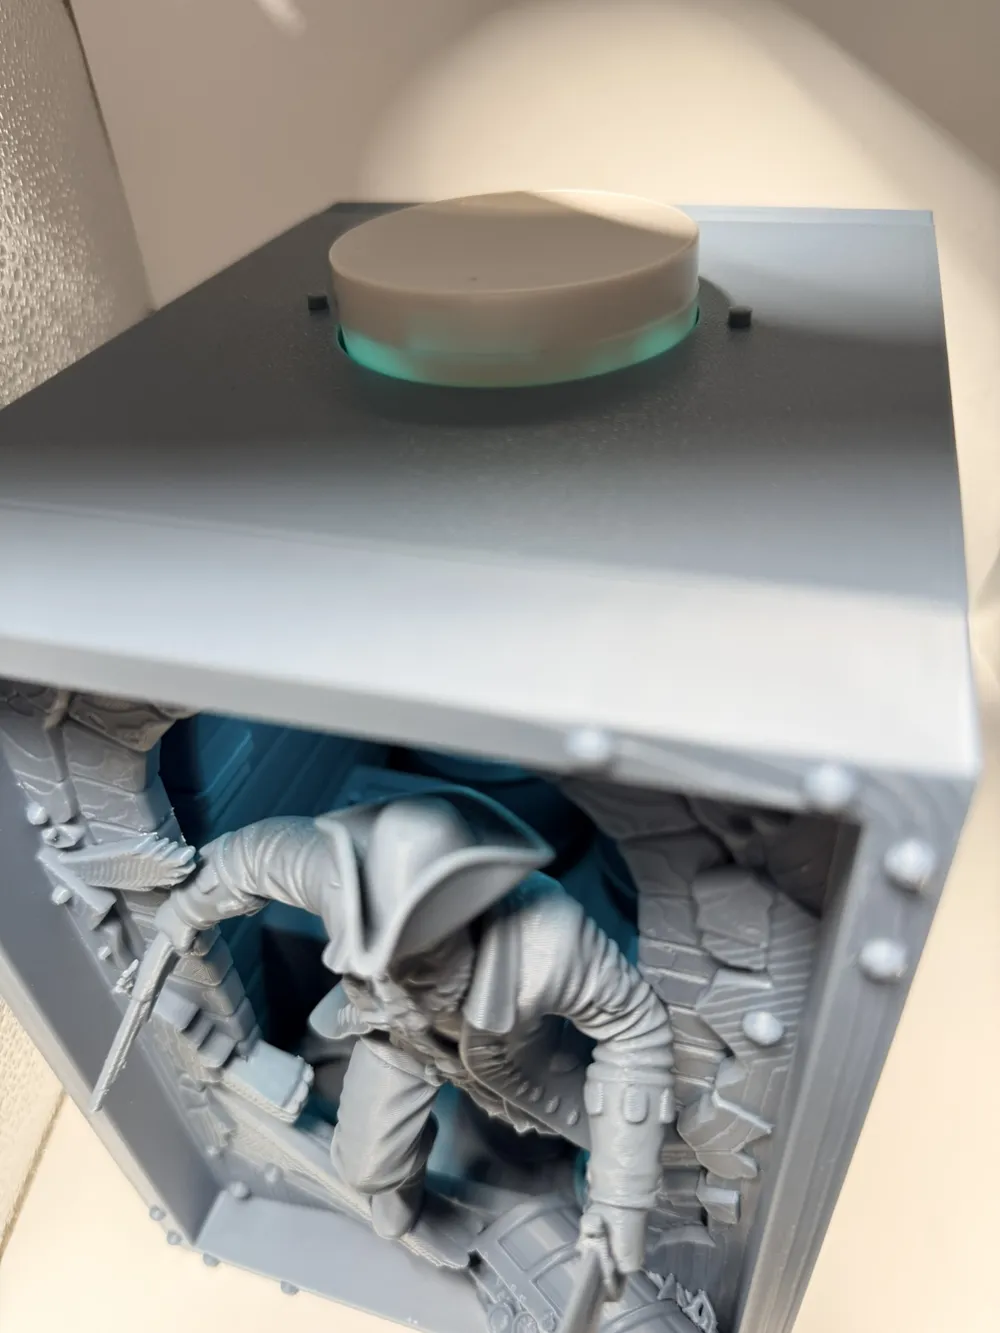
\* Light System: Install the lighting module in the top hole of the roof.
\* Pirate Hat: Crown the diorama by placing the captain's hat over the light. Use the two small pins to secure it. This component acts as an embellishment and helps direct light into the diorama.
Professional finishing notes:
> * Part Adjustment: If any pin offers resistance due to print tolerances, a light sanding is recommended.
> * Fastening: For a permanent finish, you can use a small amount of model glue or cyanoacrylate on the internal joints.
> * Lighting Effect: The hat's position is designed to create a 'backlight' effect that highlights the pirate's silhouette against the blue background.
Valid for MH001 lights and KC007 rgb light
License

You shall not share, sub-license, sell, rent, host, transfer, or distribute in any way the digital or 3D printed versions of this object, nor any other derivative work of this object in its digital or physical format (including - but not limited to - remixes of this object, and hosting on other digital platforms). The objects may not be used without permission in any way whatsoever in which you charge money, or collect fees.


Comment & Rating (7)