
Soccer ball self-assembly 6cm no ams, no glue
Print Profile(1)

Description
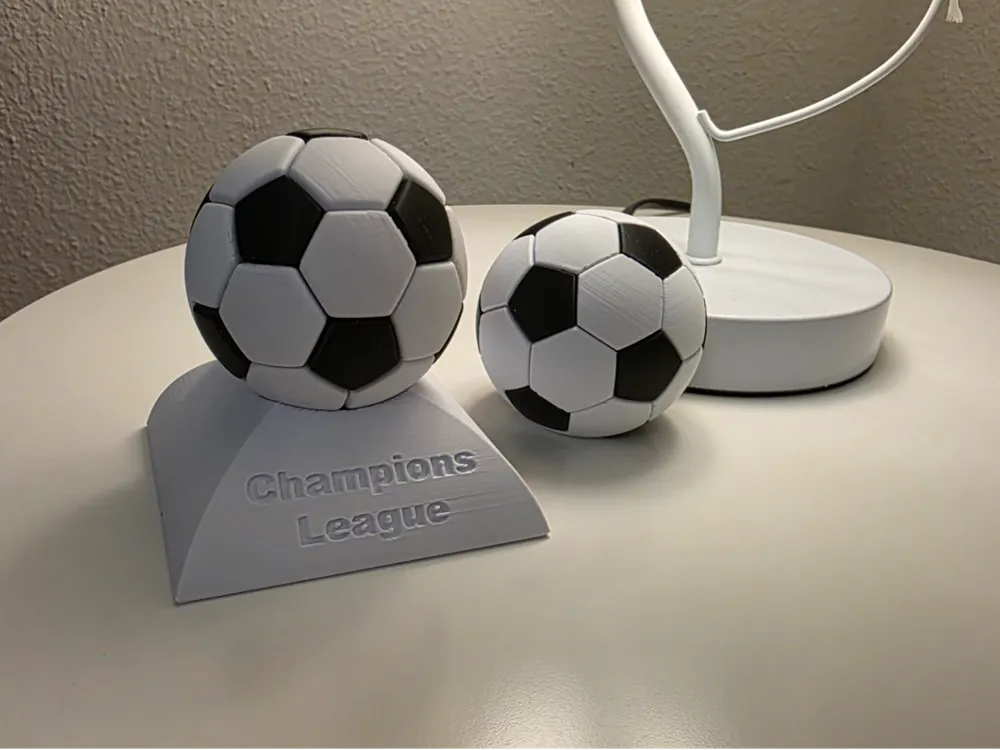
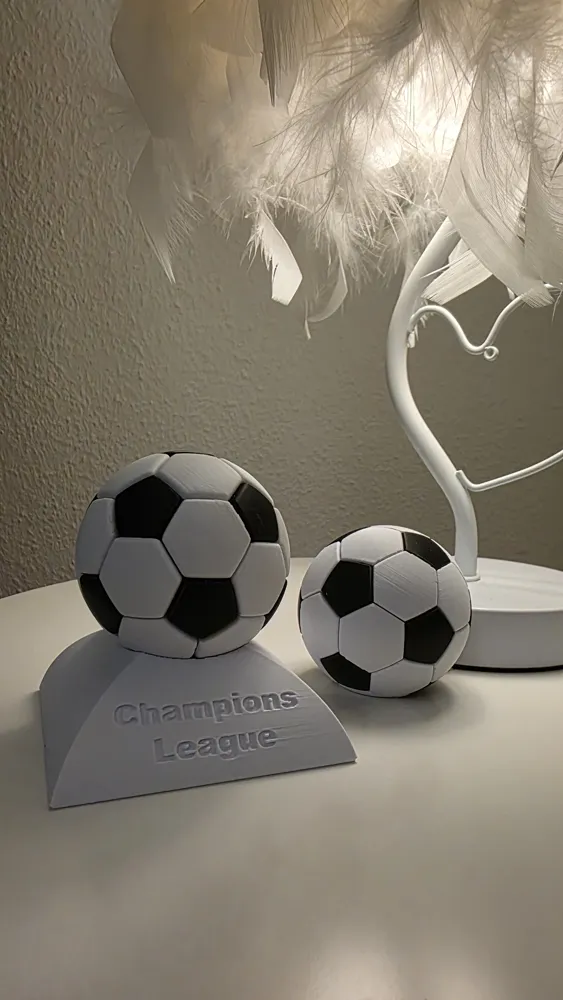
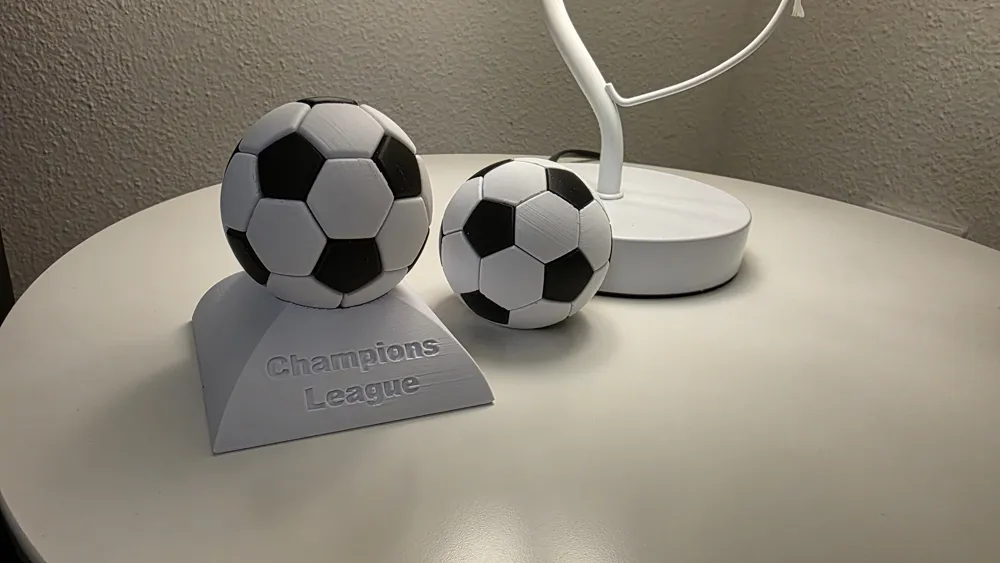
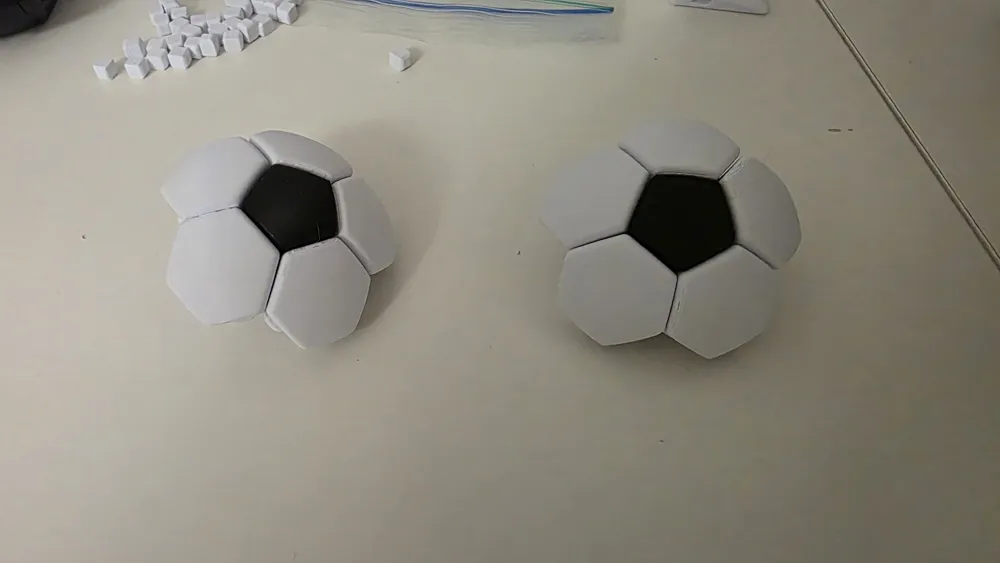
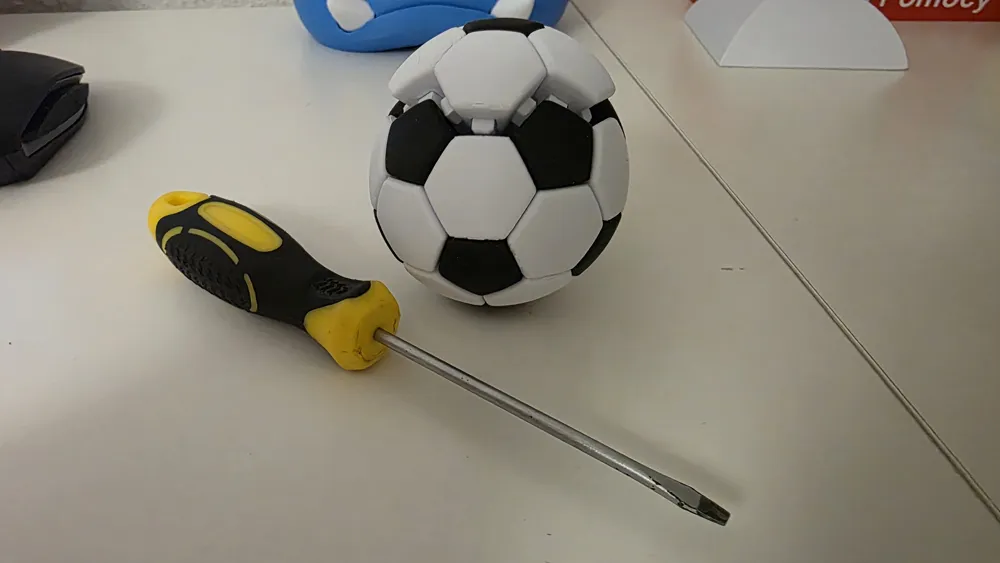
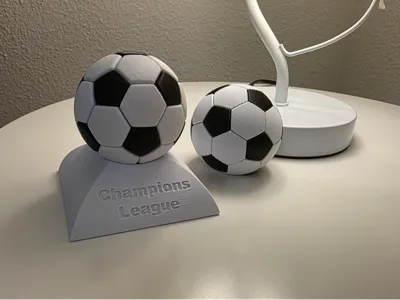
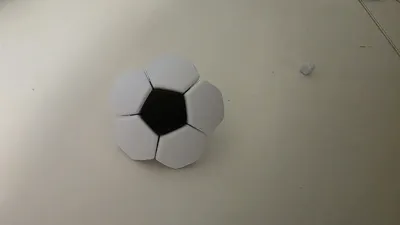
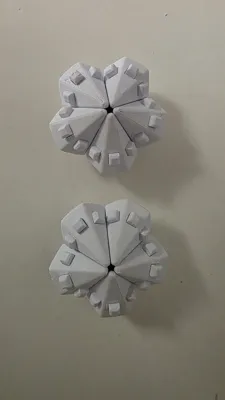
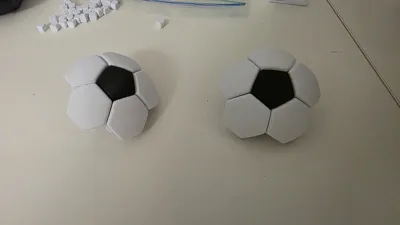
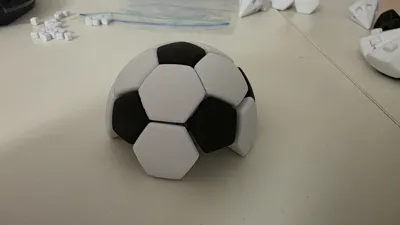
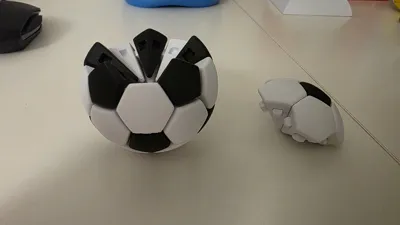
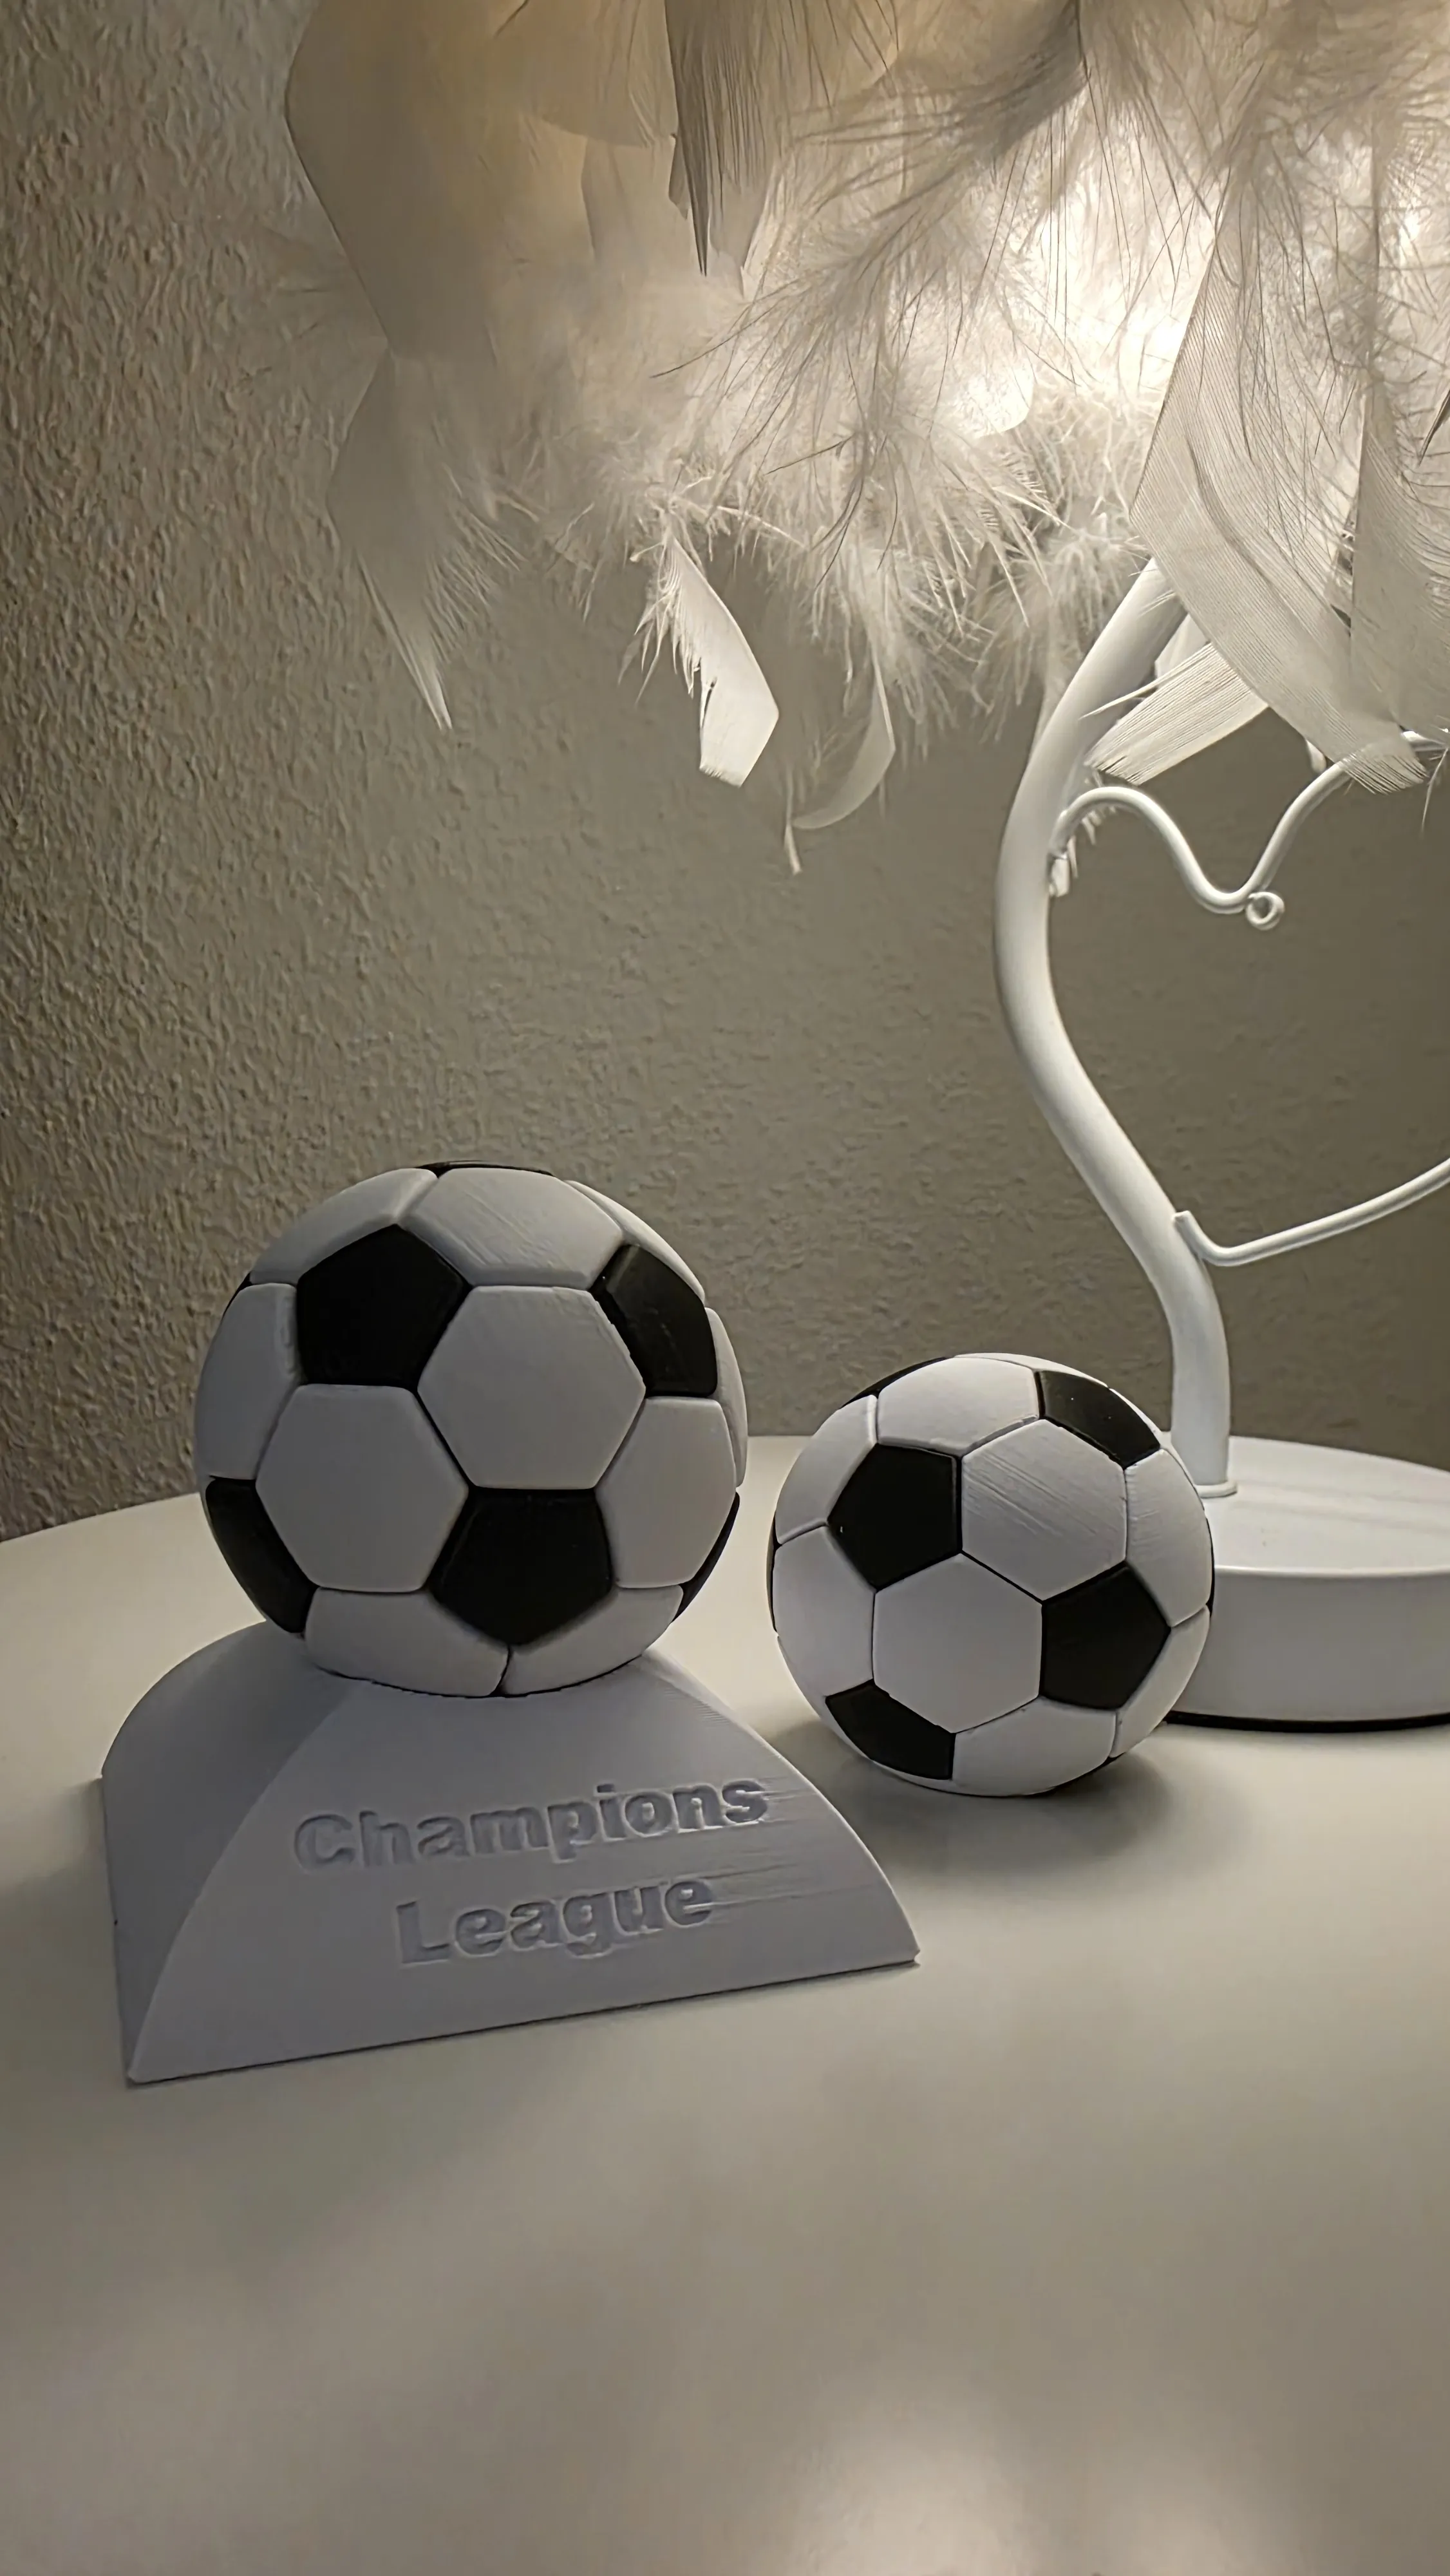
I present a football model. The ball measures 6cm. It consists of elements that need to be assembled by yourself. No AMS is needed, just print all elements in your chosen color and connect them with the included pins. No glue is needed, all elements are press-fit. You can do this without any tools, but pliers can be helpful
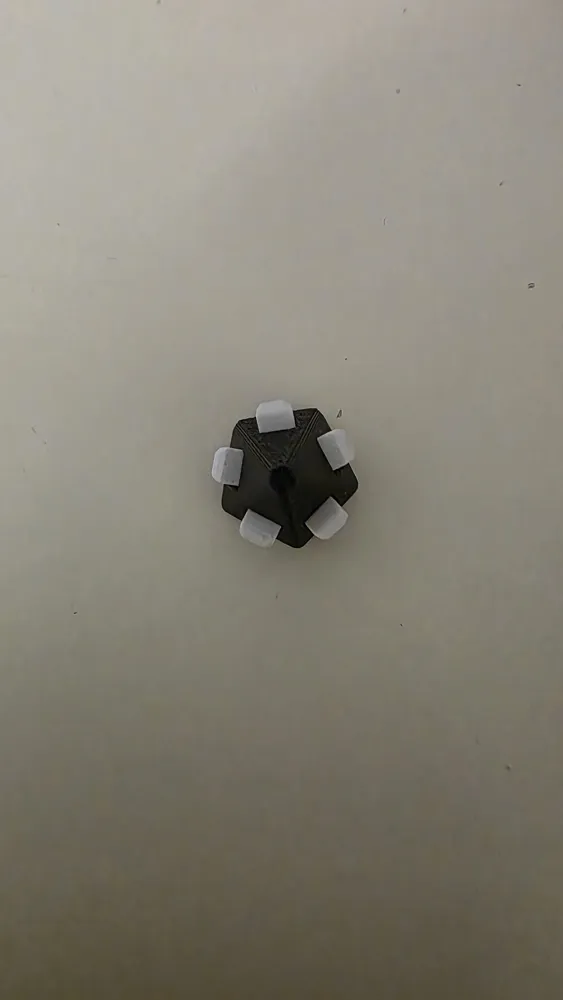
90 pins are needed for assembly, and the project includes 5 extra pieces in case of loss. Once assembled, the ball is really strong and doesn't look like it's made of separate parts, there are no loose connections. This allows you to print it without using an AMS and save material, and additionally, you can feel satisfied during assembly. It seems complicated, but once you assemble a few elements, the rest will be easy
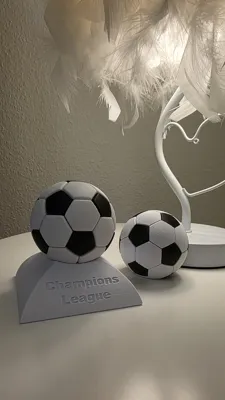
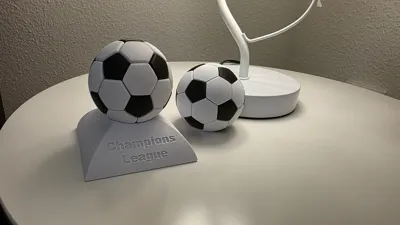
The set also includes a stand for the ball; the text can be easily edited in Bambu Studio to your own name
Assembly instructions:
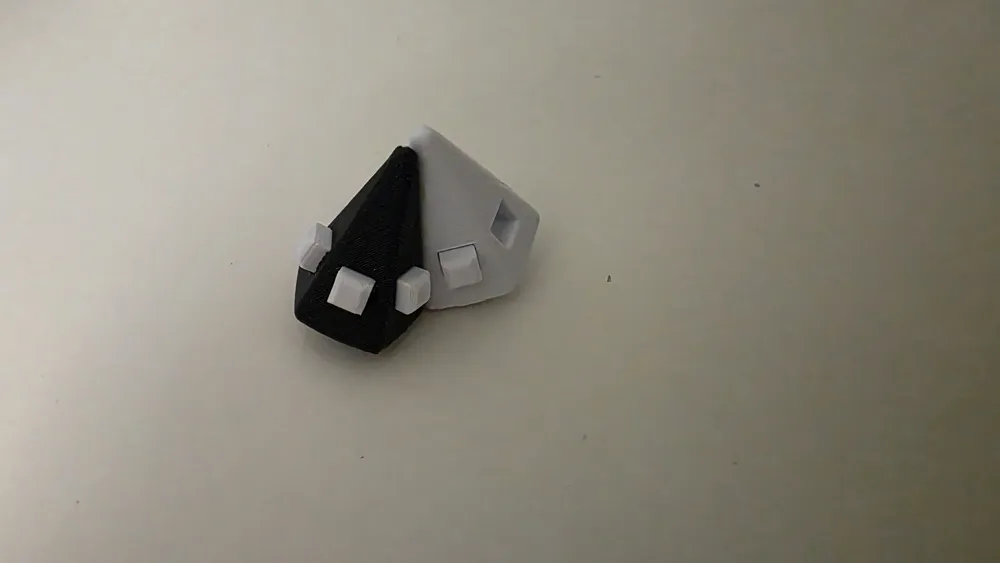
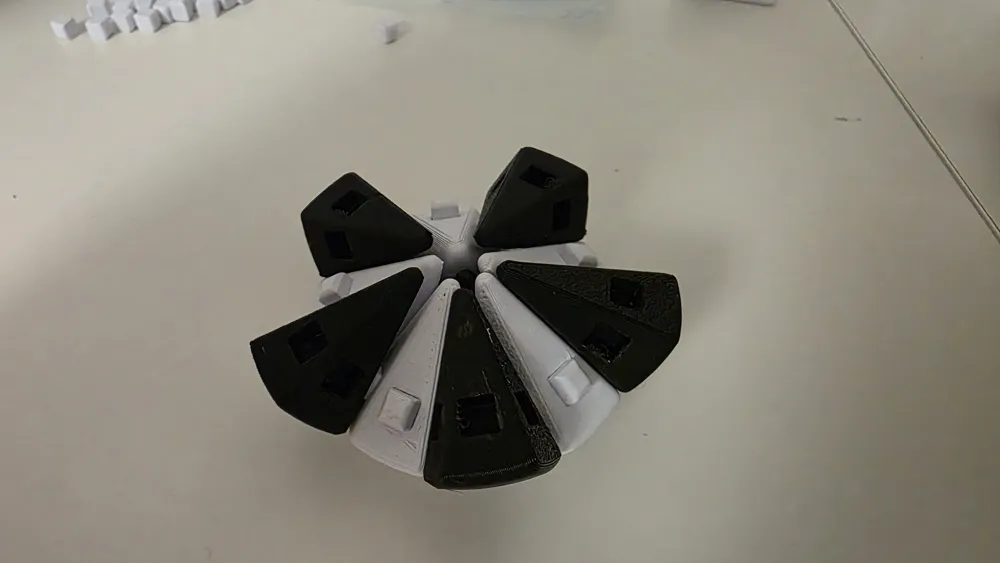
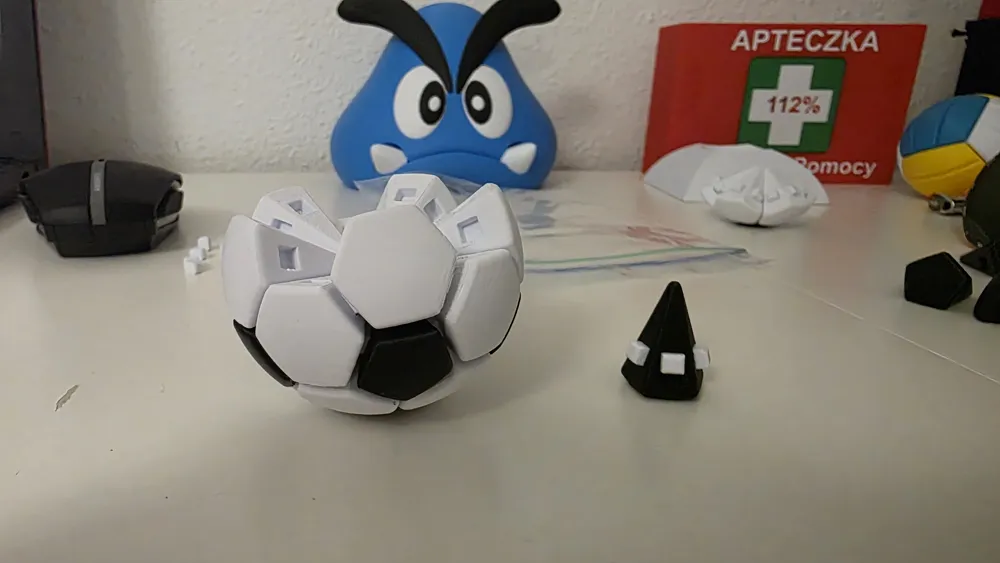
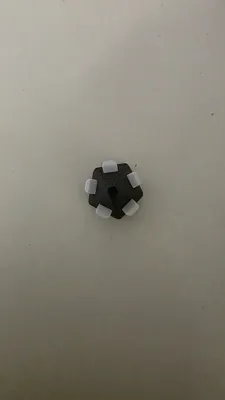
1. Start from the bottom with the black element, attach all pins
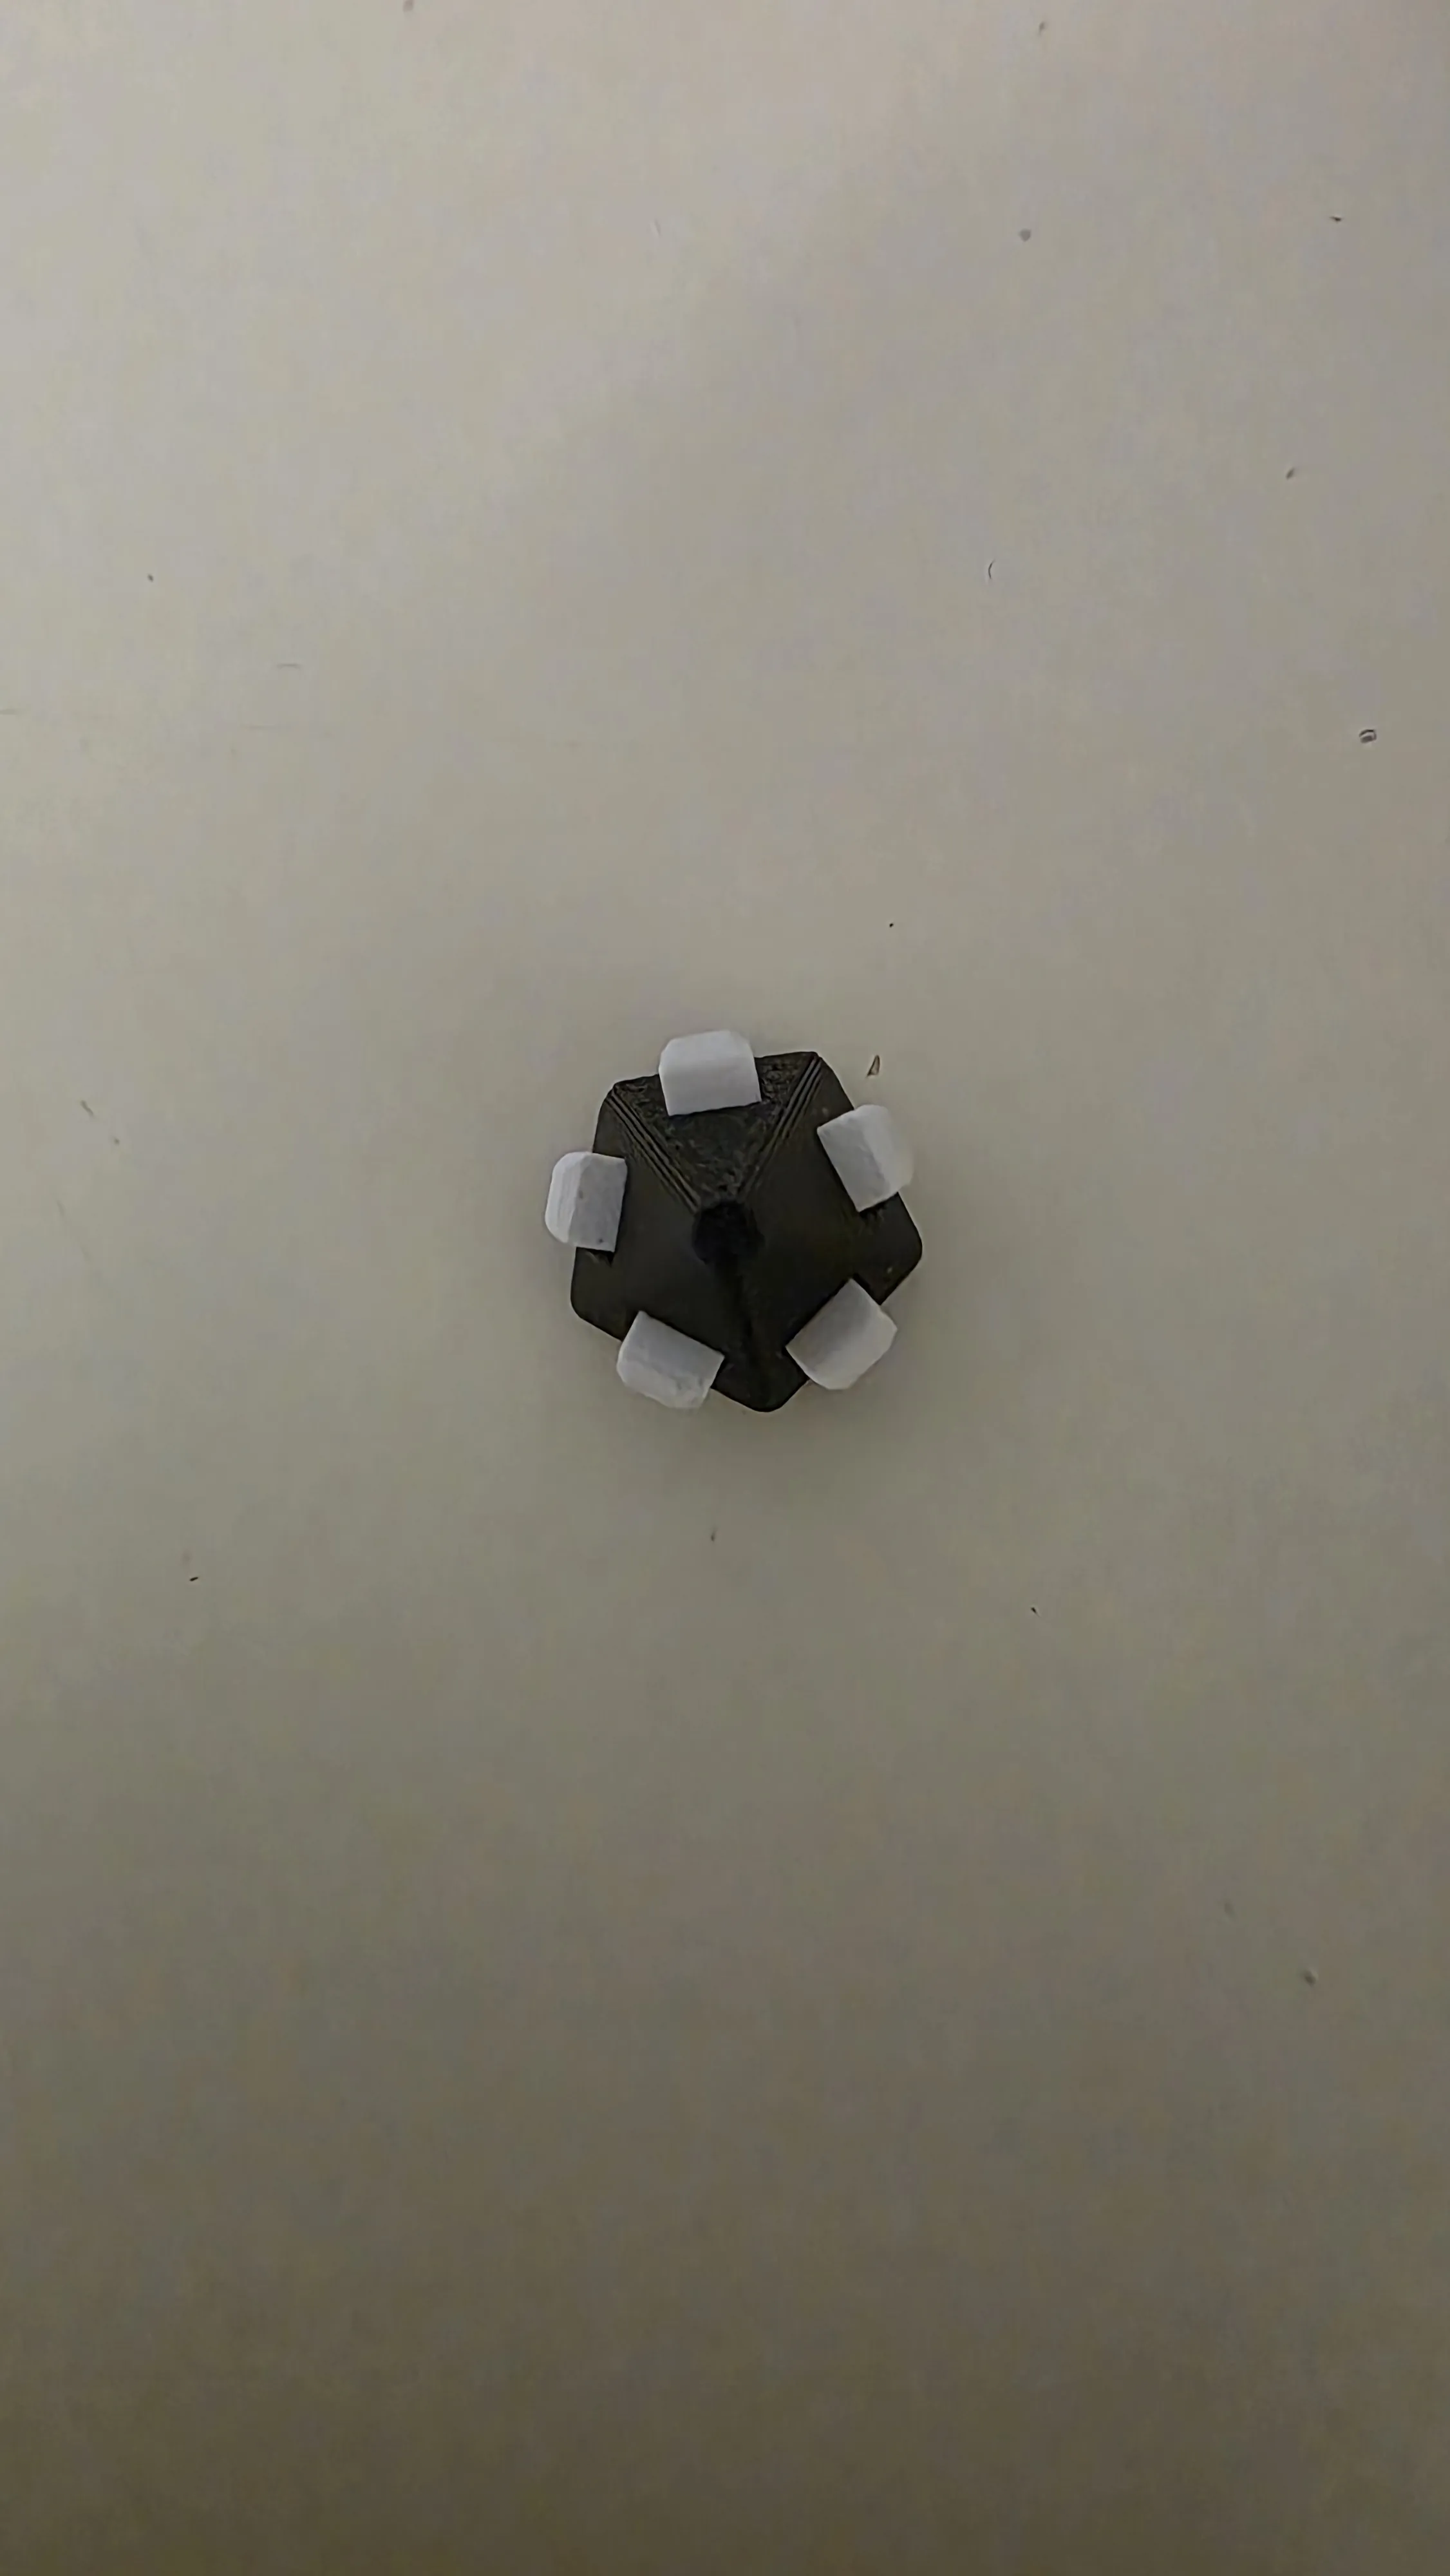
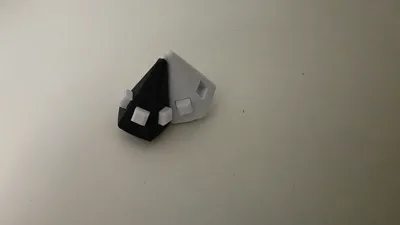
2. Next, attach the white elements to the black one
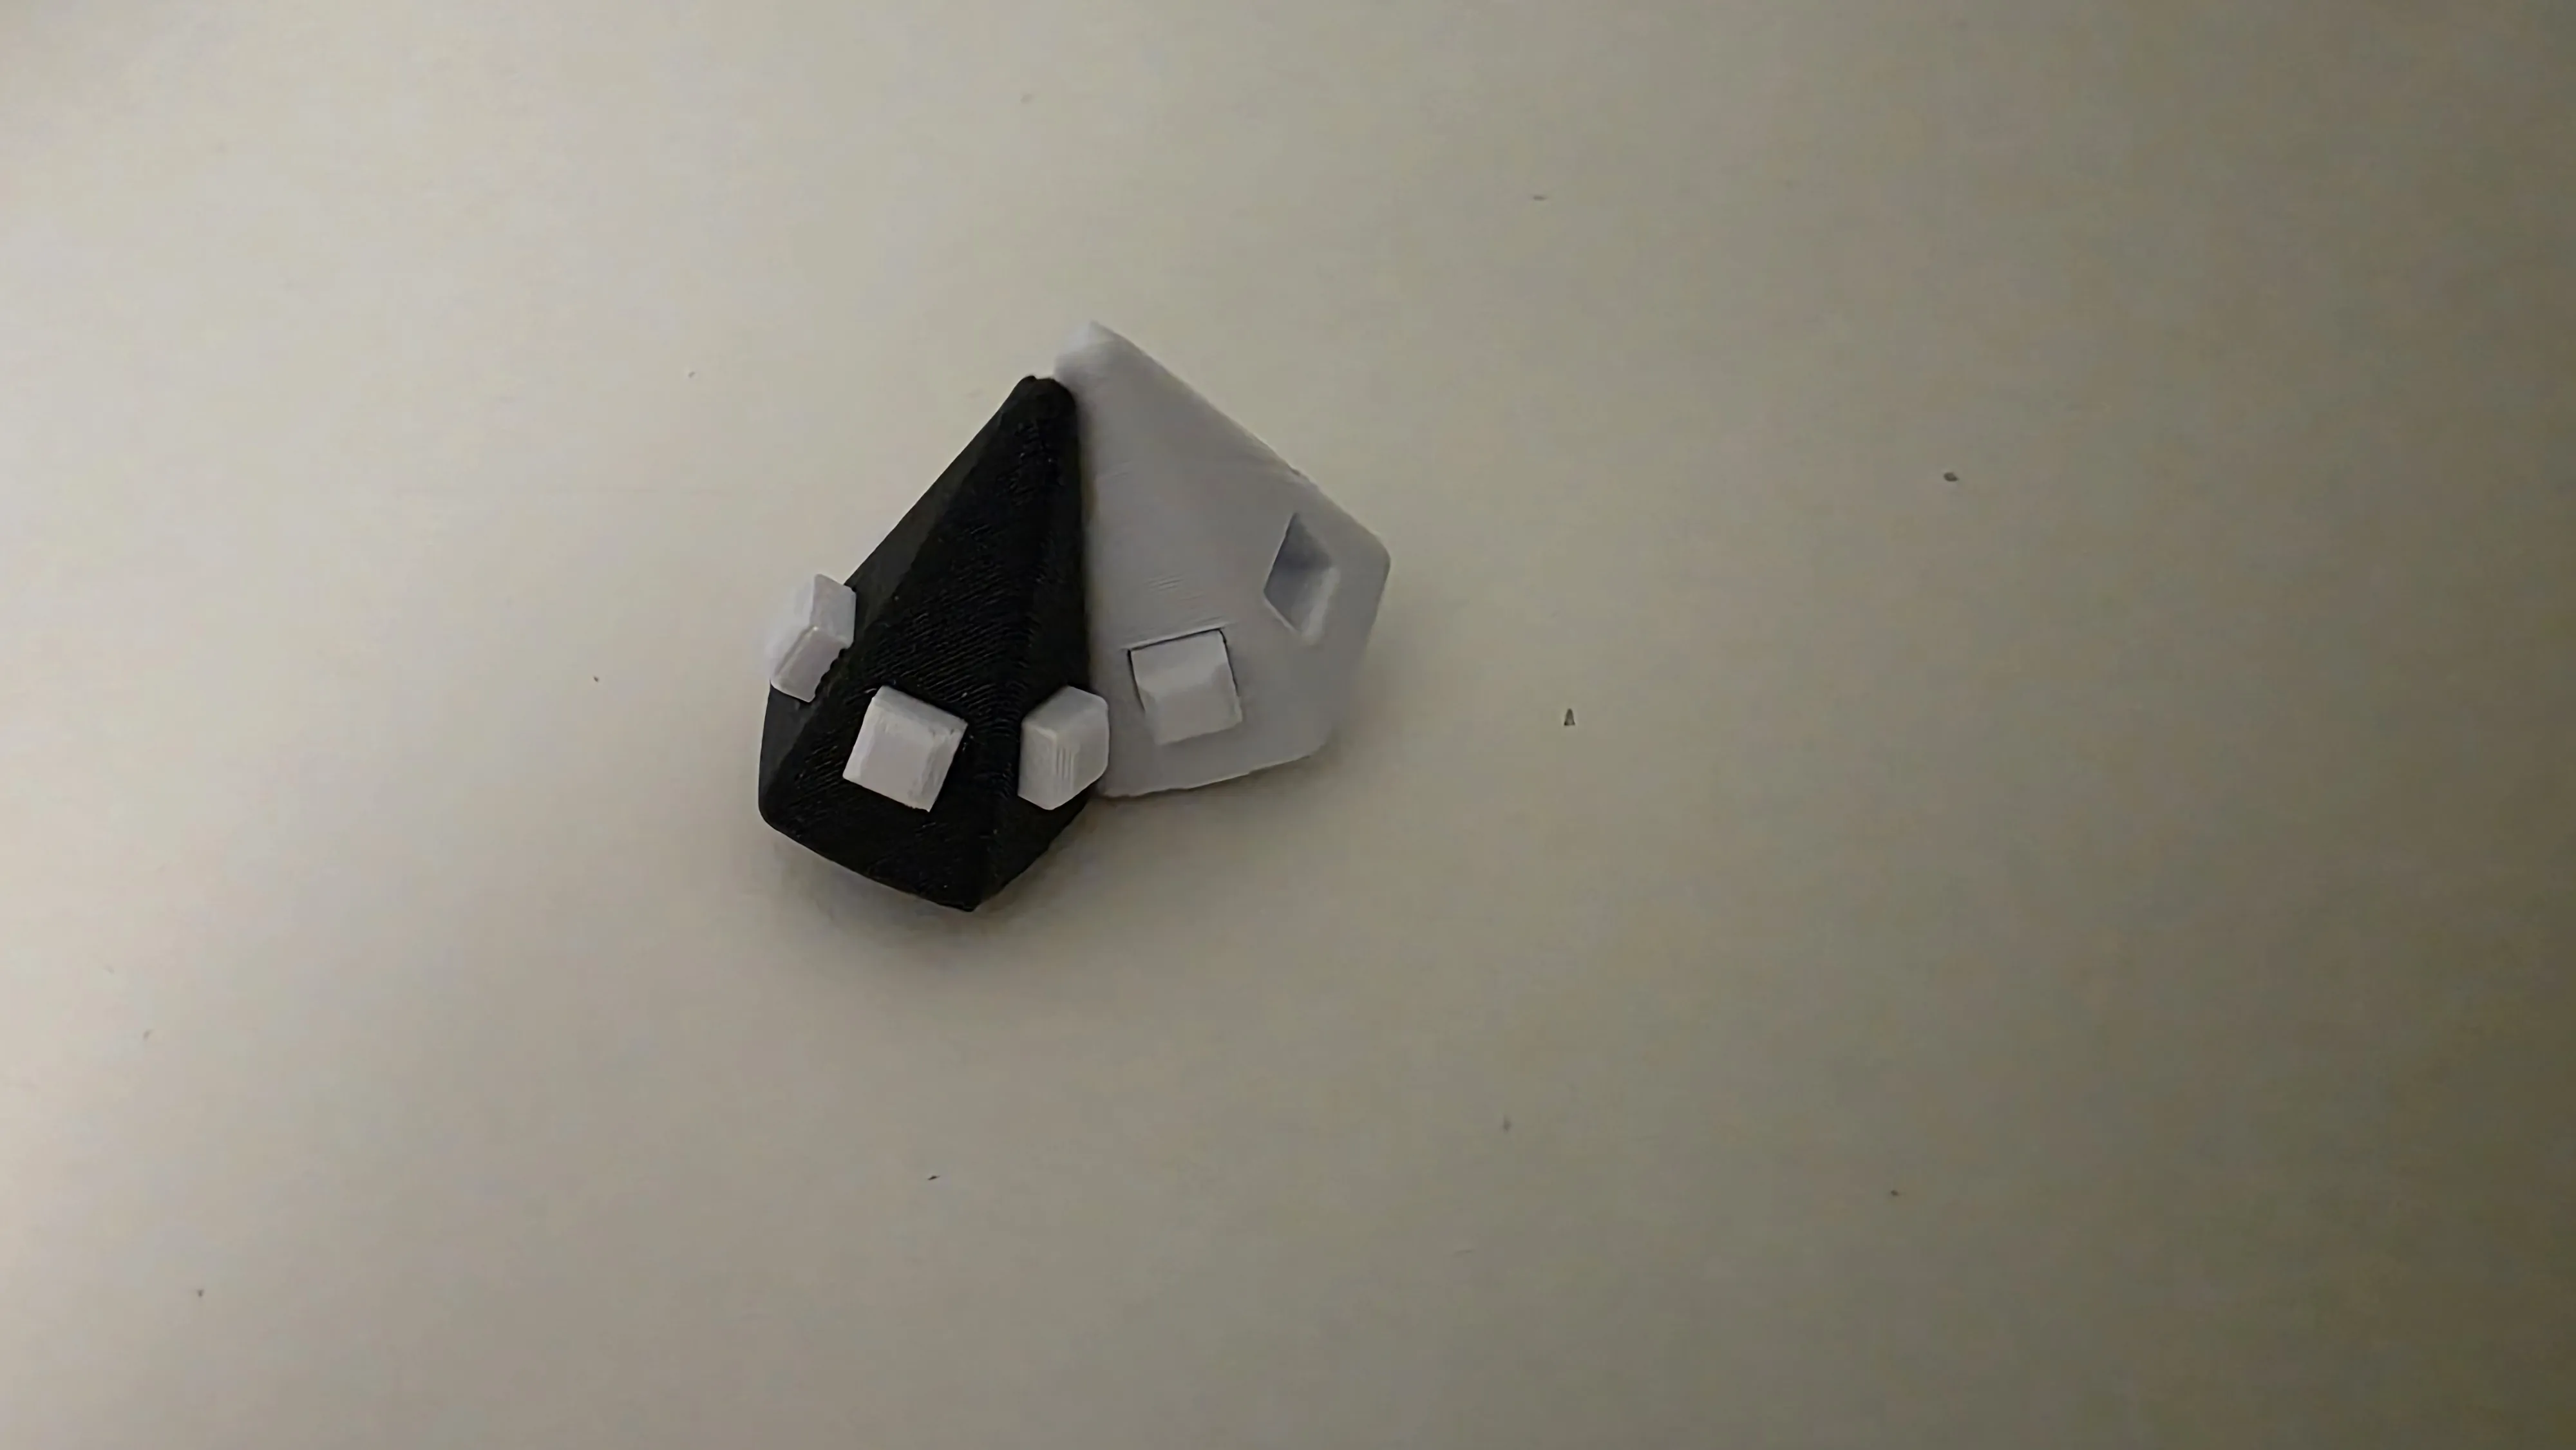
3. Which finally gives us this effect
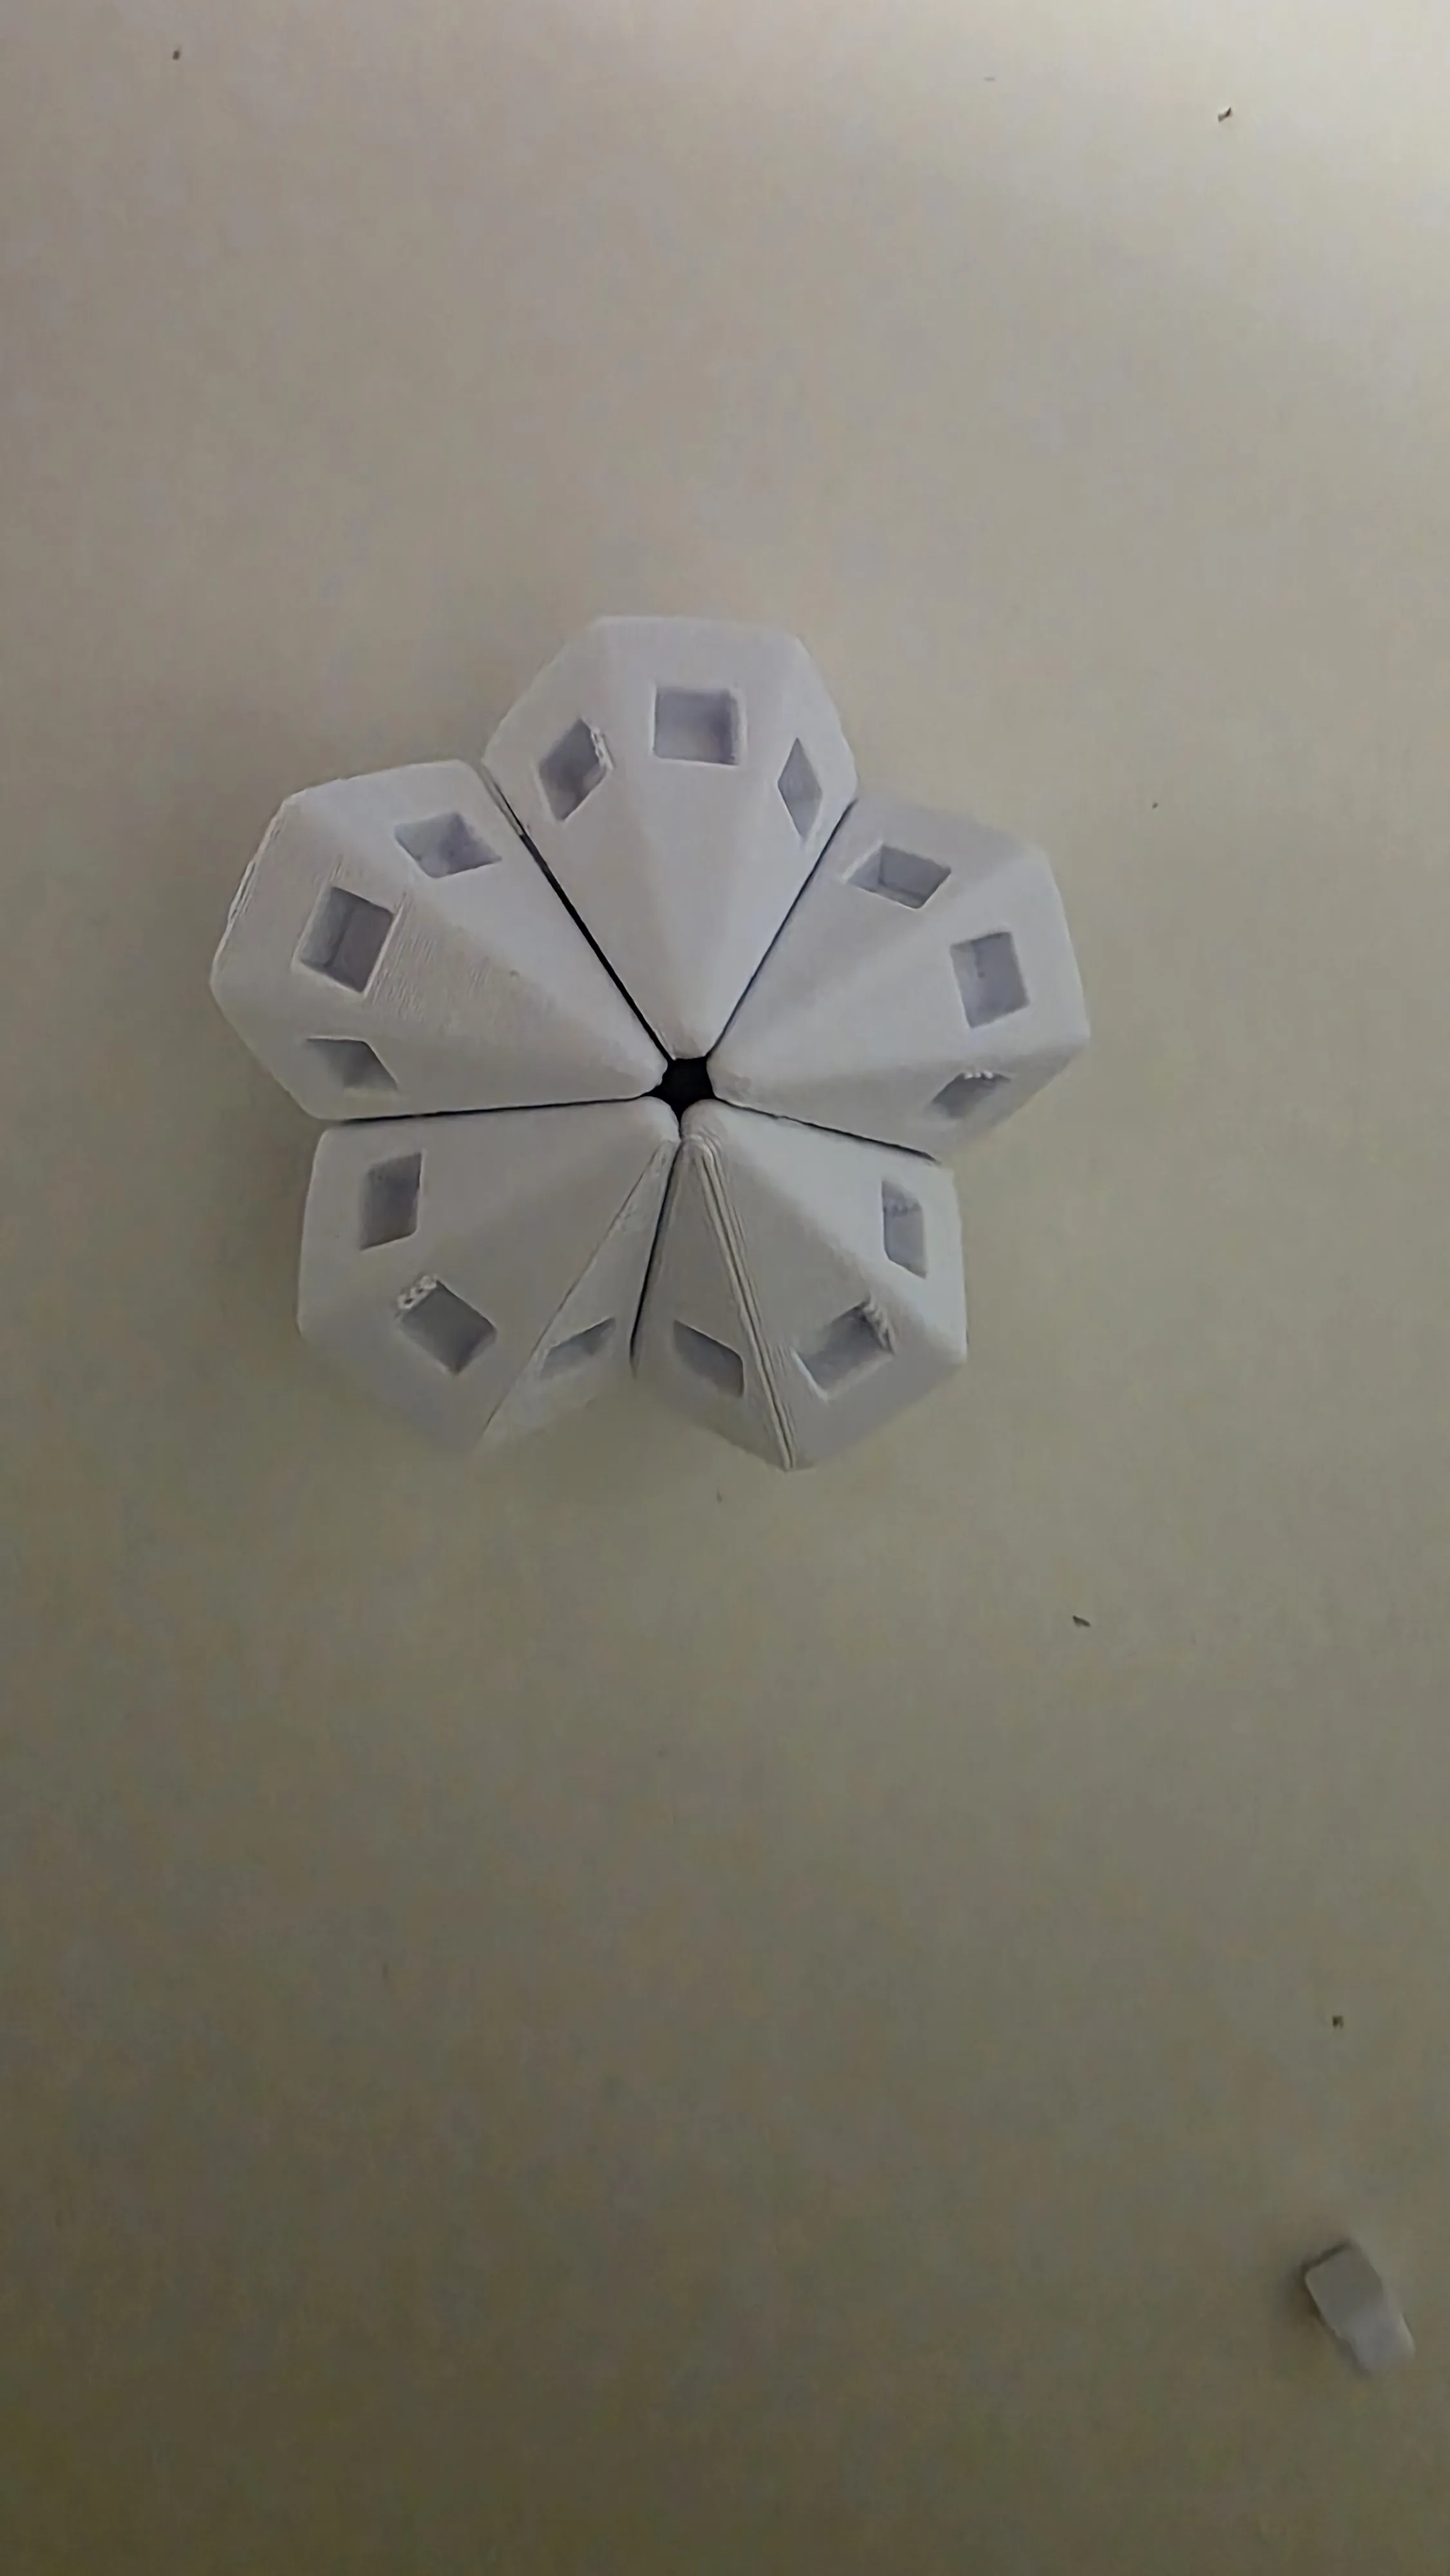
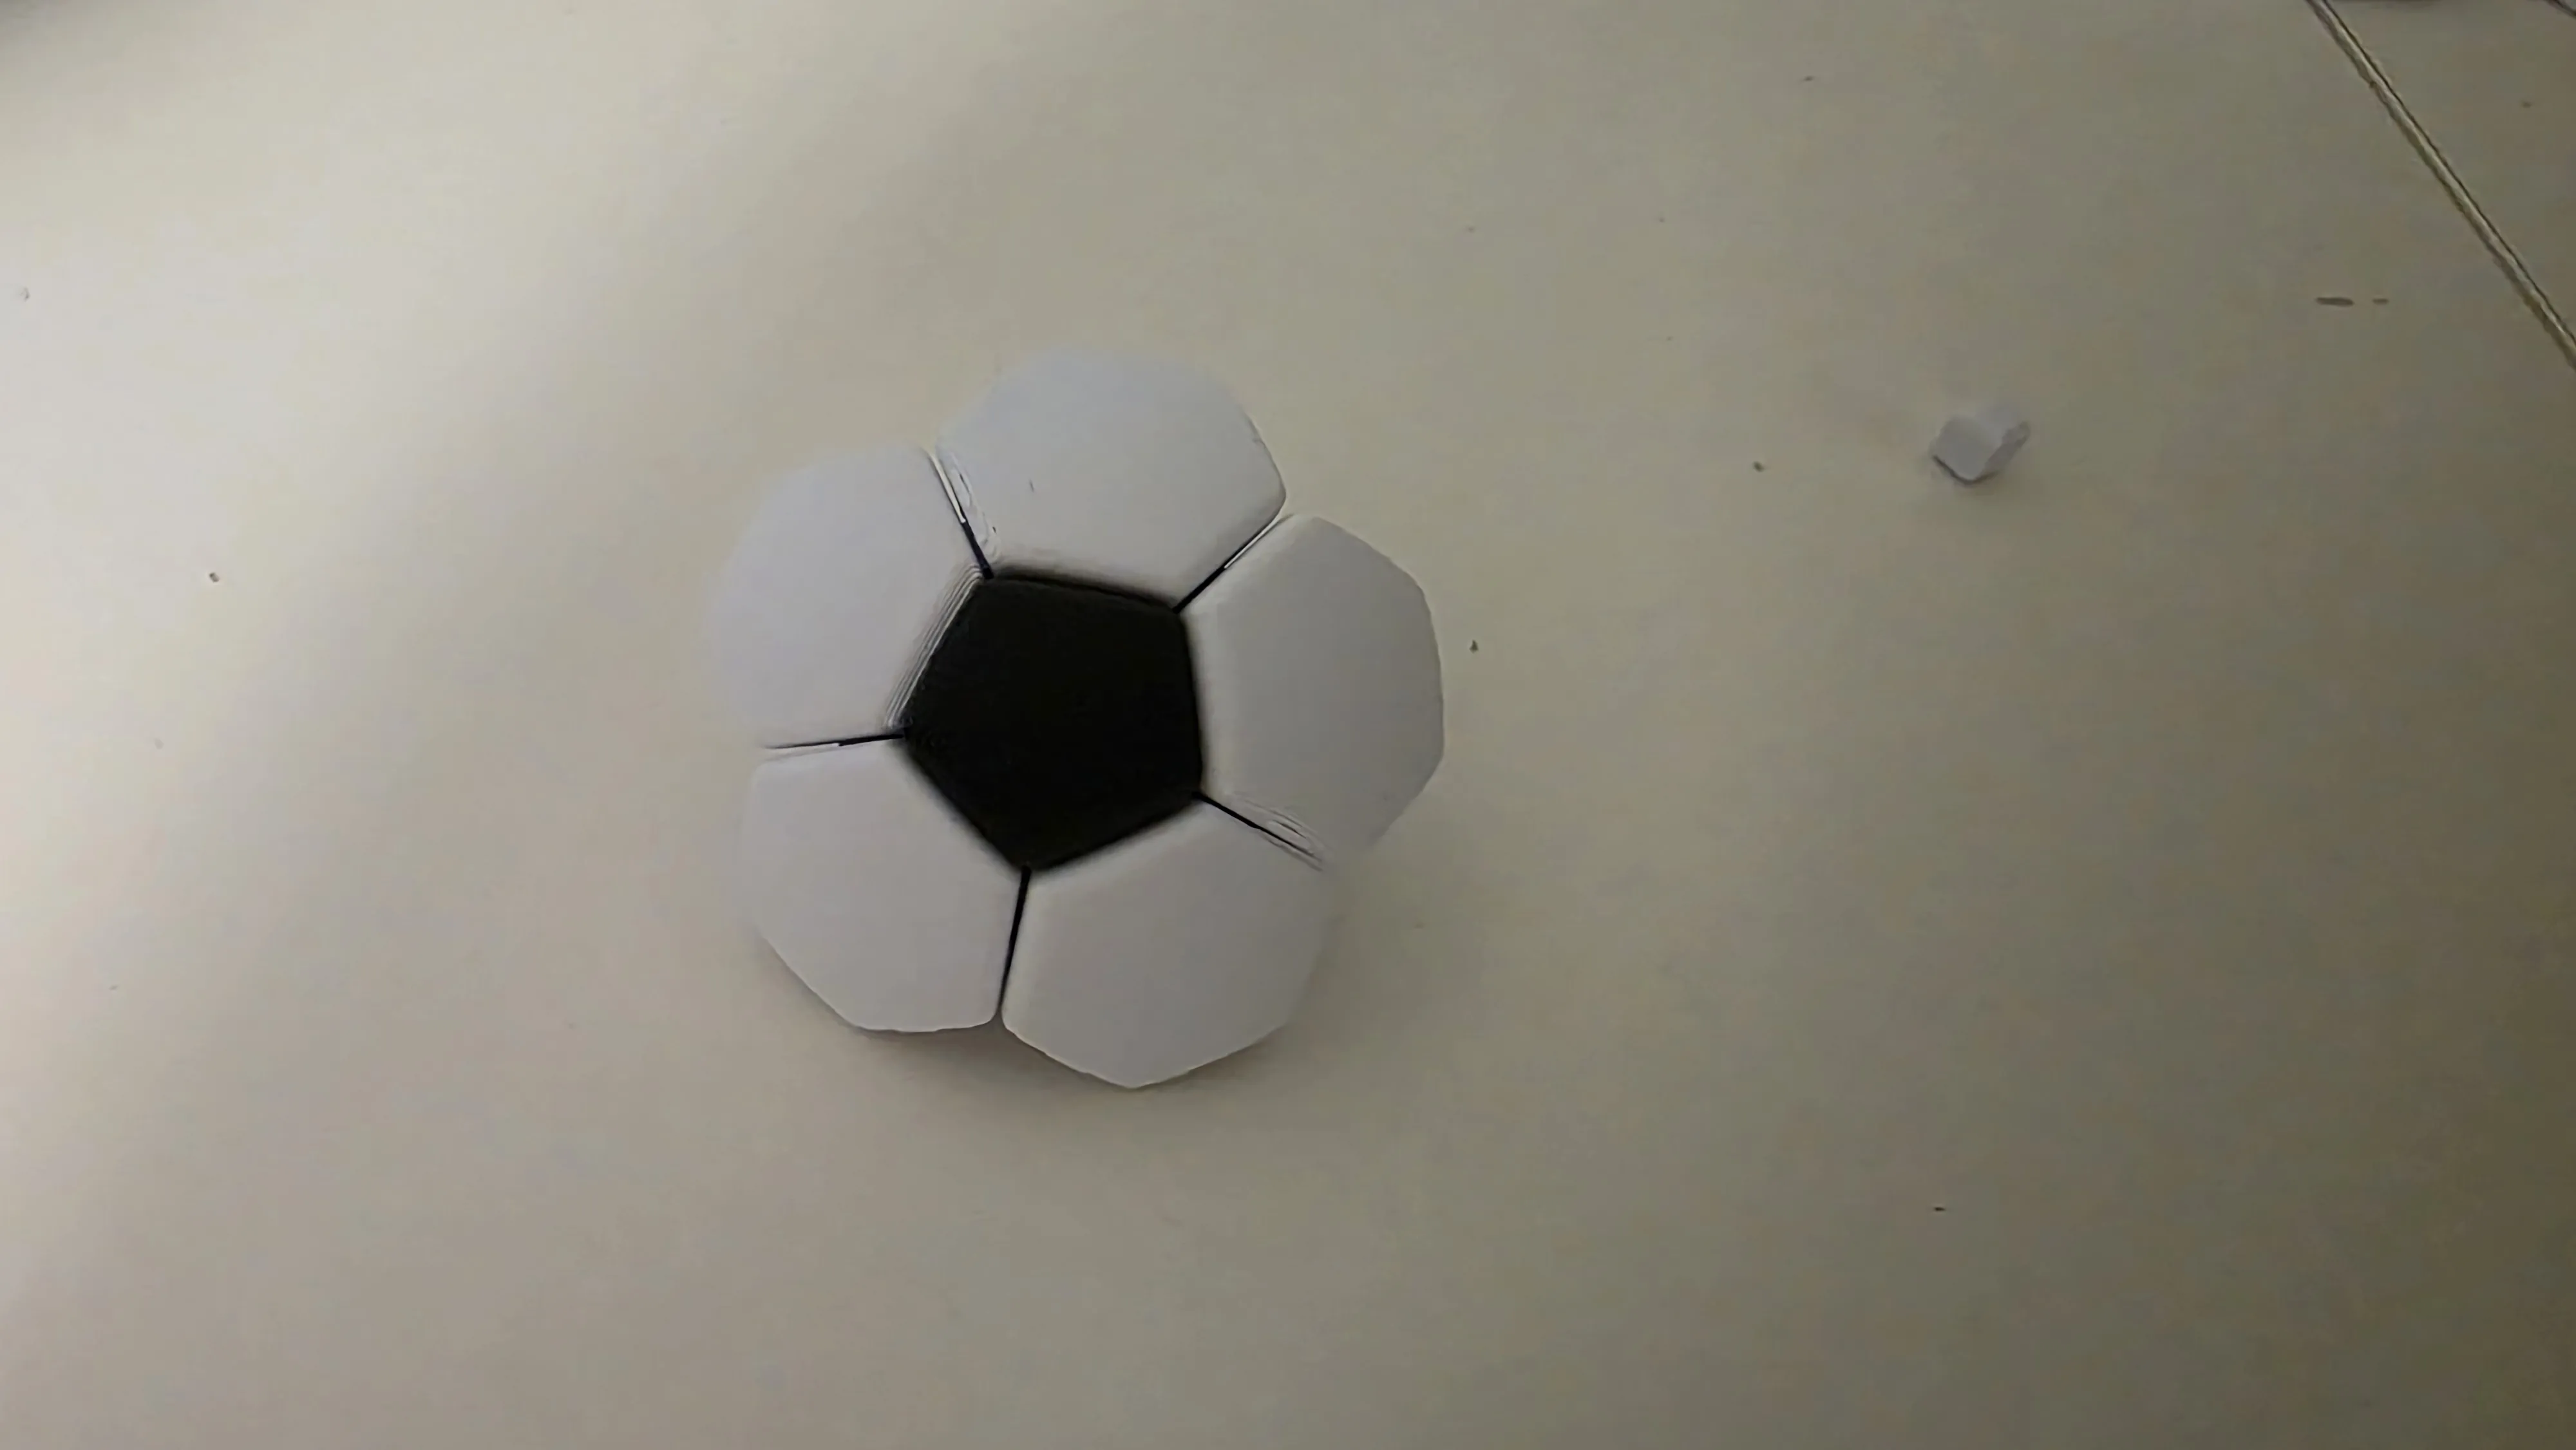
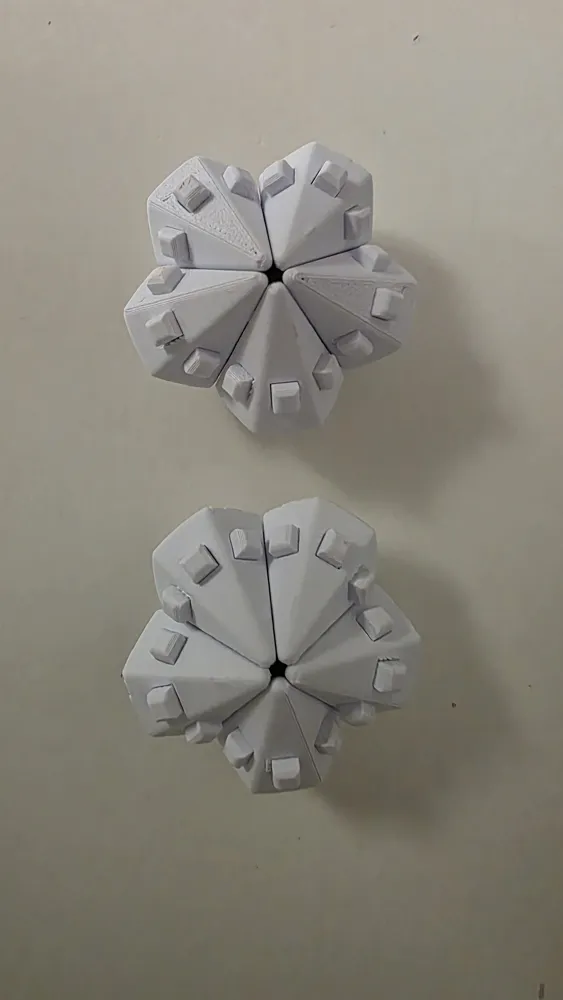
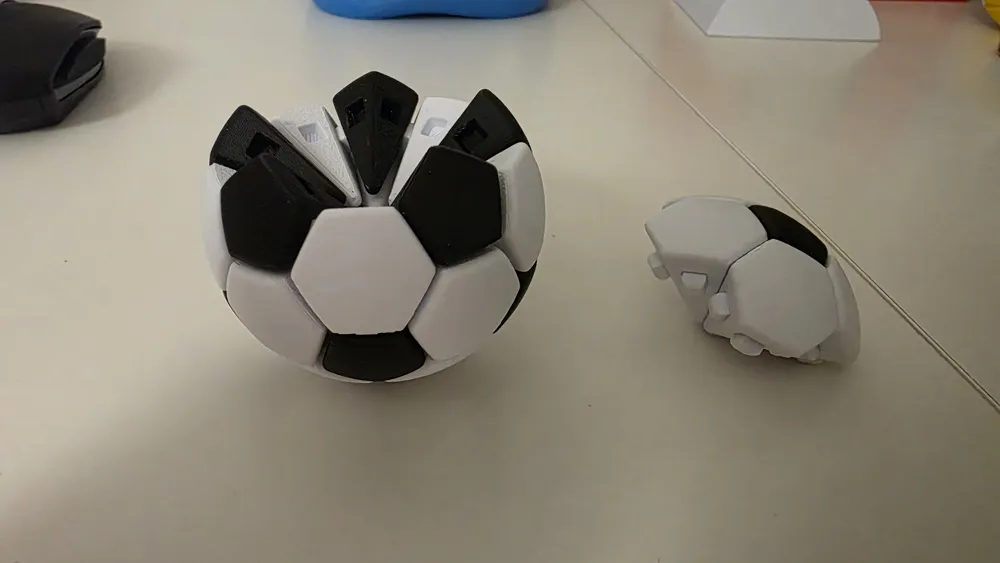
4. Repeat steps 1-3; we need two identical elements
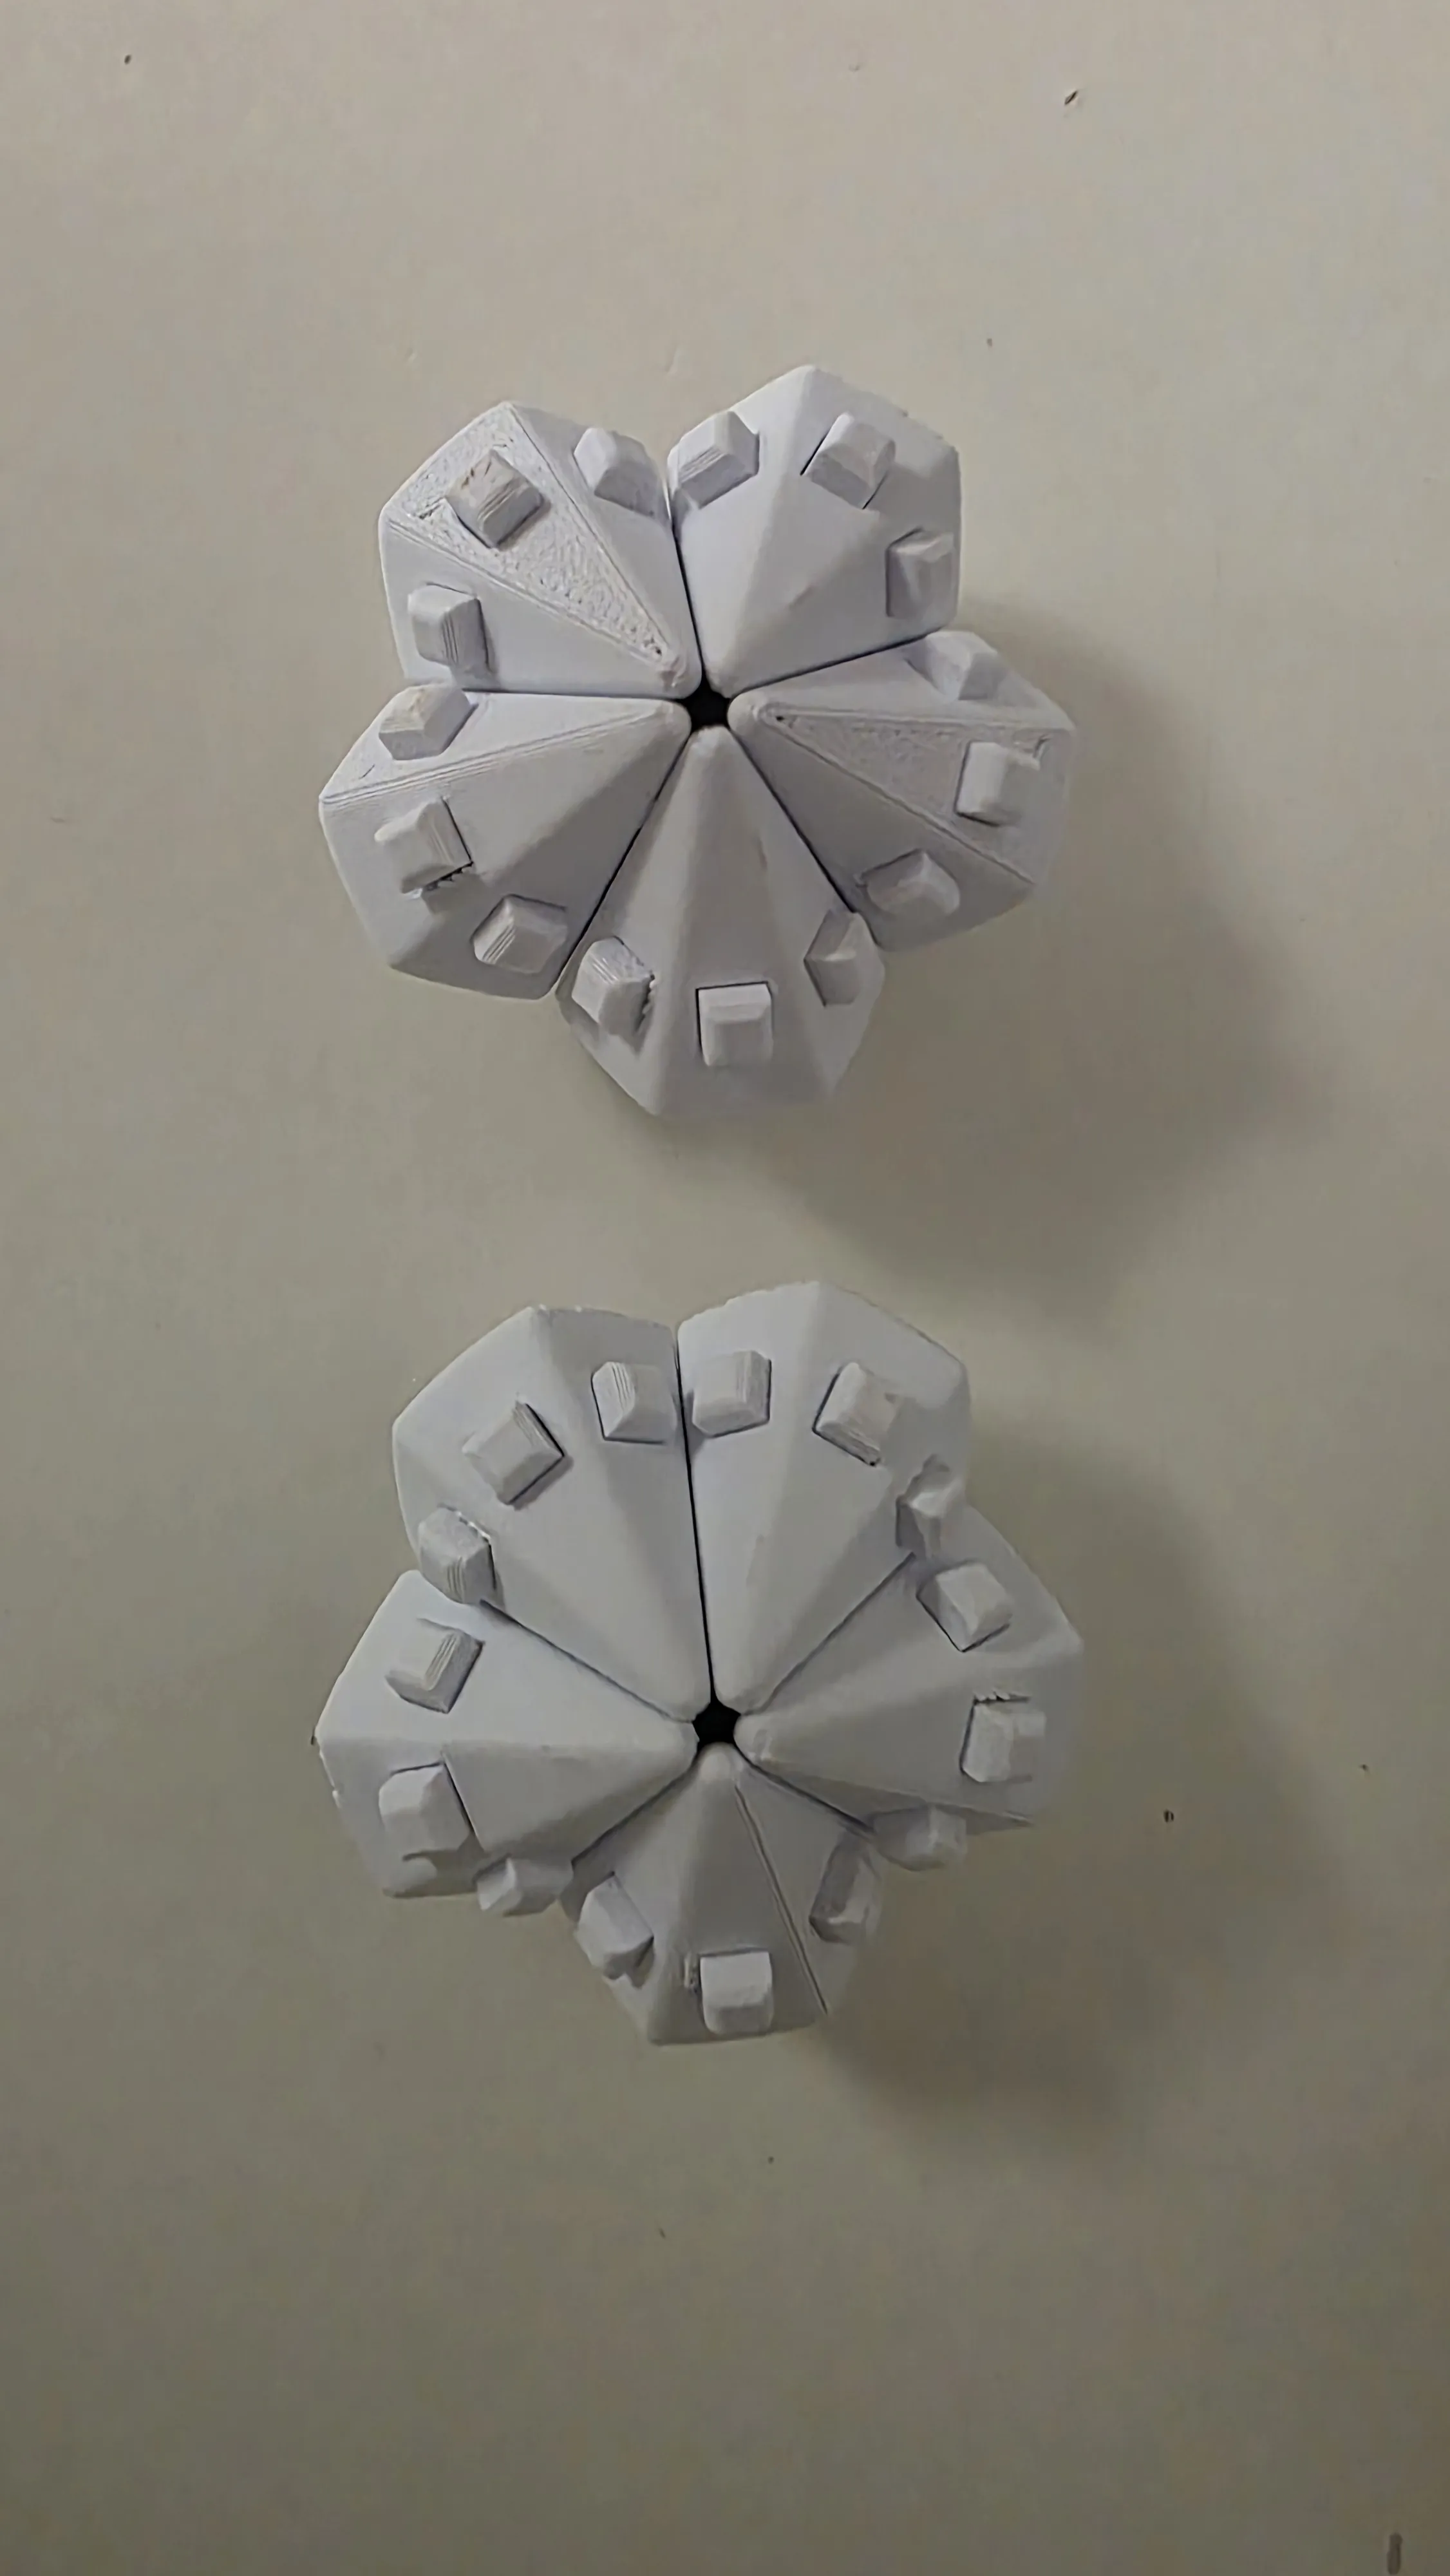
5. Now put aside one of the two elements we just completed; it will be needed at the very end
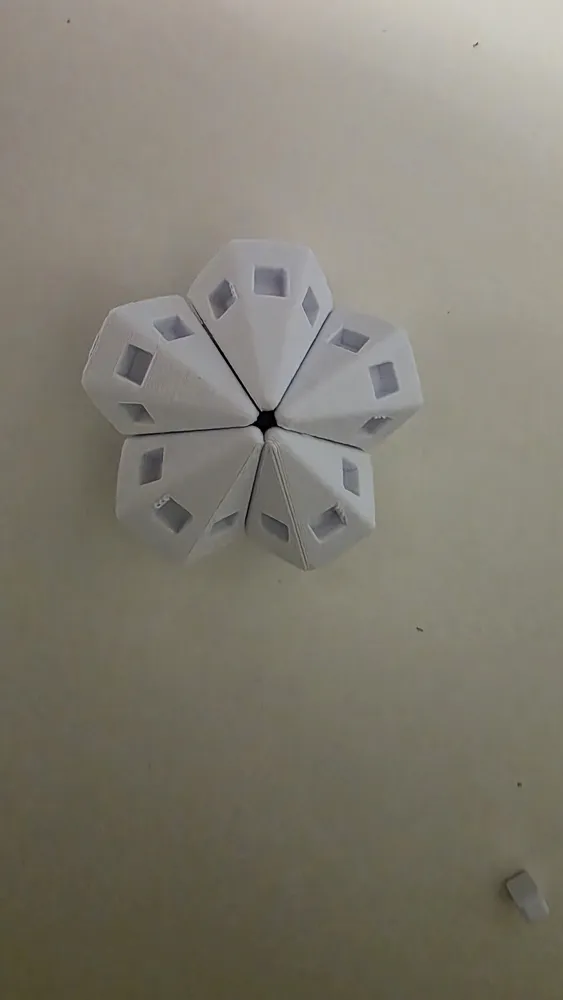
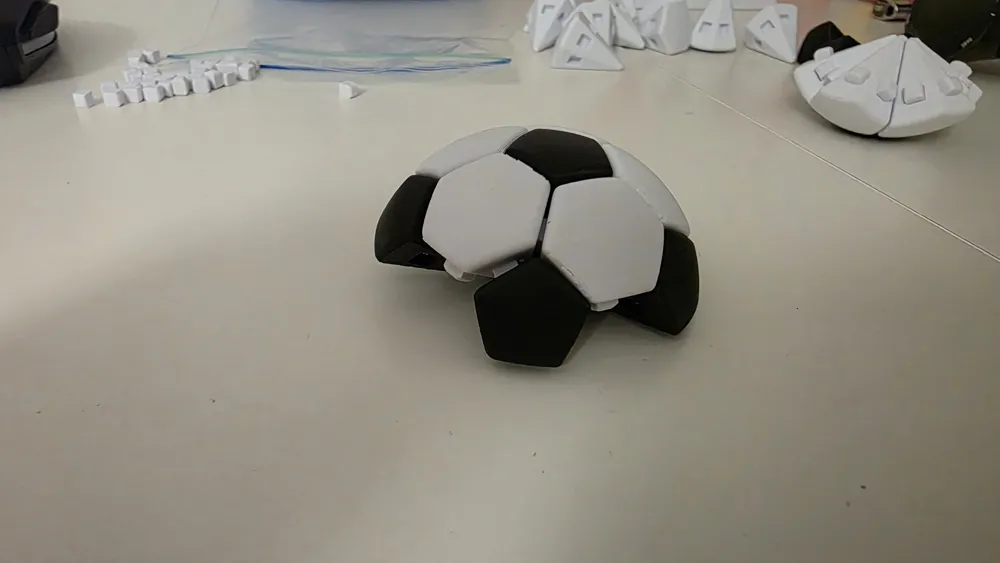
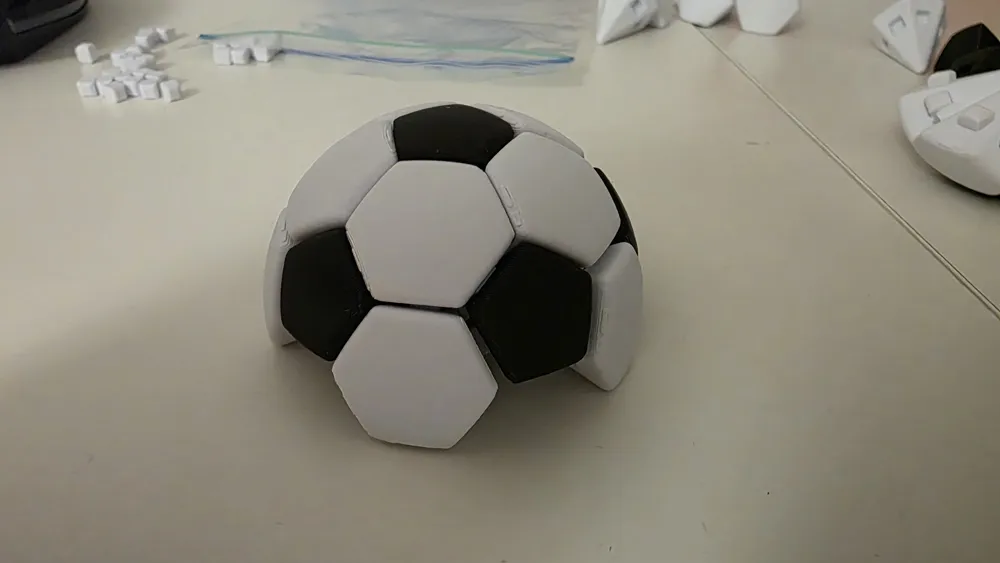
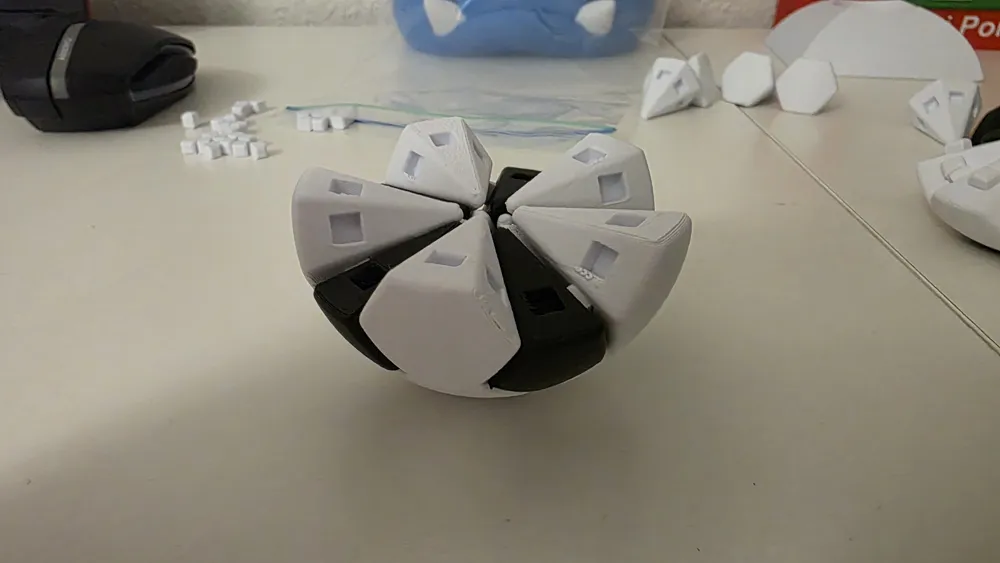
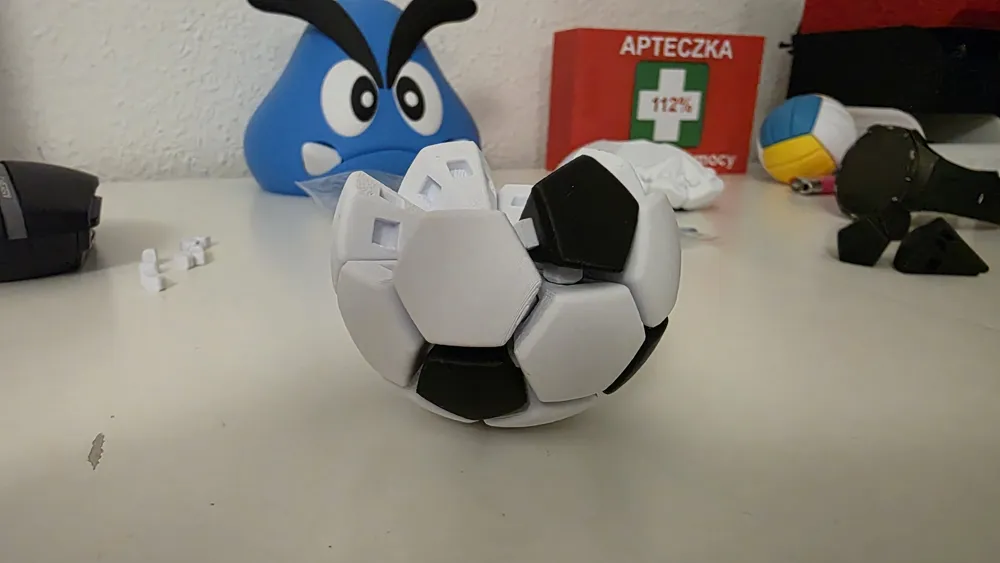
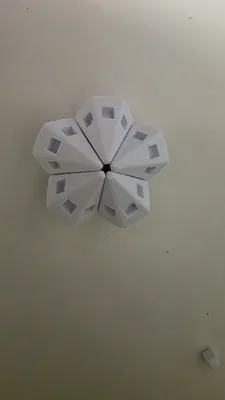
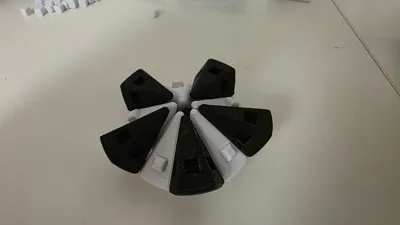
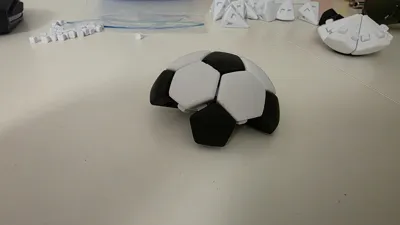
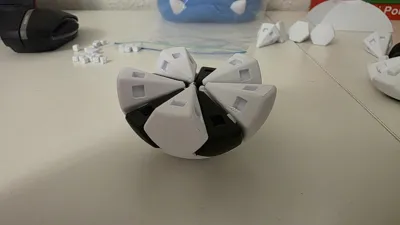
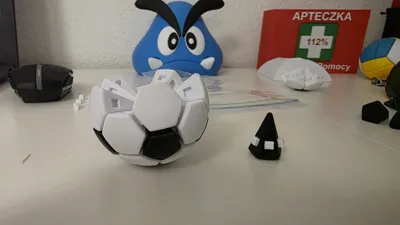
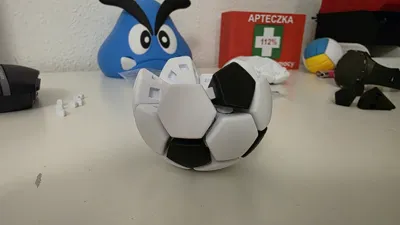
Add the remaining parts to the second element as shown in the pictures: black, then white, and finally black again
Remember to attach all pins so that the ball is strong and stable without using any glue
You might need to be a bit creative and slightly expand the elements so that subsequent ones can fit into place
It's not extremely difficult, and if you have nimble hands, you'll manage without a problem
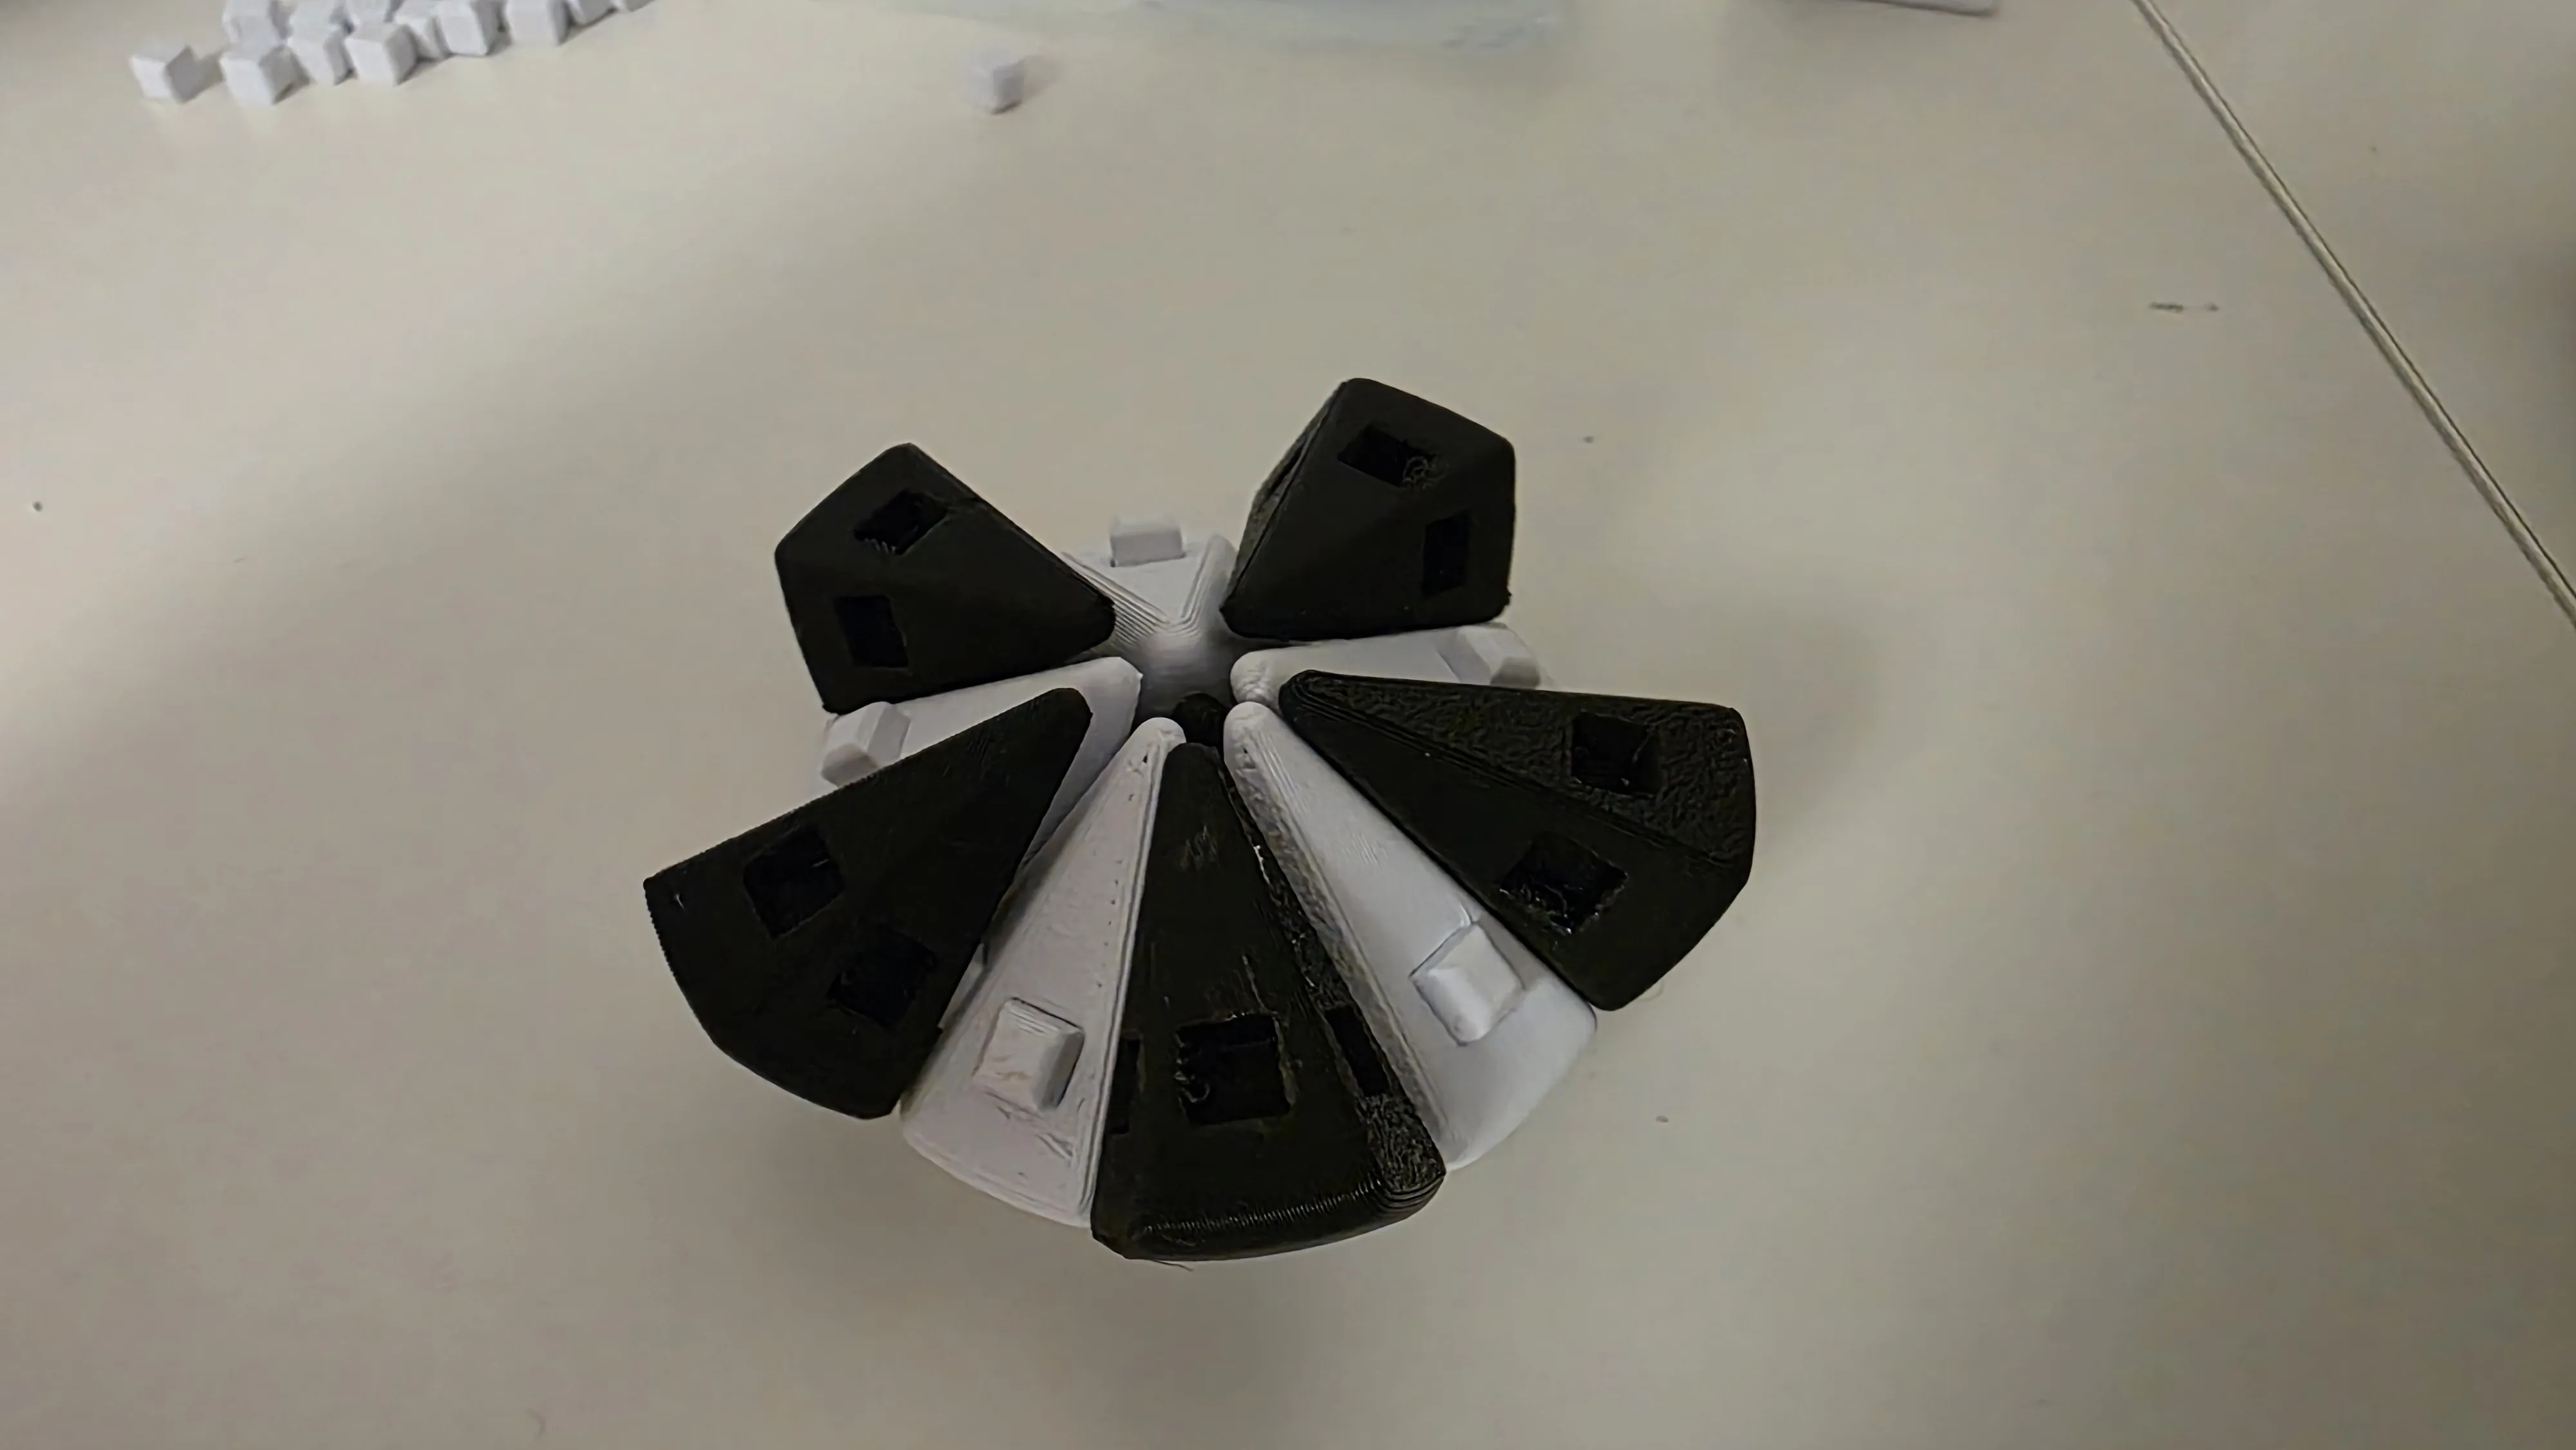
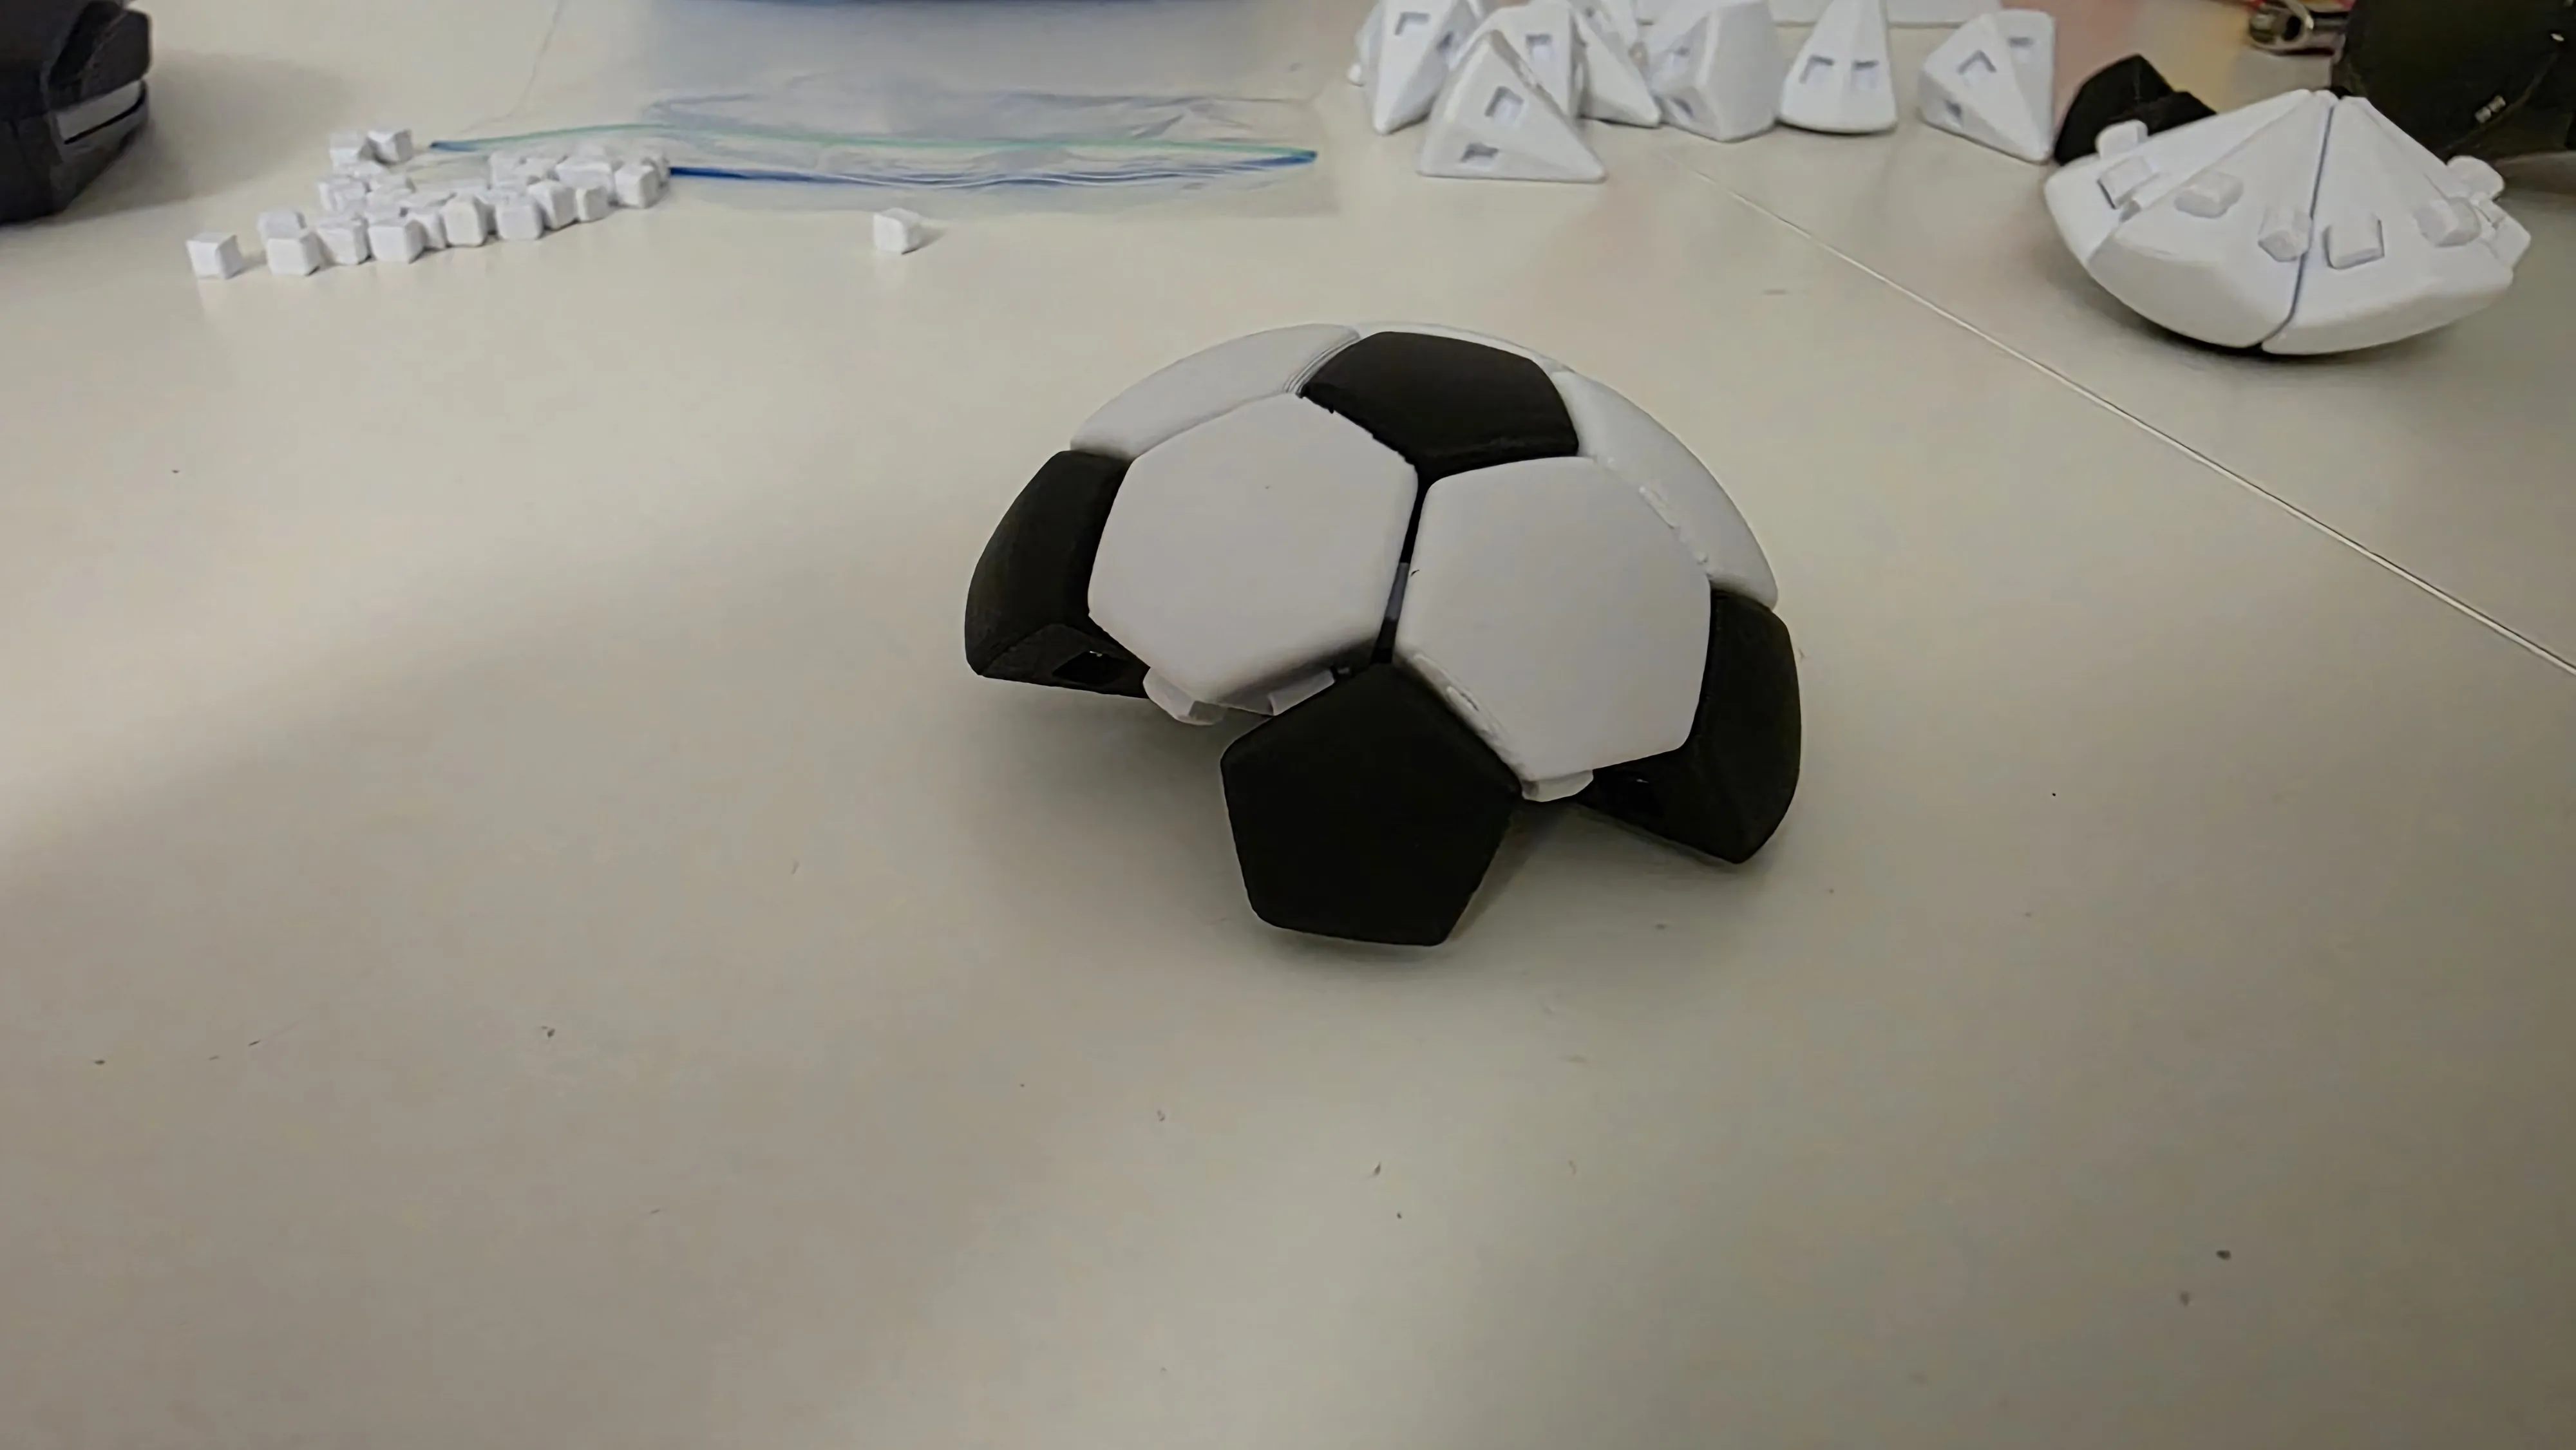
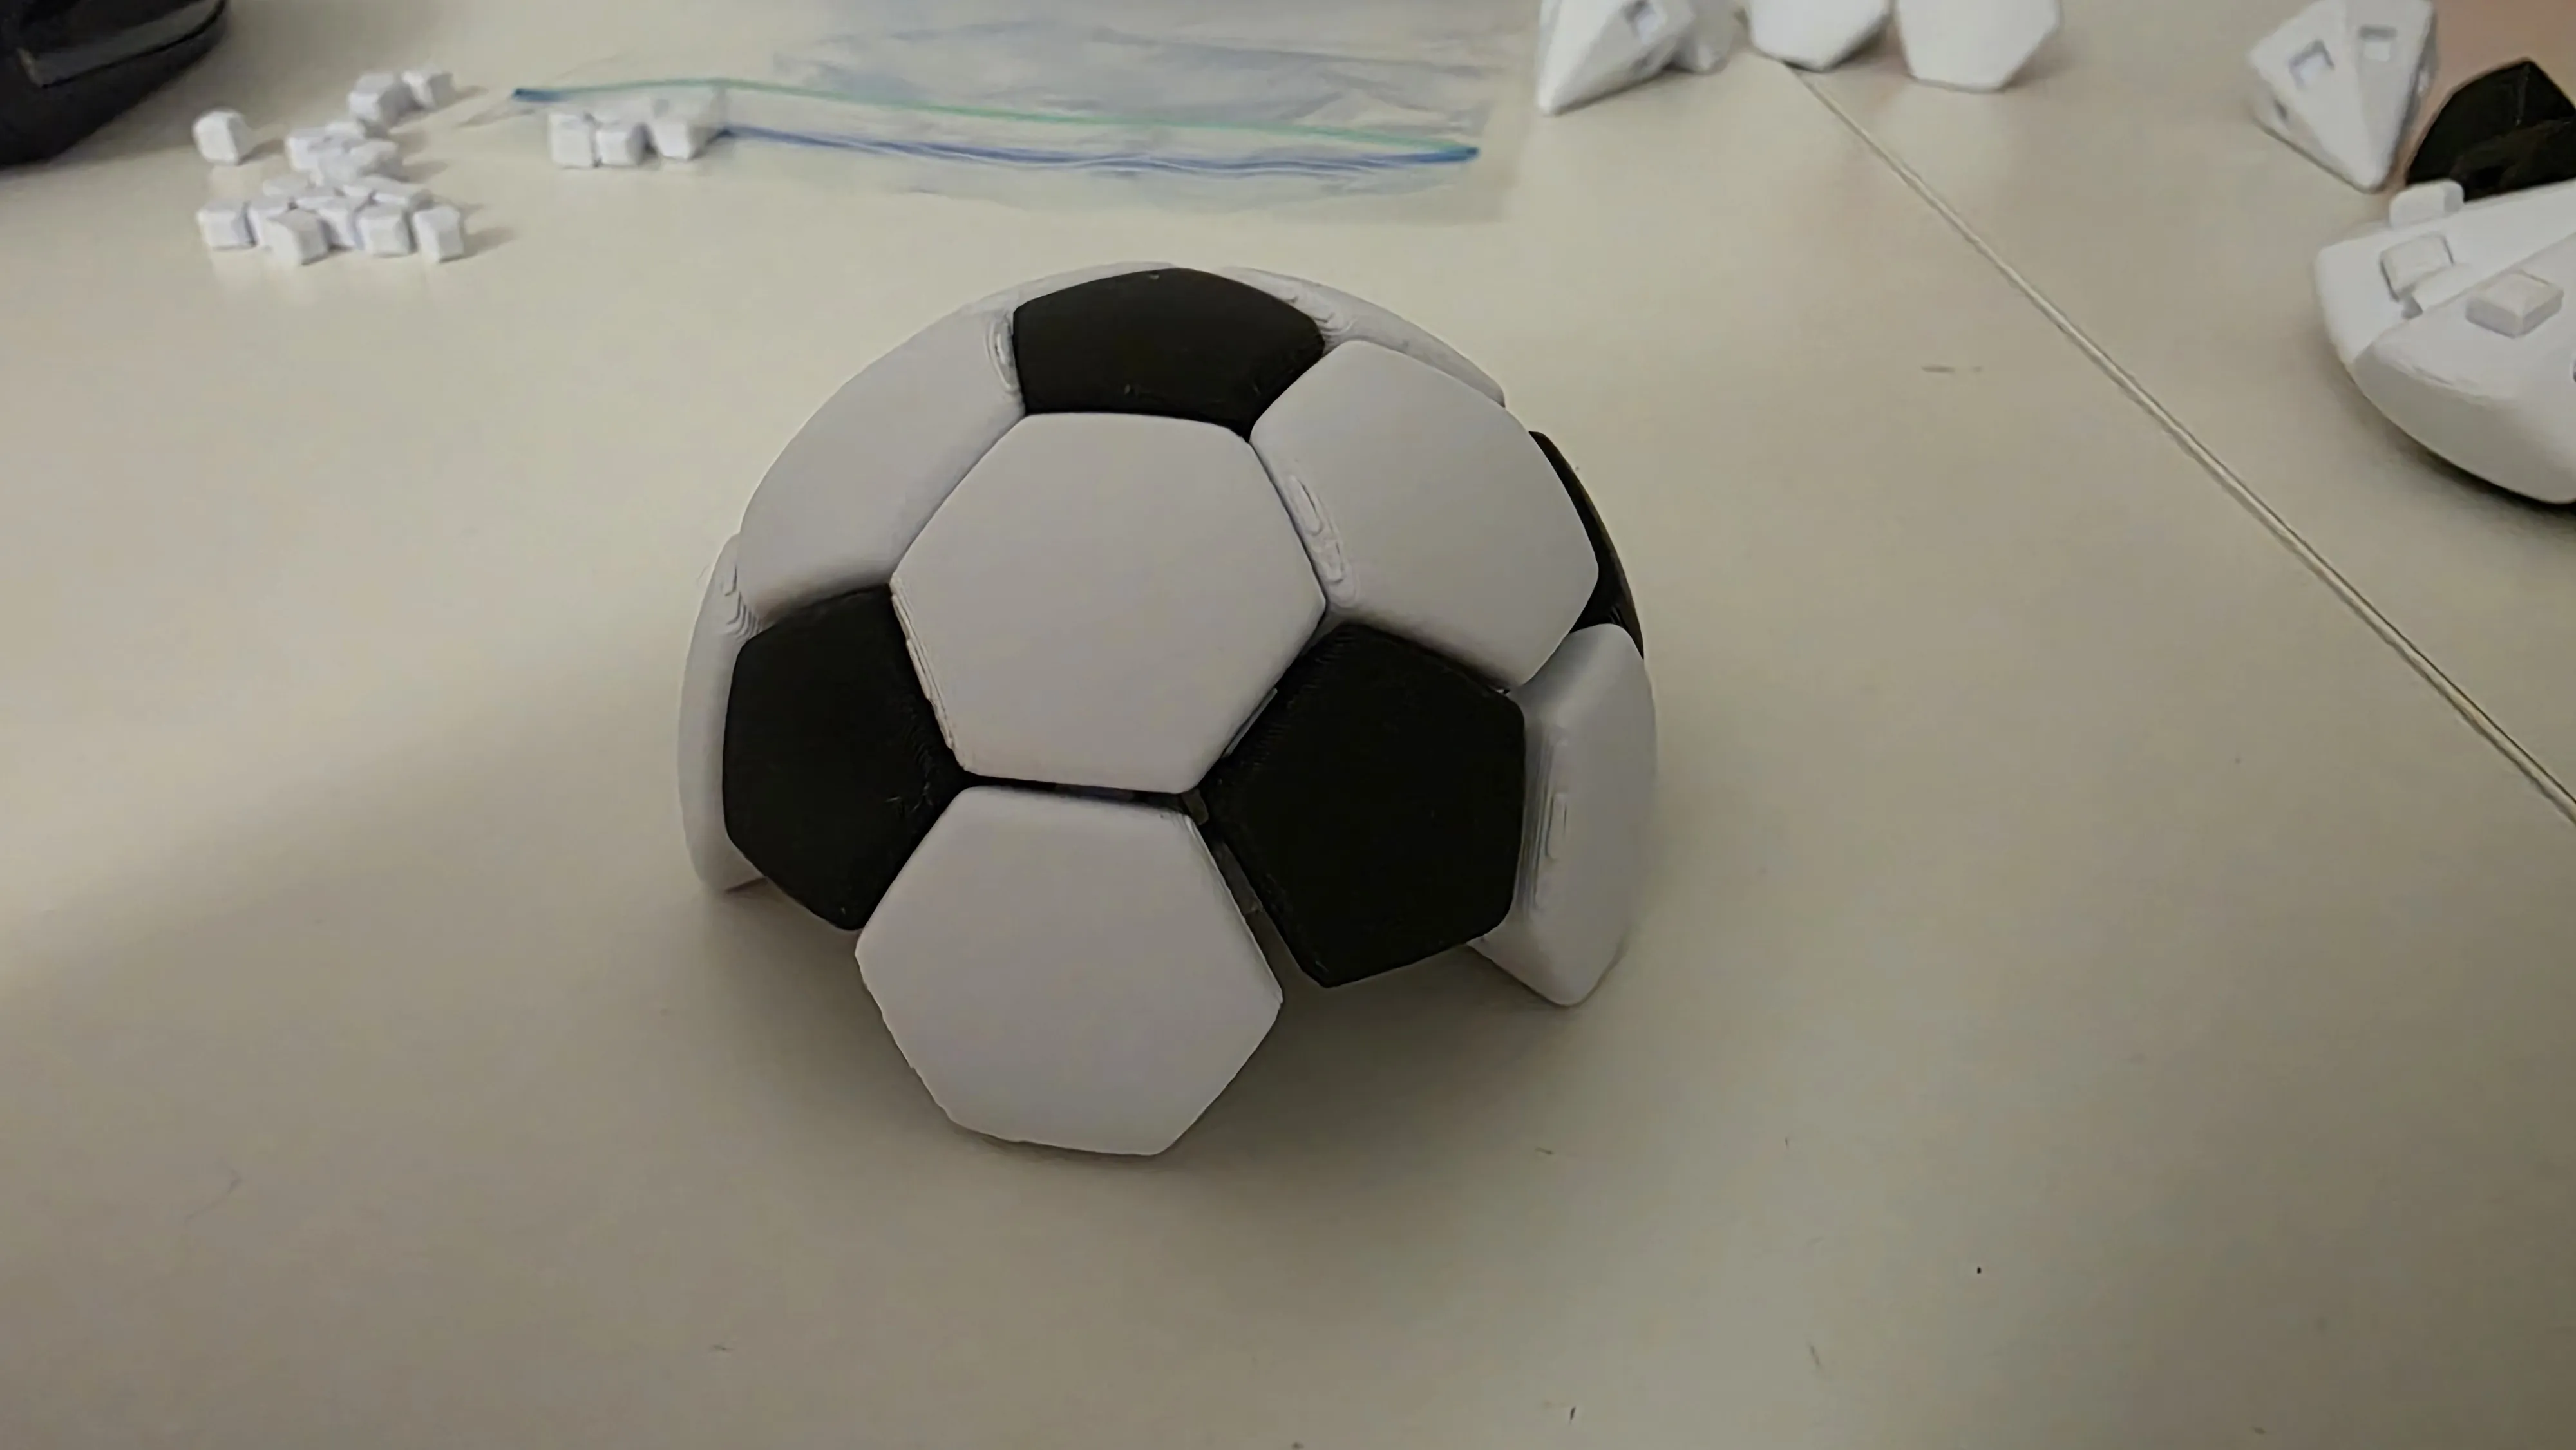
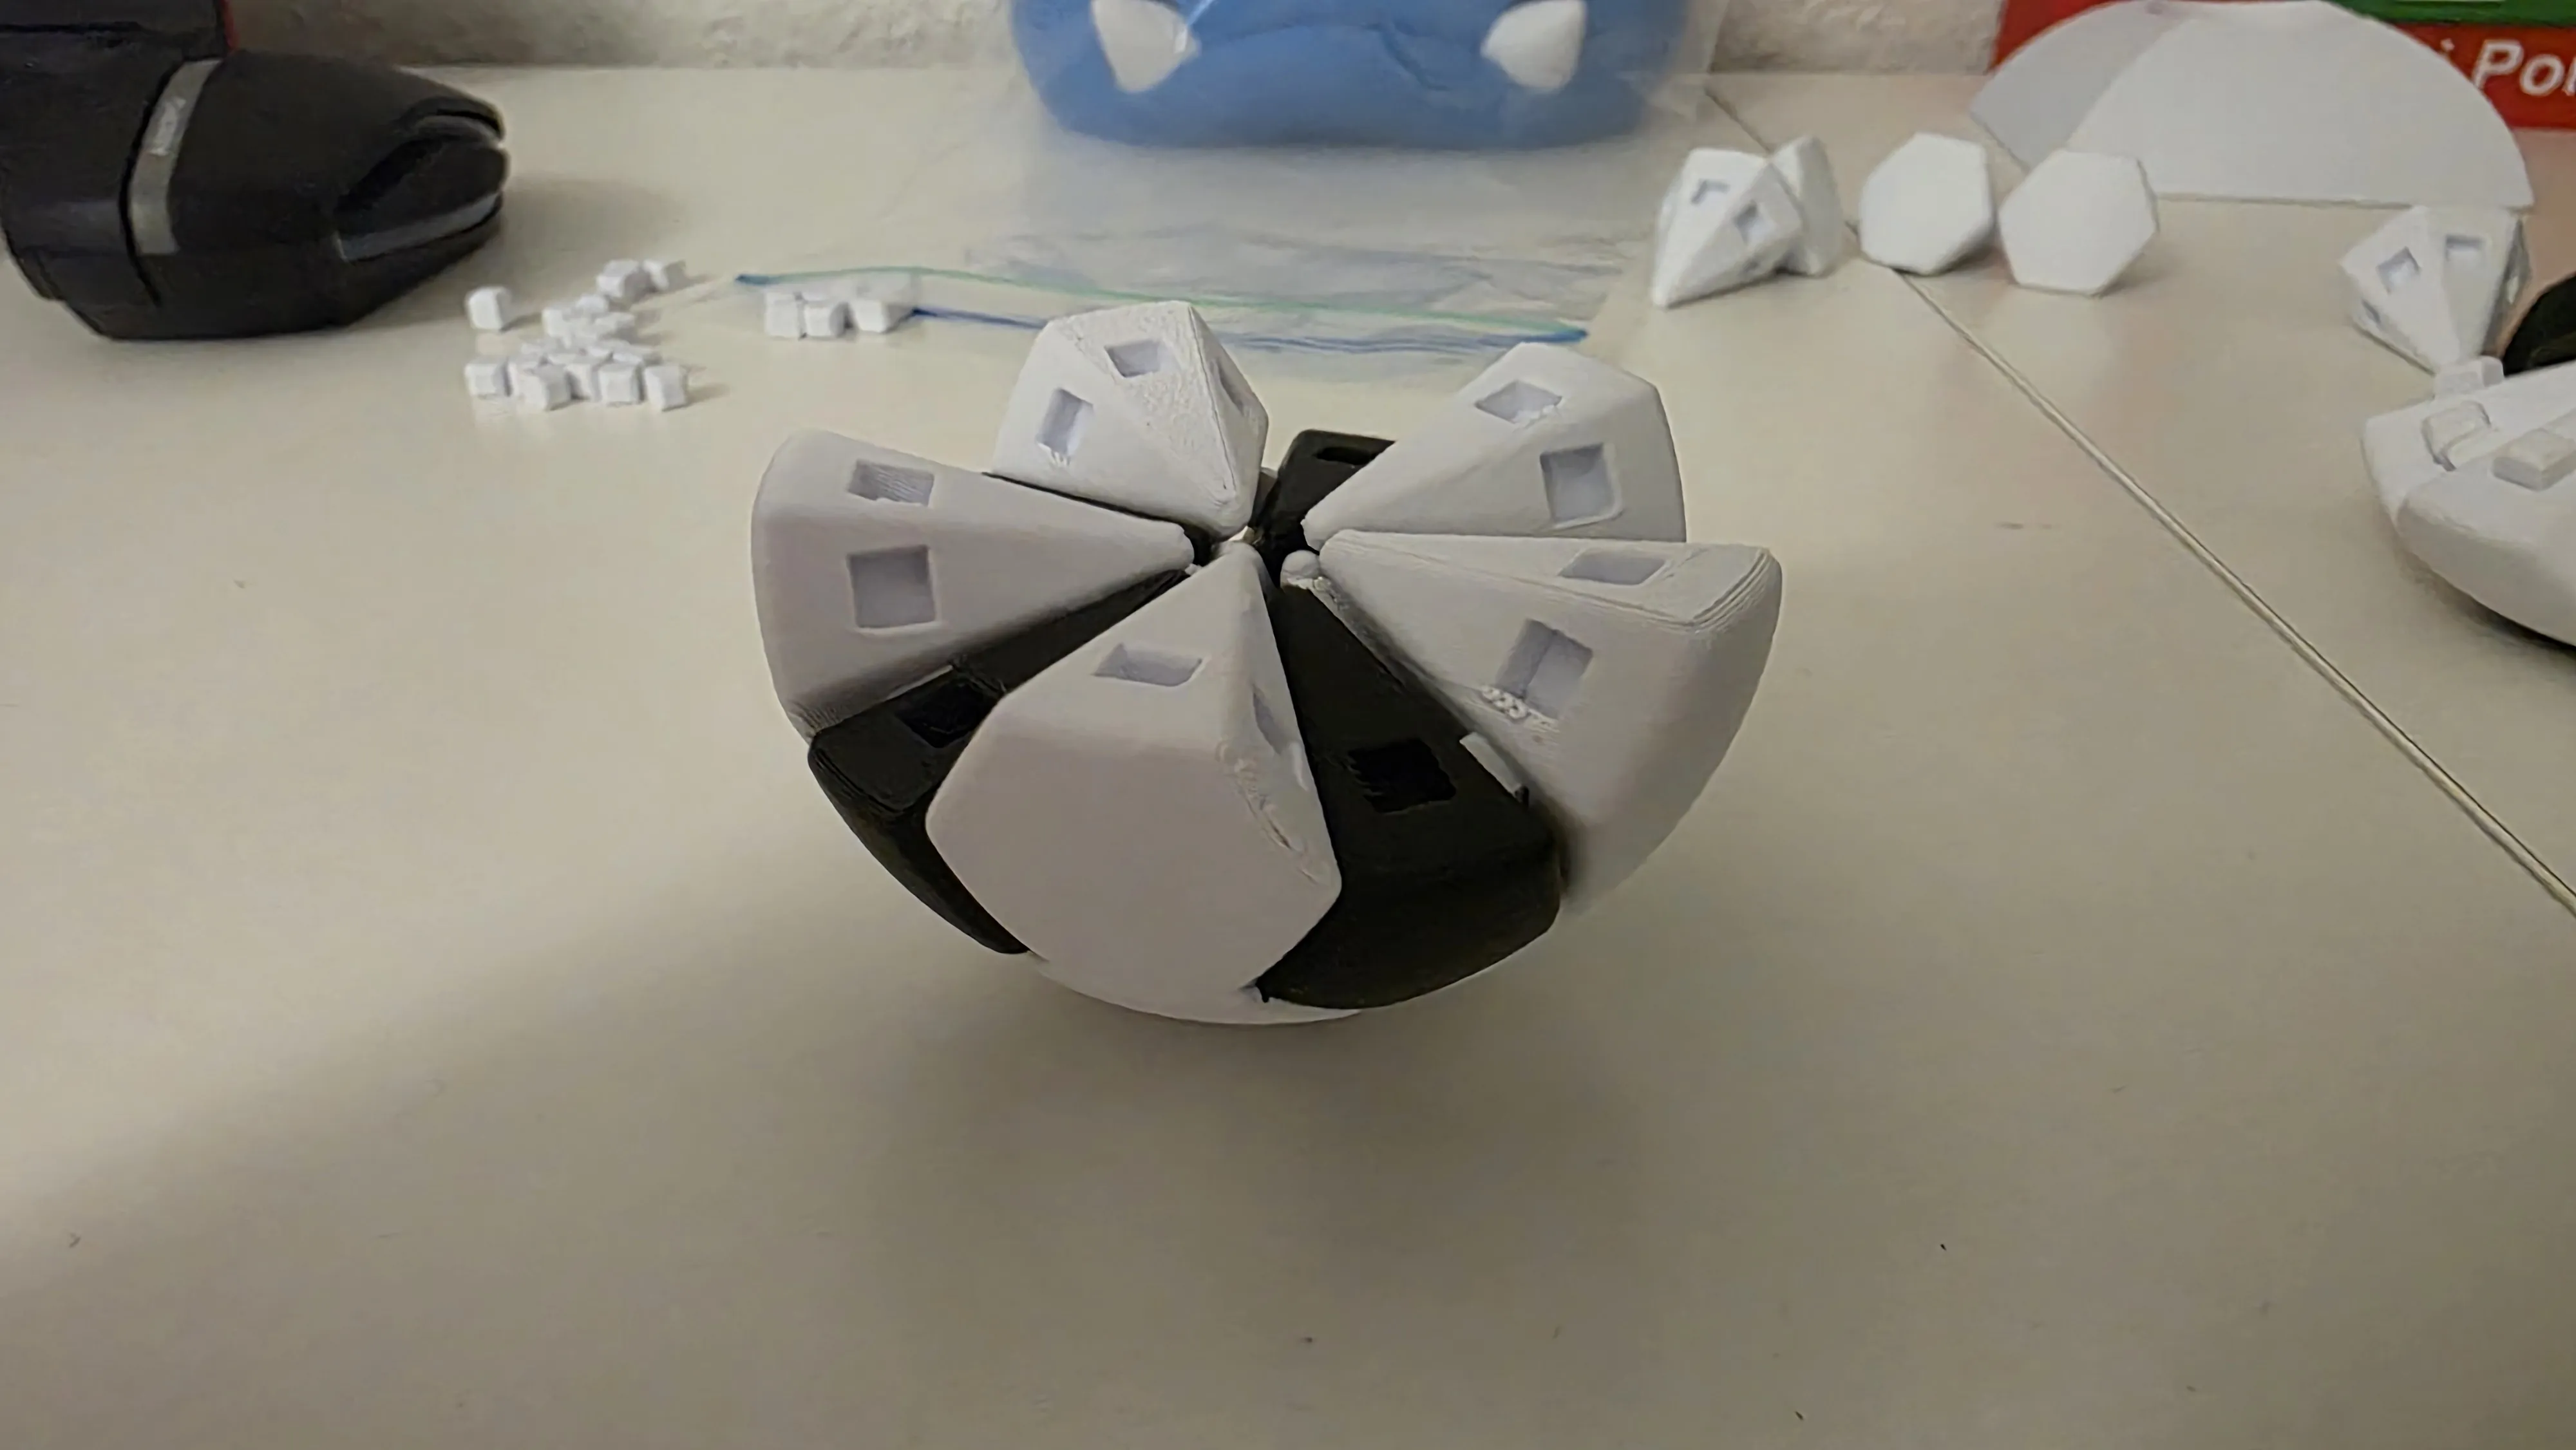
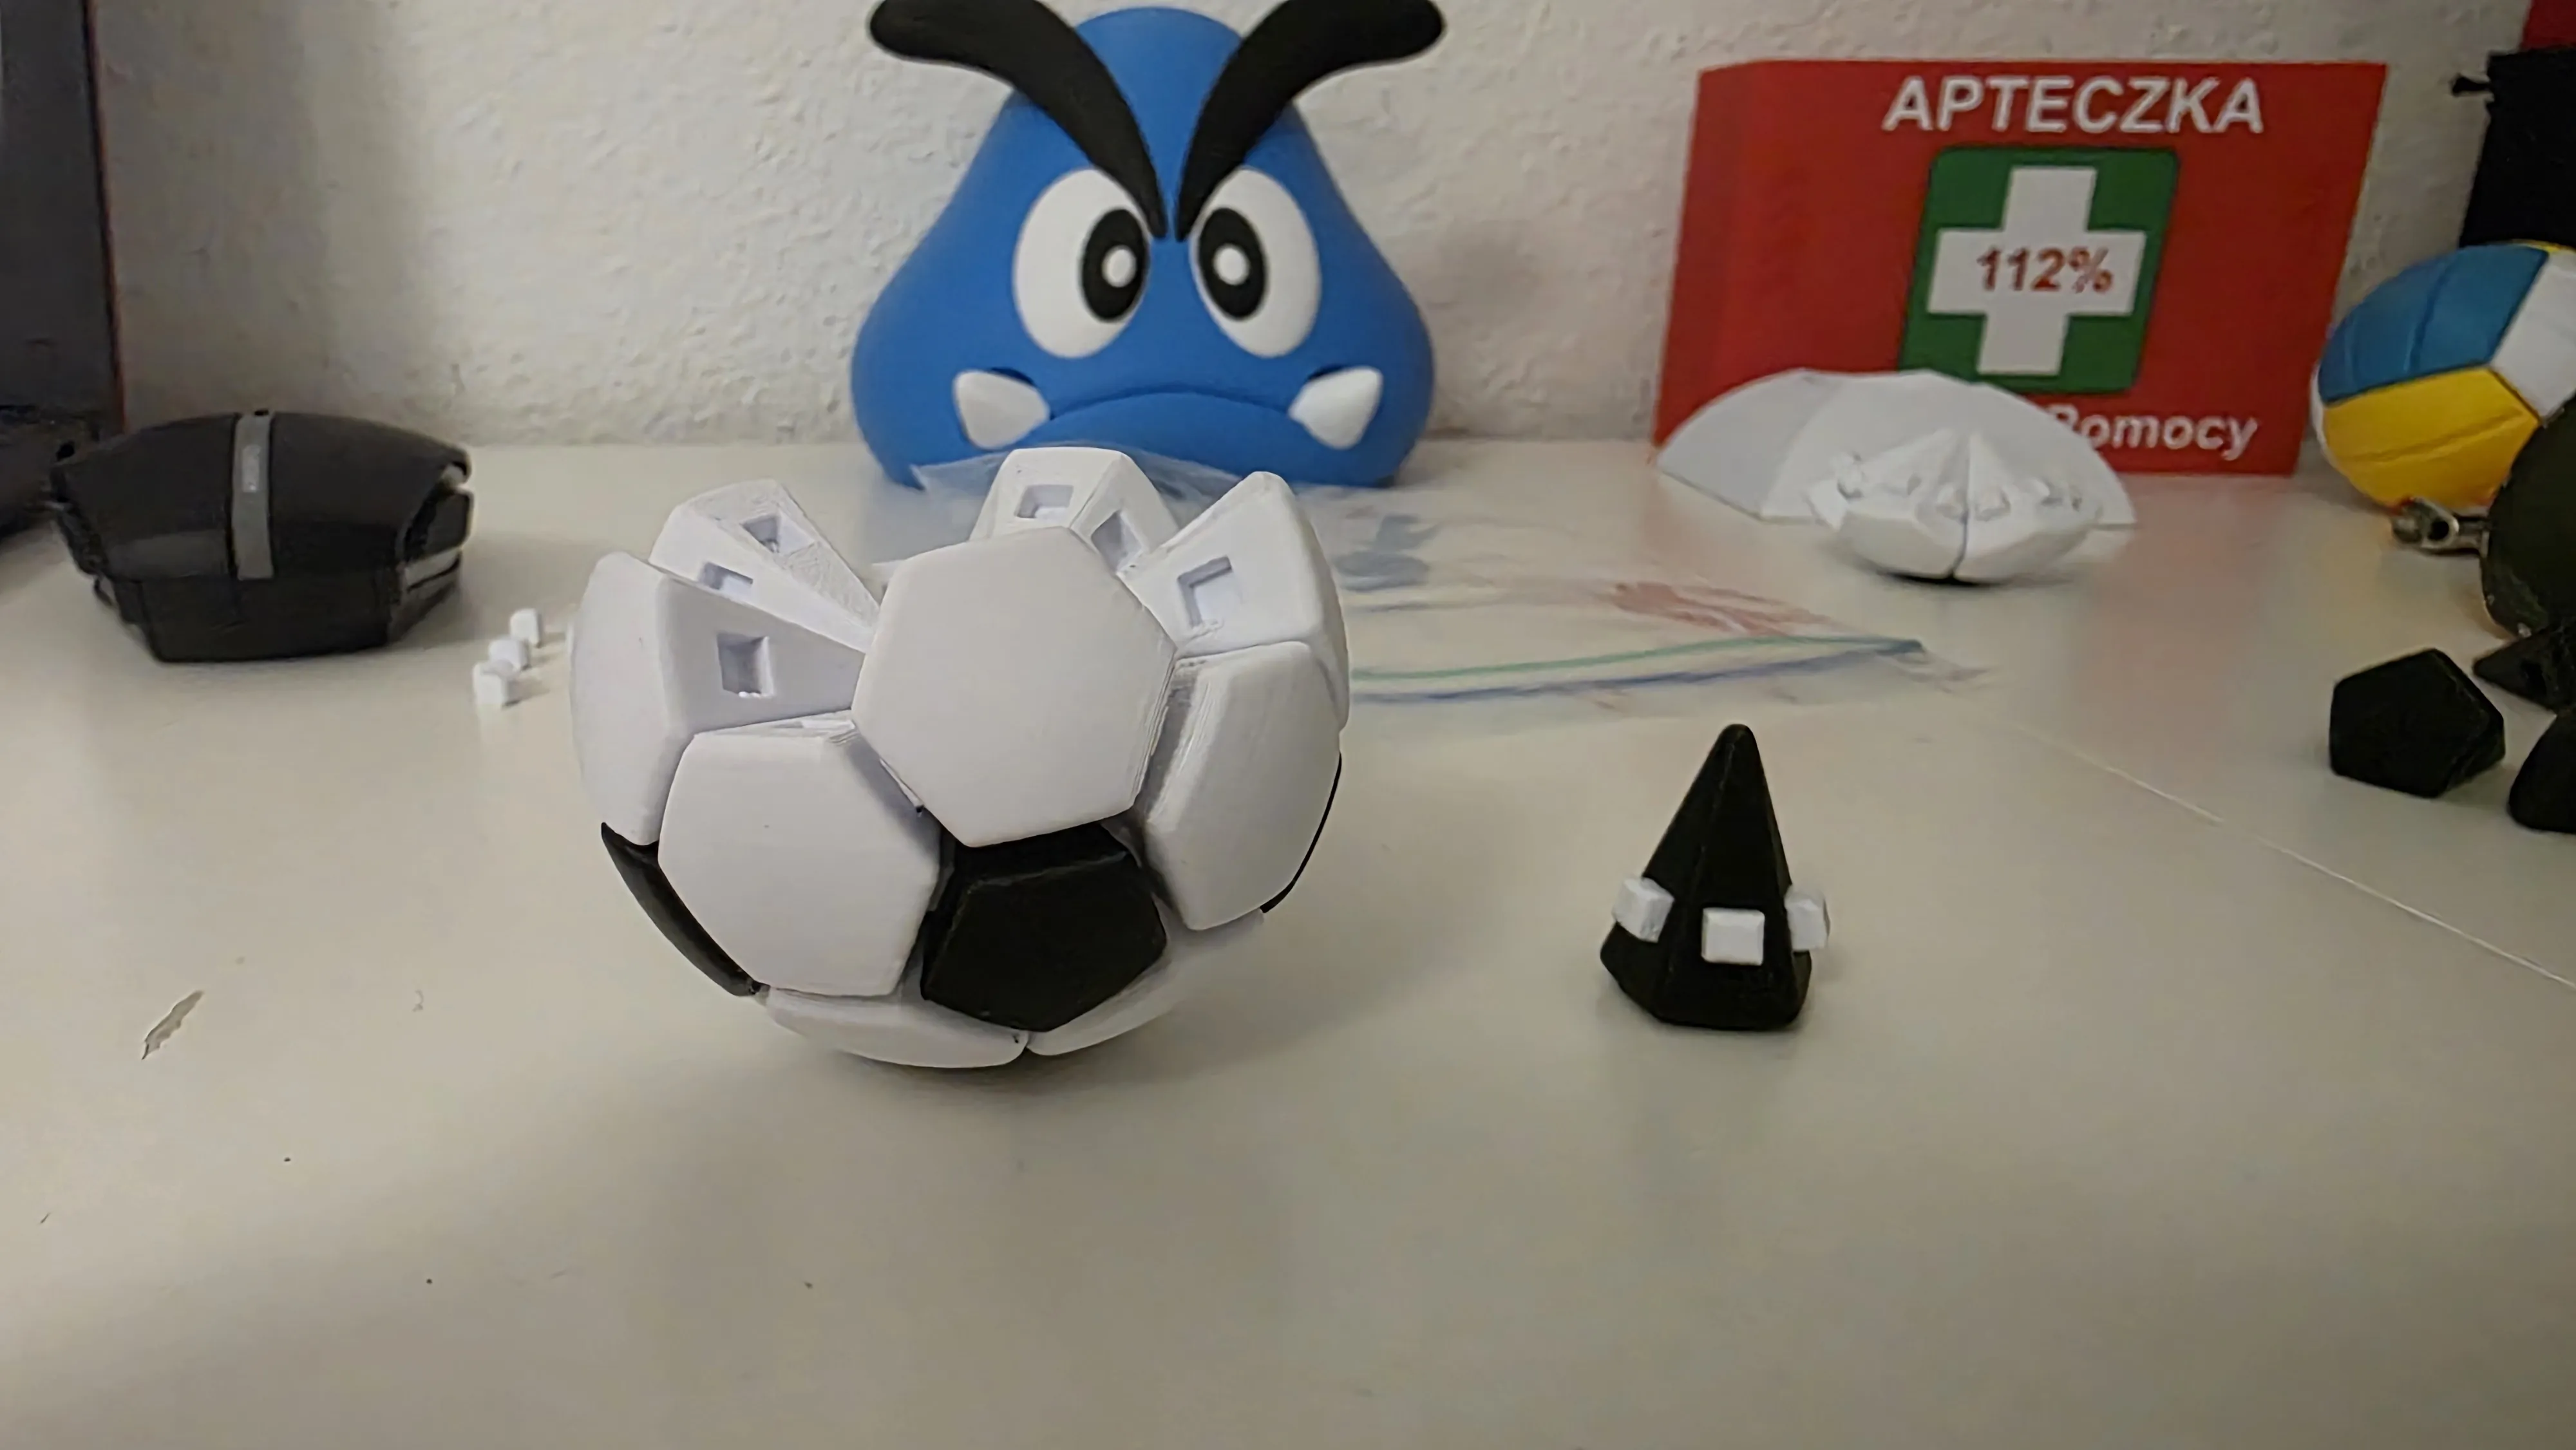
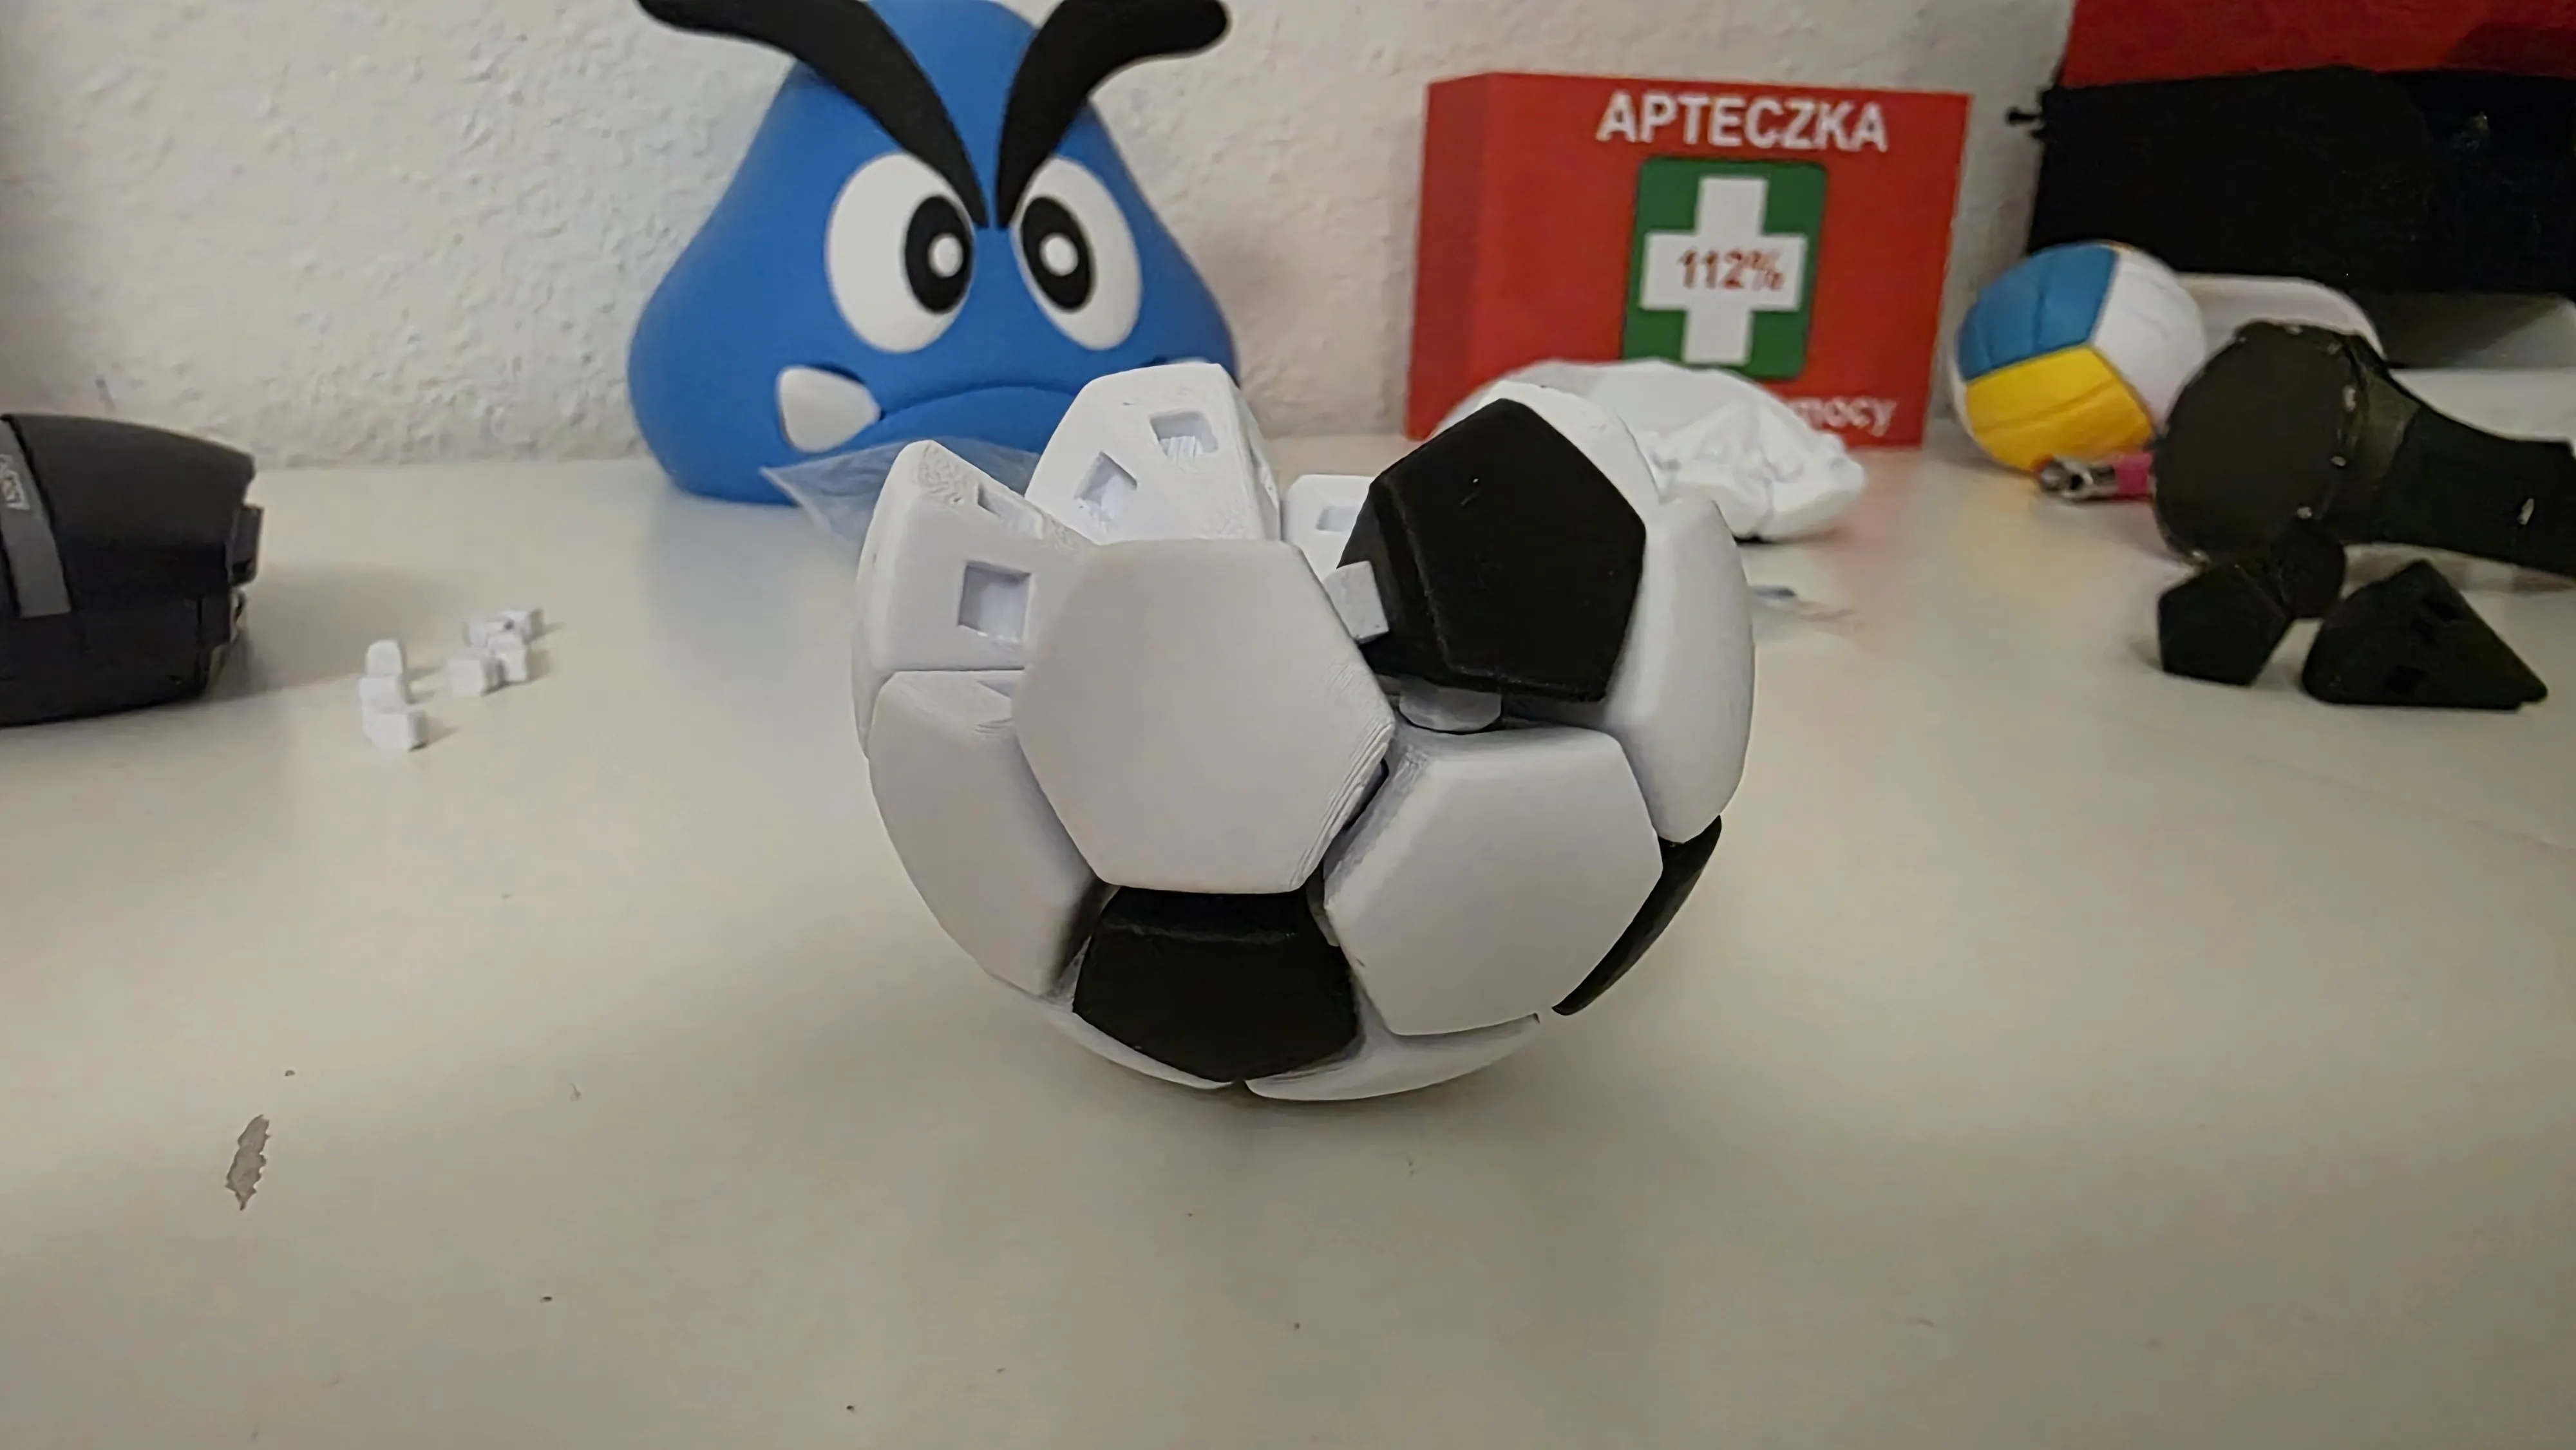
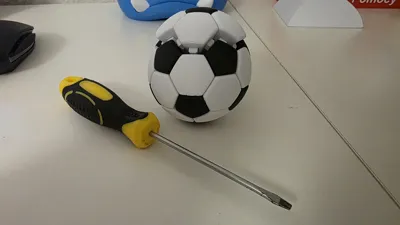
6. We are almost at the finish line; all that remains is to connect the element we put aside at the beginning with the nearly completed sphere
To do this, it's best to use a small flat screwdriver to slightly expand the small element we set aside at the very beginning. After gentle expansion, everything will fall into place. Finally, simply press the entire ball from all sides until all gaps are eliminated
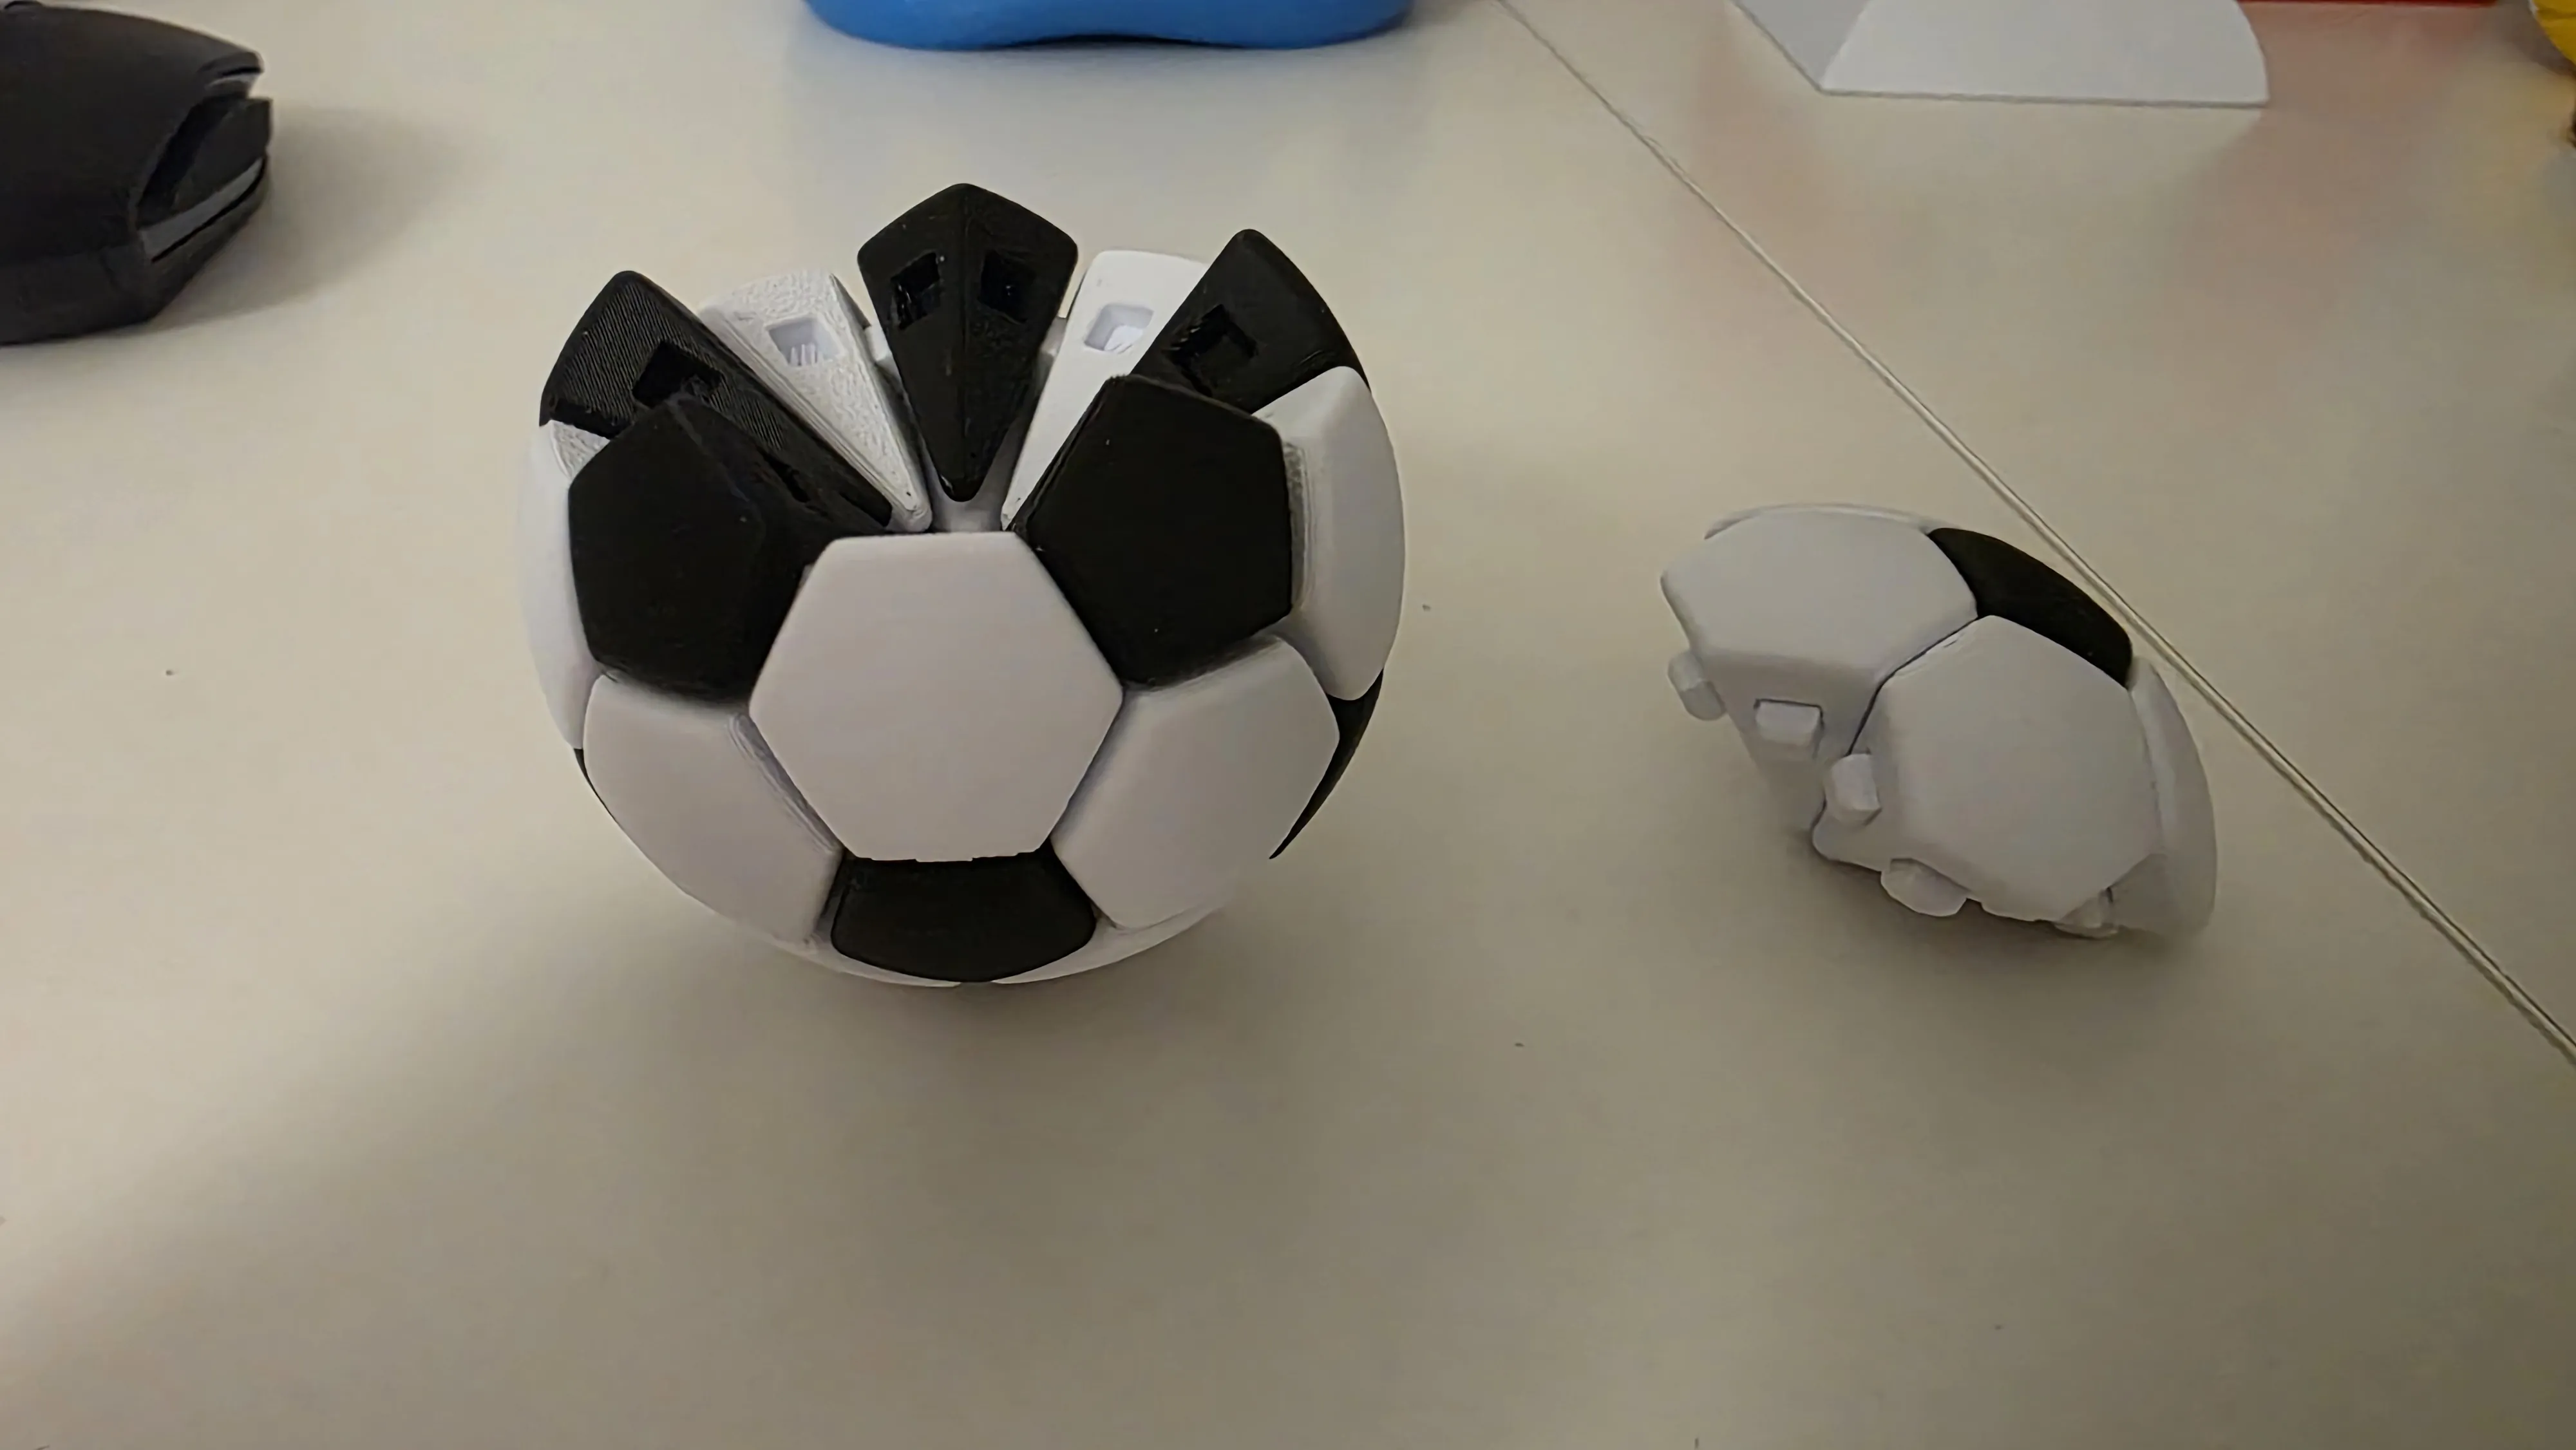
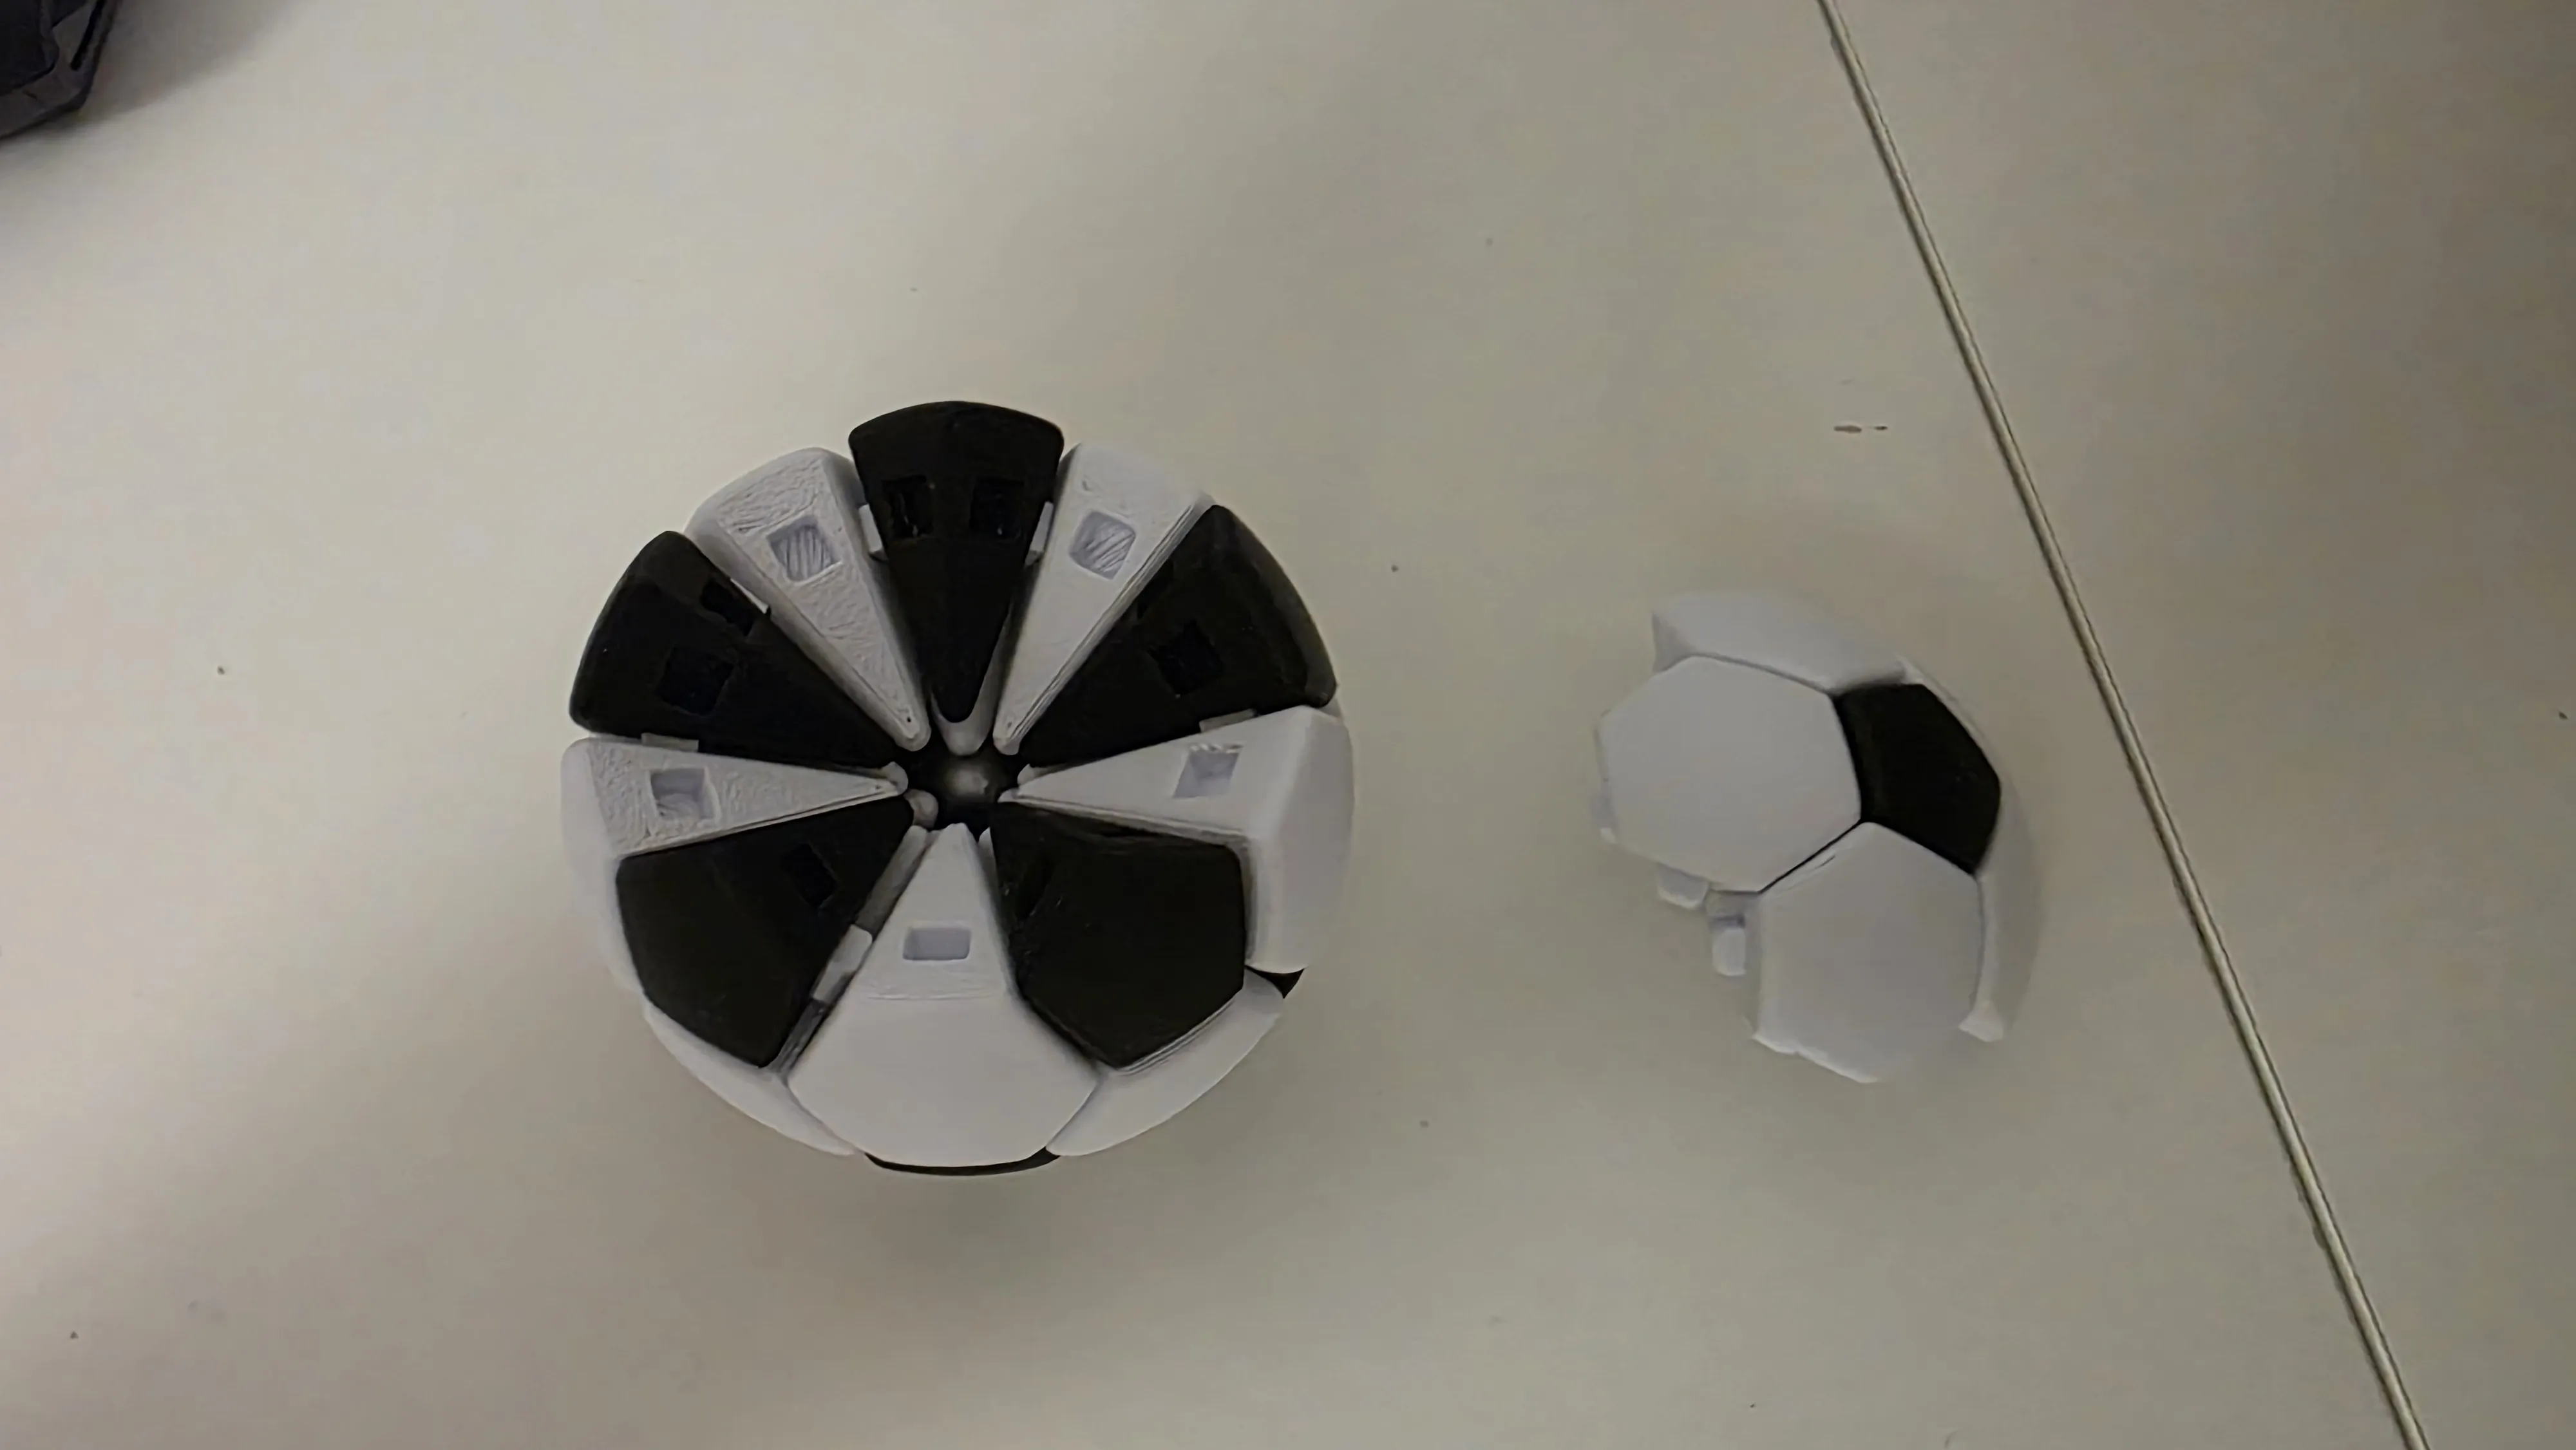
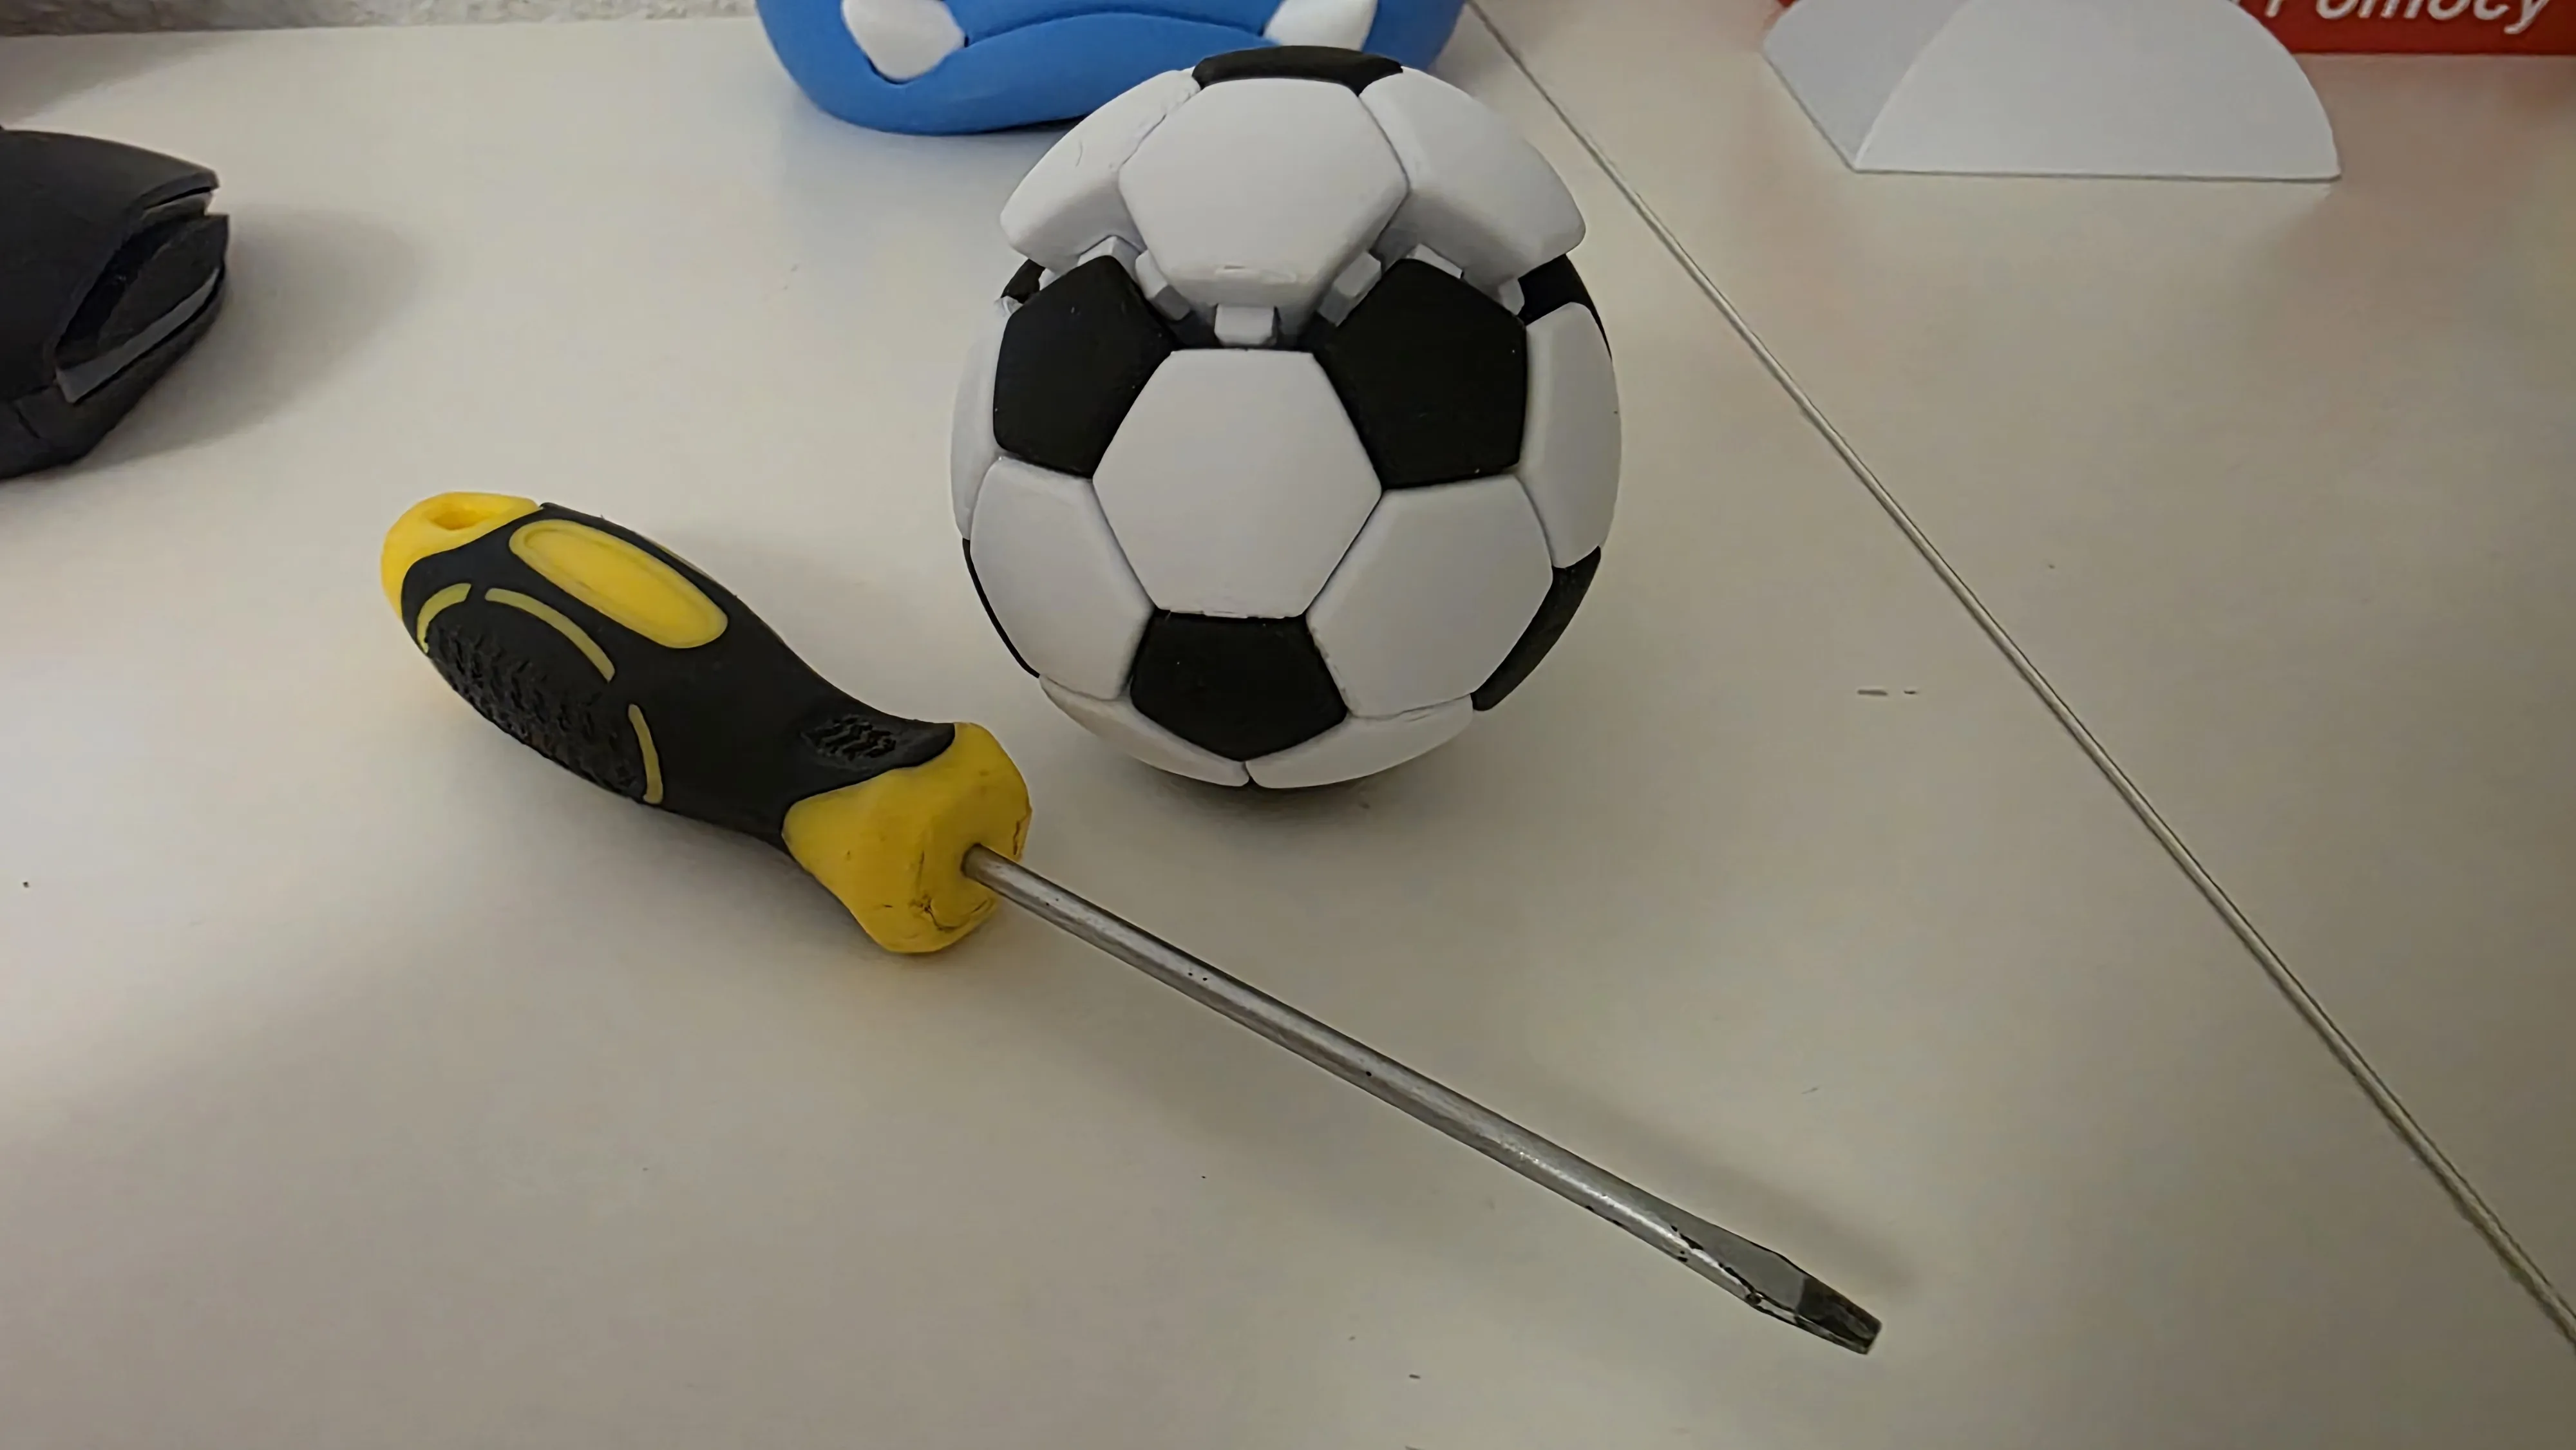
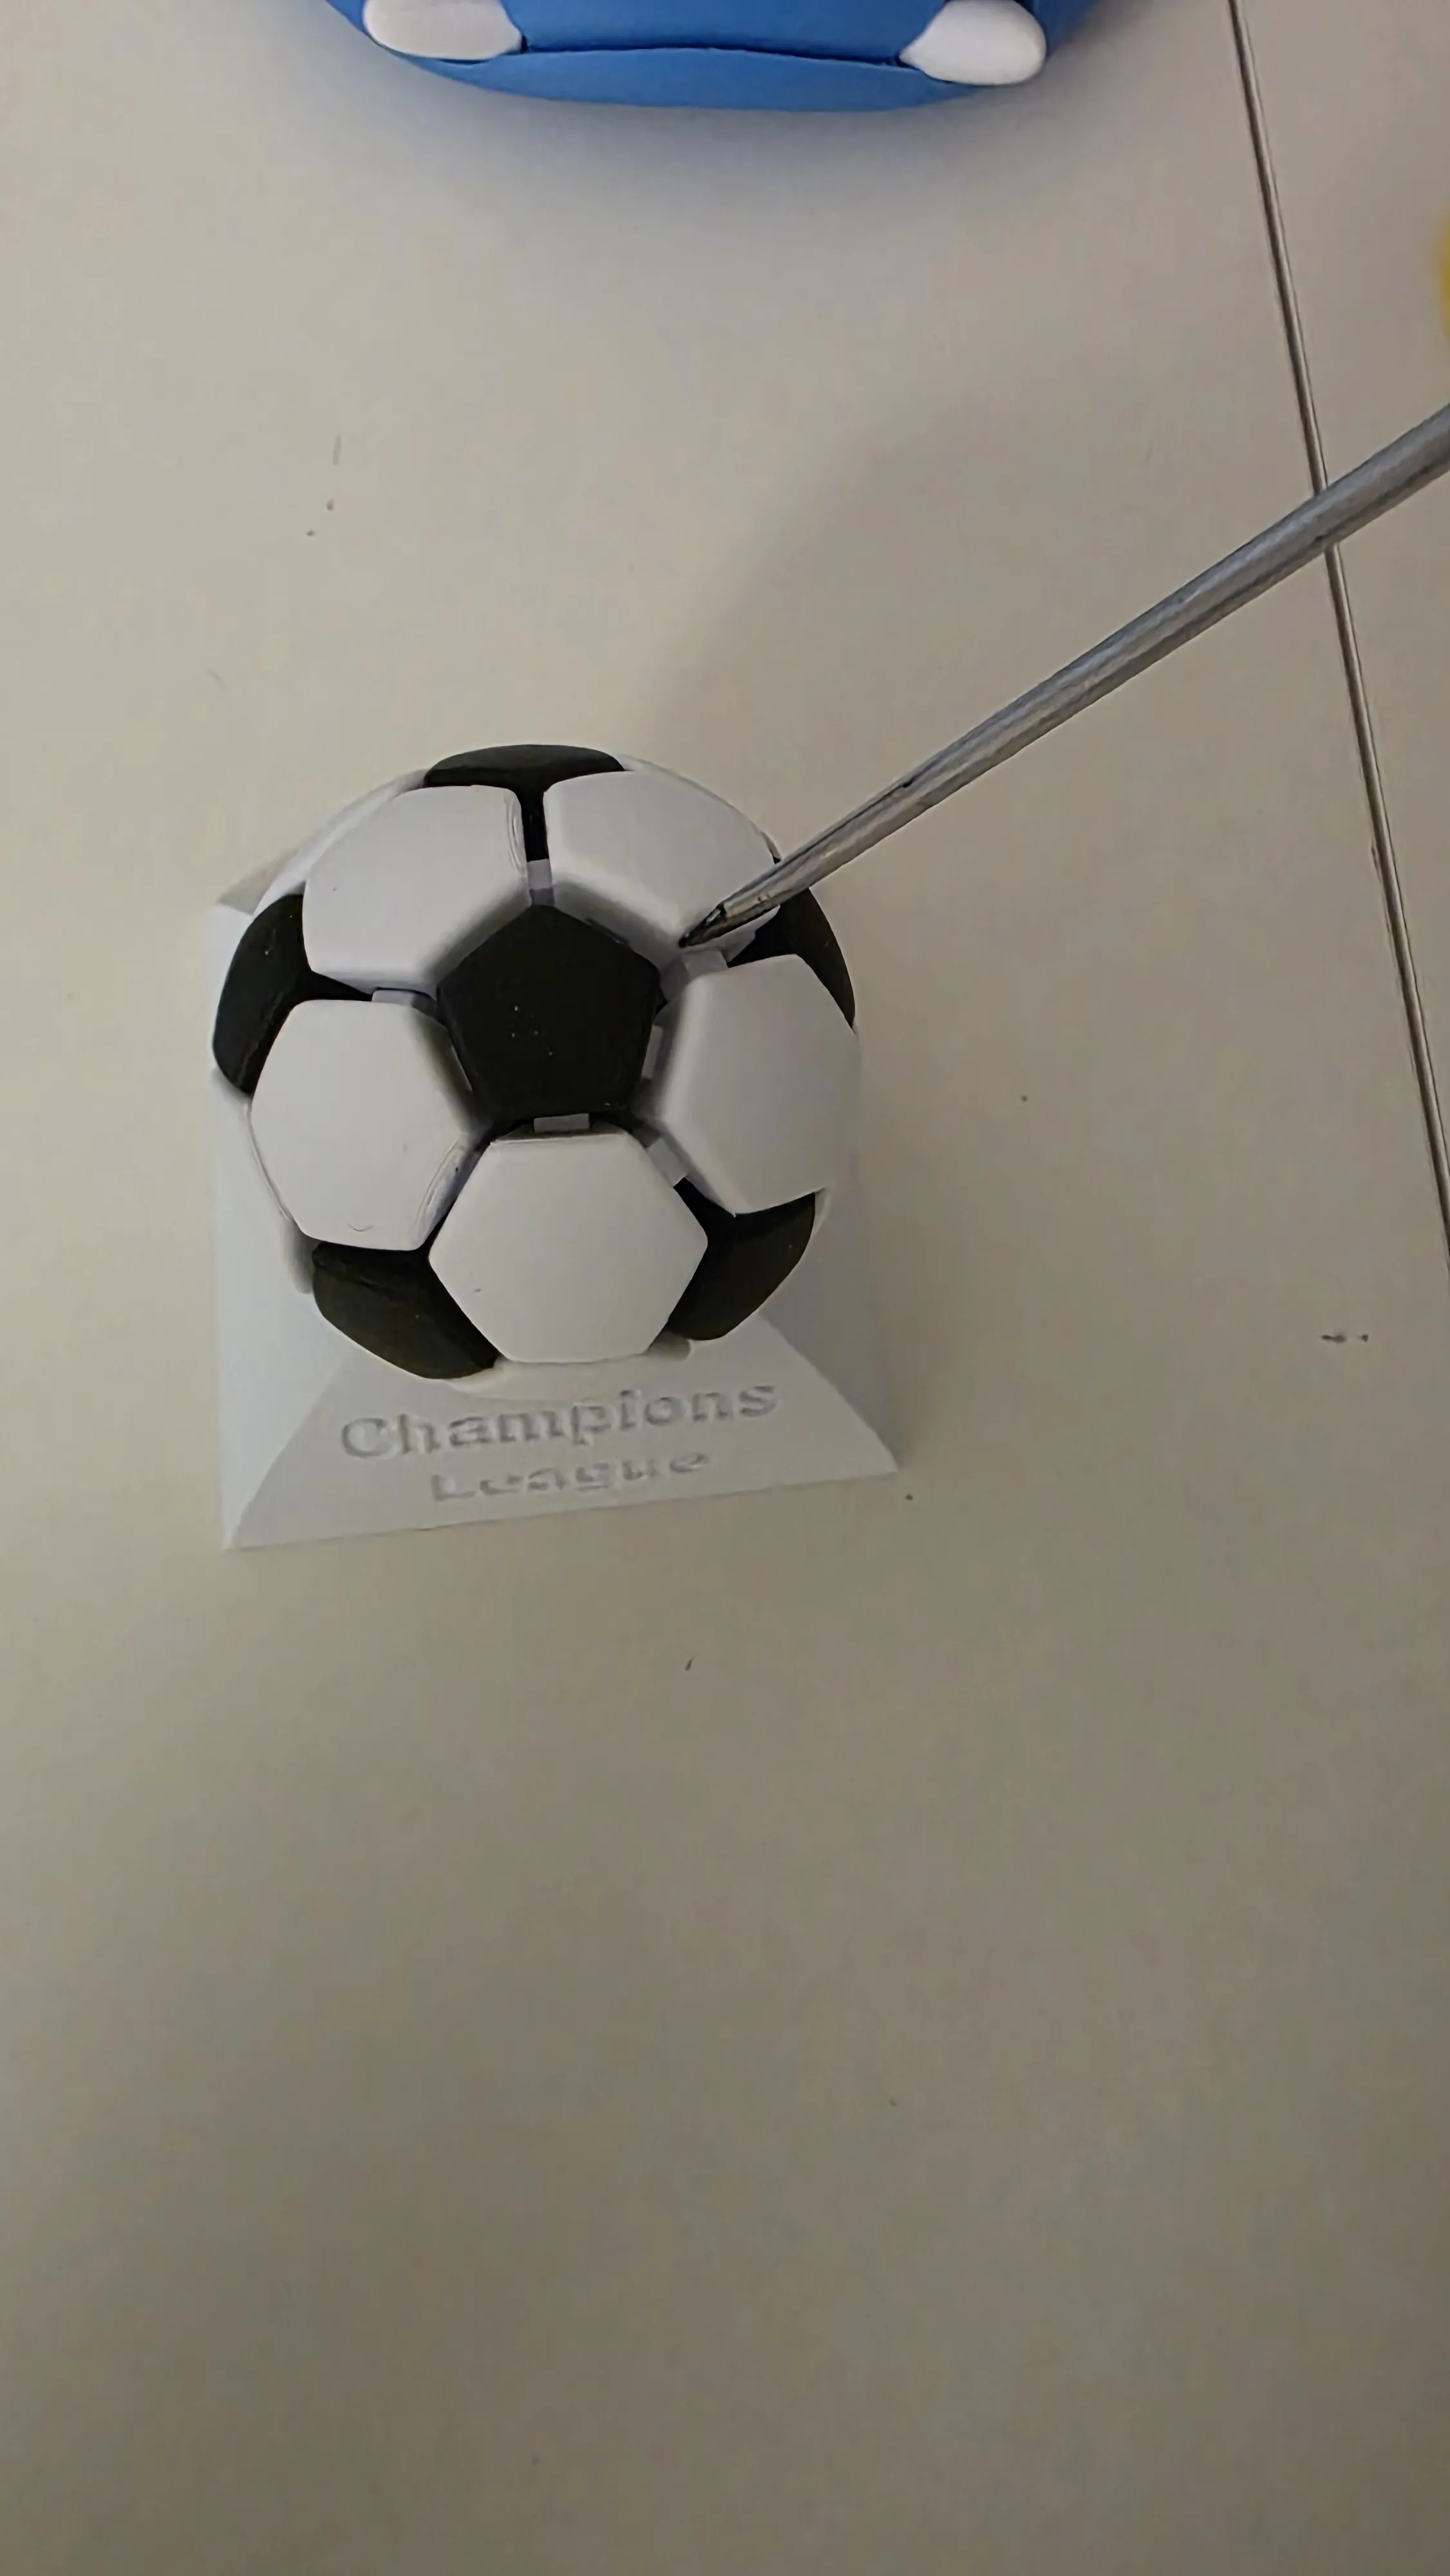
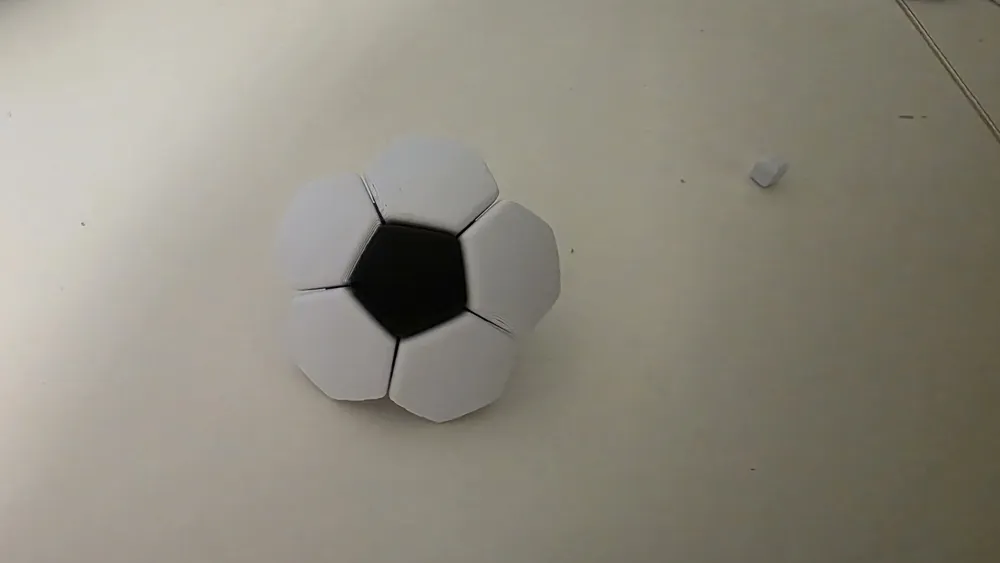
7. This is the final effect. Have fun
License

You shall not share, sub-license, sell, rent, host, transfer, or distribute in any way the digital or 3D printed versions of this object, nor any other derivative work of this object in its digital or physical format (including - but not limited to - remixes of this object, and hosting on other digital platforms). The objects may not be used without permission in any way whatsoever in which you charge money, or collect fees.


Comment & Rating (4)