

Print Profile(8)


Description

If you want to sell prints of this model, as well as all of my models - future and past
Subscribe to My Patreon:

Or Subscribe for a commercial License Directly in Maker World:
Membership
C3D Commercial Membership - Authorized Merchant

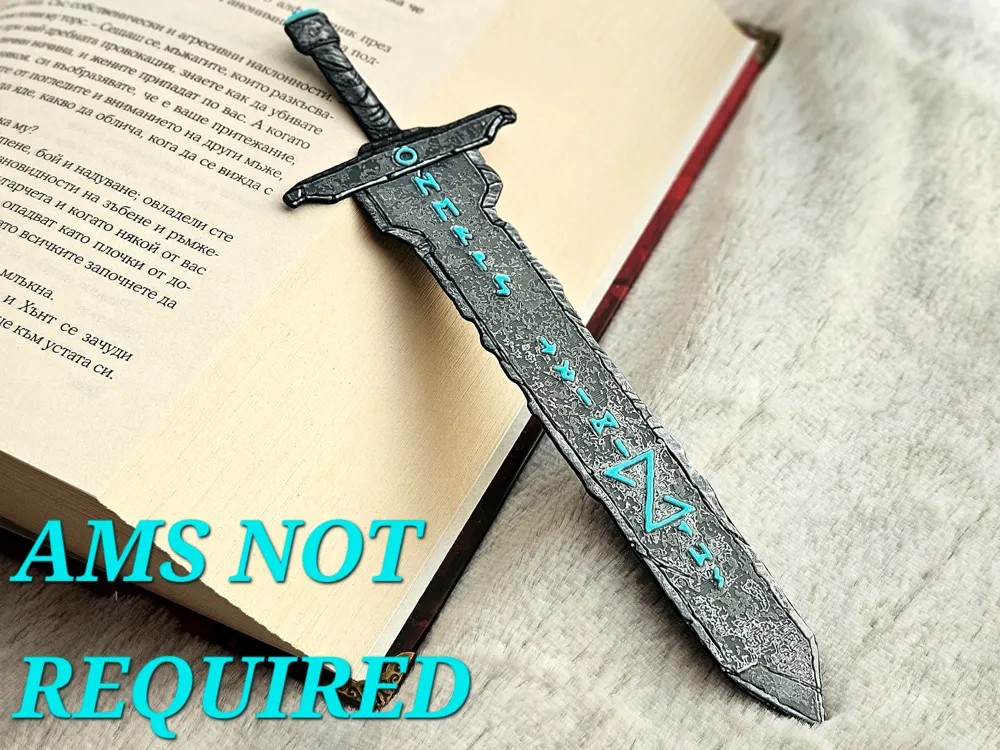
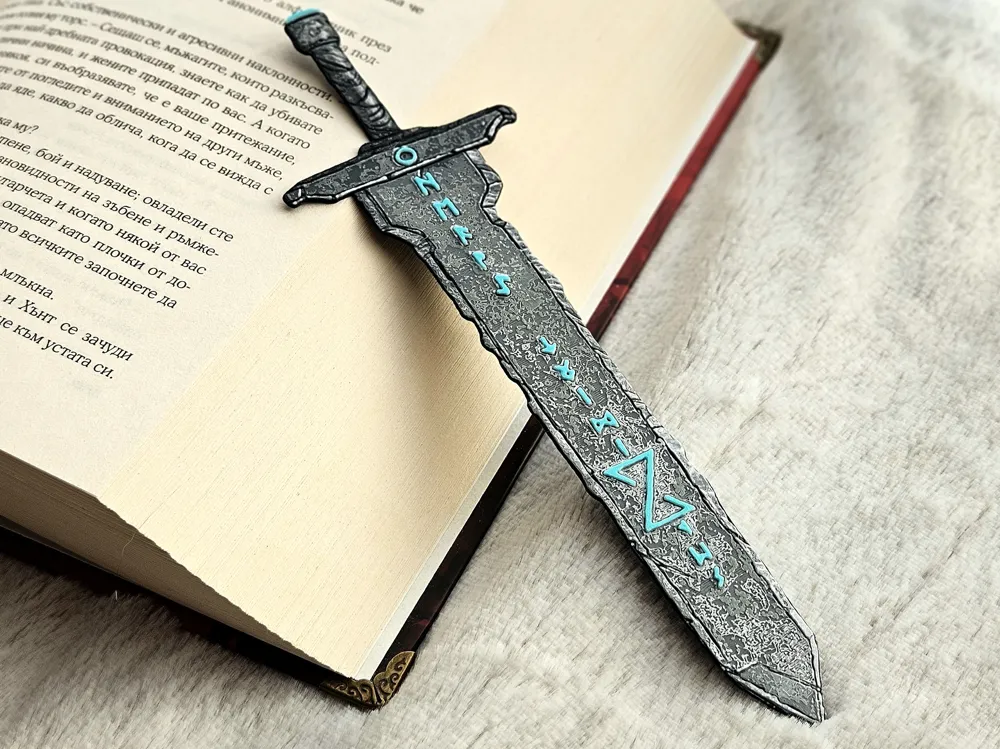
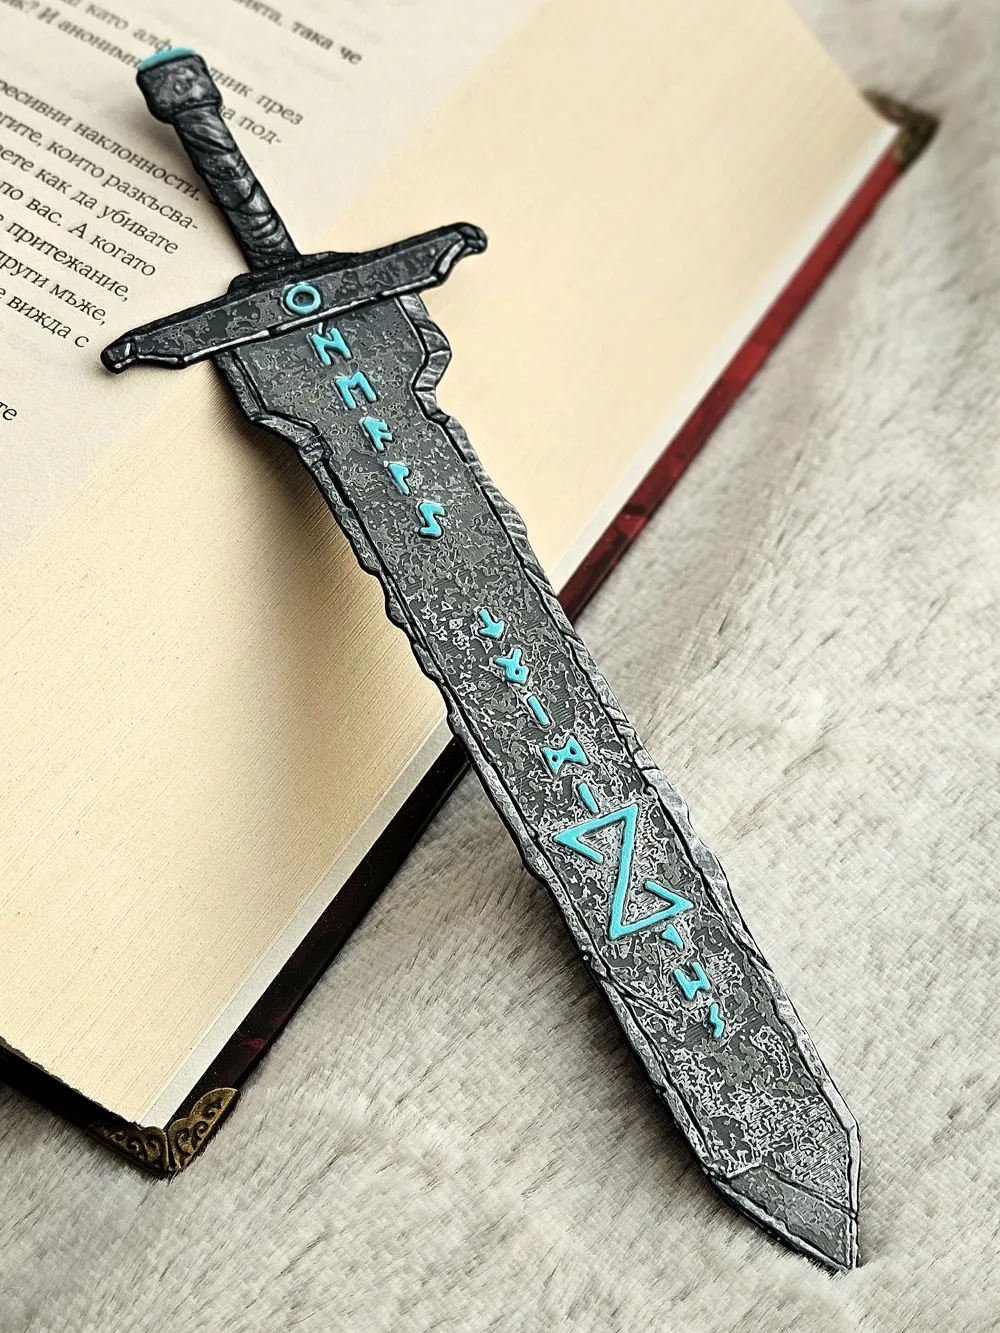
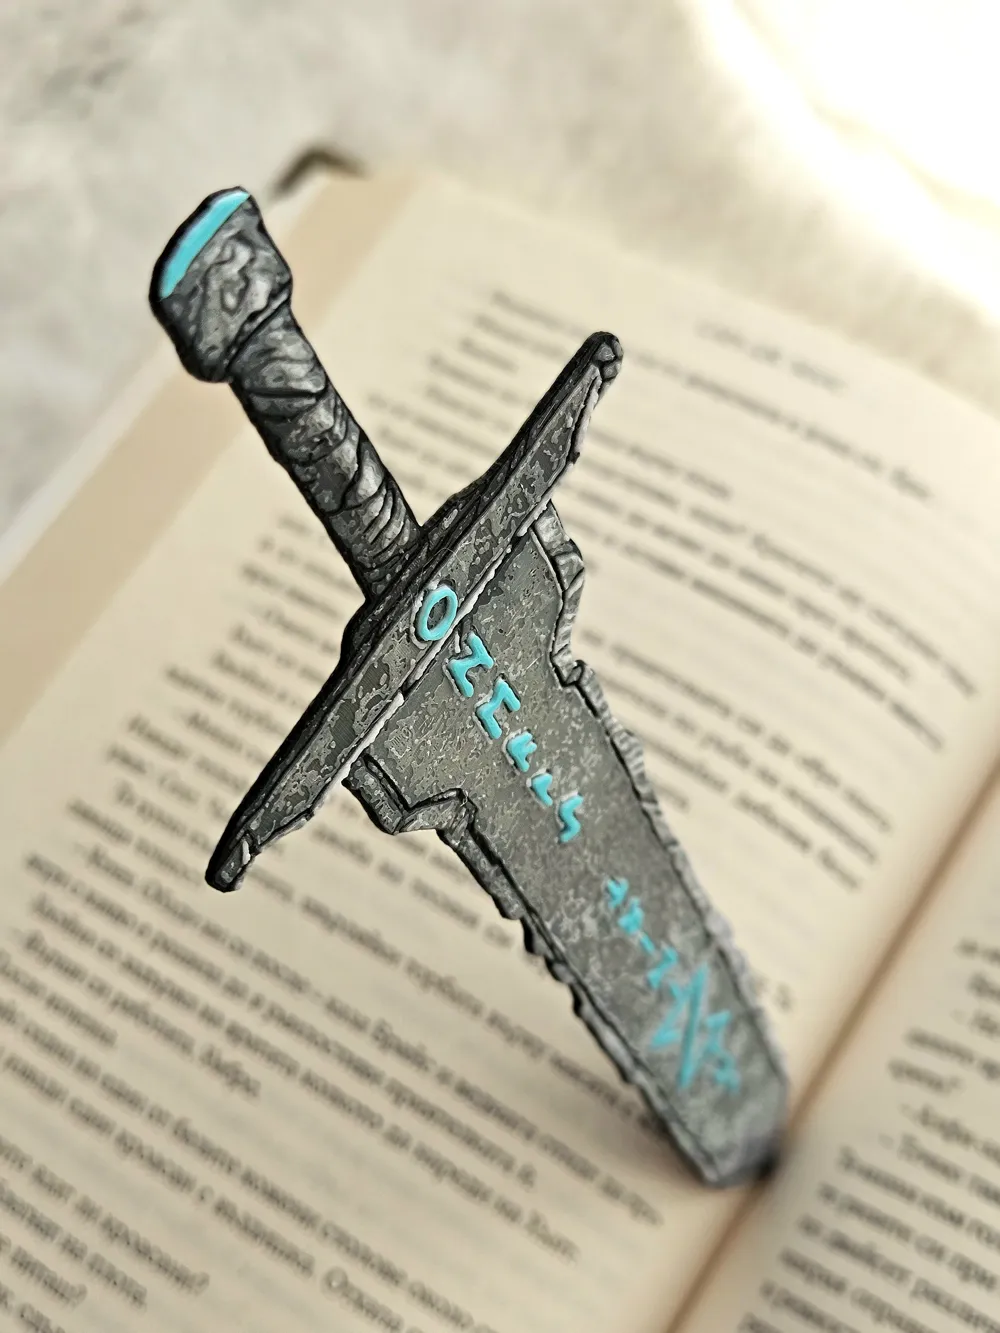
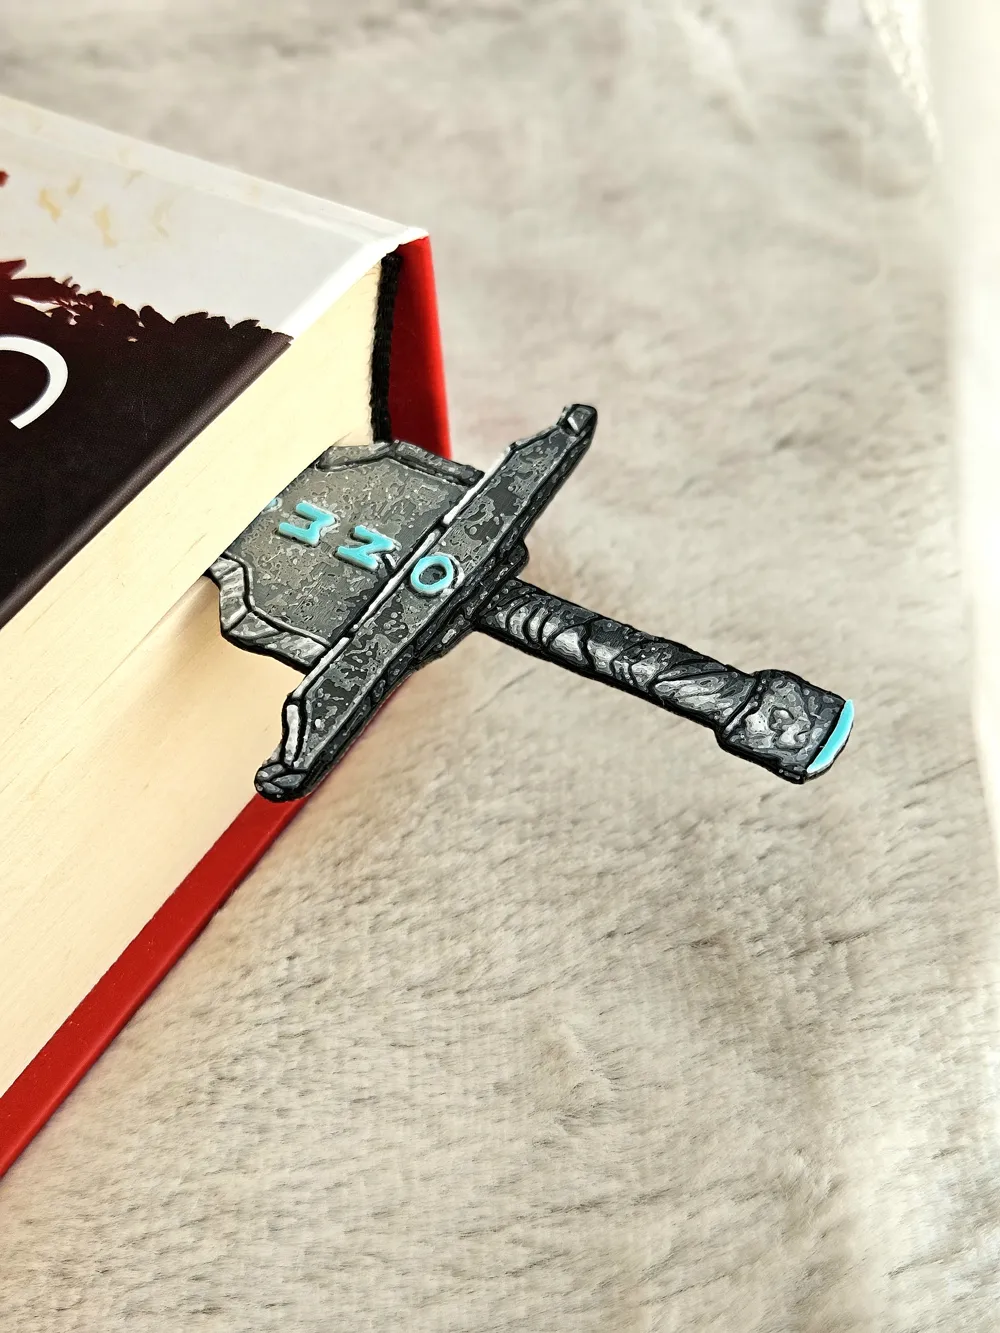
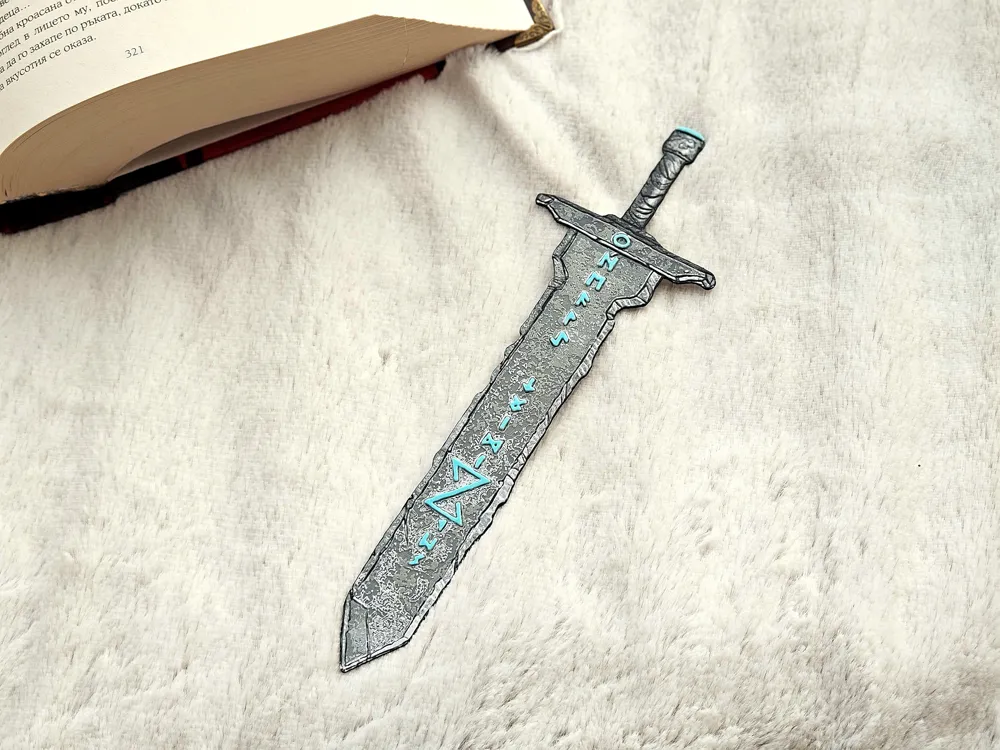
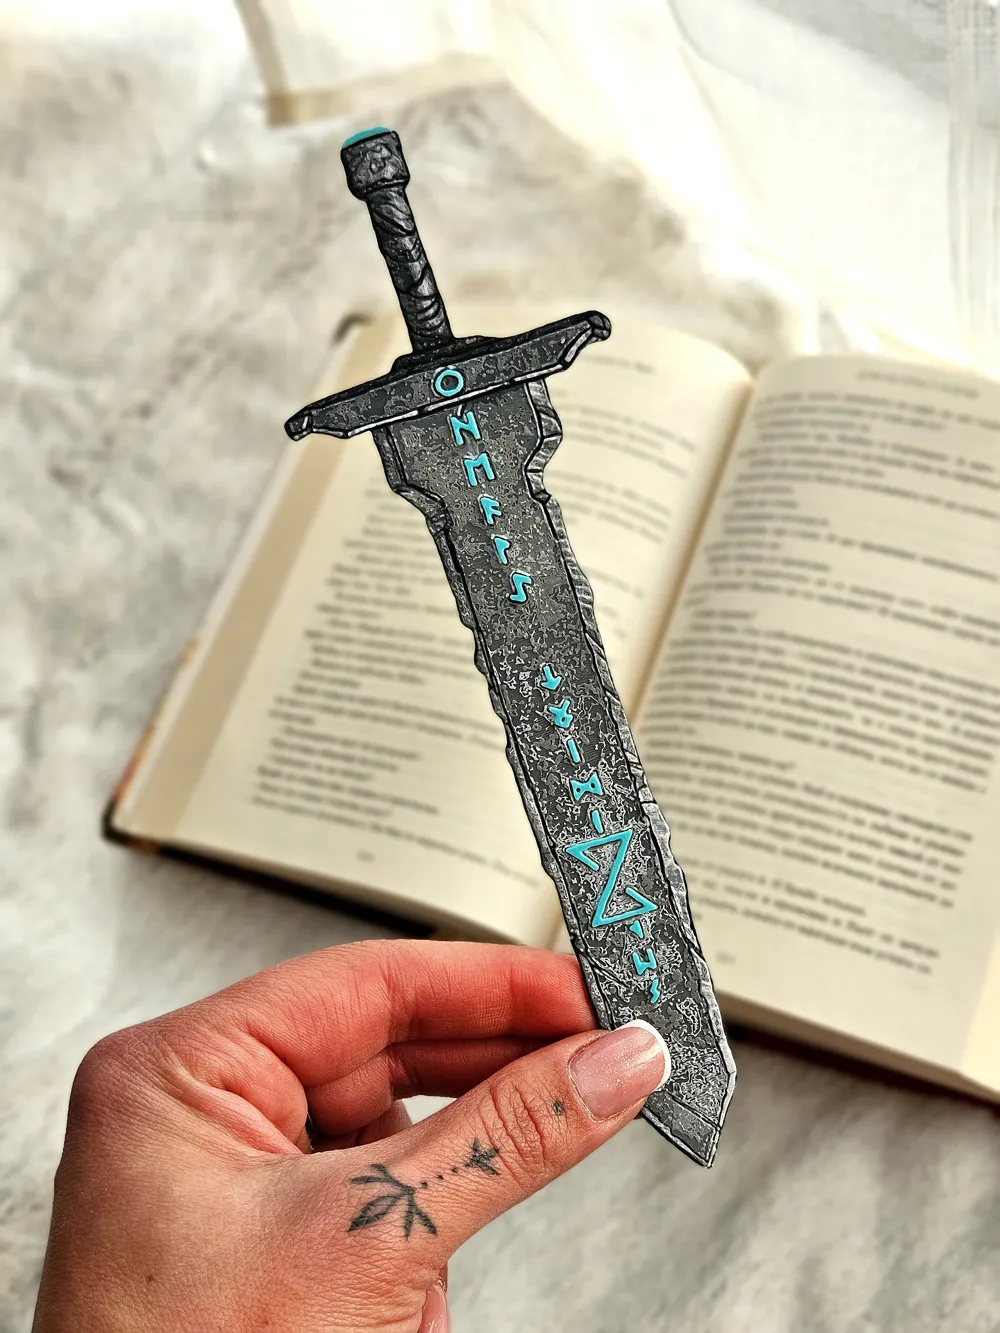
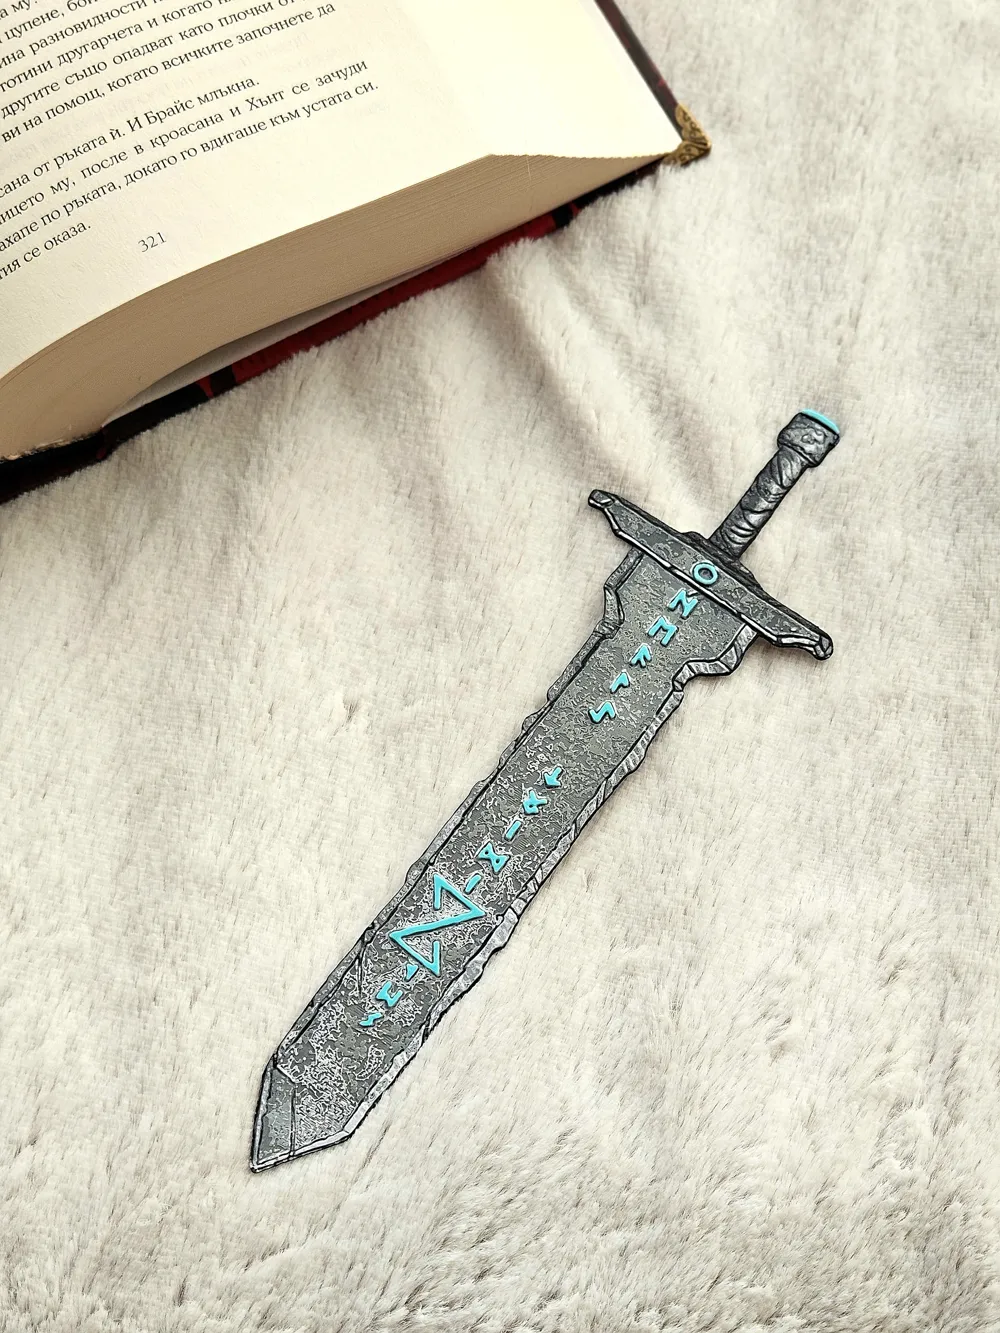
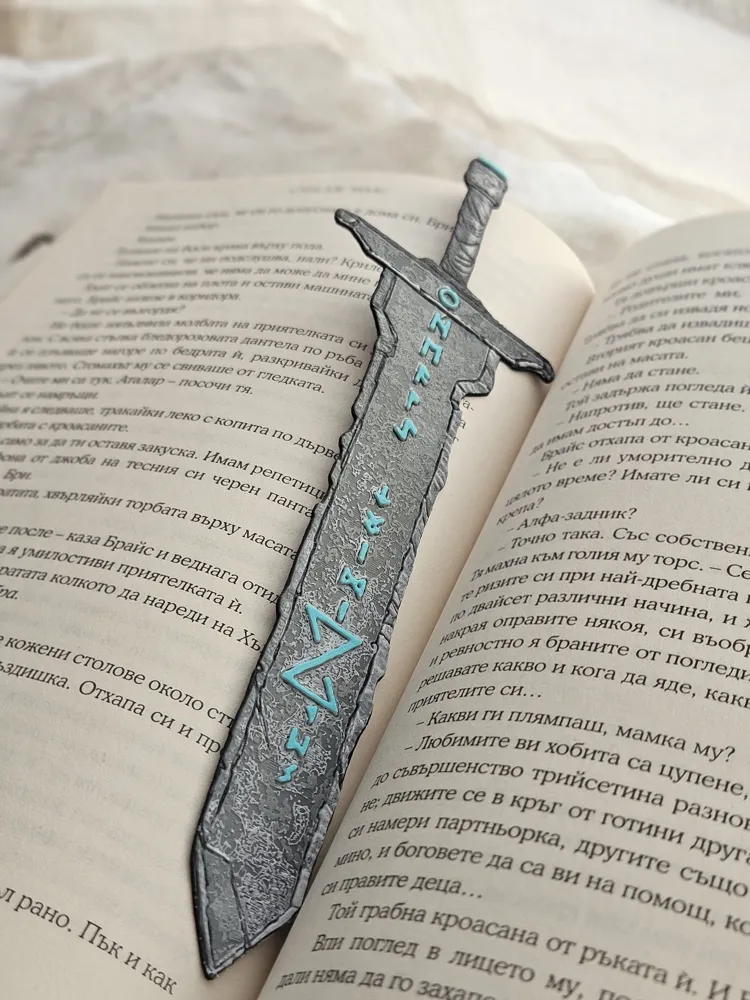
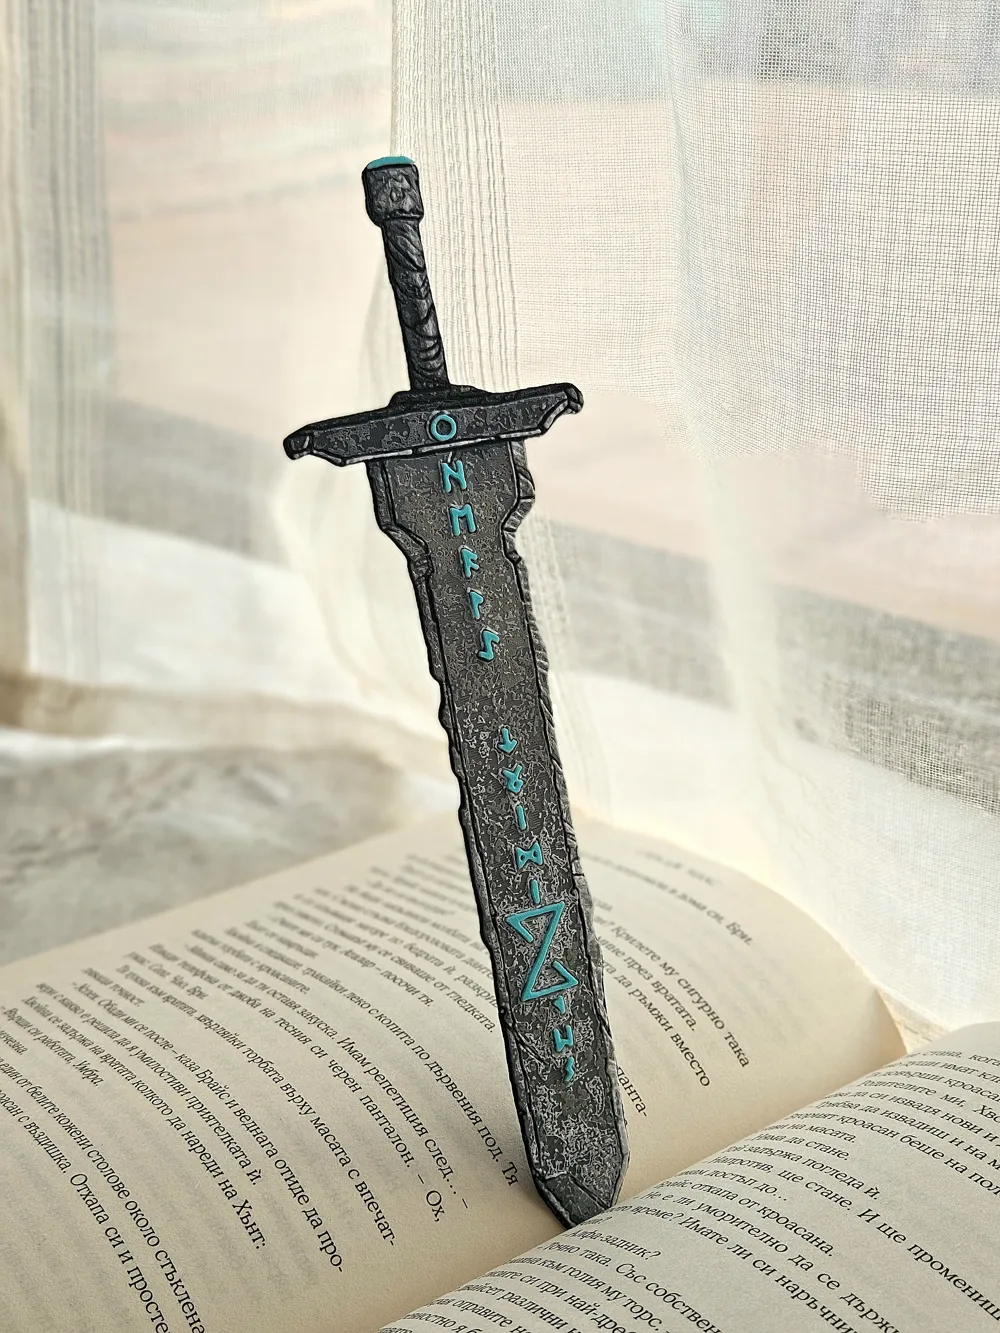
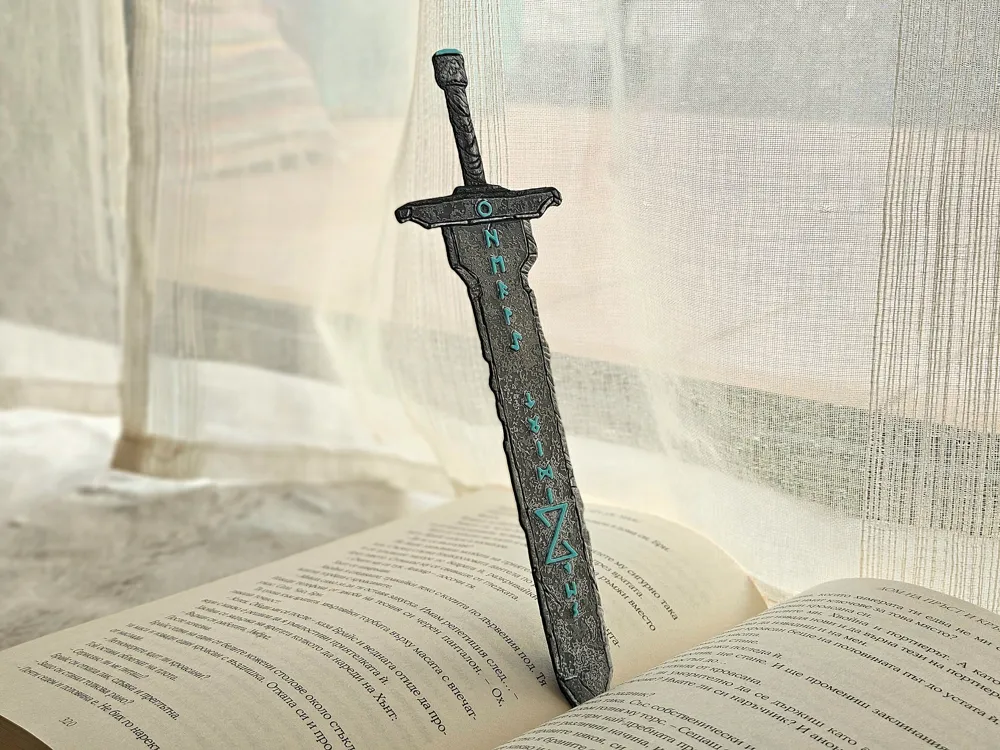
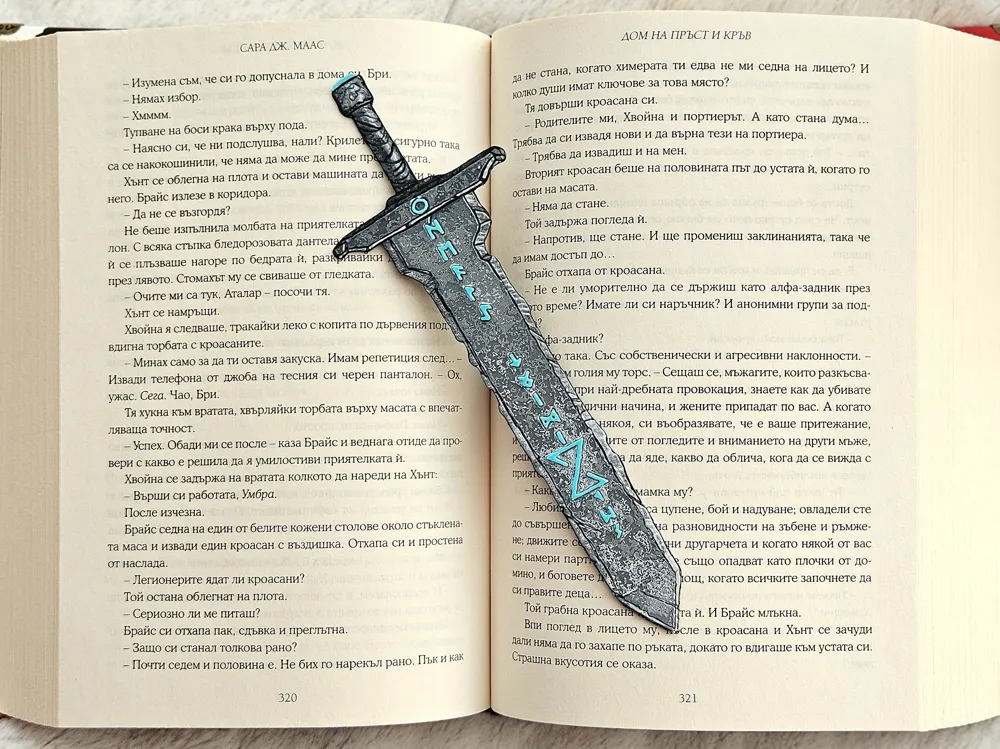
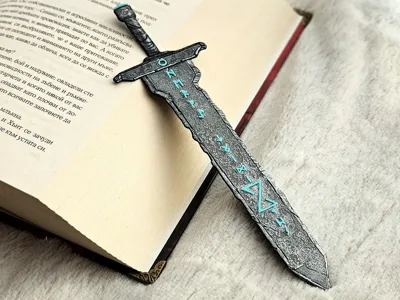
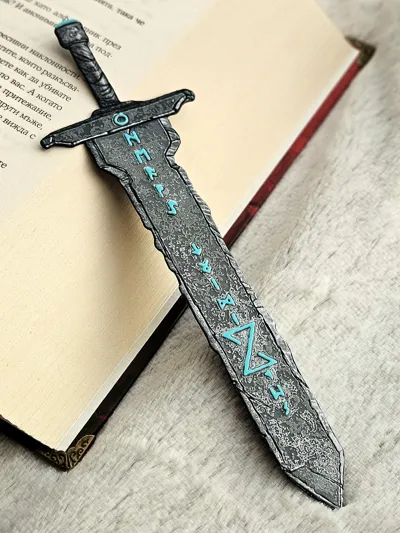
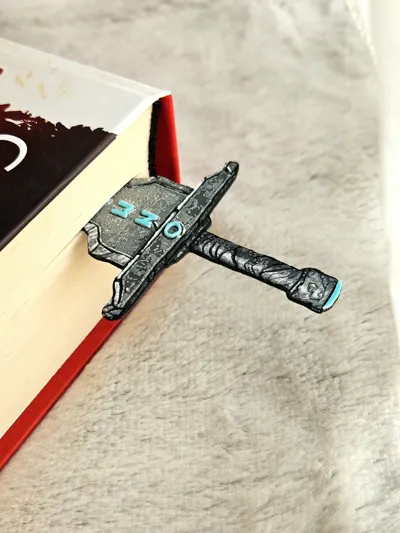
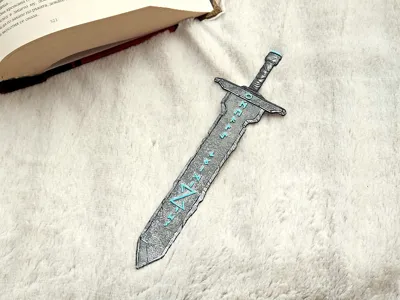
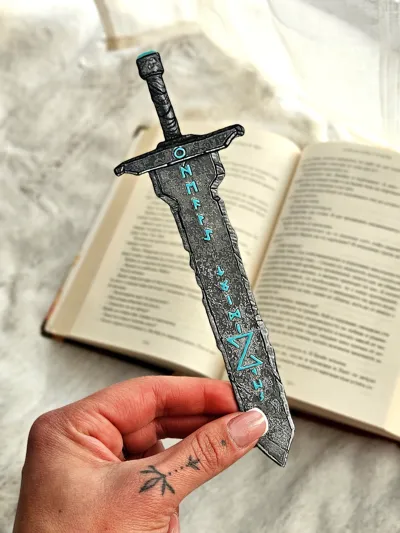
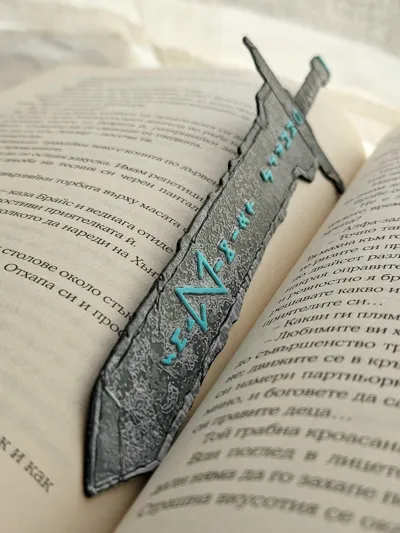
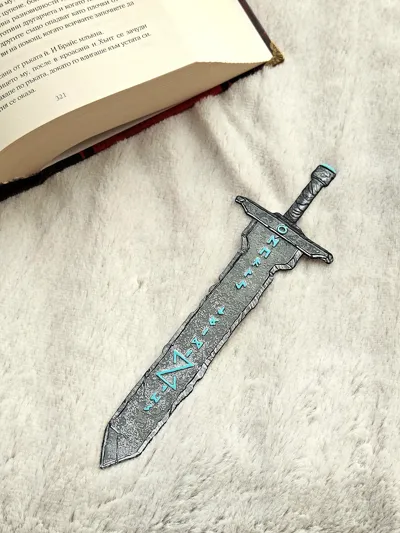
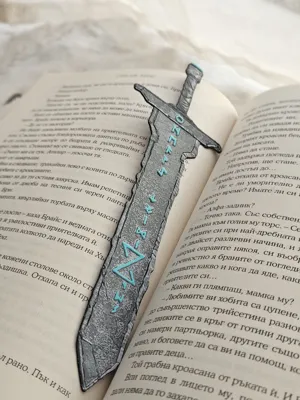
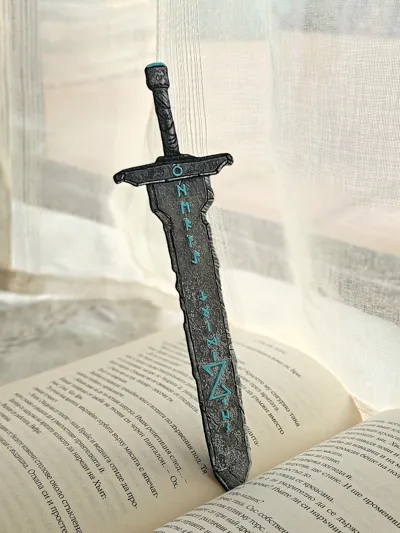
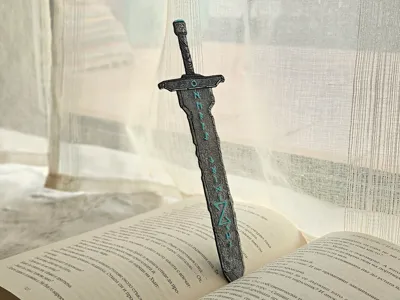
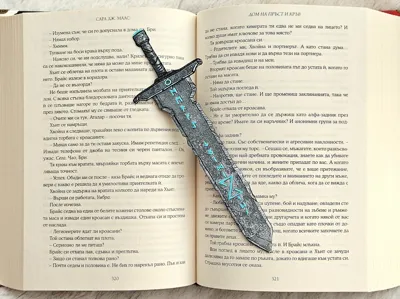
Runic Blade🗡️
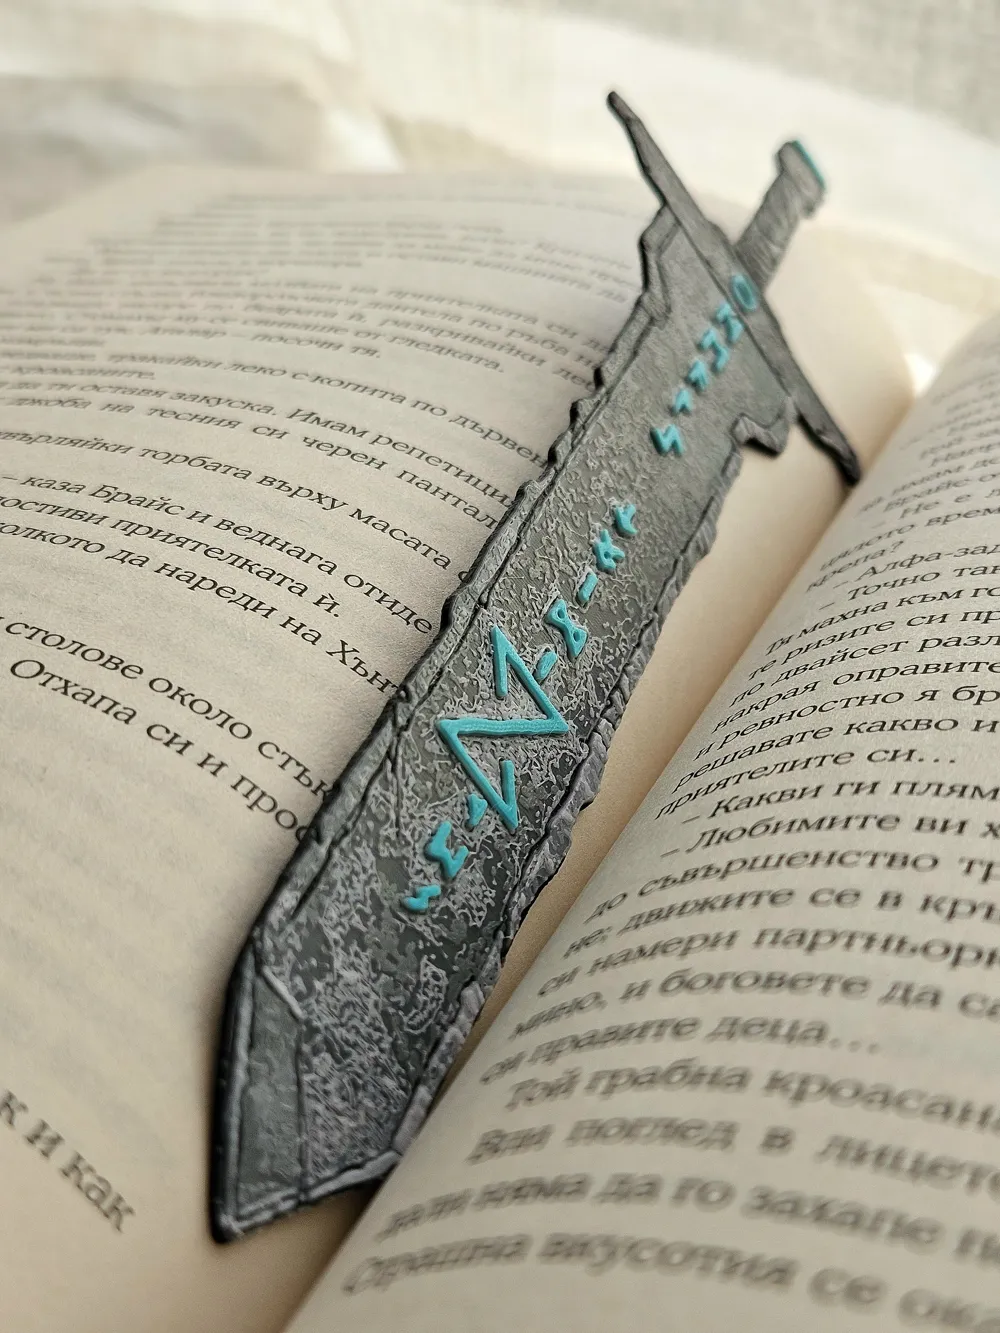
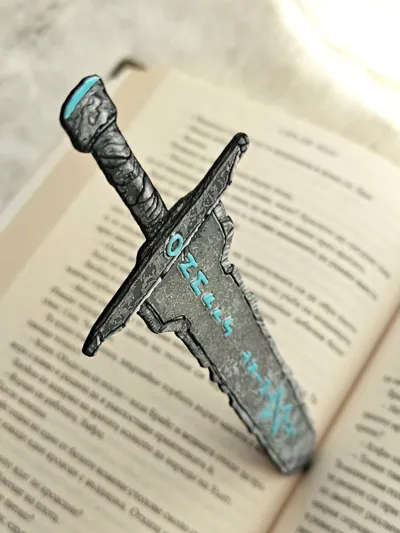
is a sword-shaped fantasy bookmark featuring carved runes and a bold central sigil, giving it an ancient, magical look while keeping a clean, practical bookmark silhouette. 🗡️✨
The textured “forged metal” surface and sharp blade outline make it feel like a tiny relic pulled from a dungeon, and the contrasting runic inlay pops beautifully with color changes. 🔥📖
Perfect for fantasy readers, tabletop gamers, and anyone who wants their current chapter marked with a bit of arcane style. ⚔️📚
Maker notes:
While the included profiles are carefully optimized for a 0.4 mm nozzle to retain detail across different settings, this model is still best printed with a 0.2 mm nozzle for the sharpest ribs, phalanges, and frame curls 🧩🖨️
- Make sure to clean the build plate with dishwashing soap and warm water before printing. Handwashing soaps should never be used to clean build plates because moisturizers can harm adhesion 🧼💧
USE A LIGHTER! - a quick pass with a torch on the printed parts will get rid of the inevitable stringing that comes with this type of models.

Print at 100% infill with a layer height of 0.08mm with a base layer of 0.16mm
Filaments Used:
PLA Jayo Black Transmission Distance: 0.3 / Amazon
PLA Jayo Meta Gray Transmission Distance: 2.1 / Amazon
PLA KINGROON Gray Transmission Distance: 2 / Amazon
PLA Jayo Matte White Transmission Distance: 4.2 / Amazon
PLA 3D Jake Eco PLA Pastel Blue Transmission Distance: 1.6
Color Pallete 5 Color Version:
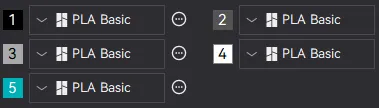
Swap Instructions 5 Color Version:
Start with Black
At layer #9 (0.81mm) swap to Meta Gray
At layer #11 (0.97mm) swap to Gray
At layer #13 (1.13mm) swap to Matte White
At layer #18 (1.53mm) swap to Pastel Blue for the rest.
Color Pallete 4 Color Version:
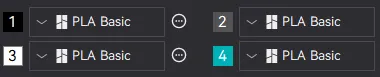
Swap Instructions 4 Color Version:
Start with Black
At layer #9 (0.81mm) swap to Meta Gray
At layer #12 (0.97mm) swap to Matte White
At layer #18 (1.53mm) swap to Pastel Blue for the rest.
Boost Me (for free)
Enjoying this model? Give it a boost! 🌟 Your support helps my creations reach more makers—thank you for keeping the magic alive! ✨🚀
How to do more than 4 colors on a single AMS?
To use more than 4 colors with a single AMS is pretty simple when it comes to HueForges.
Always start the print from either Bambu Studio or Bambu Handy App - This will allow you to map the rolls of filaments to a certain slot in the AMS: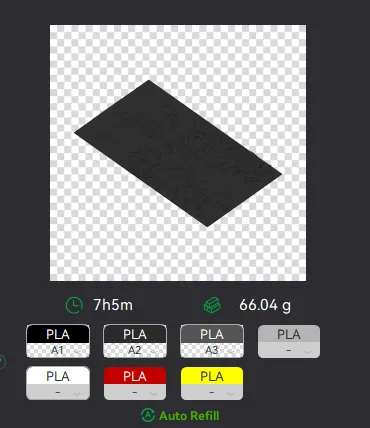
Now map the first 4 colors (which should already be inserted in the AMS to Slots 1 - 2 - 3 - 4
Once thats done move to maping colors 5 - 6 - 7 - 8 to respectively AMS Slots 1 - 2 - 3 - 4 again!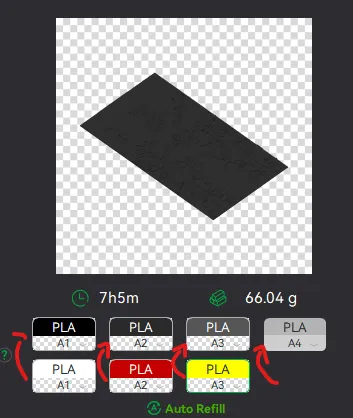
This will allow you to Change the rolls of filament once the printer is done with that color.
For example, in the picture above once we are done with the Black color (Which is usually first) we are going to remove the black roll (you can do that while printing) with White, then once Charcoal Black is done we are going to change that to Red, Dark Gray to Yellow and we are done. ~ You can do that with as many colors as you need!
YOU CAN PLACE A PAUSE ON THE LAST LAYER OF COLOR 4 TO AVOID HAVING TO BABYSIT THE PRINTER. ONCE PAUSED CHANGE 1-2-3 WITH 5-6-7 AND RESUME. IF YOU NEED MULTIPLE PAUSES YOU CAN DO THAT TOO
Drop me a follow!🤜🤛
License

You shall not share, sub-license, sell, rent, host, transfer, or distribute in any way the digital or 3D printed versions of this object, nor any other derivative work of this object in its digital or physical format (including - but not limited to - remixes of this object, and hosting on other digital platforms). The objects may not be used without permission in any way whatsoever in which you charge money, or collect fees.


Comment & Rating (32)