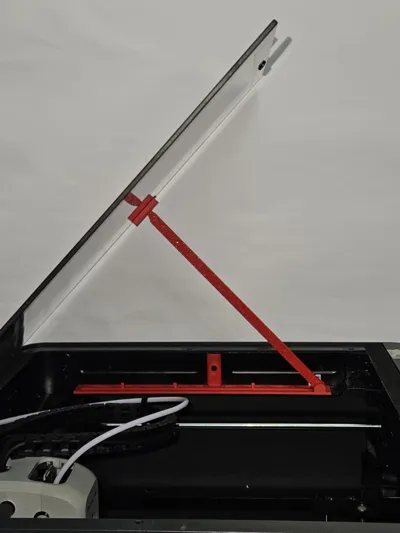
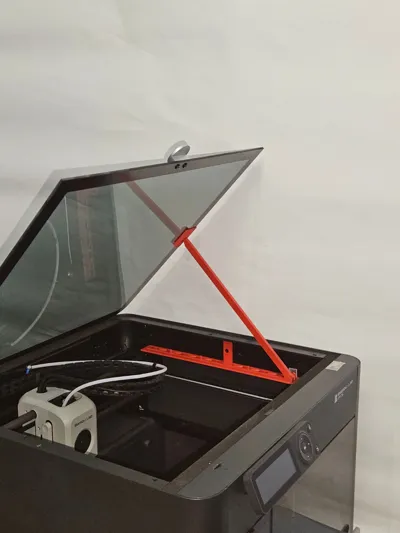
TOP GLASS HOLDER


Print Profile(5)


Description
This is my first design! I saw that this specific type of riser was missing from the community, so I decided to make it. I hope you find it useful and enjoy the print.
Assembly Instructions
Please follow these steps in order, referring to the numbered photos in the gallery.
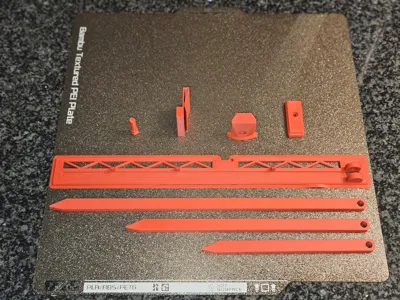
1. Preparation

- Thoroughly remove all Brims and Supports from the printed parts (ensure the interlocking areas are clean).
2. Internal Mount Installation (Photos 8, 9)

- Take the component designed to hook inside the printer.
- Secure it using the existing screw already on the printer frame (no need to change the screw for this step).
3. Arm Assembly (Photo 6)

- Choose your preferred arm length.
- Insert the arm into its base and lock it in place using the printed pin.
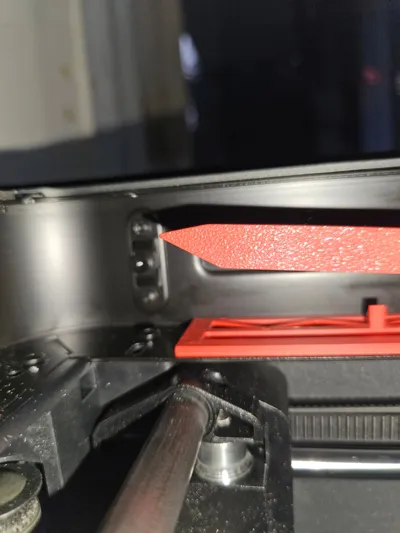
4. Connecting the Base (Photo 12)

- Snap the base (with the arm attached) into the internal component (installed in step 2).
- Push until you hear a audible CLICK.
- ⚠️ Note: The snap-fit might be quite stiff/hard the first few times. This is normal to ensure stability. Make sure it is fully seated.
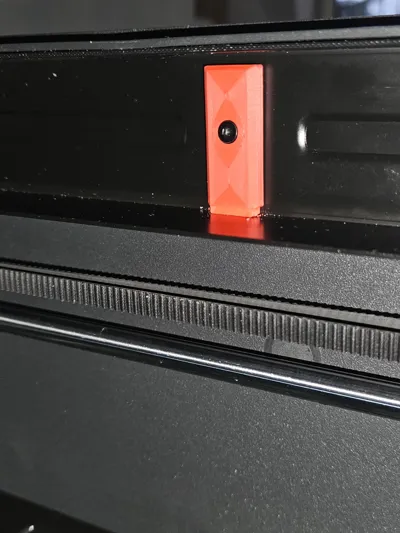
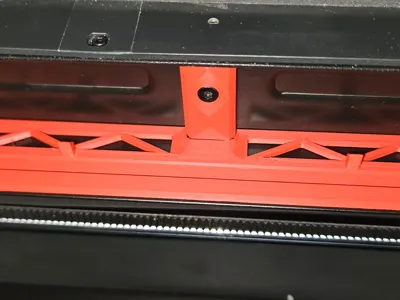
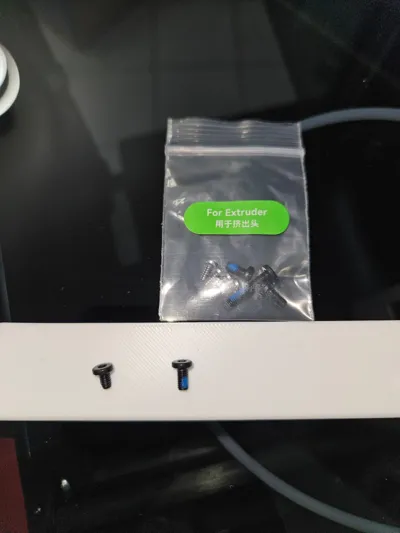
5. Rear Safety Block (IMPORTANT - Photos 14, 15, 16)
- Screw the safety block onto the back of the printer.
- ⚠️ WARNING: Do NOT use the original screw here. You must swap it for the slightly longer and larger screw indicated in the photos. You can typically find this screw in the Extruder spare parts bag that came with your printer.


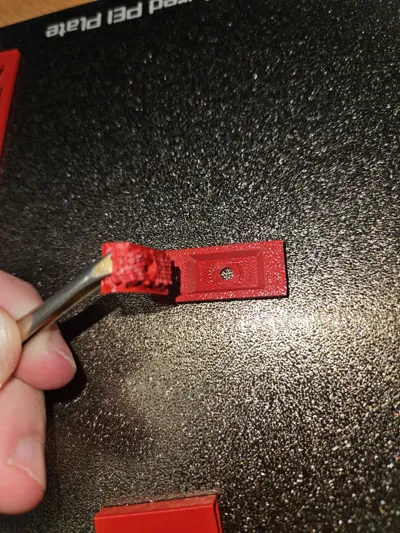
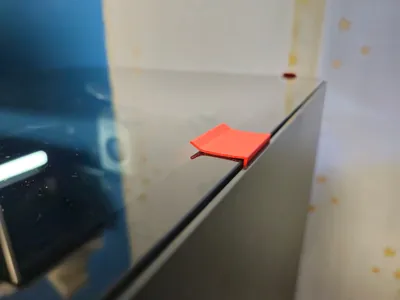
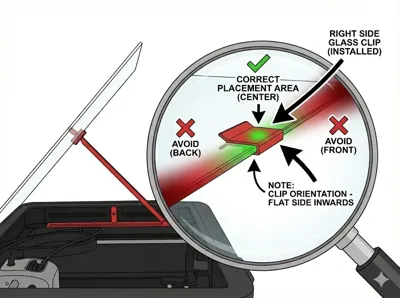
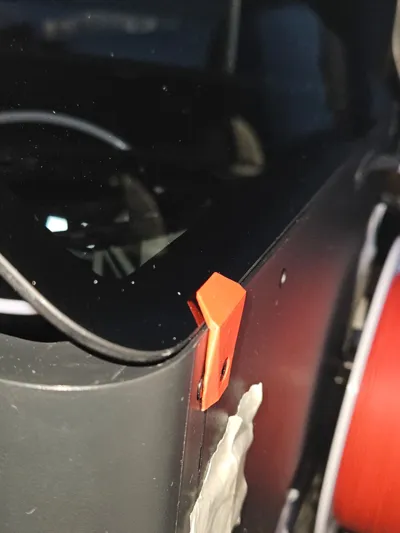
6. Clip Installation & Adjustment (Photos 10, 11)
- Attach the Glass Clip, positioning it roughly in the center.
- Final Adjustment: Adjust the length of the small rod so that the support arm remains perpendicular to the glass.
- Why is this important? If the arm is not perpendicular, the clip might slip, and the glass will not be secure.


Boost Me (for free)
I'm new here, a little push at the beginning is really appreciated, thank you very much
other printer upgrade :

License
You shall not share, sub-license, sell, rent, host, transfer, or distribute in any way the digital or 3D printed versions of this object, nor any other derivative work of this object in its digital or physical format (including - but not limited to - remixes of this object, and hosting on other digital platforms). The objects may not be used without permission in any way whatsoever in which you charge money, or collect fees.
Comment & Rating (7)