
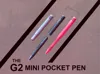
G2 Mini Pocket Pen
Print Profile(2)

Description
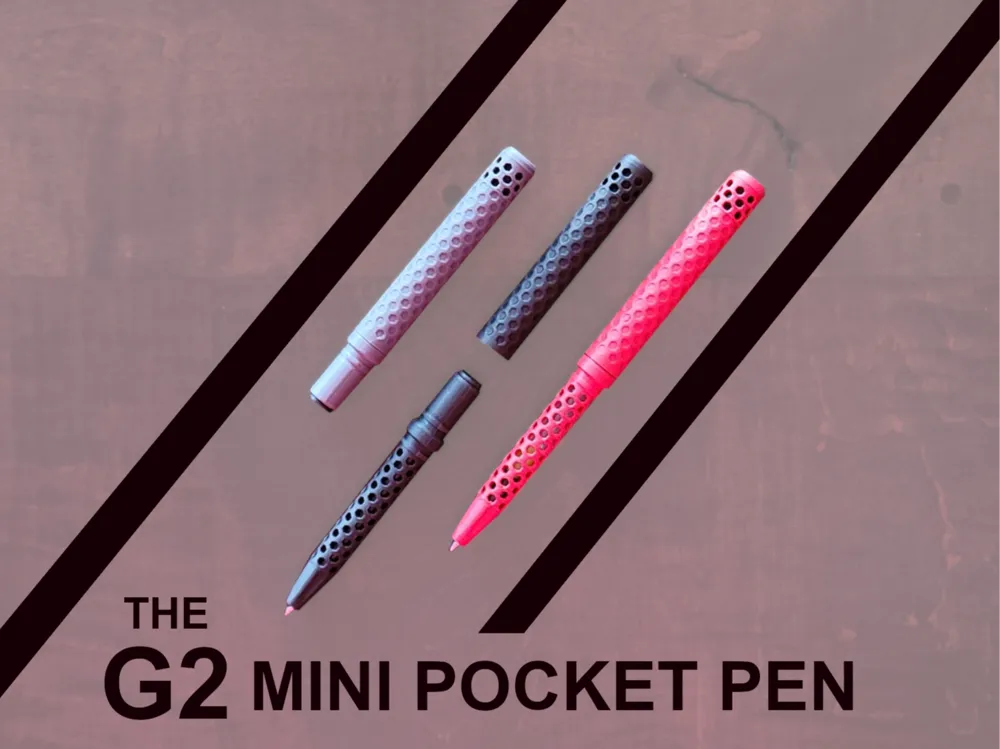
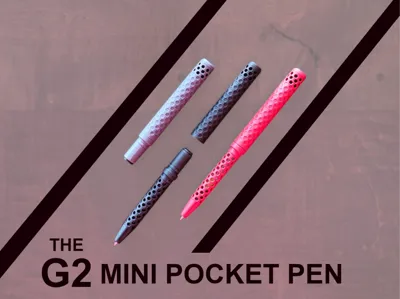
G2 Mini Pocket Pen
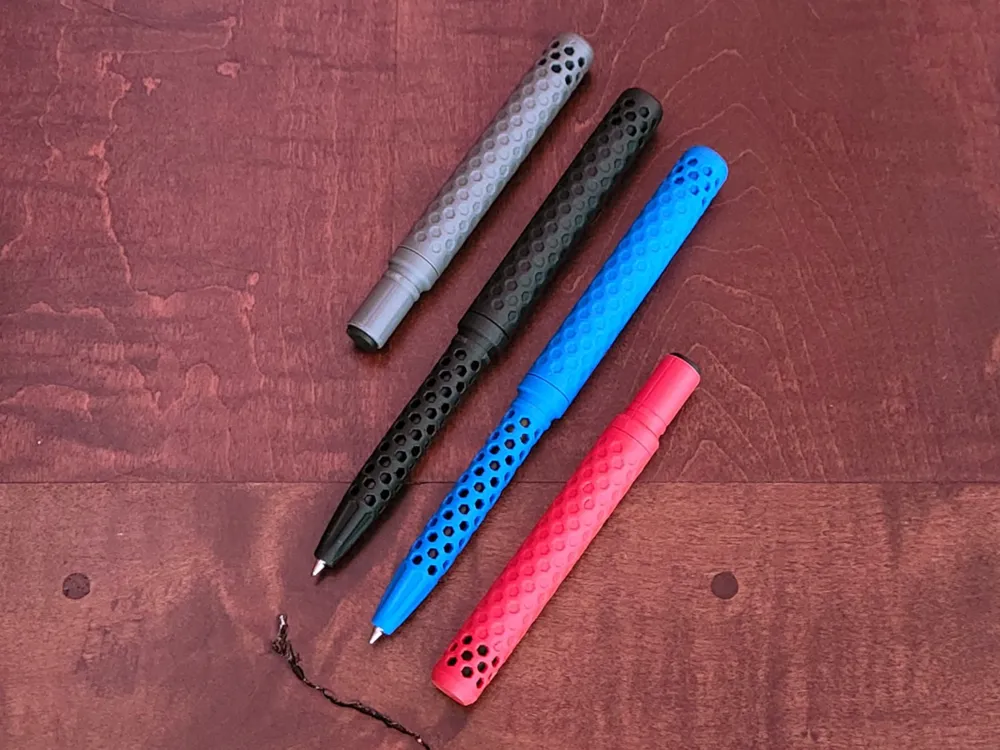
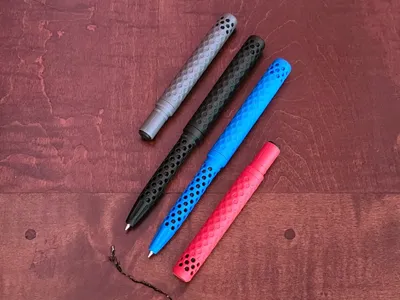

An original pen design centering around the G2 gel ink refill that quickly transforms from comfortable pocket-sized to full-sized by removing the cap and stowing it on the rear of the pen. The Hexcore design is comfortable to hold and easily shows the level of ink remaining.
Features
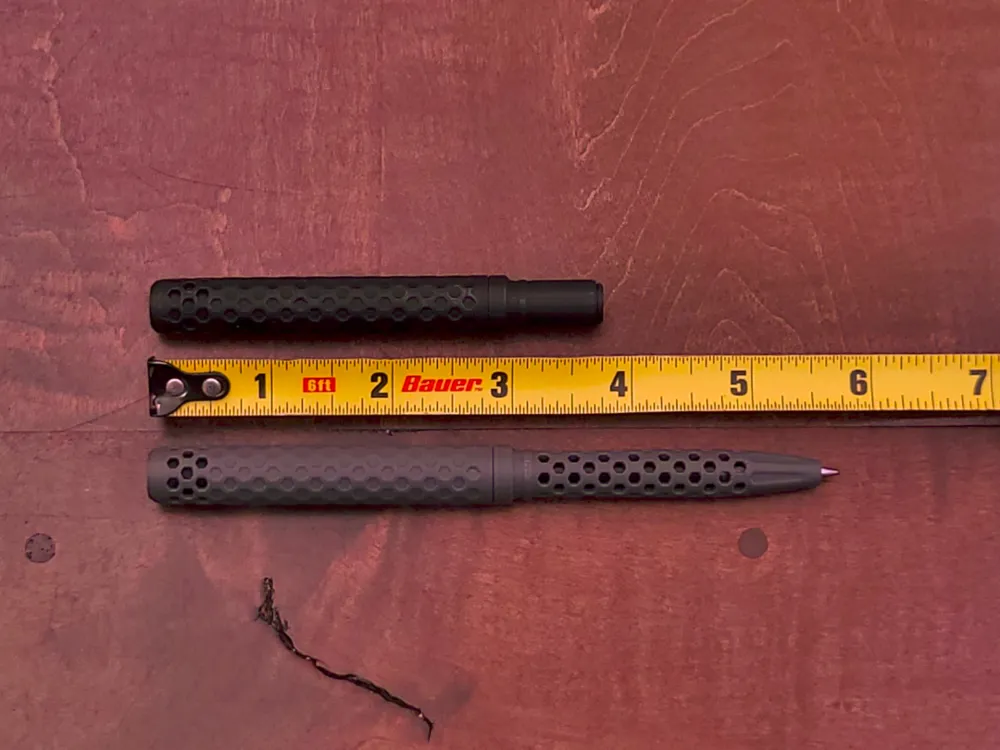
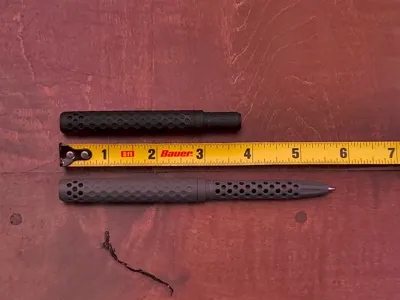
- Pocket-sized length of 97mm (3.81")
- Full-sized writing length of 146mm (5.75")
- Cap firmly snaps closed onto both ends of the pen.
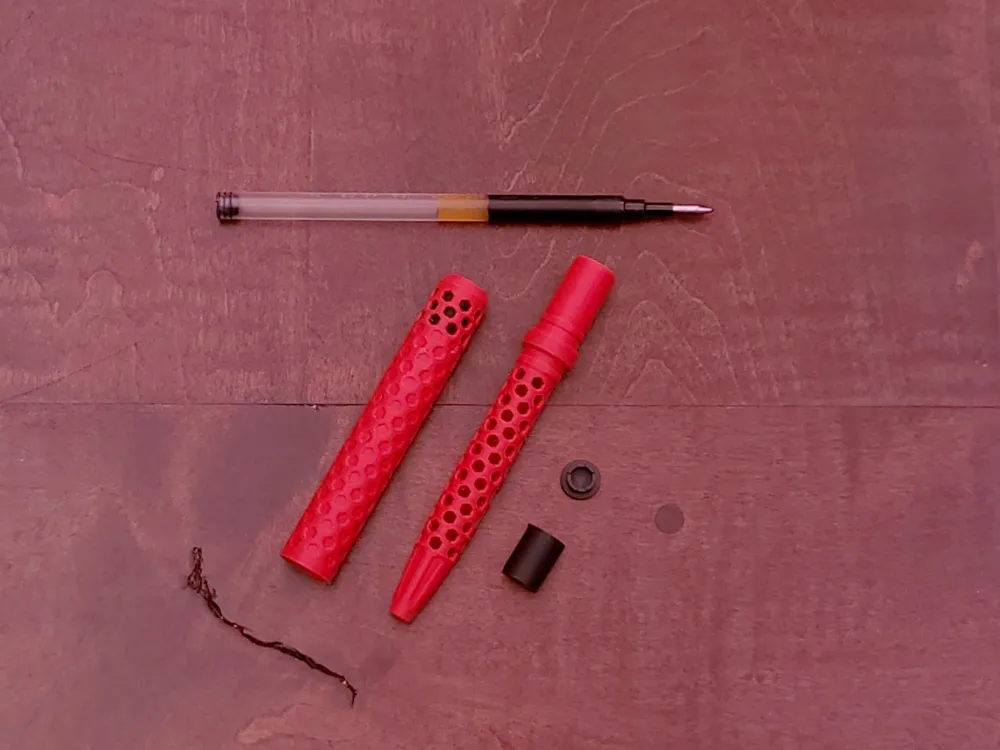
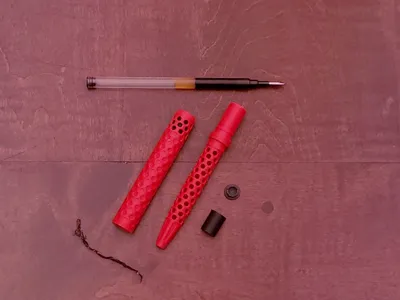
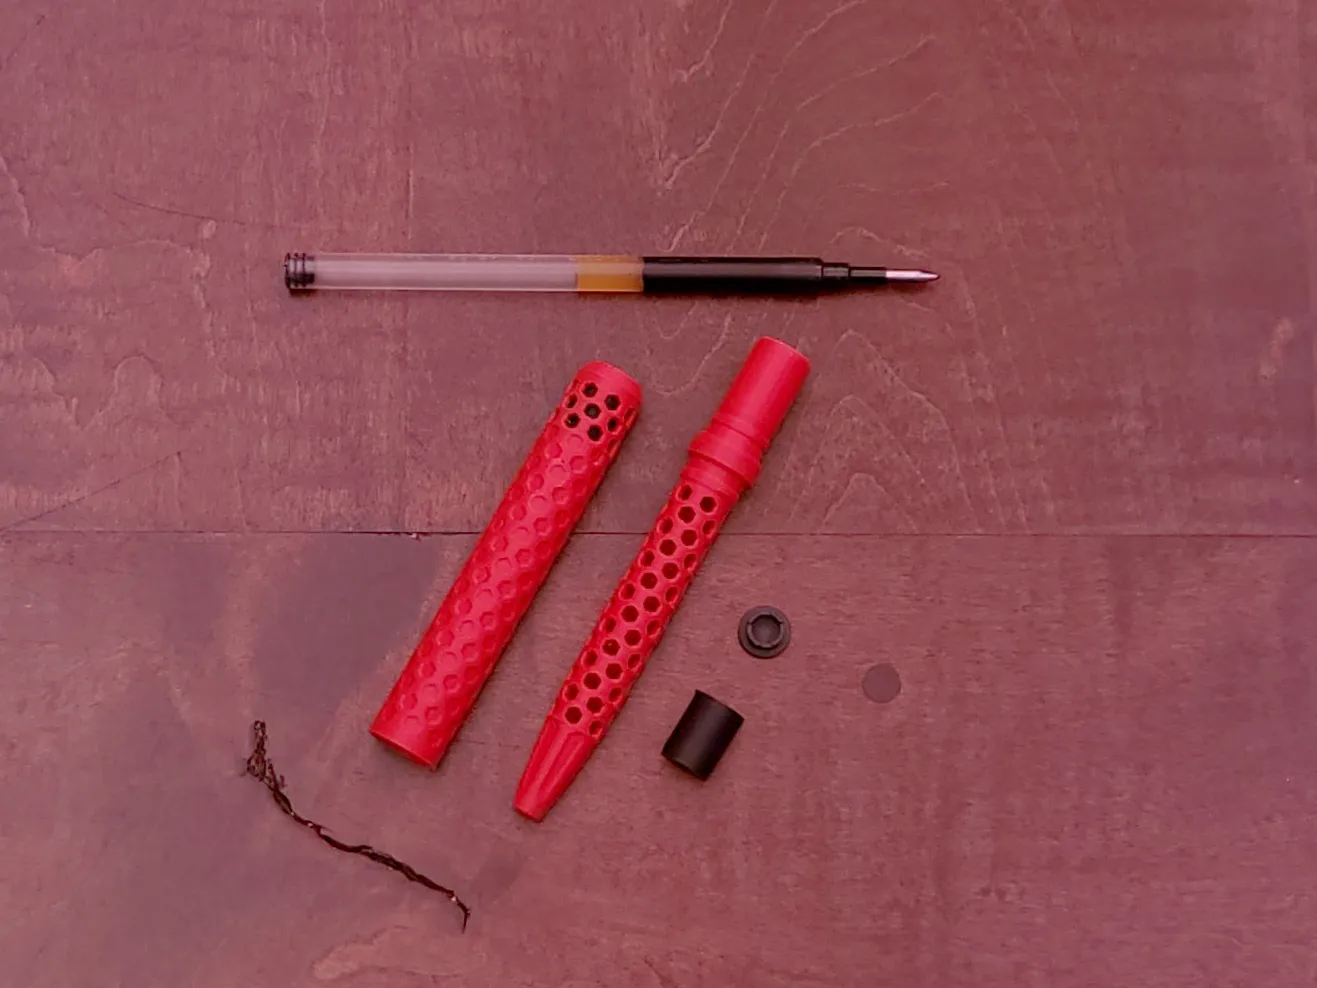
- Accepts Pilot G2 gel ink refills.
- Basic customization without the need for an AMS.
Purchased Items
Each pen requires a Pilot G2 gel ink refill.
Printing Tips
- Always clean your build plate with water and mild soap.
- No Supports - All parts are designed to print without supports.
- Brim - A brim is required for the barrel of the pen.
- Recommended Material - PLA Basic and PLA Matte filaments. Good quality filament that demonstrates strong layer adhesion is a must. Silk PLA is NOT-recommended. Dry your filaments before printing and/or bump your nozzle temperatures a tiny bit if you experience issues.
Boost Me (for free)
If you like my work and want to see more, feel free to give me a Boost!
Assembly
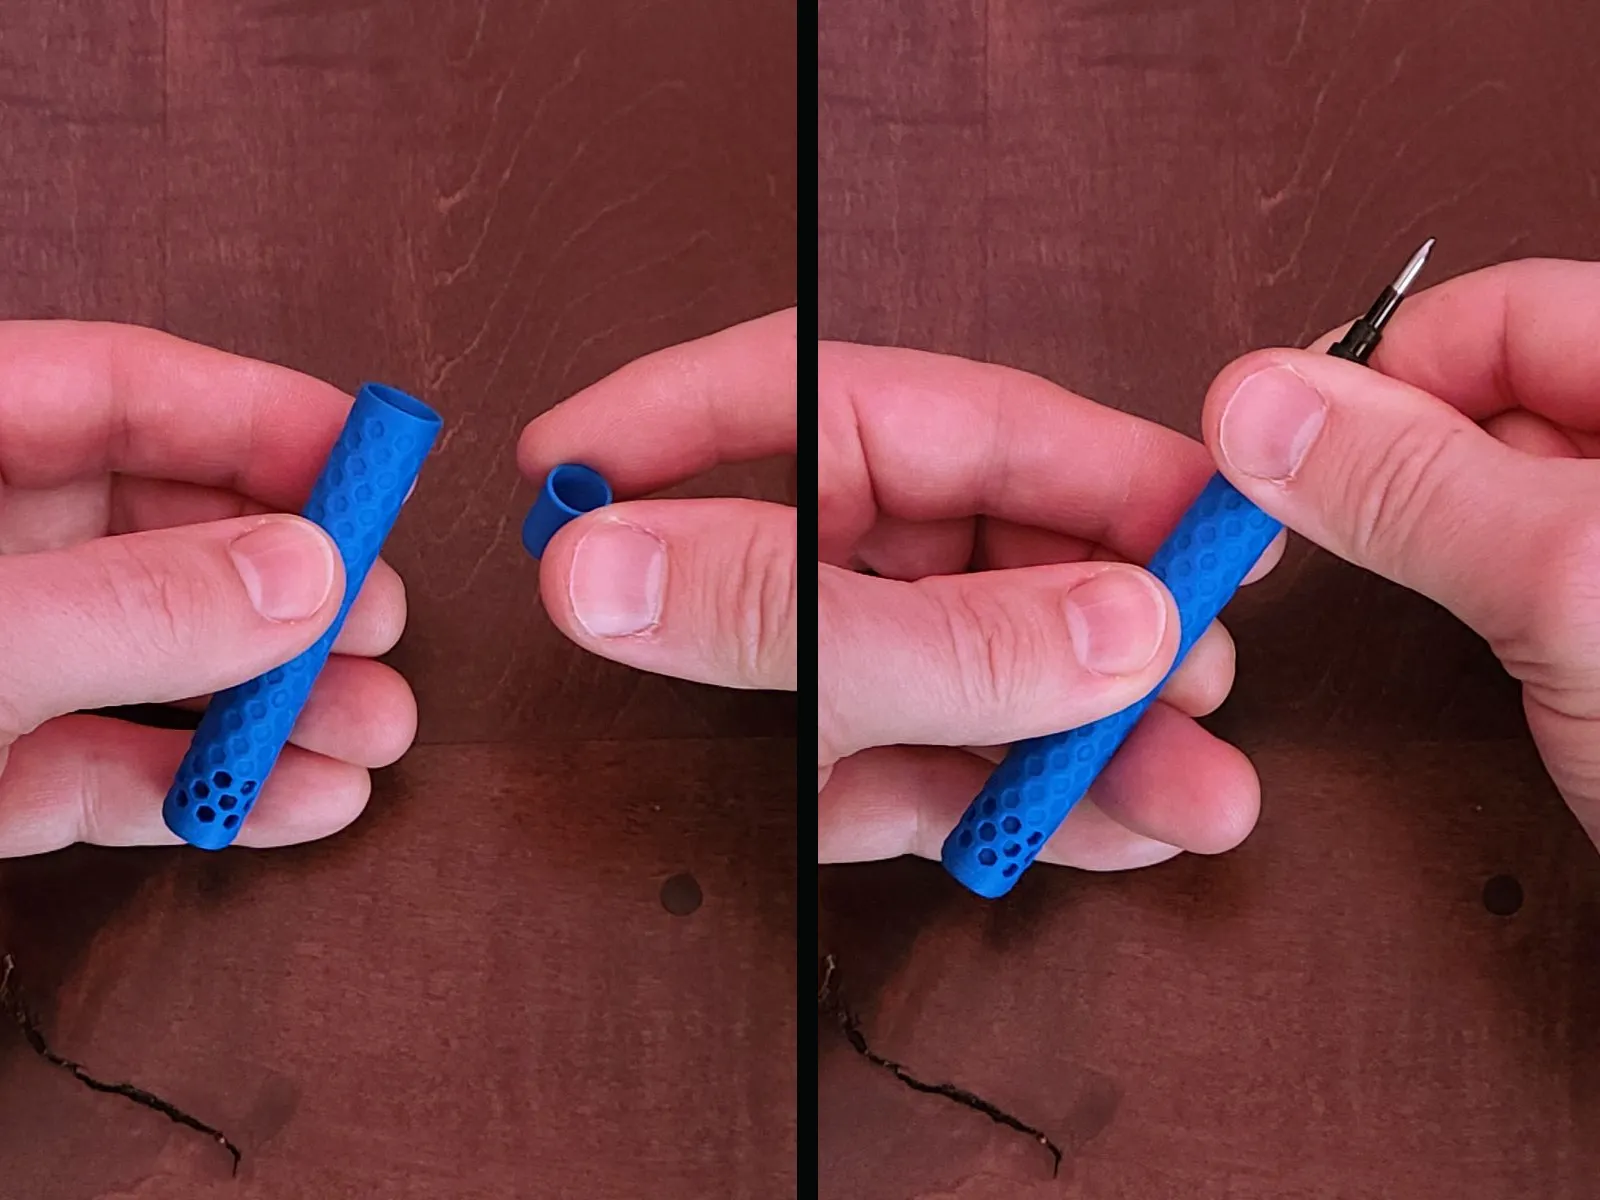
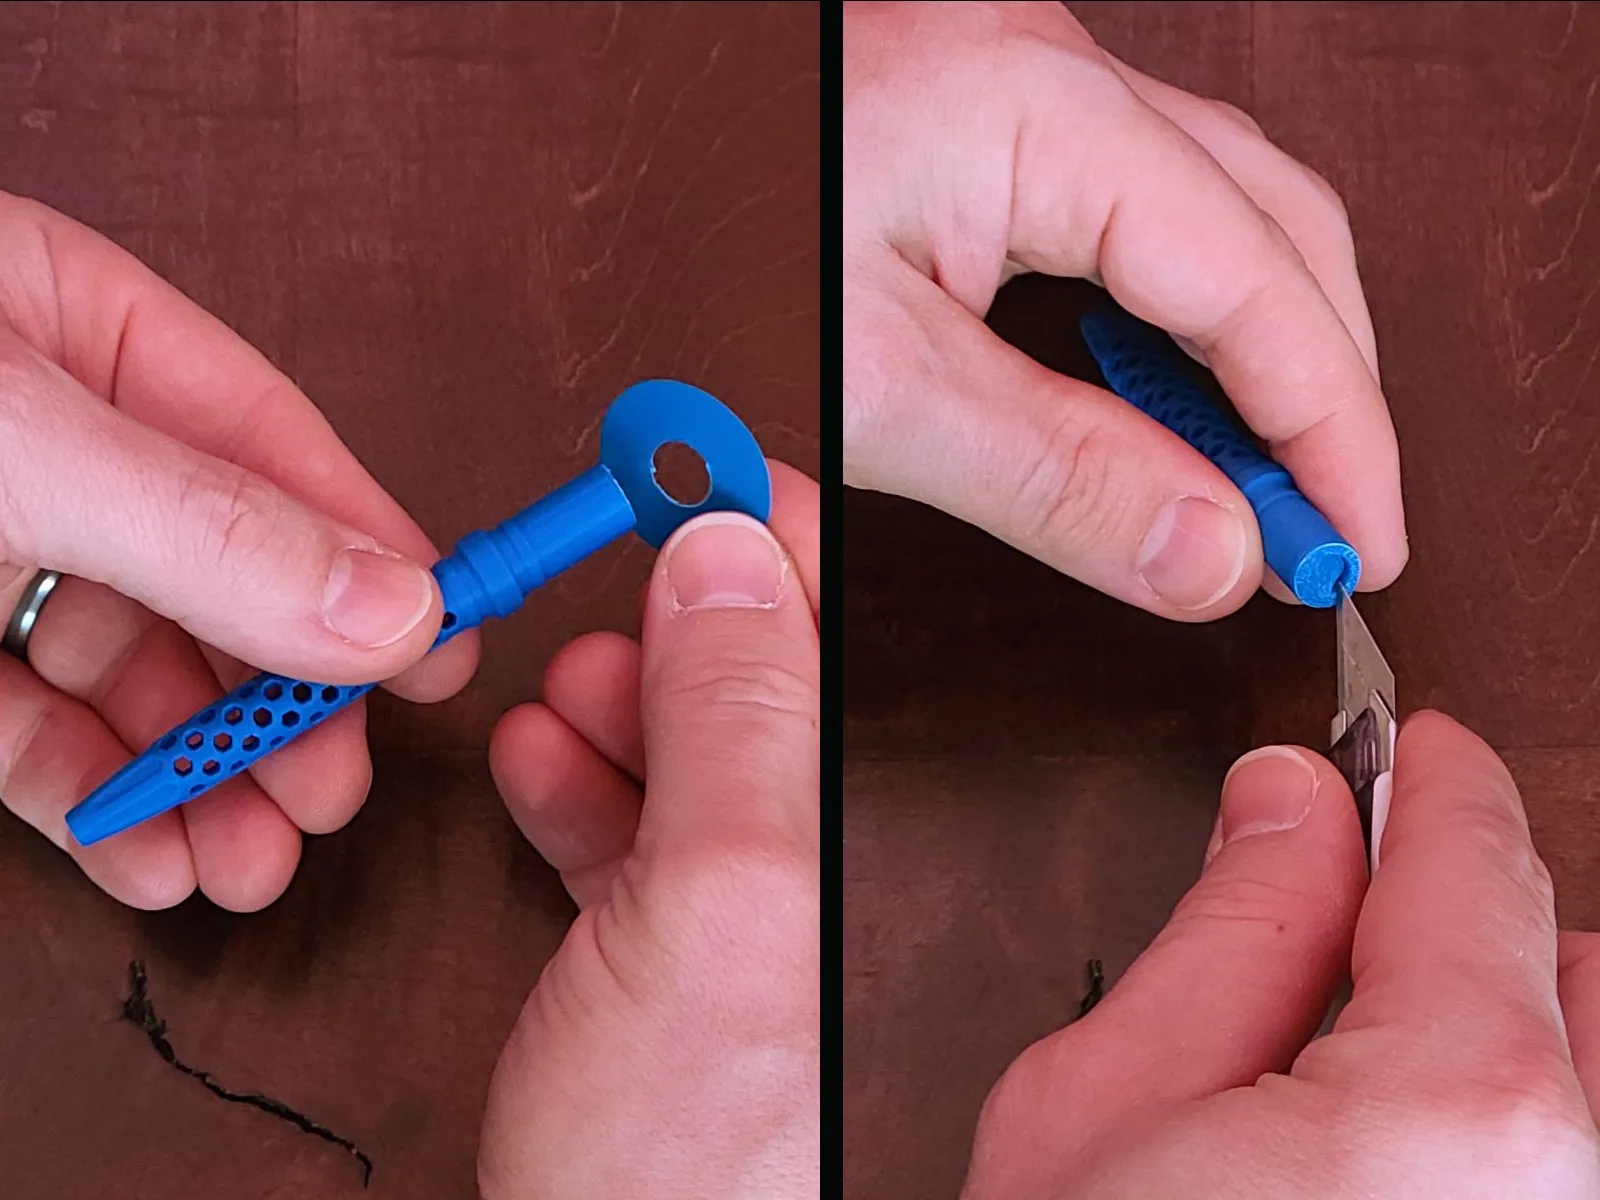
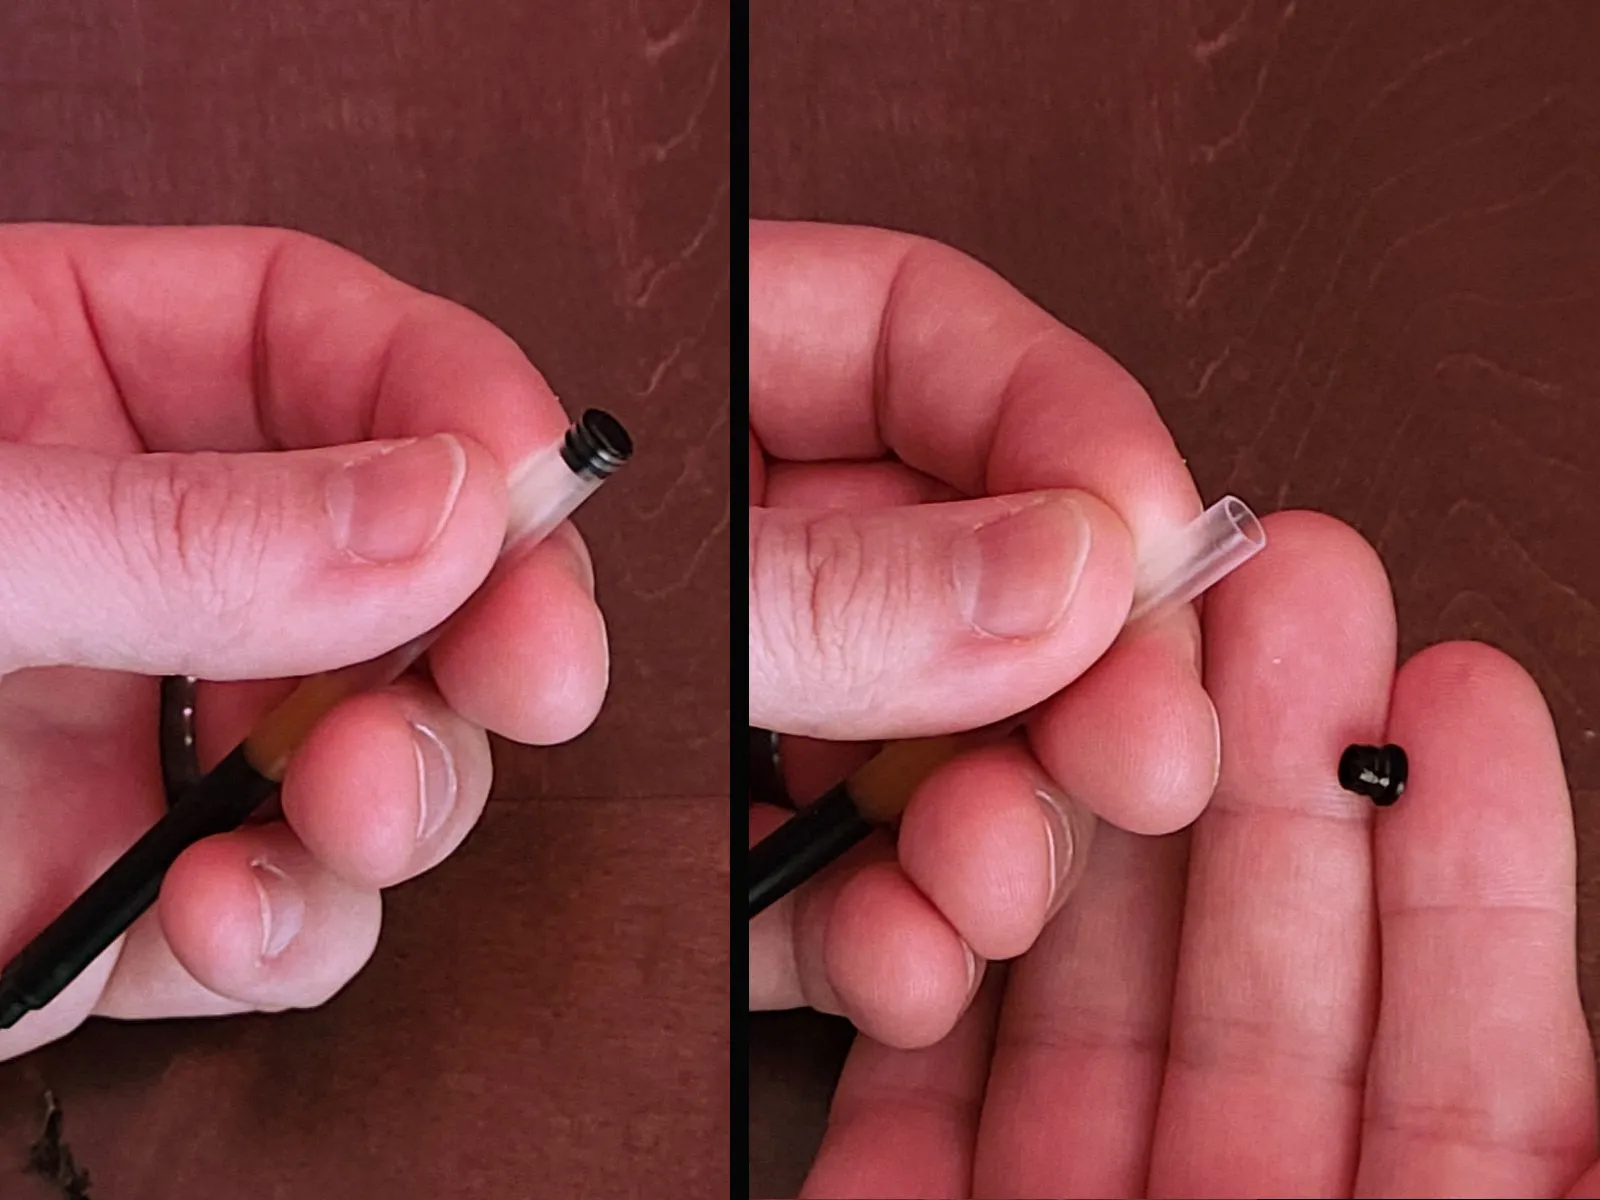
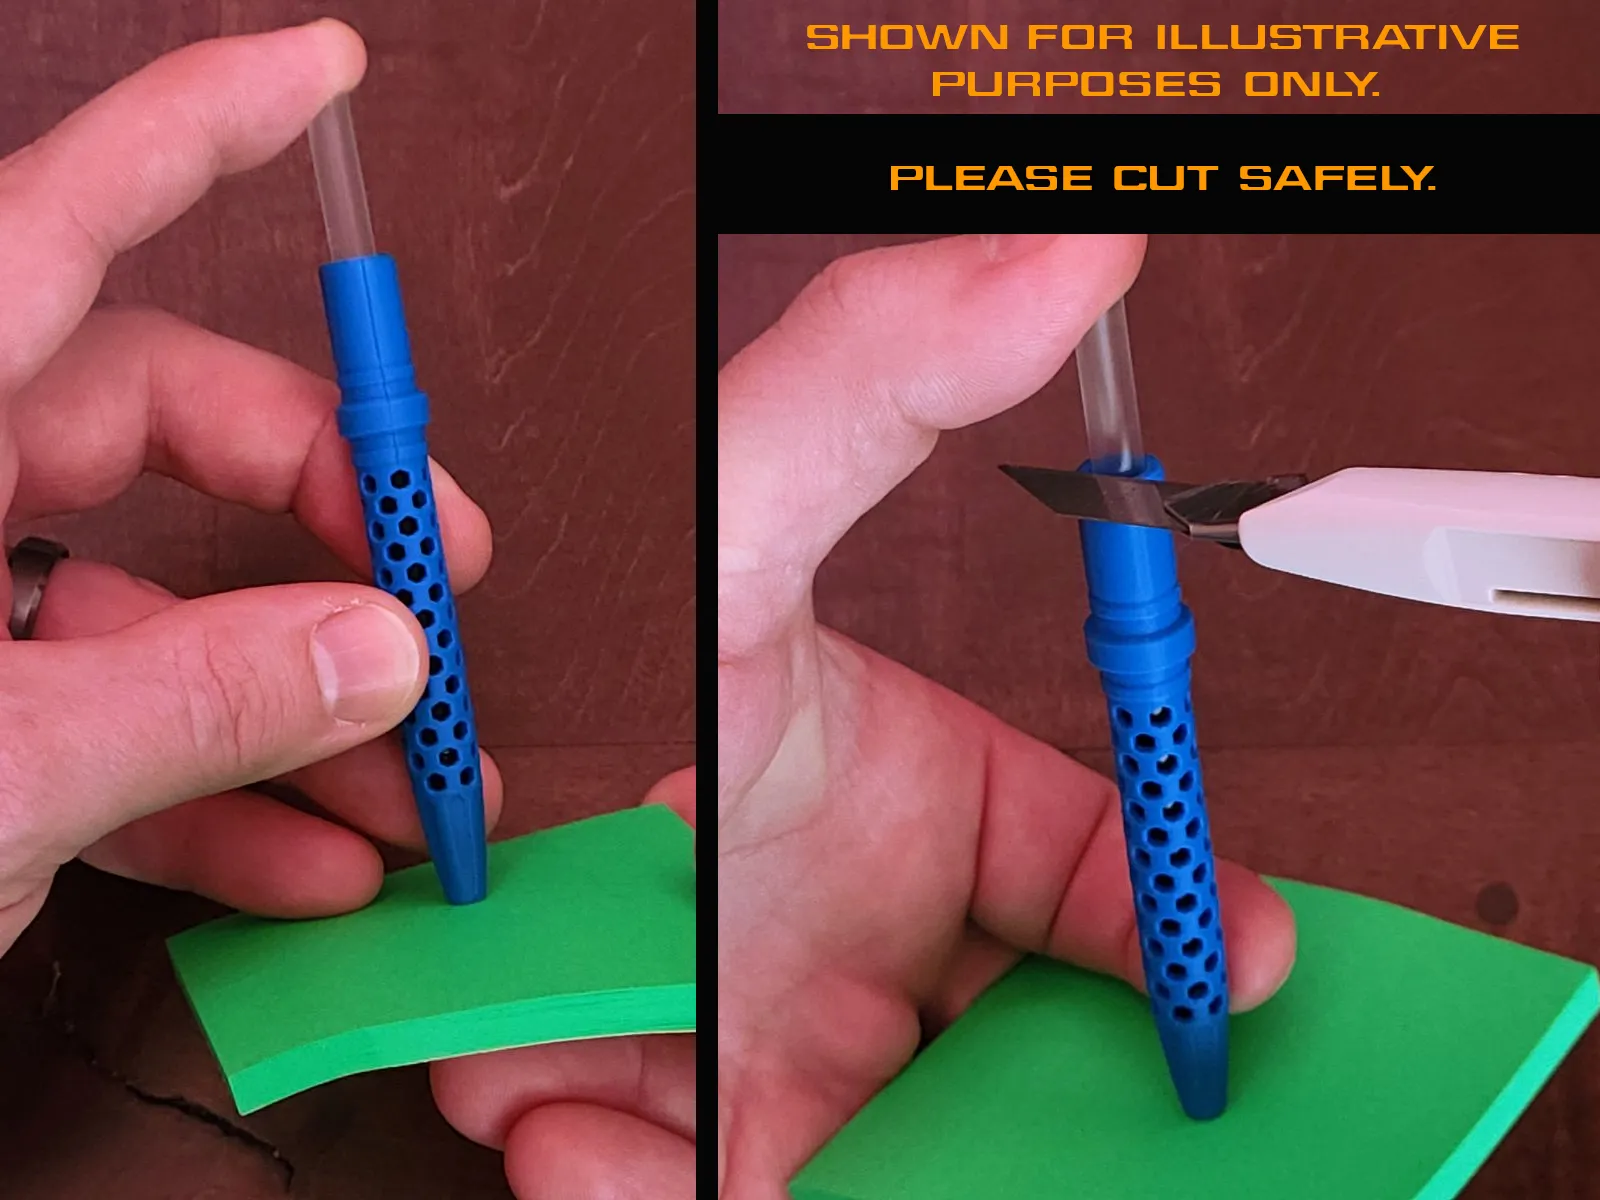
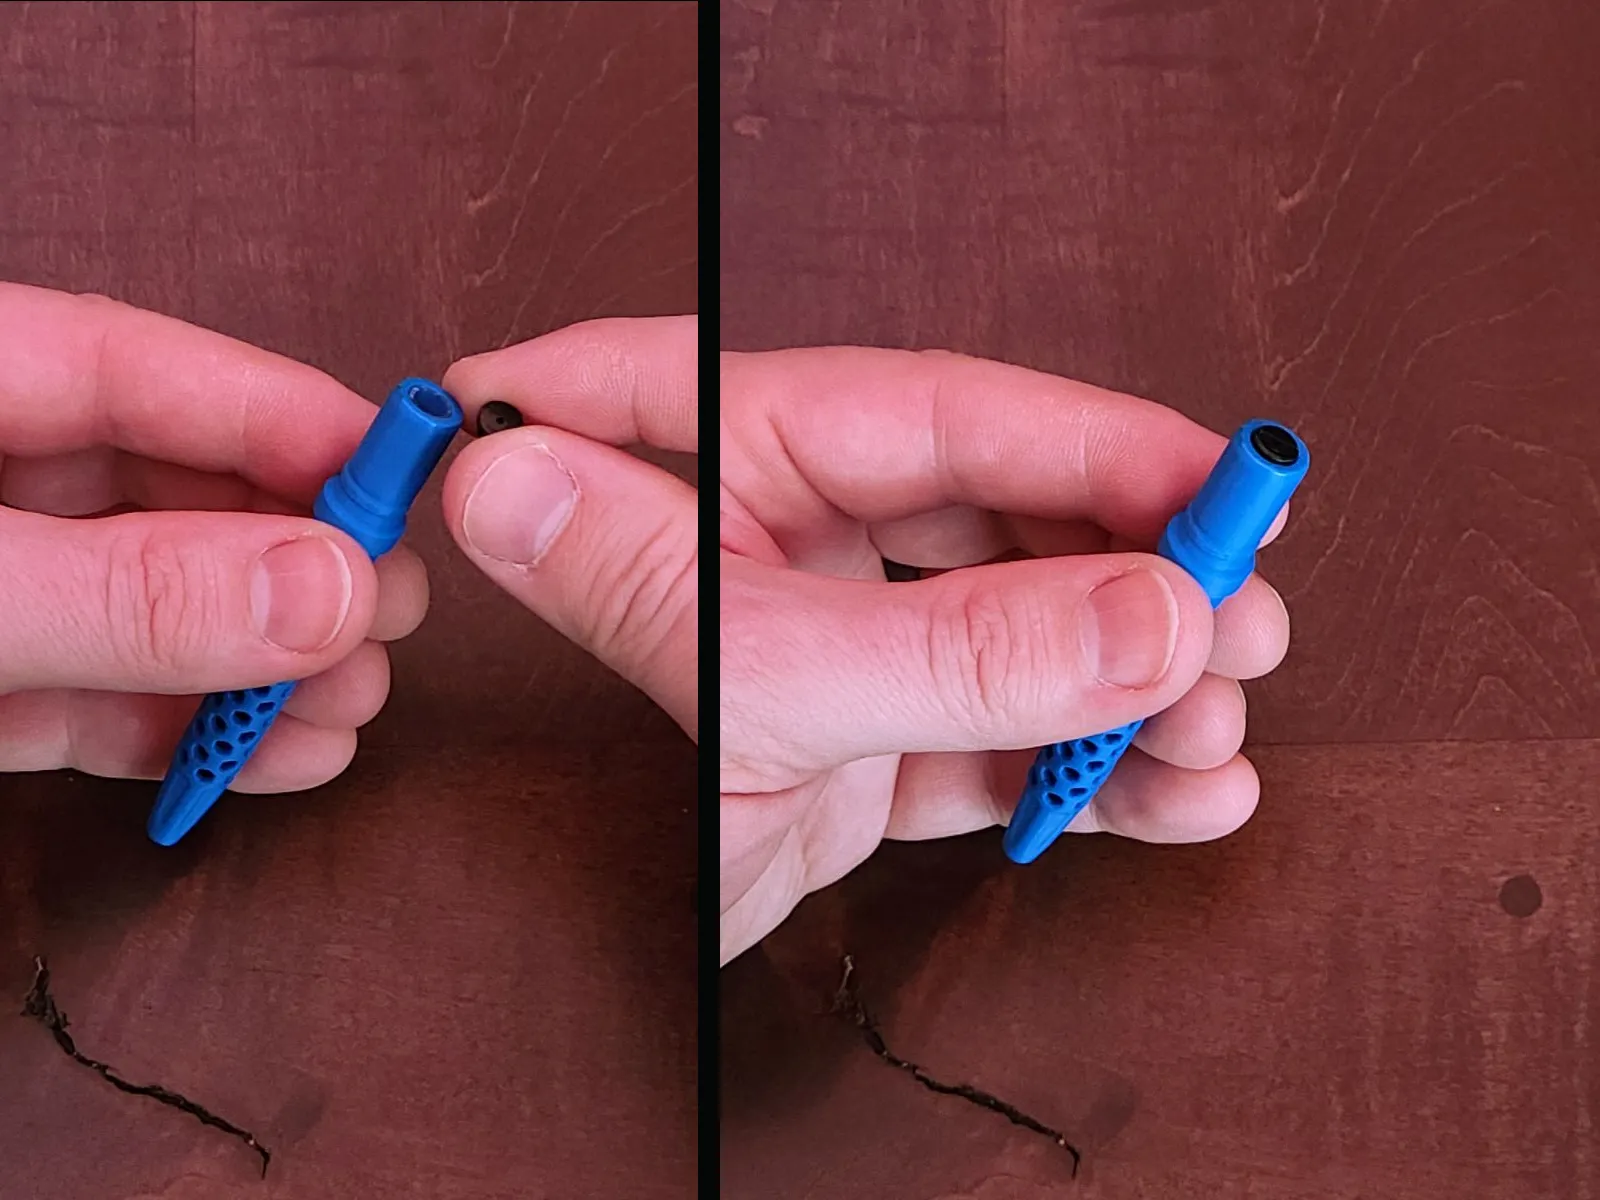
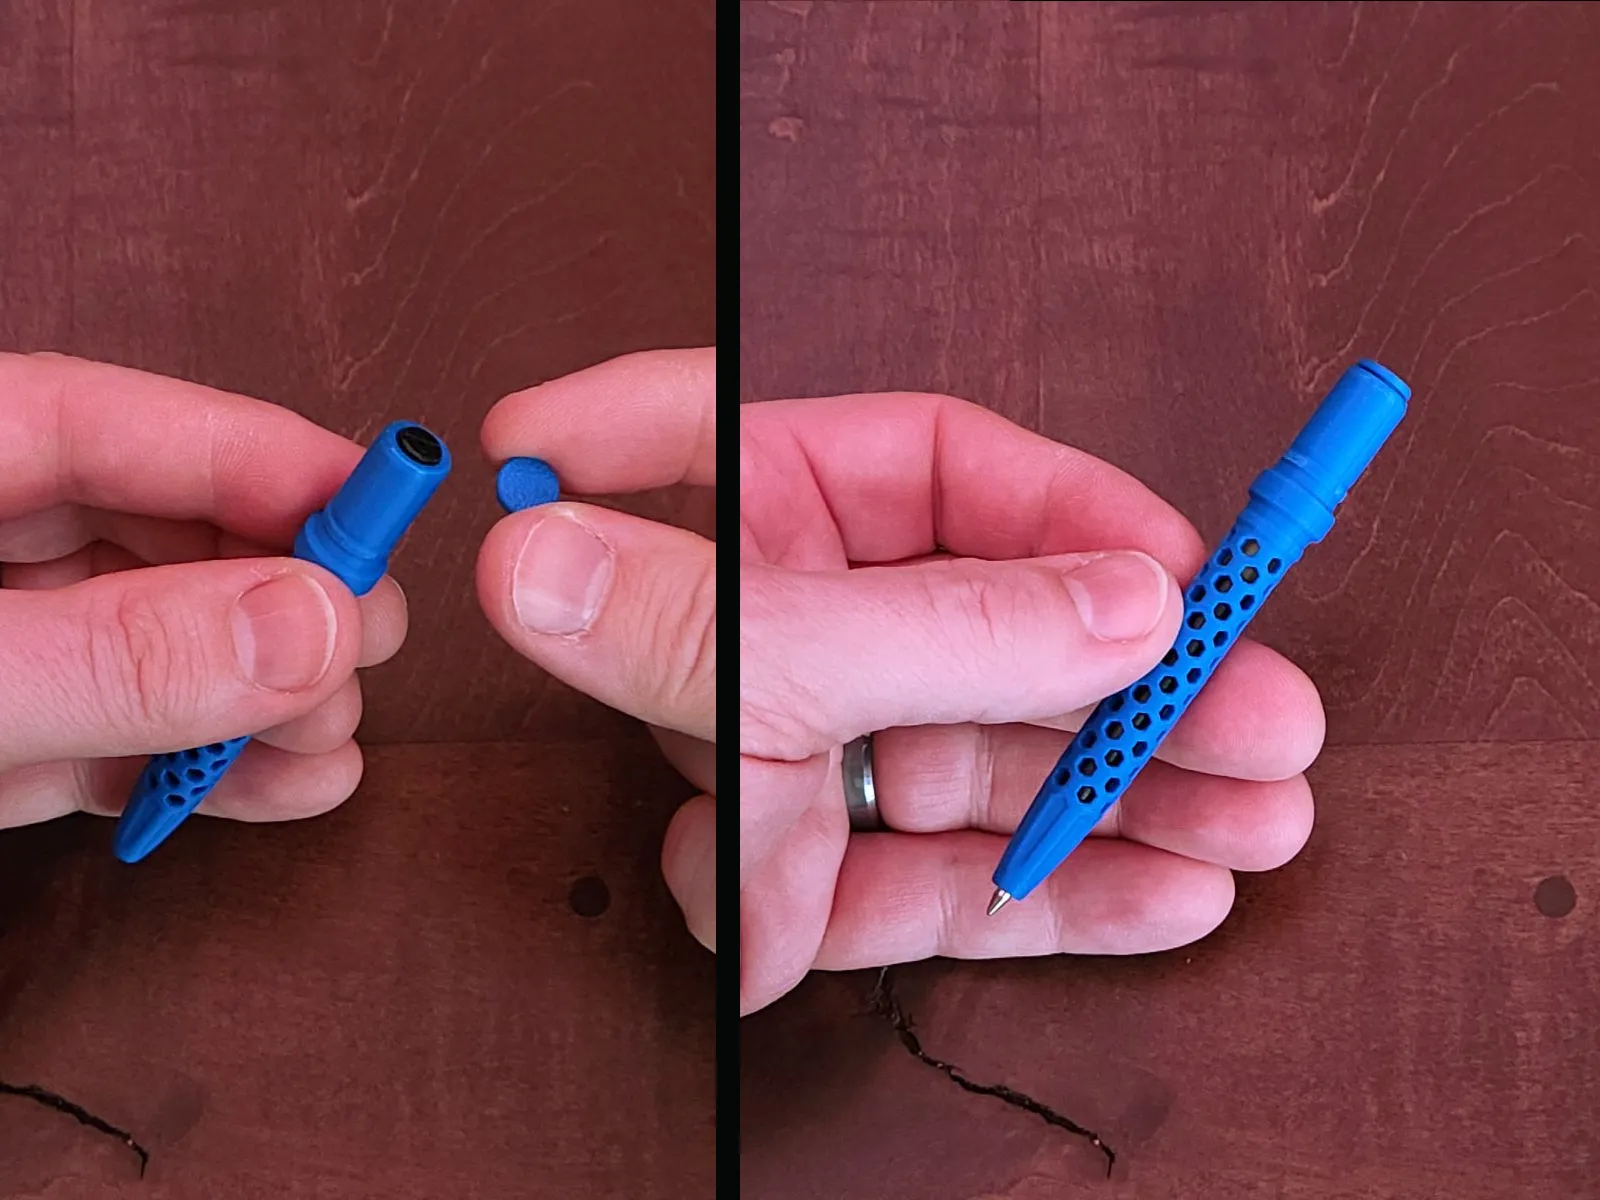
Membership
Commercial Licensing for these models is available for members.
Revision History
2025-12-22 v1.0 Released.
License

You shall not share, sub-license, sell, rent, host, transfer, or distribute in any way the digital or 3D printed versions of this object, nor any other derivative work of this object in its digital or physical format (including - but not limited to - remixes of this object, and hosting on other digital platforms). The objects may not be used without permission in any way whatsoever in which you charge money, or collect fees.


Comment & Rating (54)