
Print Profile(8)


Bill of Materials





Description
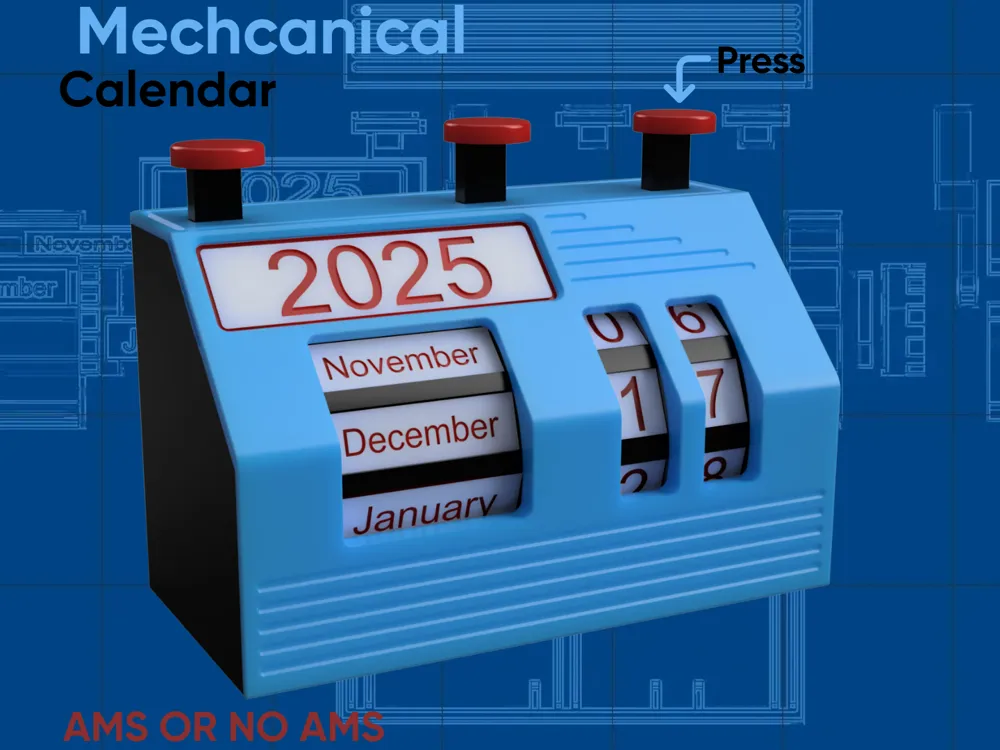

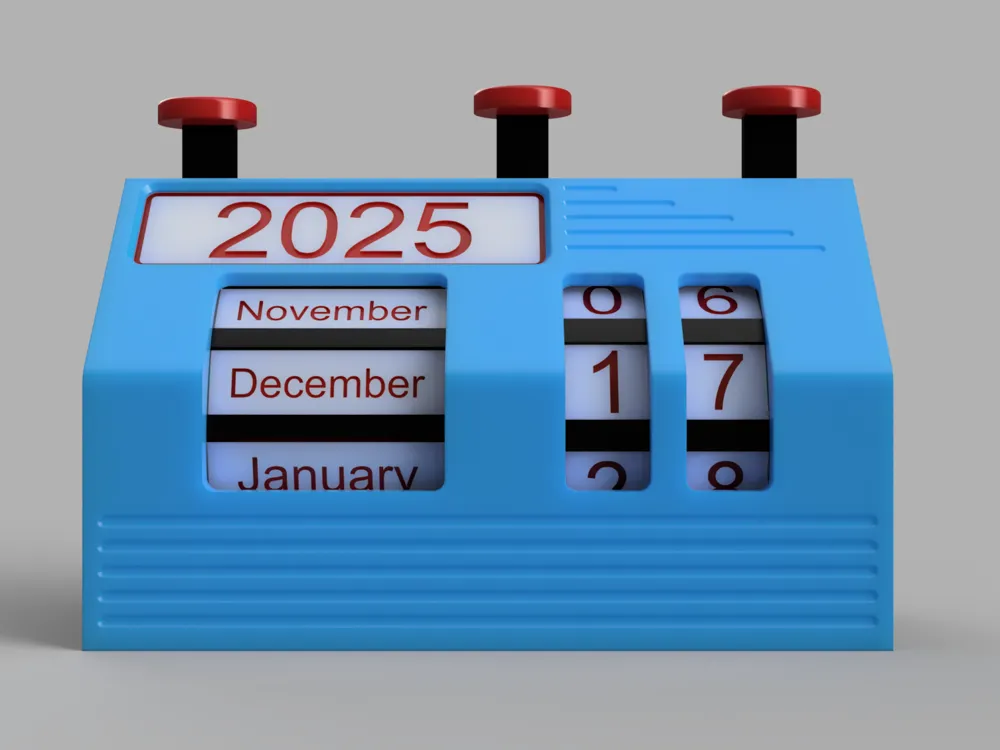
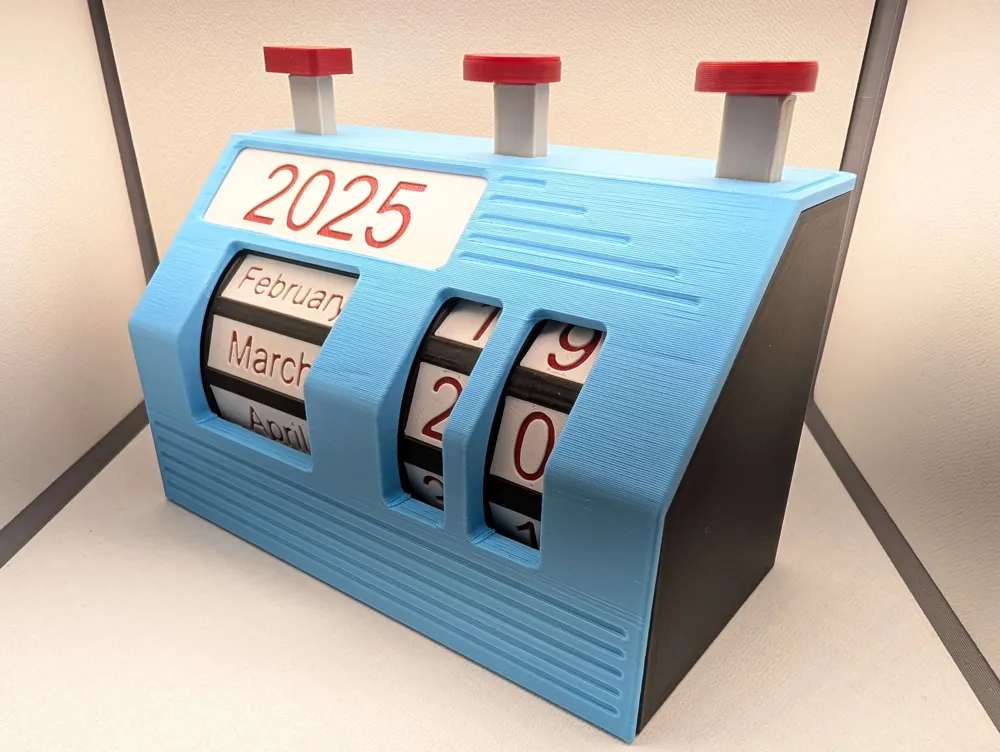
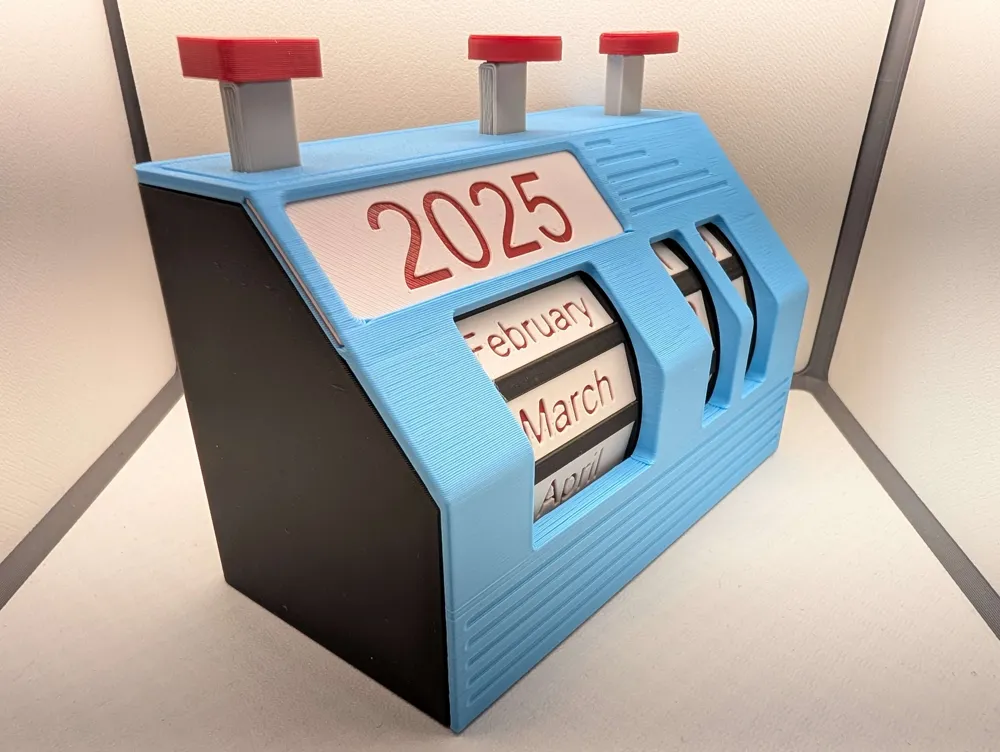
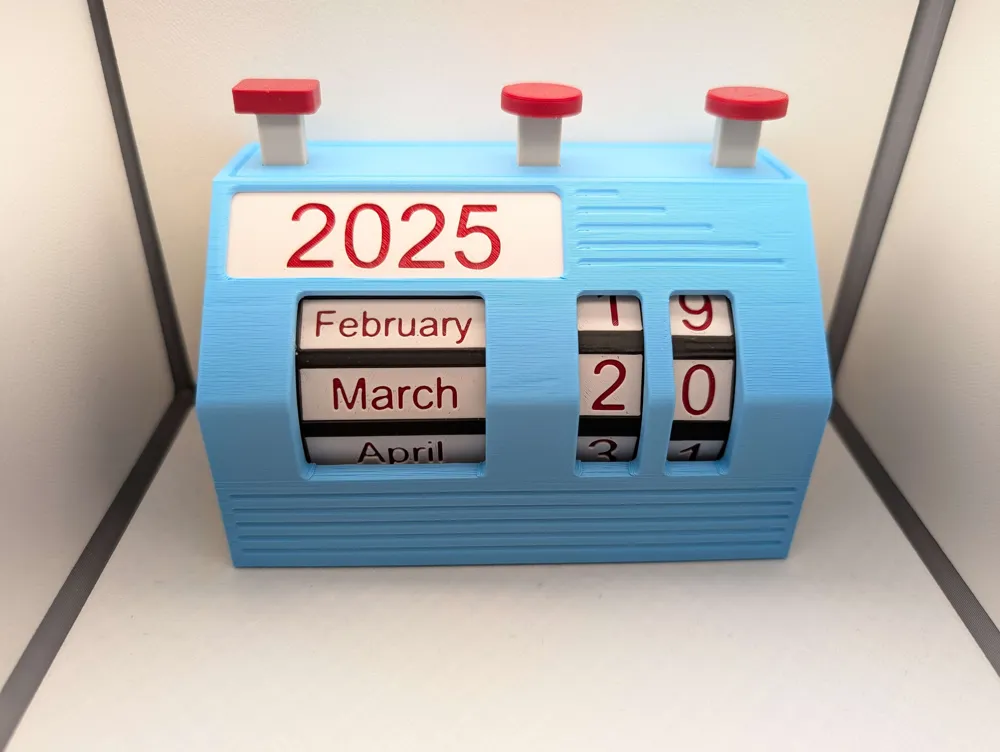
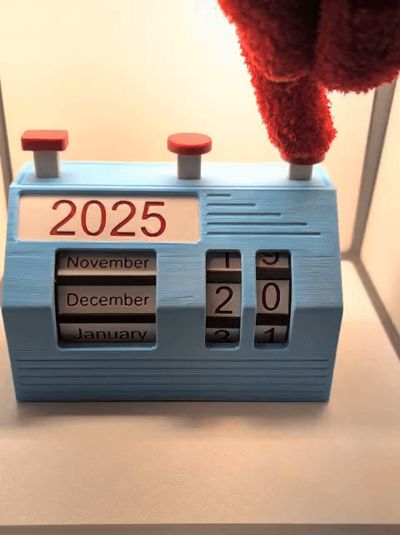
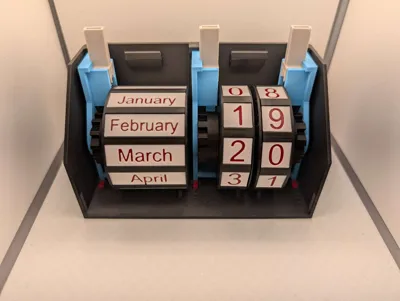
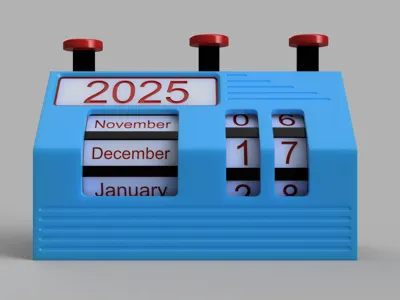
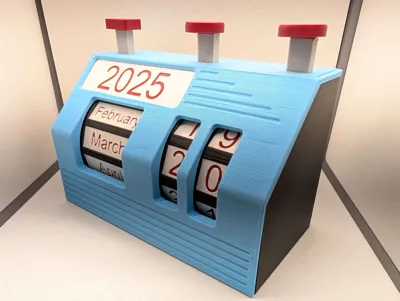
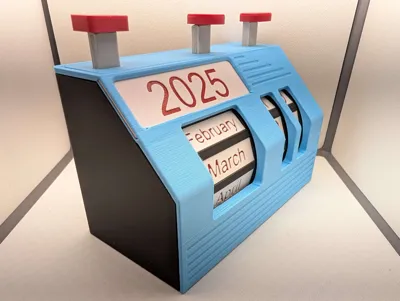
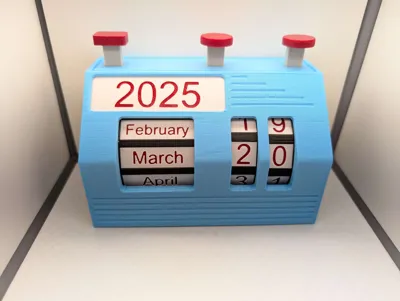

Mechanical Calendar
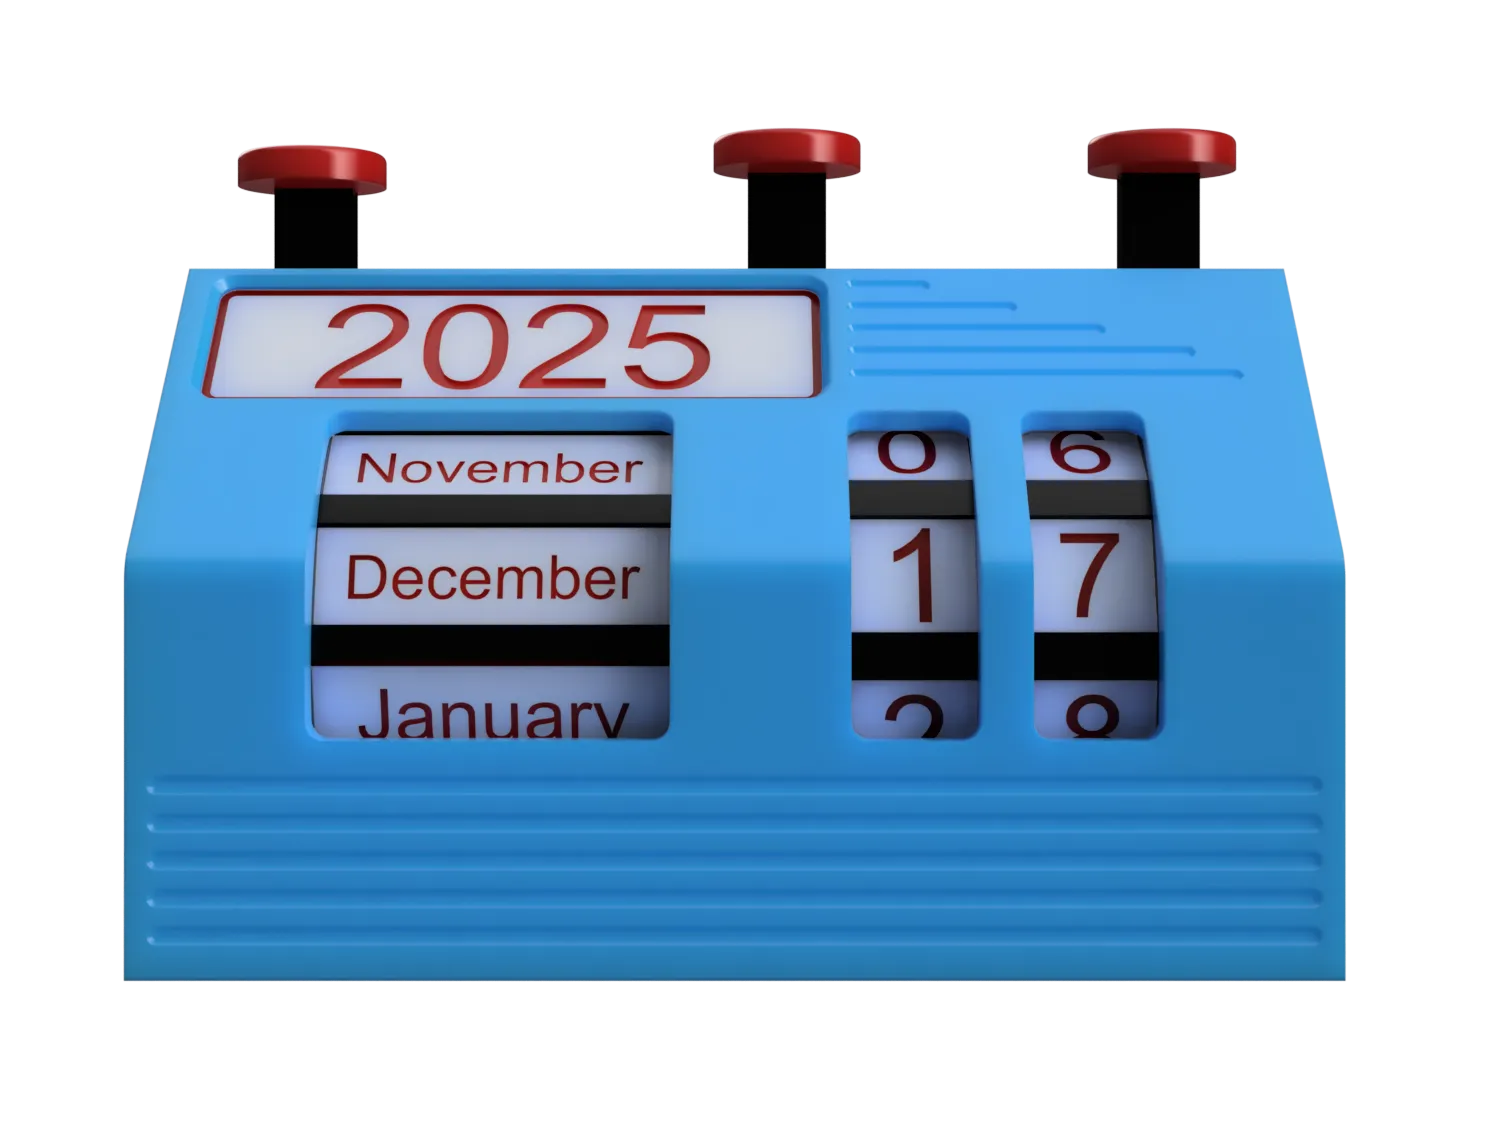
(So clicky)
🔧 Edit:
Added test pieces to see if you need more clearance(print them before you print all the labels).
2026 plate in the the print profile
- Added a print profile for labels with bigger tolerance for anyone having trouble installing them.
- Added a print profile for months in German, Spanish Chinese, and Japanese. There are AMS and No AMS plates for all of them. (If you want any other languages leave a Comment) scale to 98% if you need more tolerance.
- Added bigger tolerance Labels to the original print profiles
- Added A1 mini print profiles (scale the labels to 98% if there do not fit)
🎯 Purpose:
This is a rotating calendar but, instead of turning a knob on the side you click a button on the top. The Mechanical mechanism inside creates a satisfying click that changes the date. Unfortunately you can only hear this satisfying click once a day. if you cant a fidget top based of this mechanism leave a Comment.
🧼 About:
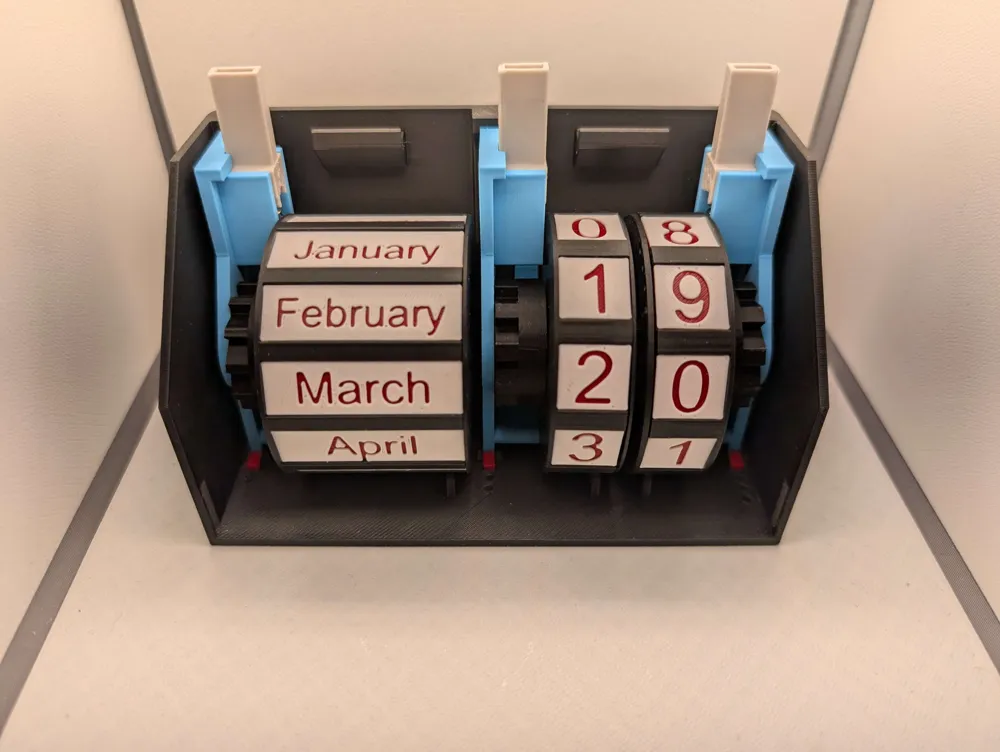
Recently I have been replacing some of the old prints in my bathroom. This time I wanted to design all the new ones, so stay tuned for a bunch of bathroom models. The Mechanical Calendar uses a ratcheting mechanism witch uses a spring and a compliant 3d printed arm that takes the place of the second spring that you usually find on ratcheting mechanism. There are 3 of these mechanisms in the calendar and each spins a bank of numbers/months. Each number/month/year is a multi color print but, fortunately no AMS is needed. I have created a print profile with built in stops to manually change the color(for help look in the Printing section below). Yes there is a 2026 panel in the profile.
🔄 Changing The Date:
- To change the date use etch button on top to rotate the number under it.
- If the mechanism gets stuck you can spin the numbers up to reset it.
Boost Me (for free)
Size:
- L=130mm W=65mm H=95
Printing:
- Print Profile has all settings pre applied
- Everything can be printed form PLA (PETG Arms will probably last longer but i haven't had a problem with PLA).
- .2 layer Hight(you can use .24 for the main body to cut down on time)
- 15% infill(10% on the main body)
- 2 walls
- Auto Tree support
- use a raft or brim if needed
- Use Additive layer height for all parts with threads . Quality=1.4 Radius= 10
- AMS and non AMS profiles are provided.
Non AMS Help.
- print Profile has all settings pre applied
- Stops are built in for color changes
- For help with non AMS multicolor printing watch this: https://youtu.be/AGS3z6qCXUs?t=35
Non 3d Printed Parts:
0.5x5x20 mm Helical Compression Spring You can try a pen spring; I don't know if they will fit but its worth a try:]
Tools:
Flat heed Screwdriver or an object with a flat end like a coin
Pre Assembly:
Support removal.
Remove all supports. For the supports under the bridges on the sub bodies, use an alien key or a small screwdriver to push them out. You might want to scrape the top where the support came off of if the surface doesn't look clean.
Assembly Animations:
- These are animated instructions you can use along with the Assembly guide
- Parts of the mechanism are labeled by 1,2,or 3 dots. Parts with the same amount of dots go together.
Step #1-2
(steps can be done in reverse order)

Step #3-8
Main Body Assembly Step #1

Main Body Assembly Step #2

Main Body Assembly Step #3

Main Body Assembly Step #4
(Let me know if you want a different button design)

Main Body Assembly Step #5

THX For Printing :)
Membership
Support me or sell my models
Documentation (1)
License

You shall not share, sub-license, sell, rent, host, transfer, or distribute in any way the digital or 3D printed versions of this object, nor any other derivative work of this object in its digital or physical format (including - but not limited to - remixes of this object, and hosting on other digital platforms). The objects may not be used without permission in any way whatsoever in which you charge money, or collect fees.


Comment & Rating (94)