
Themed Modular Shelves, Hanging and Wall Mounted!
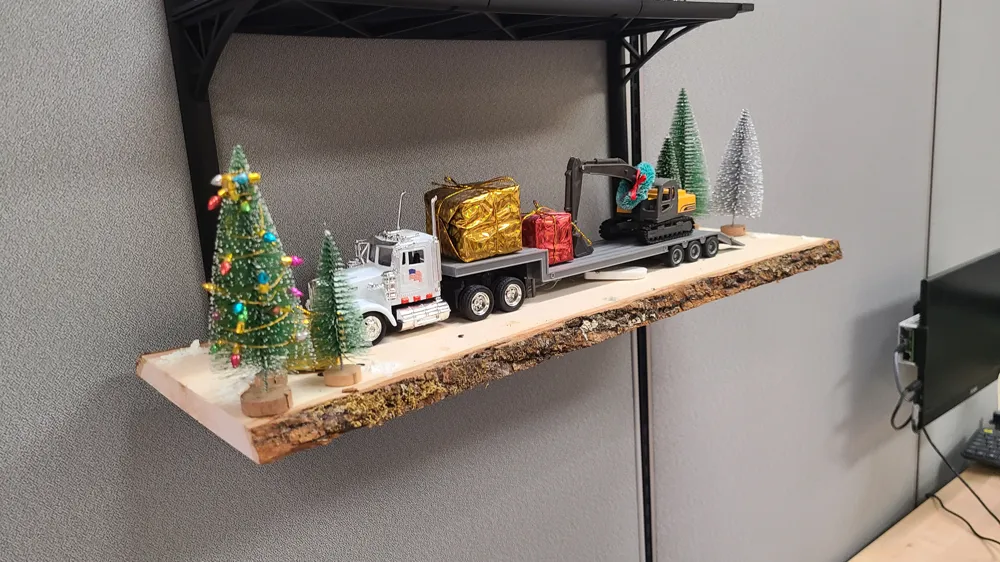
Print Profile(5)

Bill of Materials






Description
Boost Me (for free)
Hey! I hope that you LOVED my model. I spent a lot of my own time putting this together, and truly hope it made your life easier. If you really enjoy what I've put out, please consider giving the model a boost and a review with 5 stars, a story, and a picture! It's free, doesn't take much time, and helps me out a lot! I want to keep making these models as they come to me, and I need your help to do so. Thanks a lot!!
All printers should work with all profiles so long as the parts fit on your bed size; sometimes Makerworld doesn't play nice. Try downloading them regardless and edit as needed.
The Makerworld time estimate will vary based on which printer you use.
---------------------------------------------------------------
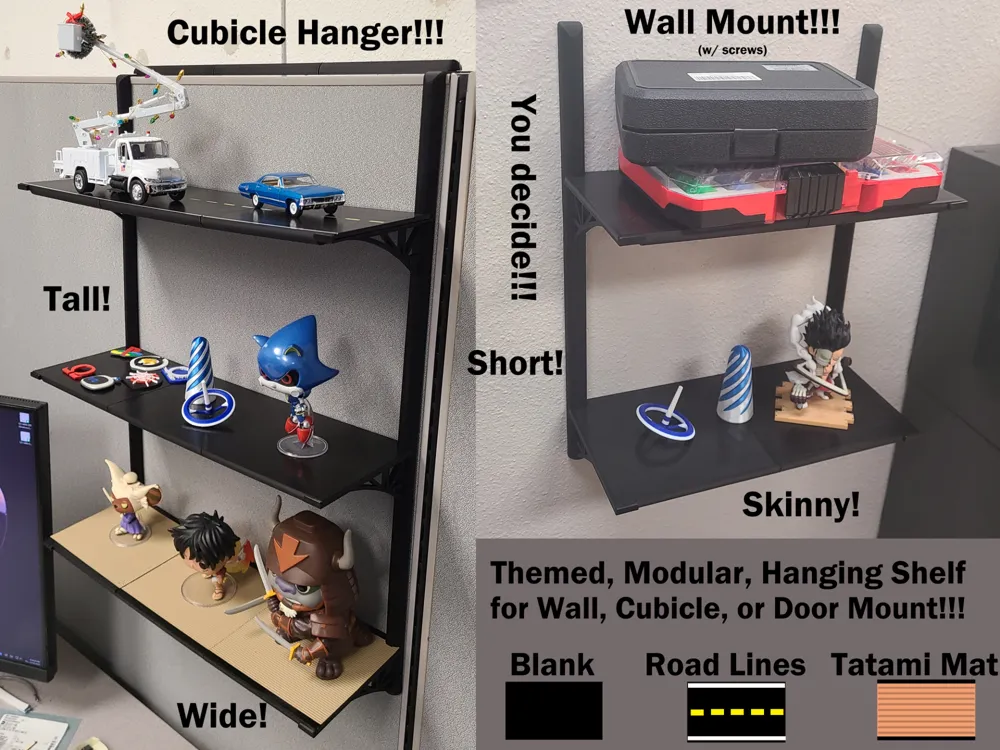
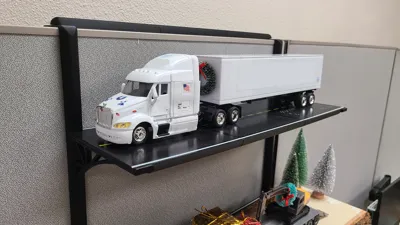
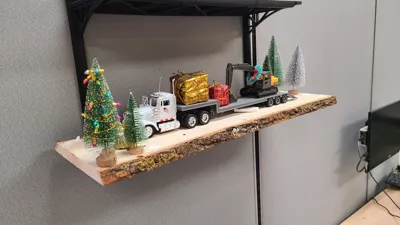
Finally! A 3D printable modular shelf model is available for hanging on your wall or over your door/cubicle wall!! I searched high and low for a model of either of these, and somehow no one had made them yet, so I took the opportunity! Support material removal and assembly instructions are included in each print profile's description, along with pictures (which appear best in the Bambu Handy app, unfortunately).
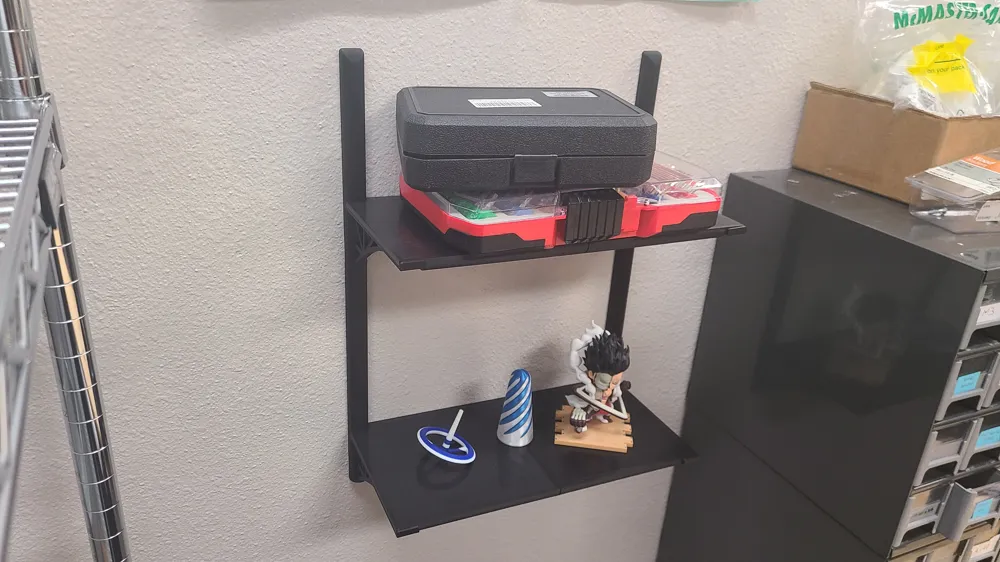
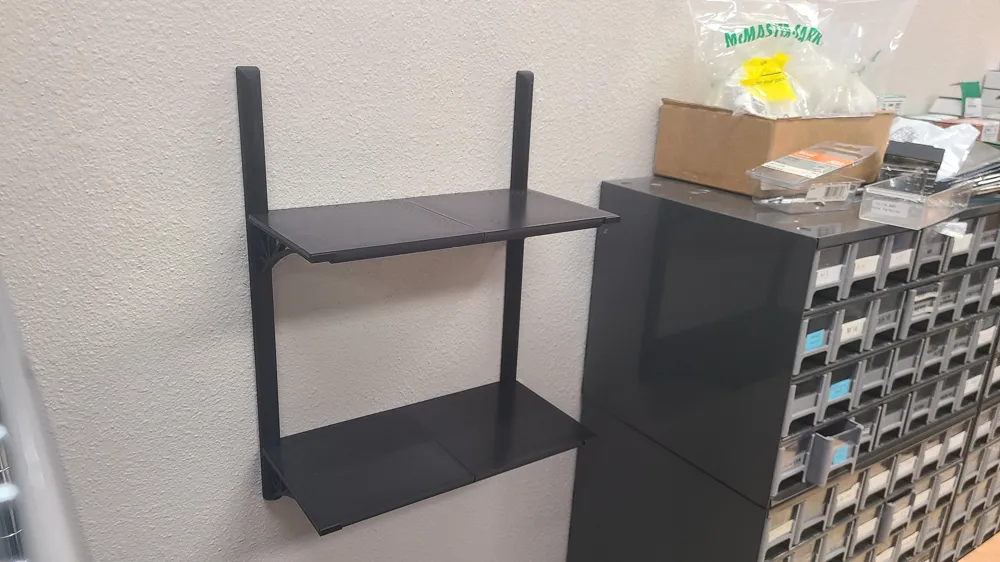
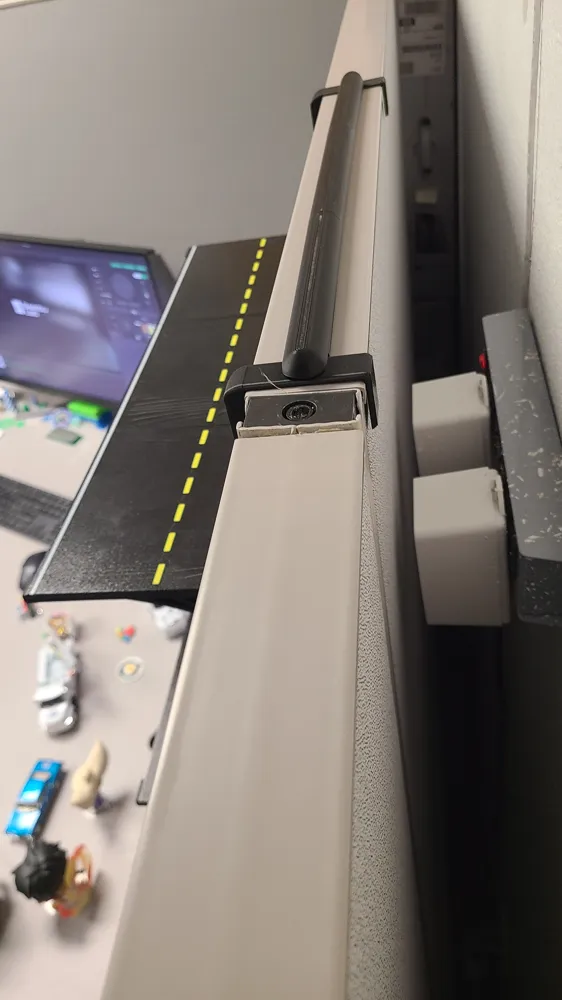
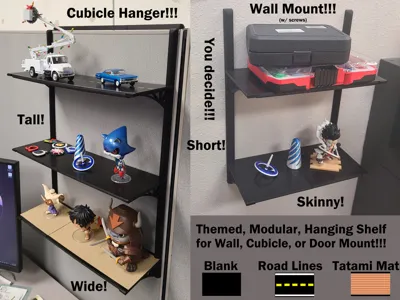
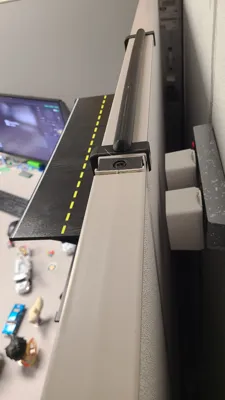
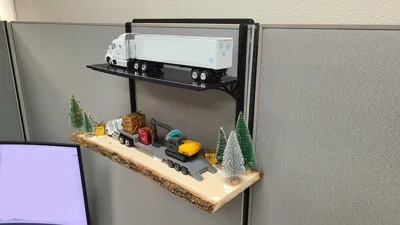
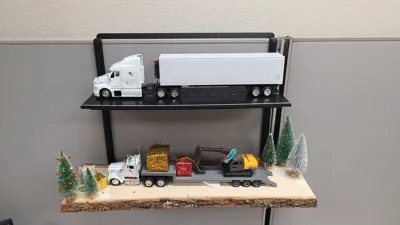
The modular shelf design works by printing individual pieces and simply connecting them according to the instructions in each print profile description, and then hanging them either on screws in the wall or over a cubicle wall/door, depending on the option you select.
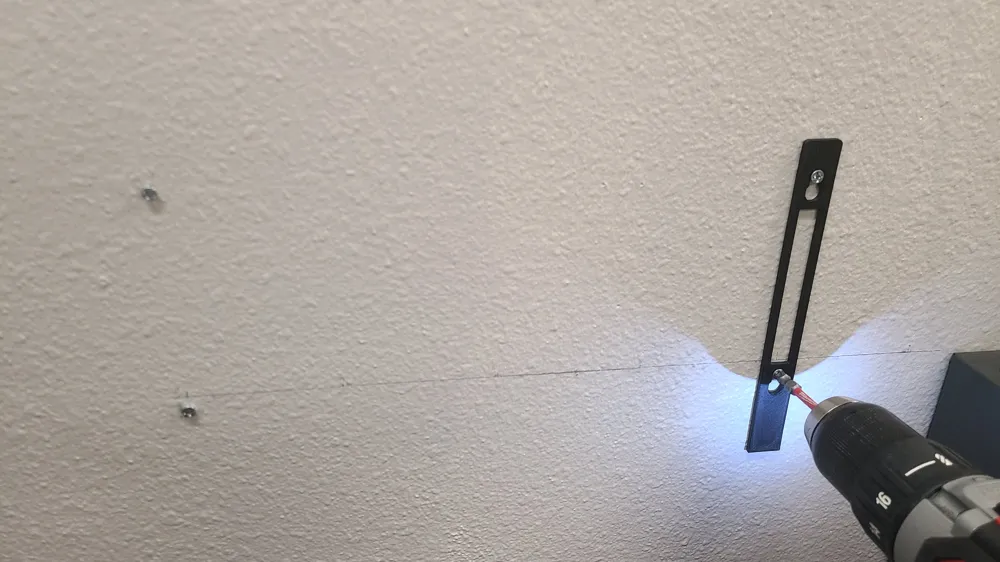
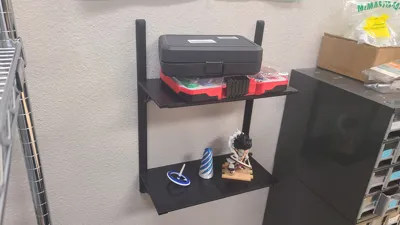
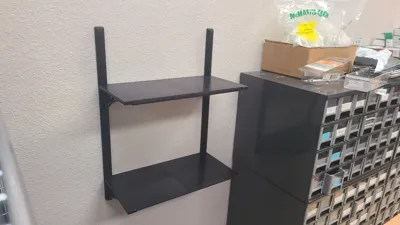
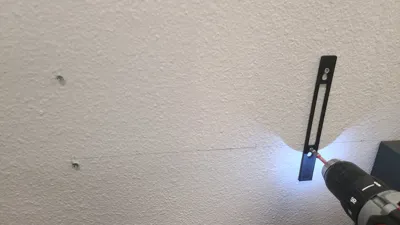
- Wall-type: Requires at least 1x screw per side (or 2x total, but 4x recommended), minimum. Works best with #6 screws or close to that. That's what I used; feel free to try other screws that don't exceed 0.2" (5.08mm) in screw diameter and roughly 0.125" (3.175mm) in screwhead diameter. Assembly instructions and mounting guides exist in the print profile.
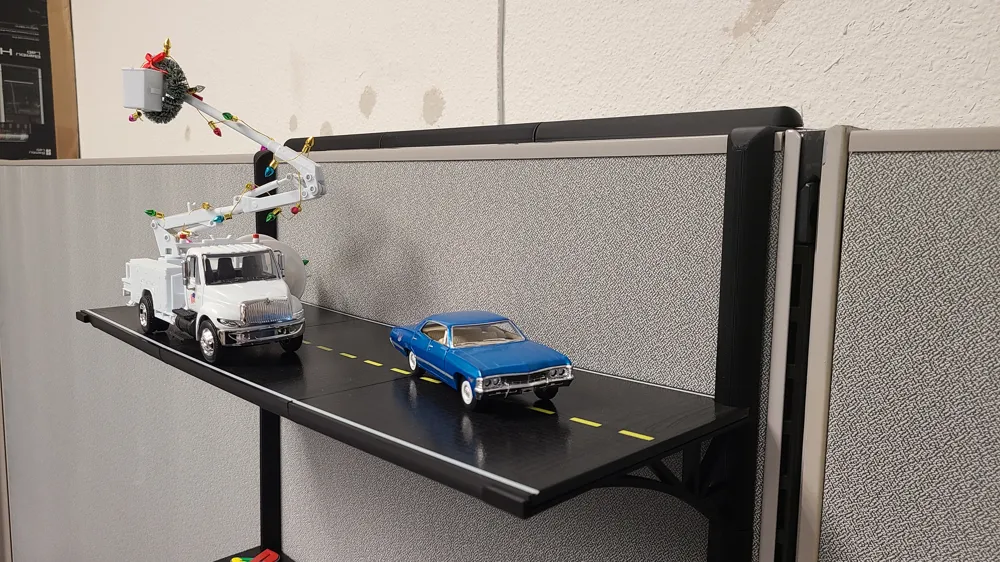
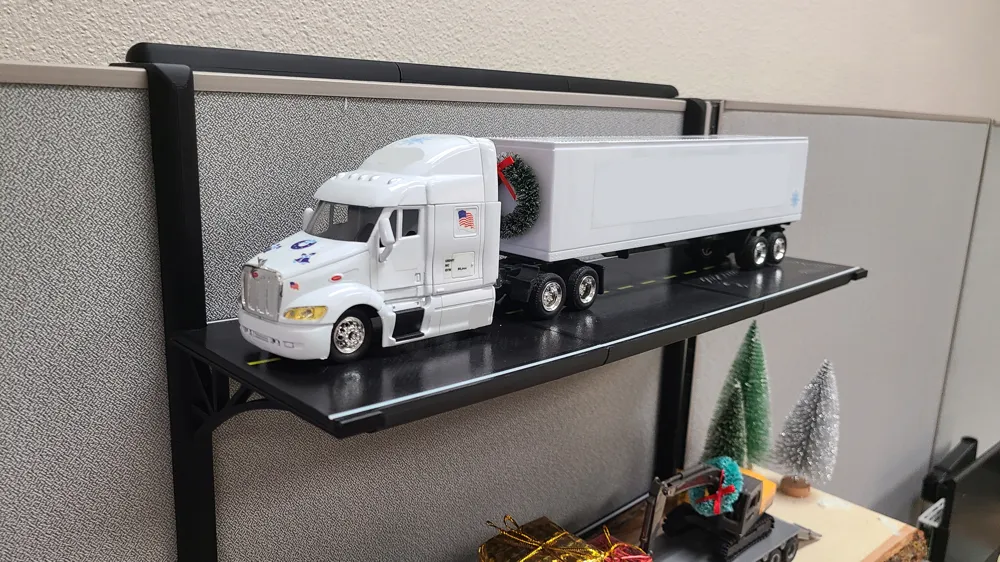
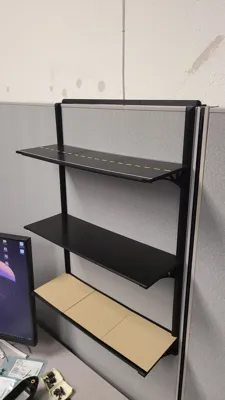
- Cubicle-type: I originally designed this for a 2" (~5cm) thick cubicle wall, as that is what I have at work. I have also designed 3/8", 7/16", 1", 1.5", 2.5", 3", and 3.25" options per request of other users in the comments below. If you require hanging this on a different thickness wall, please let me know, and I will make a new profile ASAP :)
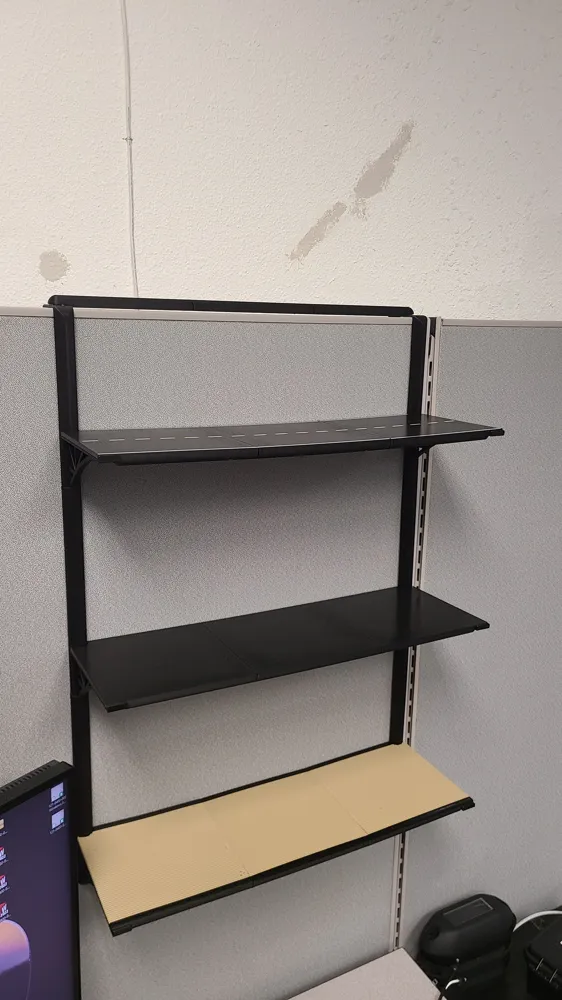
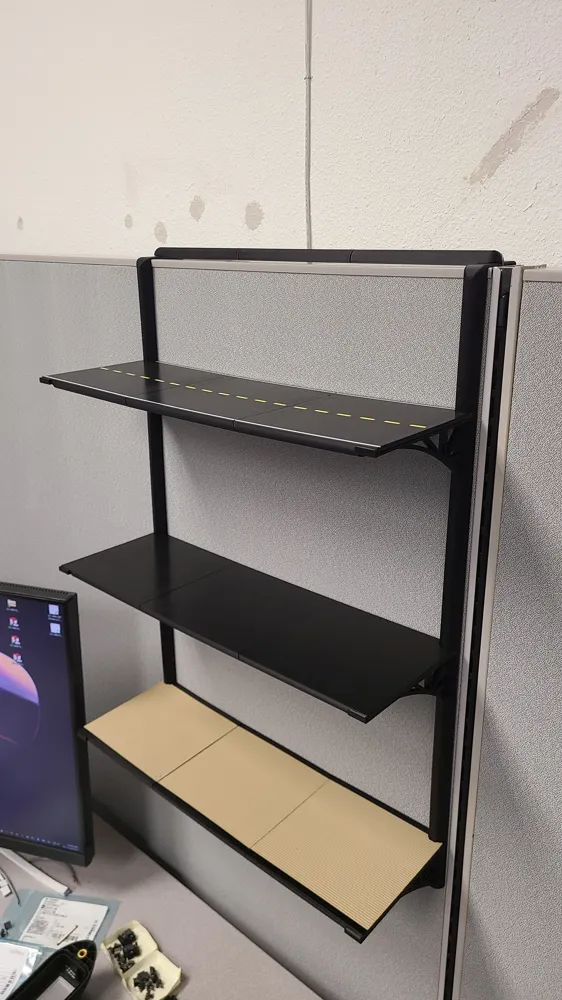
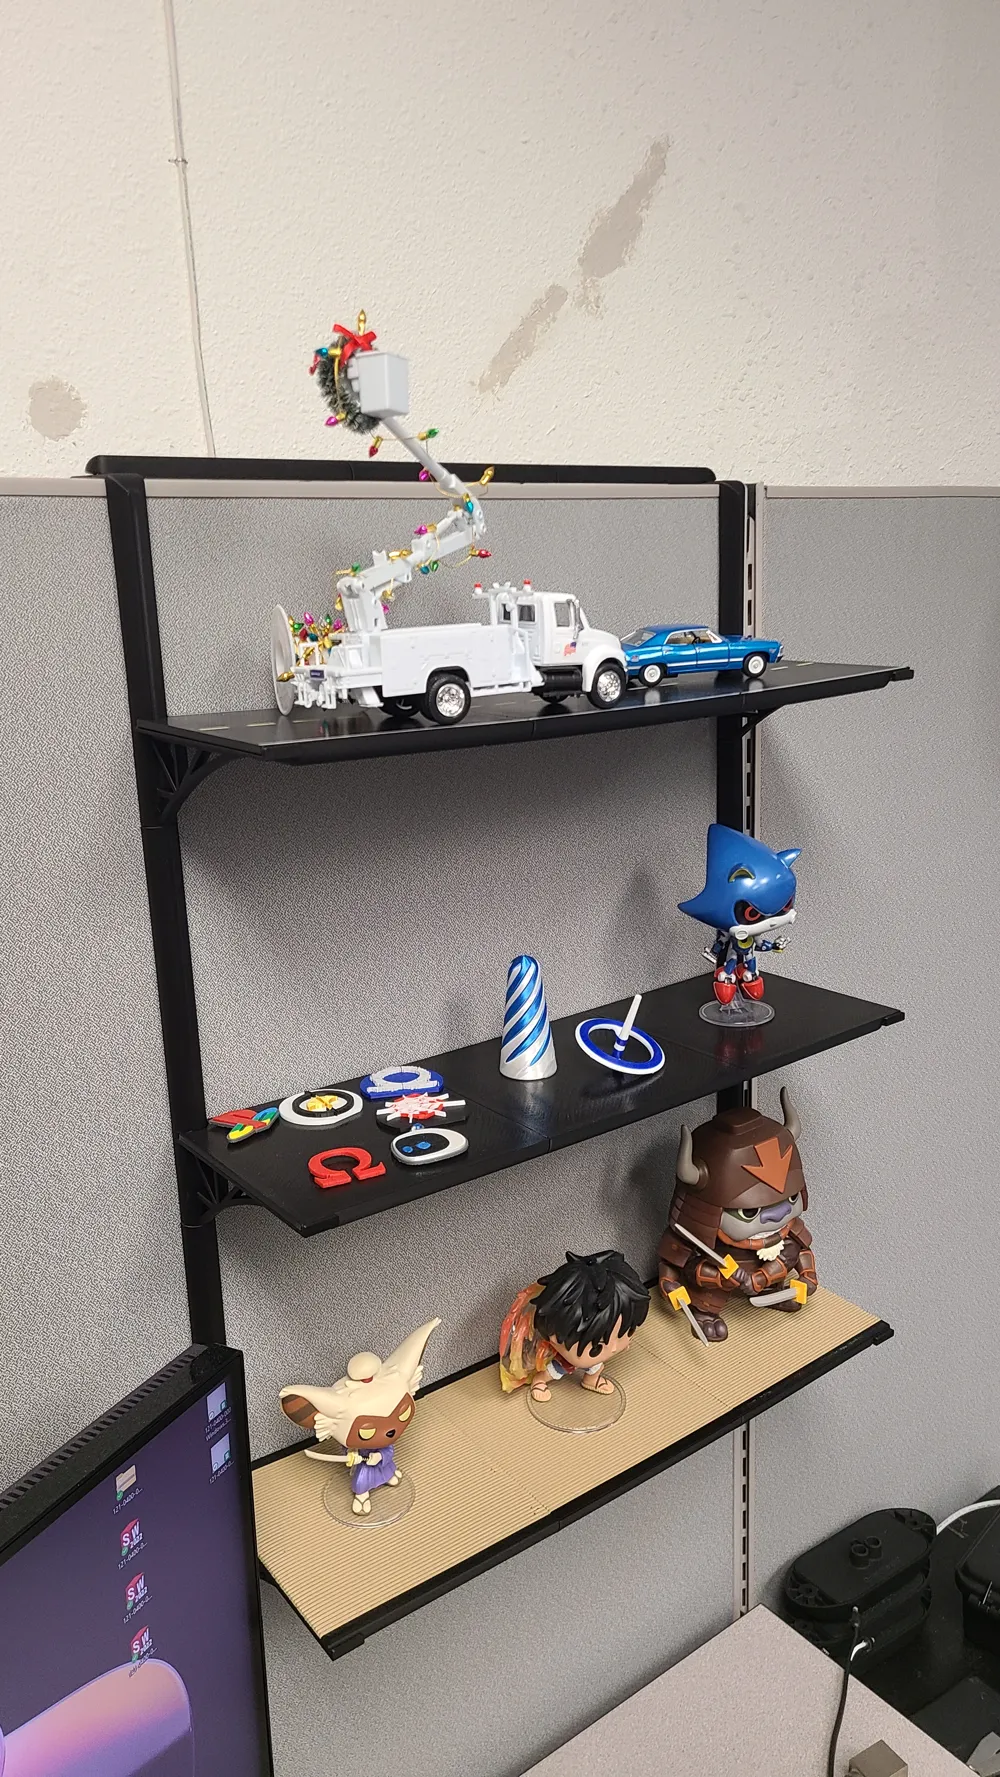
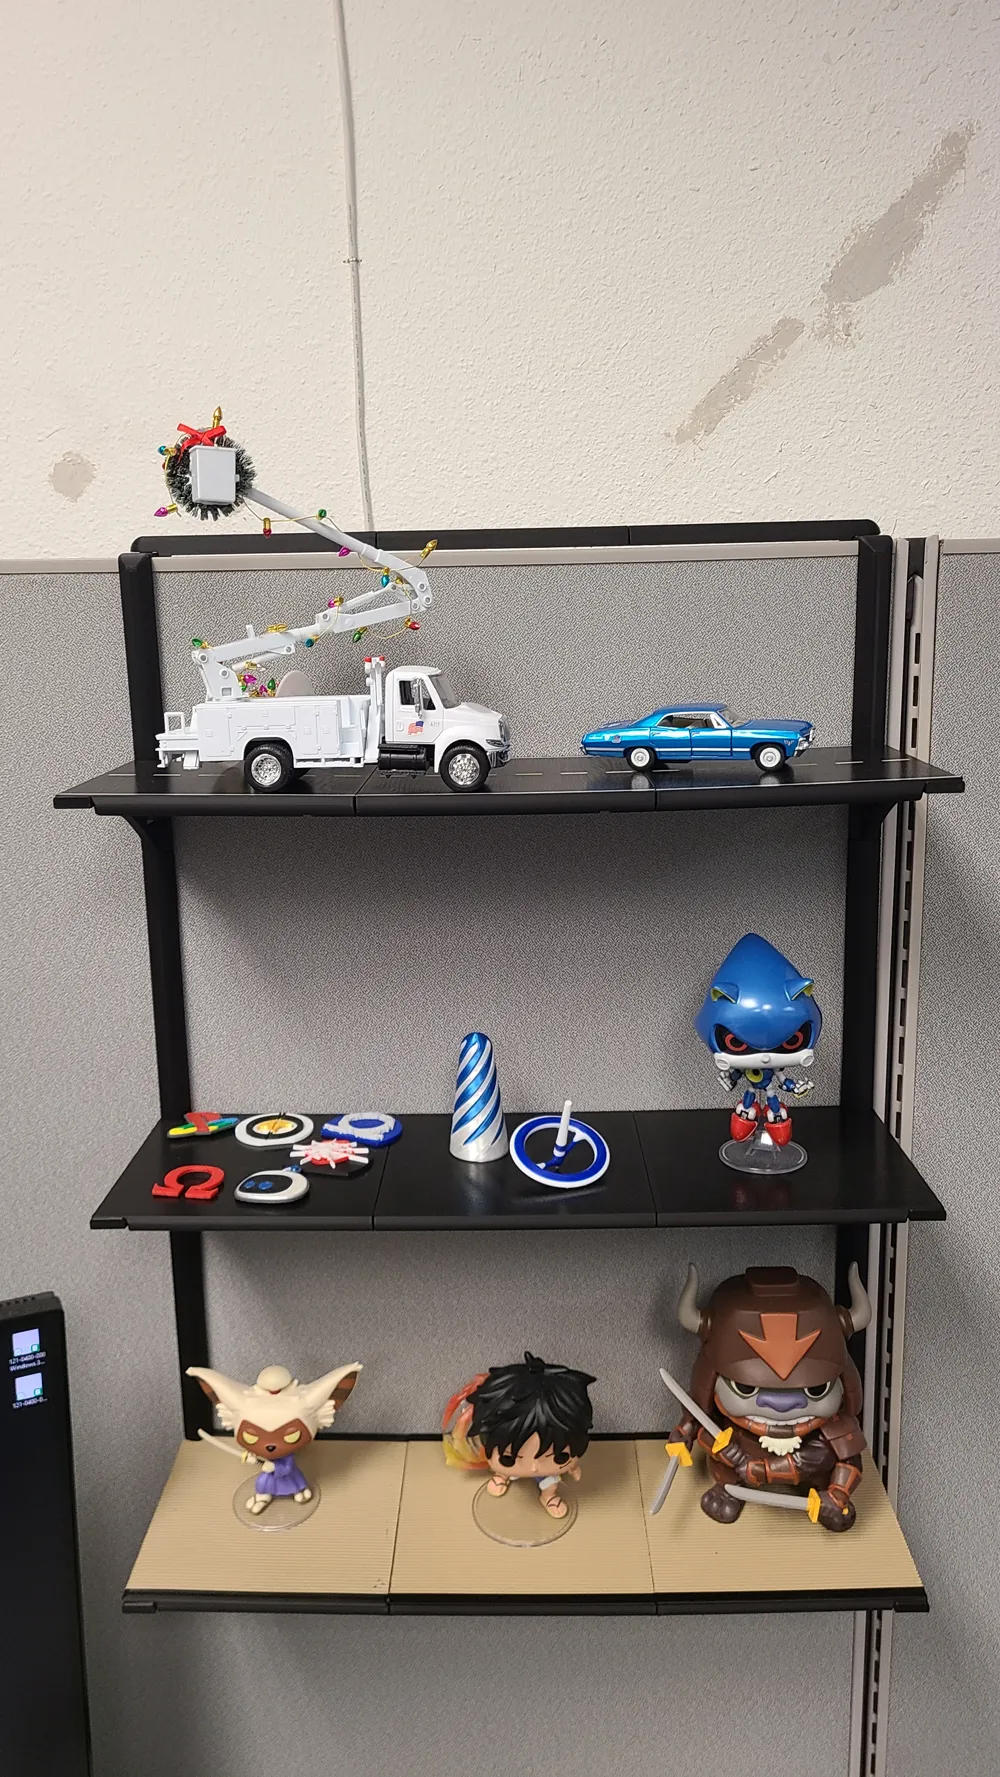
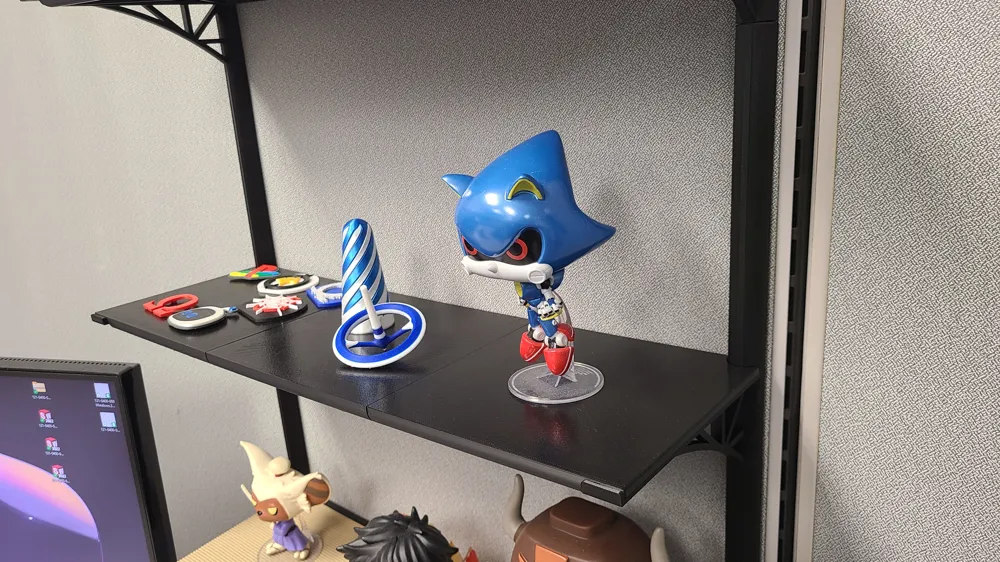
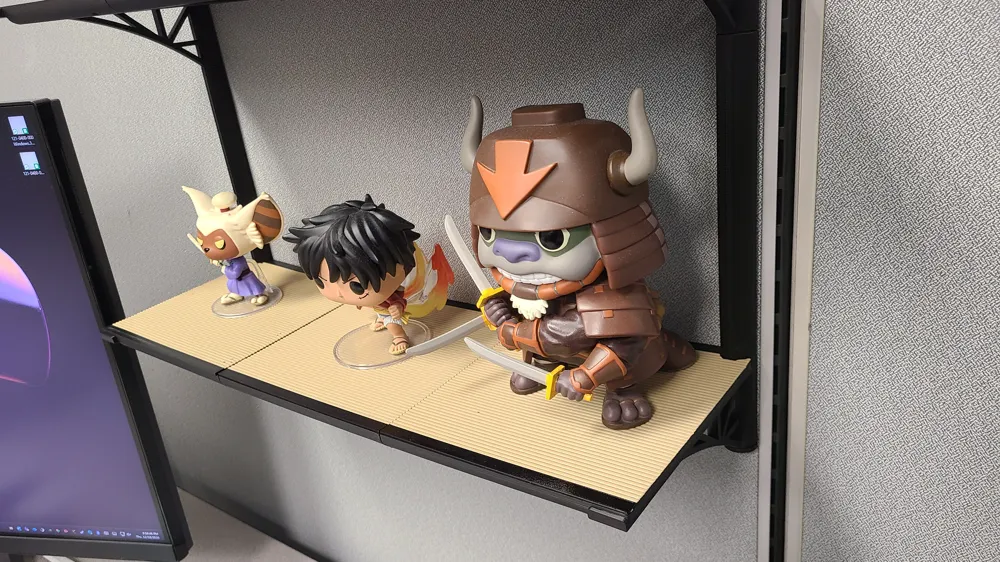
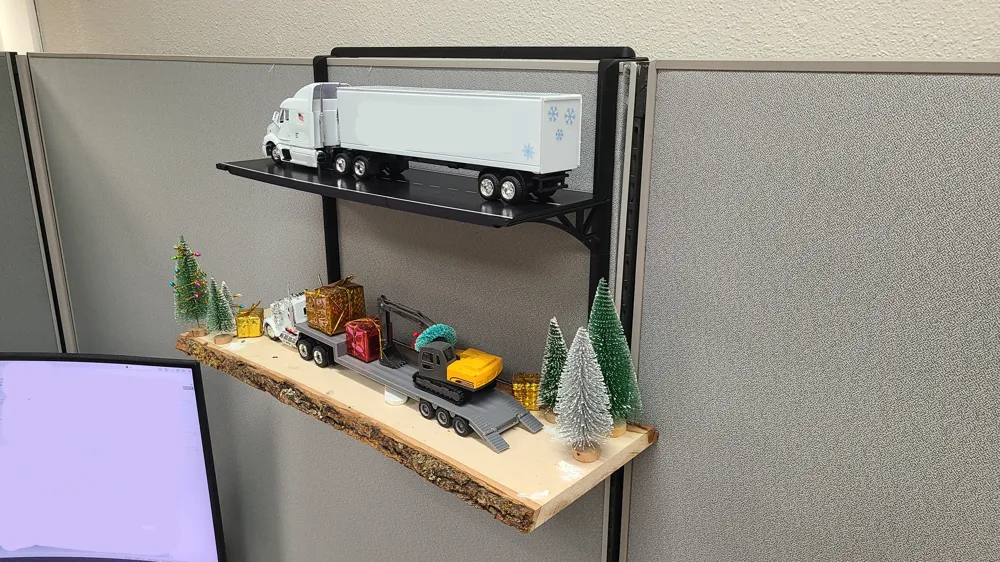
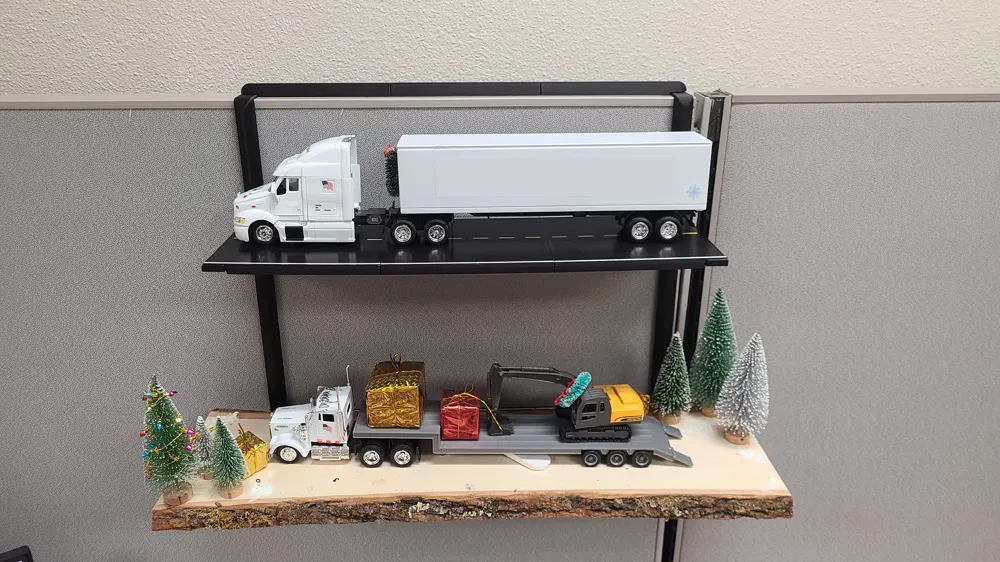
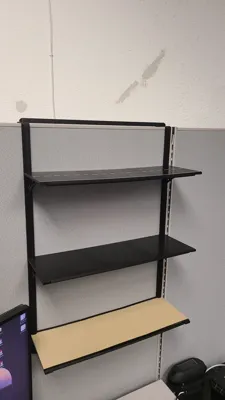
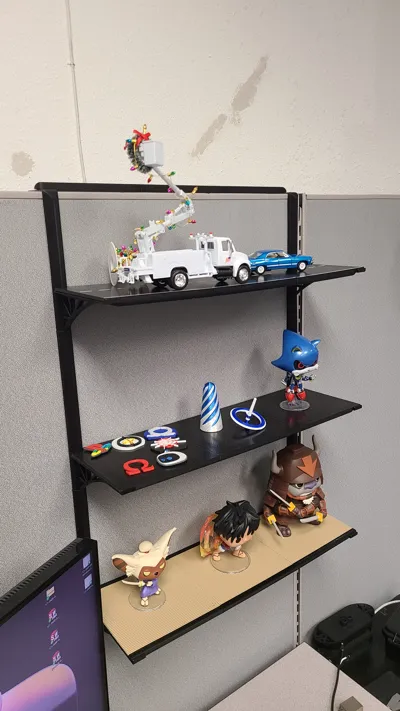
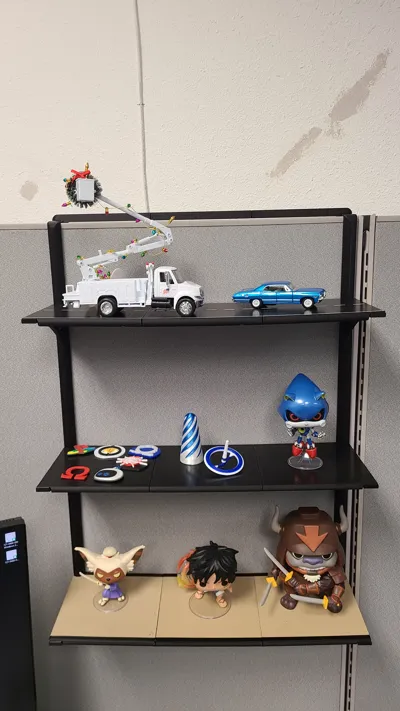
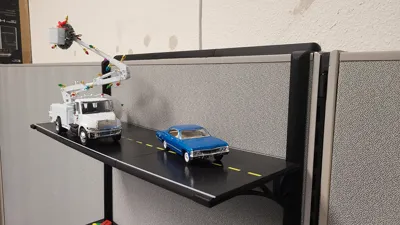
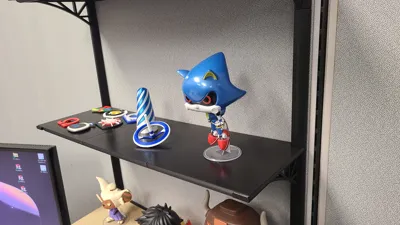
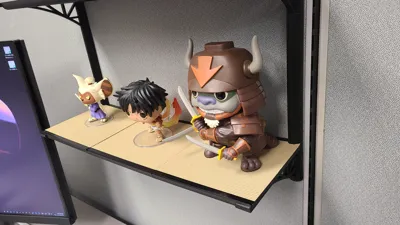
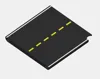
I currently have 3 shelf themes: blank (for anything or a minimalist look), road lines (for toy cars, etc.), and tatami mat (for your many, many One Piece Funkos). Please share pictures of what you place on them, and if you have a request for a new theme, I'd love to try to make it for you for free.
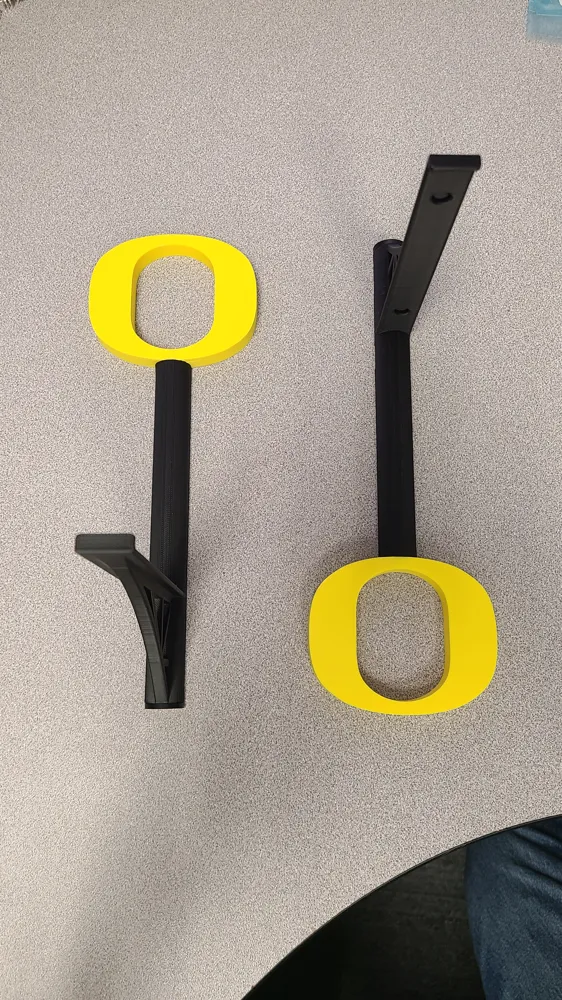
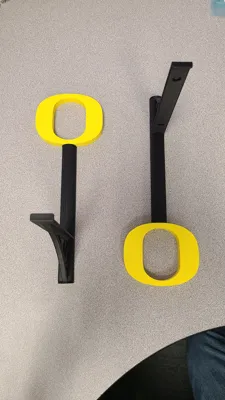
I currently have just 1 theme for the cubicle arms, but there are 2 themes for the wall-mounted arms: Blank and Oregon Ducks (request from my dad).
The top shelf can hold any height of item, and subsequent shelves can hold items up to just over 8.25" (~21cm) tall. Each modular shelf piece is 6" (~15.25cm) wide, so with just a left and right piece, you have 12" (~30.5cm). There are also shelf-less arm extensions for taller items (per request! 😁). I haven't tested assembling more than 3 shelves vertically and 3 shelf pieces wide (1 left, 1 right, and 1 middle), but with this setup, it performs quite nicely. I could see even more shelves being added vertically without issue…more horizontally would be fine to a point. Have fun testing that out at your own risk!
I technically have not tested for max weight to a numeric weight value, but I have assembled it myself and attempted to pull the pieces apart by hand without failure, and of course, stacking on my own trinkets as per normal use. I believe that before breaking (if ever), the shelves would simply deform. Let's just say ~8lb (~3.5kg) would be the max per shelf, with the weight distributed horizontally per shelf. I'm not responsible for your broken stuff, so test carefully :)
----------
Recommended Bambu Filament (as seen in pics):
- Arms, plugs, blank theme pieces:
- Whatever you like. I used PLA Basic Black 10101 for mine in the pics.
- Road theme:
- Asphalt: PLA Basic Black 10101
- Outer solid lines: PLA Basic Jade White 10100
- Inner dashed line: PLA Basic Yellow 10400
- Tatami Mat theme:
- Base and front/back edges: PLA Basic Black 10101
- Straw matting: PLA Wood White Oak 13106
----------
Support material removal (VERY EASY WITH INSTRUCTIONS):
- Please see each profile for individual instructions :)
----------
Assembly:
- Please see each profile for individual instructions :)
----------
Disassembly:
- Pieces may break upon disassembly. They are designed to be assembled once. However, I have personally had success tearing them down when needed, for the most part.
- Arms are fairly straightforward. Pop the plugs out carefully and pull the arms apart. They aren't in that tight, so nothing should be of concern. The back plugs can be popped out with a flathead screwdriver thanks to the chamfer I added, and the bottom plugs can be popped up with your thumb or a screwdriver if they're really in there.
- Top bar and shelf pieces have screwdriver access holes under them (which you should have used to remove the support, via my instructions). These are there so you can insert a flathead screwdriver and pry upward to get the piece separation started. Then, you can pull/pry the parts apart from there. With the shelves, since they are so tight, be very careful in pulling them out straight. Any tilting could result in peg breakage (though the 100% infill should prevent this most times). You can stick something in the seam between the pieces to safely pry the pieces uniformly, just be careful not to leave marks in the plastic where you pry.
---------------------------------------------------------------
I hand-made this design 100% on my own, from scratch, using Solidworks. Any similarities to products offered by others are a coincidence and are not affiliated with anyone other than me. My work may be considered transformative, which is protected under fair use. All of my models are for personal use only and may not be sold or distributed by anyone other than myself or the sites I post them on.
License

You shall not share, sub-license, sell, rent, host, transfer, or distribute in any way the digital or 3D printed versions of this object, nor any other derivative work of this object in its digital or physical format (including - but not limited to - remixes of this object, and hosting on other digital platforms). The objects may not be used without permission in any way whatsoever in which you charge money, or collect fees.


Comment & Rating (48)