SUNLU connector Welder Dock for SKADIS or desk


Print Profile(2)


Description

A NEW VERSION WITH MORE FUTURE IS NOW AVIABLE
check my profile or click this text
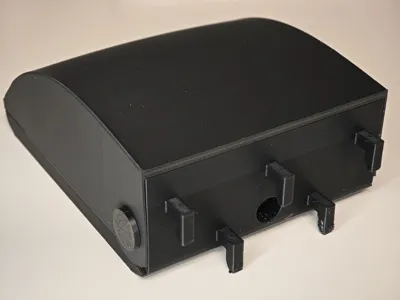
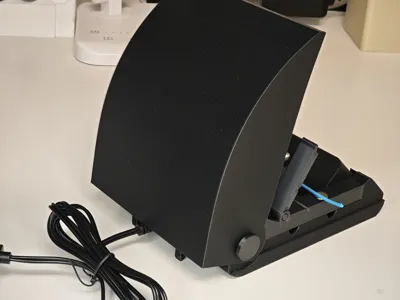
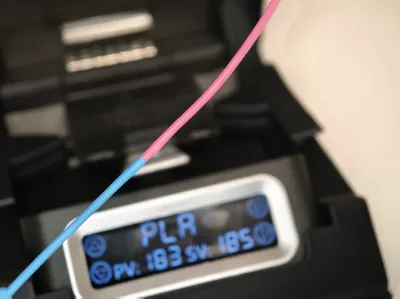
This is a dedicated 3D printed box for the SUNLU filament welder that makes splicing cleaner, more repeatable and much easier to manage during multi‑color or multi‑material jobs. It can be used as a stand‑alone desktop unit or clipped directly onto an IKEA Skadis pegboard, so you can keep the welder right where you need it and free up valuable workspace.
Function and main features
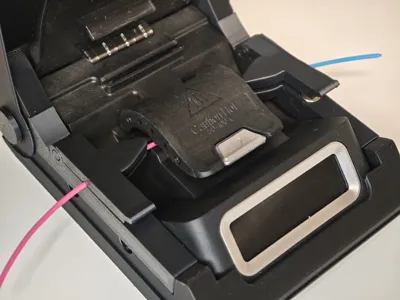
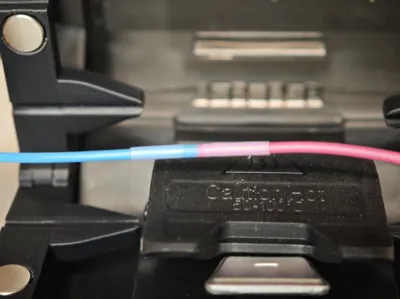
- The box holds the SUNLU welder body and adds two side magnetic crocodile clamps that keep both filament ends perfectly aligned and tensioned while you weld, dramatically reducing failed splices and misaligned joints.
- The top cover is optional: you can print it if you want a clean, dust‑protected look, or leave it open for quick access.
- An extra Skadis‑mount container is included in the print files to store welding connectors and the power cable, so all the accessories stay together with the tool.
Assembly and magnets
- No glue is required for the main assembly and it is strictly recommended not to glue the side crocodile clamps to the base: they must remain removable so you can slide the SUNLU welder in and out of the box.
- Under each magnetic clamp there are dedicated holes that let you lever the part out if needed, making removal and maintenance easy.
- The magnet seats are designed for standard 8 × 3 mm round magnets (the actual dimension used is about 8 × 2.7 mm); glue is not necessary, but can be used if you prefer extra retention.
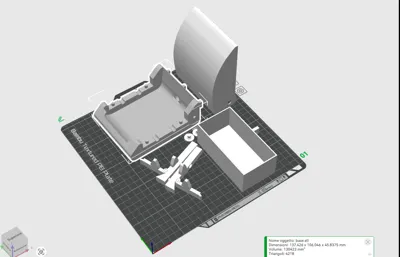
Printing guidelines
- The print profile included with the project is fully tuned for correct clearances and reliable function: do not modify it, otherwise parts may not fit or move as intended.
- Recommended materials are PLA or PETG, which offer a good mix of stiffness and thermal resistance for this application.
- The crocodile clamps are the most delicate parts of the print: they must be printed exactly in the orientation provided on the build plate, with a well‑calibrated filament. After printing, let them cool completely (you can even place them in the freezer for about 5 minutes), then carefully free the movable jaw with gentle up‑and‑down motions until it articulates smoothly. Do not try to flex or separate the parts while still warm, or you risk snapping them at the hinge; use alternating, controlled movements rather than brute force.
With this accessory your SUNLU filament welder becomes a compact, tidy and far more ergonomic station: the filament stays locked in place, the welds are consistent, and the whole setup can live neatly on your pegboard or on the bench, ready for your next color swap.
Boost Me (for free)
IF YOU LIKE MY WORK I WOULD LOVE TO RECEIVE YOUR BOOST TO STIMULATE MY CREATIVITY! :)
License
You shall not share, sub-license, sell, rent, host, transfer, or distribute in any way the digital or 3D printed versions of this object, nor any other derivative work of this object in its digital or physical format (including - but not limited to - remixes of this object, and hosting on other digital platforms). The objects may not be used without permission in any way whatsoever in which you charge money, or collect fees.
Comment & Rating (41)