
Floating Display Shelf (30mm & 60mm)–Hidden Cleat


Print Profile(3)



Description
Boost Me (for free)
Support more display solutions.
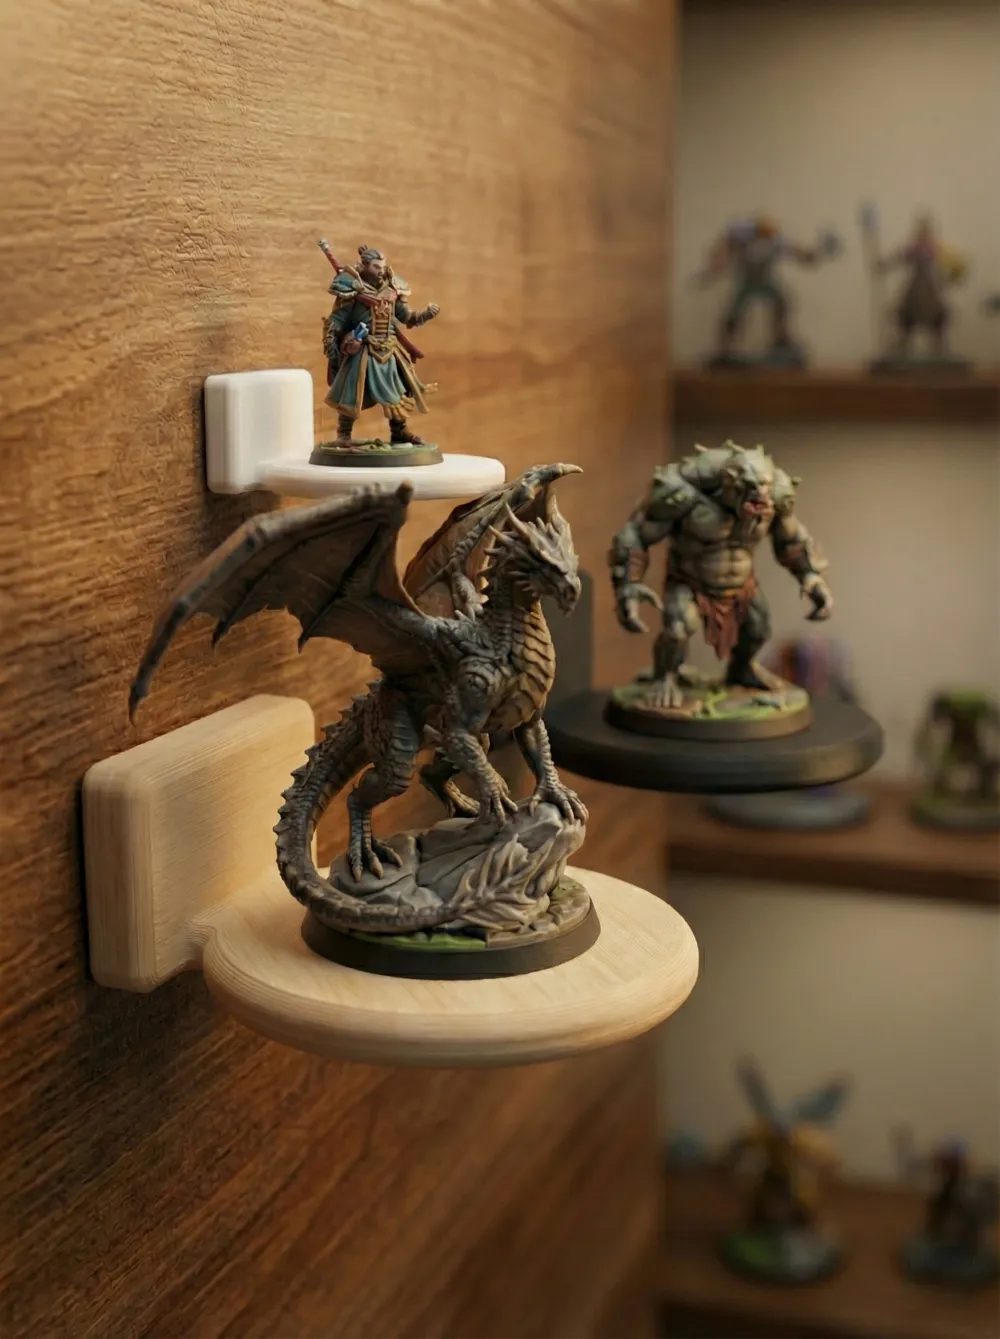
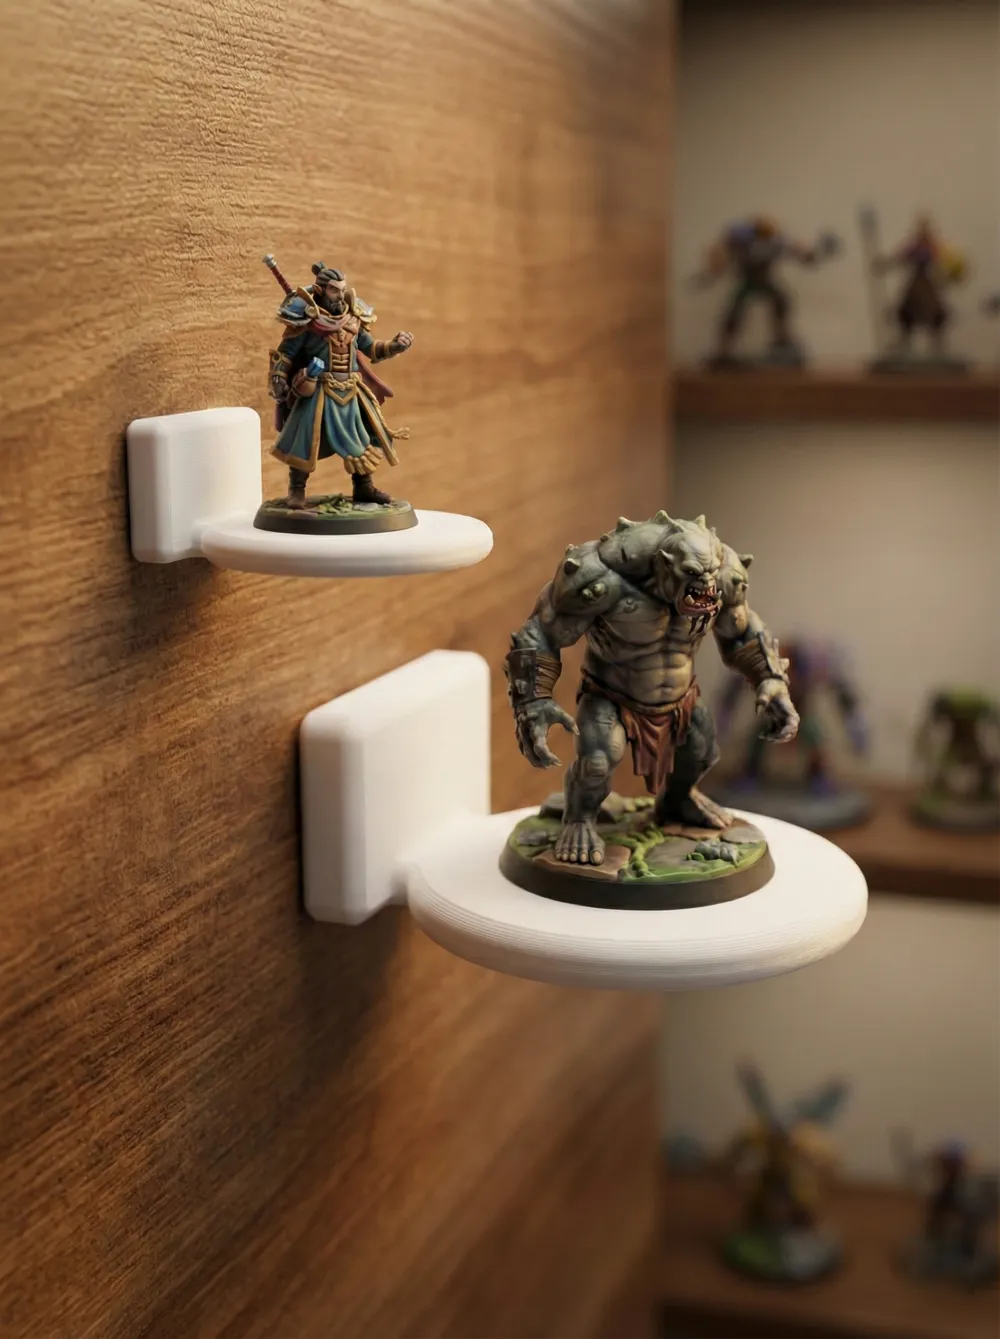
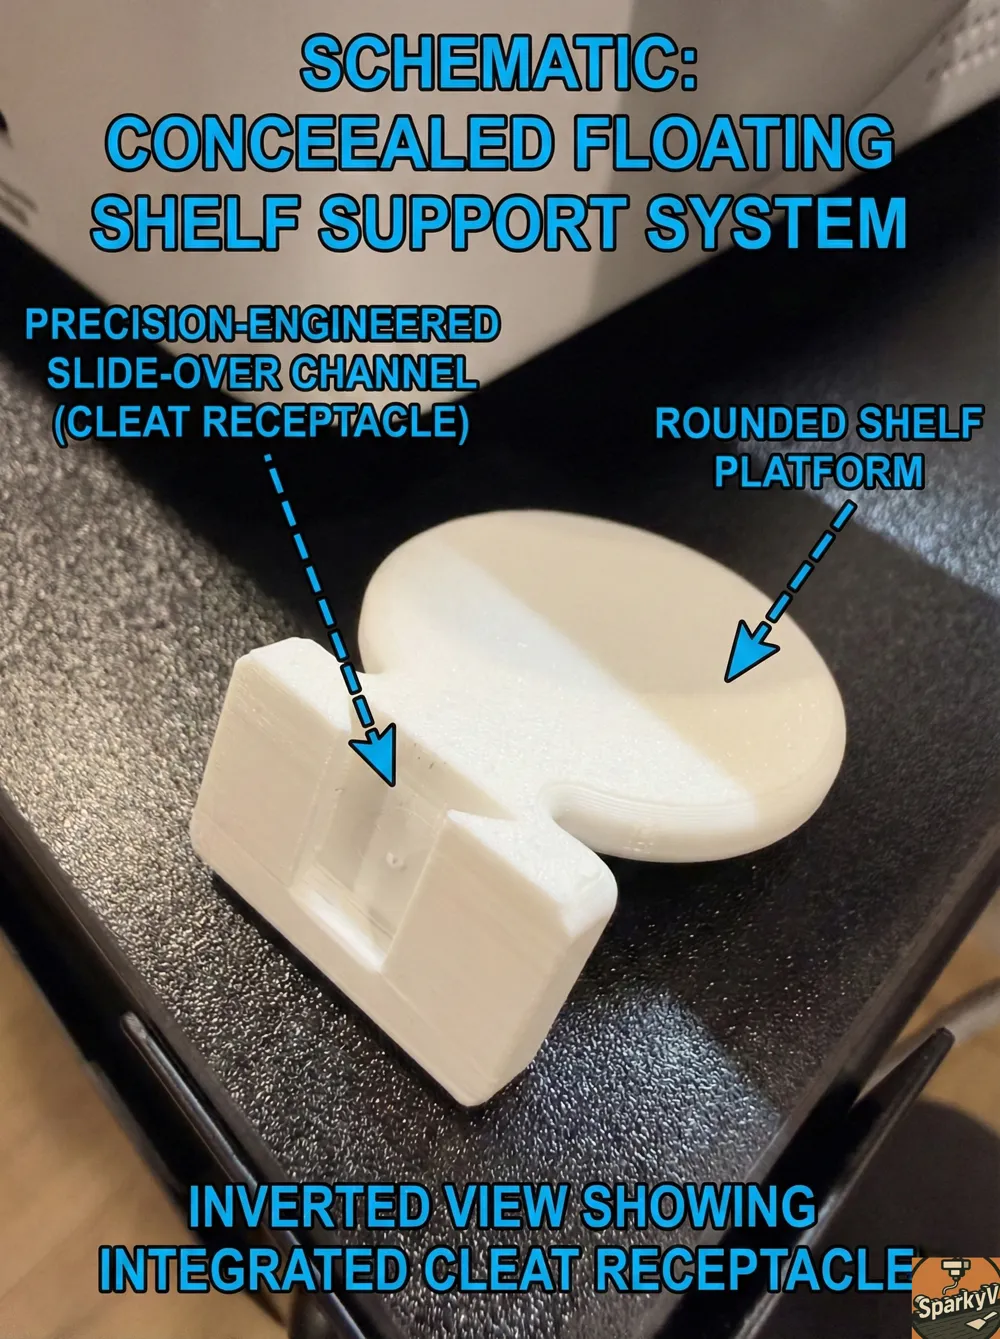
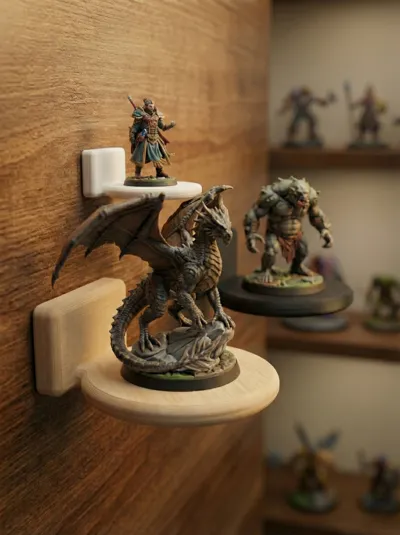
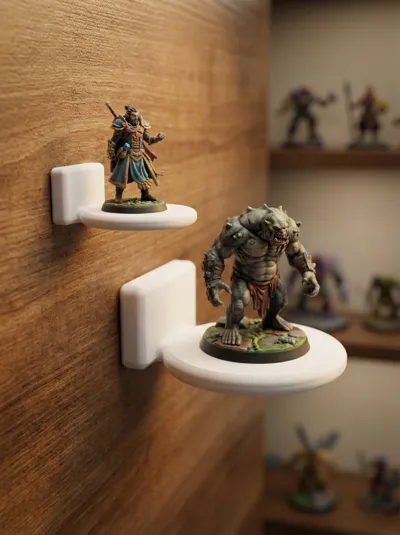
Display your favorite miniatures, busts, and collectibles with this ultra-clean floating shelf system. Designed with a hidden internal cleat, the shelf locks securely to the wall with no visible screws or hardware, putting all the focus on your models.
This download includes two sizes to fit various sizes:
30mm Version: Perfect for standard tabletop miniatures (D&D, etc.).
60mm Version: Ideal for larger busts, action figures, and decorative items.
Key Features:
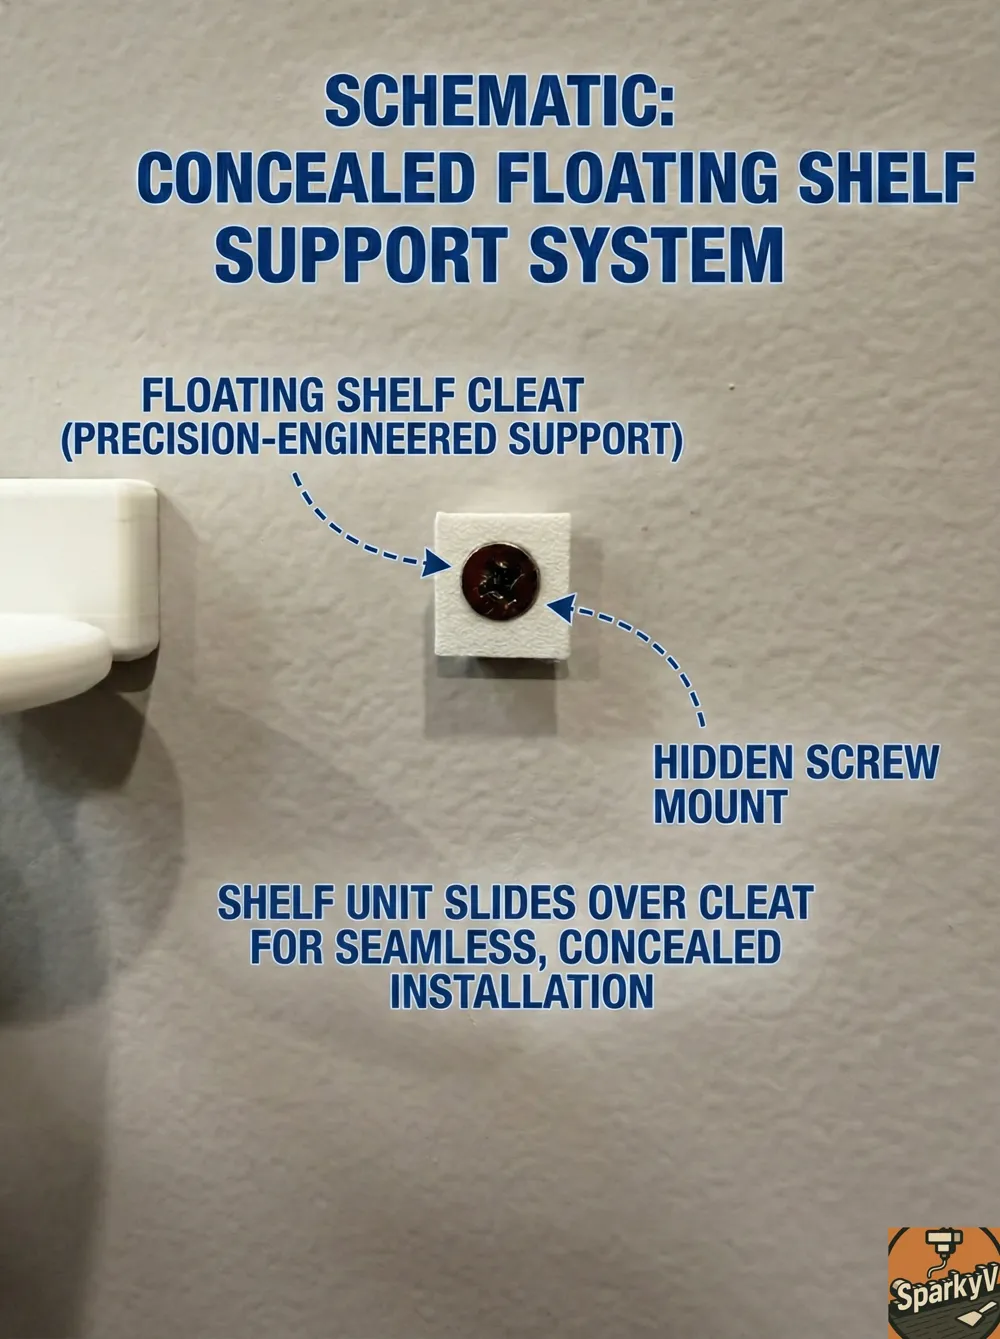
Invisible Mounting: The mechanism is completely hidden inside the shelf.
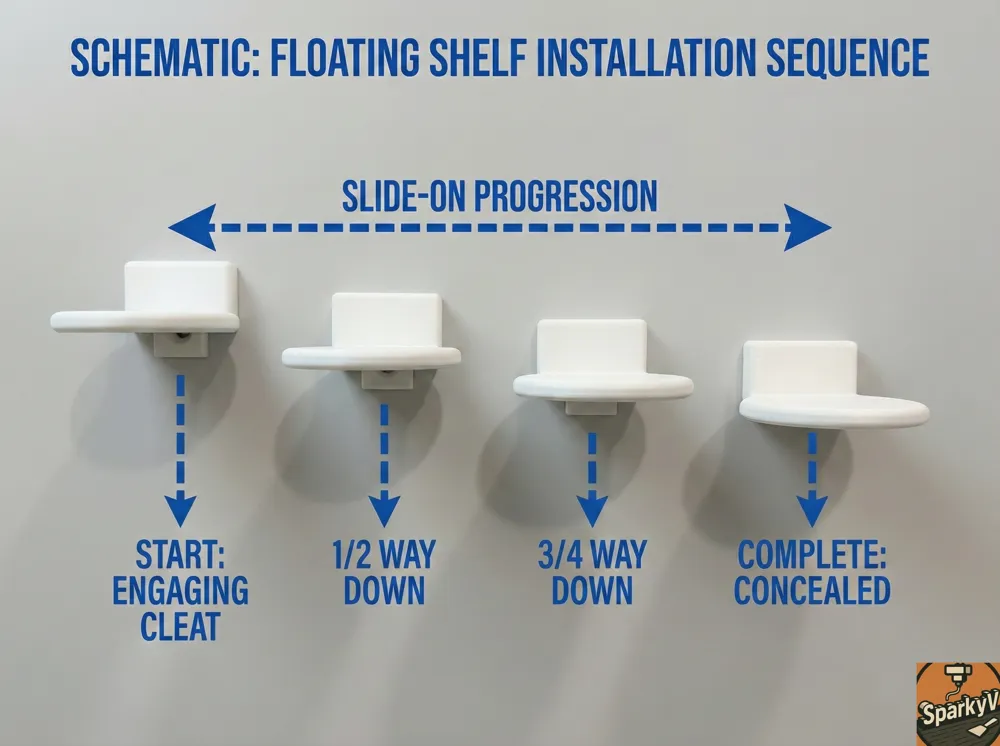
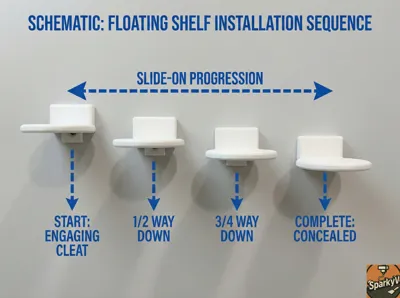
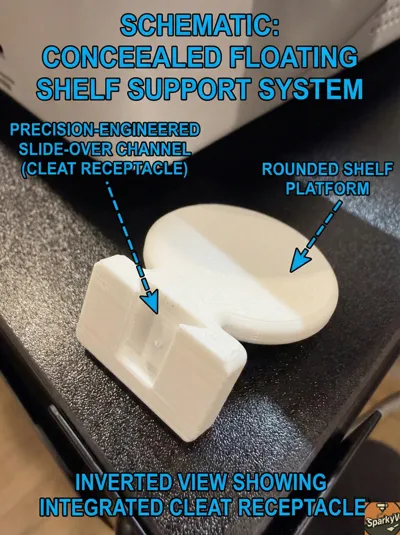
Slide-Lock Design: The shelf slides down onto the wall cleat for a secure, gravity-locked fit.
High Strength: Tested to hold up to 2 lbs (0.9 kg) securely.
Easy Swapping: Remove or swap shelf colors without unscrewing the mount from the wall.
Printing Information
Material: PLA, PLA+, or PETG (PLA+ recommended for the cleat stiffness).
Infill: 15% Gyroid or Grid.
Walls: 2 Walls (loops) recommended to ensure strength around the mounting slot.
Supports: No supports required for the Cleat. Minimal supports may be needed for the shelf overhang depending on your printer's cooling.
Orientation: Print the shelf flat on its bottom surface for the cleanest finish on the visible face.
Hardware Required
1x #6 or smaller Wood Screw THE HEAD SHOULD BE NO WIDER THAN 8MM (Countersunk head).
1x Wall Anchor (if mounting into looser drywall).
1x Level (To ensure the shelf is straight)
OR
1x Double-sided Mounting Tape (Heavy duty recommended, e.g., 3M Command Strips, VHB, or Nano tape).
1x Isopropyl Alcohol & Cloth (To clean the wall surface for better adhesion).
1x Level (To ensure the shelf is straight).
Installation Instructions
Double-Sided Tape (No-Drill / Renter Friendly) Note: This method bypasses the cleat entirely. Weight limit depends on your tape.
Apply Tape: Apply strong double-sided mounting tape (e.g., 3M Command Strips or VHB) directly to the flat back surface of the Shelf unit.
Mount: Ensure your wall is clean and dry. Check that the shelf is level, then press it firmly against the wall for 30 seconds to secure the bond.
OR
Invisible Cleat (Recommended for max strength)
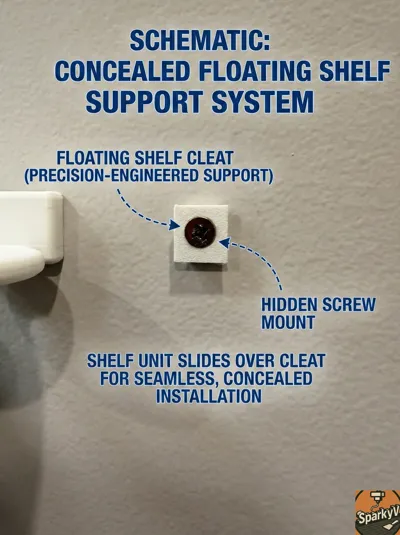
Mount the Cleat: Place the square cleat against the wall with the (the flat part of the cleat should be at the top). Be sure that the
Secure: Drive the #8 Wood Screw through the center hole into your wall anchor or stud. Hand-tighten the last few turns to avoid cracking the plastic.
Slide to Lock: Align the slot on the back of the shelf with the cleat. Slide the shelf firmly downward until it bottoms out. The friction fit and gravity will lock it in place.
License

You shall not share, sub-license, sell, rent, host, transfer, or distribute in any way the digital or 3D printed versions of this object, nor any other derivative work of this object in its digital or physical format (including - but not limited to - remixes of this object, and hosting on other digital platforms). The objects may not be used without permission in any way whatsoever in which you charge money, or collect fees.


Comment & Rating (85)