
Frame-o-Saurus - A Really Big Picture Frame
Print Profile(2)


Description
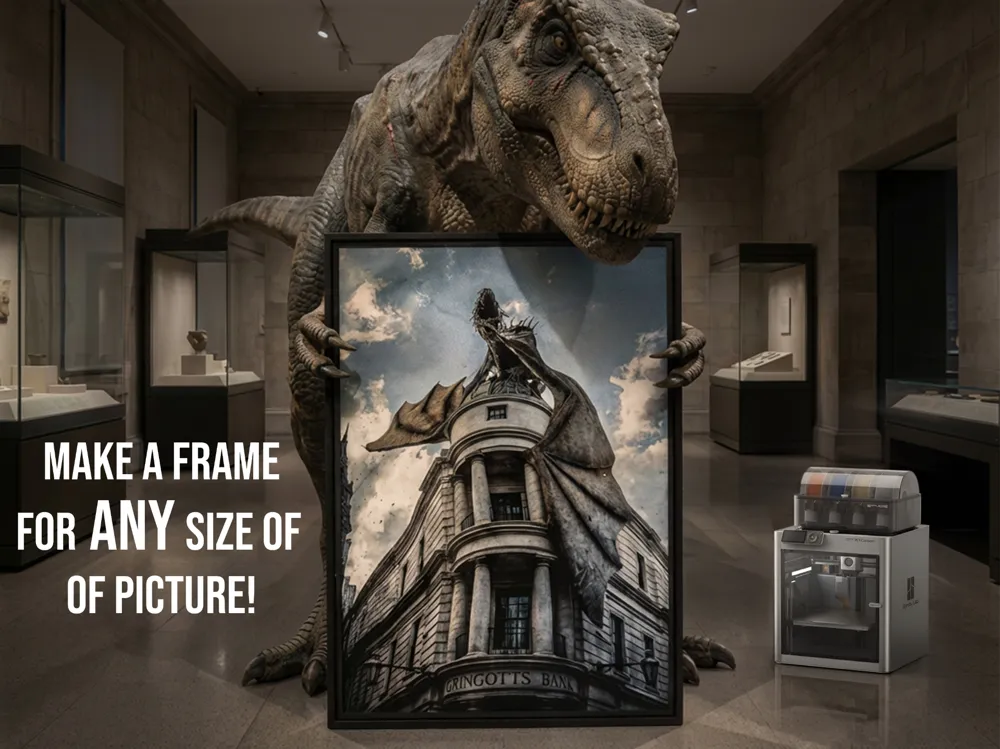
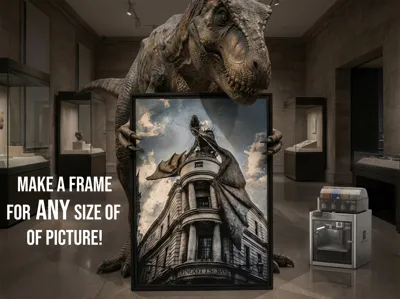
Welcome to the Frame-o-Saurus - The Really Big Picture Frame
Do you have a really big picture you need framing? Or a really small one?
If so, Frame-o-Saurus could be the Frame for you!
Flexible, modular and fully customizable - snap-together, and no-supports - fits on all 3d printers, regardless of size!
*** UPDATE *** - added some hanging holes to corners based on requests.
*** UPDATE *** - added a few markers to aid correct connections
*** UPDATE *** - added picture overlap indicators
The premise of this project is to be able to create frames for photos and posters that are larger than the usual 3d printer bed size.
Background:
This design has gone through a lot of iteration, finally evolving into a parametric design through OpenSCAD, and subsequently MakerWorld.
Being a keen photographer, I have had numerous images that I have wanted to print and display. Needing these prints to be non-standard sizes (many of them large) having them mounted professionally would have been cost prohibitive.
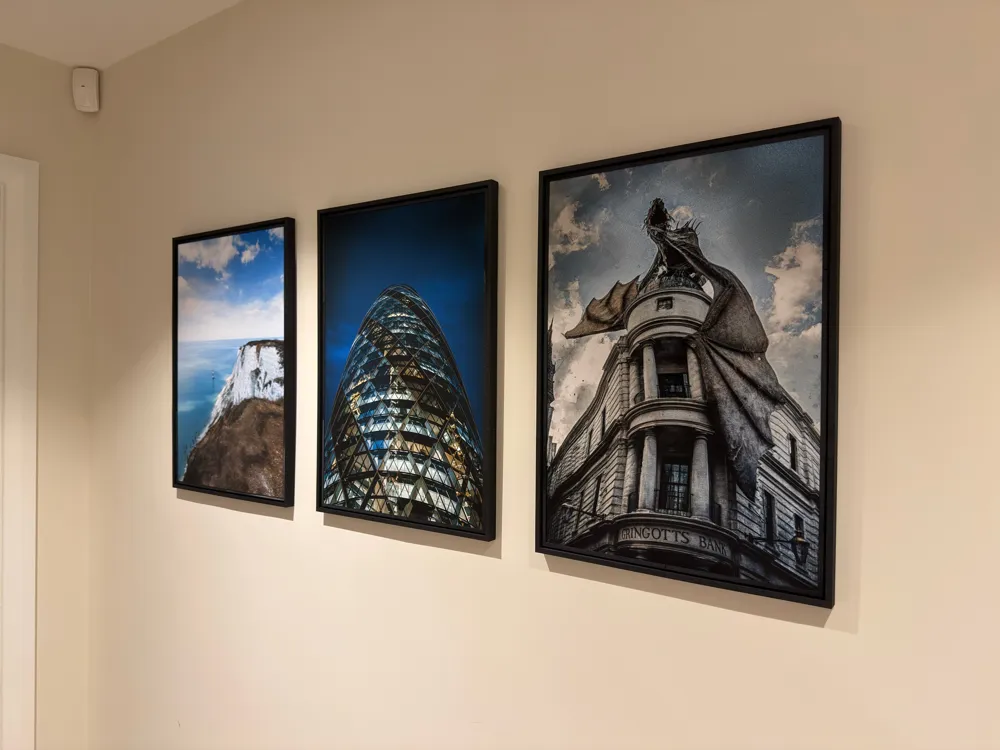
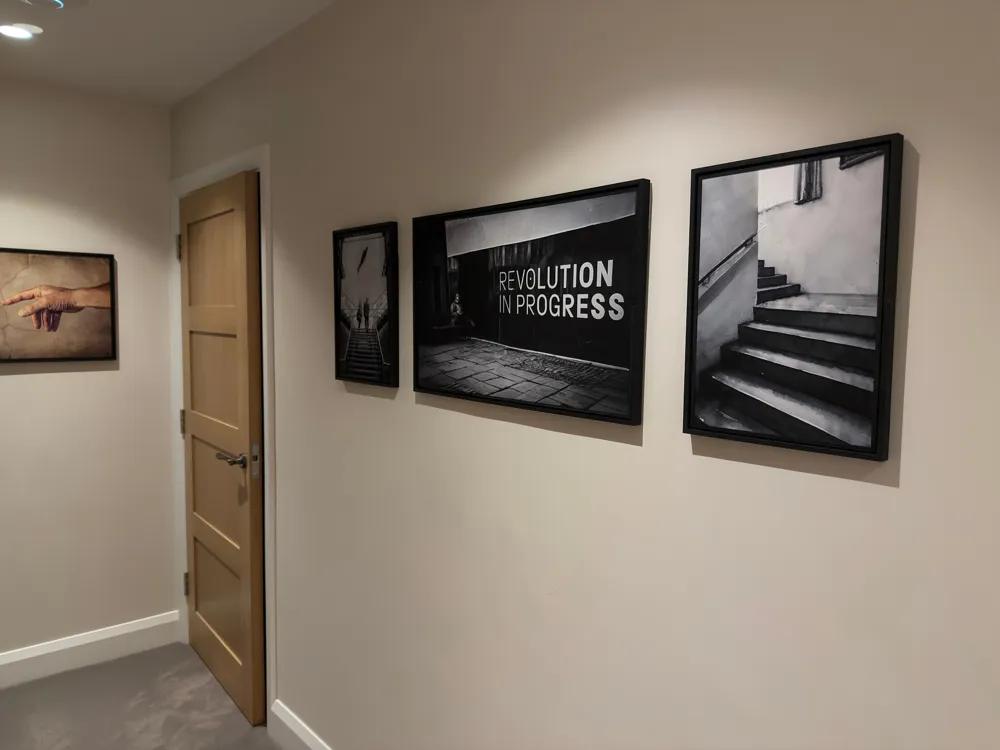
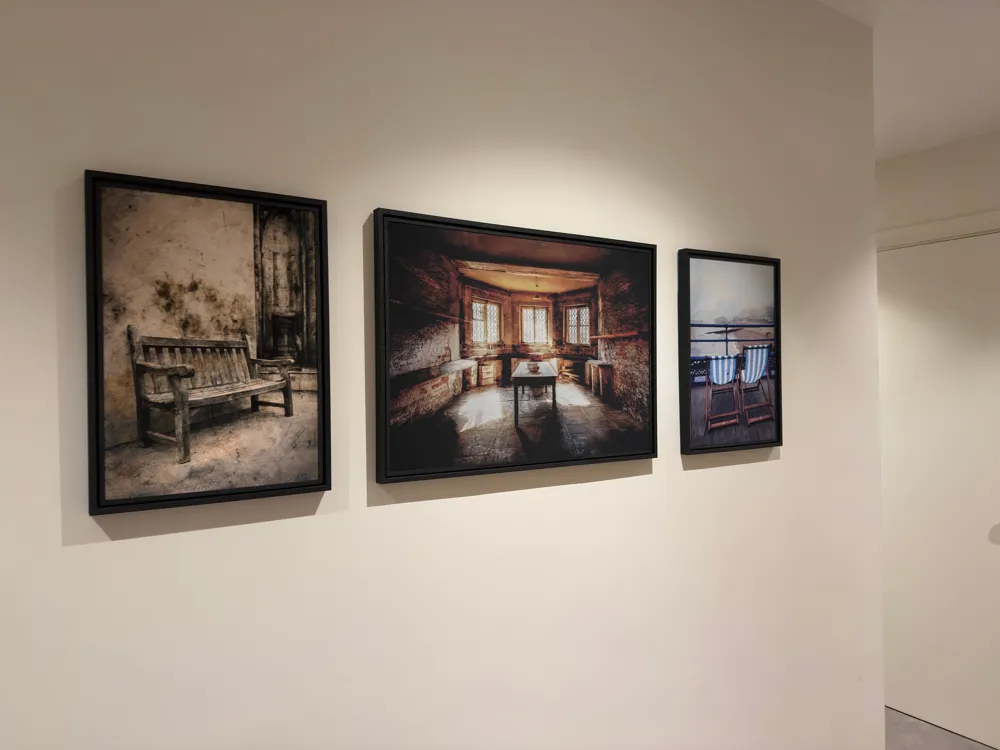
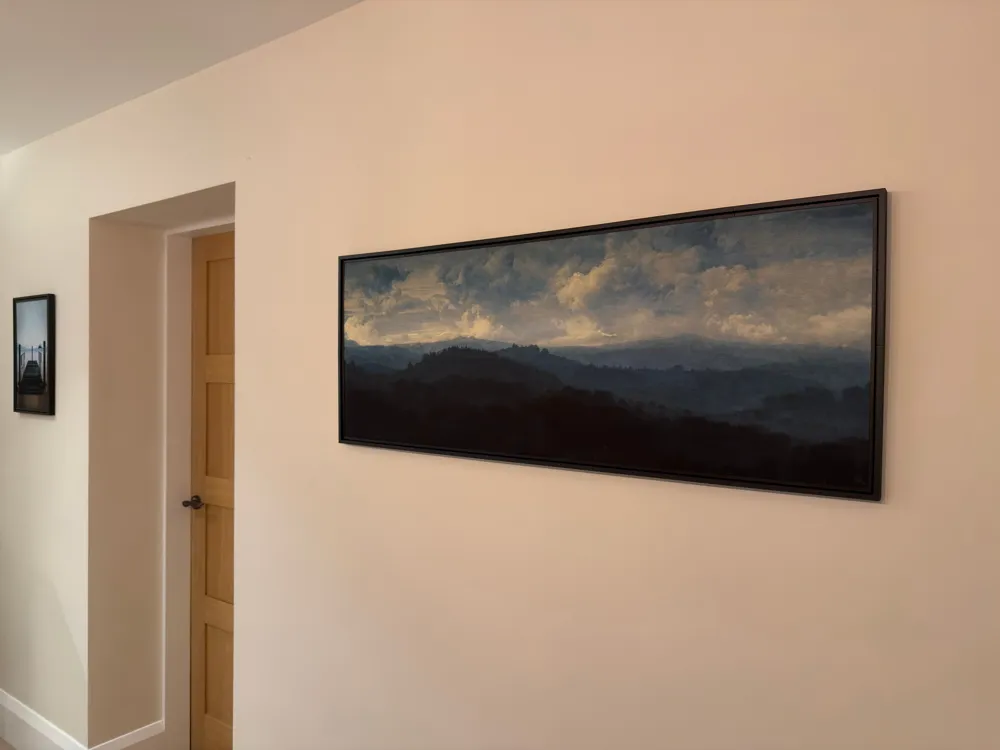
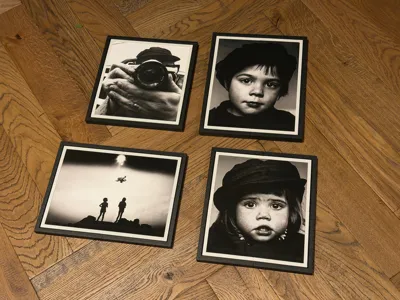
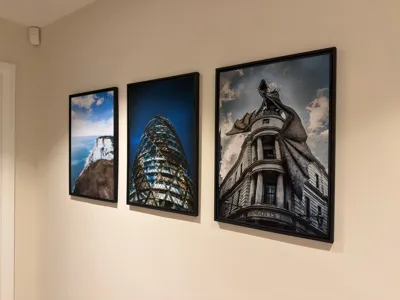
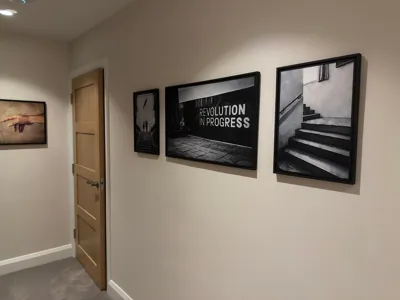
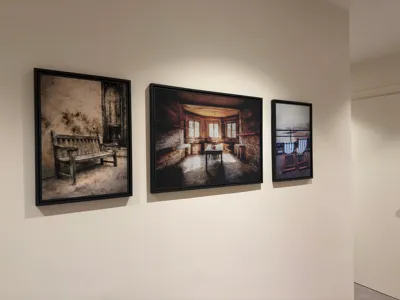
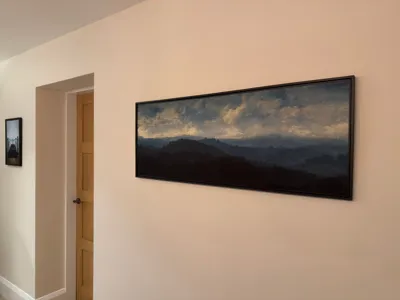
With this project I have been able to print a multitude of my favourite images (some of them over a meter wide), and display them throughout our home at a small fraction of the cost of taking to a professional framer.
Advantages of this project are :-
- Low cost – a fraction of a professional framer
- Convenience and Flexibility
- Bespoke image sizes
- Low weight – easy, nail-free wall hanging
- Ability to easily replace standard size images in the same frame
- Filament choice to easily suit the image and/or décor palette
- Click-to-fit – no gluing needed
- No supports needed
- Optional Support Struts are provided for larger frames
Notes:
- The Inner Frame snaps into the Outer Frame, holding the picture in place
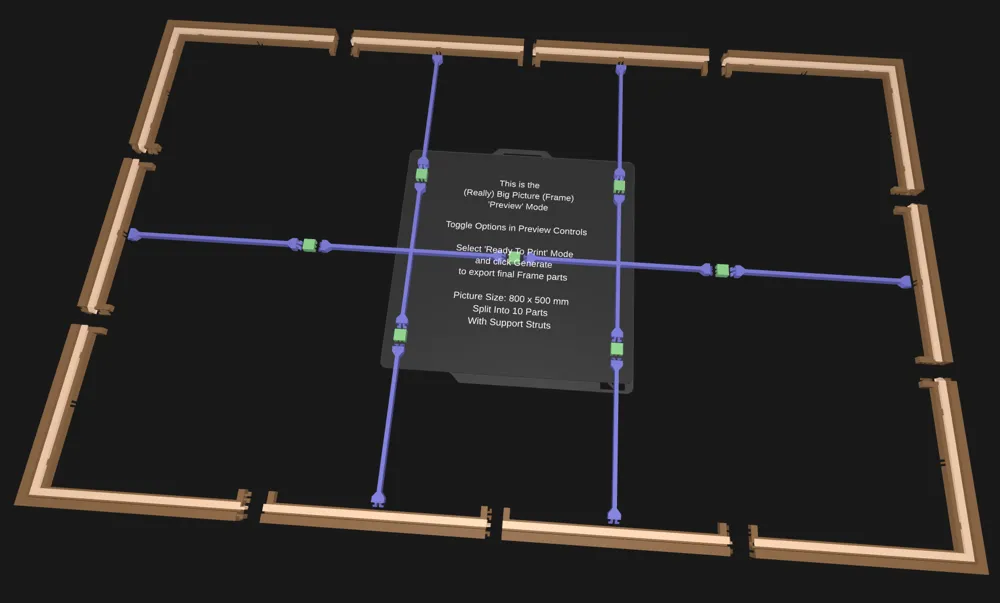
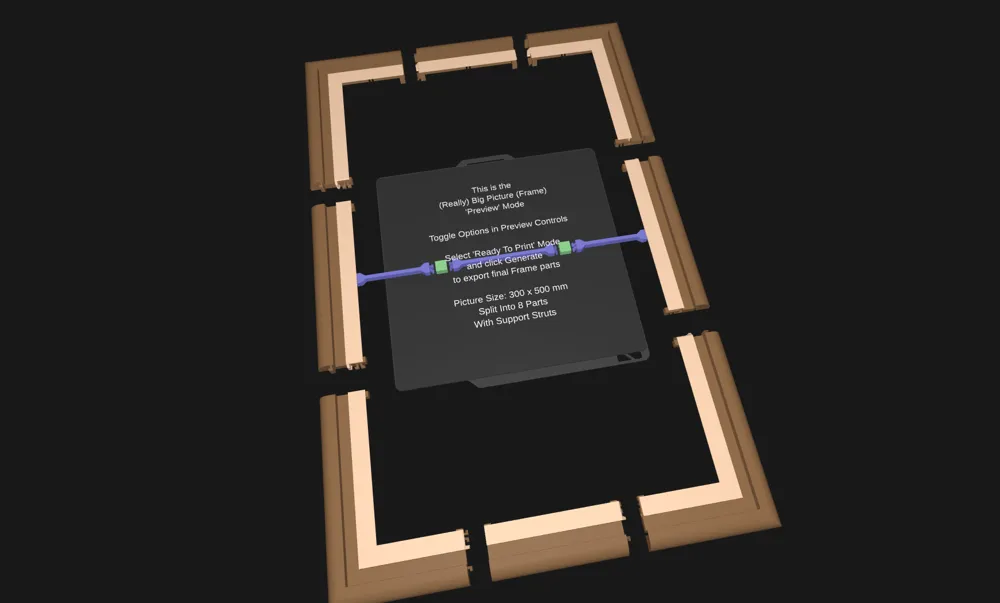
- When using the Ready To Print mode, the various parts are separated and laid down in the best way to print them
- There are no angles more than 45 degrees, so all items print without supports
- Tolerances allow items to snap together, no glue required
- Internal struts can be generated to connect to the frame give greater rigidity for wide/tall frames
- Printing with a top surface of Hilbert Curve gives a nice finish, also Fuzzy Skin printing gives a good feel
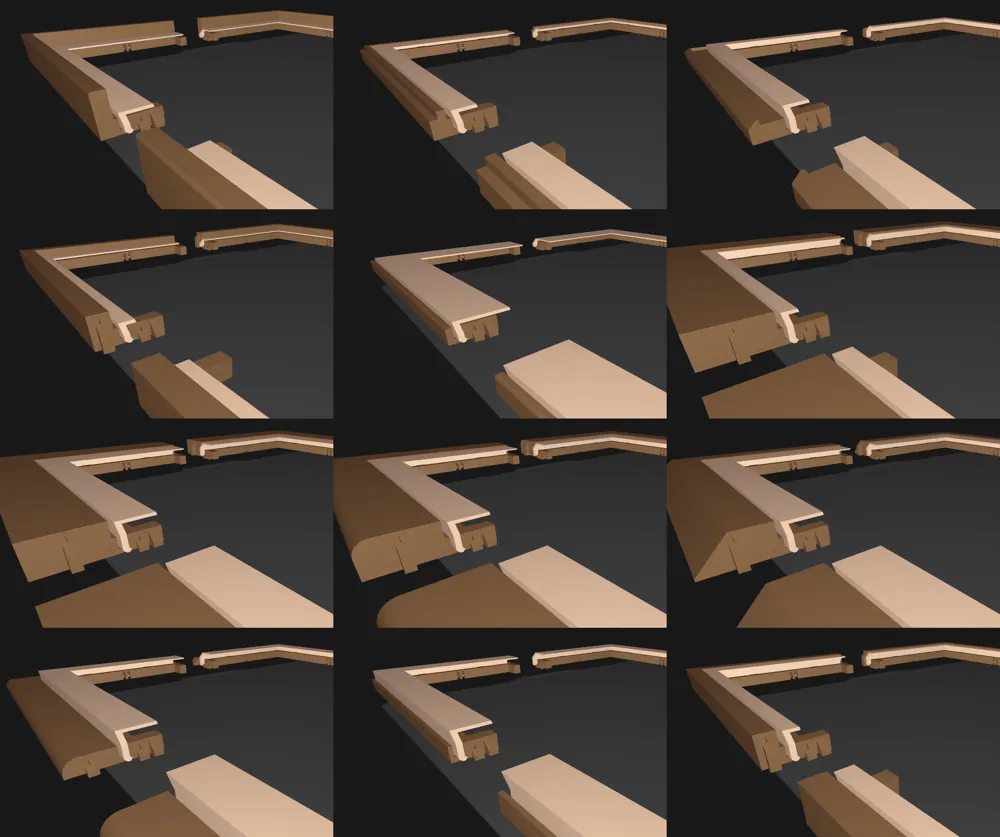
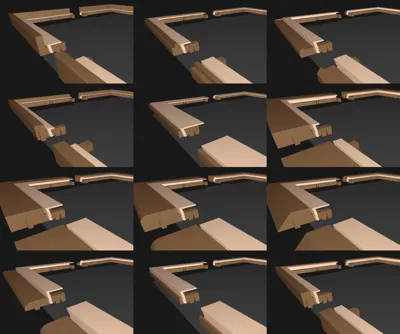
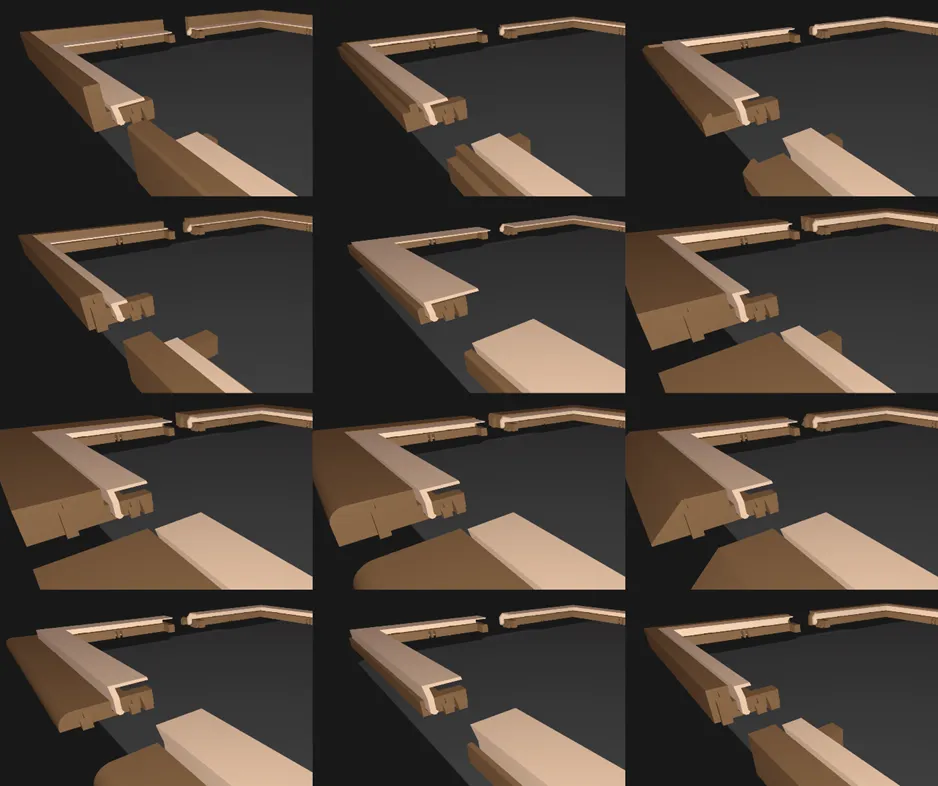
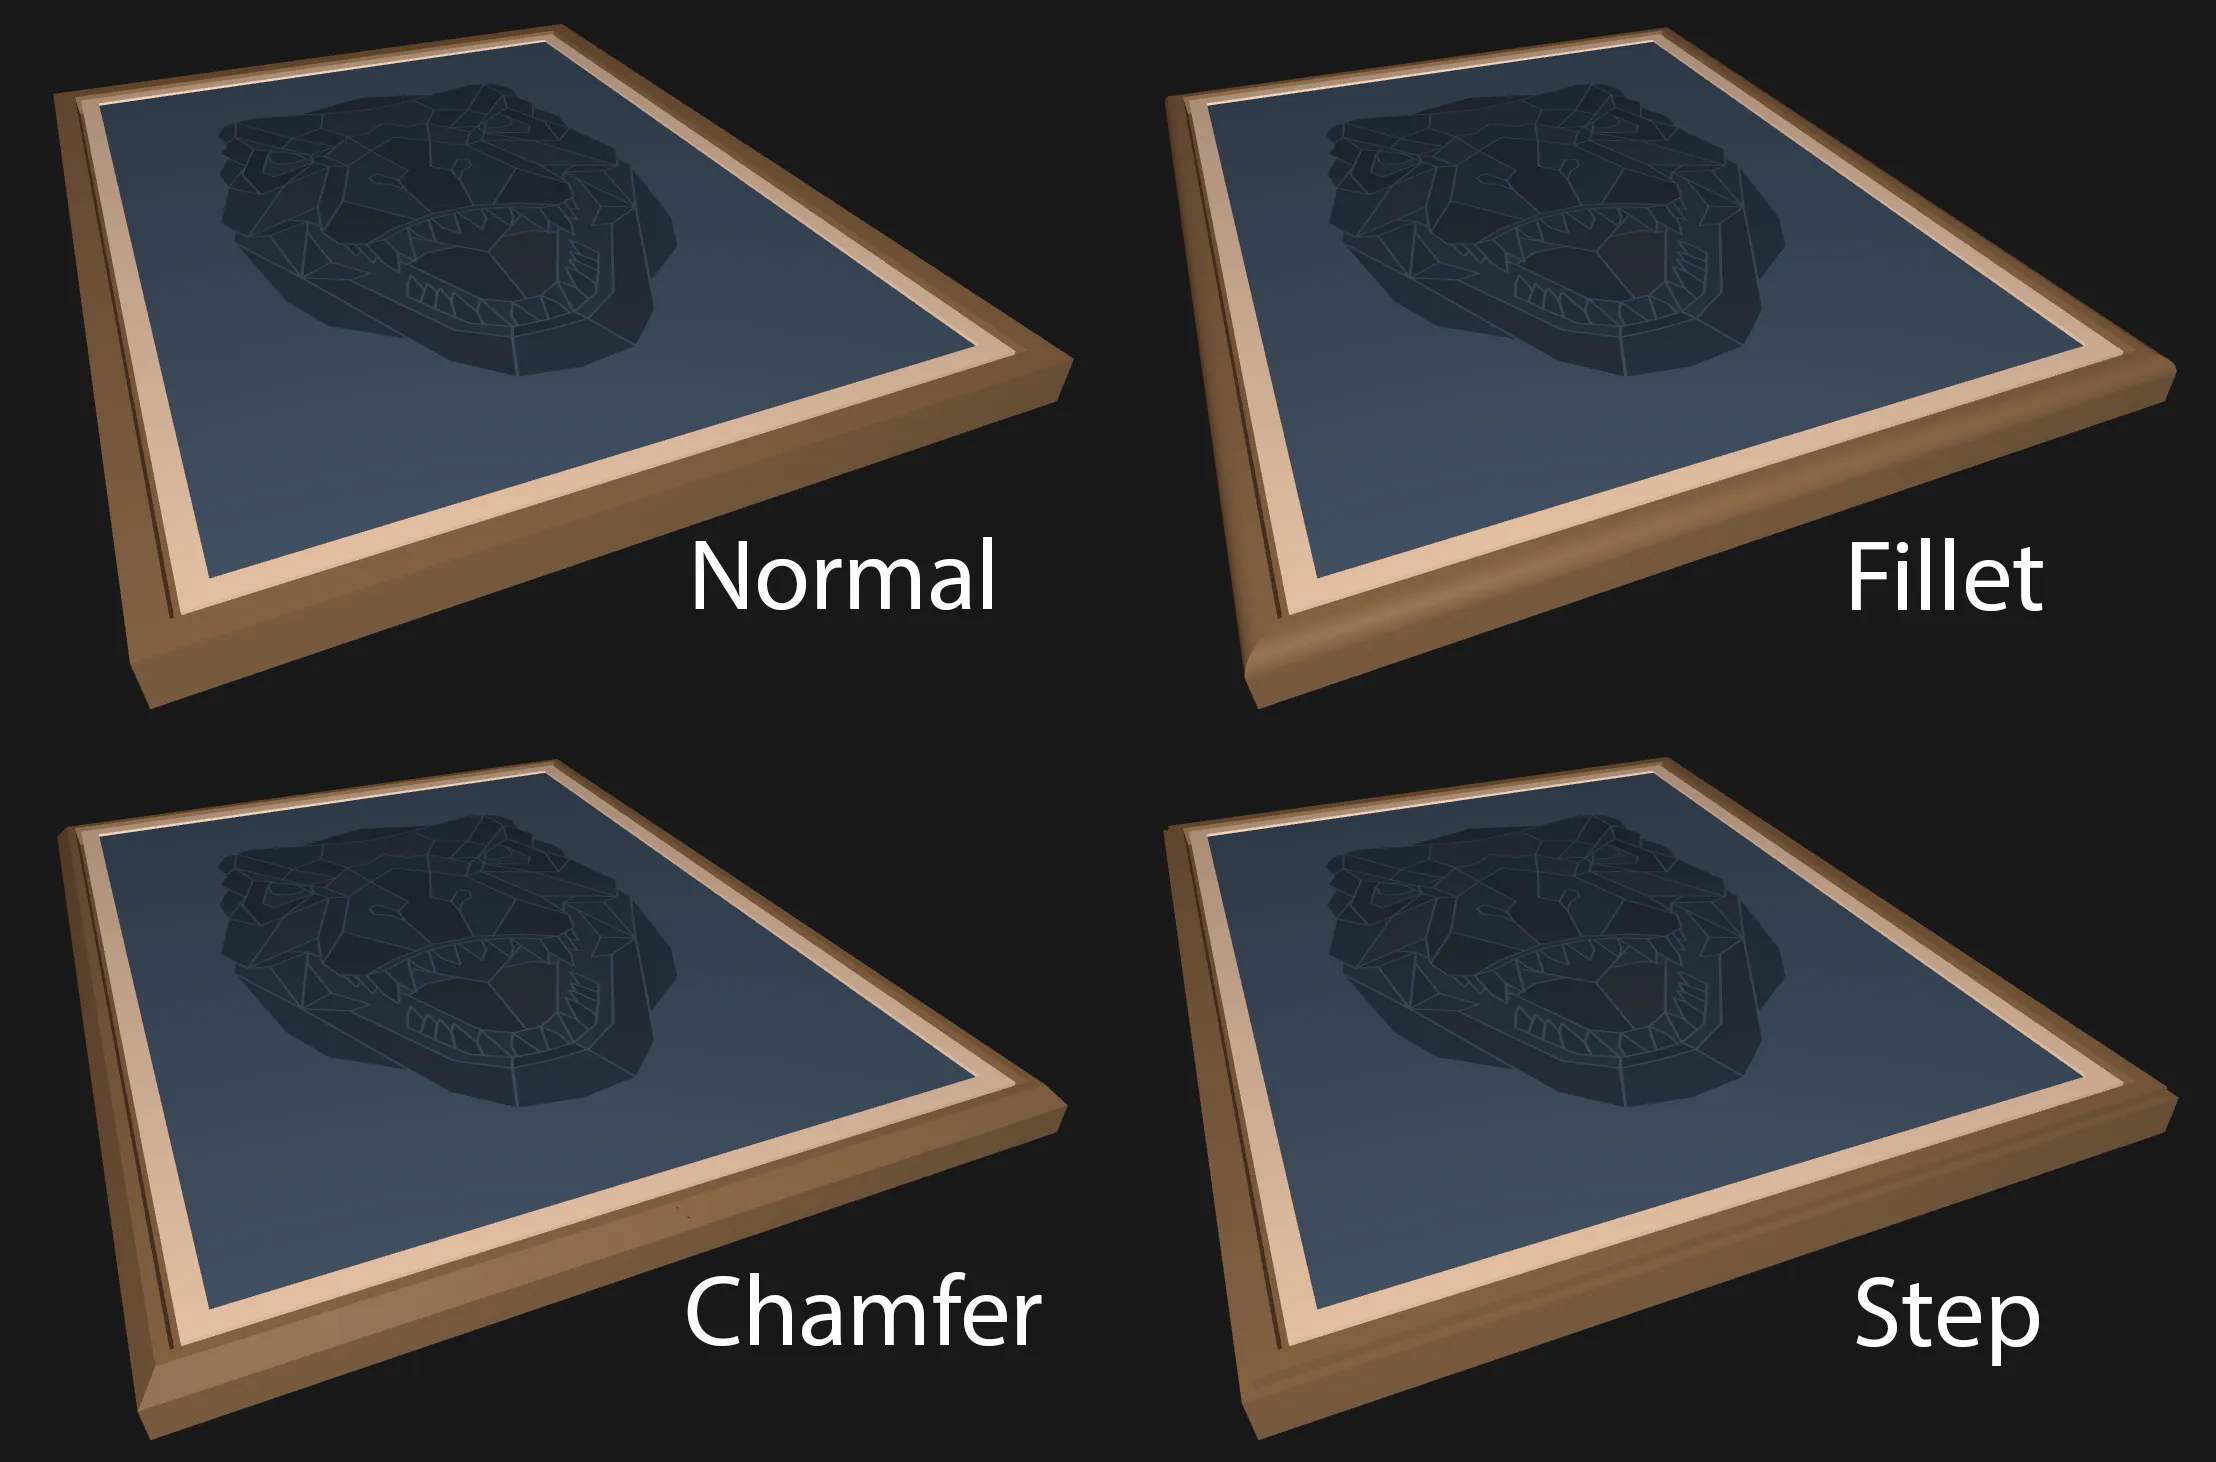
- There are the options of some simple edge designs, like Fillet, Chamfer and Step
- Using Profile Viewer Mode will help to fix any issues
Getting Started
- Set the Picture Dimensions to the size of your picture
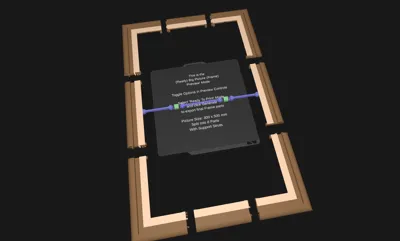
- Ensure the Frame is Split into enough parts to fit on your printer bed (use the Squish Preview to roughly test and/or set Printer Bed sizes
- Ensure the “Ready To Print” mode is selected
- Generate the 3D Model (either use Generate on MakerWorld or Render in OpenSCAD)
- Export the Model as an .STL file
- Import the .STL file into your favourite slicer program
- Select the imported model, then select Split to turn each part into a separate object
- Select the Arrange All Objects option to place all of the items on printing plates
- Slice and Print with your favourite settings and filament – it’s not fussy!
- Snap the Outer Frame parts together
- Snap in your picture using the Inner Frame
- Profit!
Customisation
- The project has been designed to allow a great degree of customisation – nothing fancy, just good solid clean frames to fit any size of print
- The main visual elements to customize, other than picture size, are the frame ‘face’ sizes – Inner Face and Outer Face, as well as Frame Gap which is the space between the two faces.
- The Frame can be made chunkier as well by adjusting the Upper Height and Lower Height parameters
- Using the Profile Viewer and Preview modes allows you to see how your changes will affect the final frame
- Inner frames can be printed the same colour as the Outer Frame, or different, which generates a border
Frame Style Variations
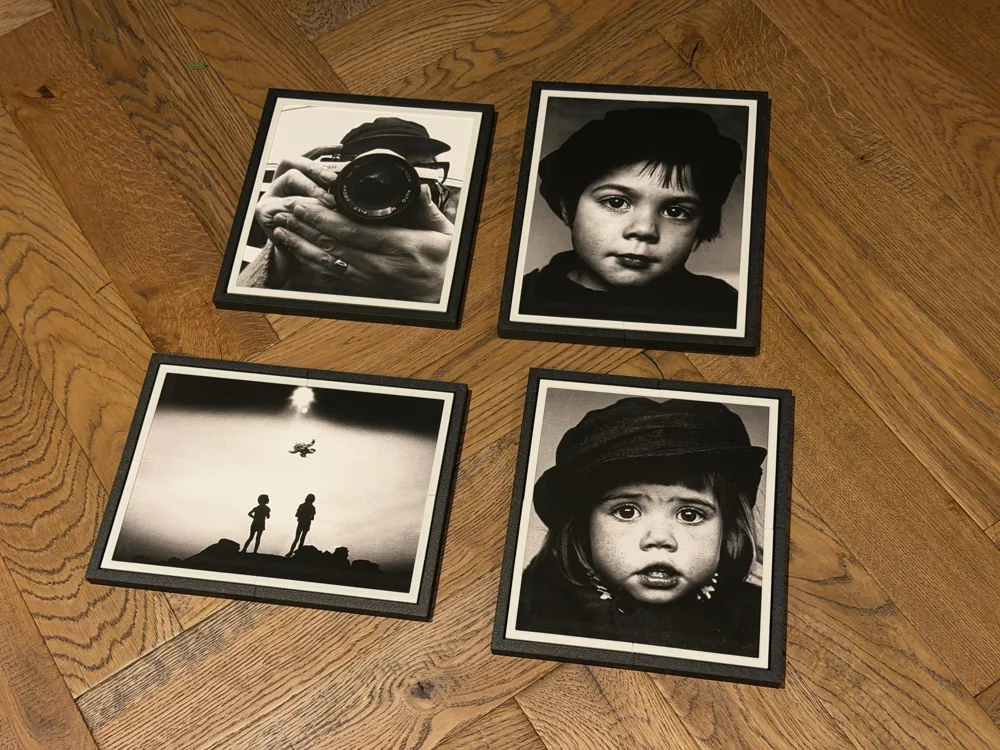
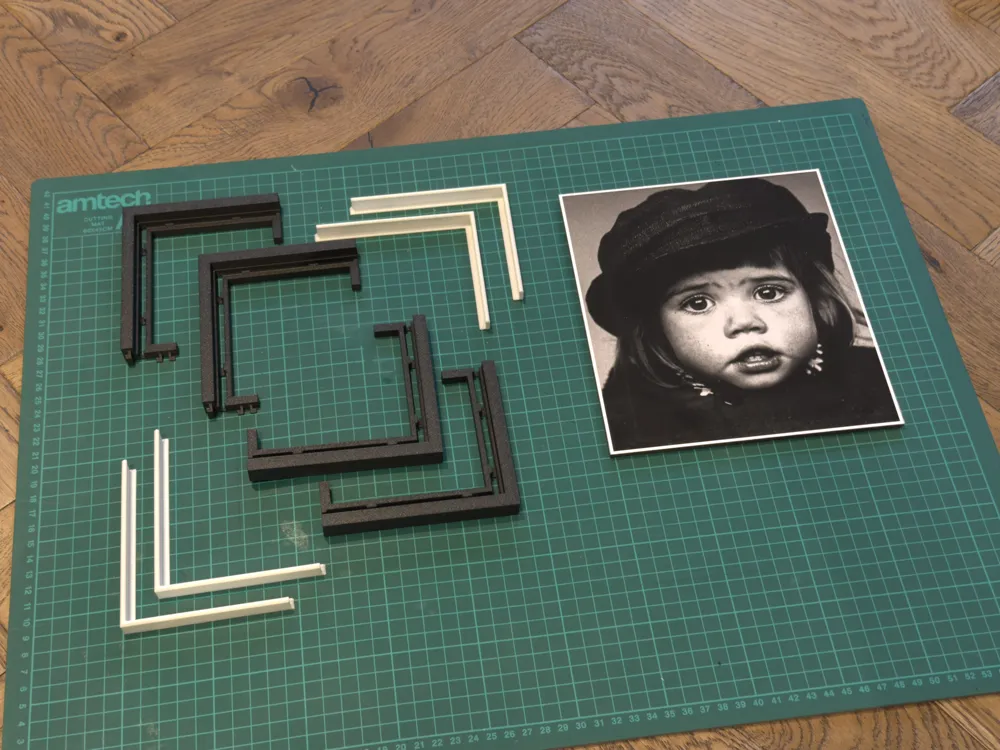
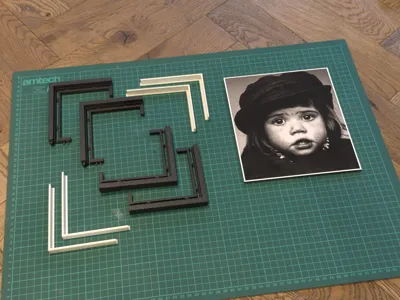
Example Construction (just a small picture in 4 parts)
Everything required – no glue! | 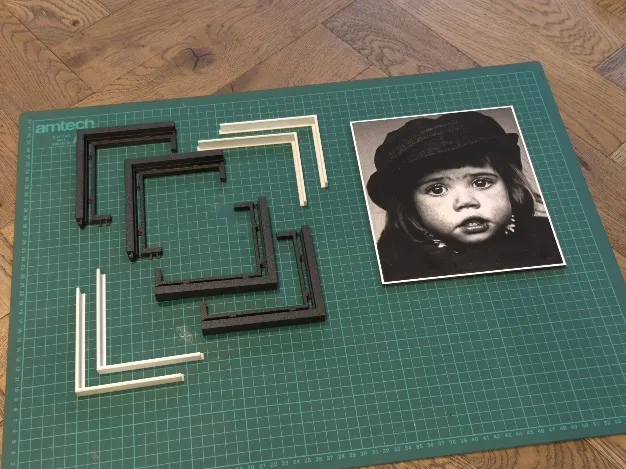 |
All the printed parts for a 2x2 frame.
Larger frames automatically generate further edge pieces. | 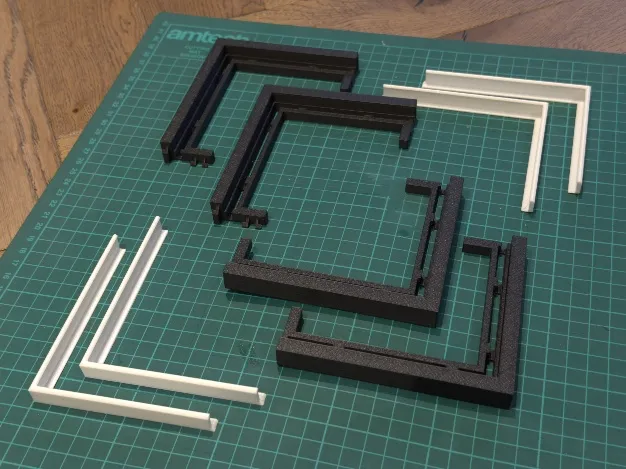 |
Closeup of the snap-together joints | 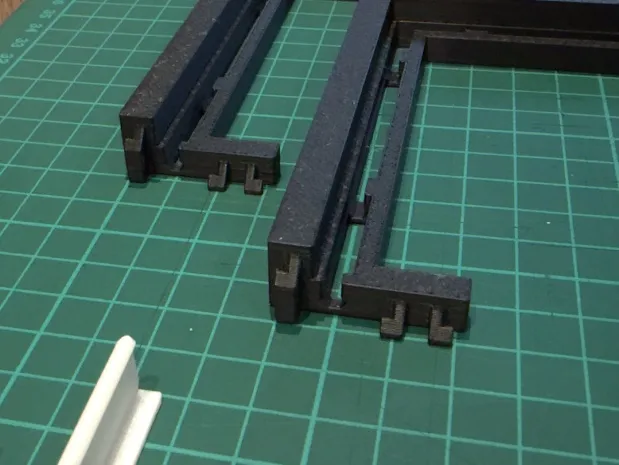 |
Full outer frame snapped together | 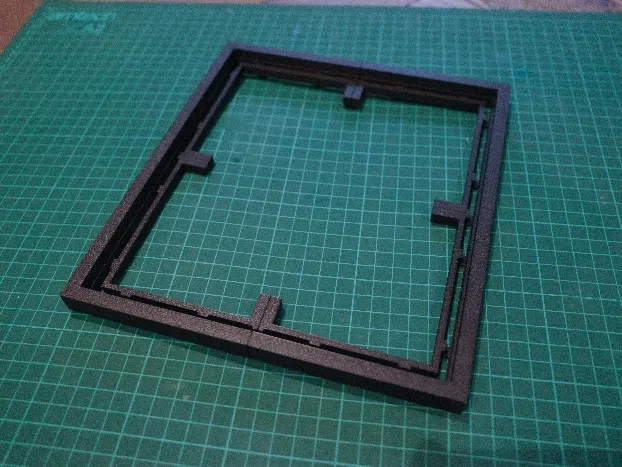 |
Inner frame clicked in place holding picture | 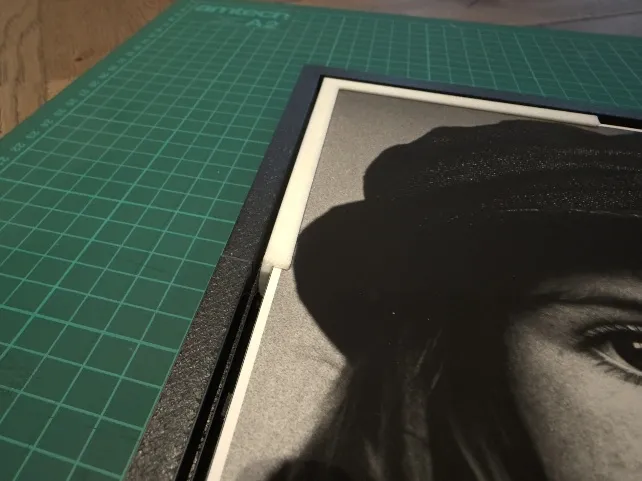 |
Completed picture ready for hanging – light-weight means Command Strips are great | 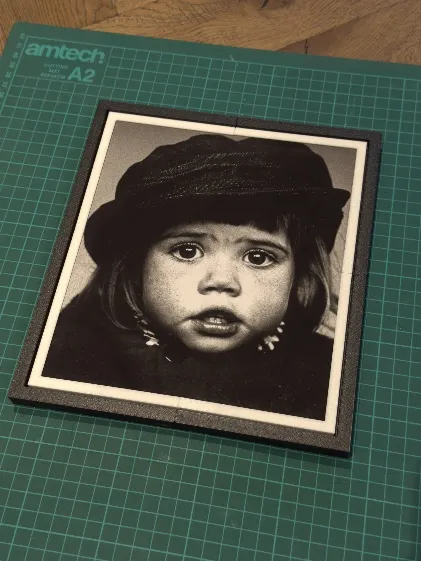 |
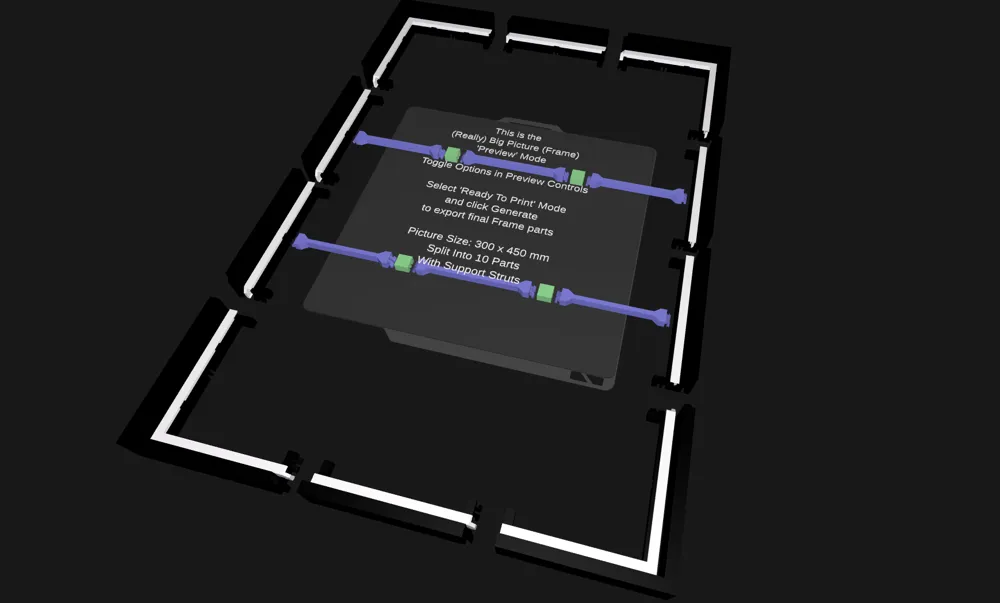
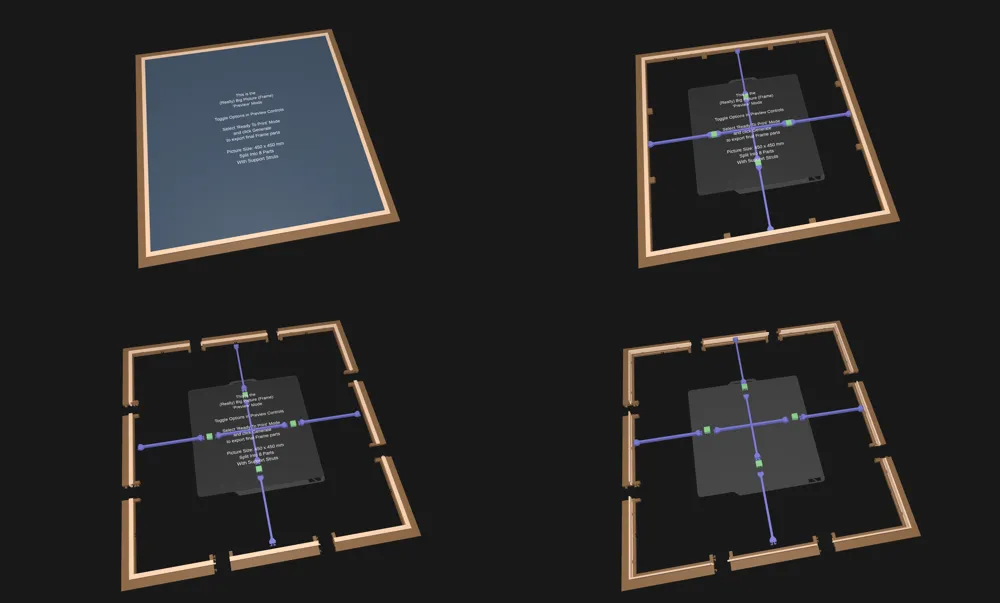
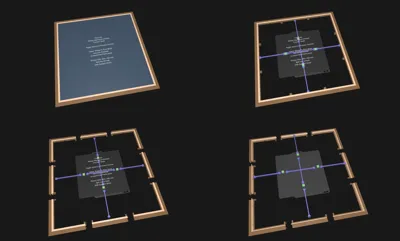
Example Flow
Initial picture and edge design – as big as you like!
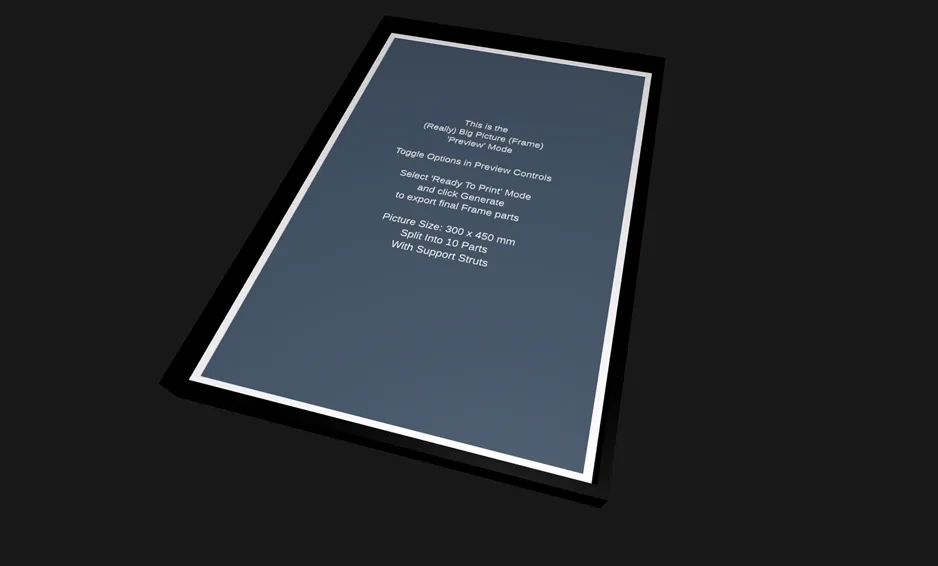
Split to fit printer bed and add Support Struts (if required)
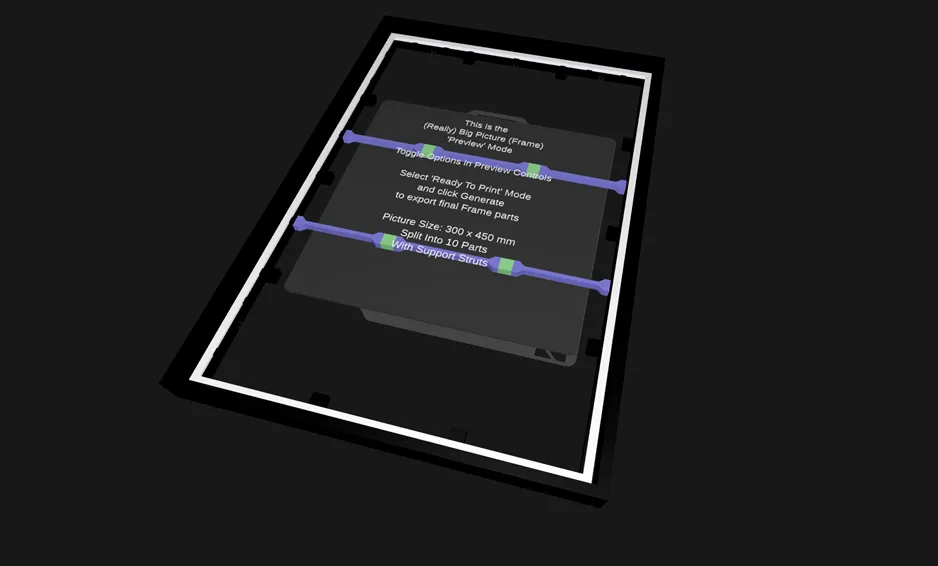
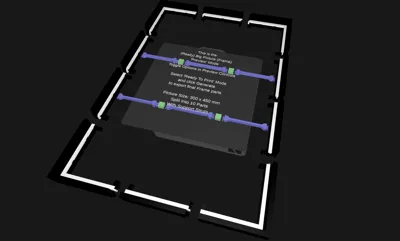
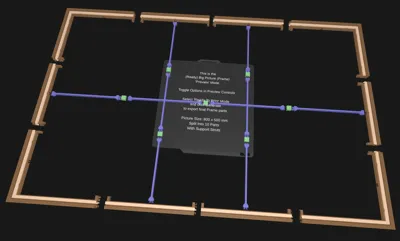
Preview (Explode mode)
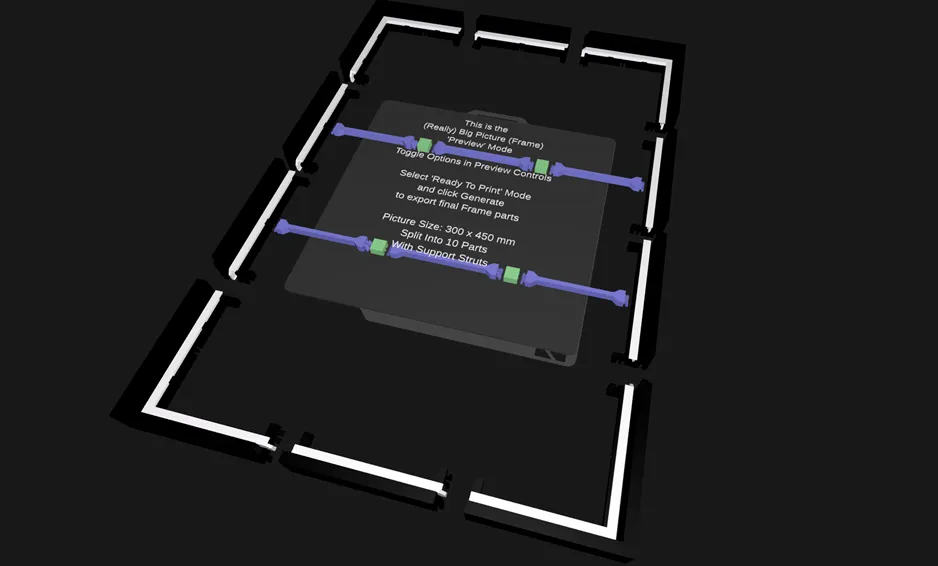
Ready To Print mode – ready to download and send to slicer
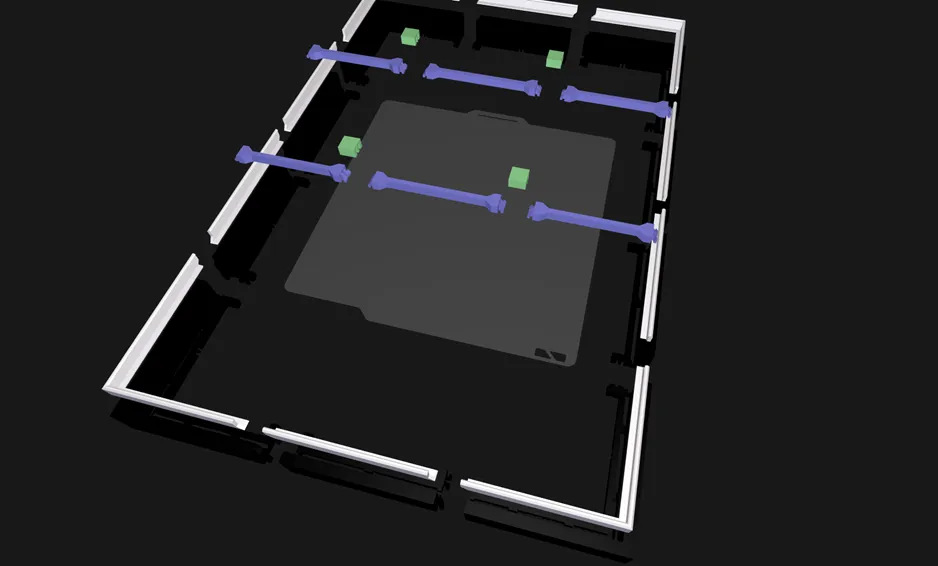
EXPERT Mode
There is also an EXPERT variant of this customisation for anyone who wants to fine tune all of the variables, but the STANDARD version should suffice for just about all prints!
Happy Printing!
License

You shall not share, sub-license, sell, rent, host, transfer, or distribute in any way the digital or 3D printed versions of this object, nor any other derivative work of this object in its digital or physical format (including - but not limited to - remixes of this object, and hosting on other digital platforms). The objects may not be used without permission in any way whatsoever in which you charge money, or collect fees.


Comment & Rating (57)