
Mini Macfox X1S (Electric Bike)
Print Profile(9)


Description
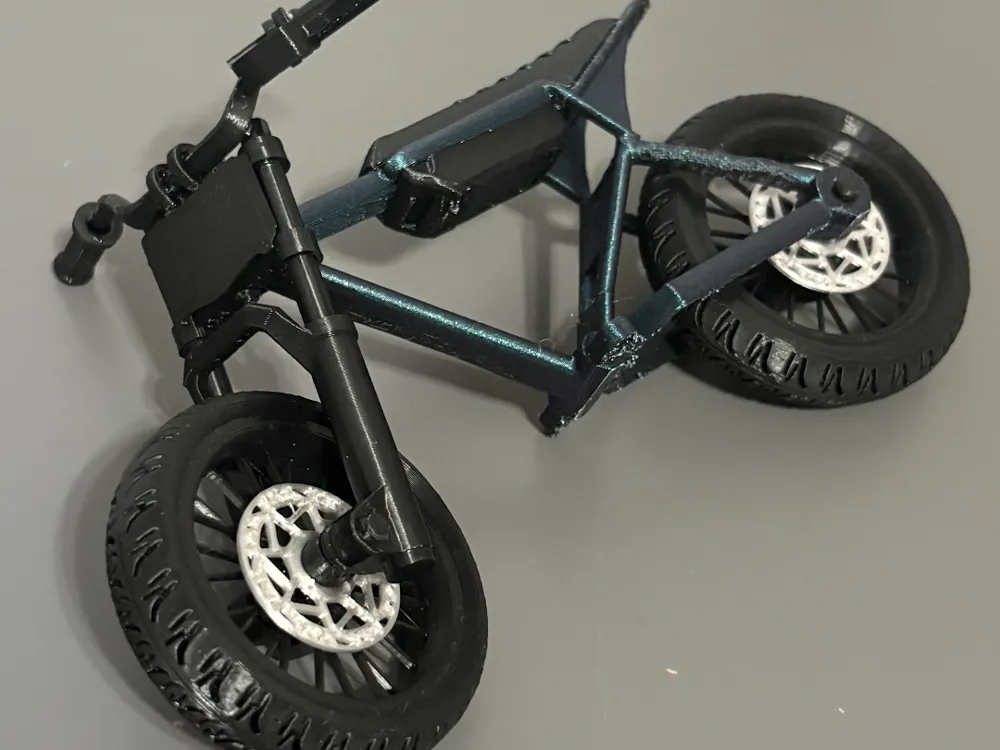



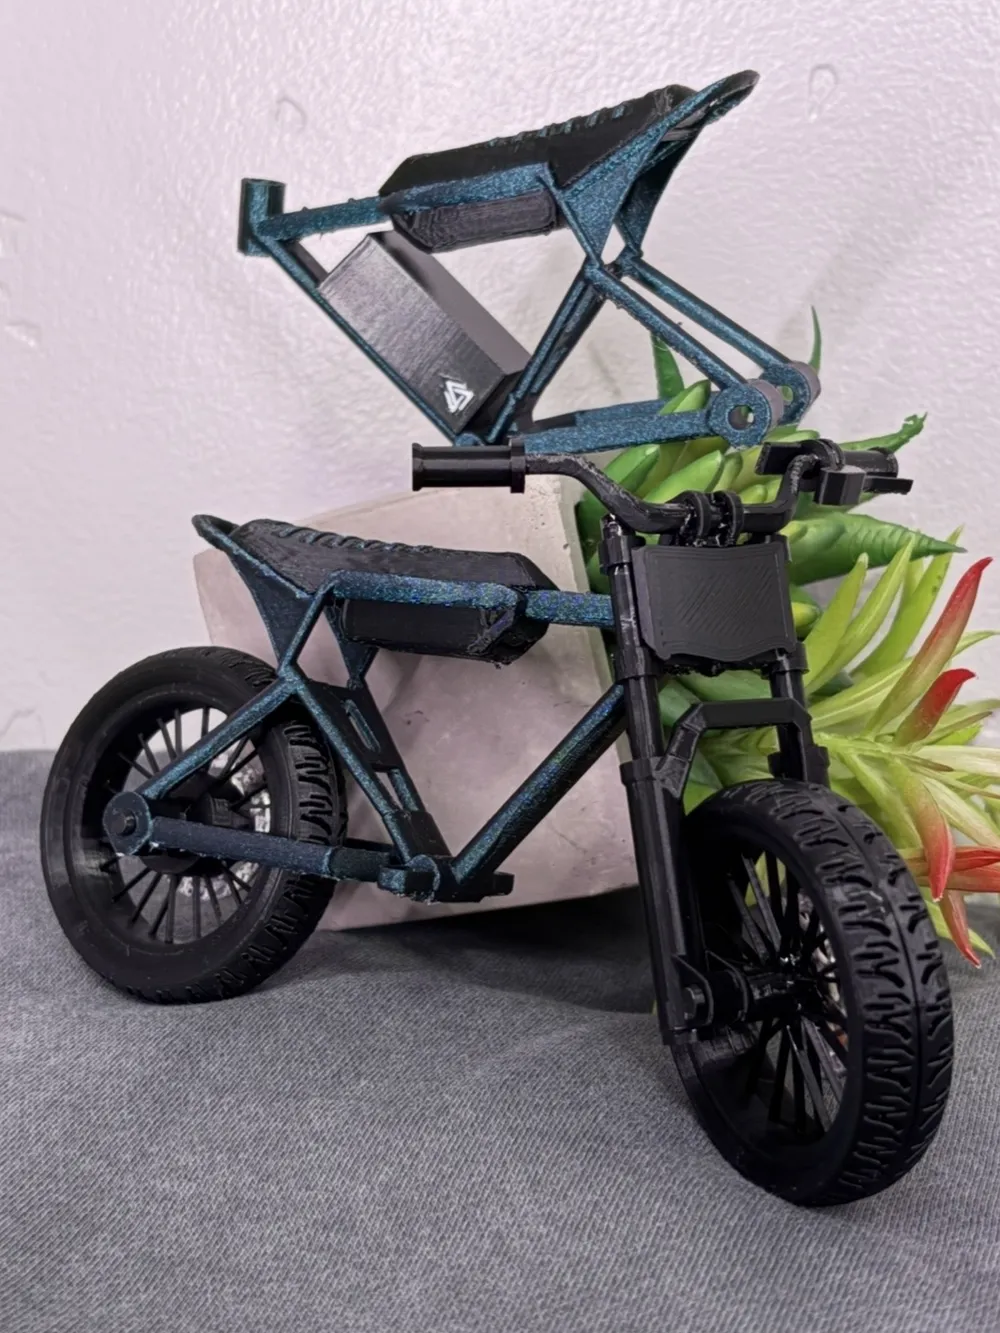
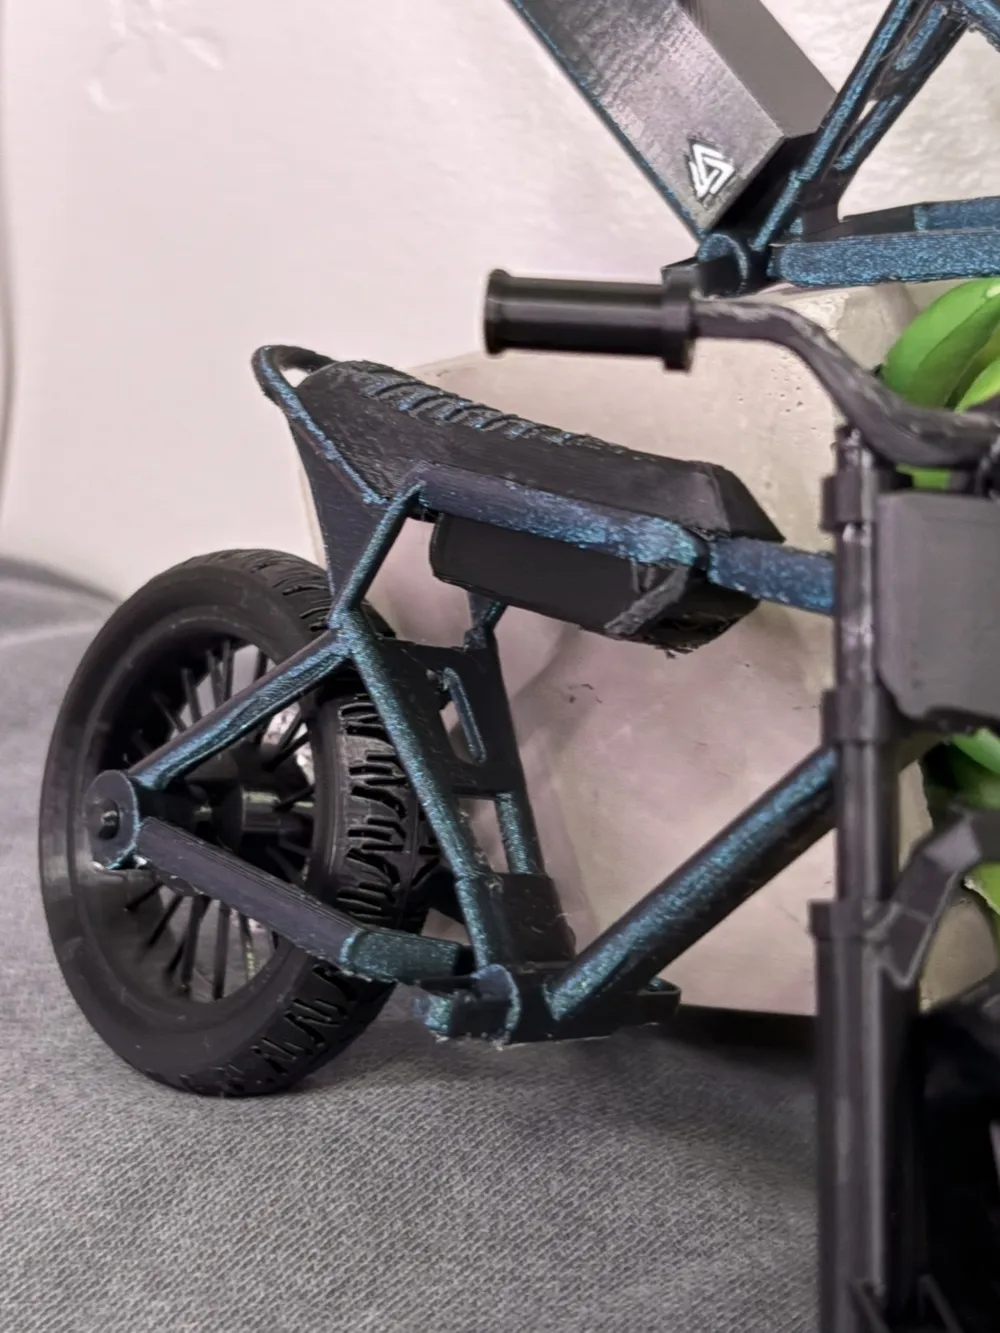
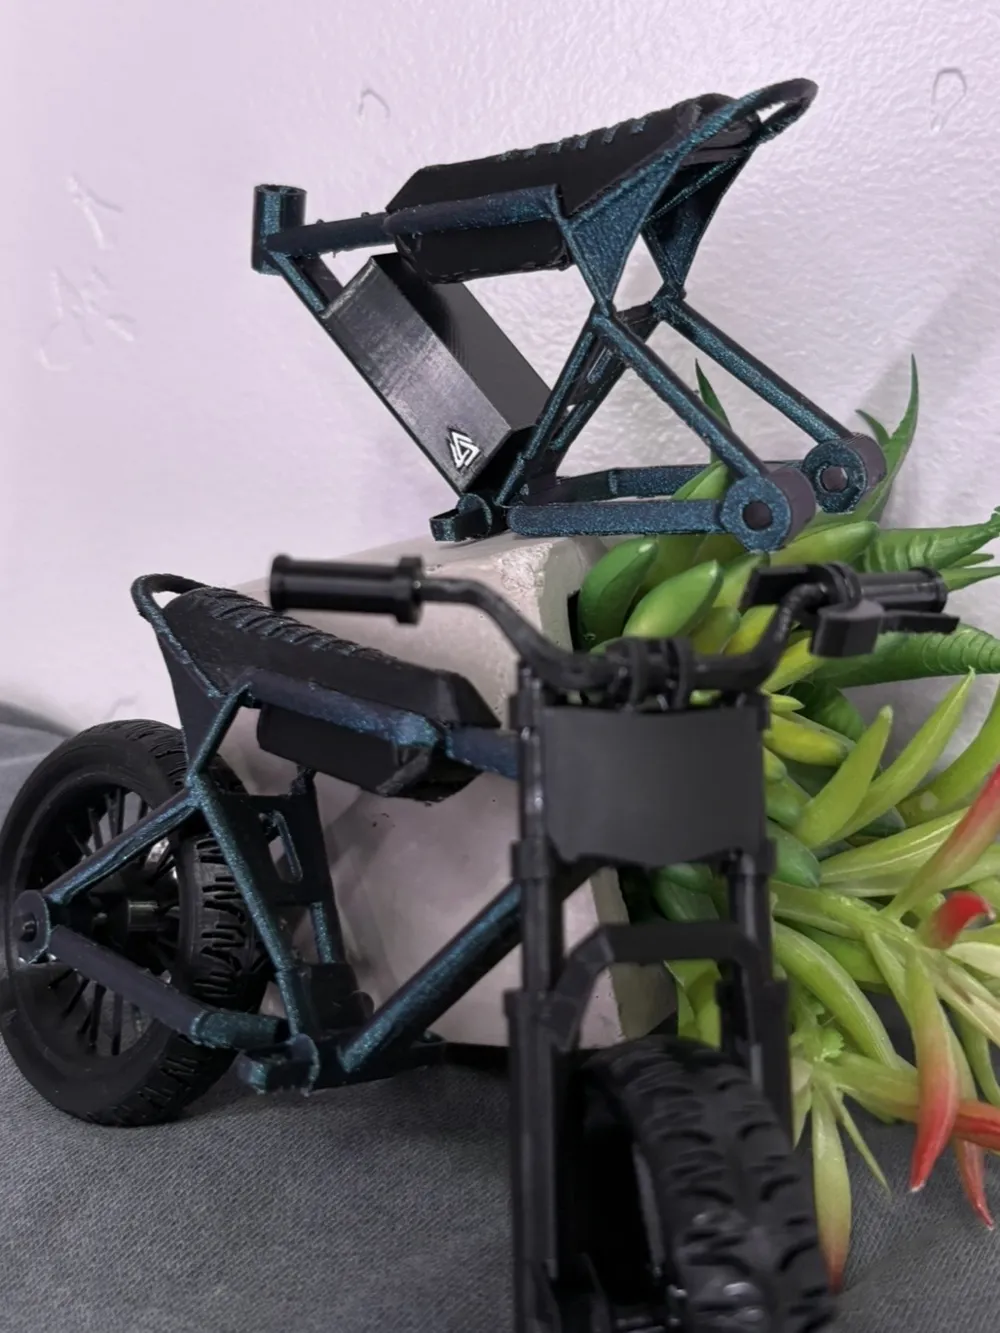
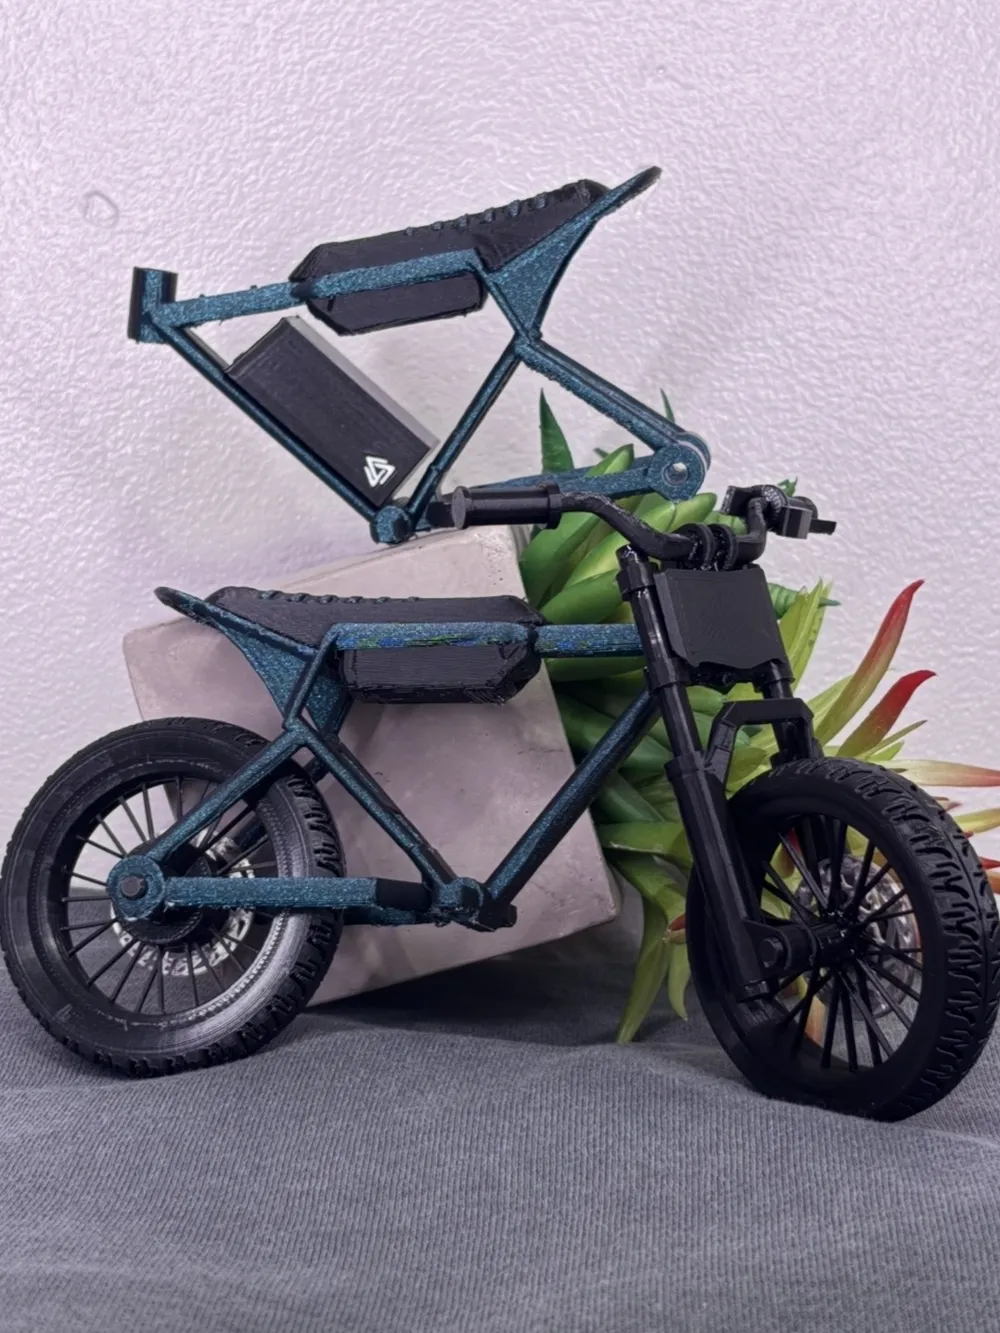
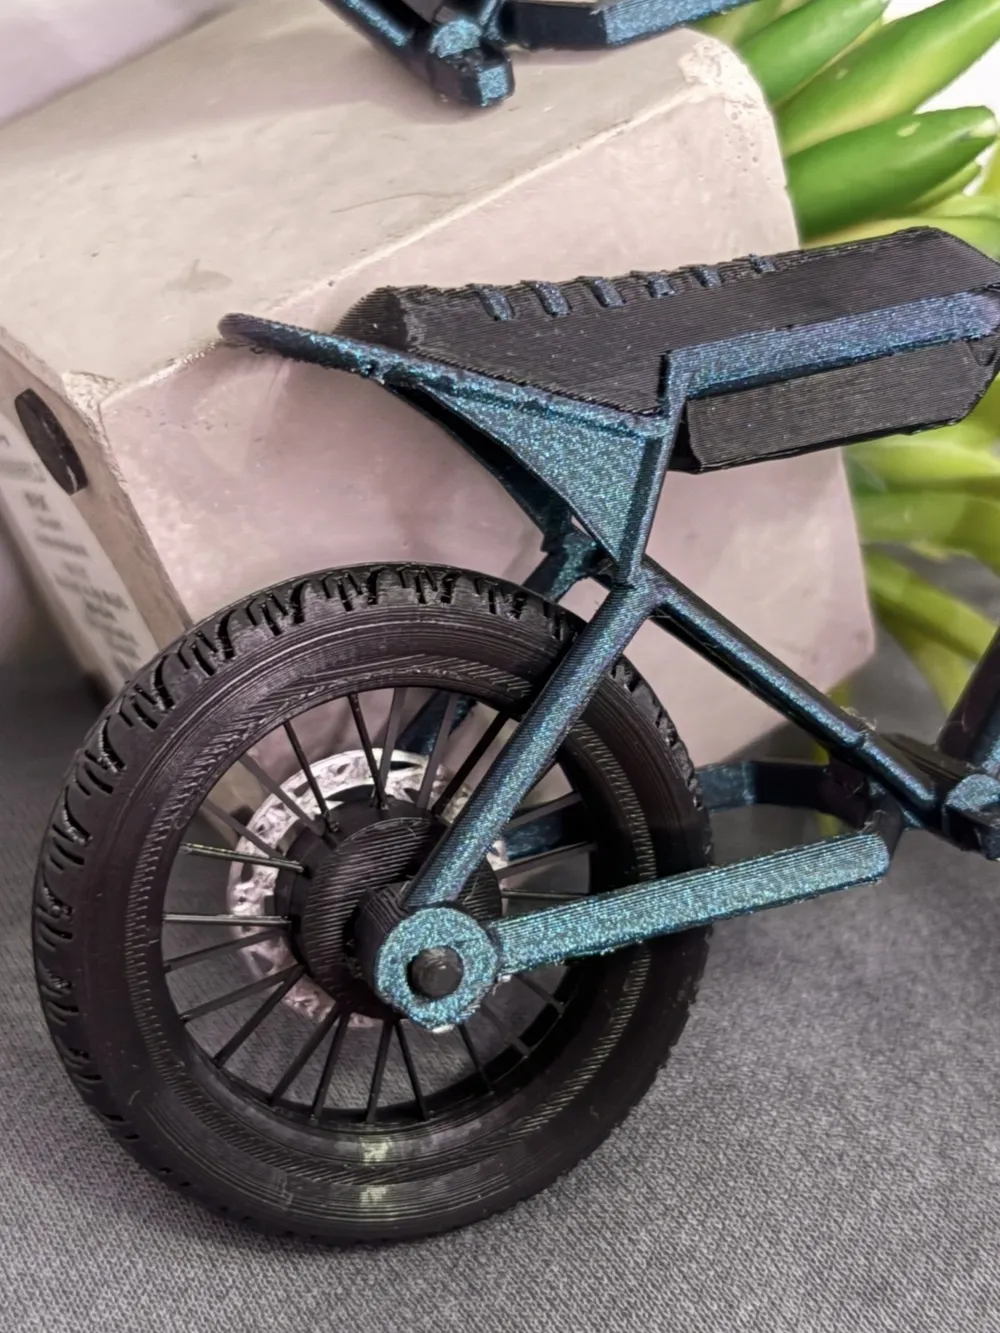
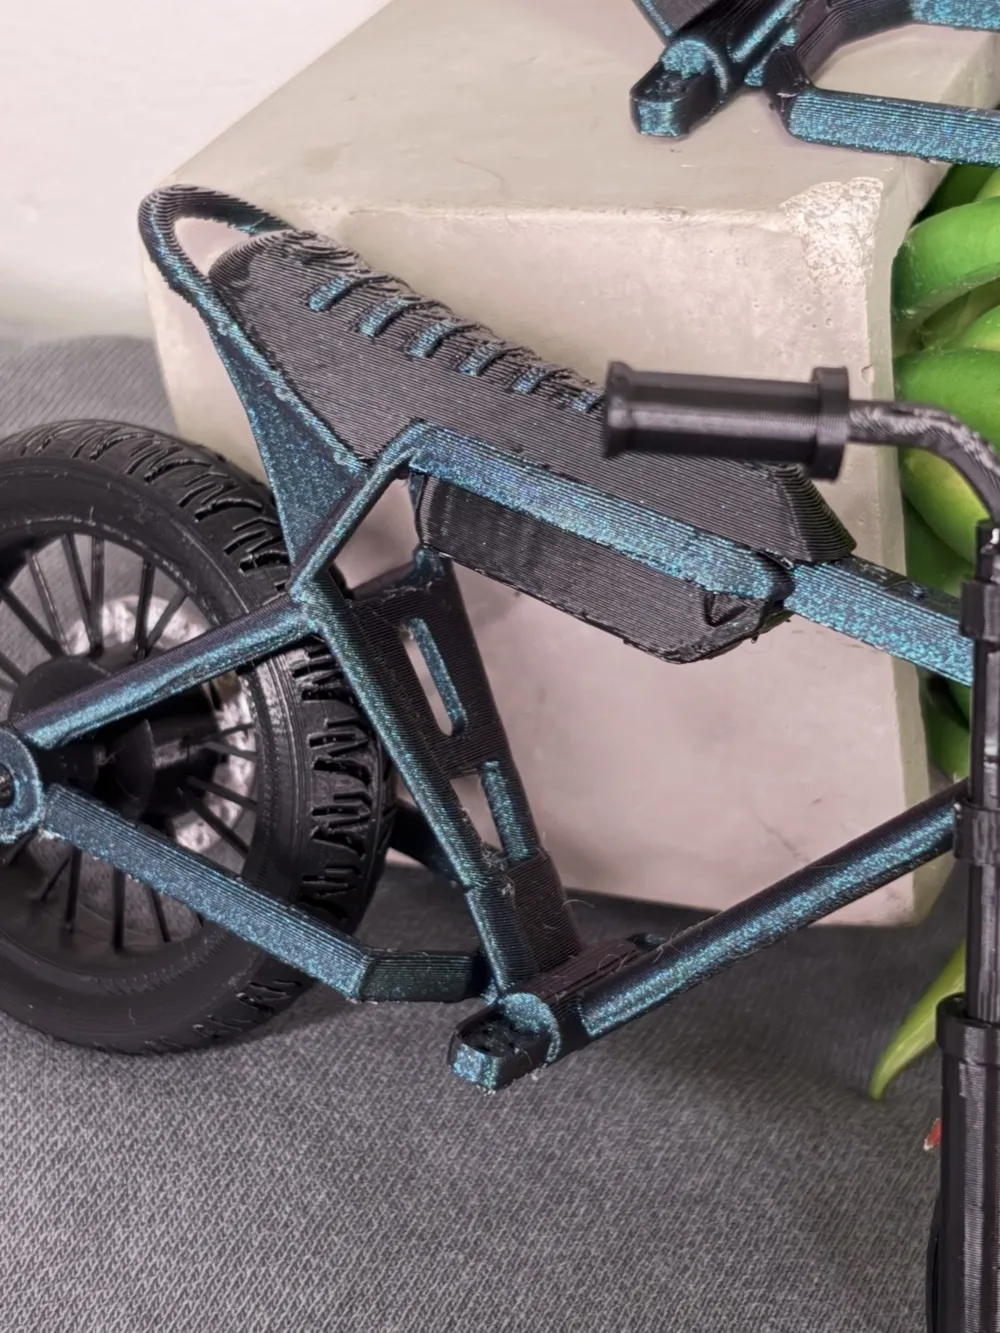
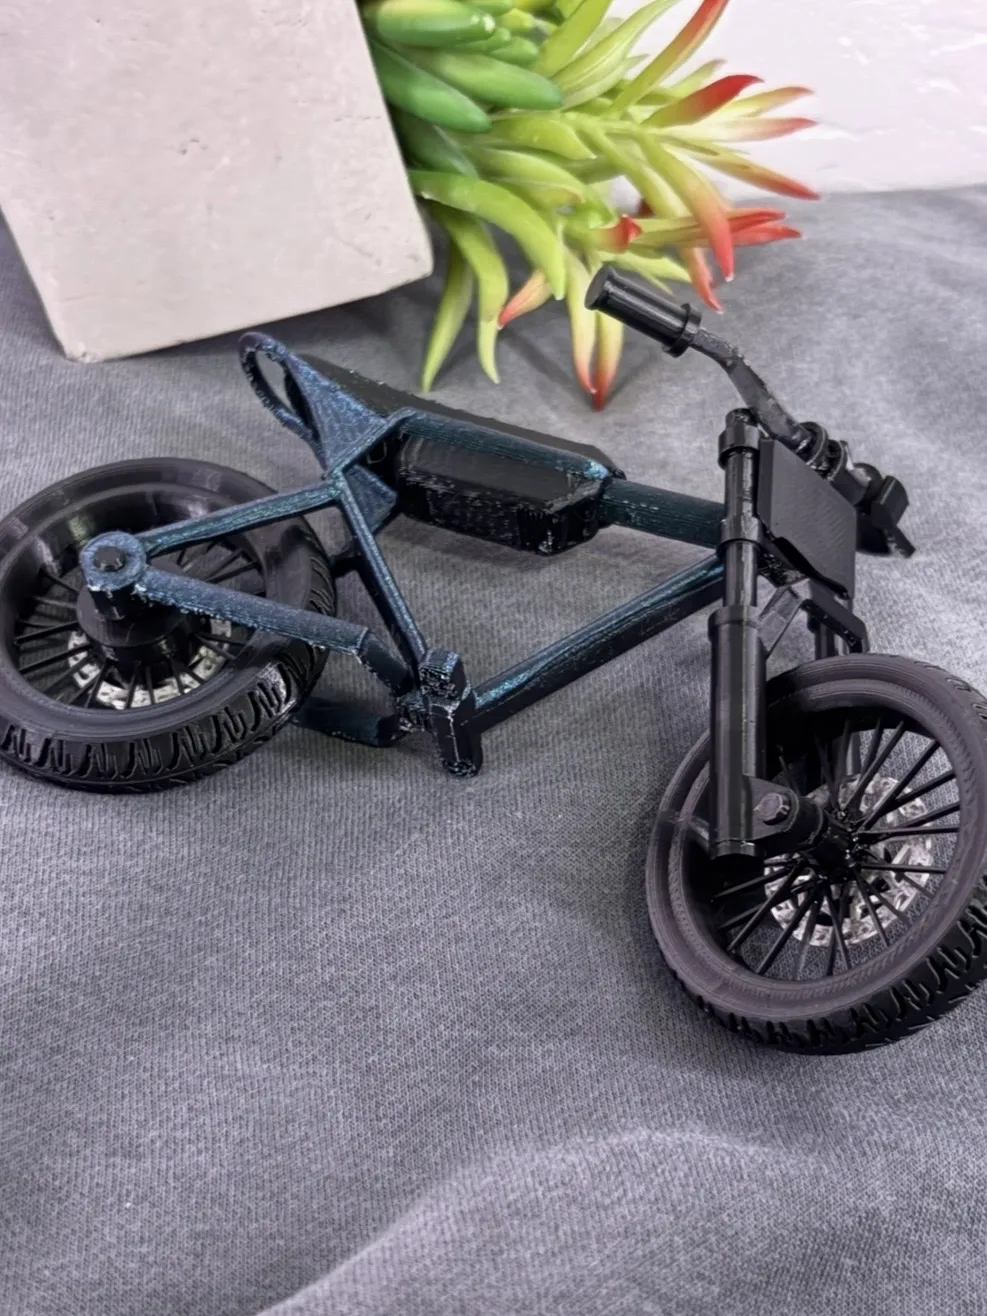
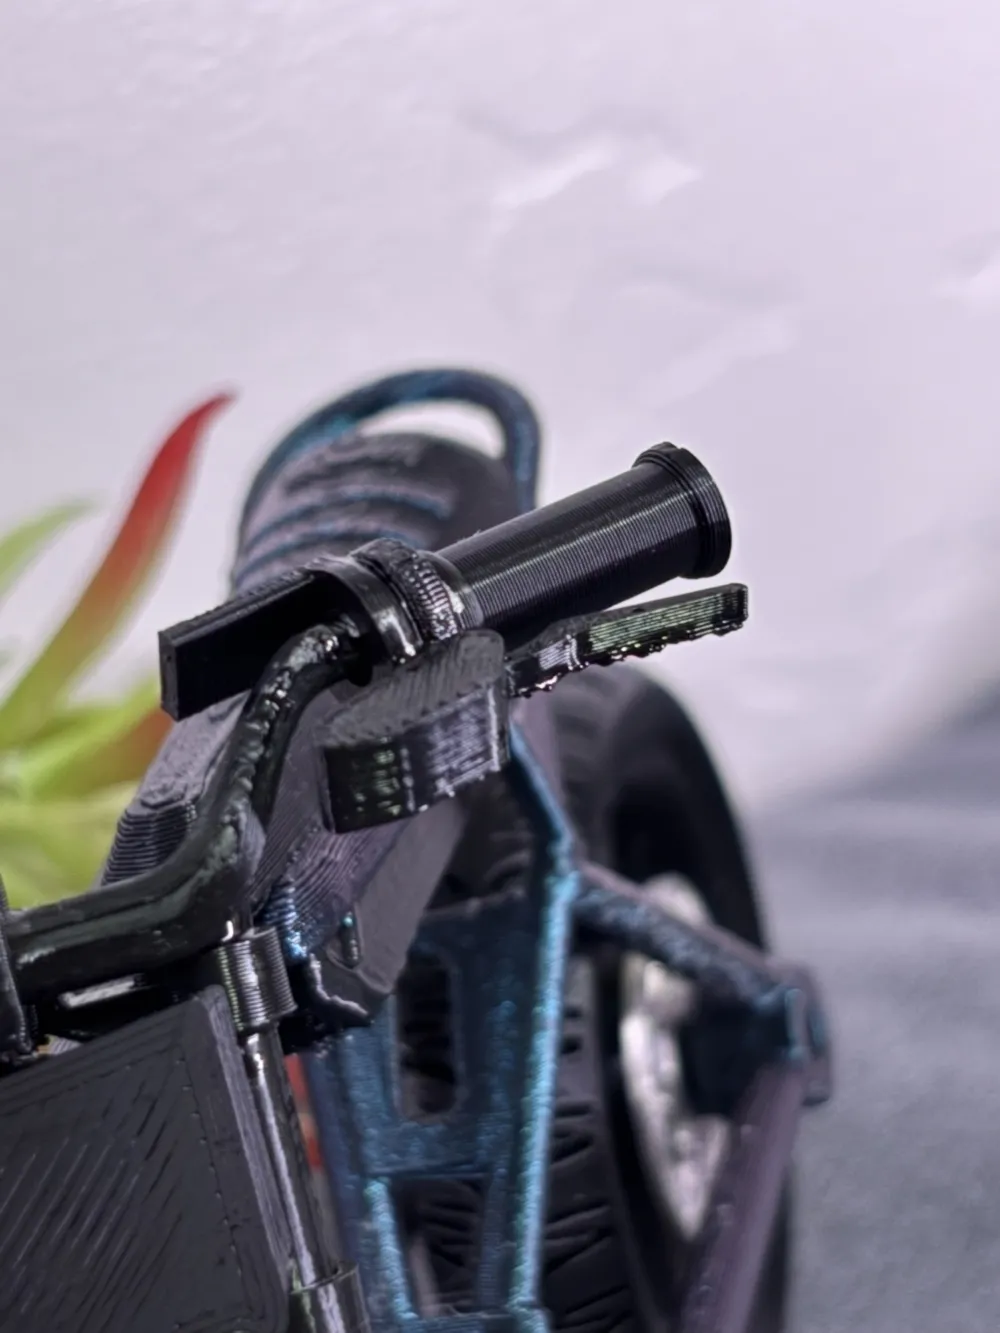
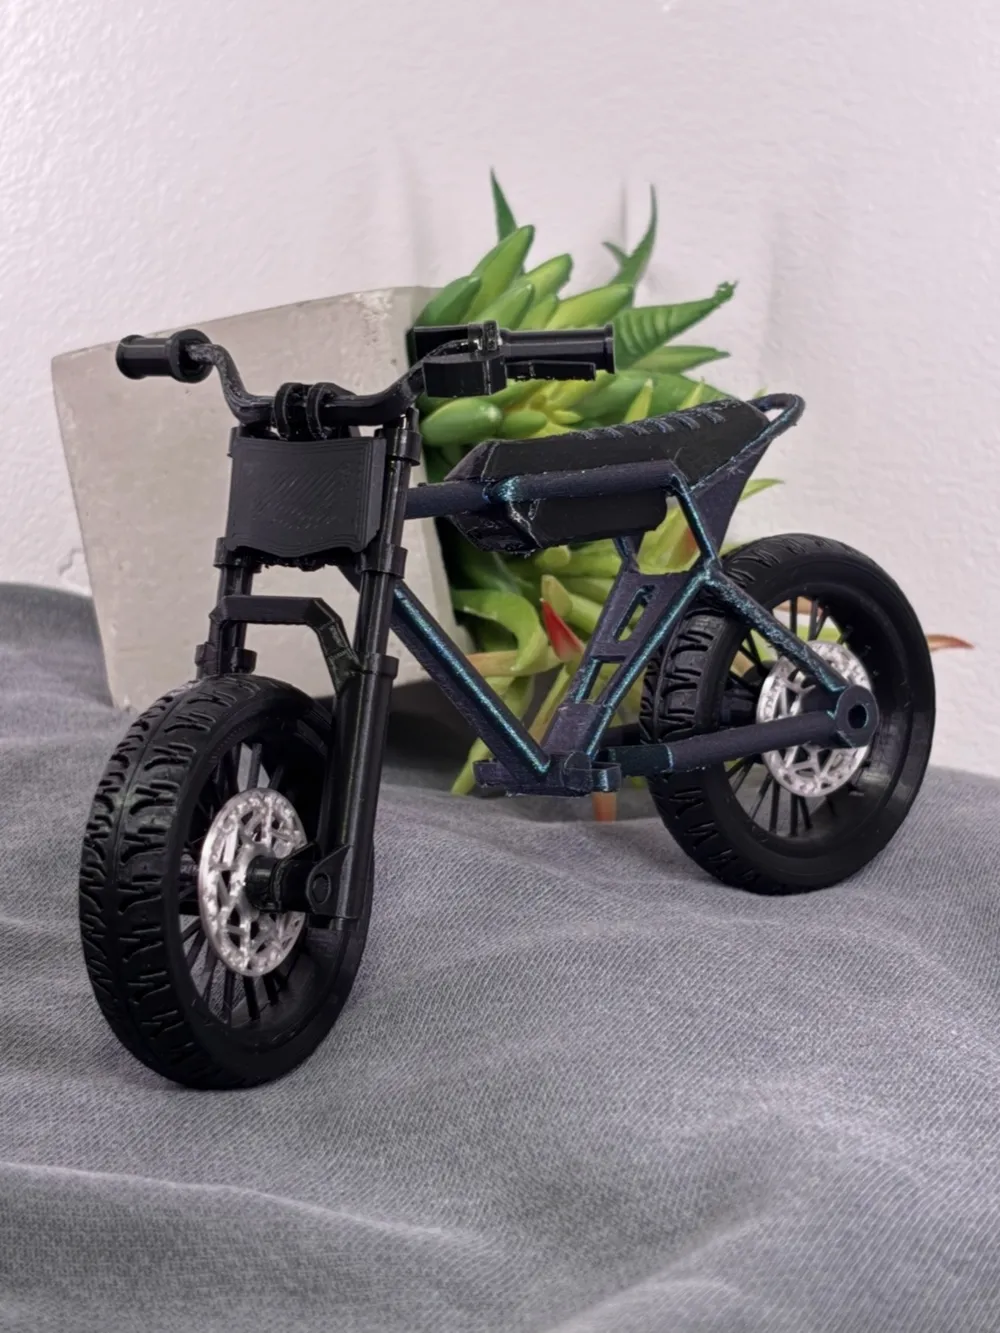
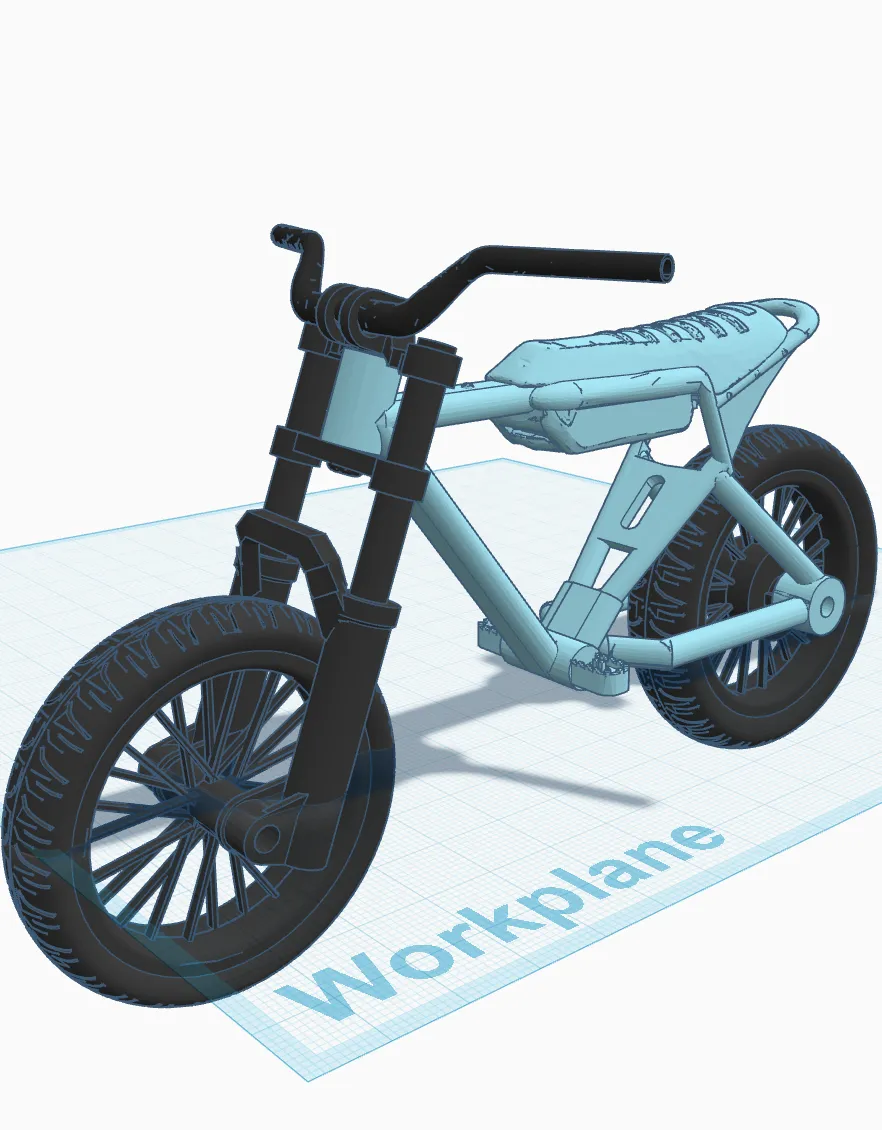
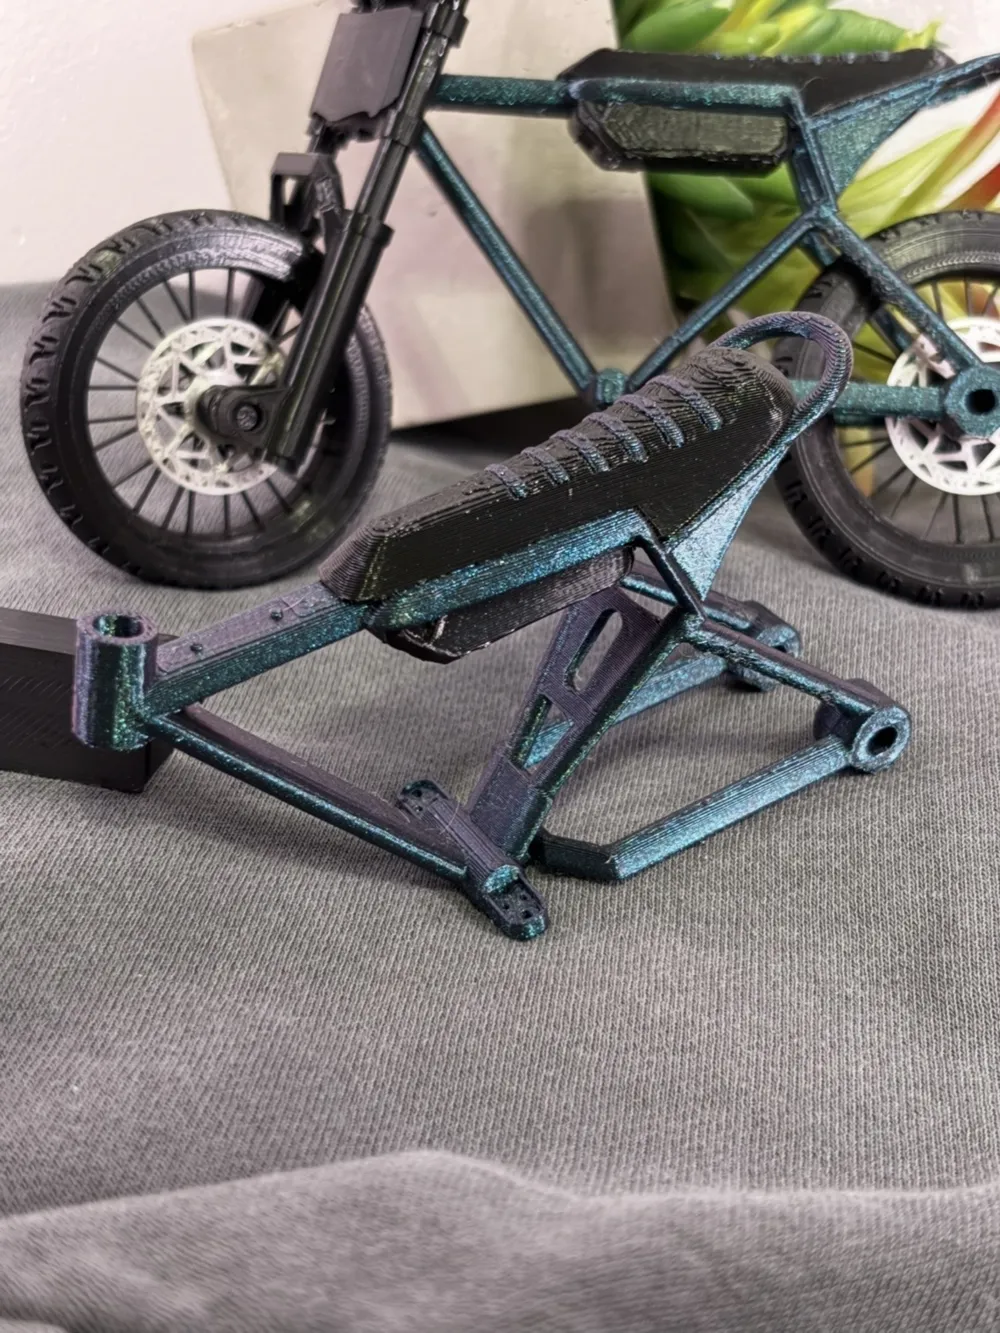
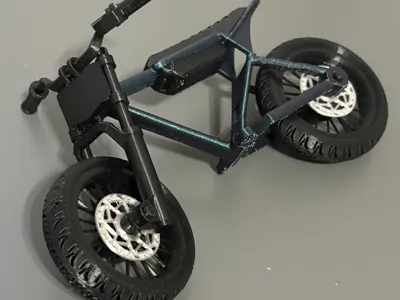
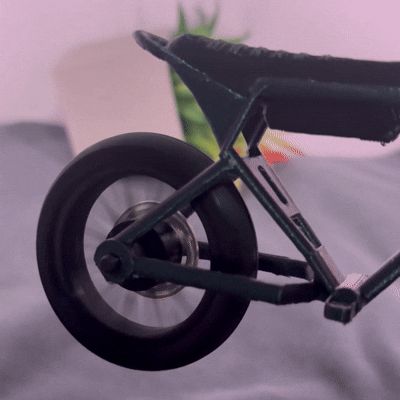
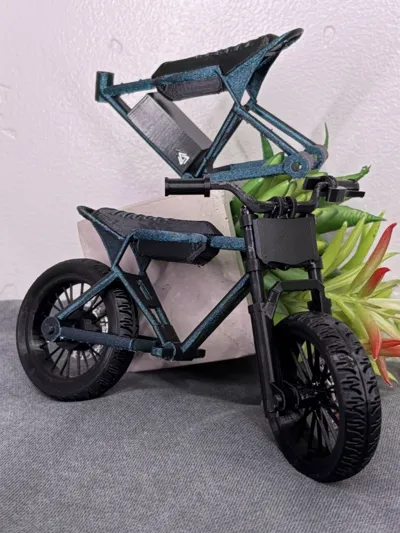
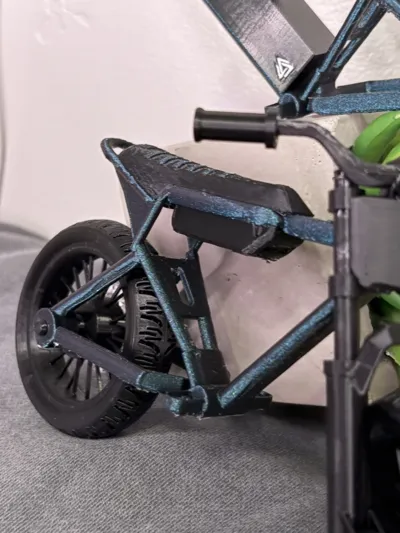
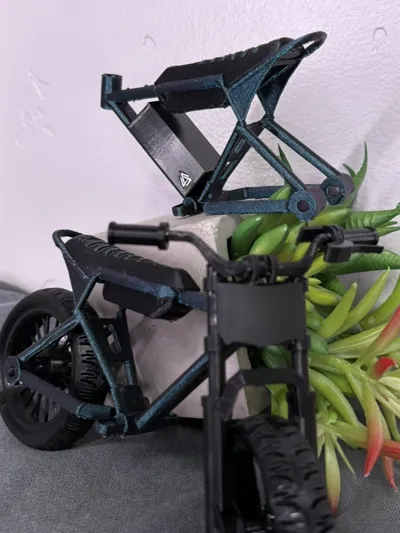
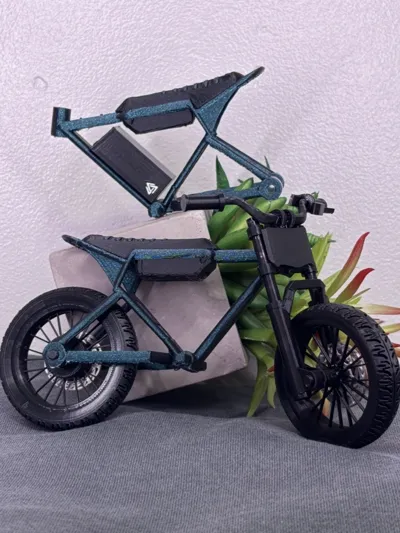
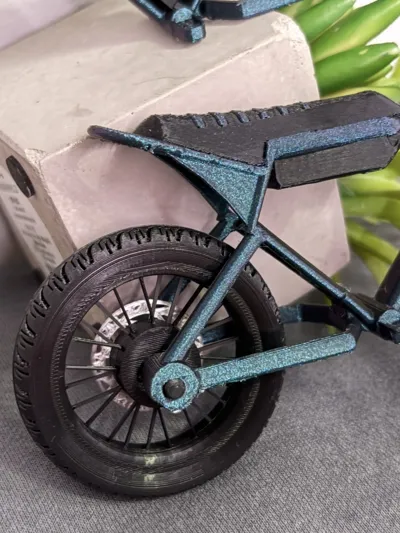
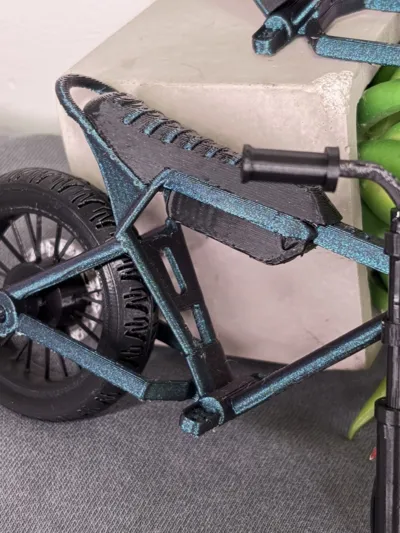
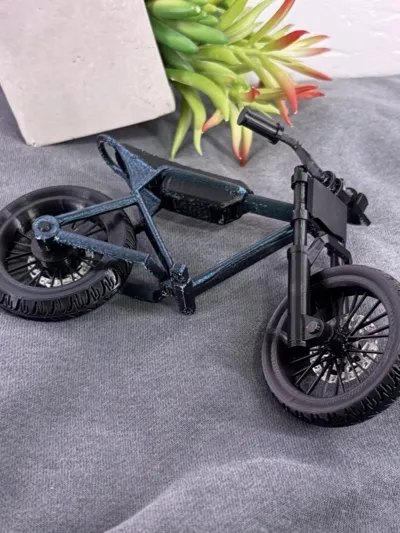
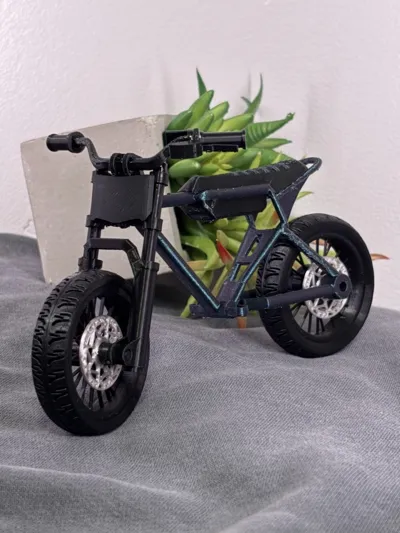
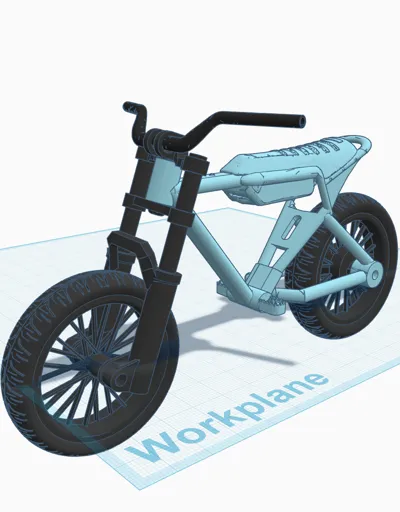
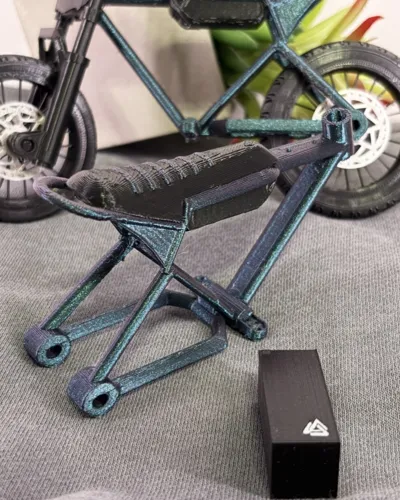
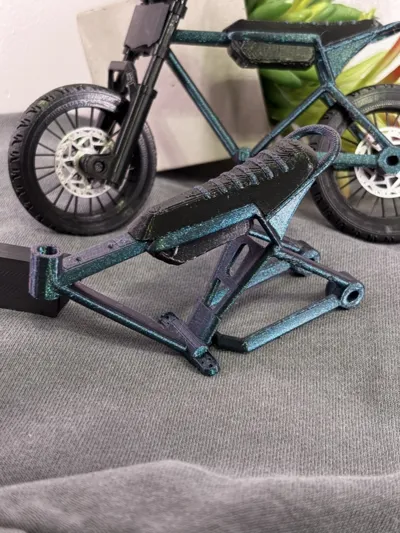
This is my Mini Macfox X1S model with front suspension. I made the whole thing in Tinkercad, and I’m pretty sure I’m the first Mini Macfox out here.
---------------------------
Also huge credit to @how2random for the wheels, forks, and handlebars I used — yes, I got permission.
🥺-If you want to print the grips, screen, and brake rotors, it’s the same ones for the mini surron so just print from there!
And thanks @RomanJMD for the modified wheels, tires and battery.
---------------------------
You only need super glue to put it all together. Super easy. 🔧
❔-If you don’t know how to do a step on building the bike just leave a comment and I will help you!
---------------------------
🚨-Glue on build plate recommended.
---------------------------
✅ –Prints fine in 0.2 (Macfox in photo is 0.2)
DO NOT SELL THIS MODEL OR PRINTS OF THIS MODEL
ASSEMBLY-
(may seem long, but its very easy.)
Wheels ASSY -
-
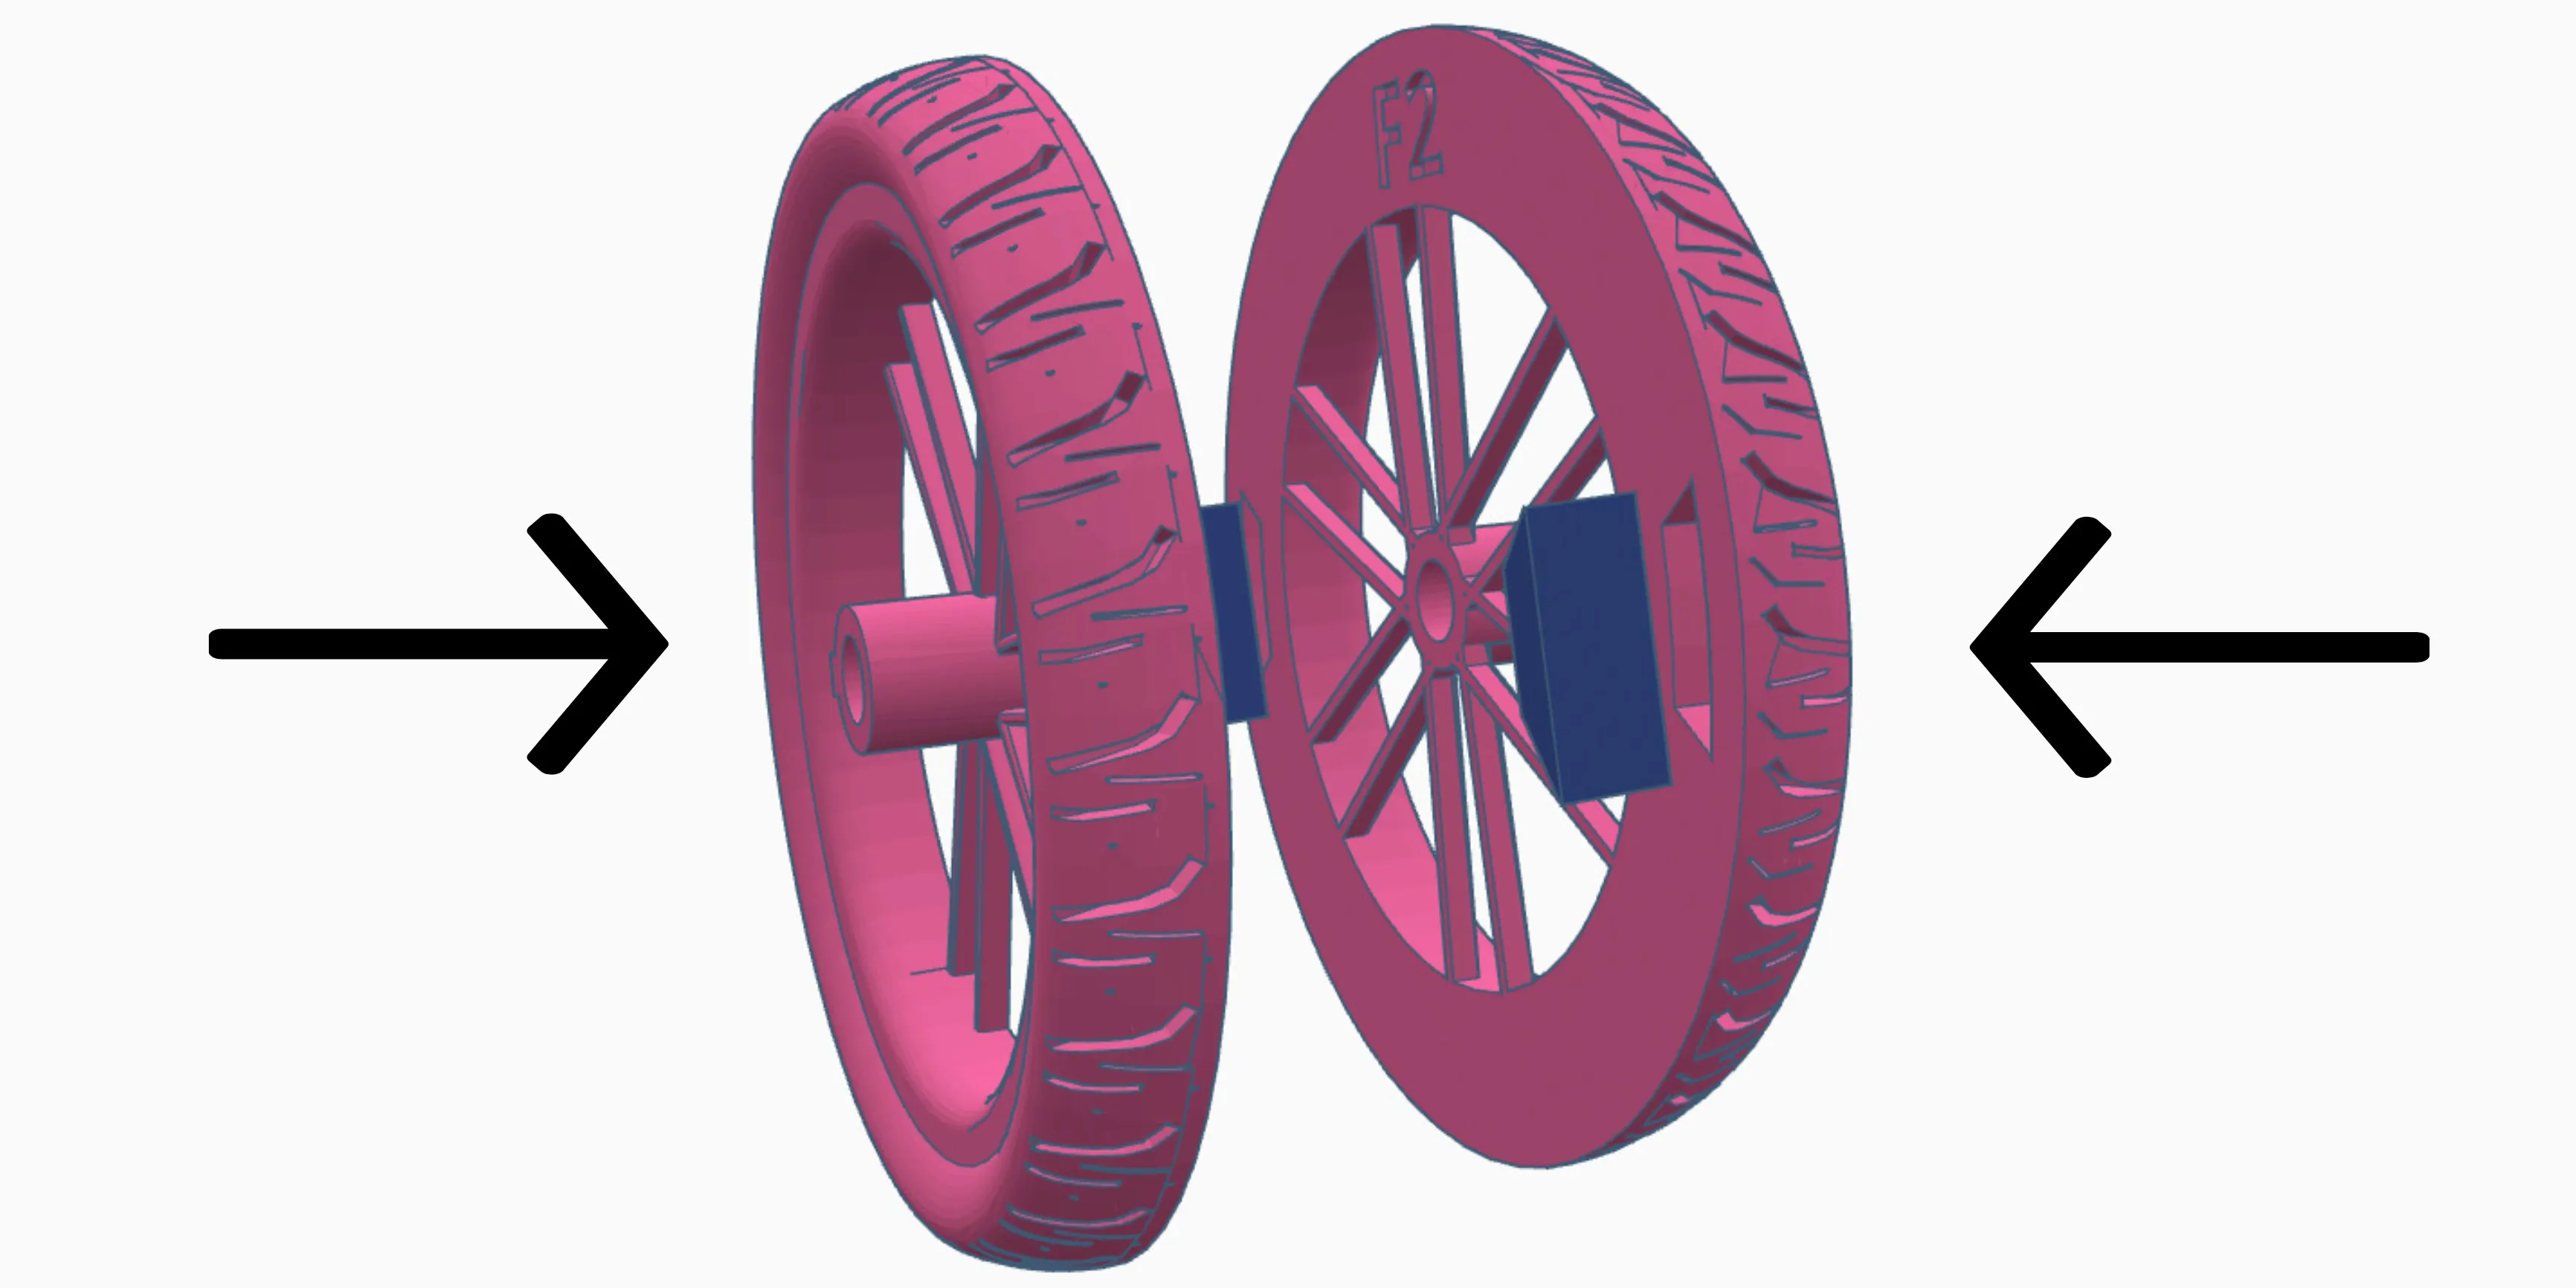
- Grab the two halves of the wheel labeled (Front wheel) ((F2/F1))
- Place the wheel alignment guides (2 small blue pieces) into the grooves on one half of your wheel. (Shorter wheel alignment guides for front, taller ones for rear.)
- apply glue all around wheel if needed.
- Find the 2nd half of the wheel using the text to match - then place the 2nd half of the wheel onto the first. Ensure proper alignment of the tire tread.
Keep pressure on the wheel until glue sets - then set aside
2. On the on the side
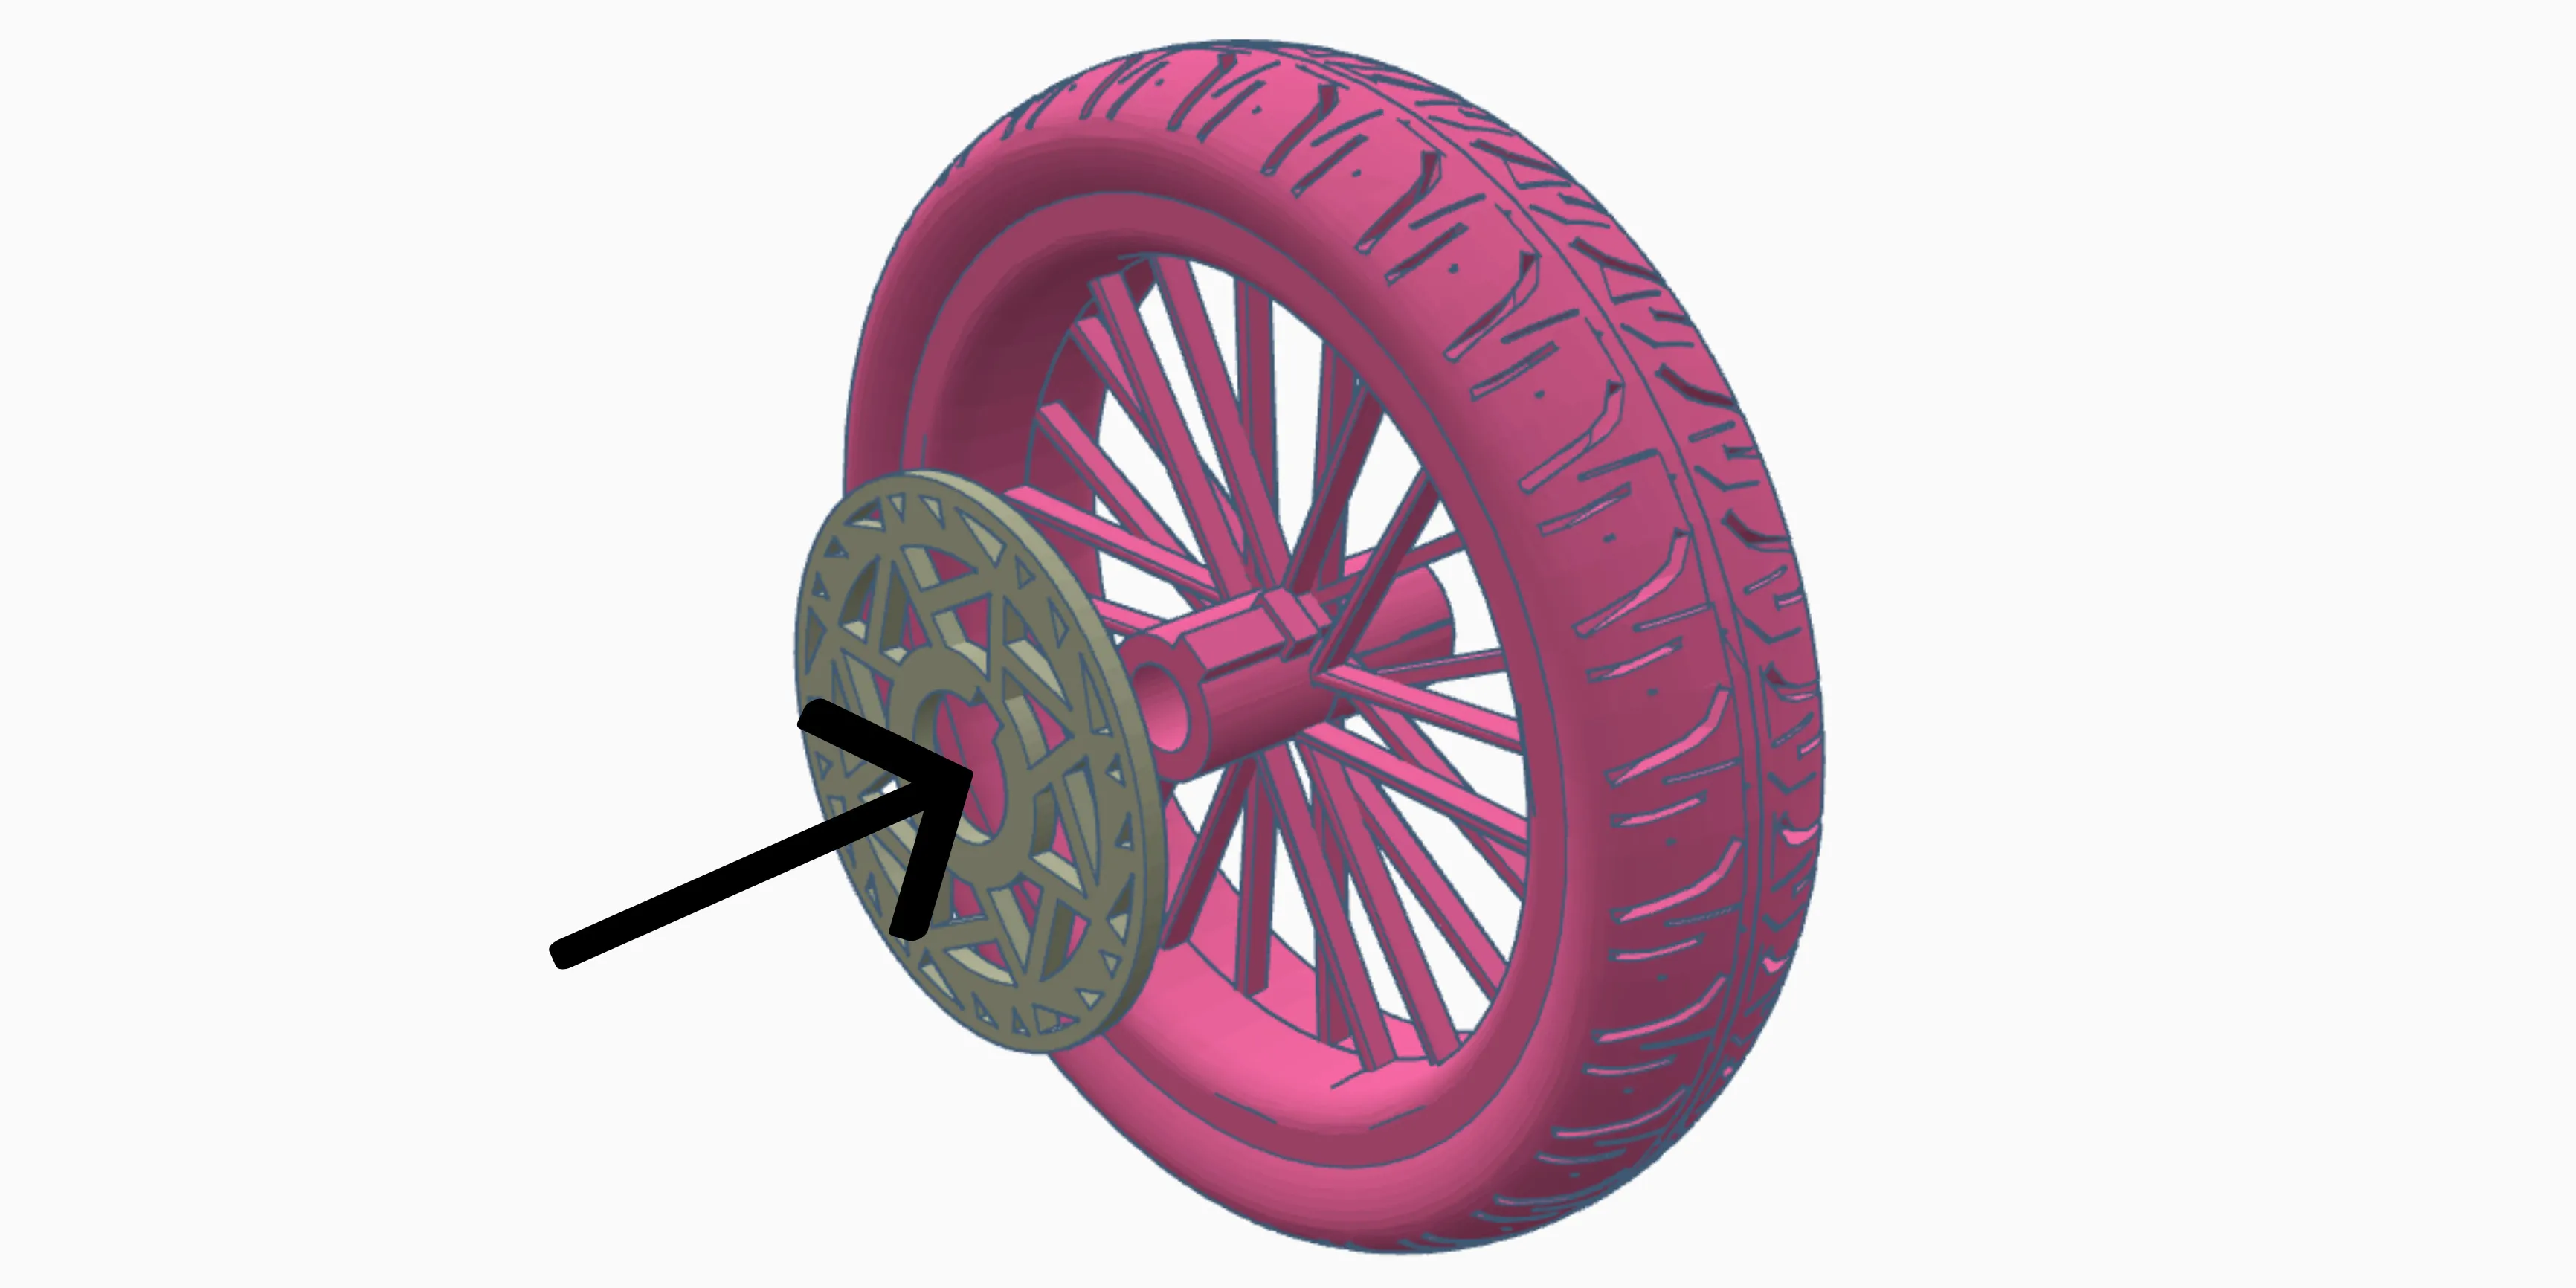
- of the wheel with the keyhole - align keyhole and slide on one of the brake rotors (apply glue if its loose) MAKE SURE YOU PUT IT ON LEFT SIDE OF WHEEL
3. Repeat step 1 for the Rear wheel (try not to mix up both wheels)
FORK ASSY -
4. Slide the fork stanchion into the fork body. ensure orientation is same as picture.
a. (the circular side goes in first from the bottom of the fork body).
b. Slide stanchions back and forth a few times to smooth it out.
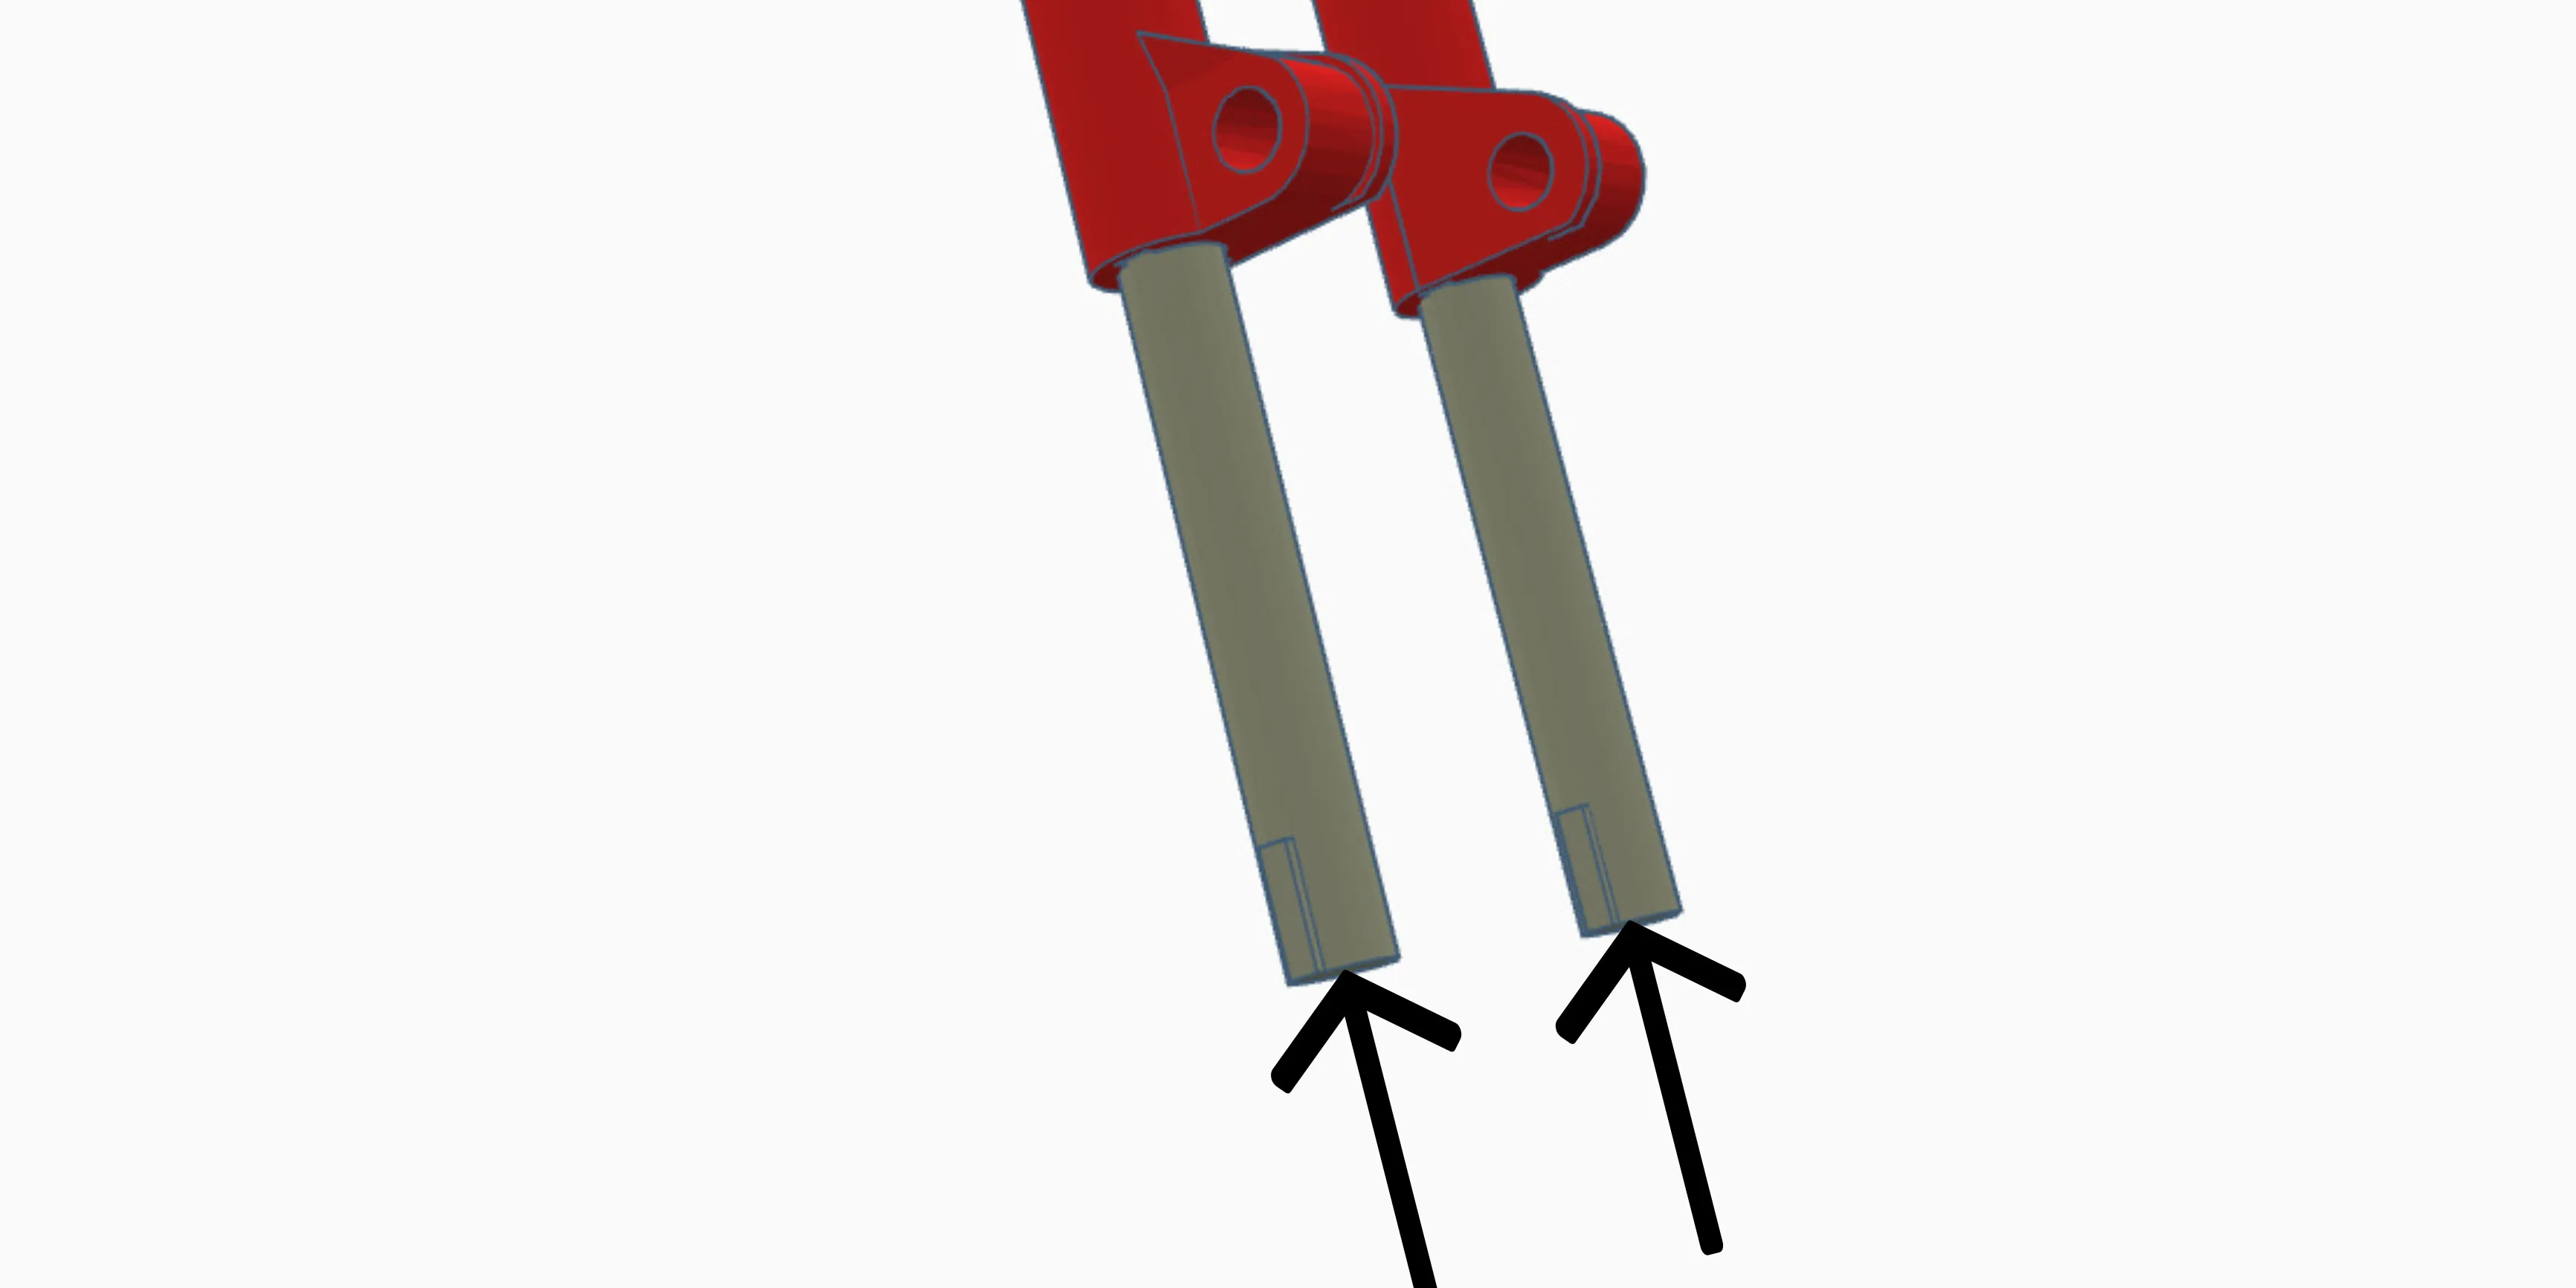
5. Press steerer tube into the stanchions until about 16mm of the stanchion is above the steerer tube (refer to picture) (DONT glue just yet)
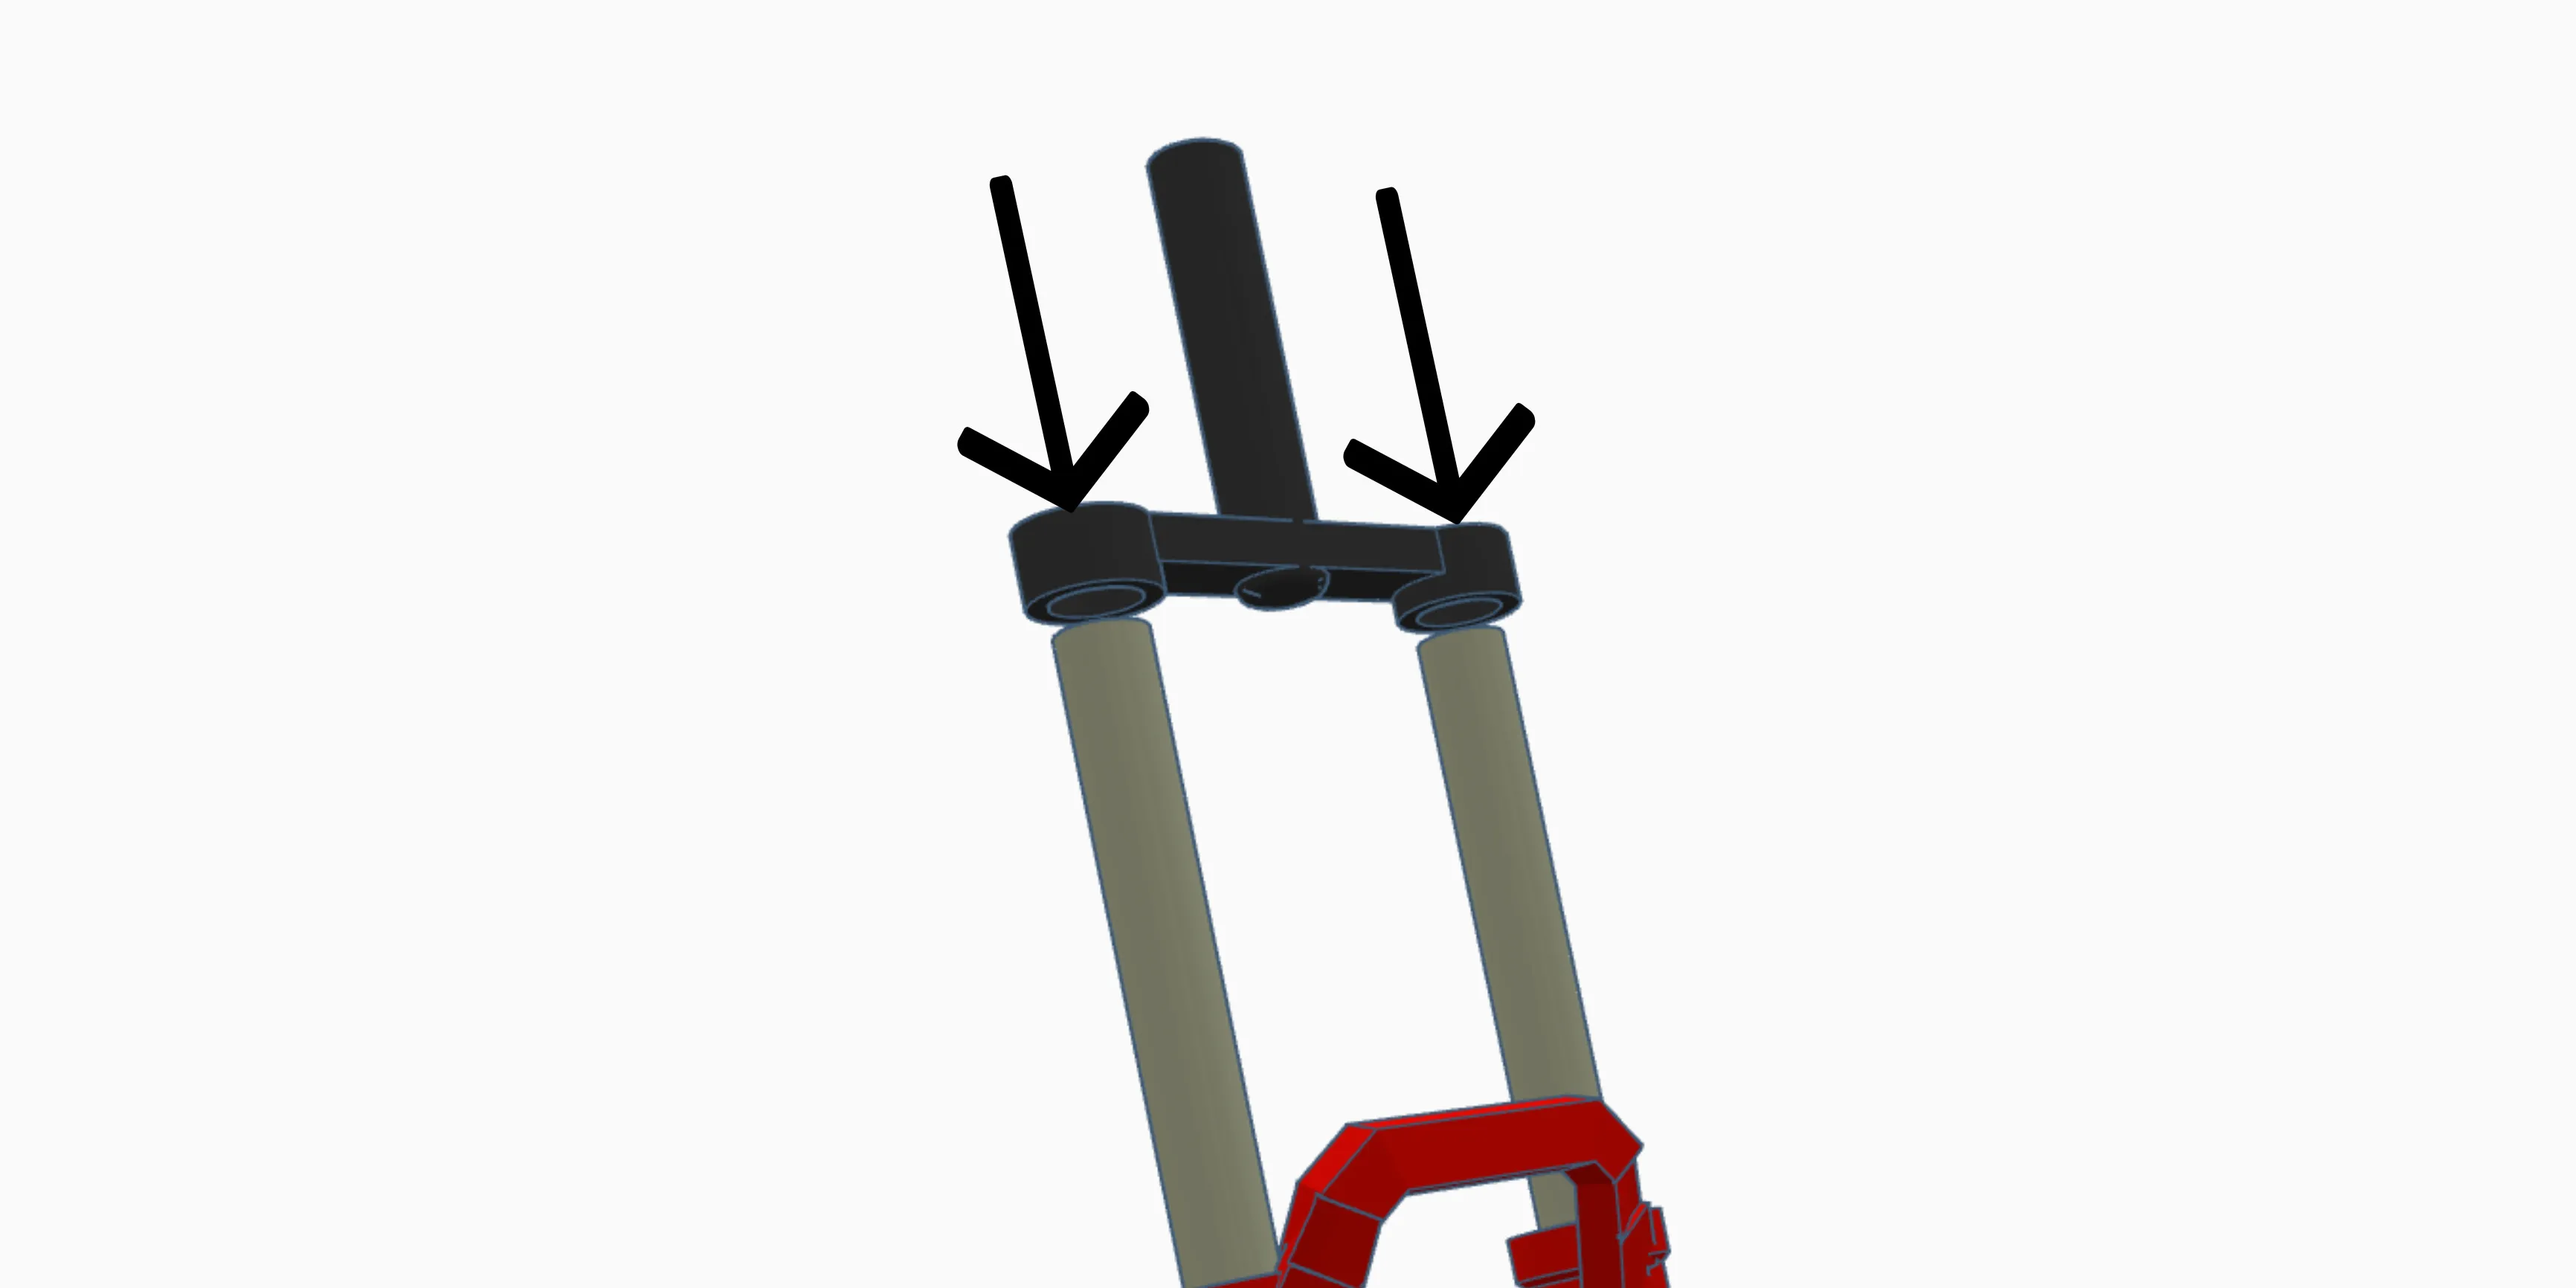
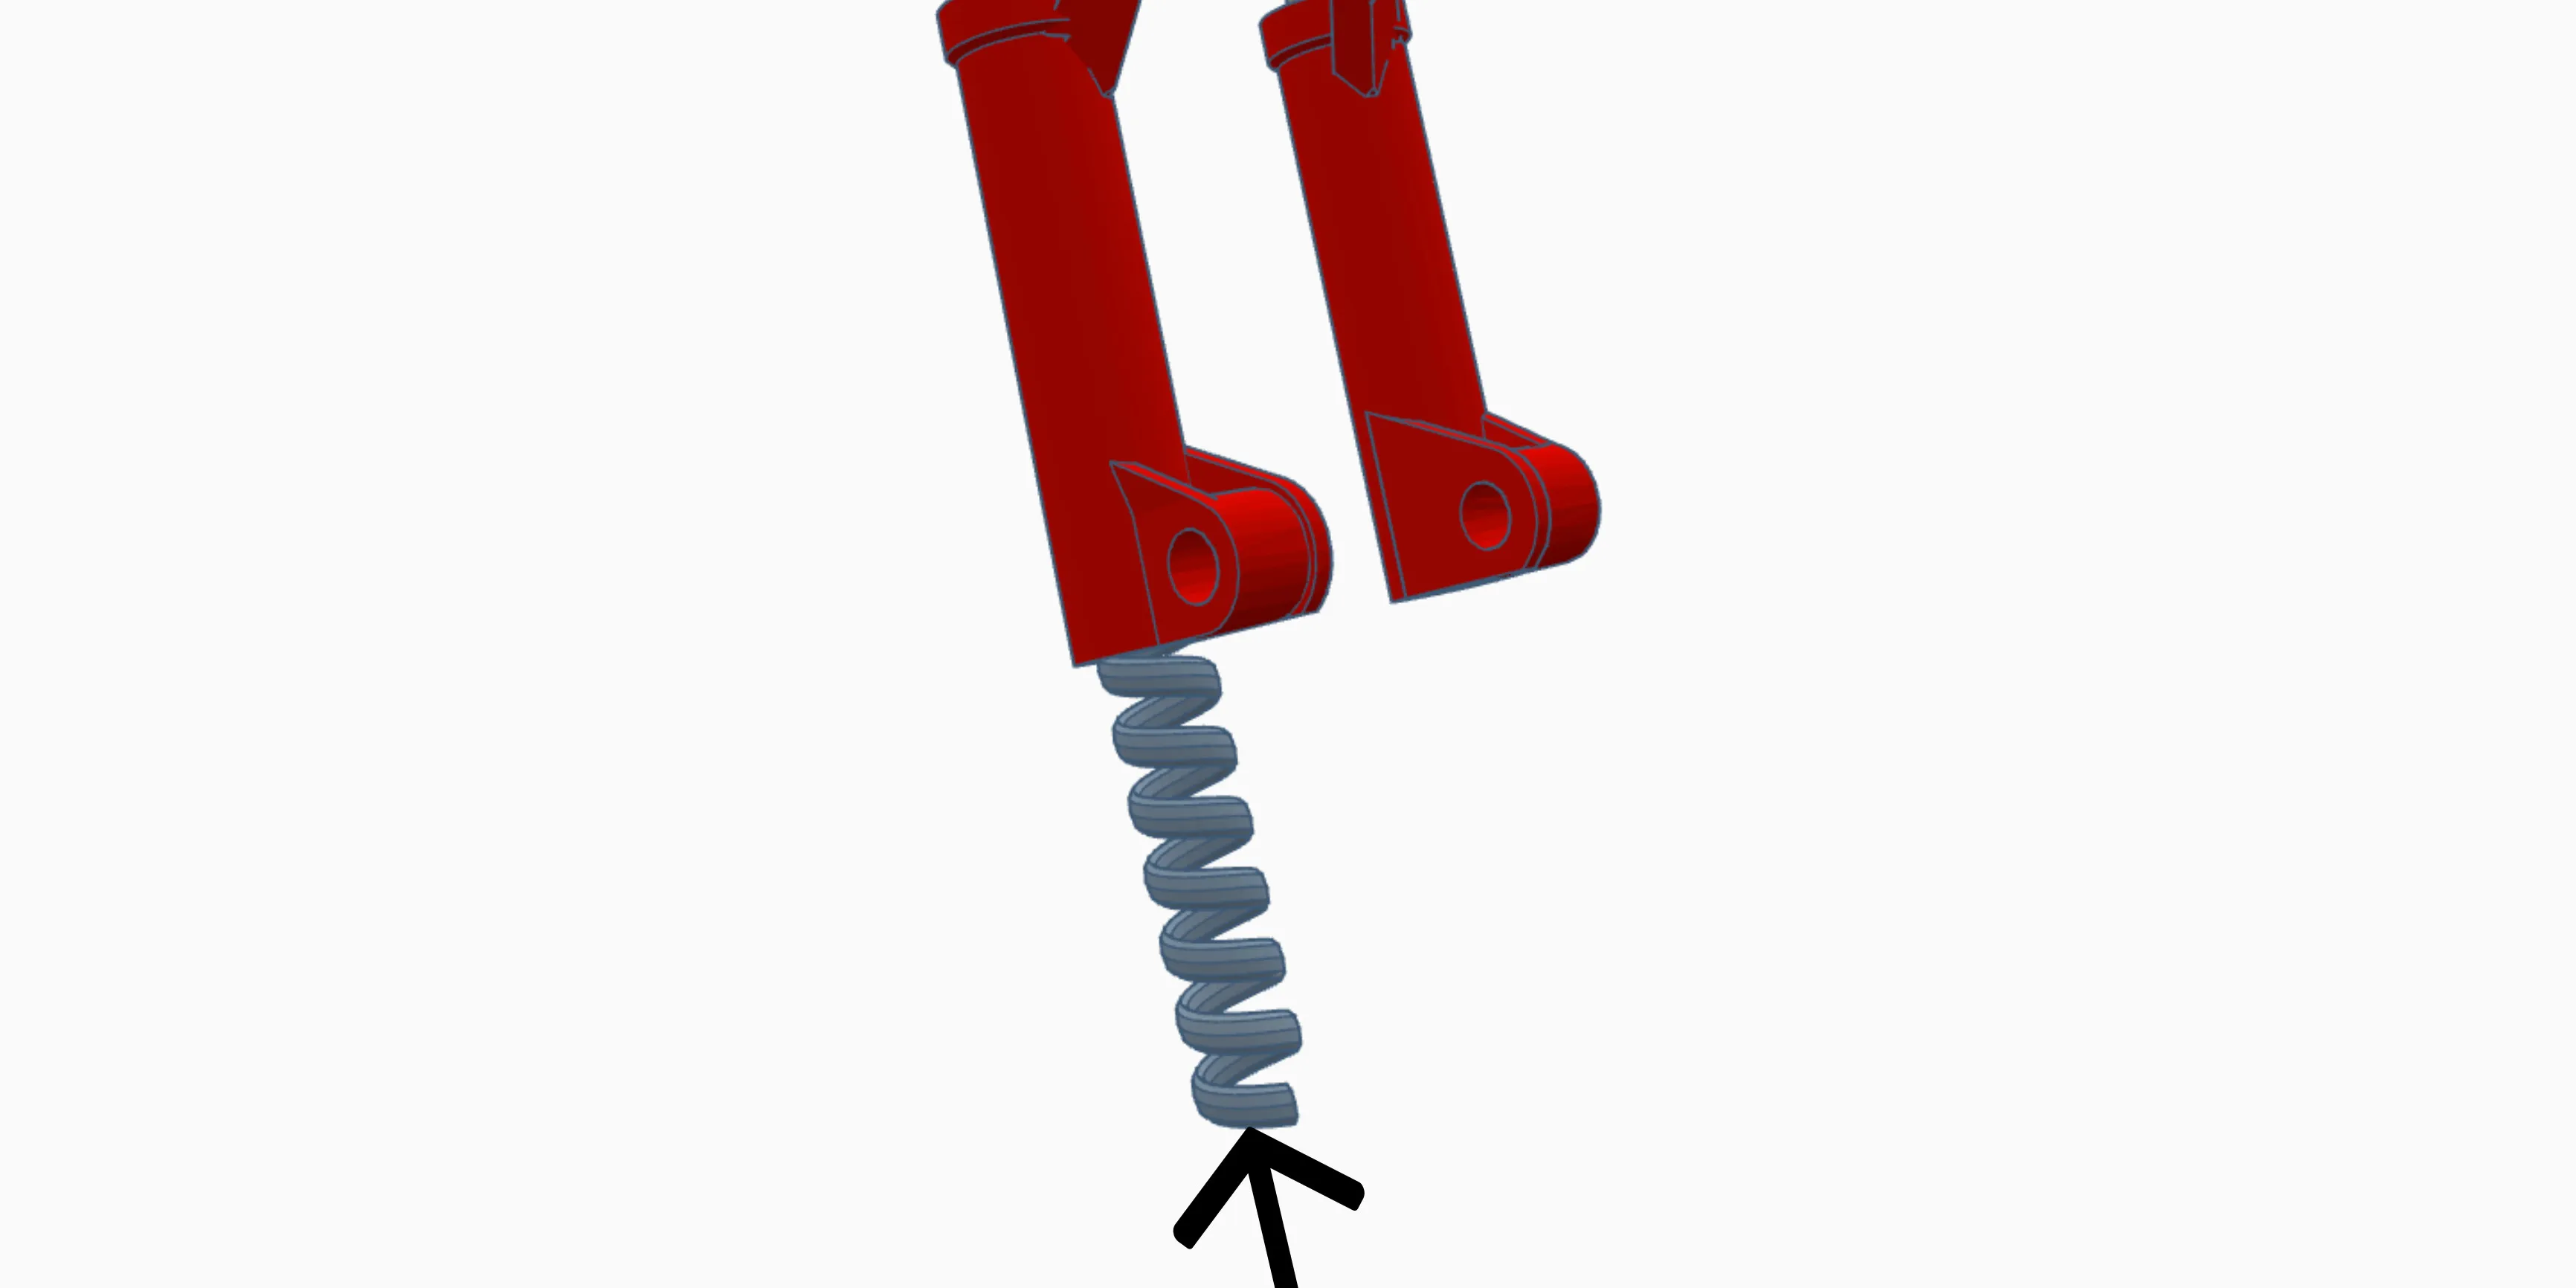
6. Slide a pen spring that fits into any one of the bottom holes in the fork body.
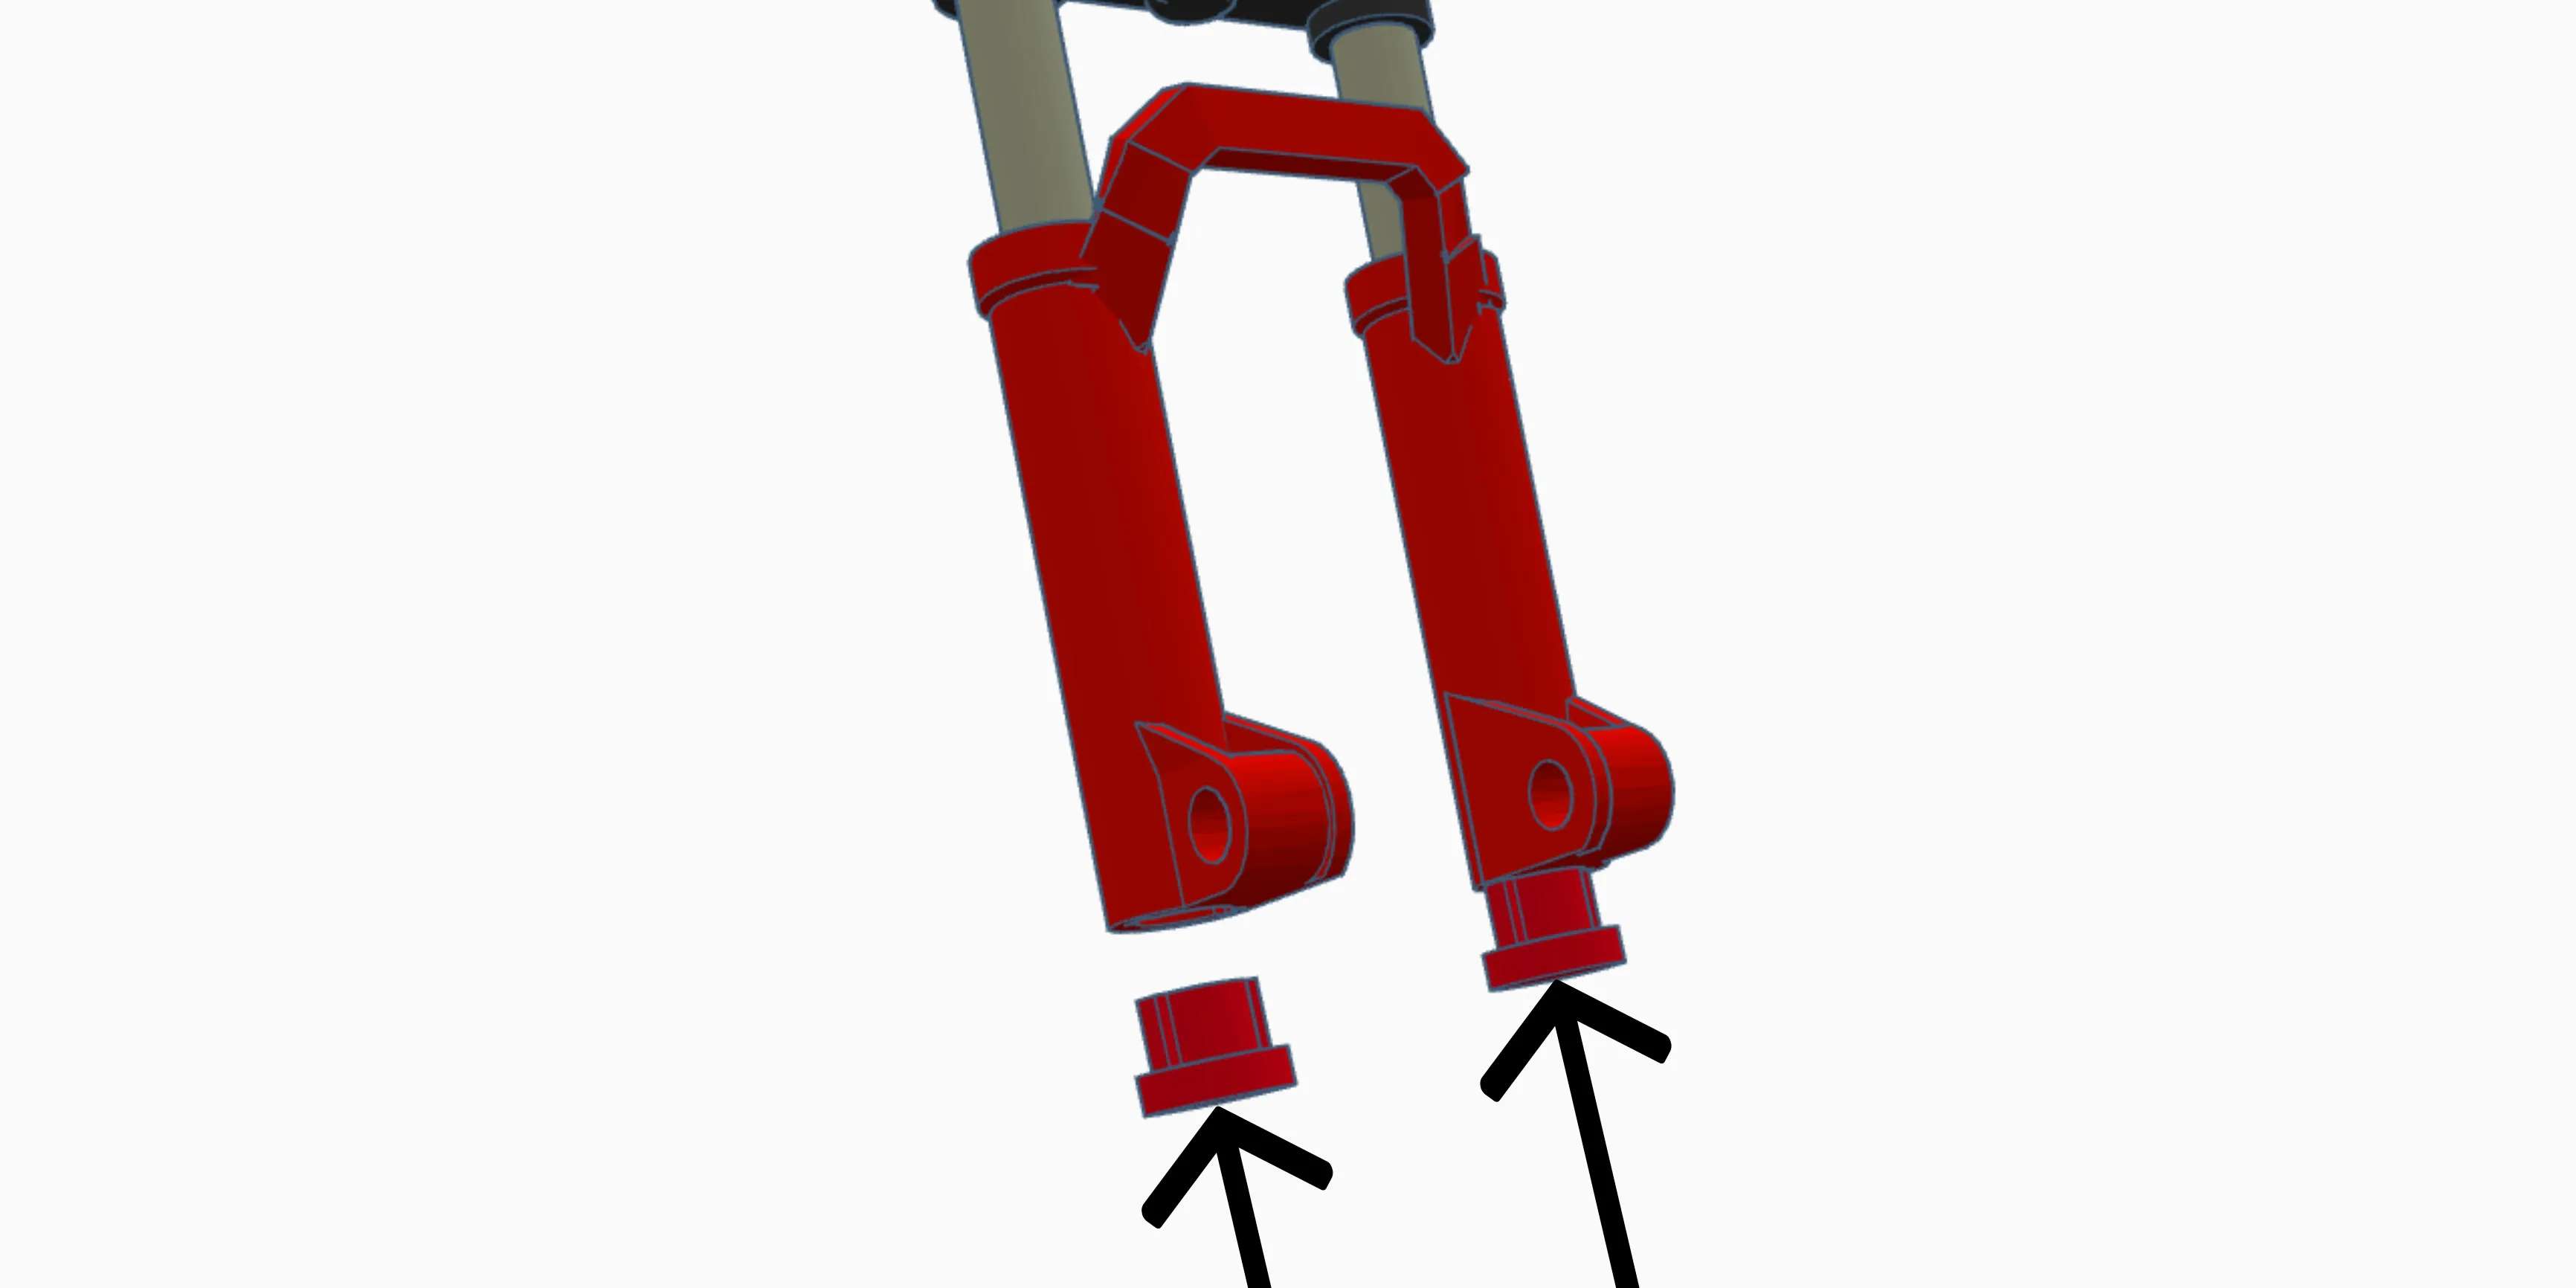
7. Press the fork caps into the bottom of the fork body. (Apply glue here)
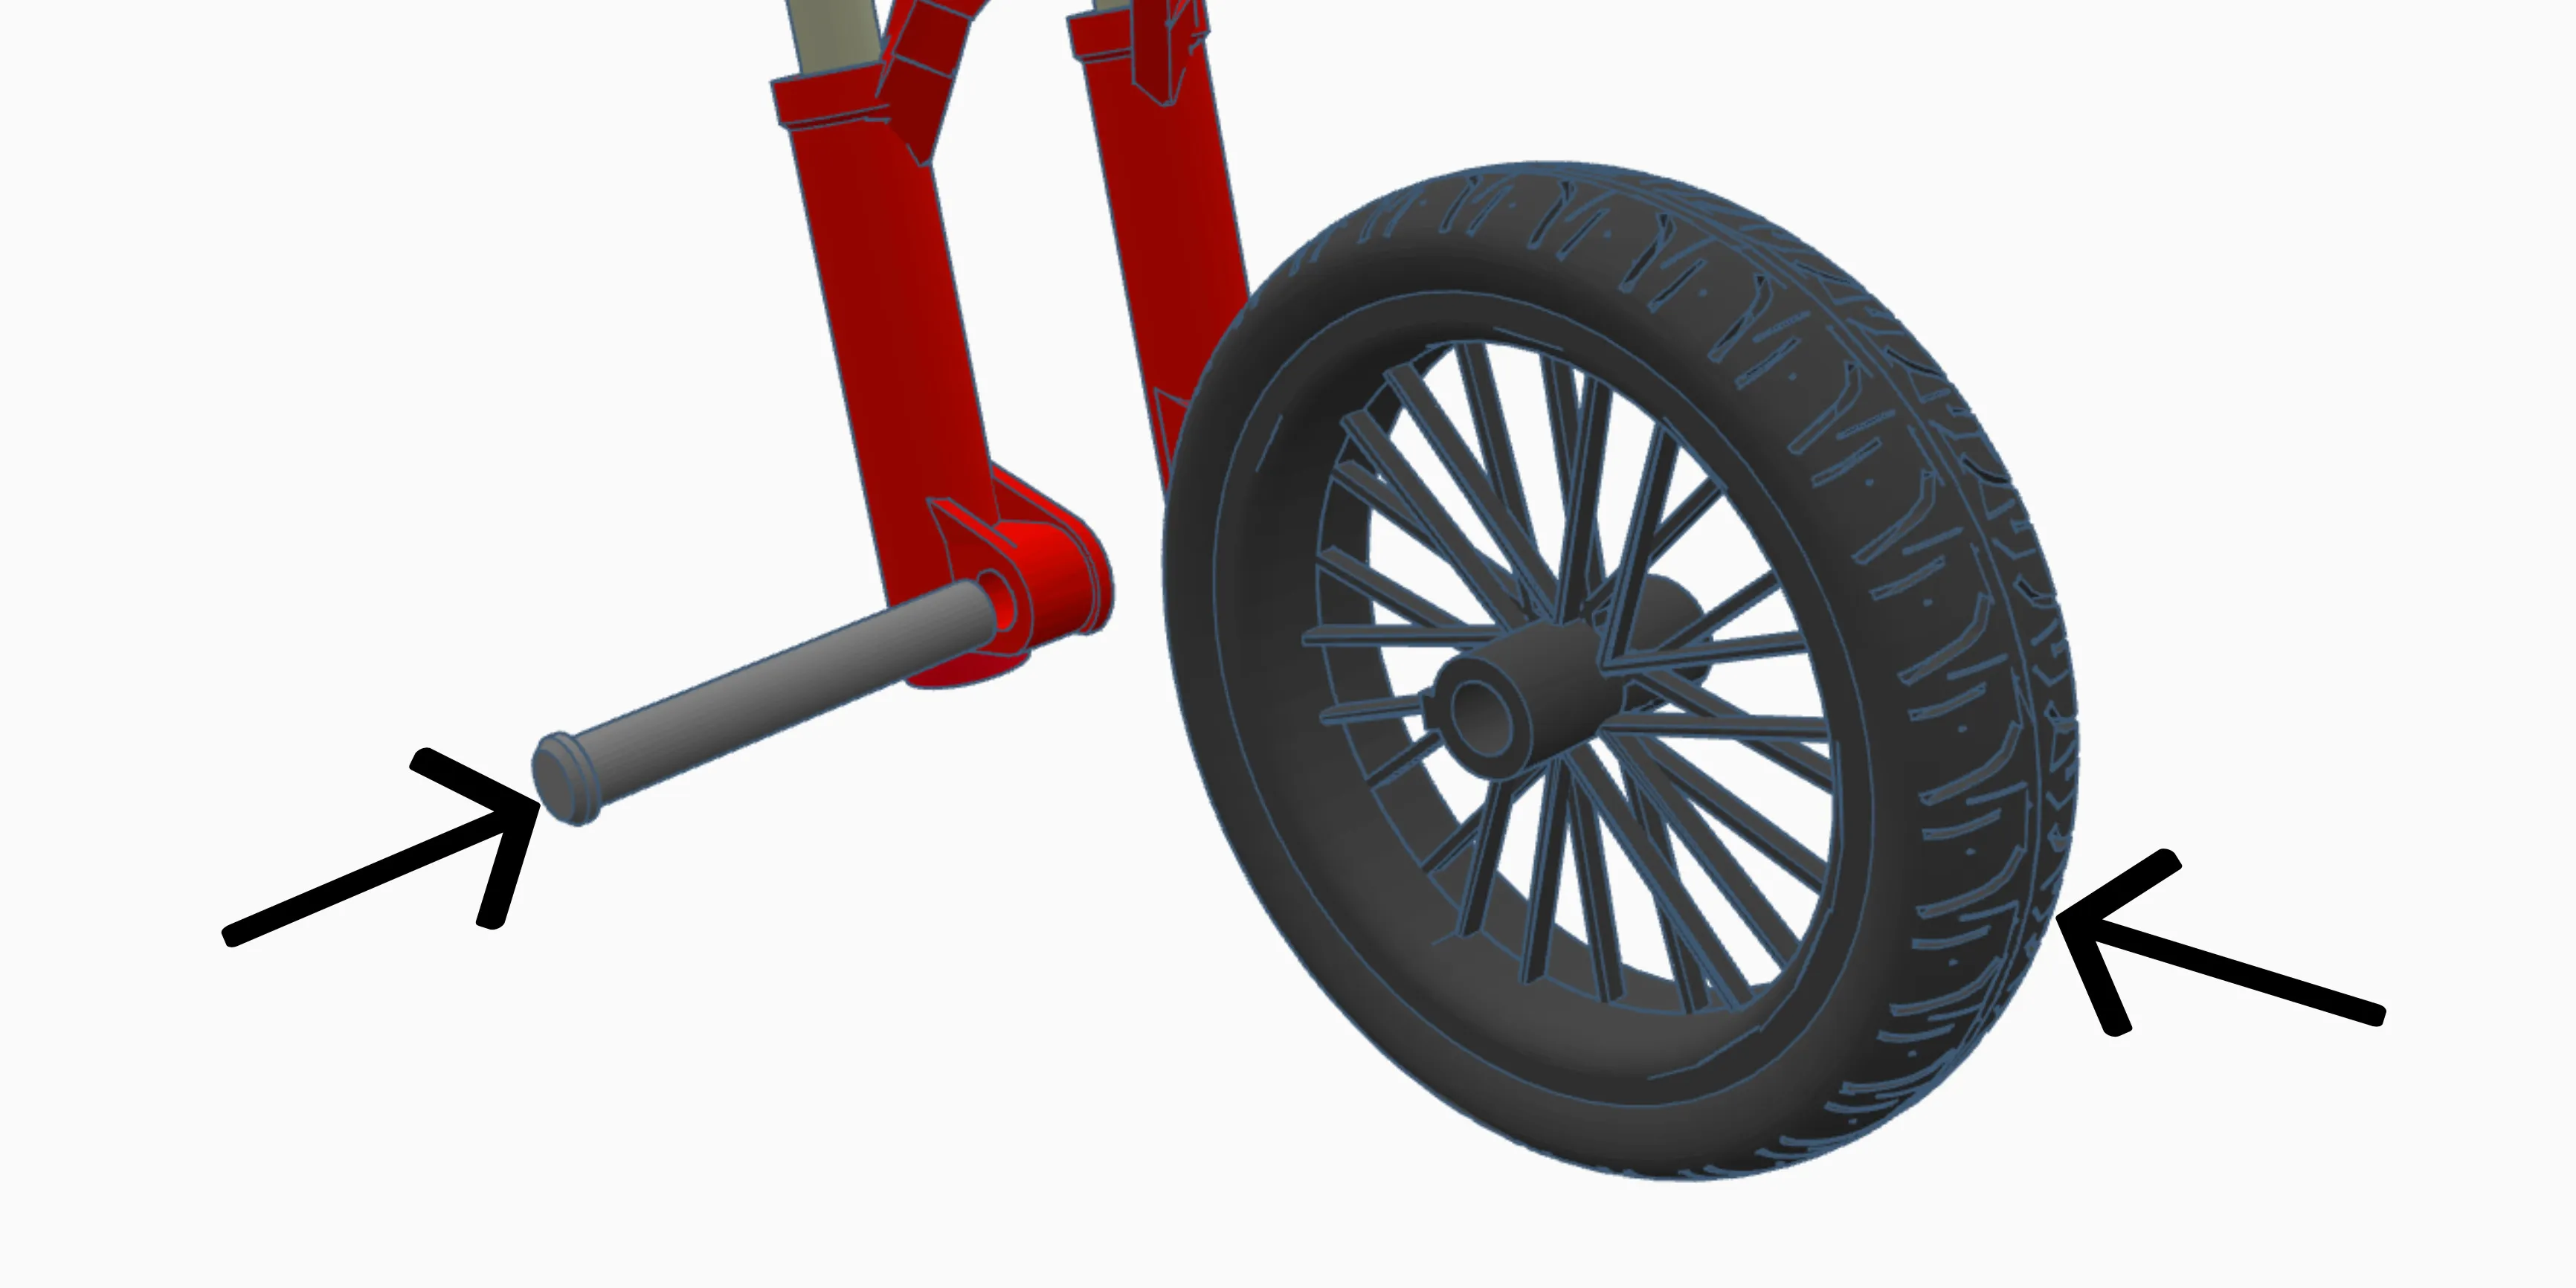
8. Slide your FRONT wheel (The one without the Hub Motor.) in-between the fork bodies - secure wheel by sliding in front axle into place. (The shorter axle.). then set aside (ensure the front wheel is oriented such that the brake disc is on the left side of the bike)
Bars ASSY -
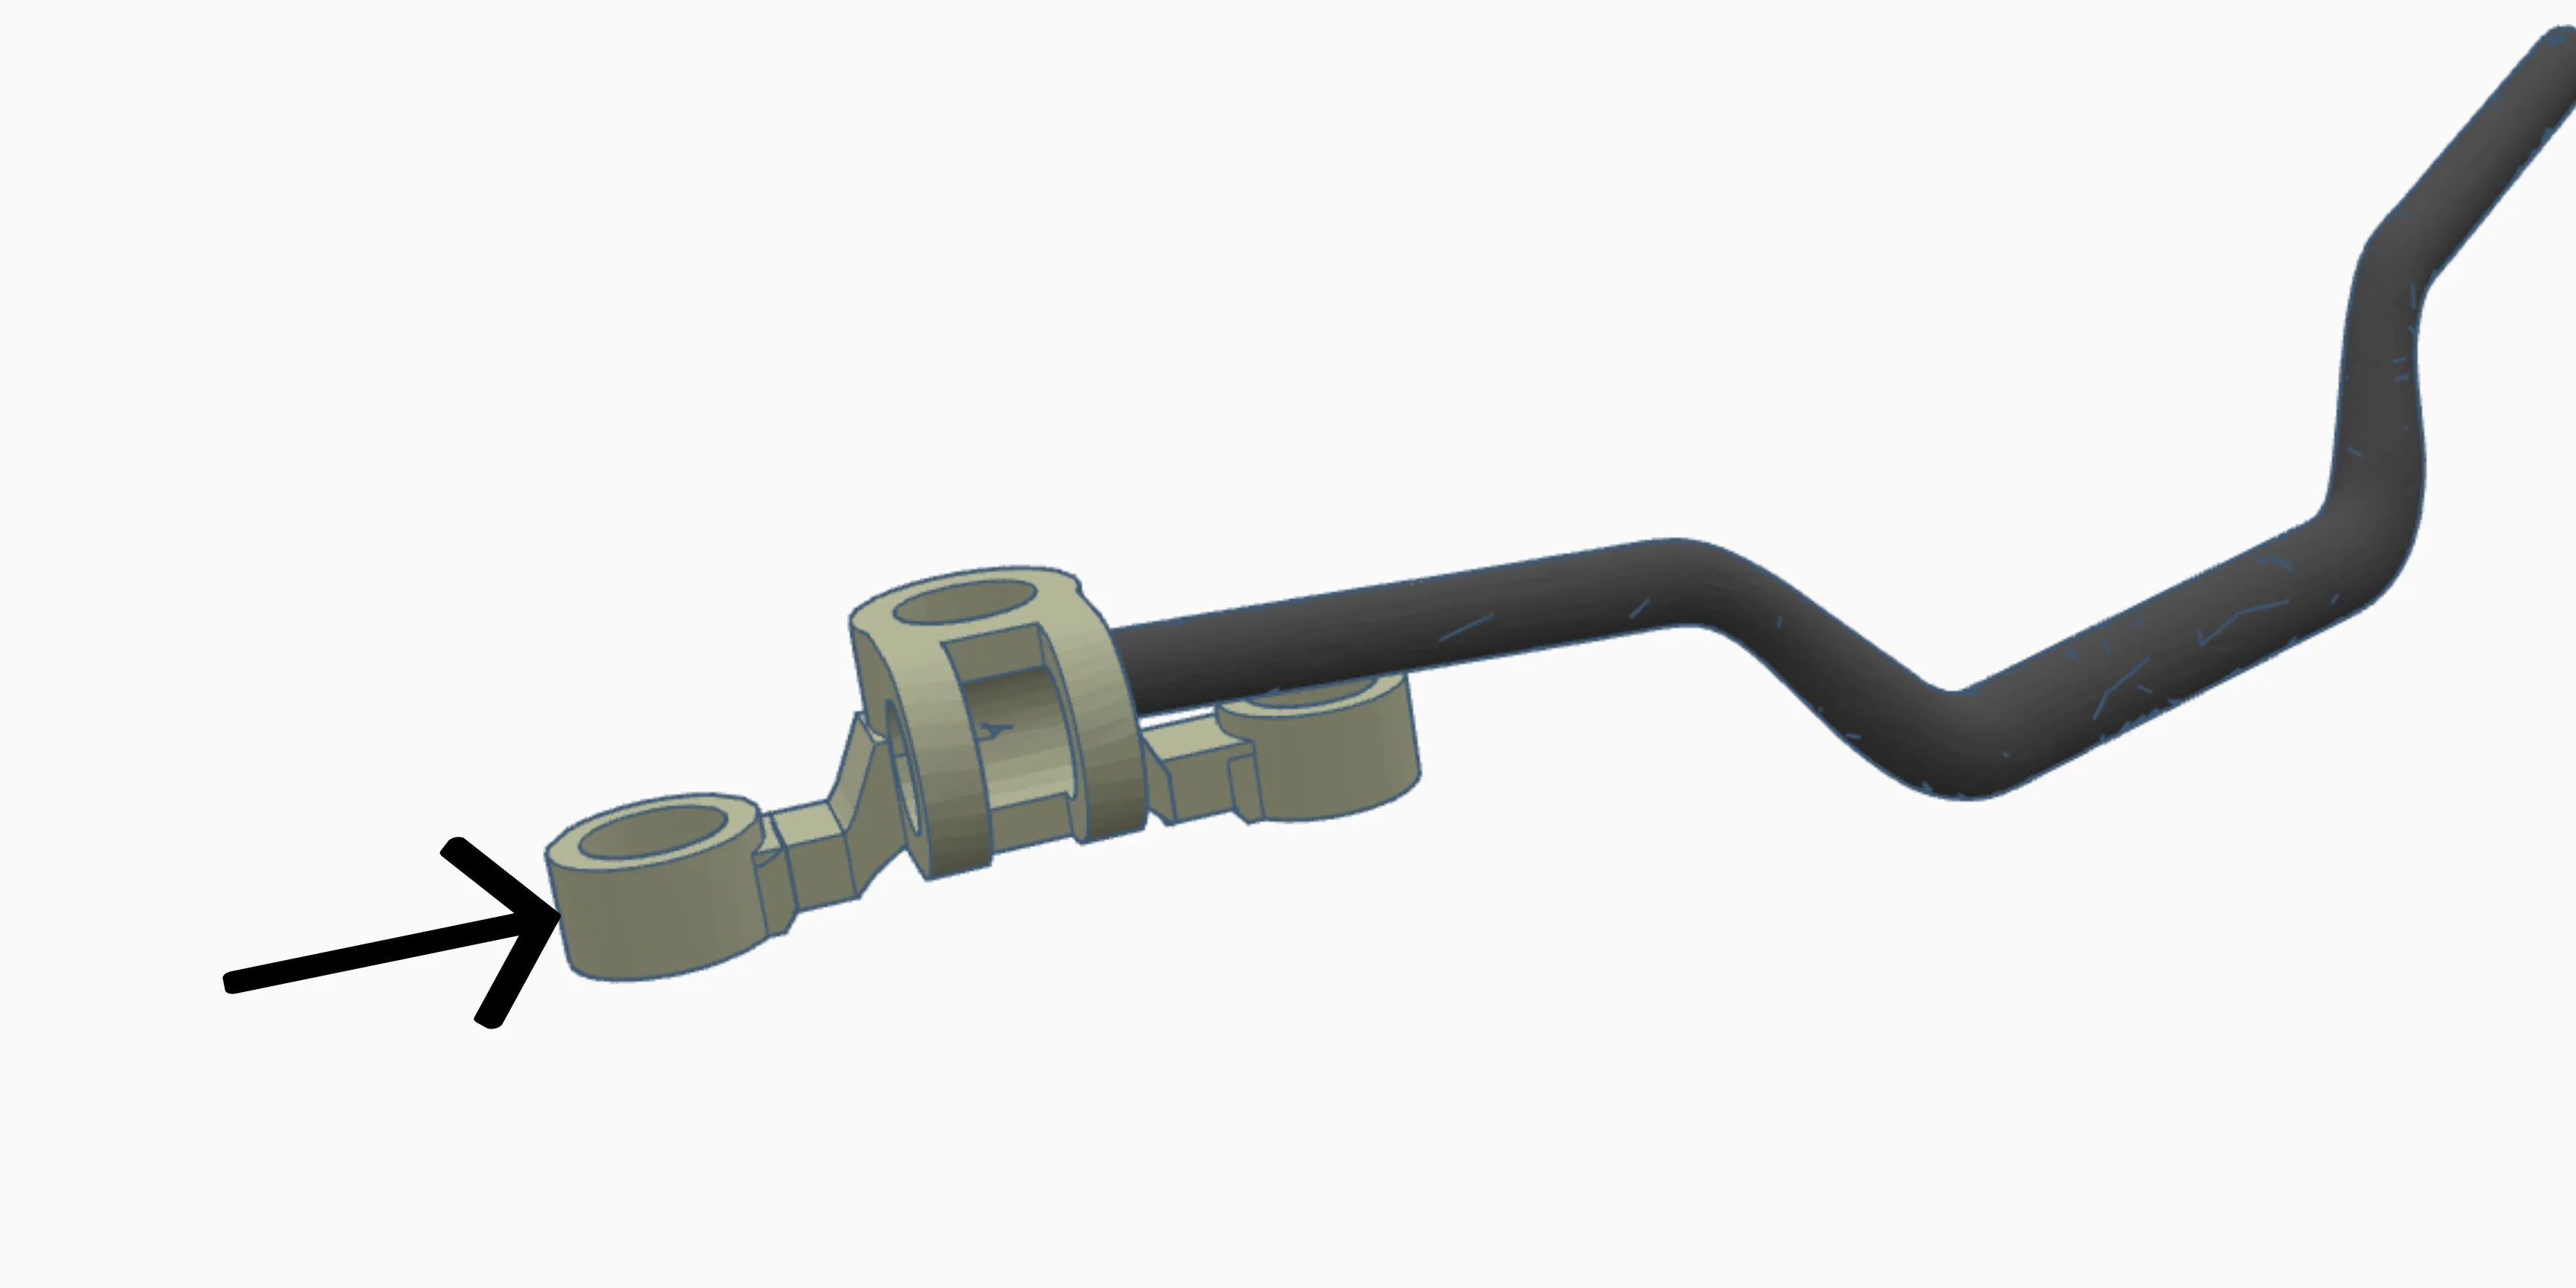
9. Slide stem through handlebar till it is in the center of the handlebar. (secure with glue once centered on handlebar)
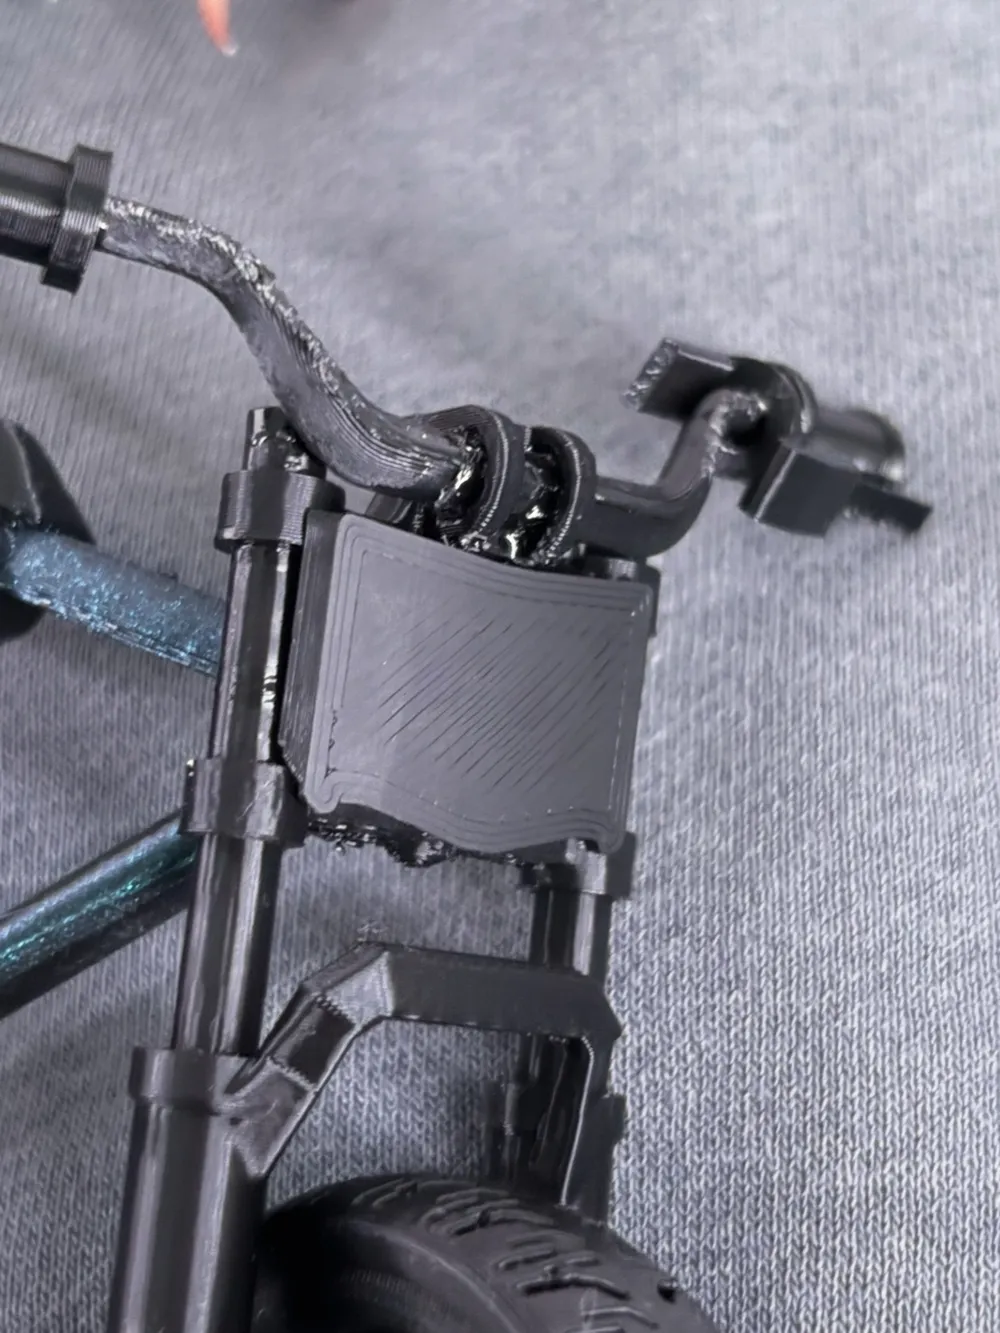
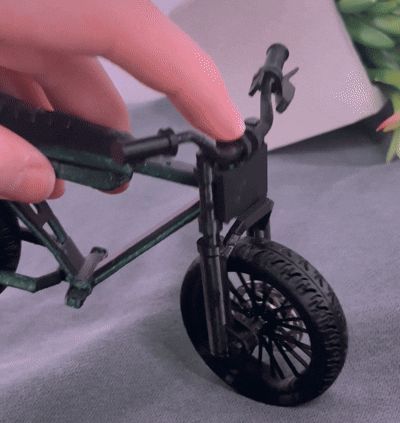
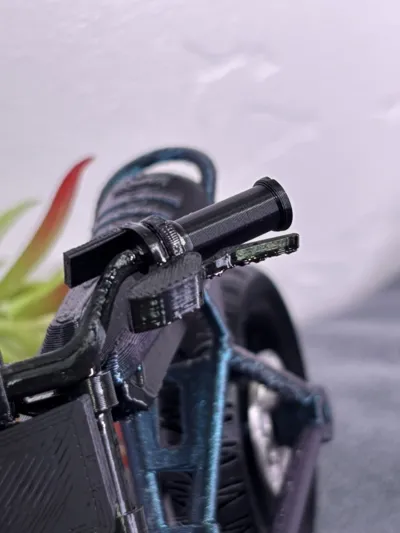
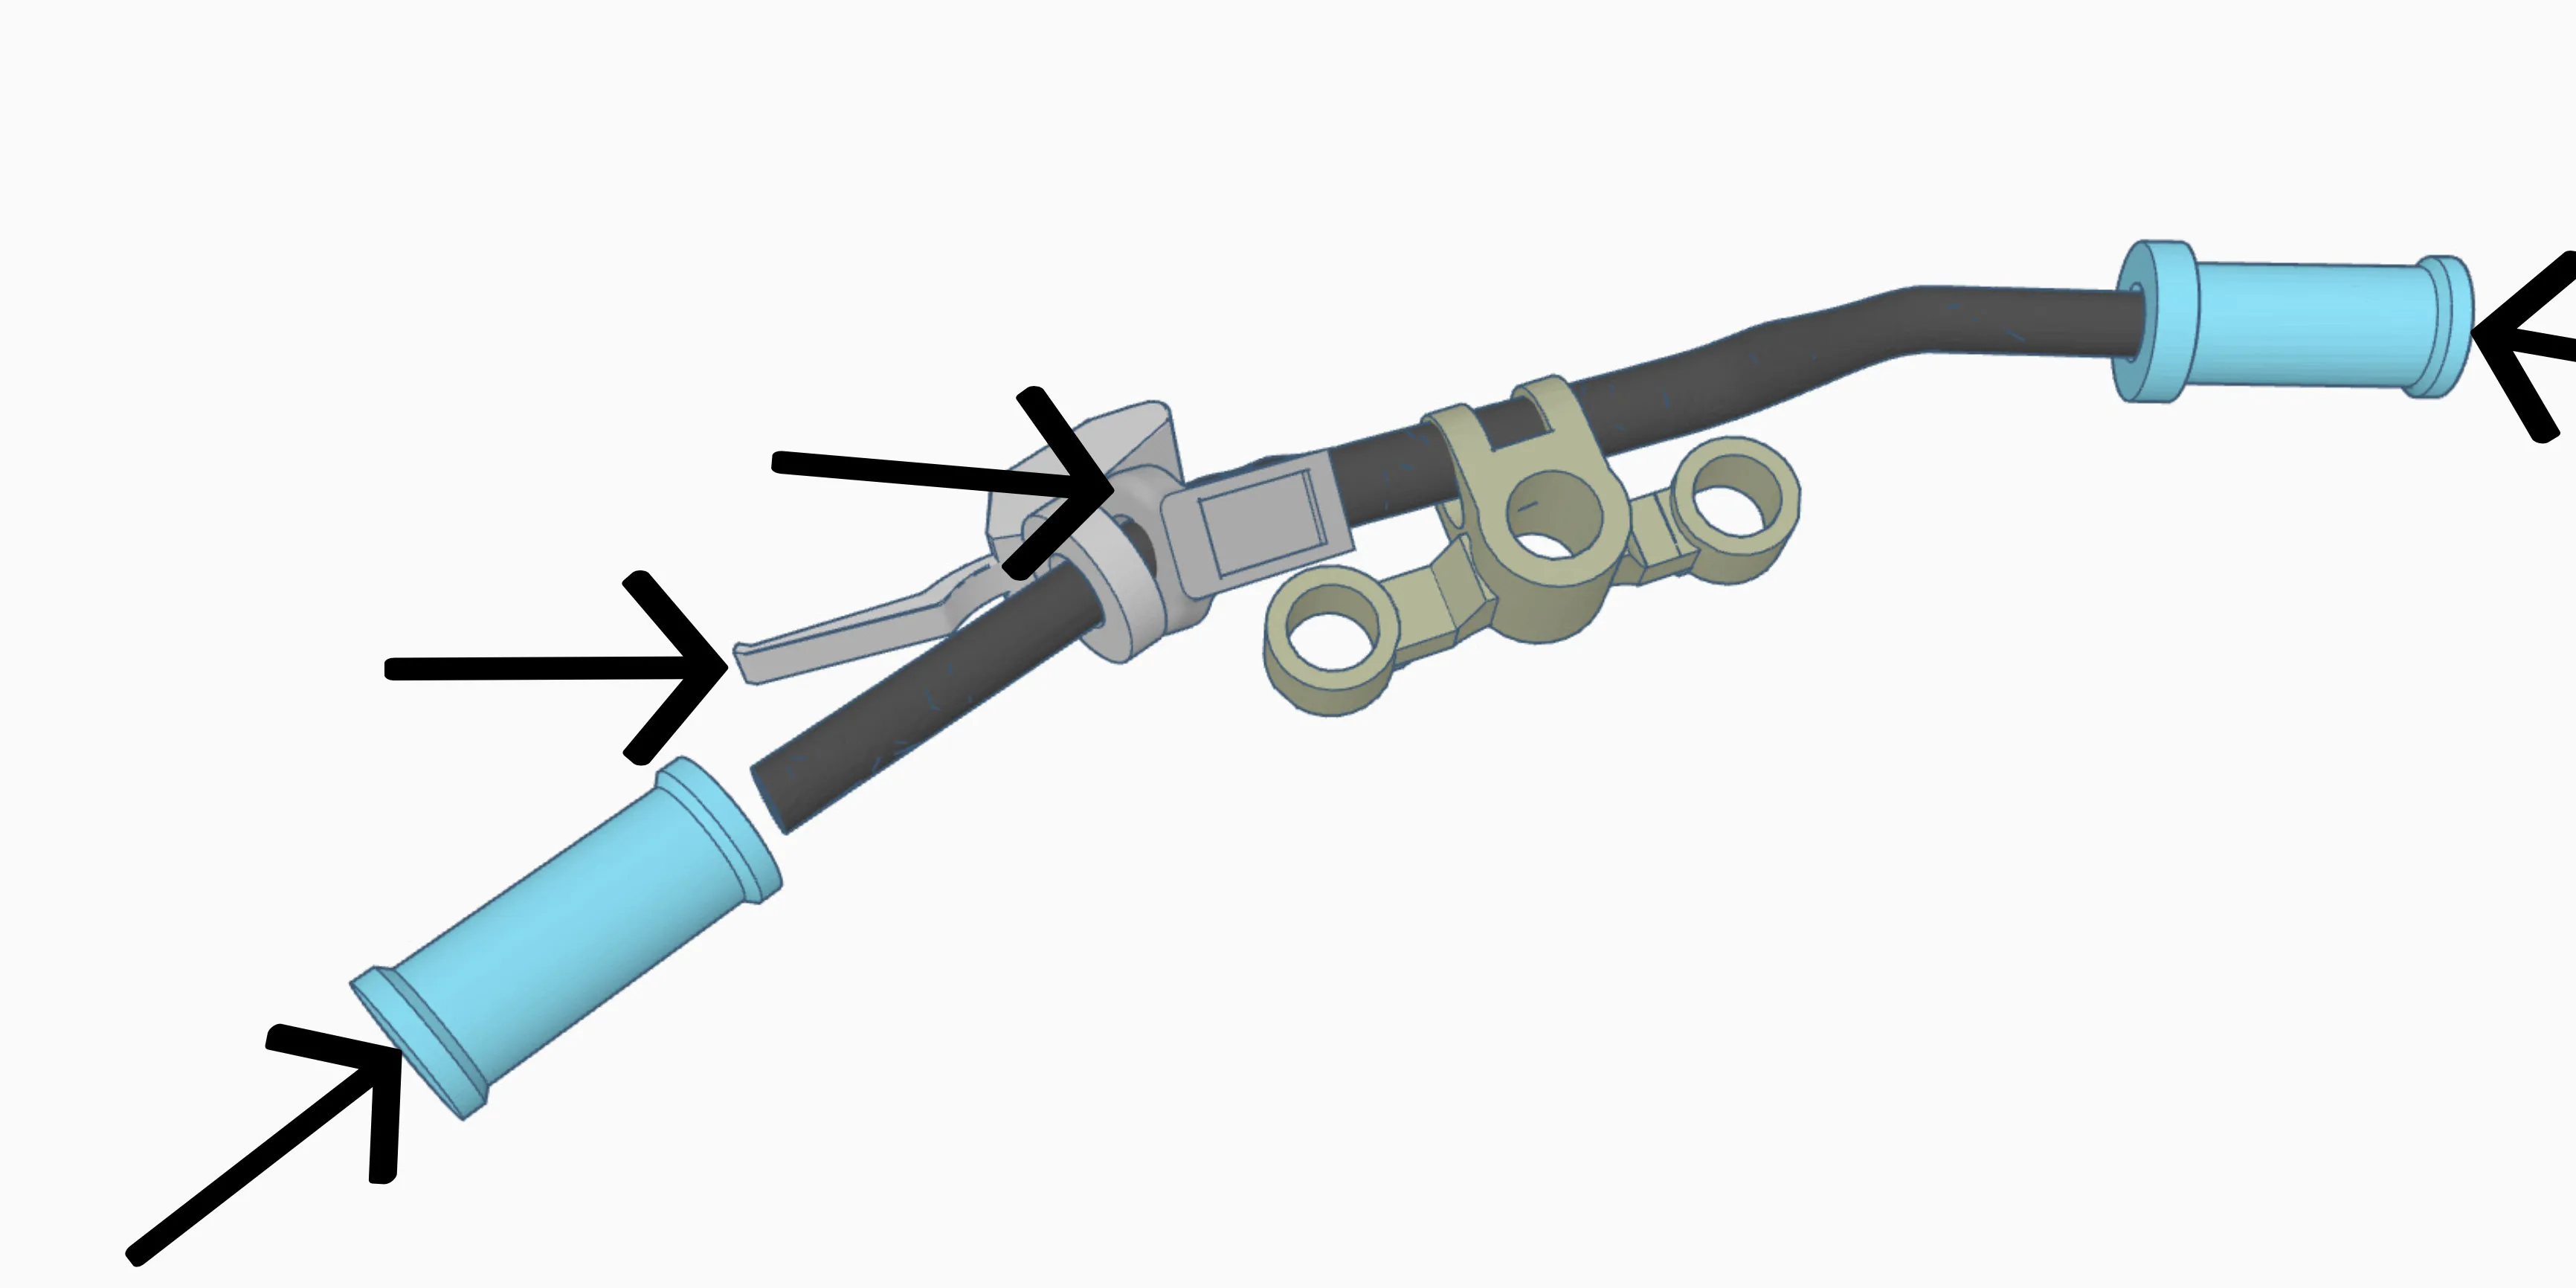
10. Slide on brake(s) - then grips. repeat on other side - on left side make sure to slide display on - then brake - then grip (refer to picture below) (secure with glue) (I wanted to only to rear brake in photo (Left side brake) but you can do BOTH)
Body/Frame ASSY -
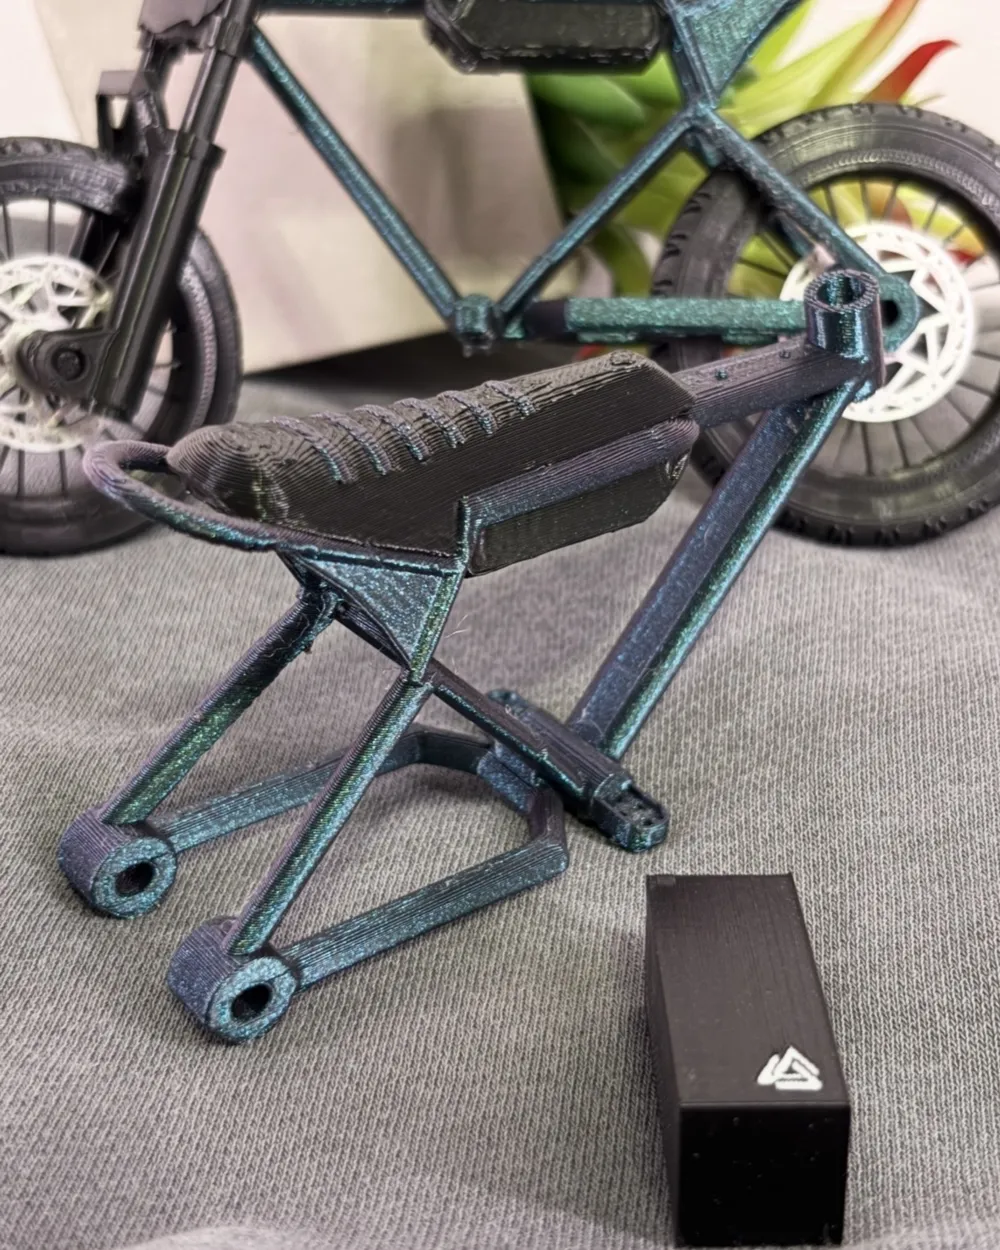
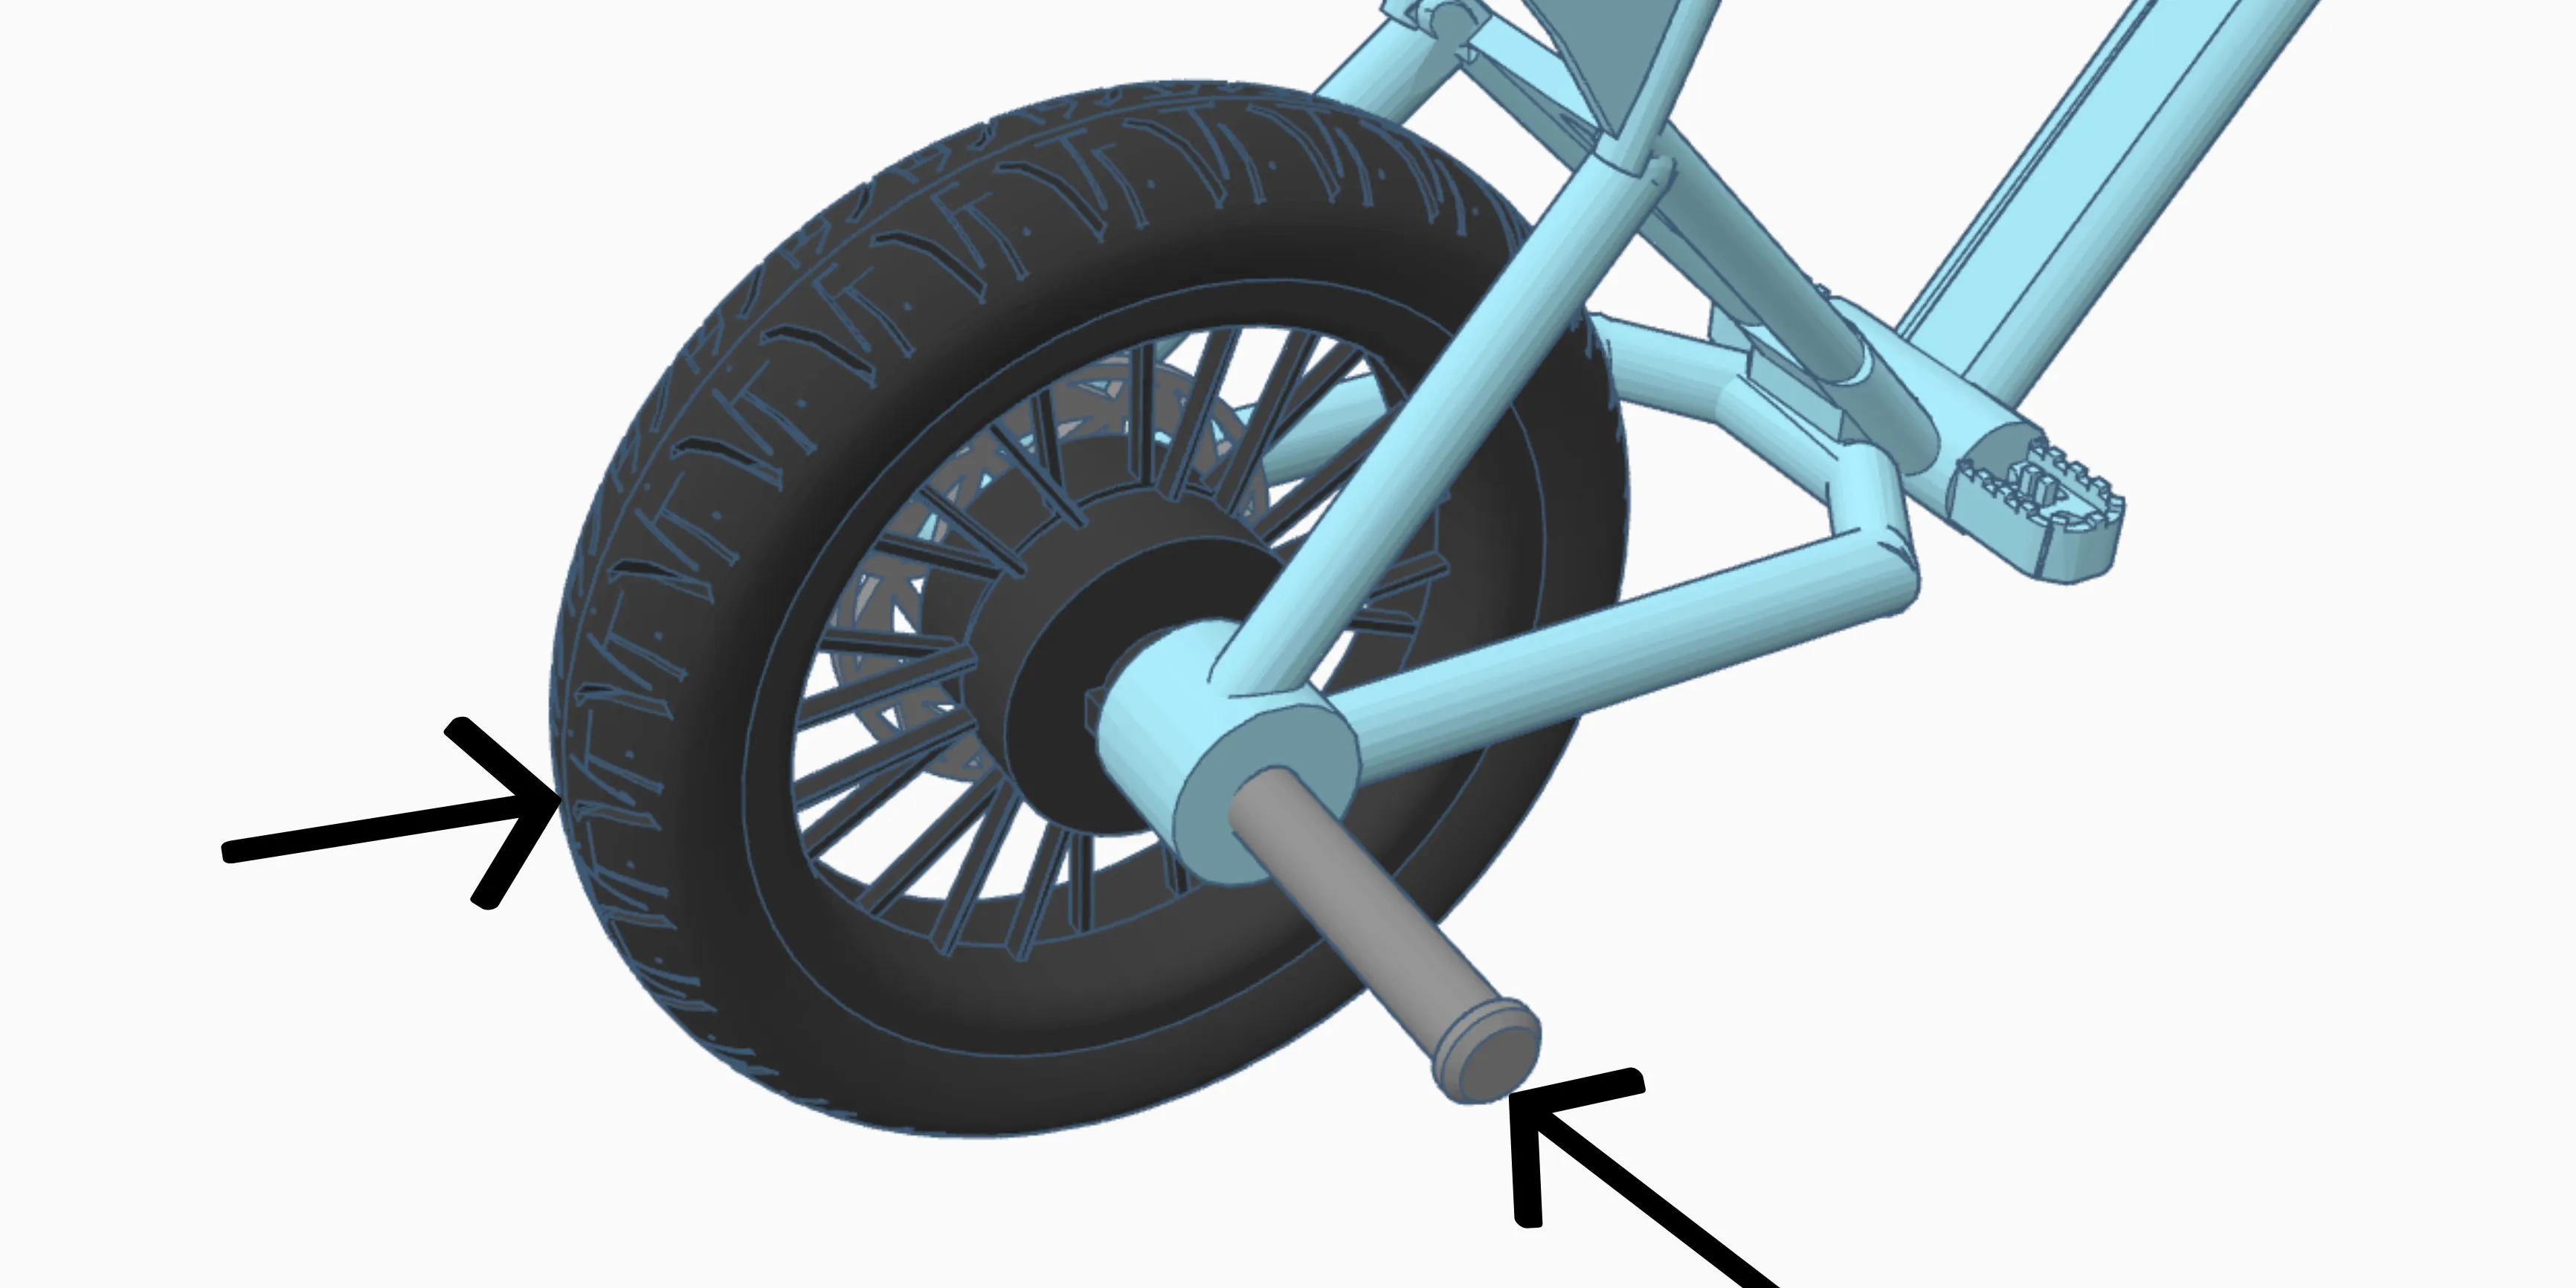
11. Slide the whole rear wheel into place and secure with the rear axle. (ensure that the Brake disc is on the left!)
12. Slide in the front assembly we made earlier through the steerer tube on the main frame. - hold in place
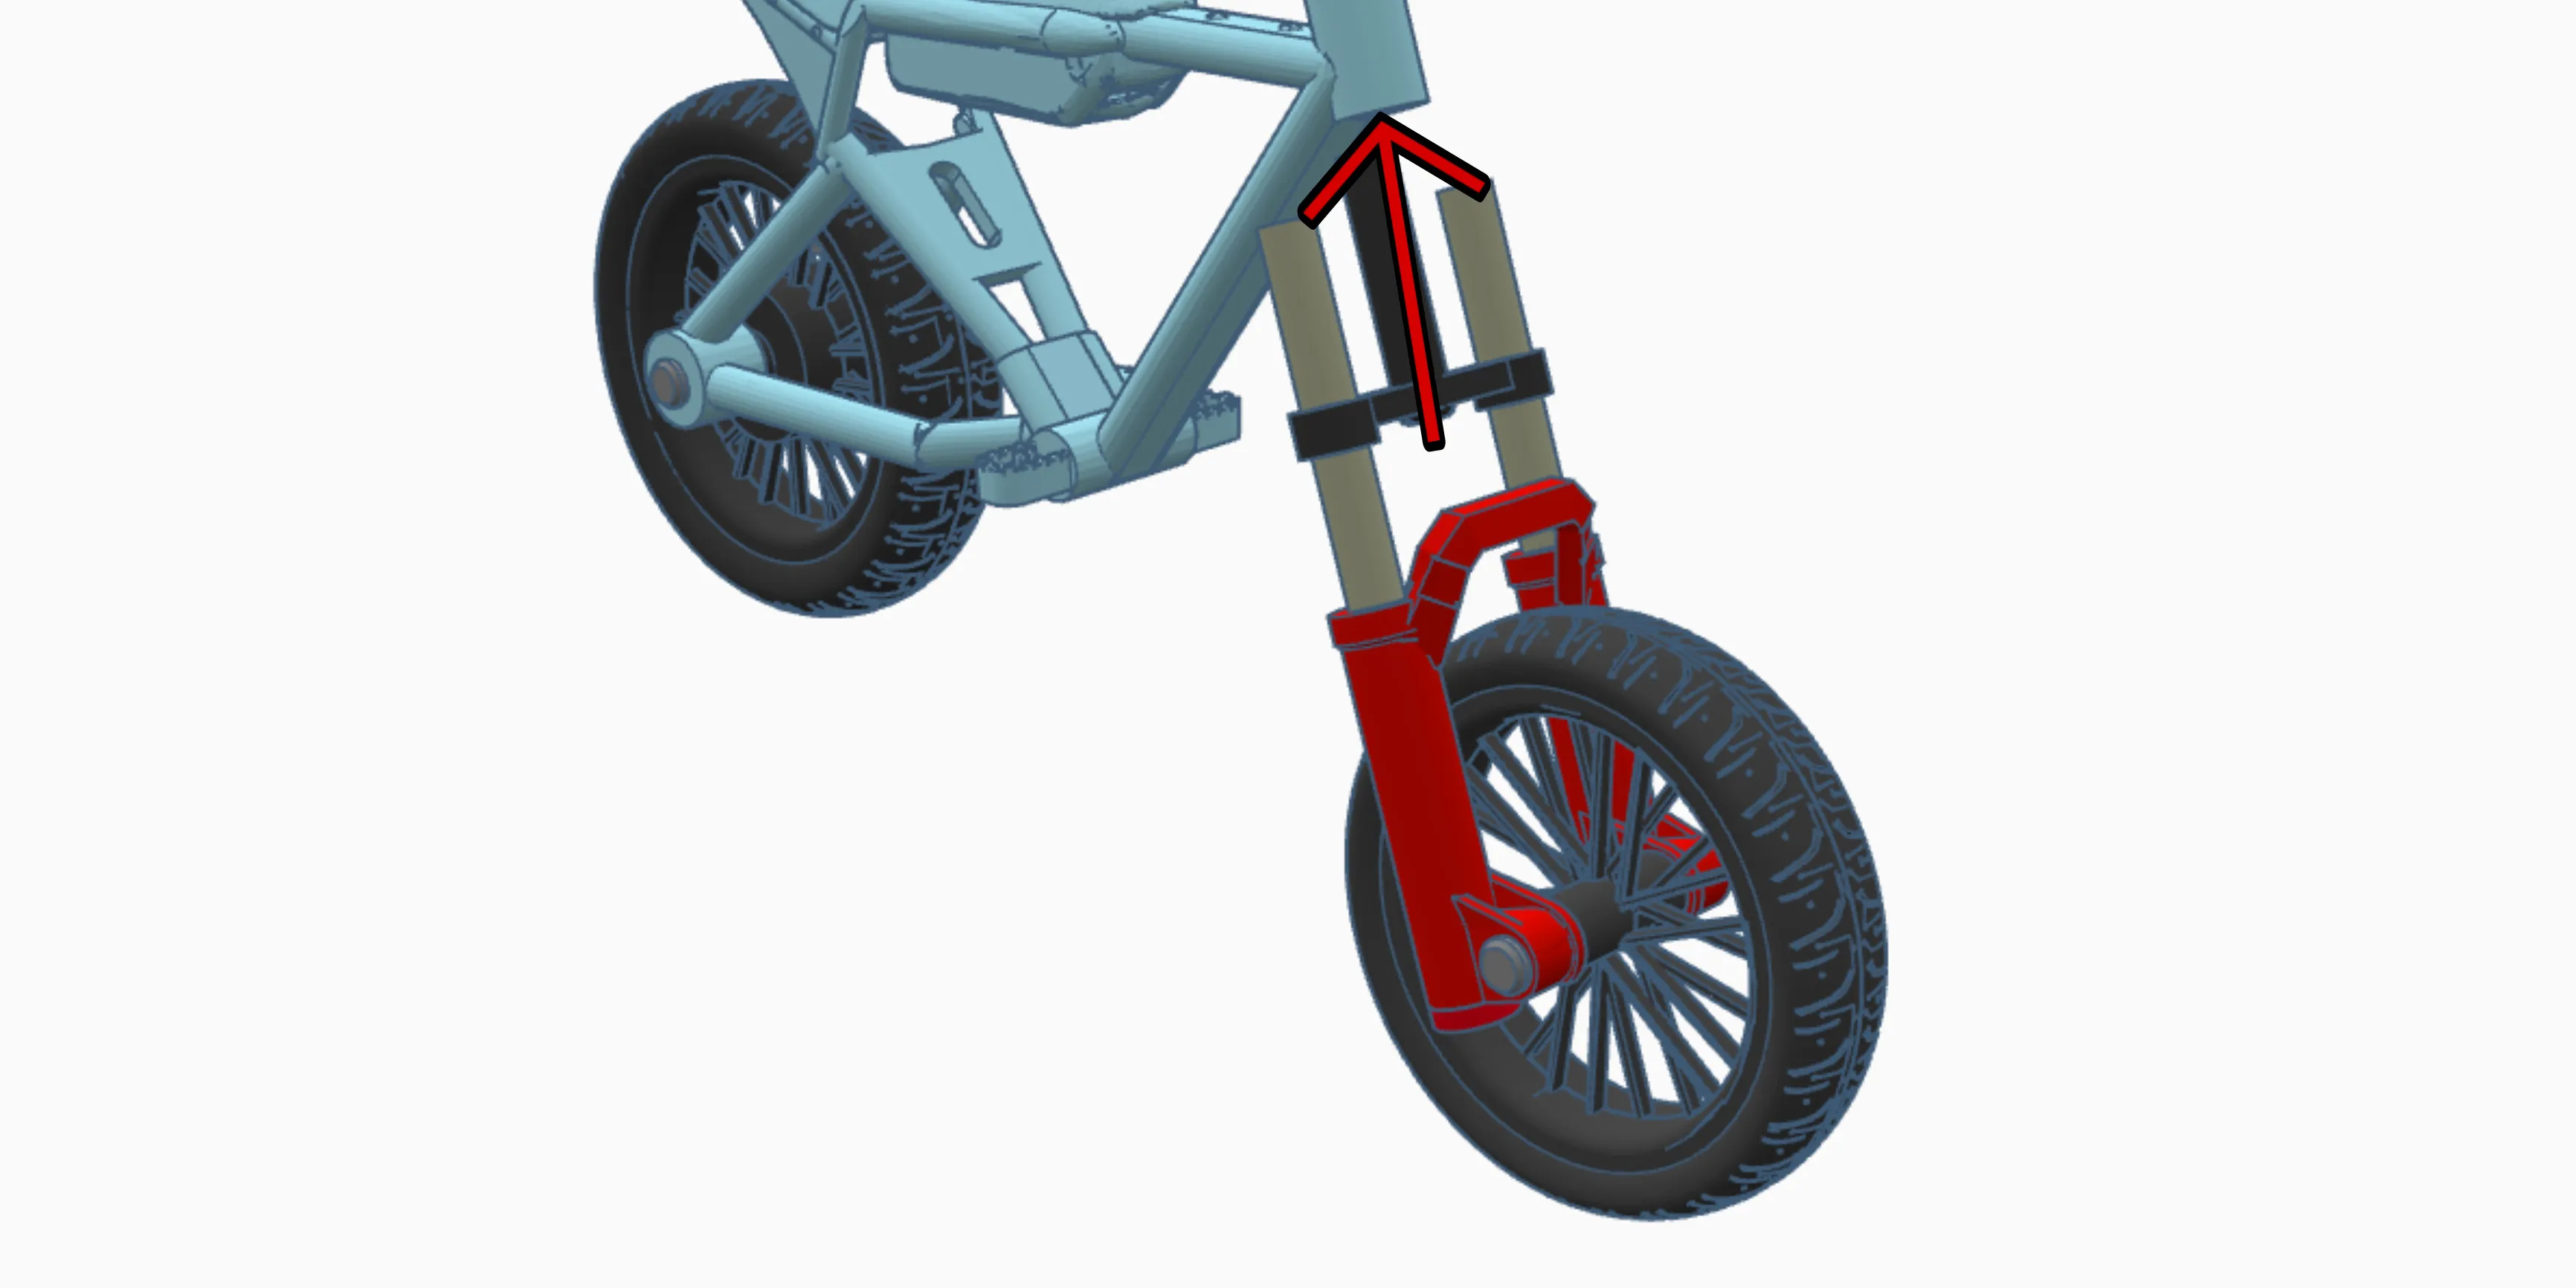
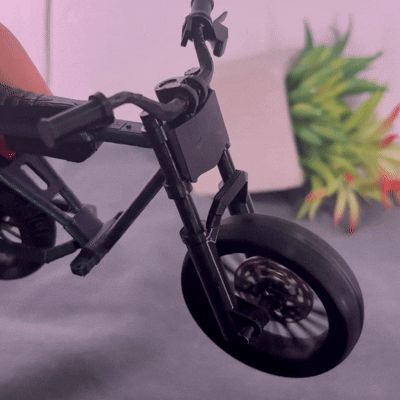
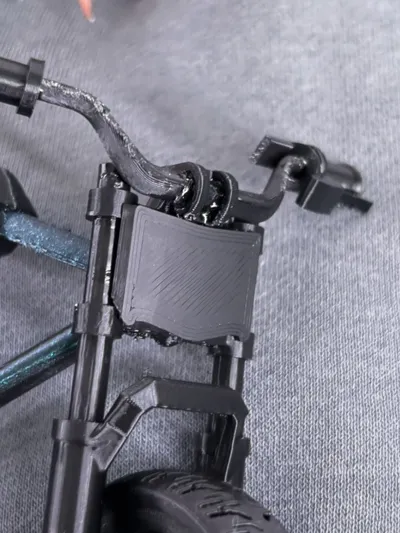
13. Press on the whole bar's assembly onto the fork assembly to hold it in place. You can apply a small drop of glue here to keep this secure. (Make sure stanchions go around 1mm above the stem (refer to 2nd picture below).
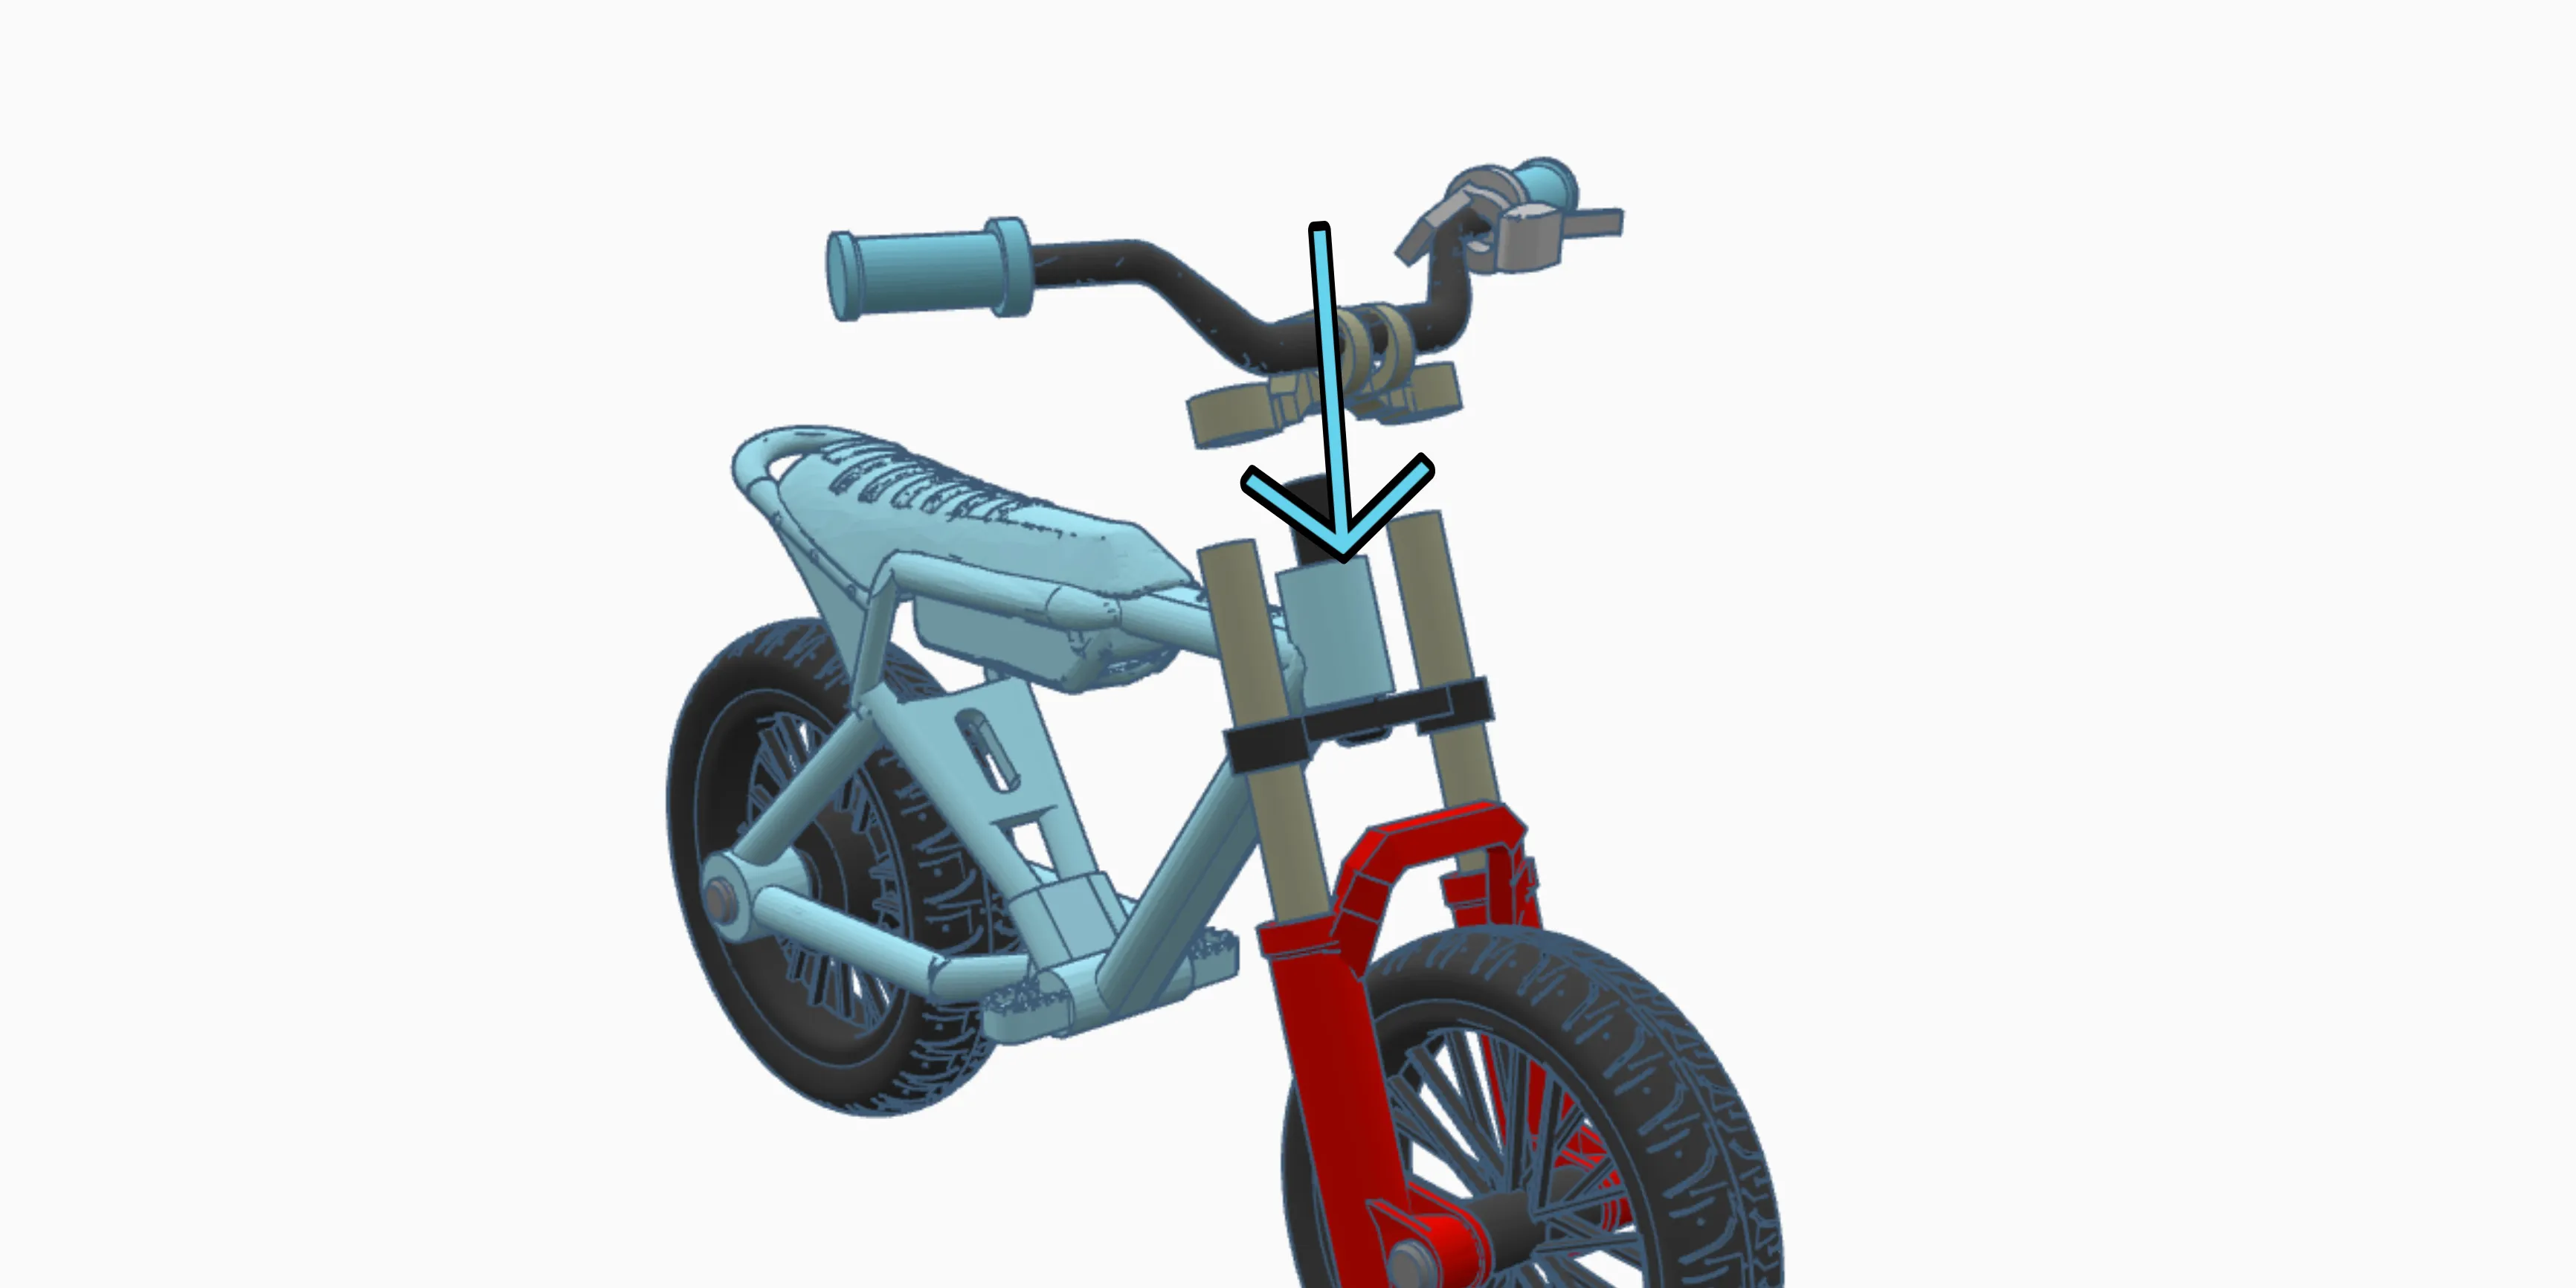
Refer here→
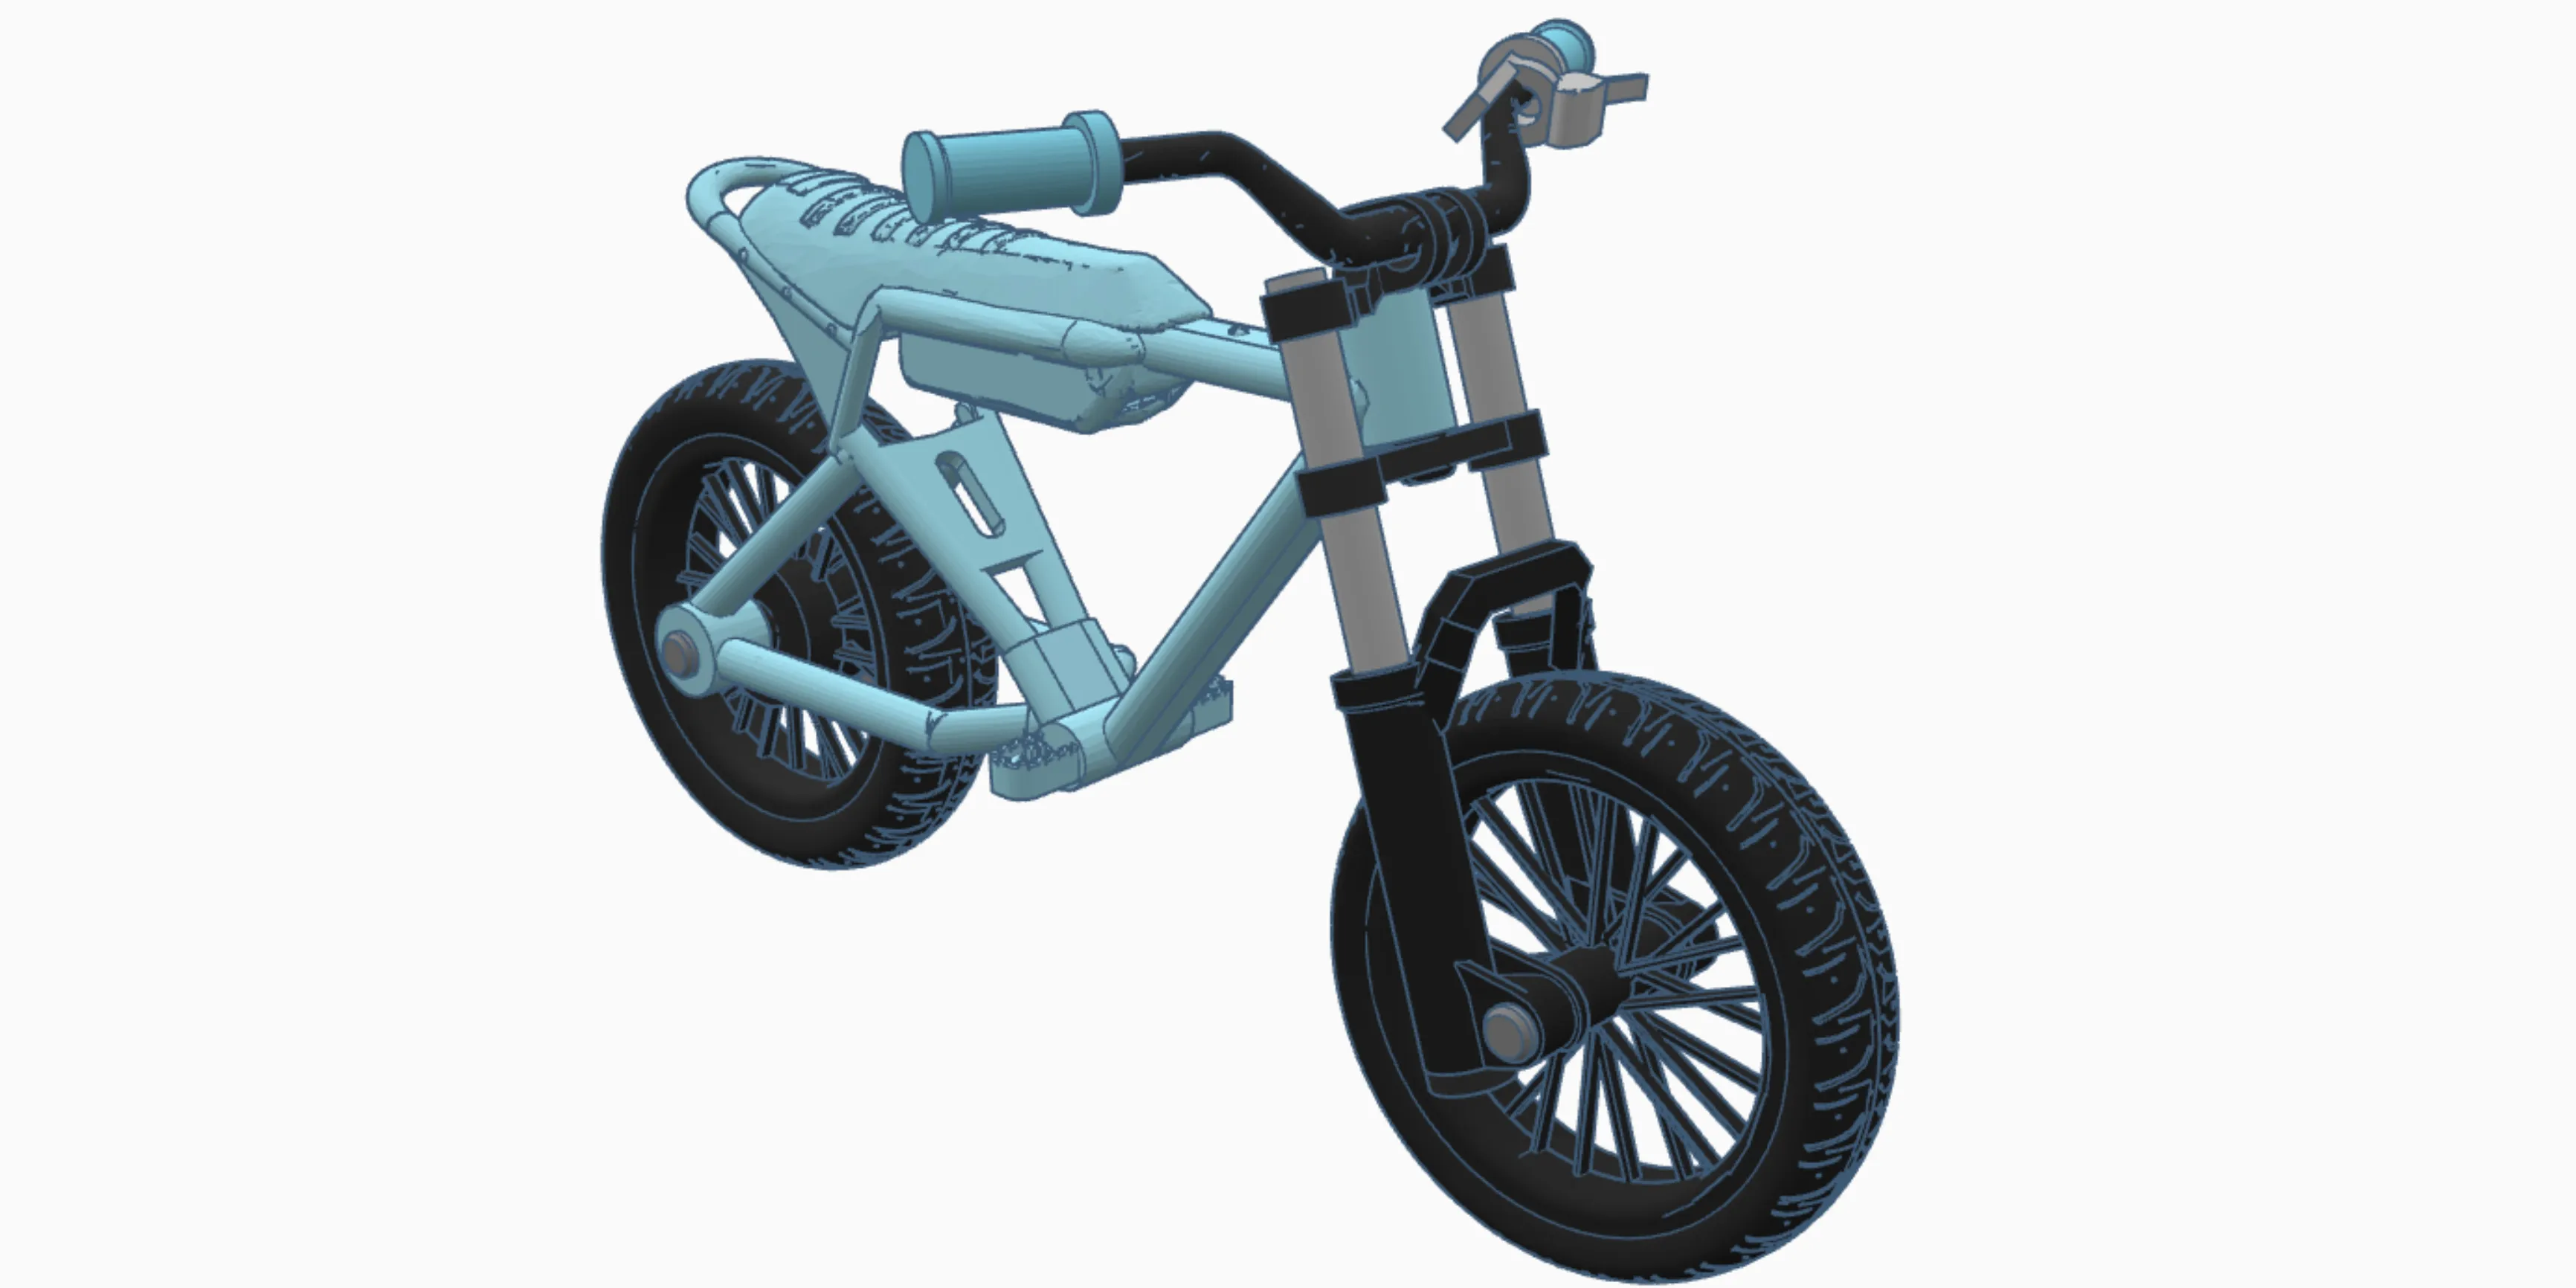
Now you are done!
-Enjoy :)
Boost Me (for free)
Boosting this model helps me improve/Make more models!
License

You shall not share, sub-license, sell, rent, host, transfer, or distribute in any way the digital or 3D printed versions of this object, nor any other derivative work of this object in its digital or physical format (including - but not limited to - remixes of this object, and hosting on other digital platforms). The objects may not be used without permission in any way whatsoever in which you charge money, or collect fees.


Comment & Rating (206)