
Drawing stand for iPad mini (7th gen)
Print Profile(1)
Bill of Materials


- Round Threaded Brass Heat-Insert Nut M3X5,7 x 32: https://www.amazon.it/gp/product/B08BCRZZS3/ref=ox_sc_act_title_1?smid=A2LZ0UUKEAXYKL&th=1
Description
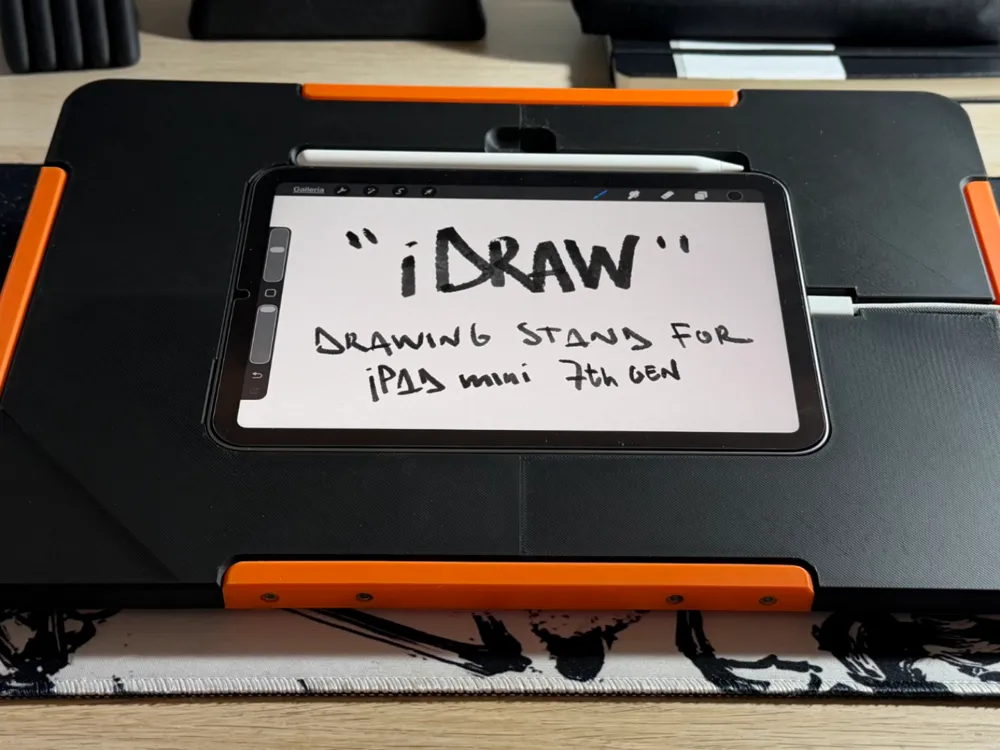
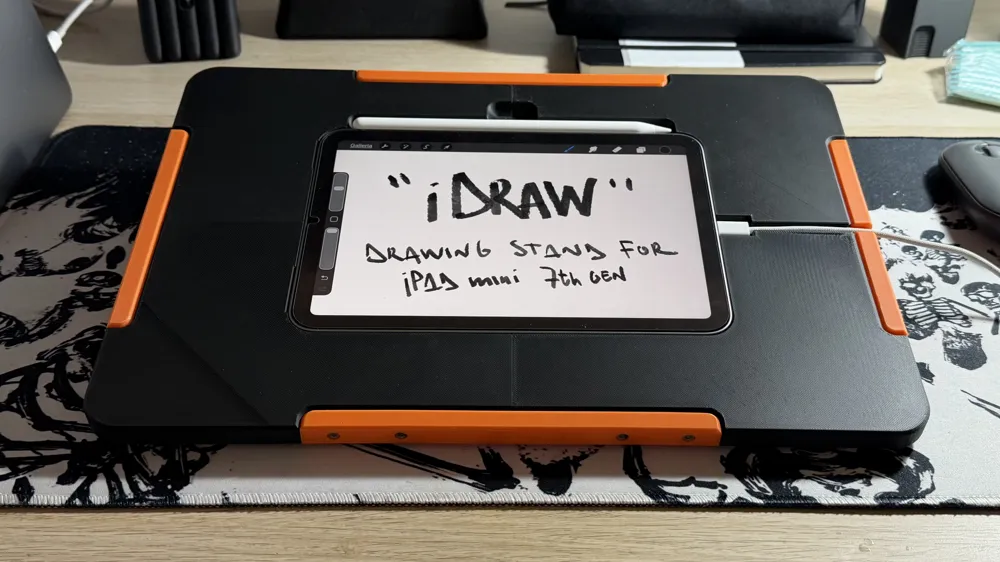
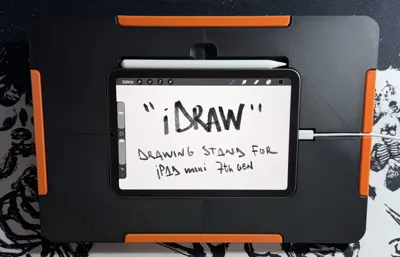
“iDraw”
The iPad mini is certainly the most comfortable in terms of portability, for reading and traveling... but if you want to draw? Definitely too small.
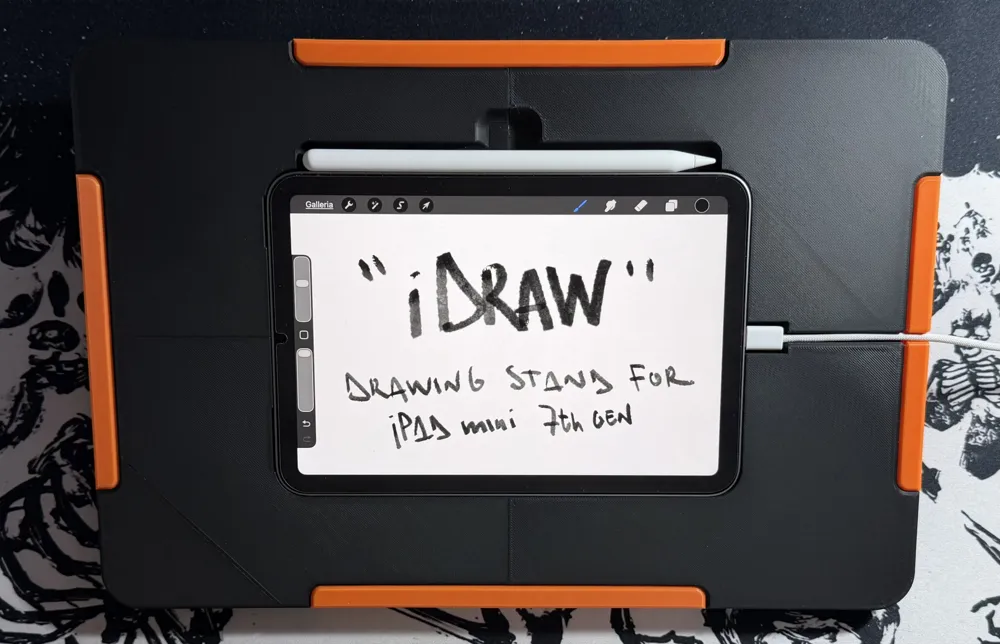
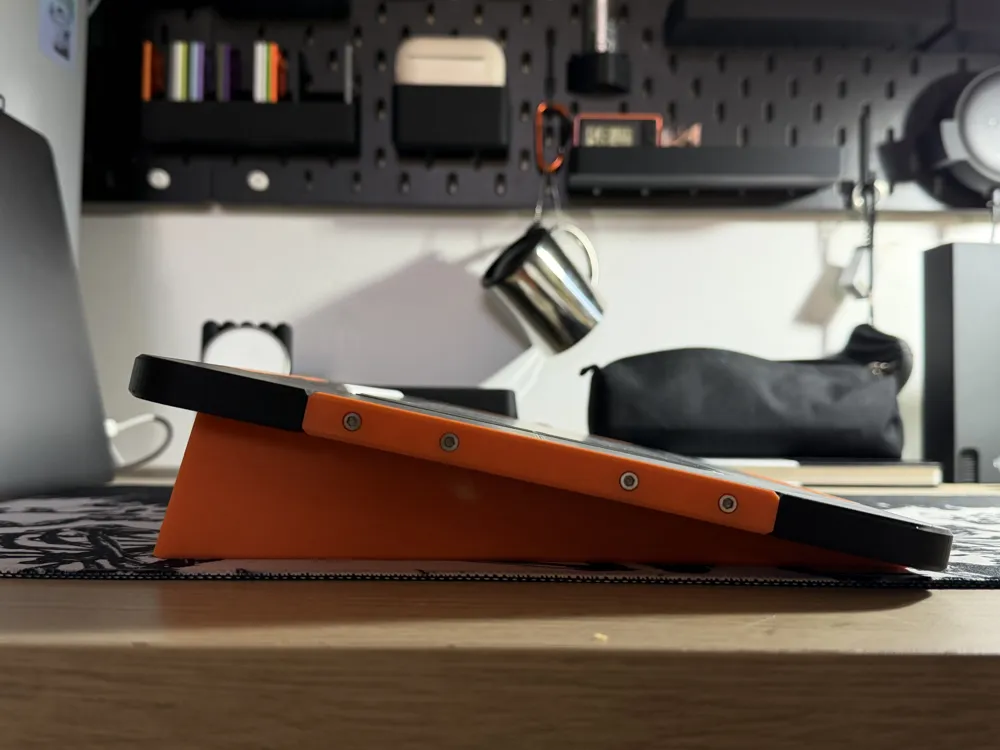
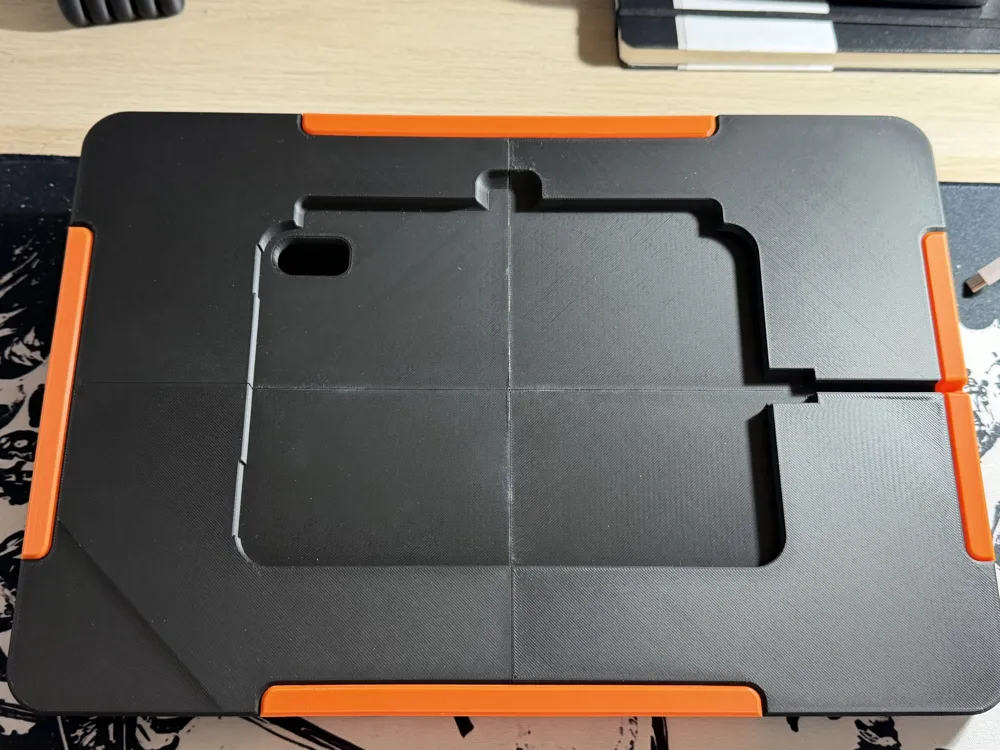
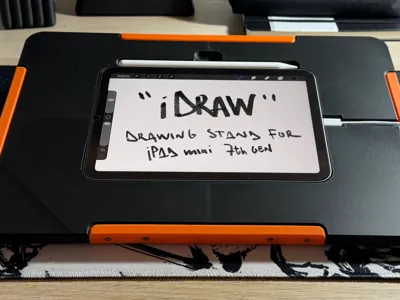
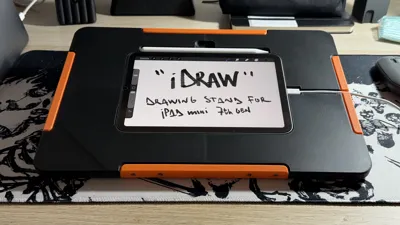
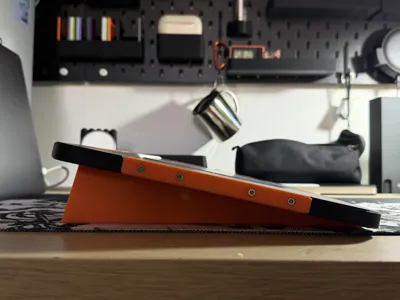
This stand brings it to an acceptable size for drawing (34.5 cm x 23.5 cm), allows you to rest your wrist, and thanks to the inclination, you can sit straighter and more comfortably. To unlock the iPad, simply touch the screen and enter the code; having Touch ID, I preferred not to make a large hole, which would have been asymmetrical. You can freely choose the colors based on your preferences.
For the model in the photo, I used PLA Matte and Bambu Lab PLA Basic, but if you want a more durable stand, use PLA CF or PETG or PETG CF.
If you like the model, I plan to add speaker holes, a vertical holder for the Pencil, TPU inserts for the legs to improve grip on any surface, and a quick-release system for the legs to store it easily and compactly.
Do you have any other ideas to improve it? Let me know, I appreciate it!
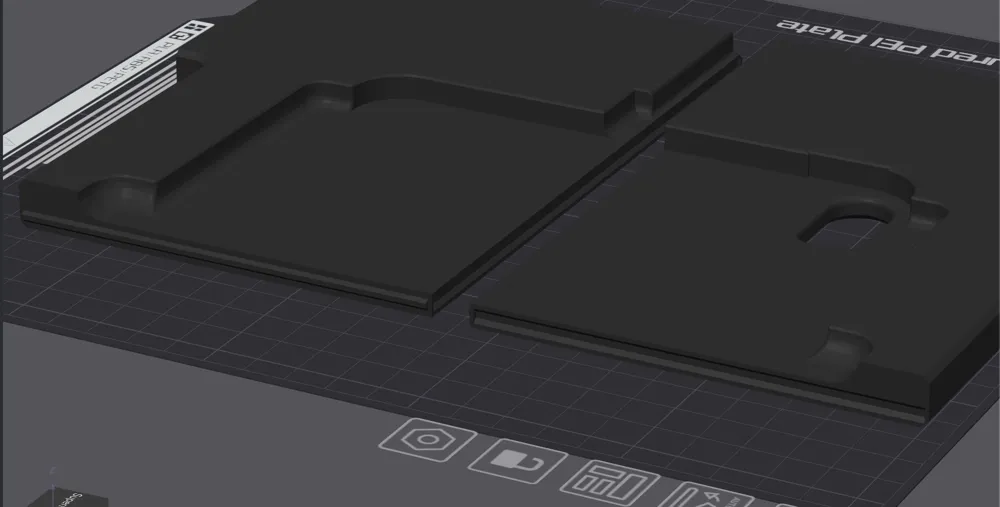
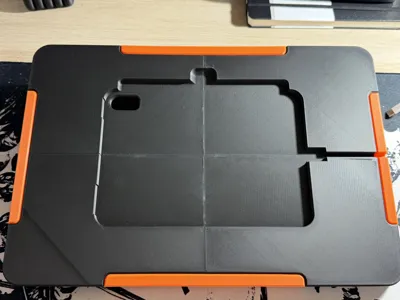
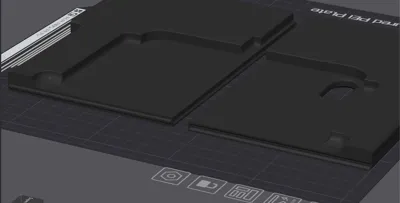
The base is divided into 4 parts, does not block the buttons, leaves the camera free, and there is space to store the Pencil and insert the charger.
Required: 8 M3x8 screws, 24 M3x12 screws, and 32 M3x5.7 threaded inserts.
- e.g., screw link: https://www.amazon.it/Bulloni-Cilindrica-Incassato-Rondelle-Esagonale/dp/B0DQD93CC8/ref=sr_1_8?__mk_it_IT=ÅMÅŽÕÑ&crid=2HJYRQAMI21V8&dib=eyJ2IjoiMSJ9._8A5EgSKZK3HfHO0INYzmQSrTabR2E-jADGFI6bSCAqh6akSqGUHE7EQ1-r7m7-gXp_8GnIjVpTko9SAhww4sv5z_CYqwnSnPRWVnZAzLPC43Uxmm6sohnWYFAUZ6GIrI29DytV_KiJBdugiA7ZsQvgWImMS1nvZhaiUz-EYB8J0PBrGXx7LYjuonXbmSof5itH2lNcPB_CuGFzyPGhuWACjsl5iBc2nC_AssRkR2rsdxpJhw1Ld81zpTW9HbYEoZLZF7icXIZHWe7EizZbLIbIV8QaZHBGgokz23iWrMvg.1ecto0W8fvAwxMgFCZbPwCfkJJyzvB5hI-fqMAyyIwc&dib_tag=se&keywords=kit%2Bviti%2Bm3&qid=1764762758&sprefix=kit%2Bviti%2Bm3%2Caps%2C214&sr=8-8&th=1
e.g., insert link: https://www.amazon.it/gp/product/B08BCRZZS3/ref=sw_img_1?smid=A2LZ0UUKEAXYKL&th=1
ASSEMBLY:
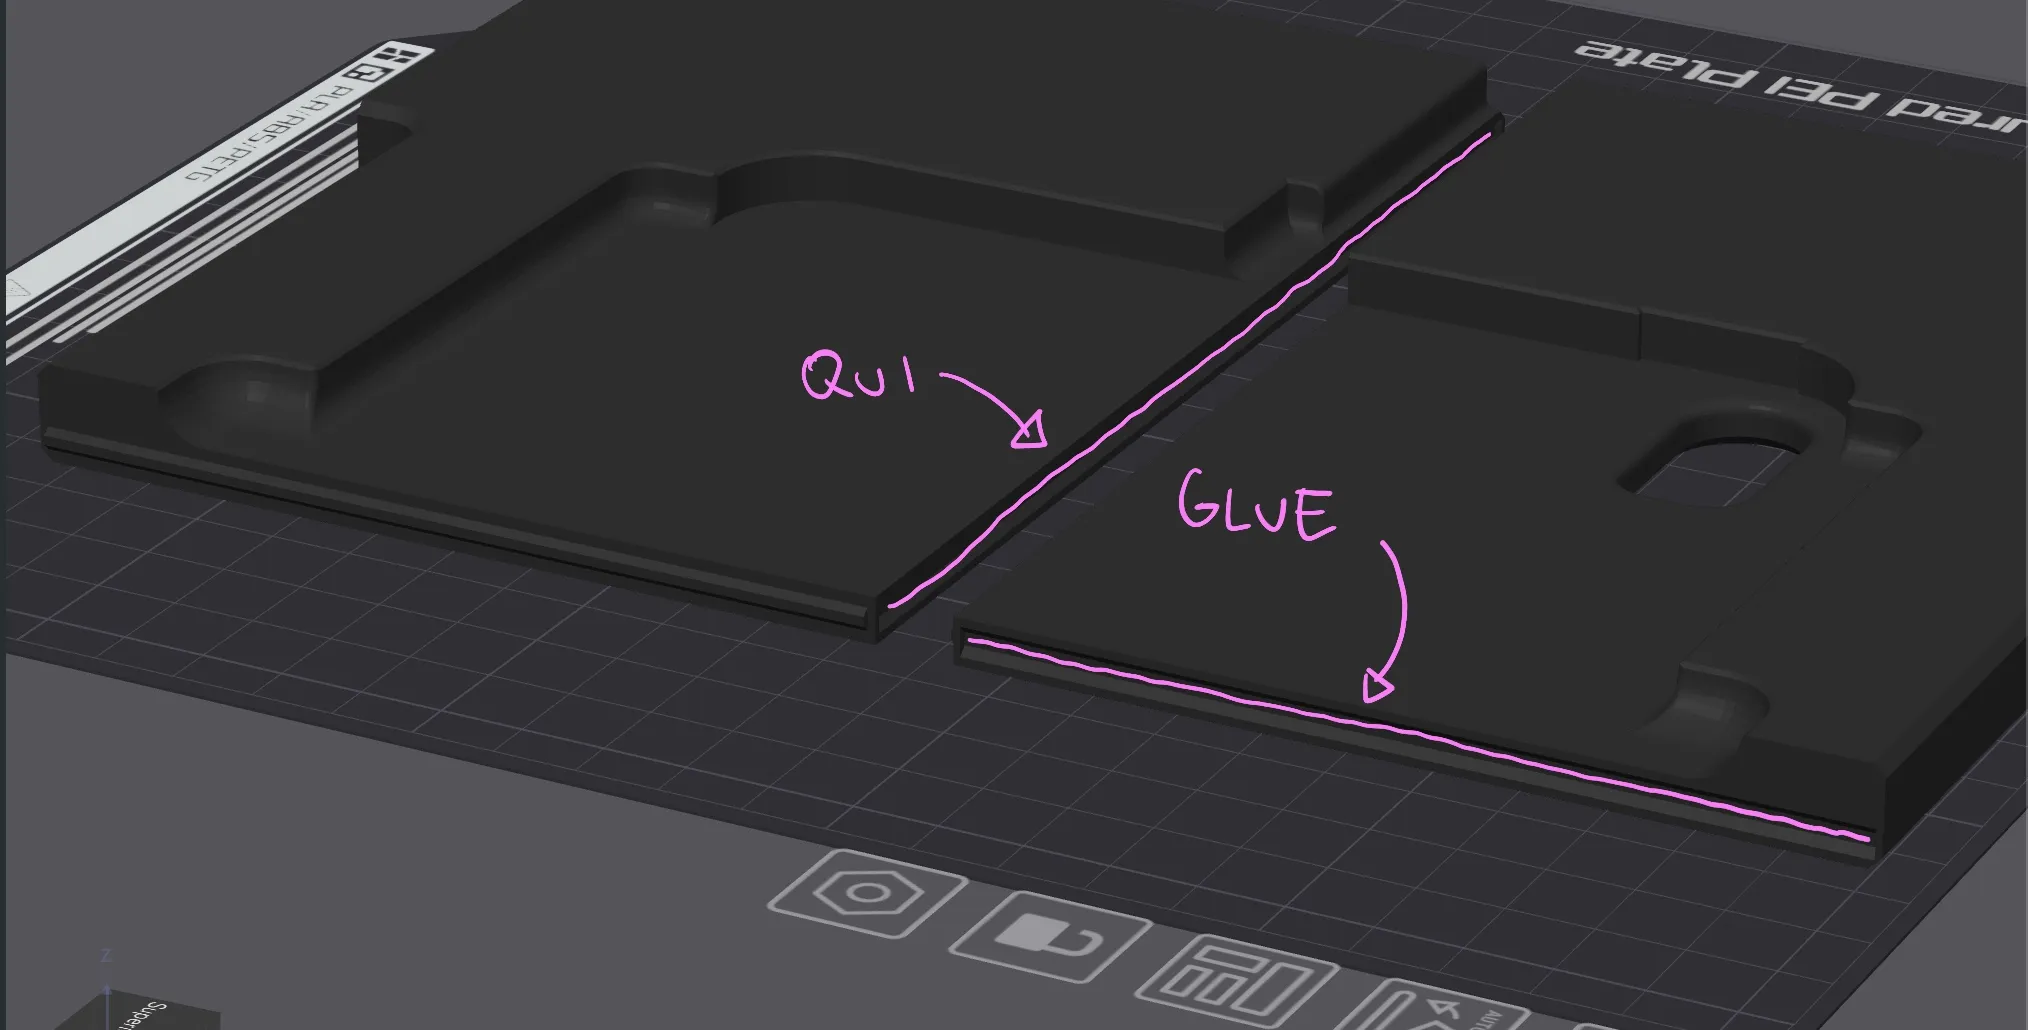
Apply a strip of glue in the 4 designated spaces on the four parts of the base, without overdoing it and being careful to place it in the center of the space.
- Heat-set the threaded inserts into the holes on the base
- Pre-thread the screws onto the brackets and tighten them to the base
- Pre-thread the M3x8 screws into the two legs and tighten them to the back of the base
- iDraw ready for drawing, happy creating!
Boost Me (for free)
IF YOU LIKE THE MODEL AND APPRECIATE IT, PLEASE LEAVE ME A BOOST, THANK YOU!
License

You may create derivative works based on this object, provided that all such derivative works are published exclusively on the MakerWorld platform and include proper attribution to the original creator. You may not share, upload, host, distribute, or publish this object—or any derivative work of this object—on any other digital platform, marketplace, or distribution channel. Commercial use of this object and any derivative works is strictly prohibited. This includes, but is not limited to, selling, renting, sublicensing, or using the object in any context in which you receive monetary compensation or other financial benefits.


Comment & Rating (9)