
Business Card Alignment Jig for the H2 Laser
Print Profile(1)

Description
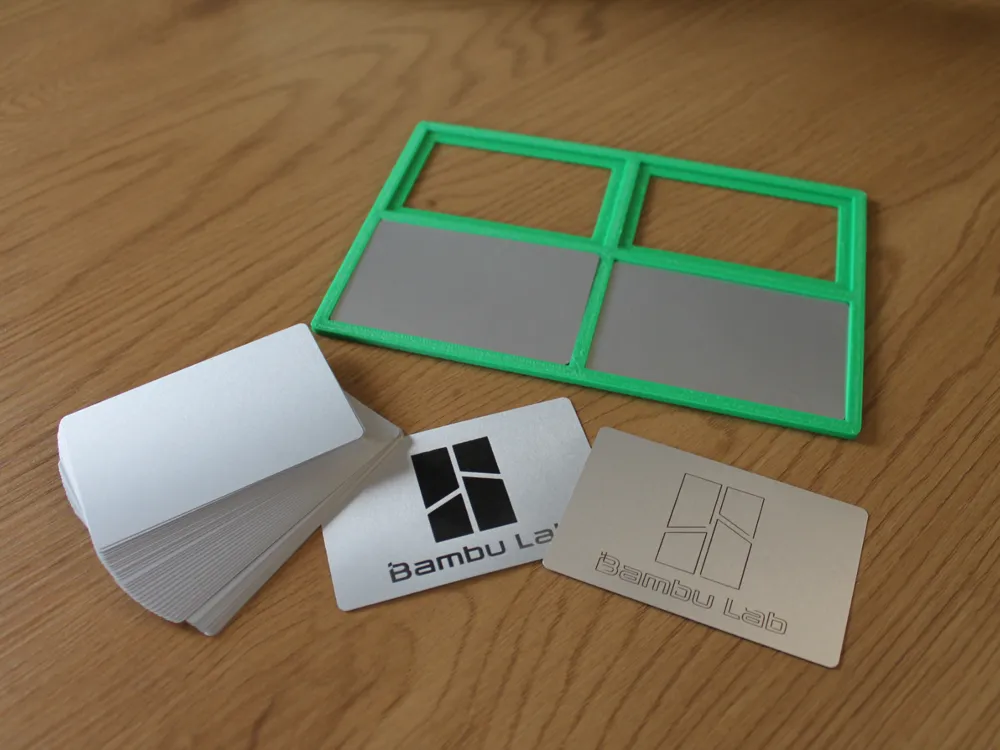
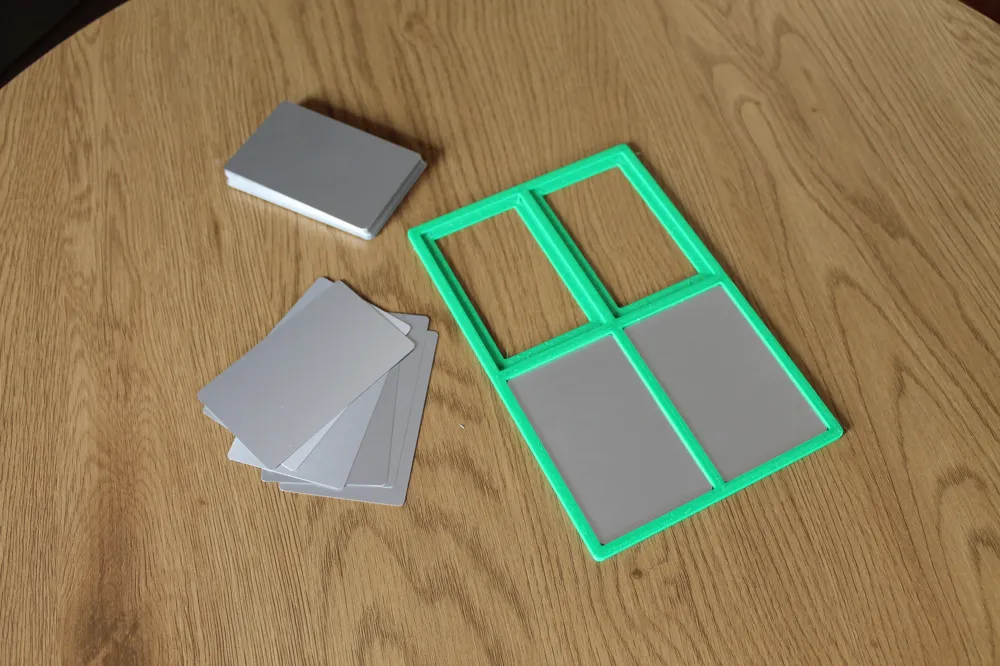
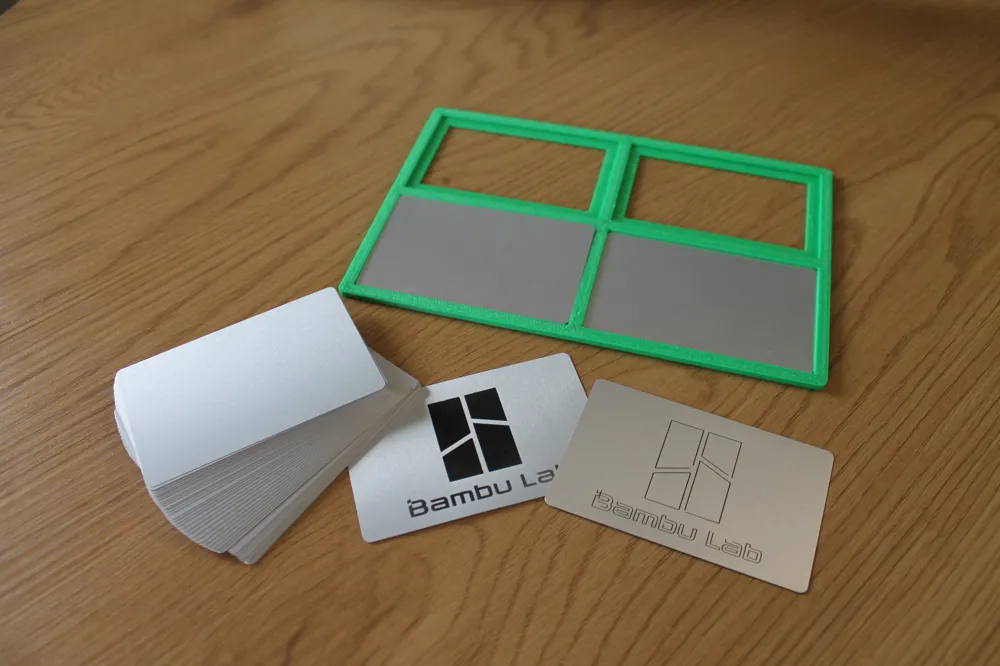
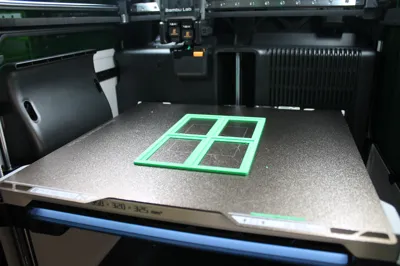
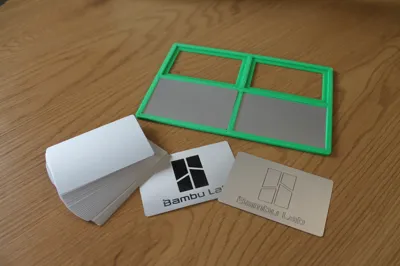
This 3D-printed jig is a parametric, fully customizable tool designed to simplify and speed up card engraving workflows on H2 Series laser machines. It allows you to precisely position and align individual cards or entire batches for consistent, repeatable engraving results. The jig can be easily adjusted to fit different card sizes and layouts, ensuring perfect placement every time. Ideal for both single-card engraving and batch production, it enhances accuracy, reduces setup time, and streamlines your overall workflow.
A full step by step Wiki page is available here.
1) Prepare your parametric jig in MakerLab
- Open MakerLab
MakerLab’s Parametric Model Maker lets you change numeric inputs (card width/height/thickness, slot spacing, number of columns/rows, tolerances) and instantly preview the STL. - C Typical parameters to set:
- Card width × height: common options prefilled — credit/gift card: 85.60 × 53.98 mm; business card: 85 × 55 mm (pick the one that matches your cards).
- Card thickness: typical PVC playing-card is ~0.76 mm; paper business cards ~0.3–0.6 mm — set to match your material.
- Number of columns/rows: define how many cards to align per batch (e.g., 1×1 for single, 4×2 for small batches).
- Preview and iterate: change the parameters until the preview looks right, then export the model.
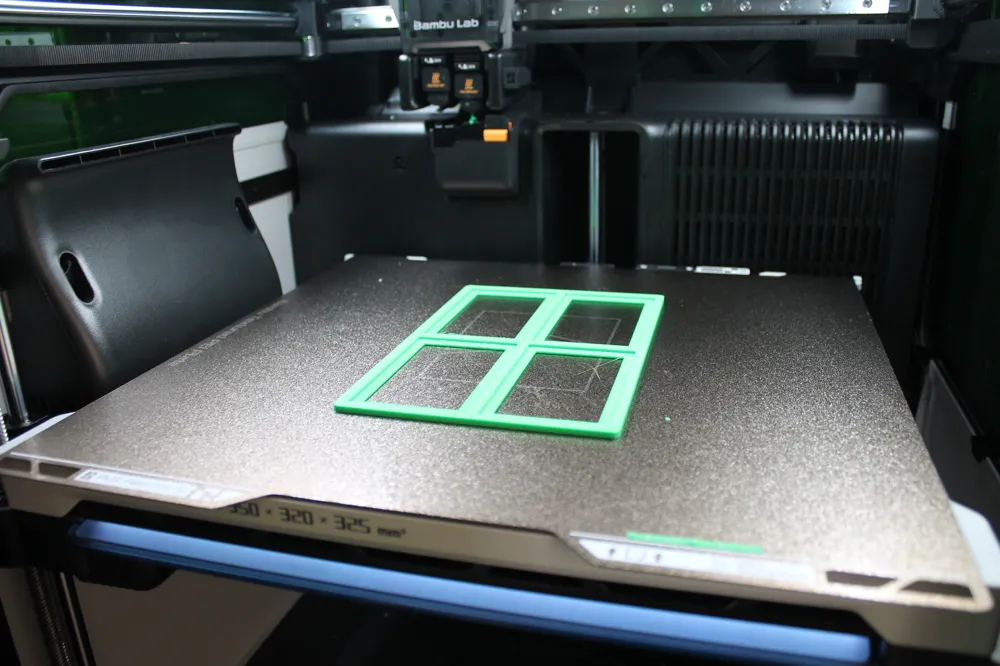
2) Slice & print in Bambu Studio (recommended settings)
- Import the STL into Bambu Studio.
- Orientation: keep the jig flat; orient so long slots run parallel to the bed X or Y (avoid very tall thin walls standing vertically).
- Printer preset: choose your /H2D/H2S/H2C profile.
- Suggested print settings (starting point):
- Nozzle: 0.4 mm
- Layer height: 0.20 mm
- Perimeters (walls): 2
Infill: 15–25%
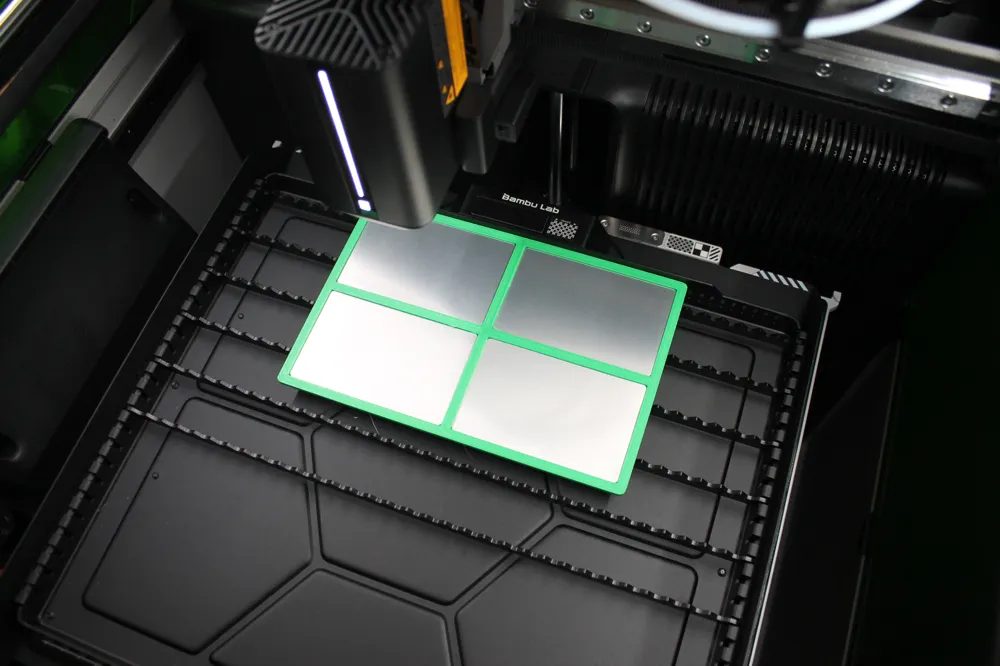
3) Using the jig on your Bambu H2 laser bed
Step-by-step placement & engraving:
- Clean the laser bed (no debris, dust, bits).
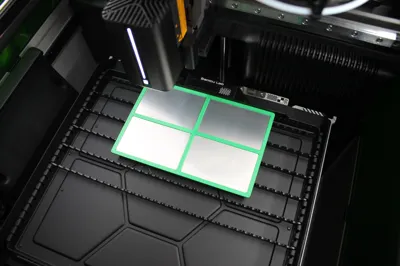
- Place the printed jig on the bed and position it roughly where you want engraving to happen.
- Set up the engraving job in your laser software:
- Export your engraving artwork (SVG/BMP) and import to the H2’s laser workflow.
- Start engraving with supervision:
- Never leave a running laser unattended. Keep a small fire extinguisher nearby and ensure exhaust/ventilation is active.
License

You shall not share, sub-license, sell, rent, host, transfer, or distribute in any way the digital or 3D printed versions of this object, nor any other derivative work of this object in its digital or physical format (including - but not limited to - remixes of this object, and hosting on other digital platforms). The objects may not be used without permission in any way whatsoever in which you charge money, or collect fees.


Comment & Rating (3)