
Print Profile(2)


Bill of Materials






Description
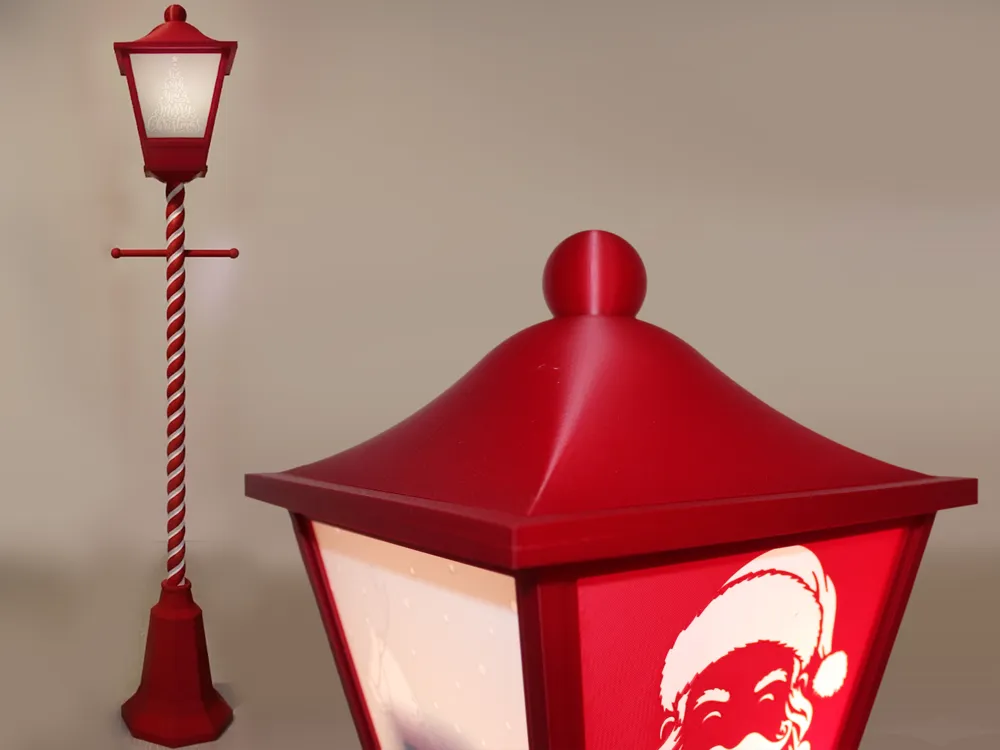
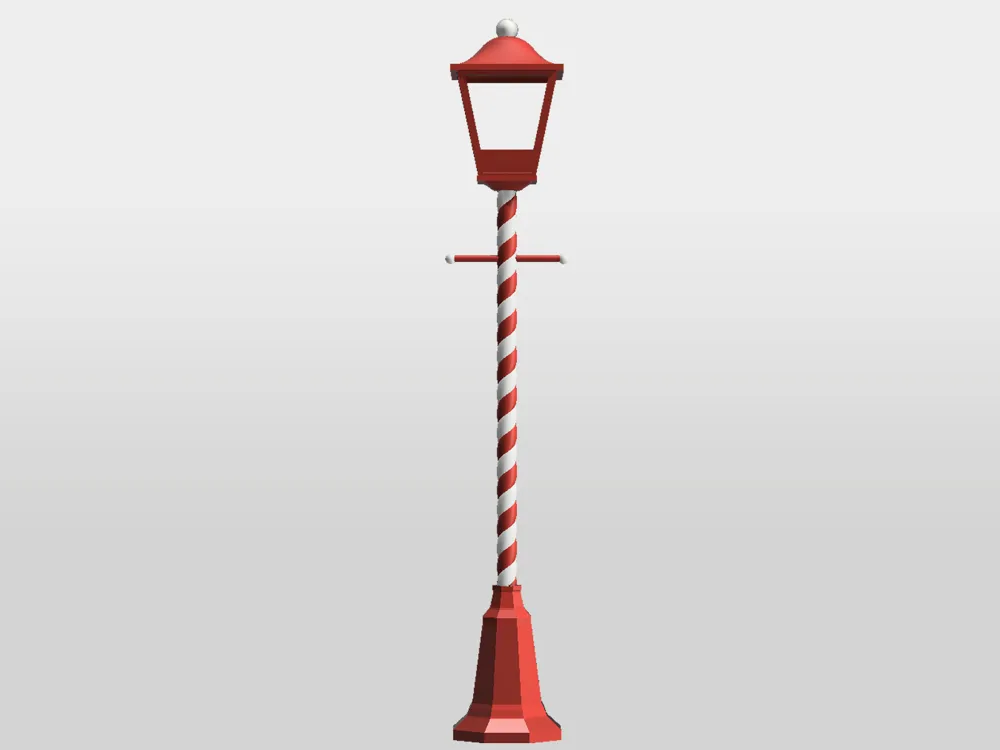
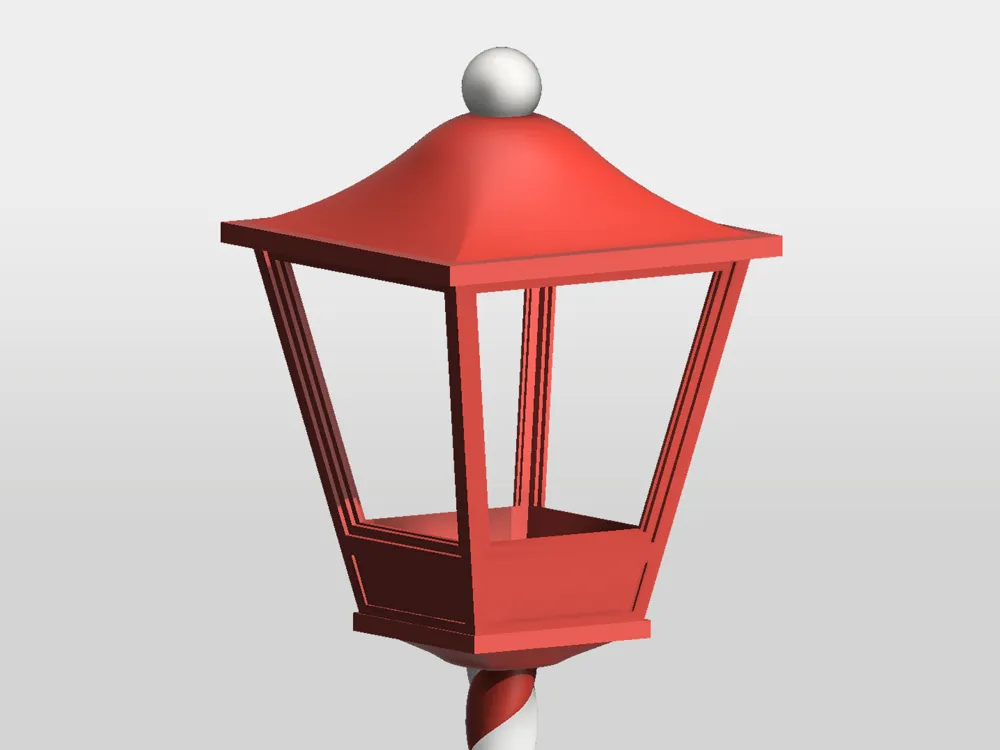
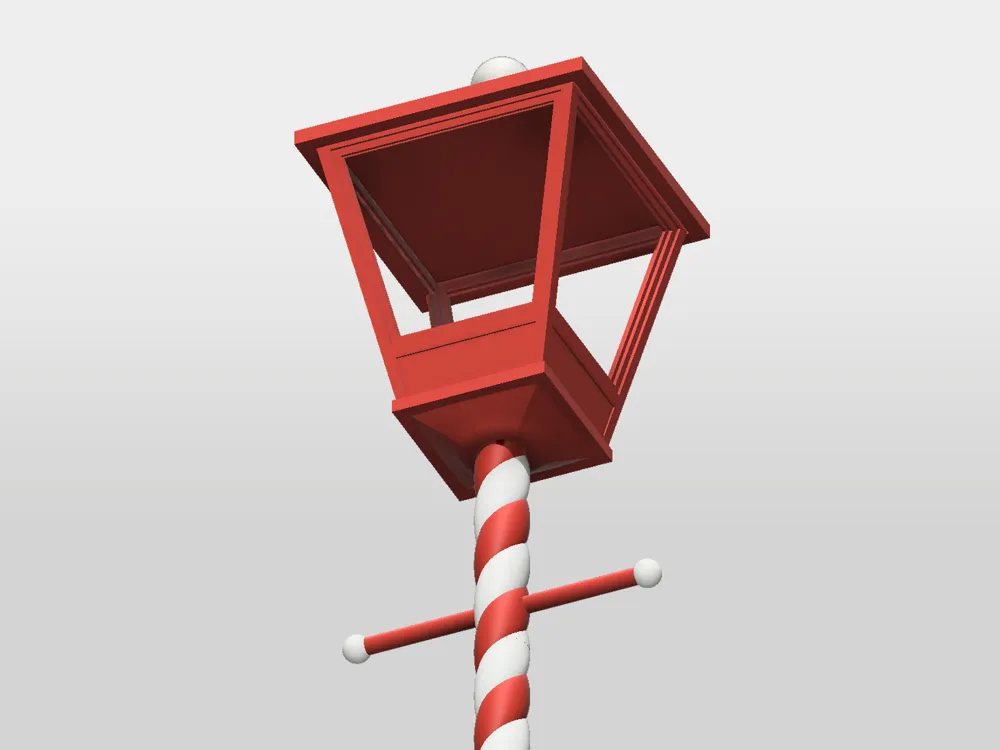
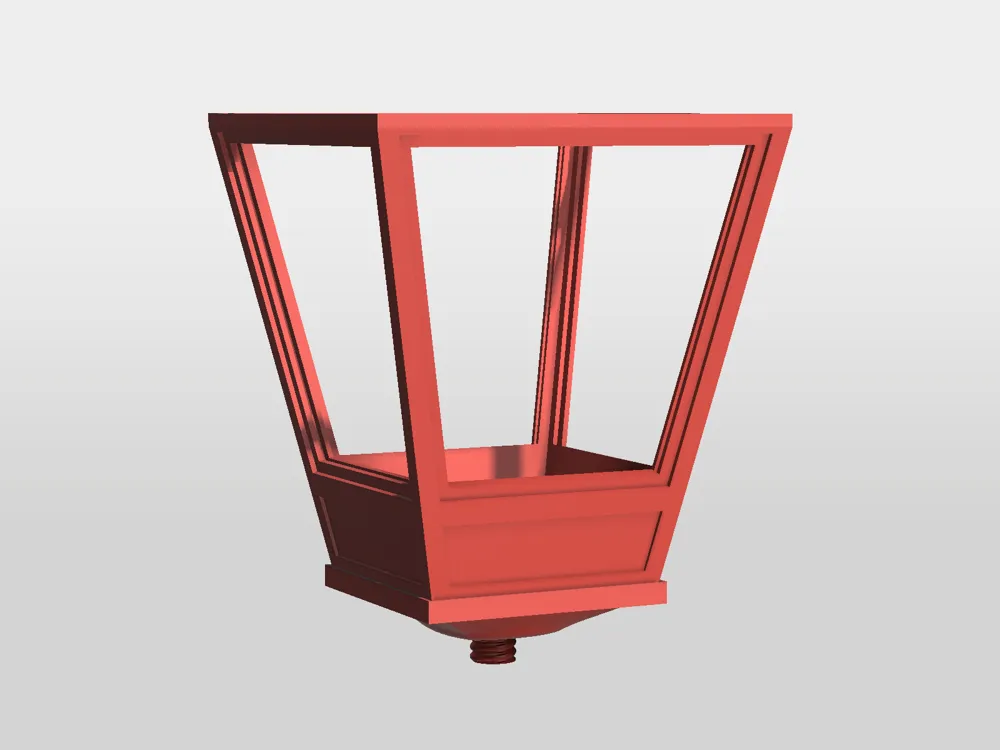
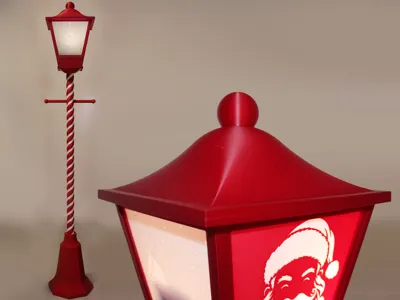
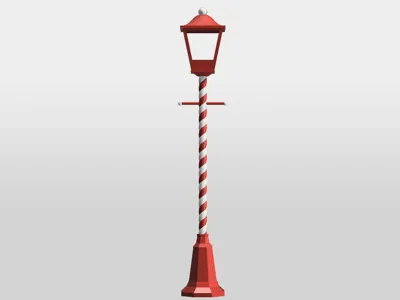
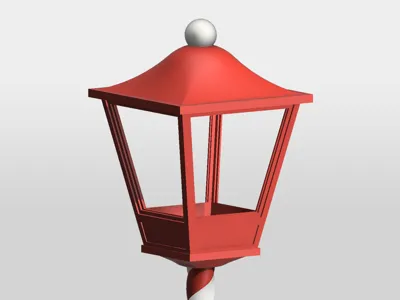
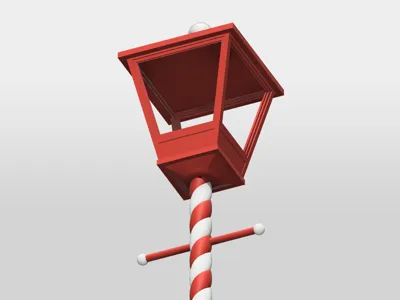
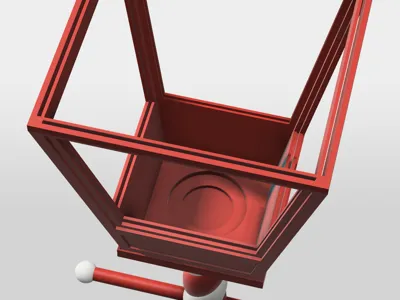
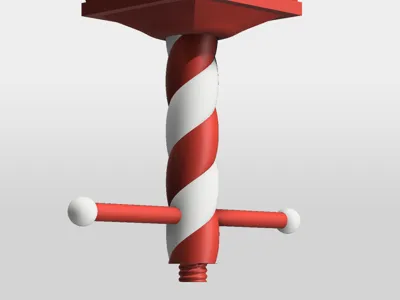
English Victorian Christmas Street Lamp with Candy Cane Pole – customizable, atmospheric & full of detail
This festive street lantern in a classic English style brings instant Christmas magic into your home.
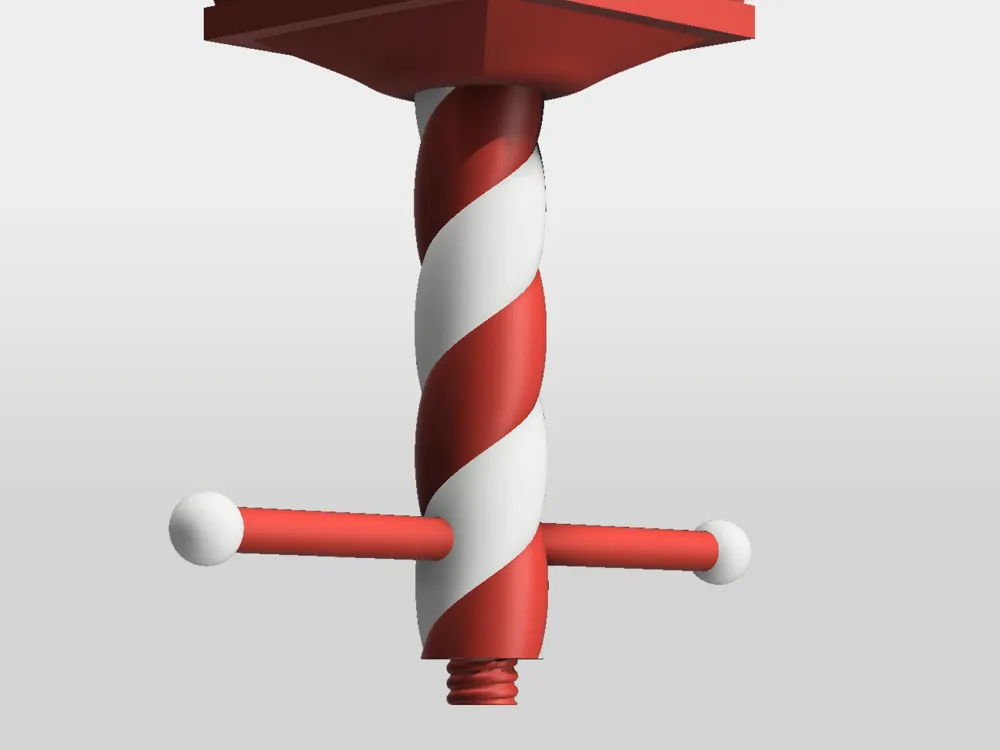
The candy-cane pole makes it a true eye-catcher – whether used indoors or outdoors (under cover).
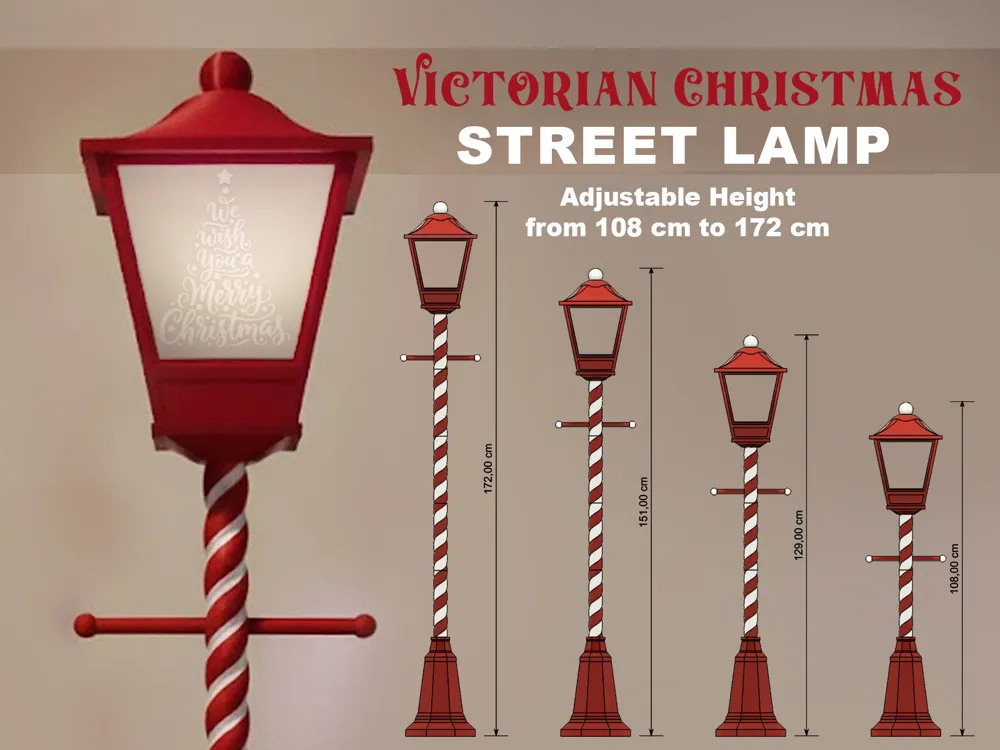
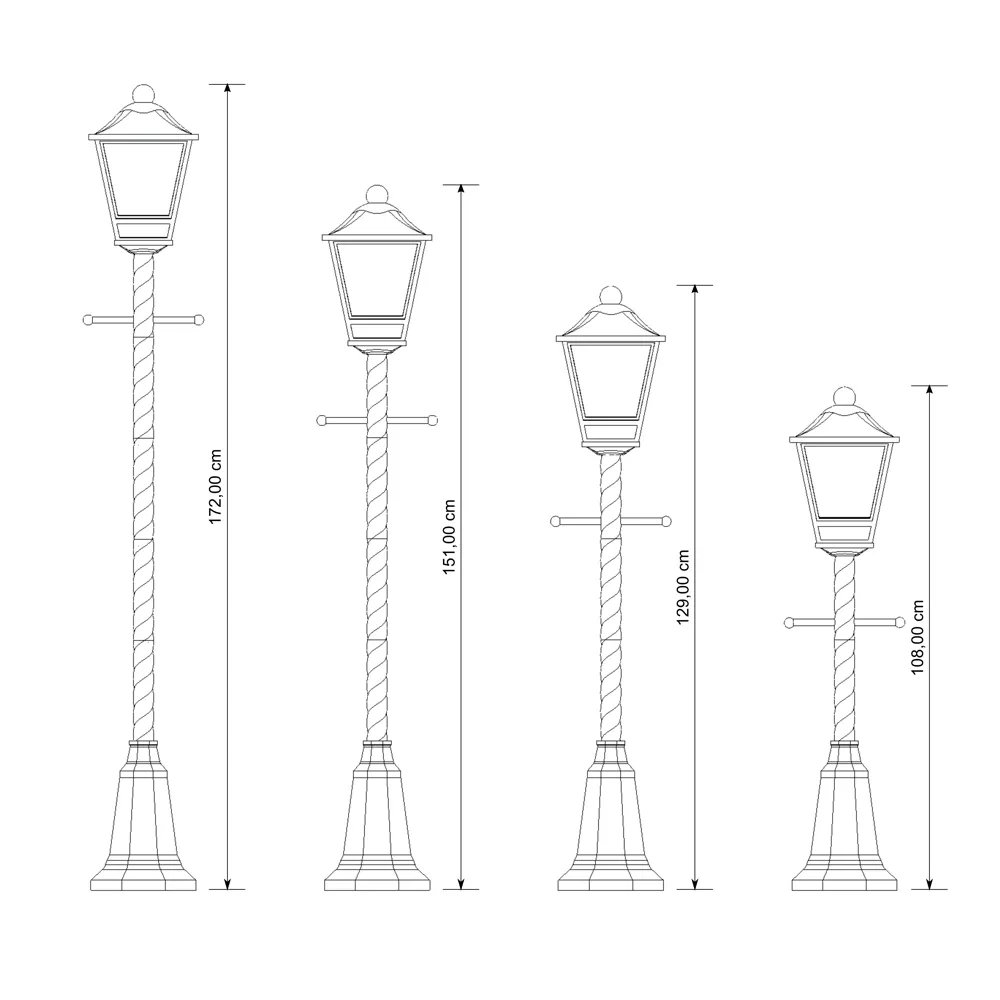
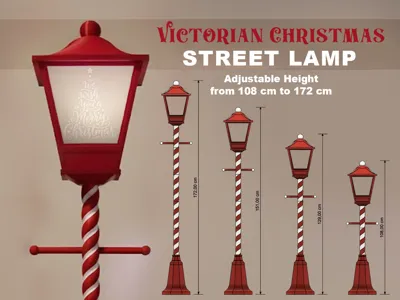
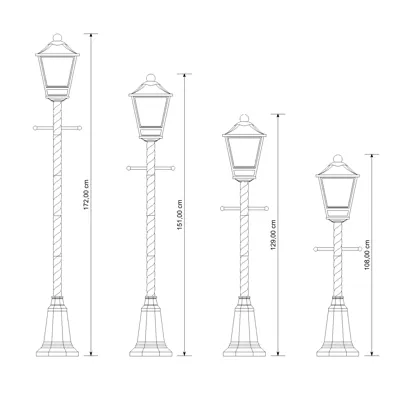
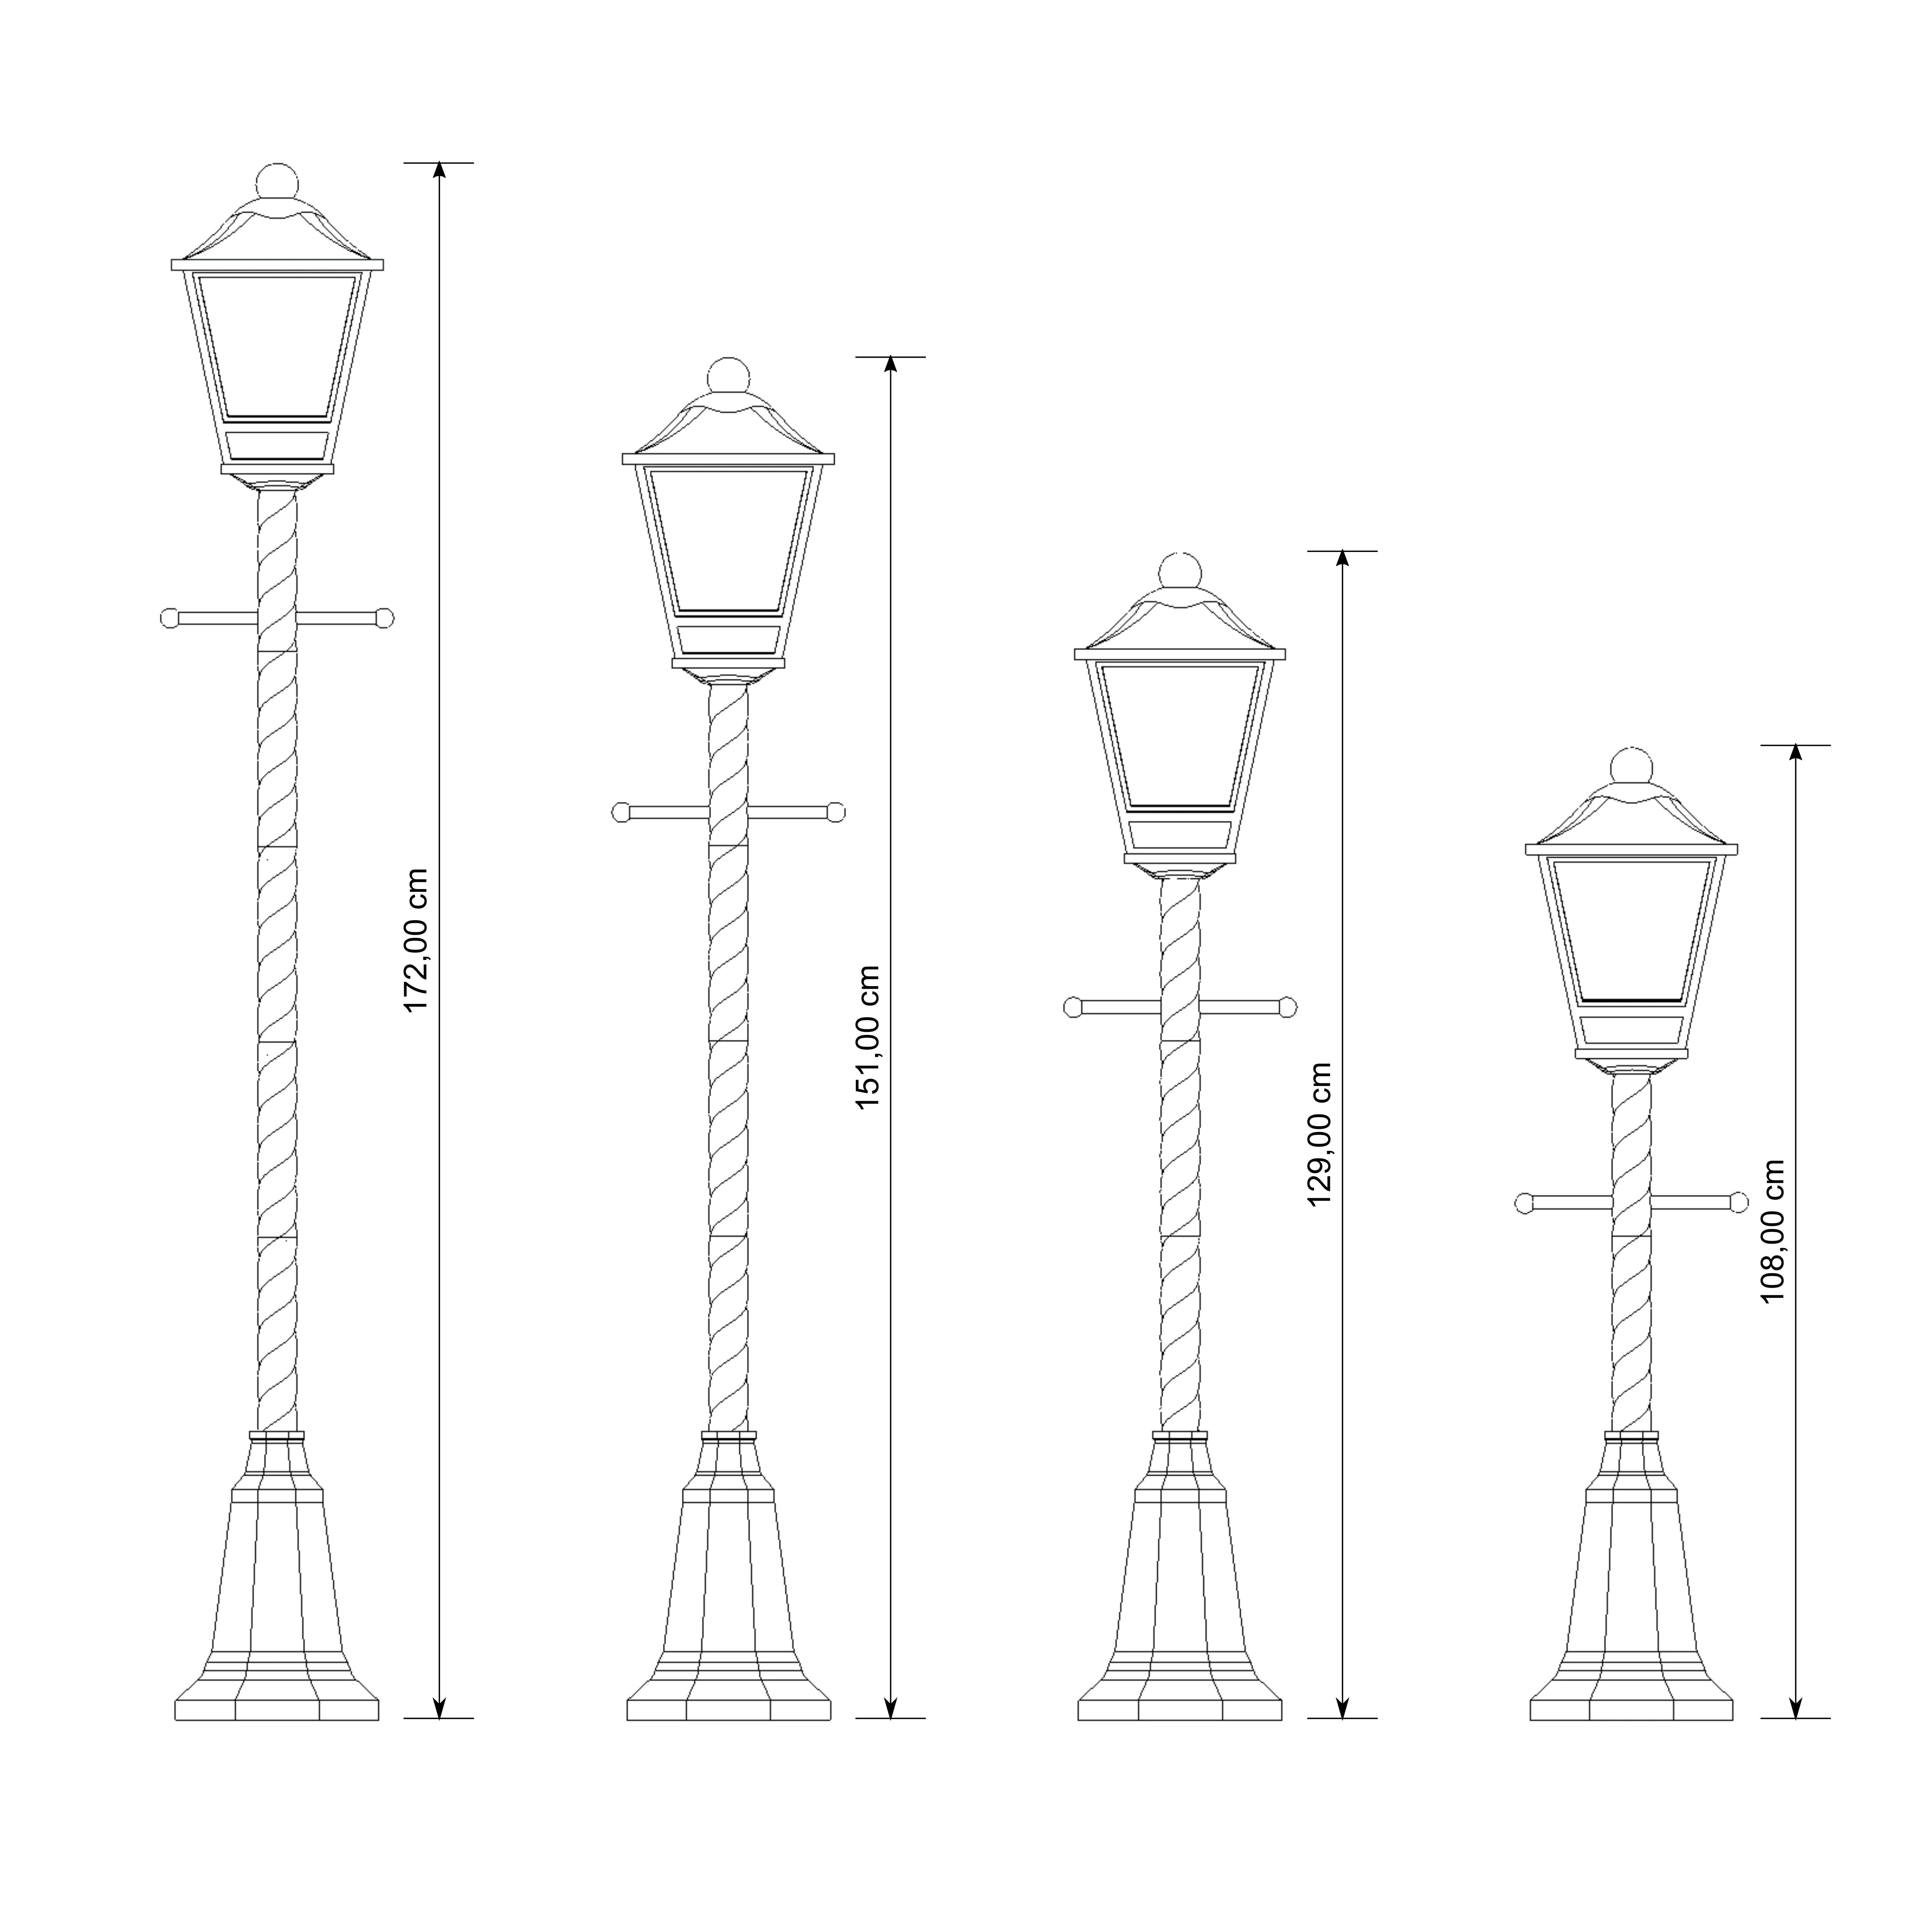
Adjustable Height – from 108 cm to 172 cm
The lantern consists of screw-together segments, allowing you to easily adjust the height.
Depending on how many segments you use, the lantern will be approximately:
- 108 cm (without segments 3, 4 and 5)
- 129 cm (without segments 3 and 4)
- 151 cm (without segment 3) – recommended
- 172 cm (full height)
All parts are numbered (1–12), so nothing can go wrong during assembly.
Assembly
The following parts need to be glued together using the included connectors: 1+2, 8+9, 11+12, and the two crossbars including the spheres.
All other elements of the lantern are assembled entirely using screw connections.
Stable despite PLA – optional wood or plant support rod
Because of the slim candy-cane shape and the use of lightweight materials such as PLA, the lantern is naturally very wobbly.
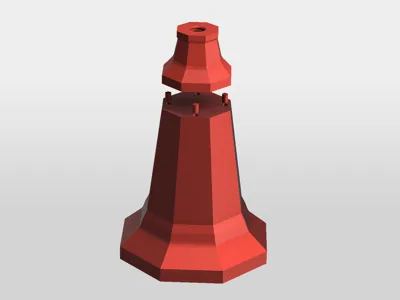
To compensate for this, the pole has an 11.5 cm wide opening running up to the second base segment.
You should definitely insert a wooden dowel or a garden/plant stake here so the lantern stands stable and secure.
Perfect-fitting screw connections – after 27 test versions!
The screw connections of the candy-cane segments are precisely matched to each other.
And to be honest: this was quite a project.
I designed, printed, and adjusted 27 different thread variants until the fit was finally perfect.
However, real-world printing has shown this:
Even with identical slicer settings, different materials and manufacturers (PLA vs. PLA+, different brands, etc.) can produce slightly different results.
The pattern lines up perfectly — but if you tighten the segments too much, the stripes can (depending on the filament) shift a tiny bit and no longer align perfectly.
Don’t worry:
There’s a very simple solution, and I’ve included it directly:
0.2 mm thin spacer shims that you place inside the thread. Screw the parts together again — and the pattern lines up perfectly immediately.
Still not matching? Just add a second shim into the thread 😊
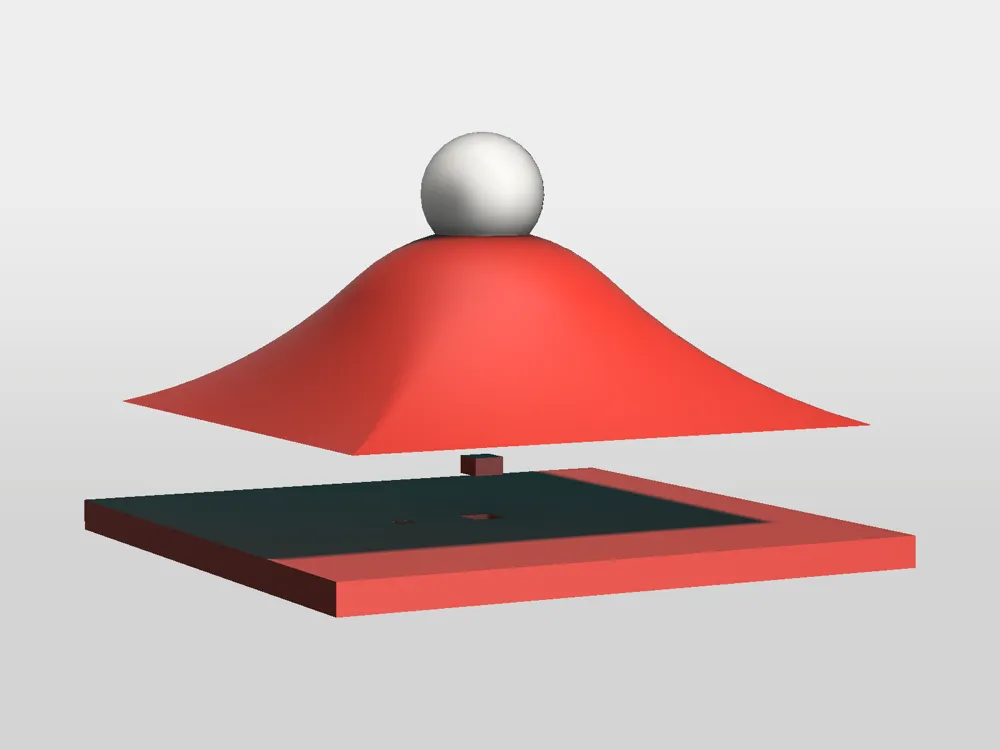
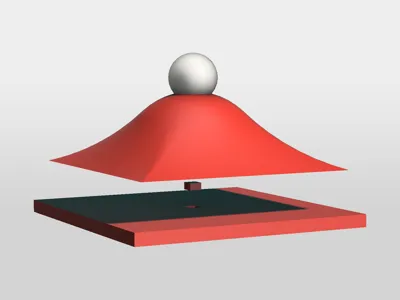
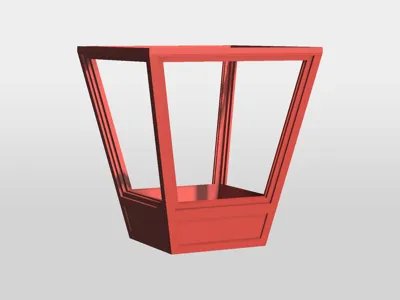
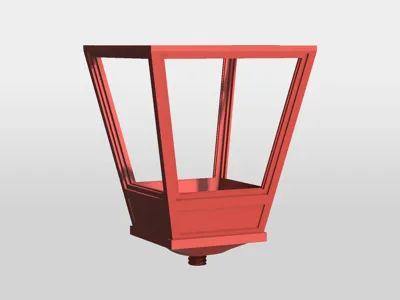
Lantern Shade with Many Options
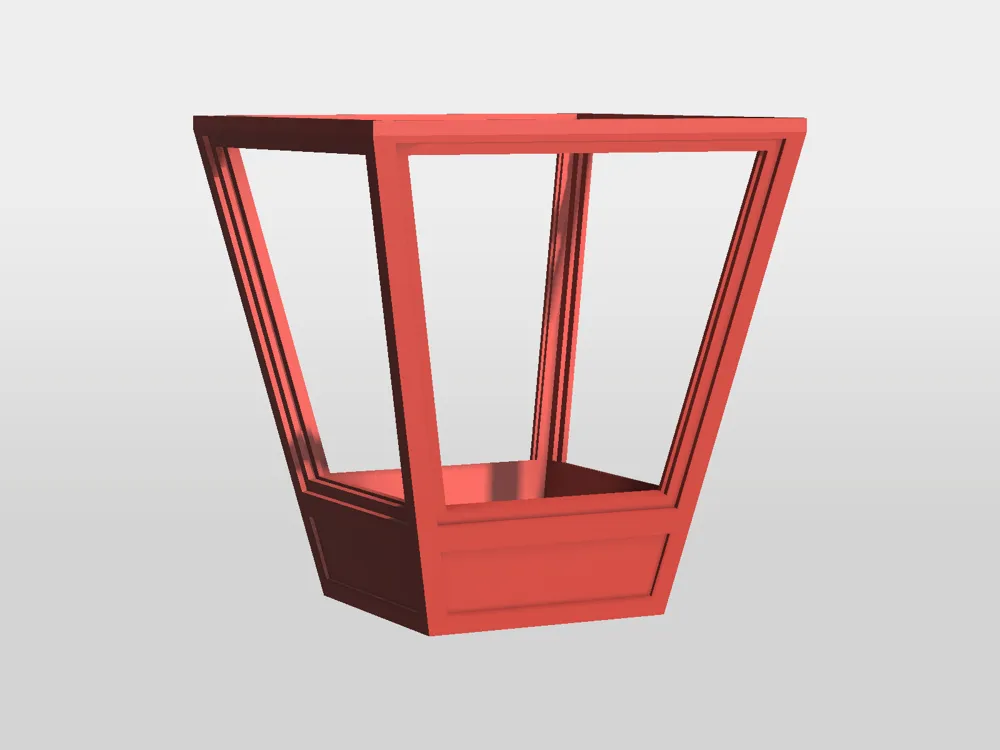
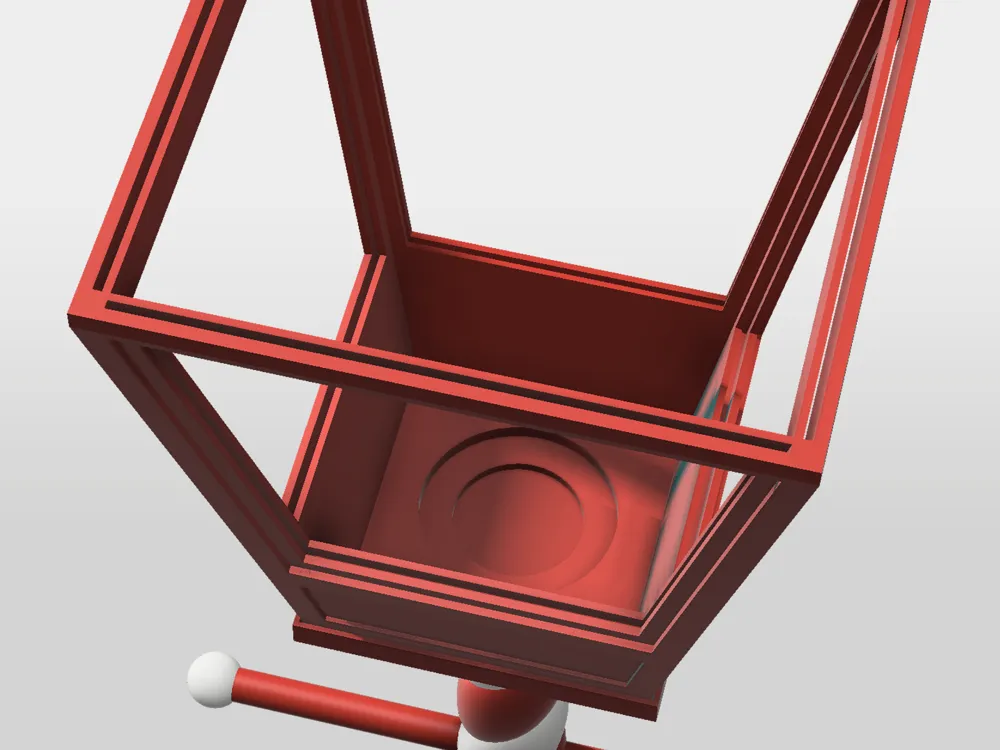
The lantern shade can be used with or without decorative window inserts.
You’ll find a collection of different designs on my profile — from clear window panels to softly festive Christmas motifs.
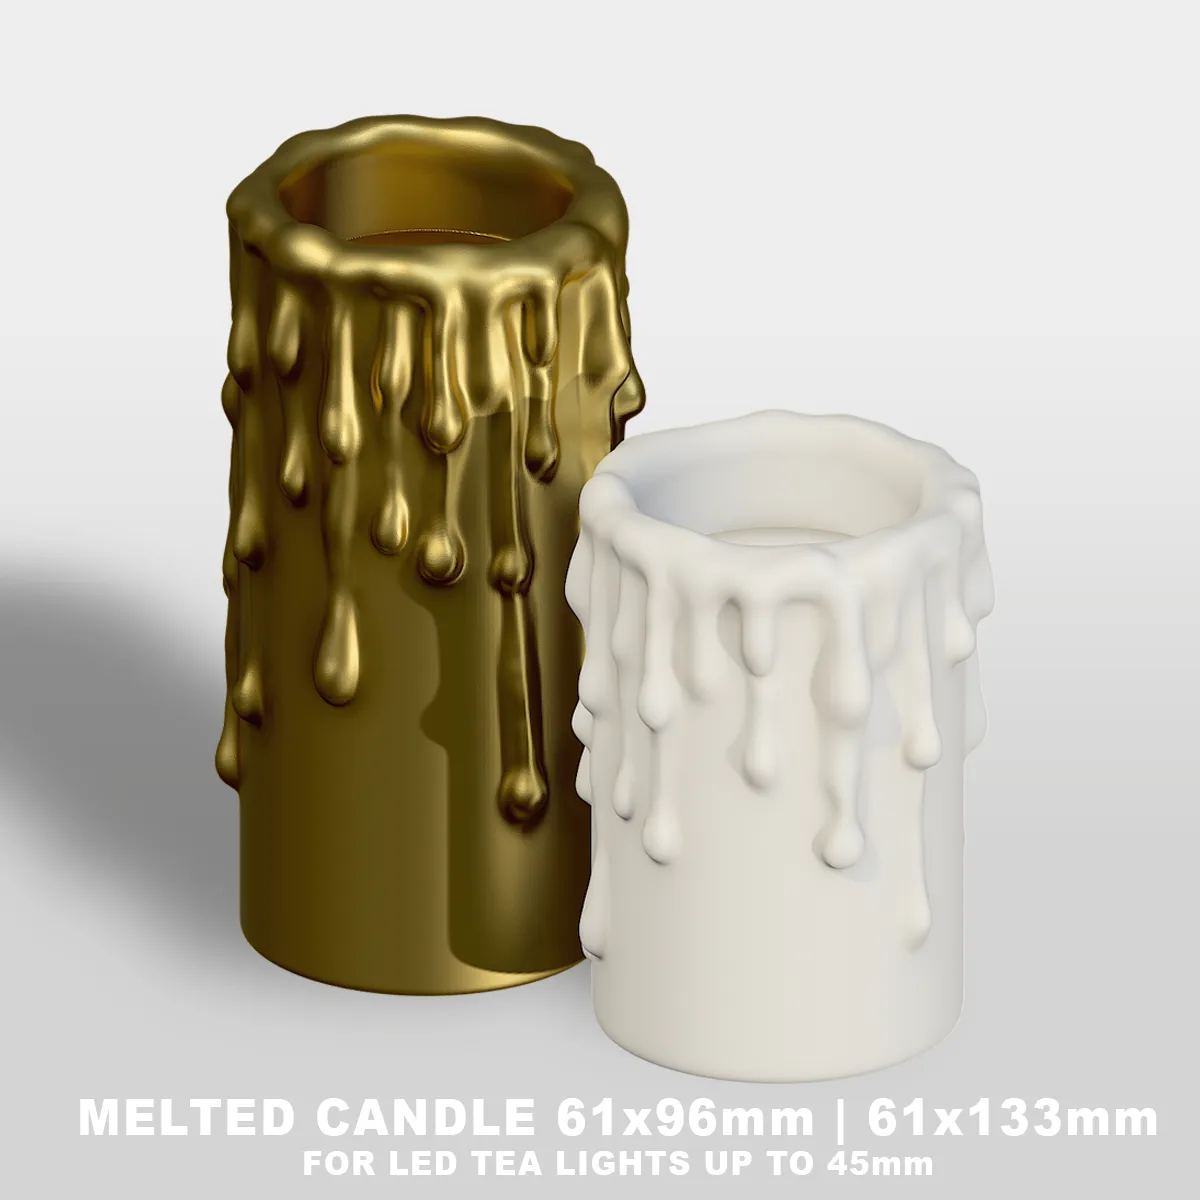
Inside the shade are two differently sized openings (4.5 cm & 6.7 cm) that fit both LED tealights and larger LED lamps.
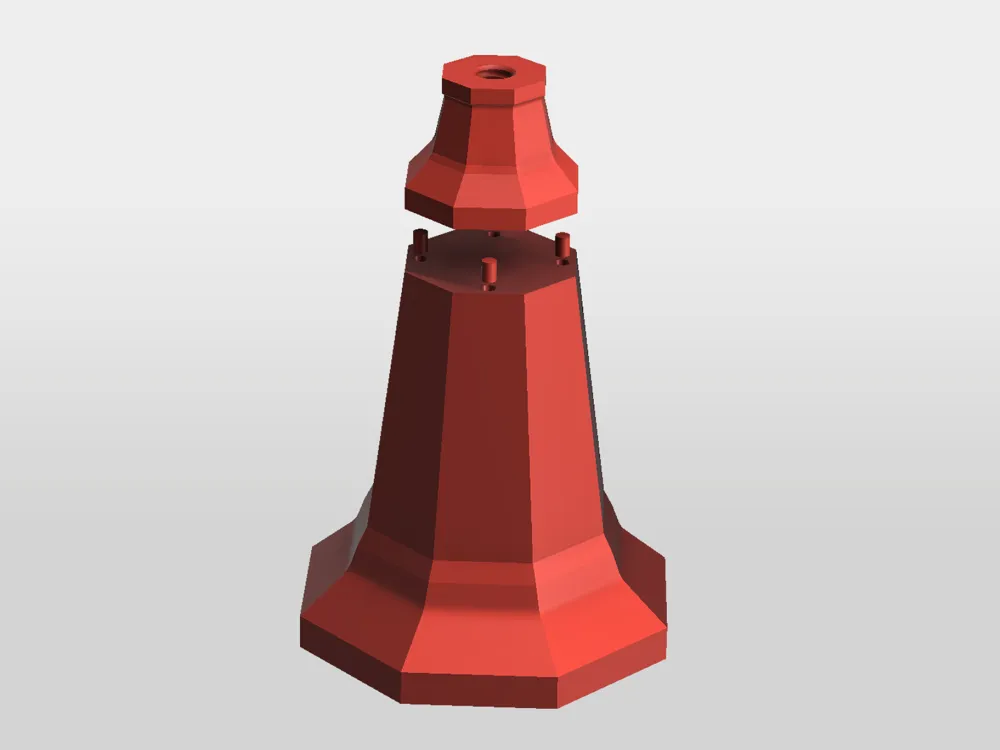
Practical Base with Weighting Compartment
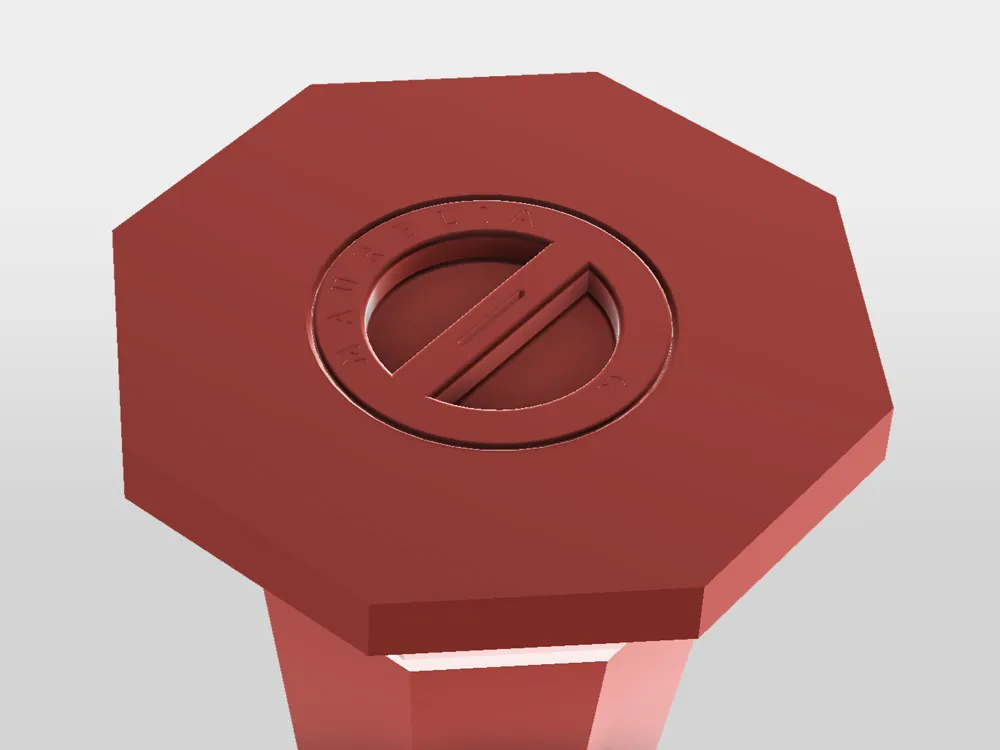
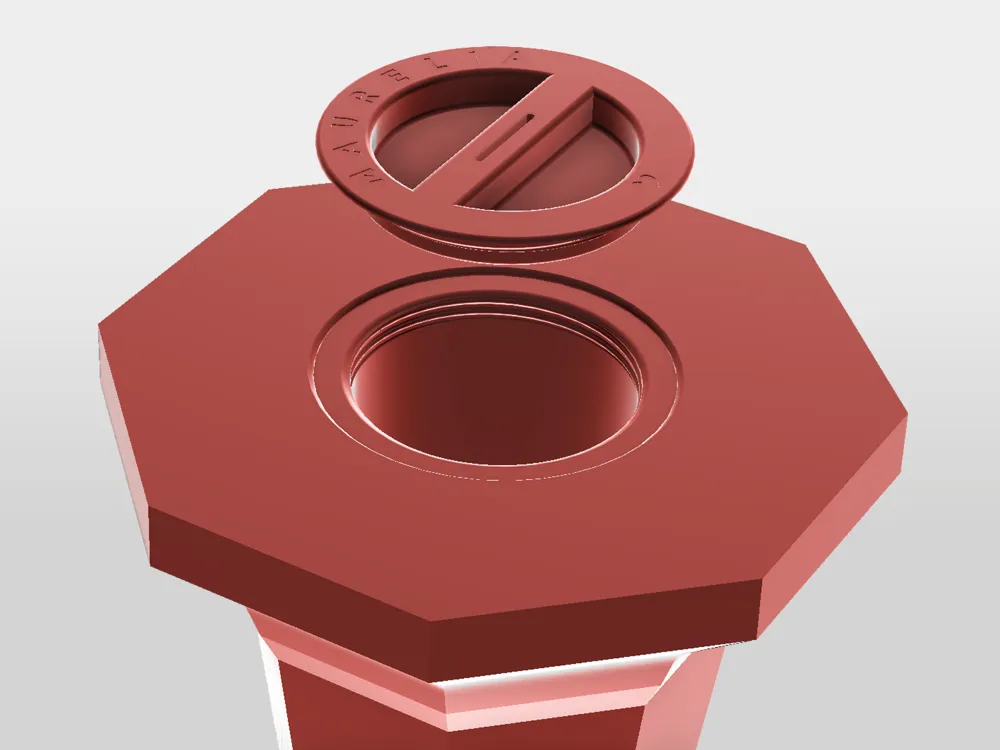
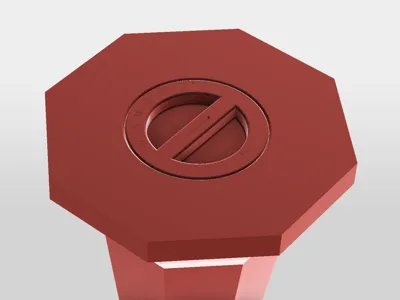
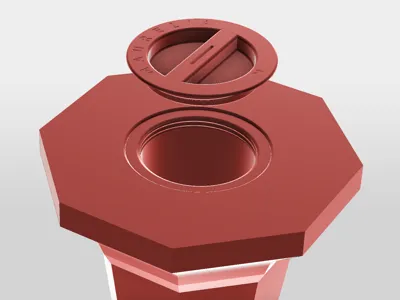
The base includes an integrated compartment that you can use to add weight (e.g., sand) or as a hidden storage compartment.
It closes with a screw-cap that fits tightly and cleanly.
Clean Look Thanks to Optimized Print Settings
To ensure perfect thread fit and stable screw connections, the model was designed with:
- adjusted layer heights
- strengthened internal blocks
- robust thread geometry
- and varying infill densities & wall thicknesses
AMS Color Changes Possible – but my recommendation: print in one color
The candy-cane surfaces are clearly separated and can easily be selected with the paint tool.
BUT:
This method generates a lot of poop and significantly increases printing time.
My recommendation:
Print in a single color, mask with painter’s tape, spray lightly — DONE!
It’s fast, clean, and looks fantastic.
Note About Support Structure – yes, the beginning is a bit fiddly…
The very first print part includes a specially adapted support structure in the bottom section, which — depending on the filament — may require some patience to remove.
You might think: “Great… I already don’t feel like doing this.”
But don’t worry: Only this first part is a little tricky — everything else prints super easily!
Once you get past this one, the rest of the lantern prints smoothly and the assembly becomes pleasantly straightforward.
PRINT SETTINGS:
Global settings:
0.2 mm layer height, 3 wall loops | 5% infill | gyroid | seam position: back
base_cap: 7 wall loops, bridge direction: 90°
connector: 10 wall loops
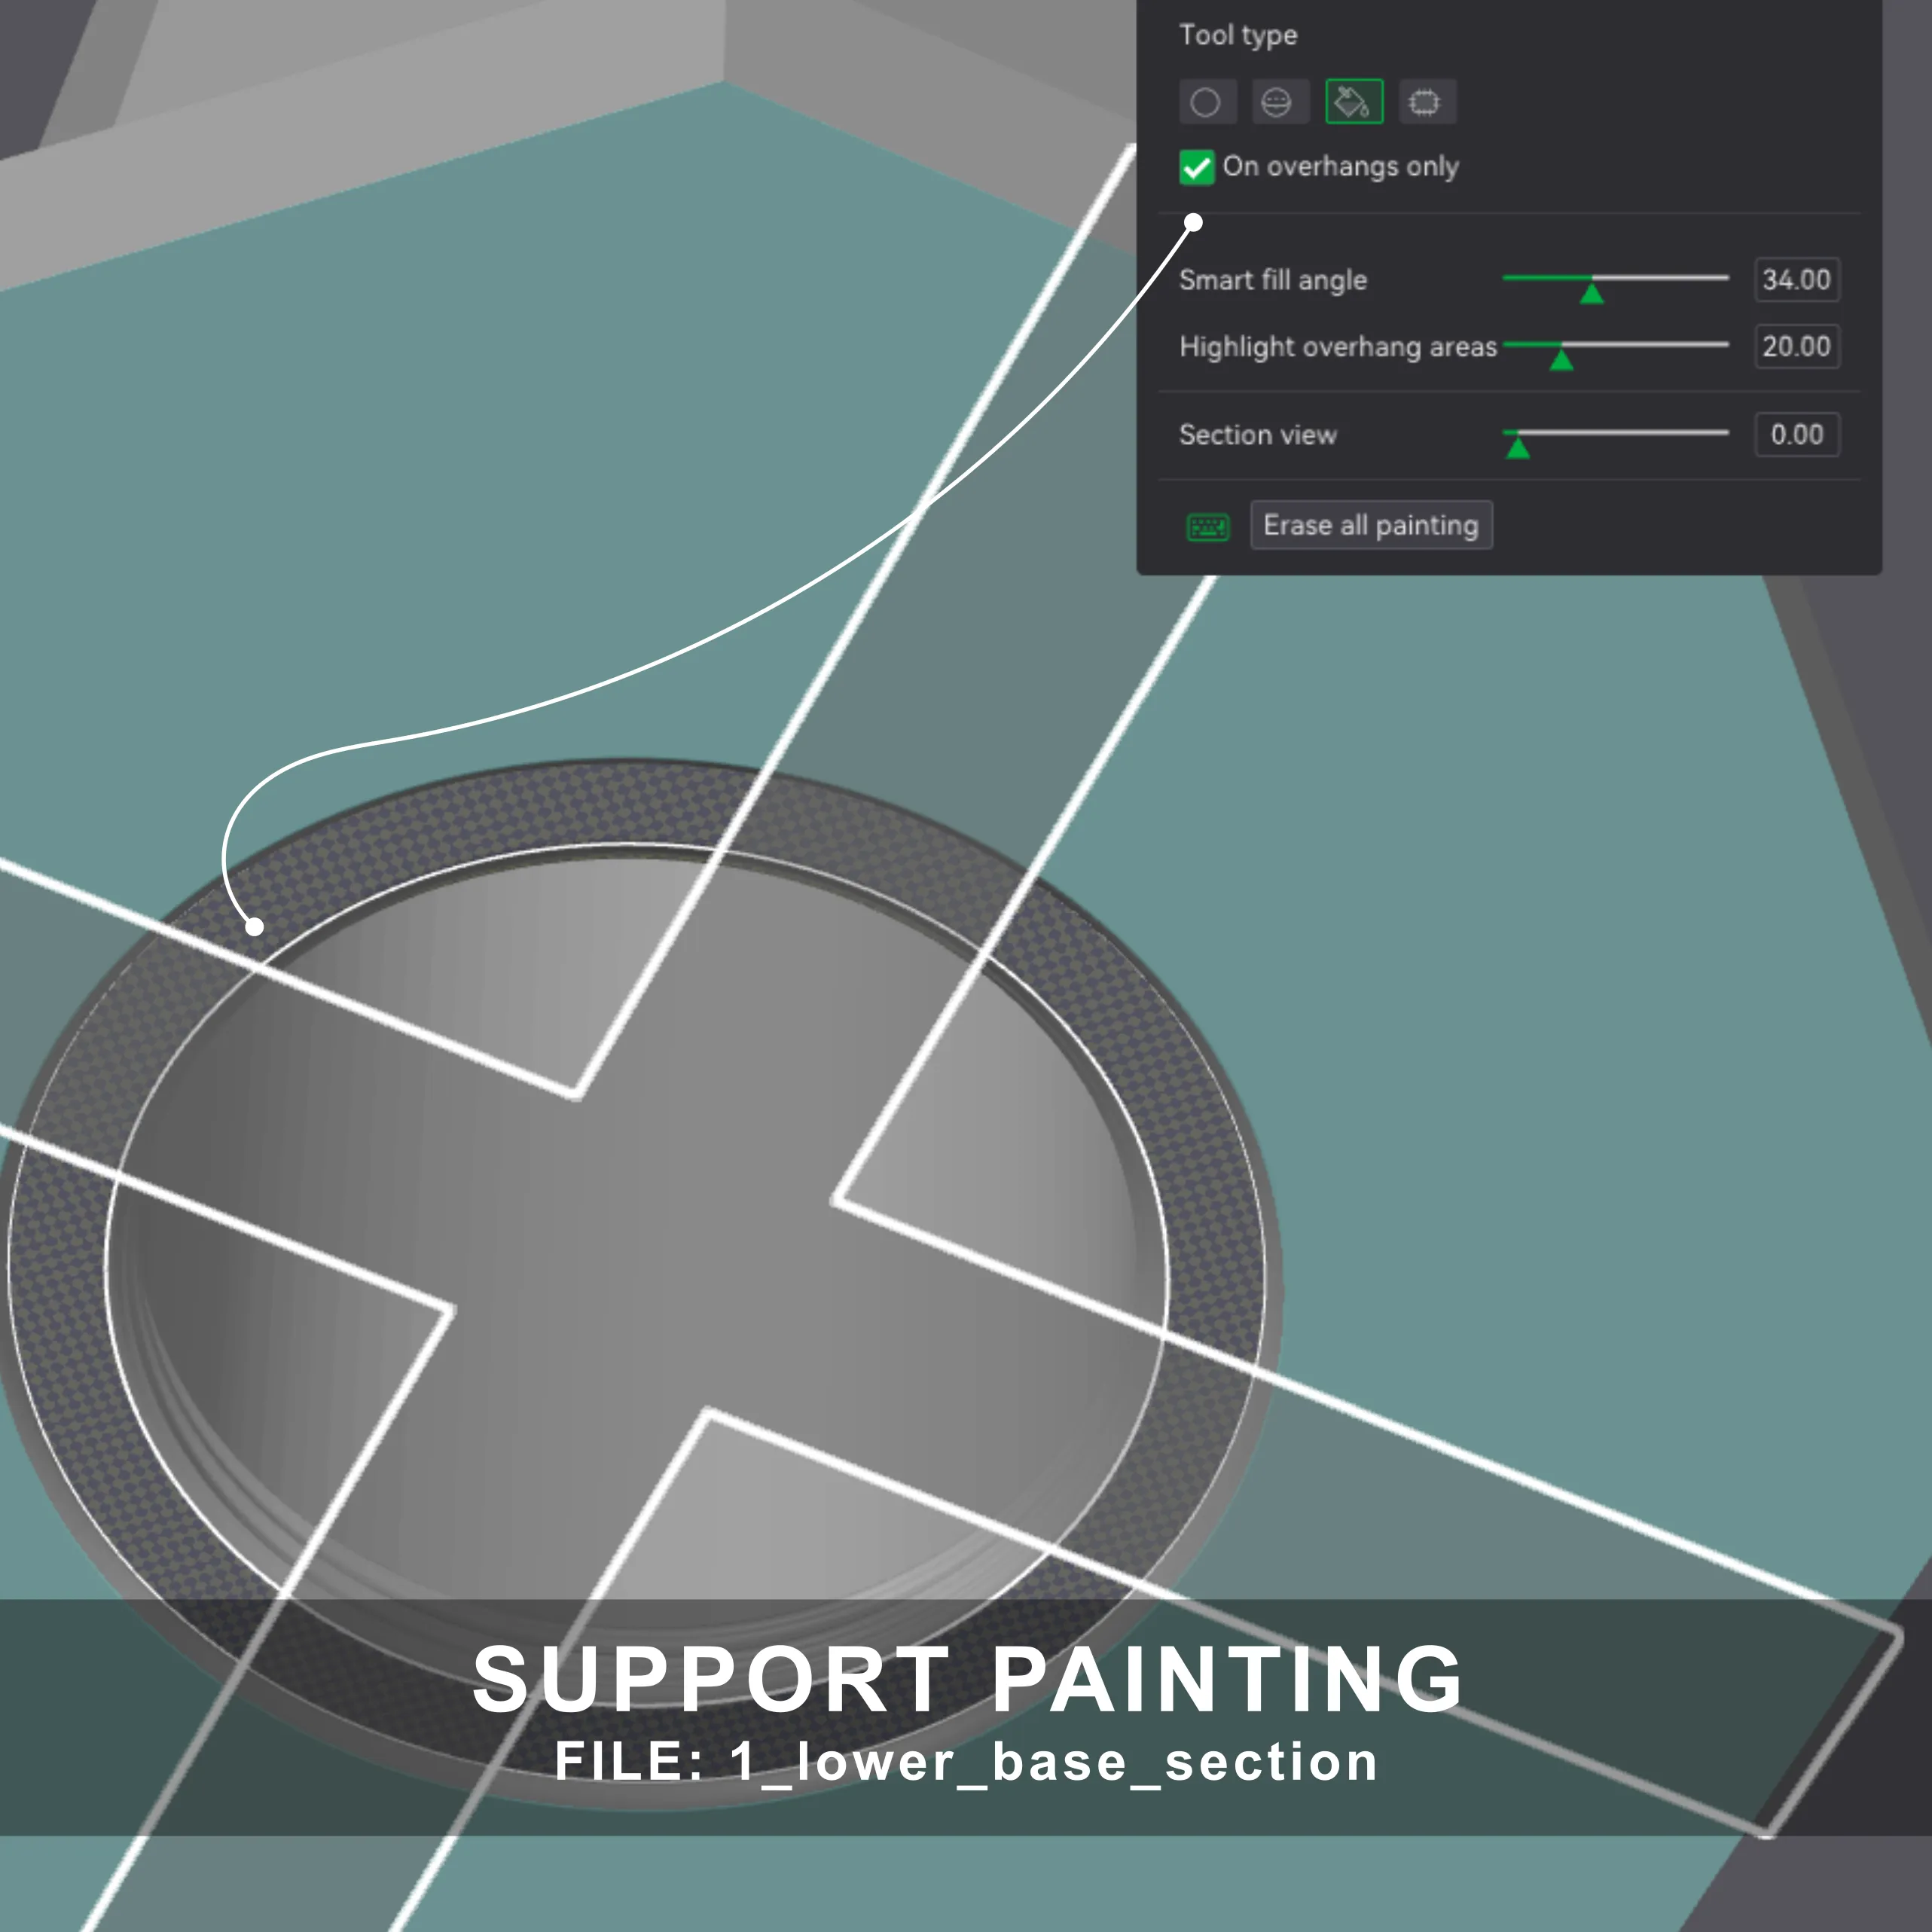
1_lower_base_section: tree support (manual), interface pattern: rectilinear, top Z distance: 0.28 mm
2_upper_base_section: 4 wall loops, 7 top layers, infill 8
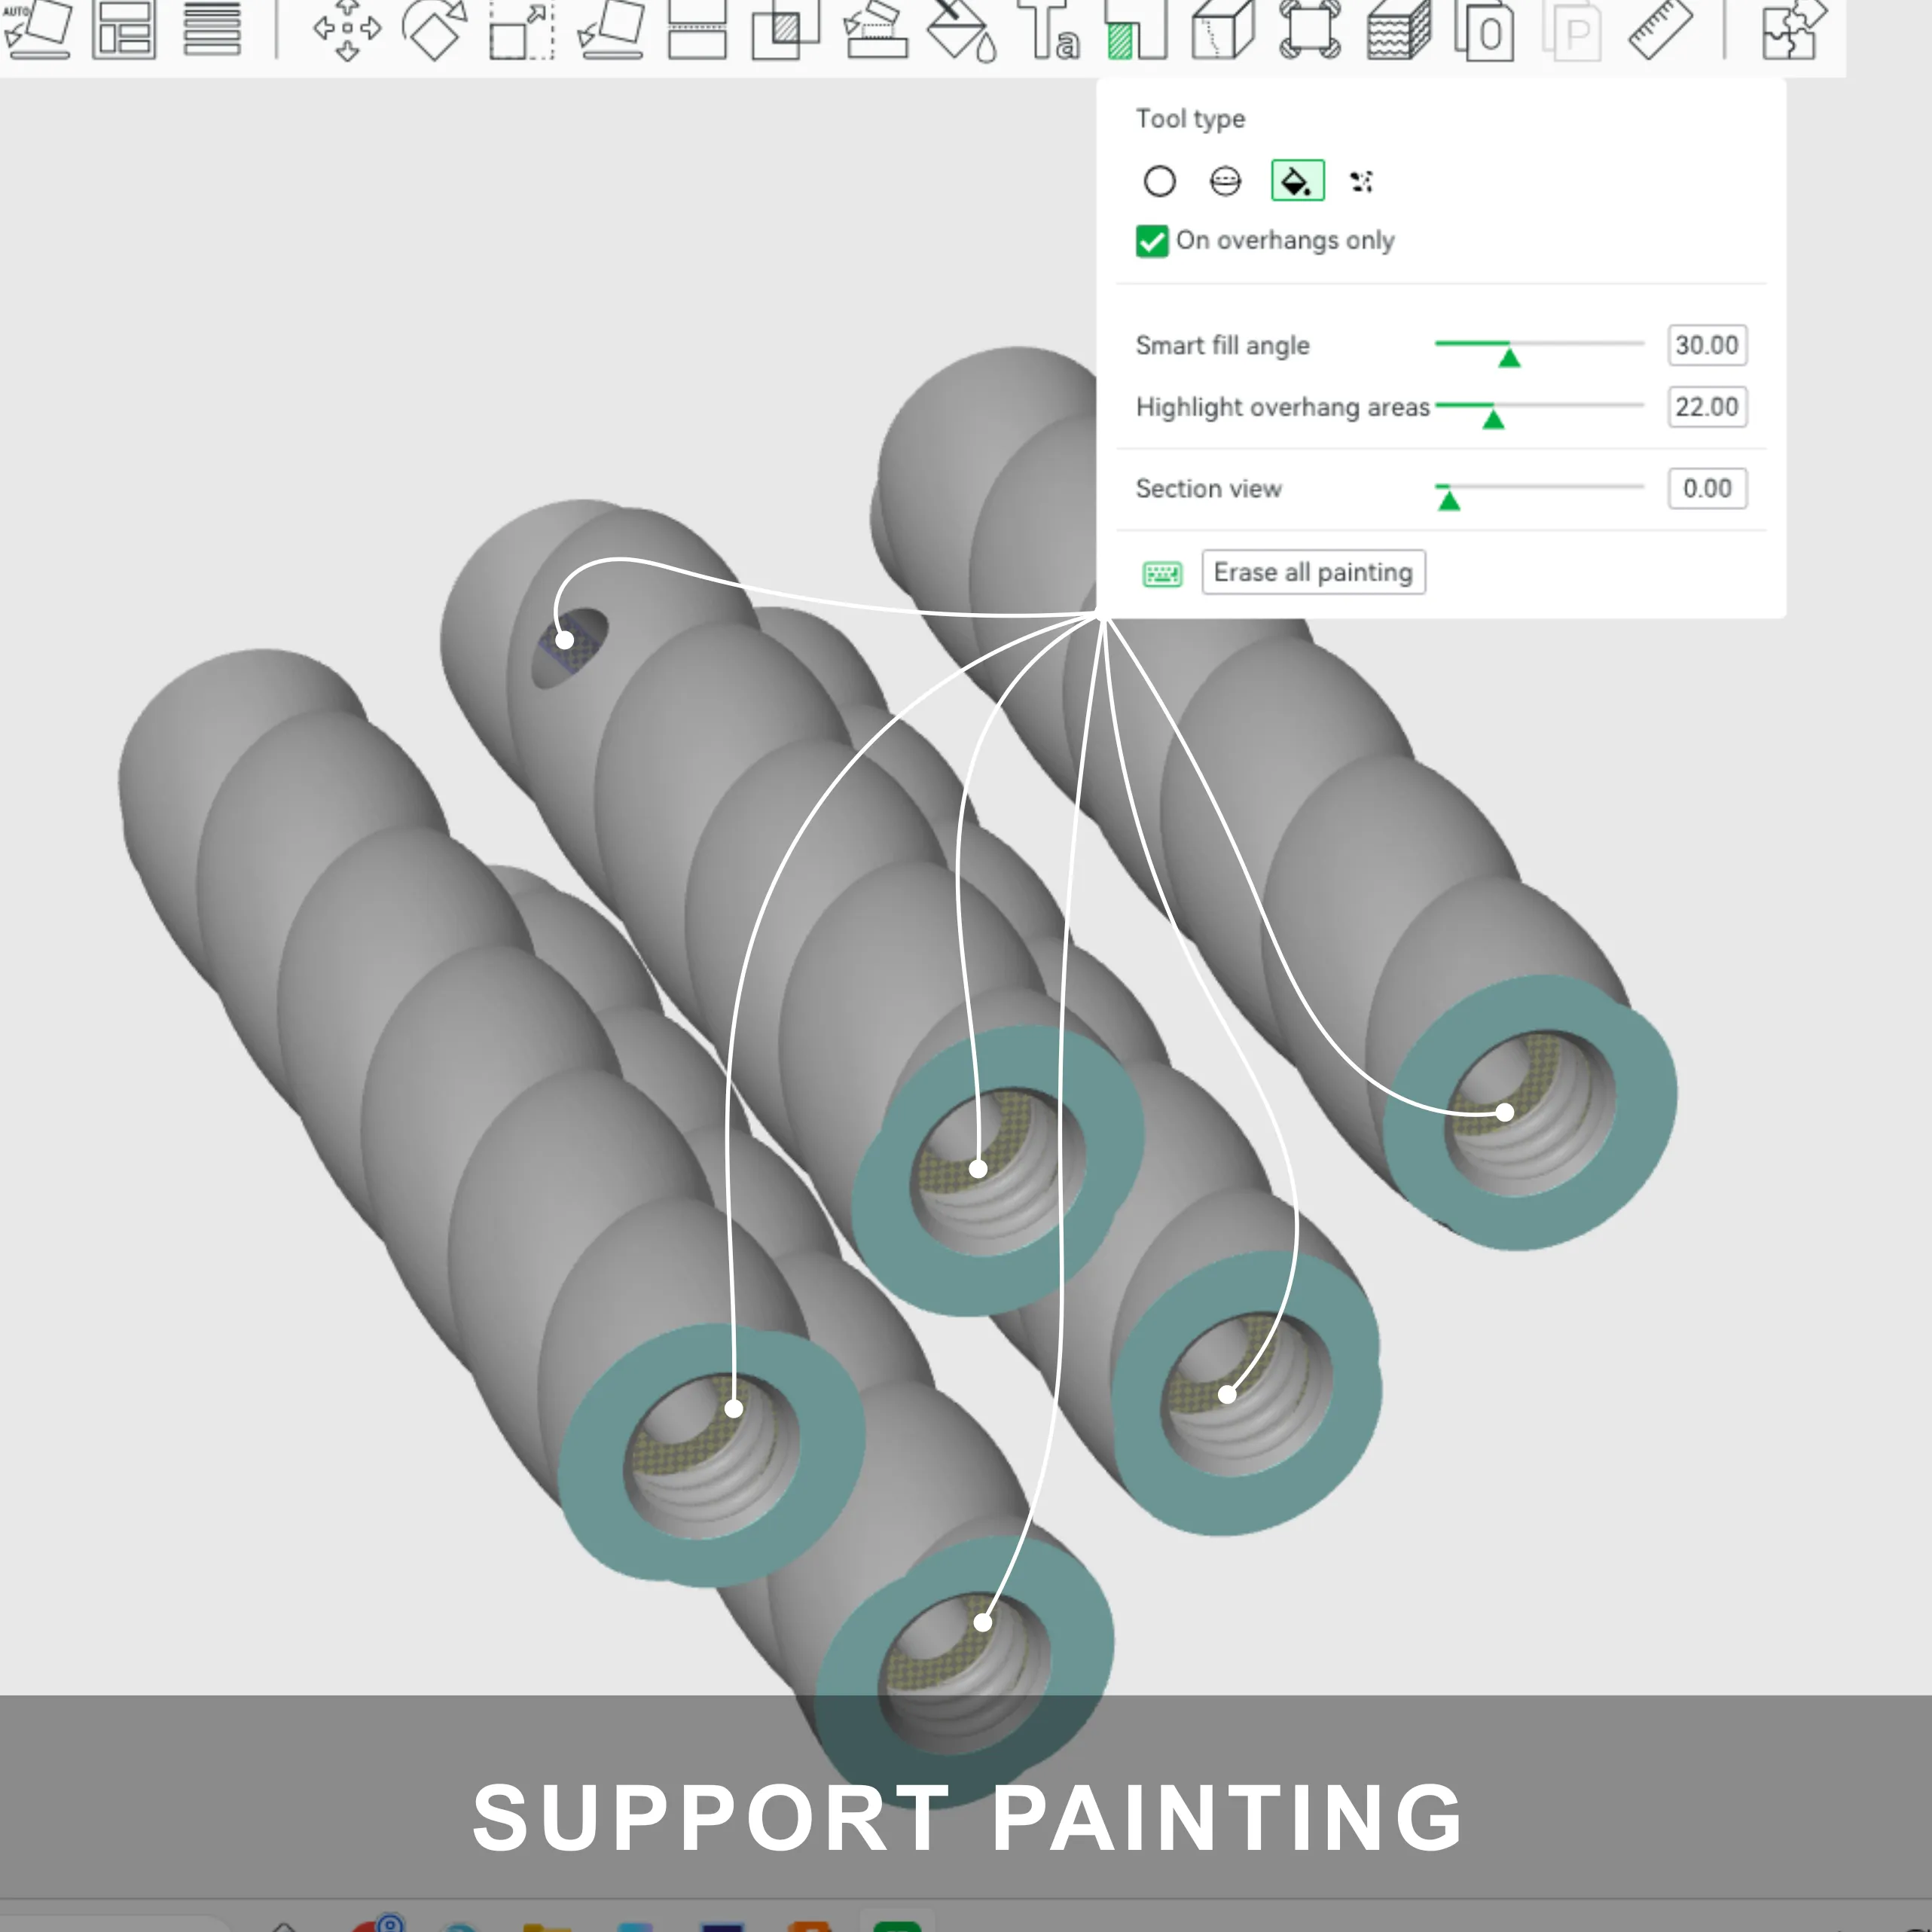
4(5, 6, 7)_pole_segment: 4 wall loops, 5 bottom layers, infill 8, tree support (manual), rectilinear interface, 0.28 mm top Z distance
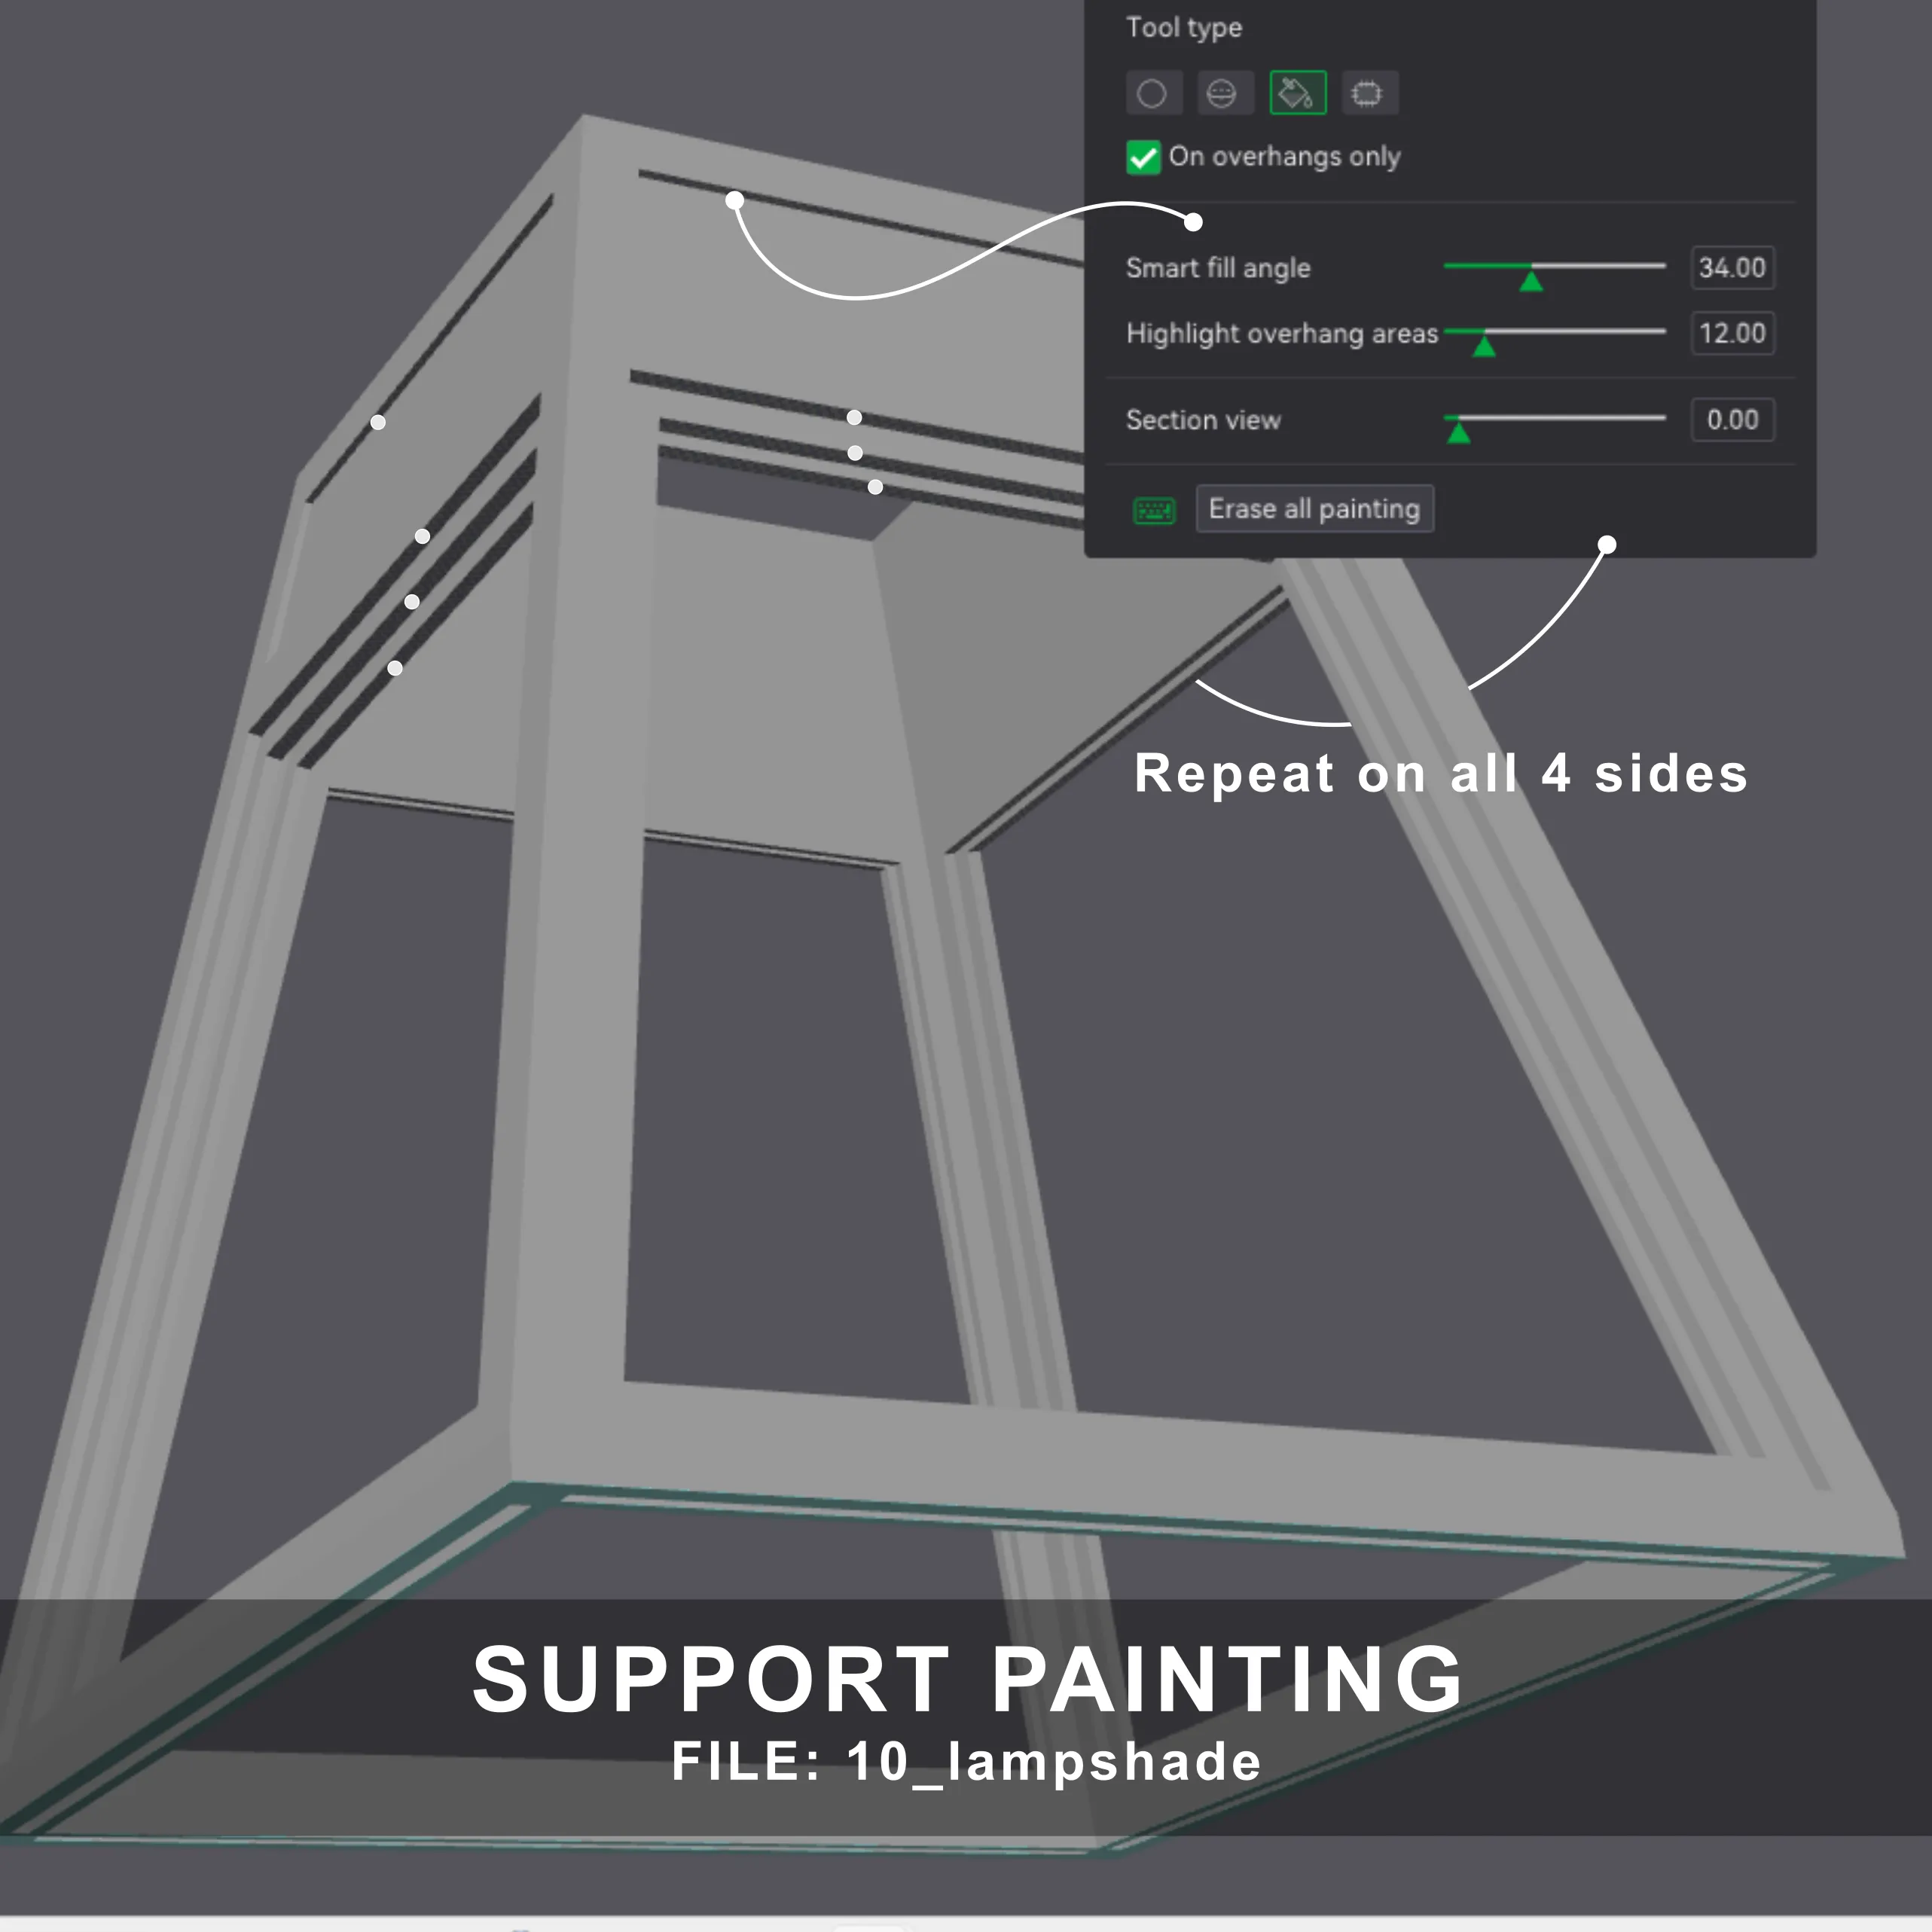
10_lampshade: tree support (manual), rectilinear interface, 0.28 mm top Z distance, initial layer expansion: 5
12_lamp_top: 3% infill
crossbars + spheres: outer brim: 5 mm
MODIFIER
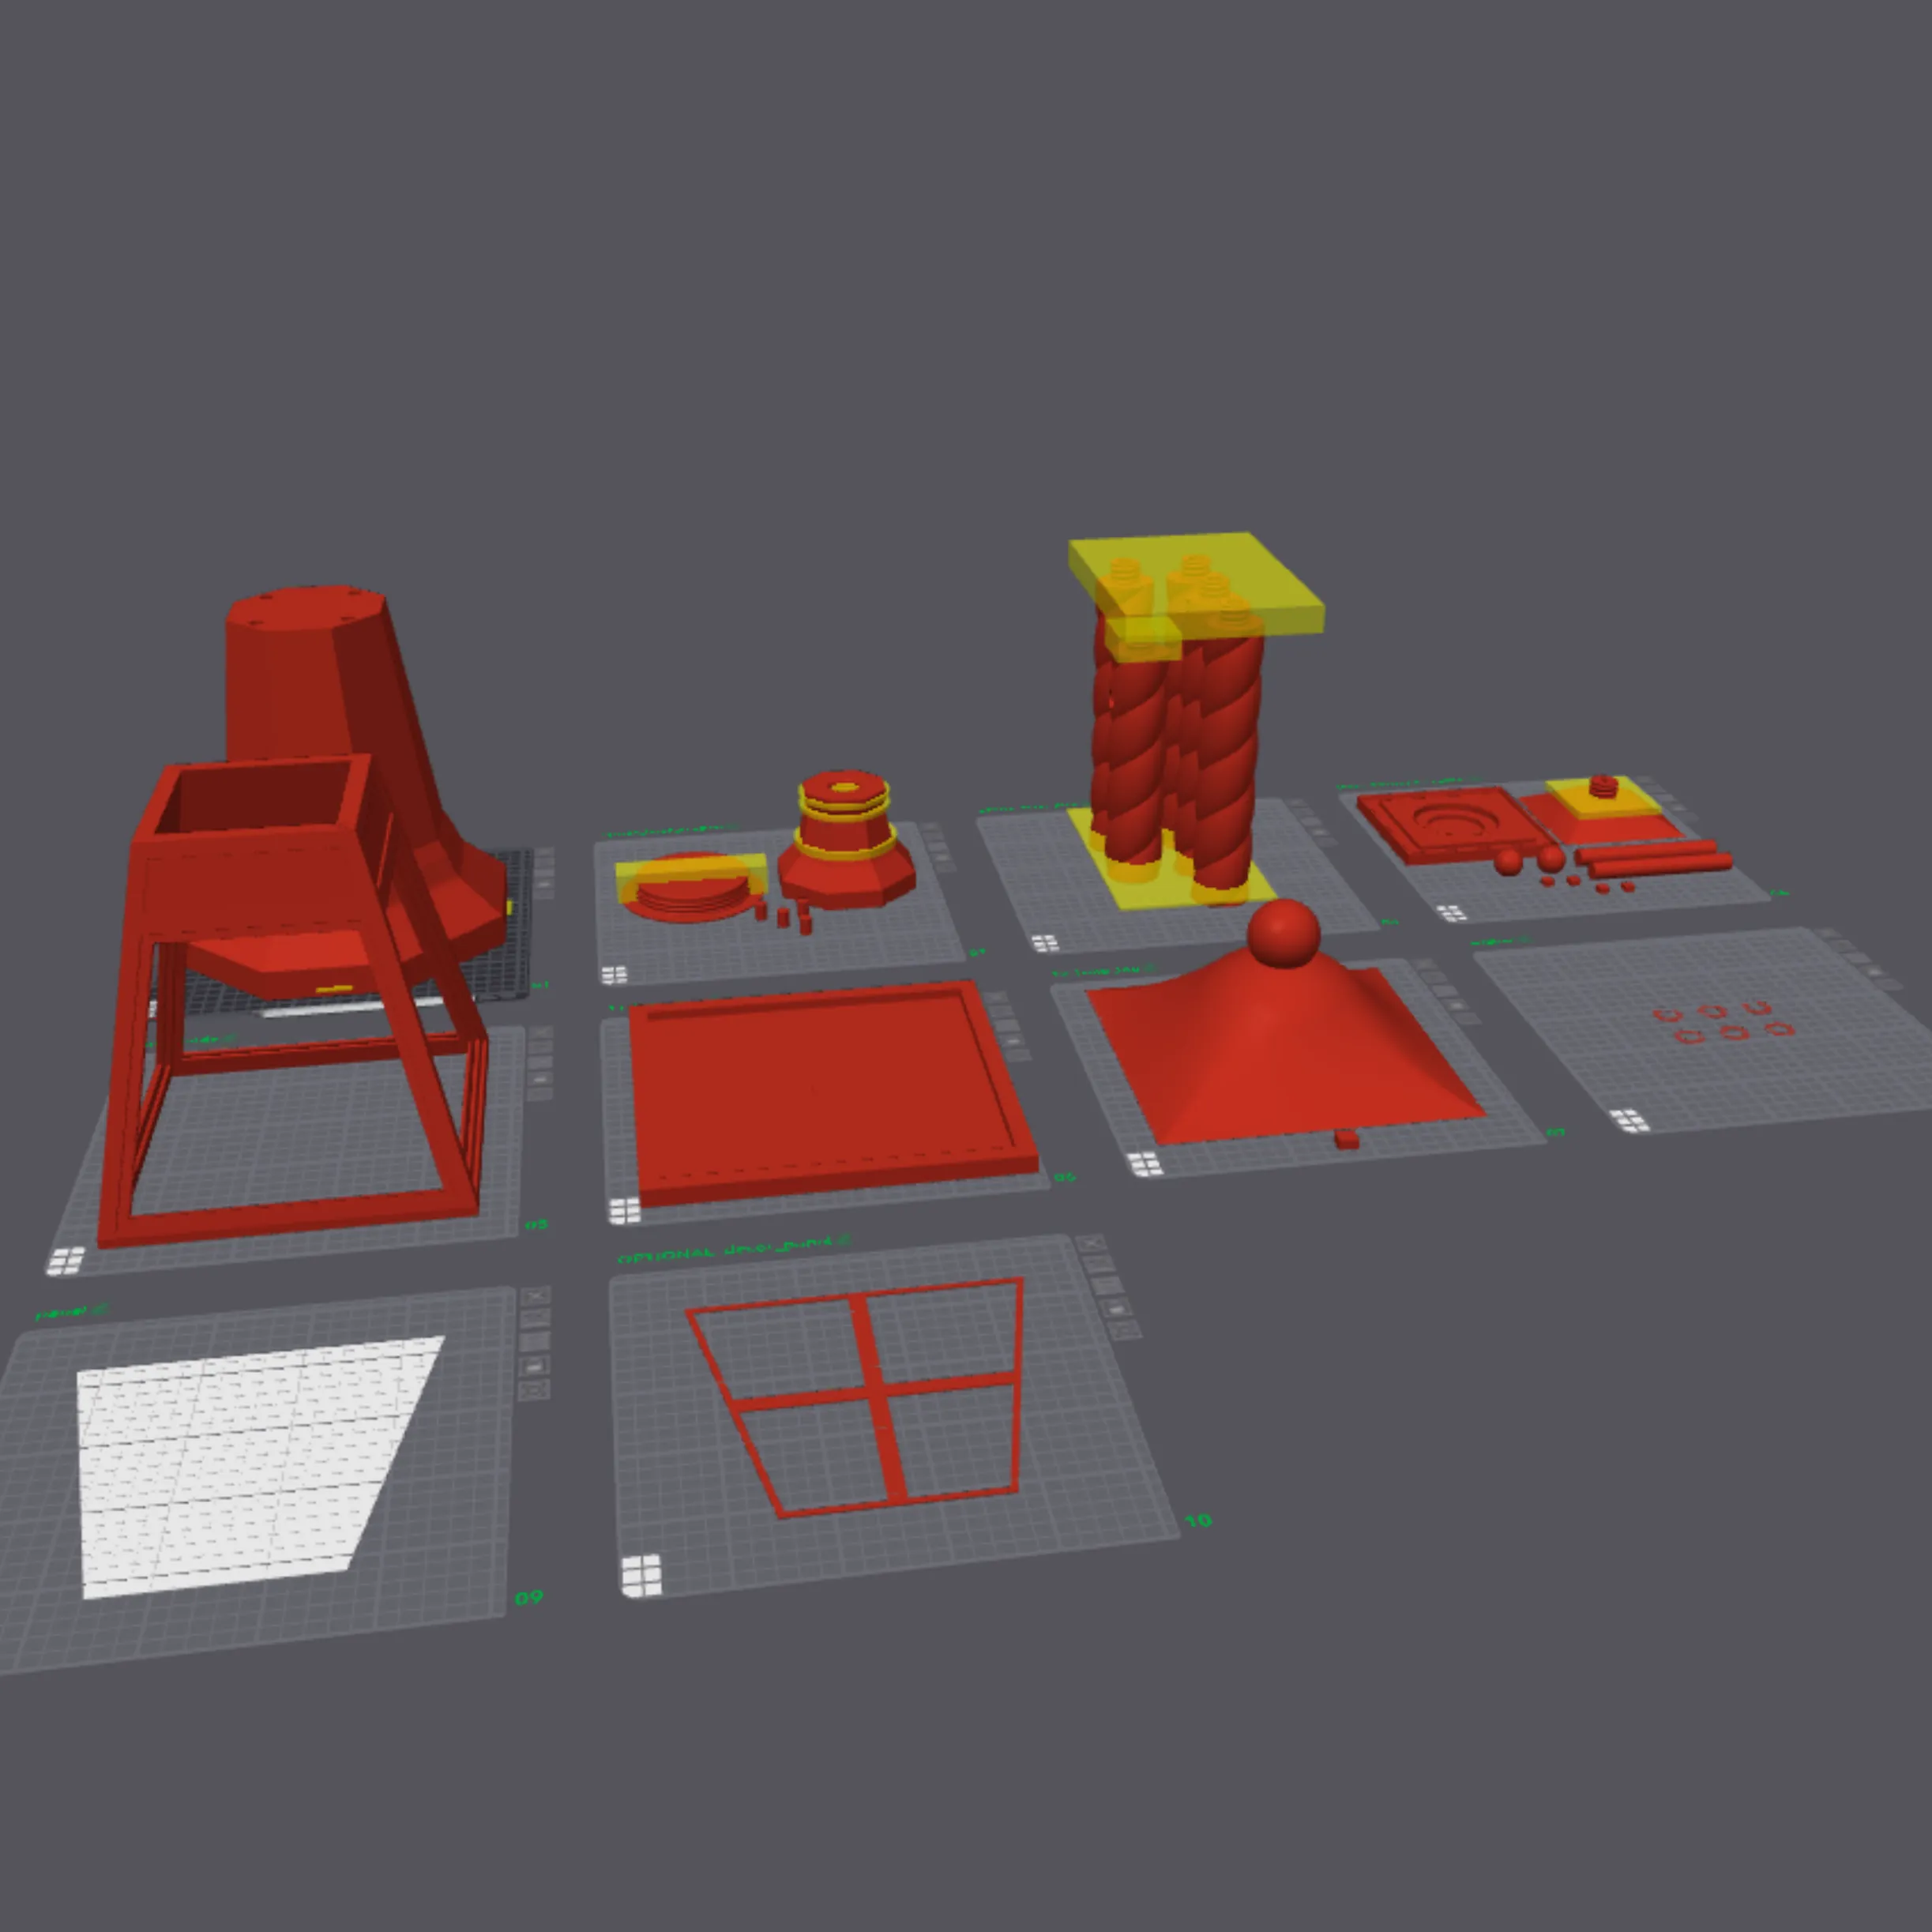
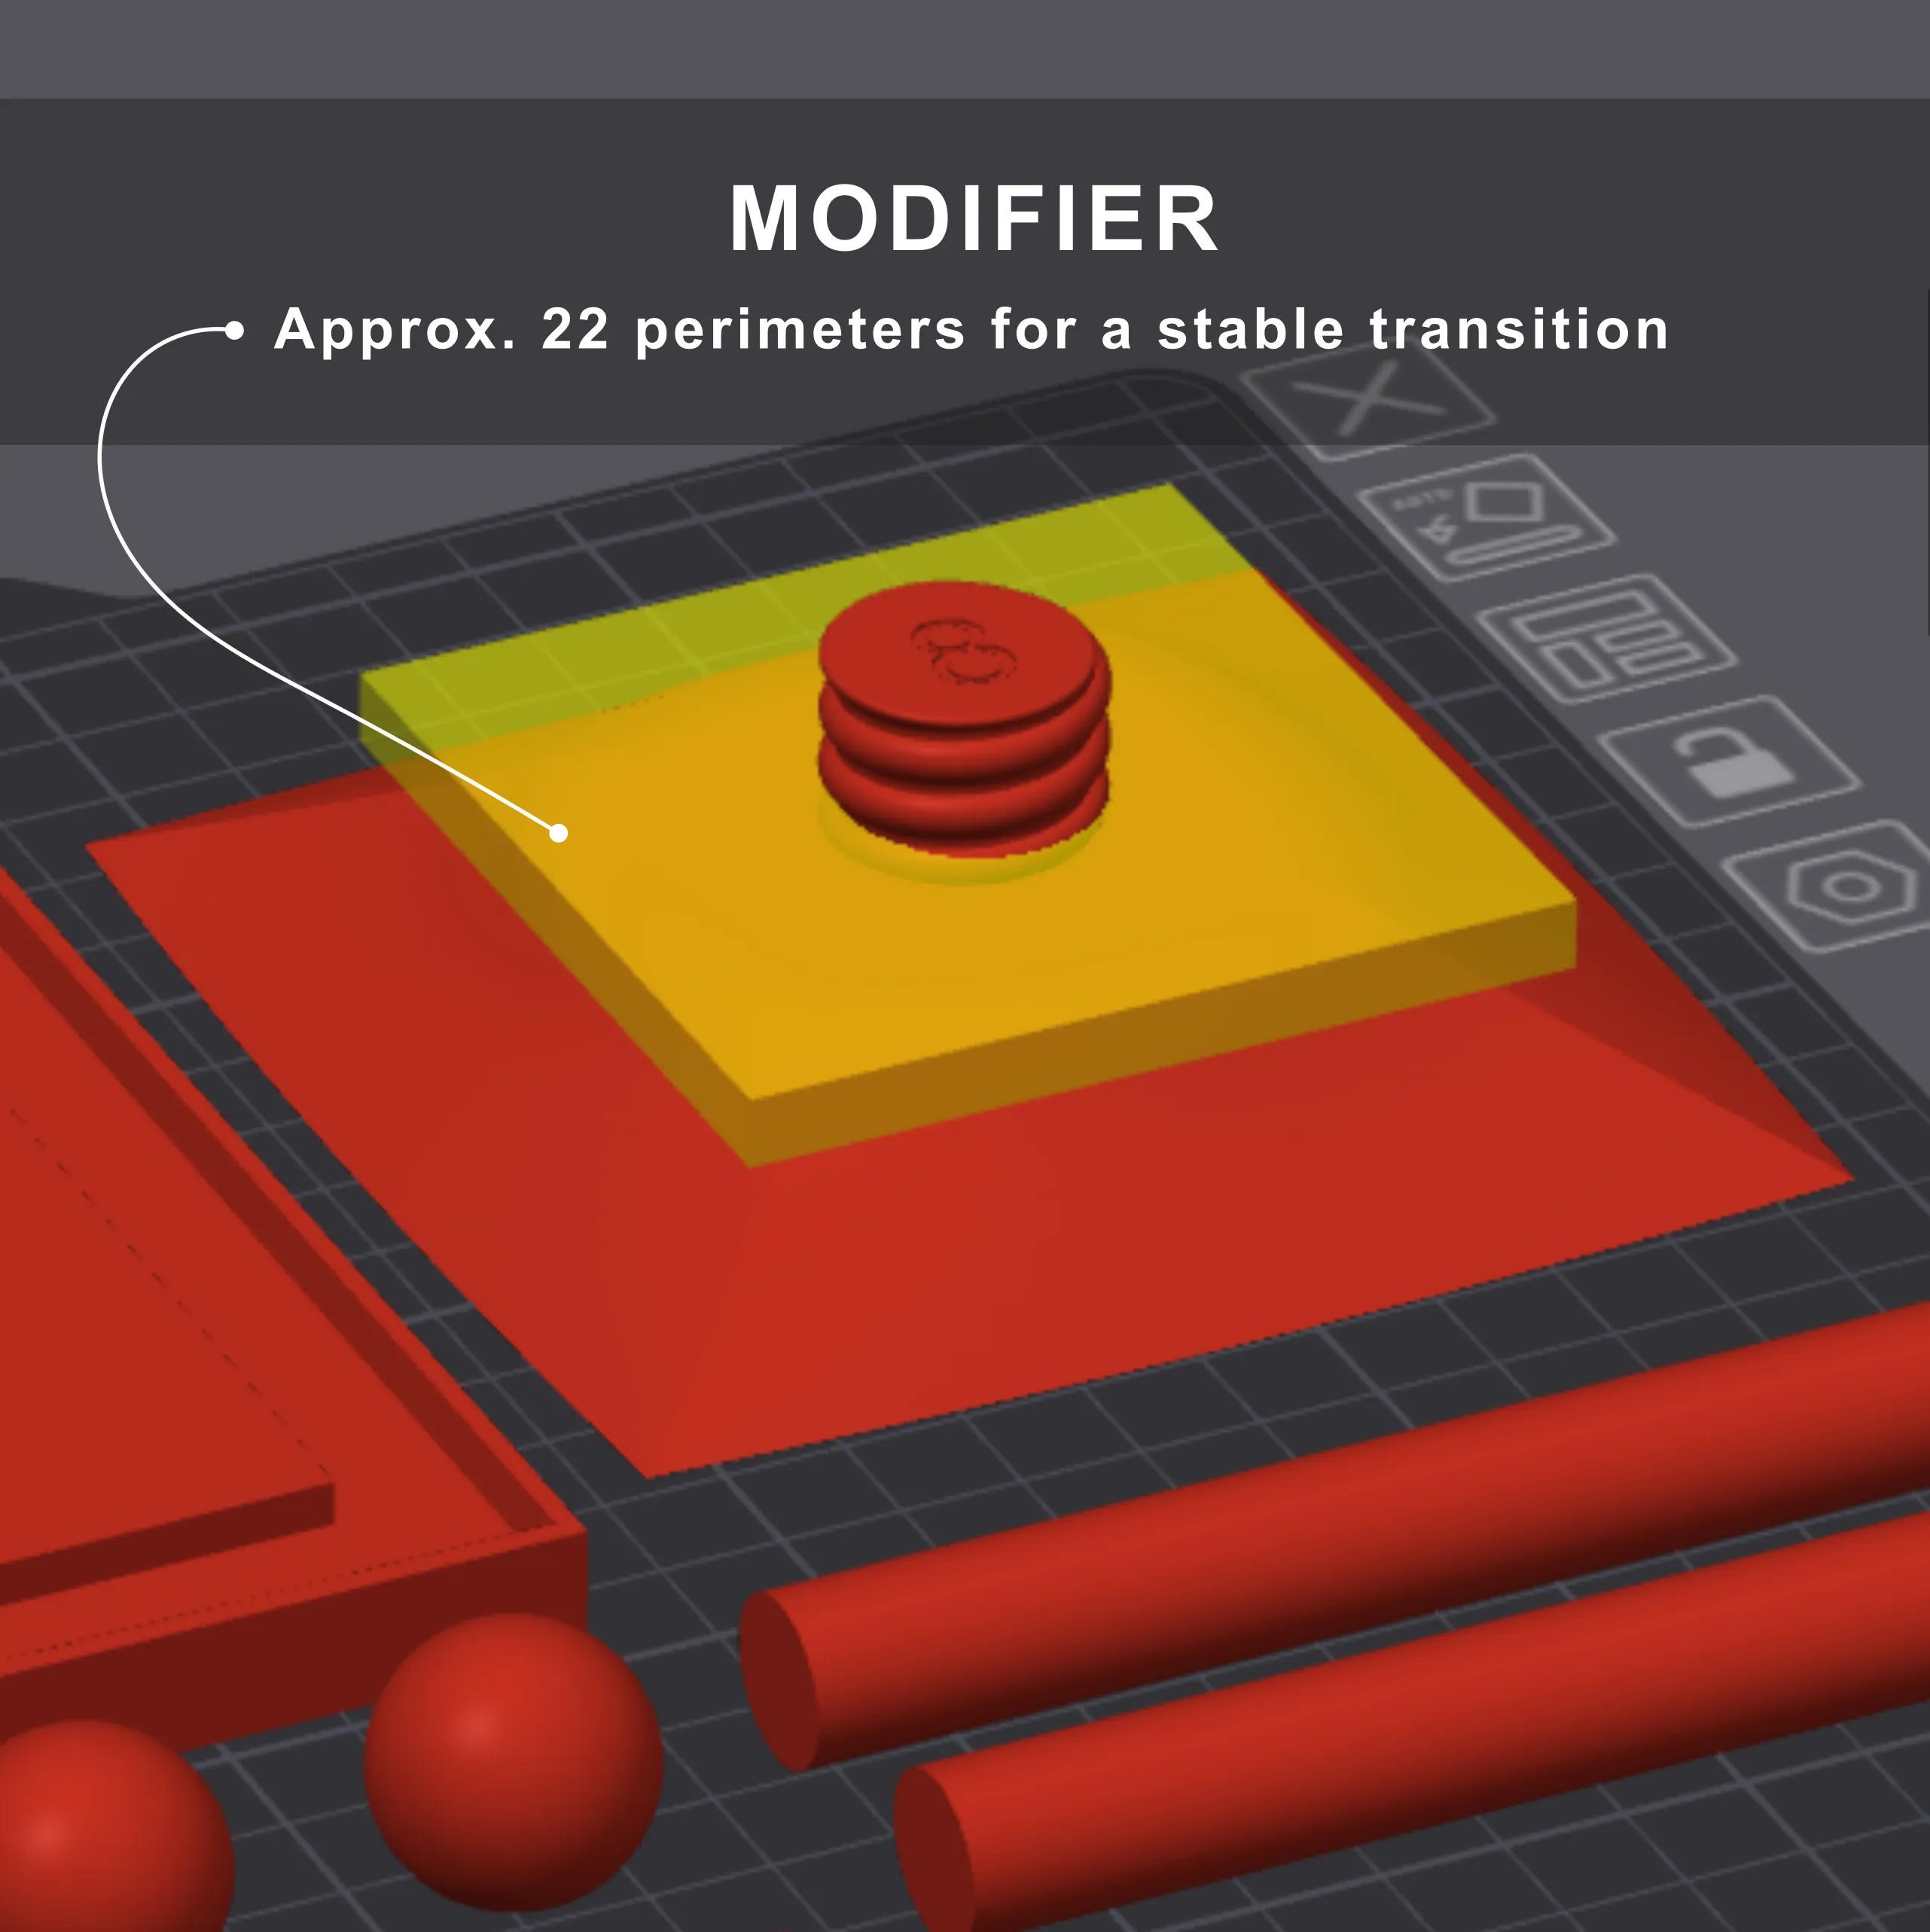
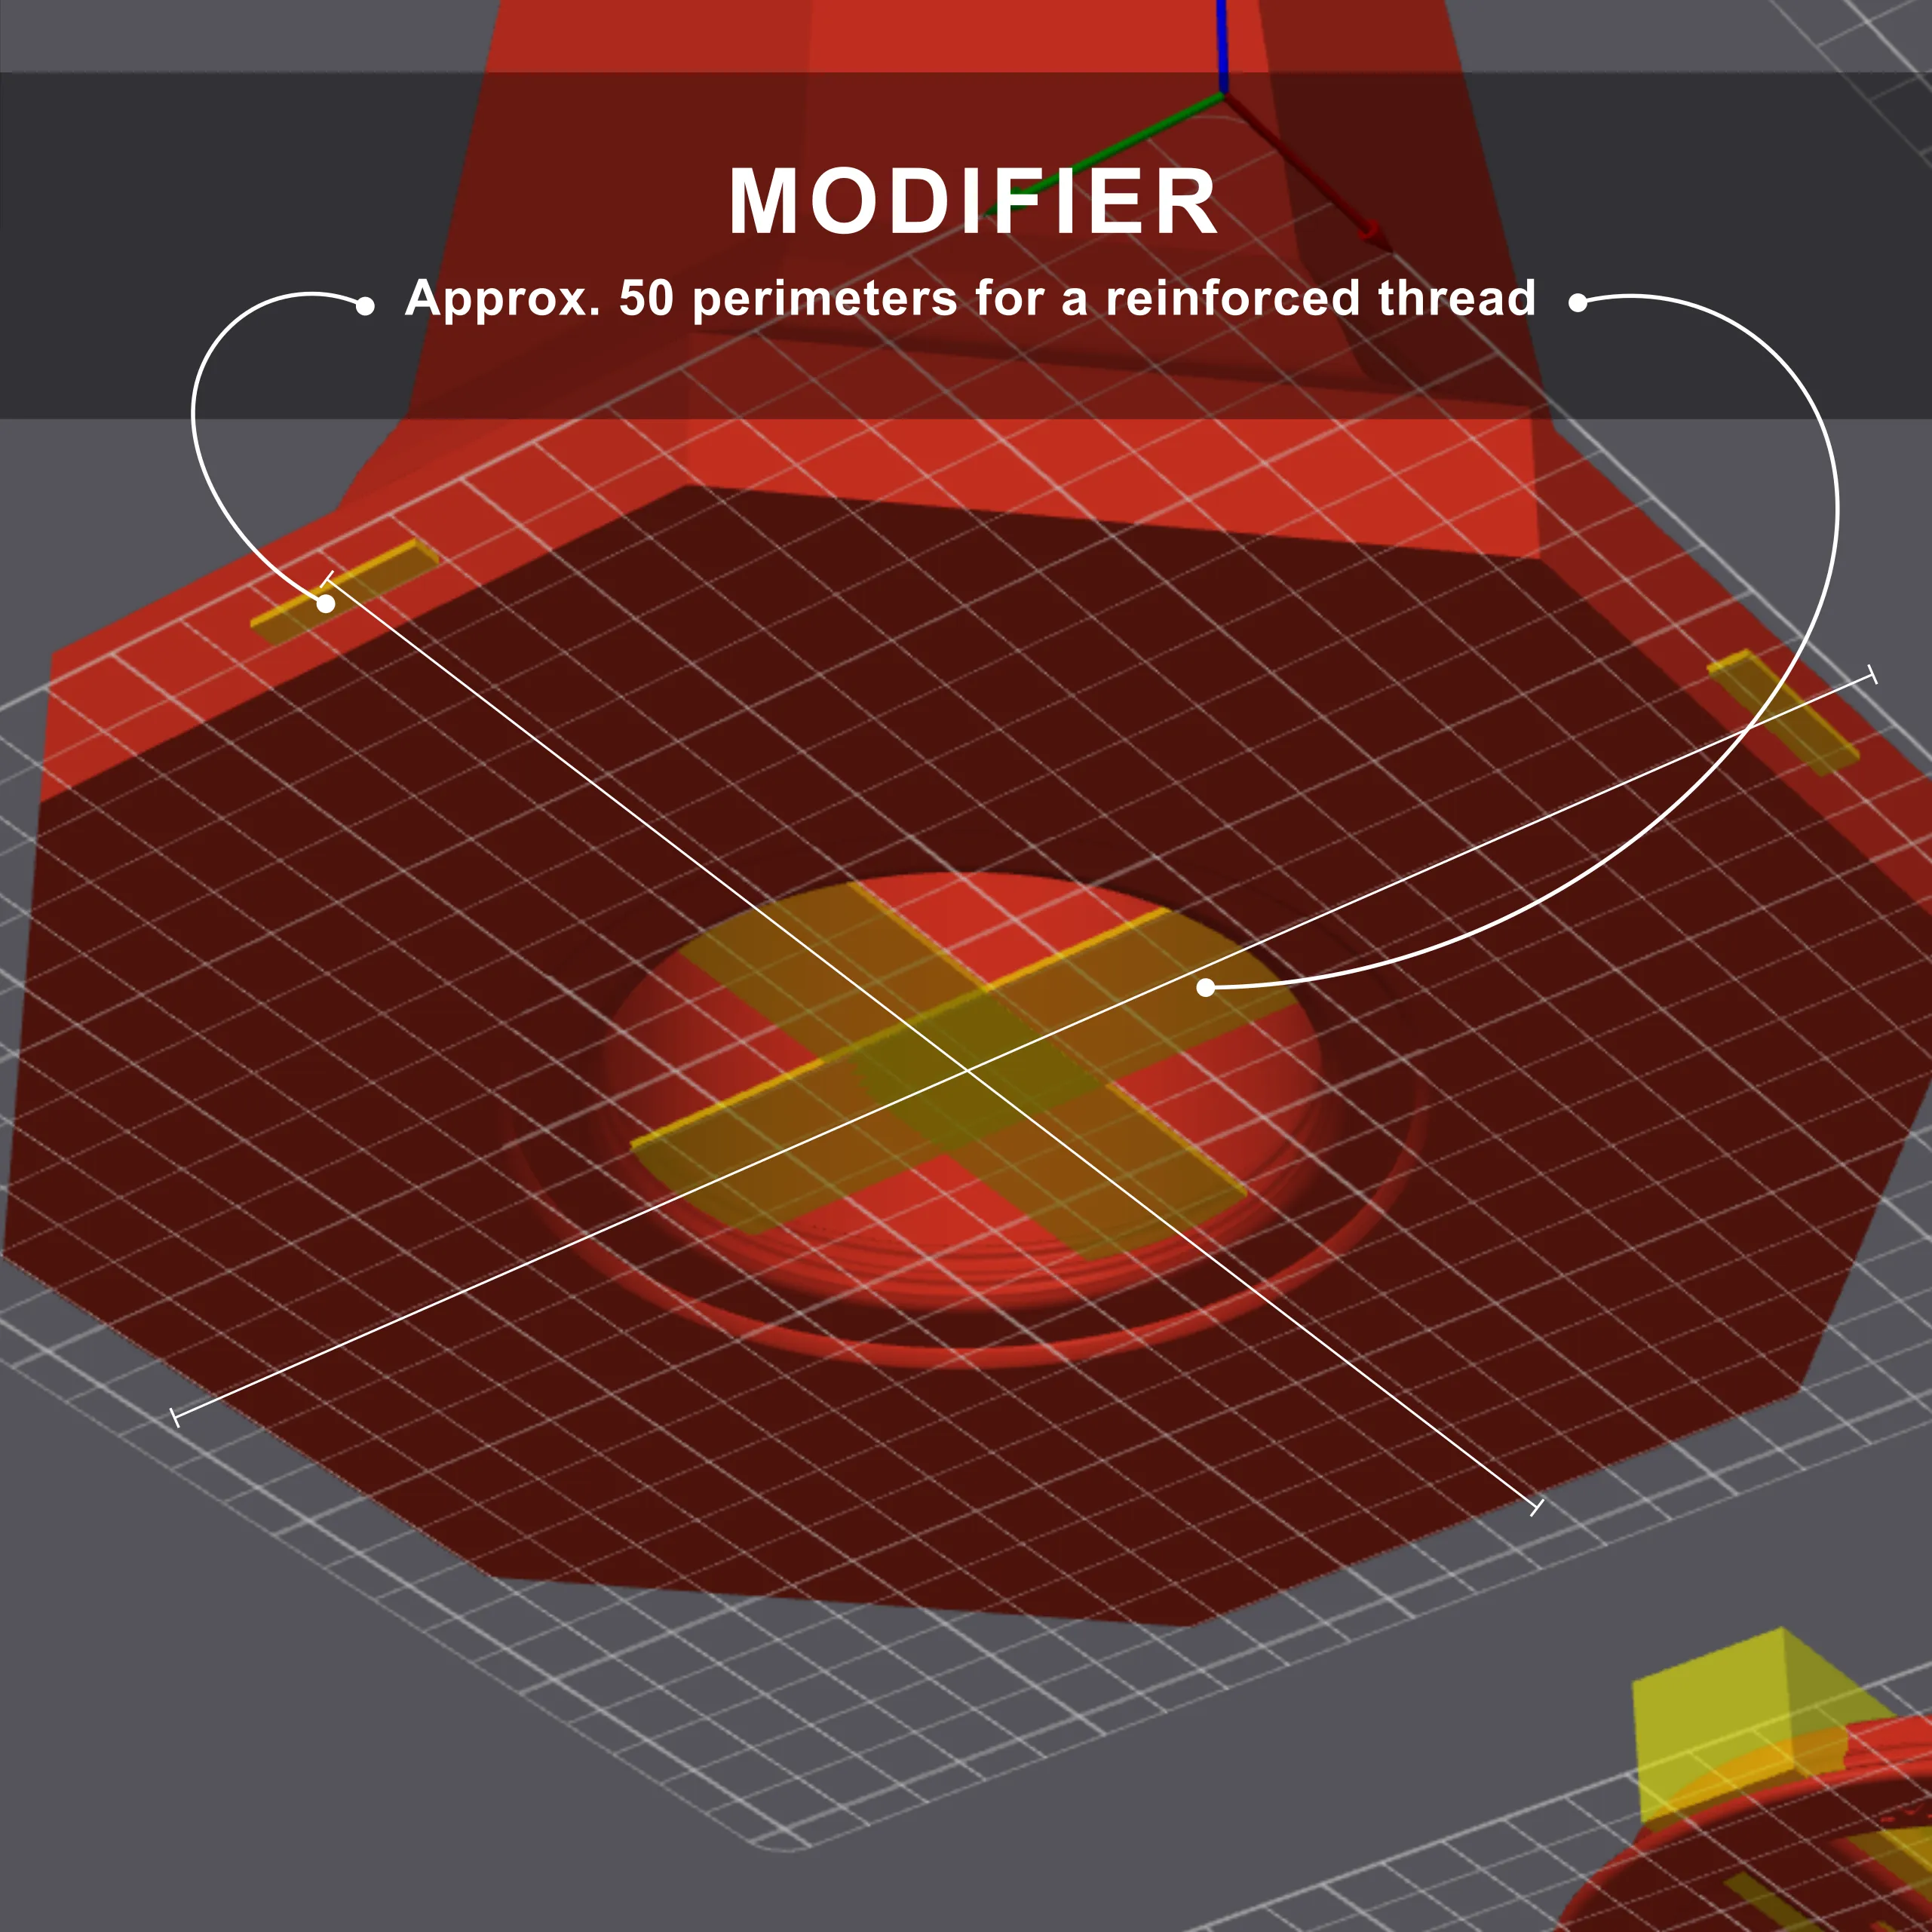
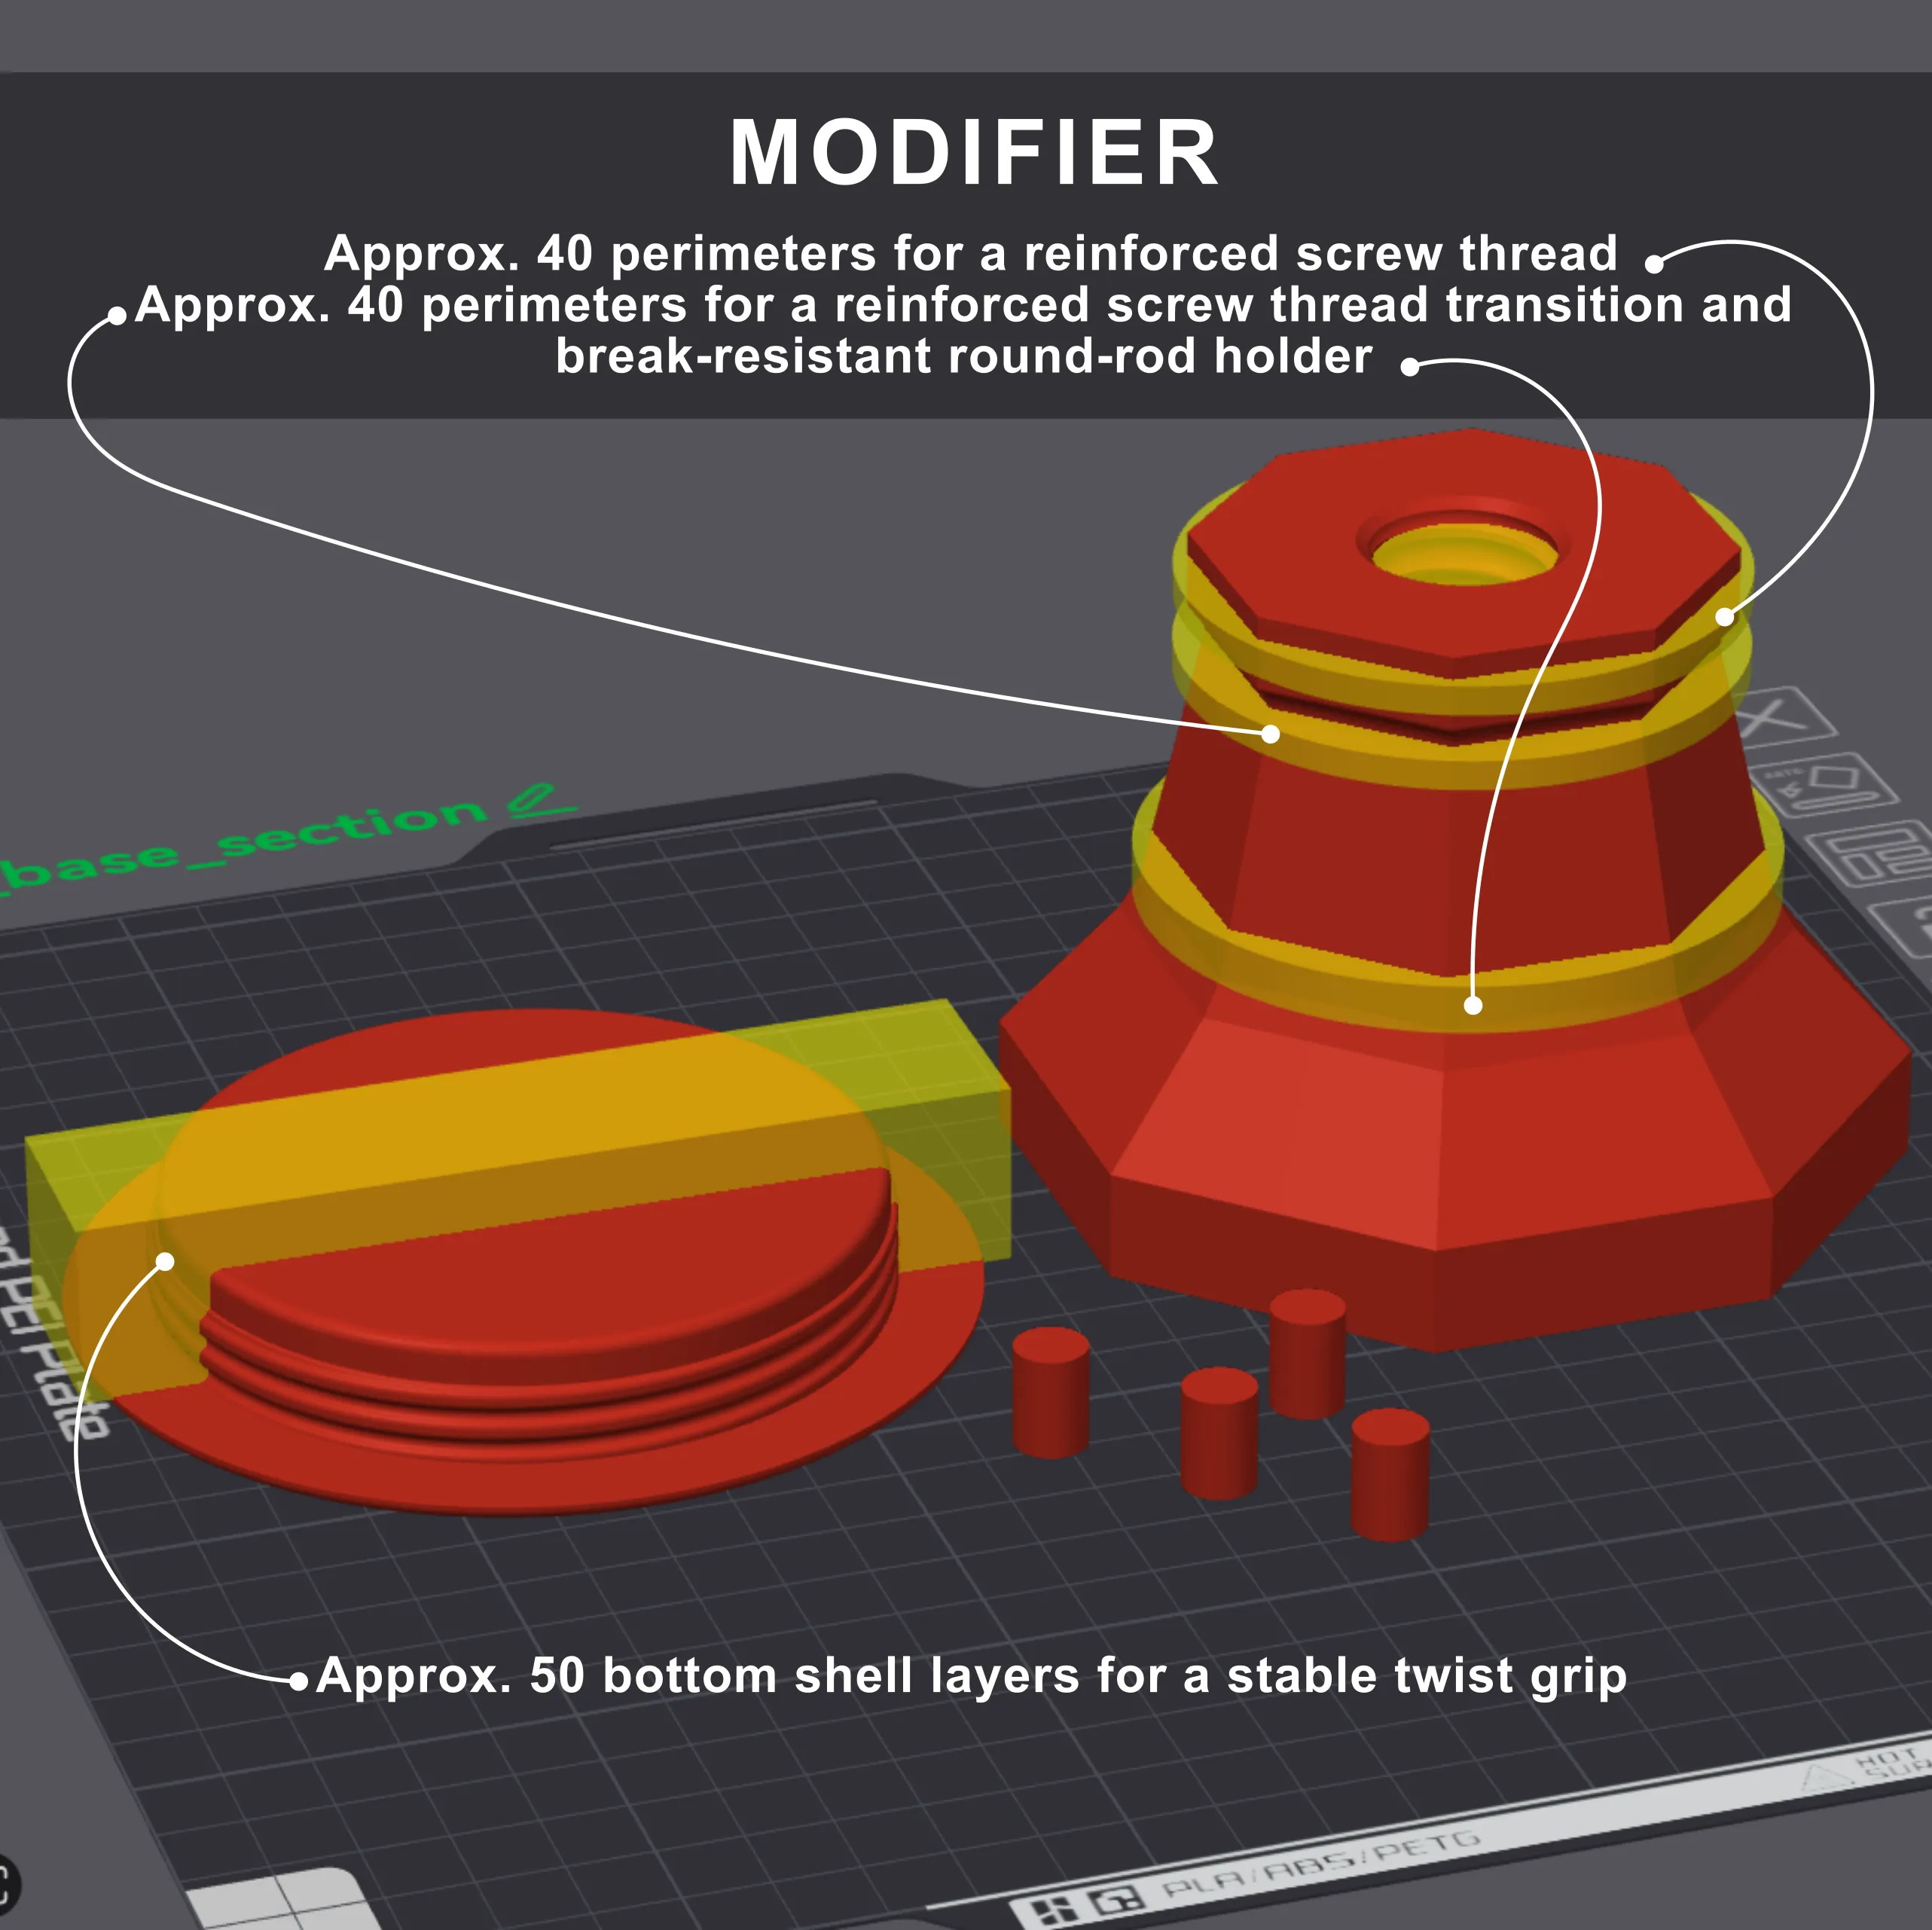
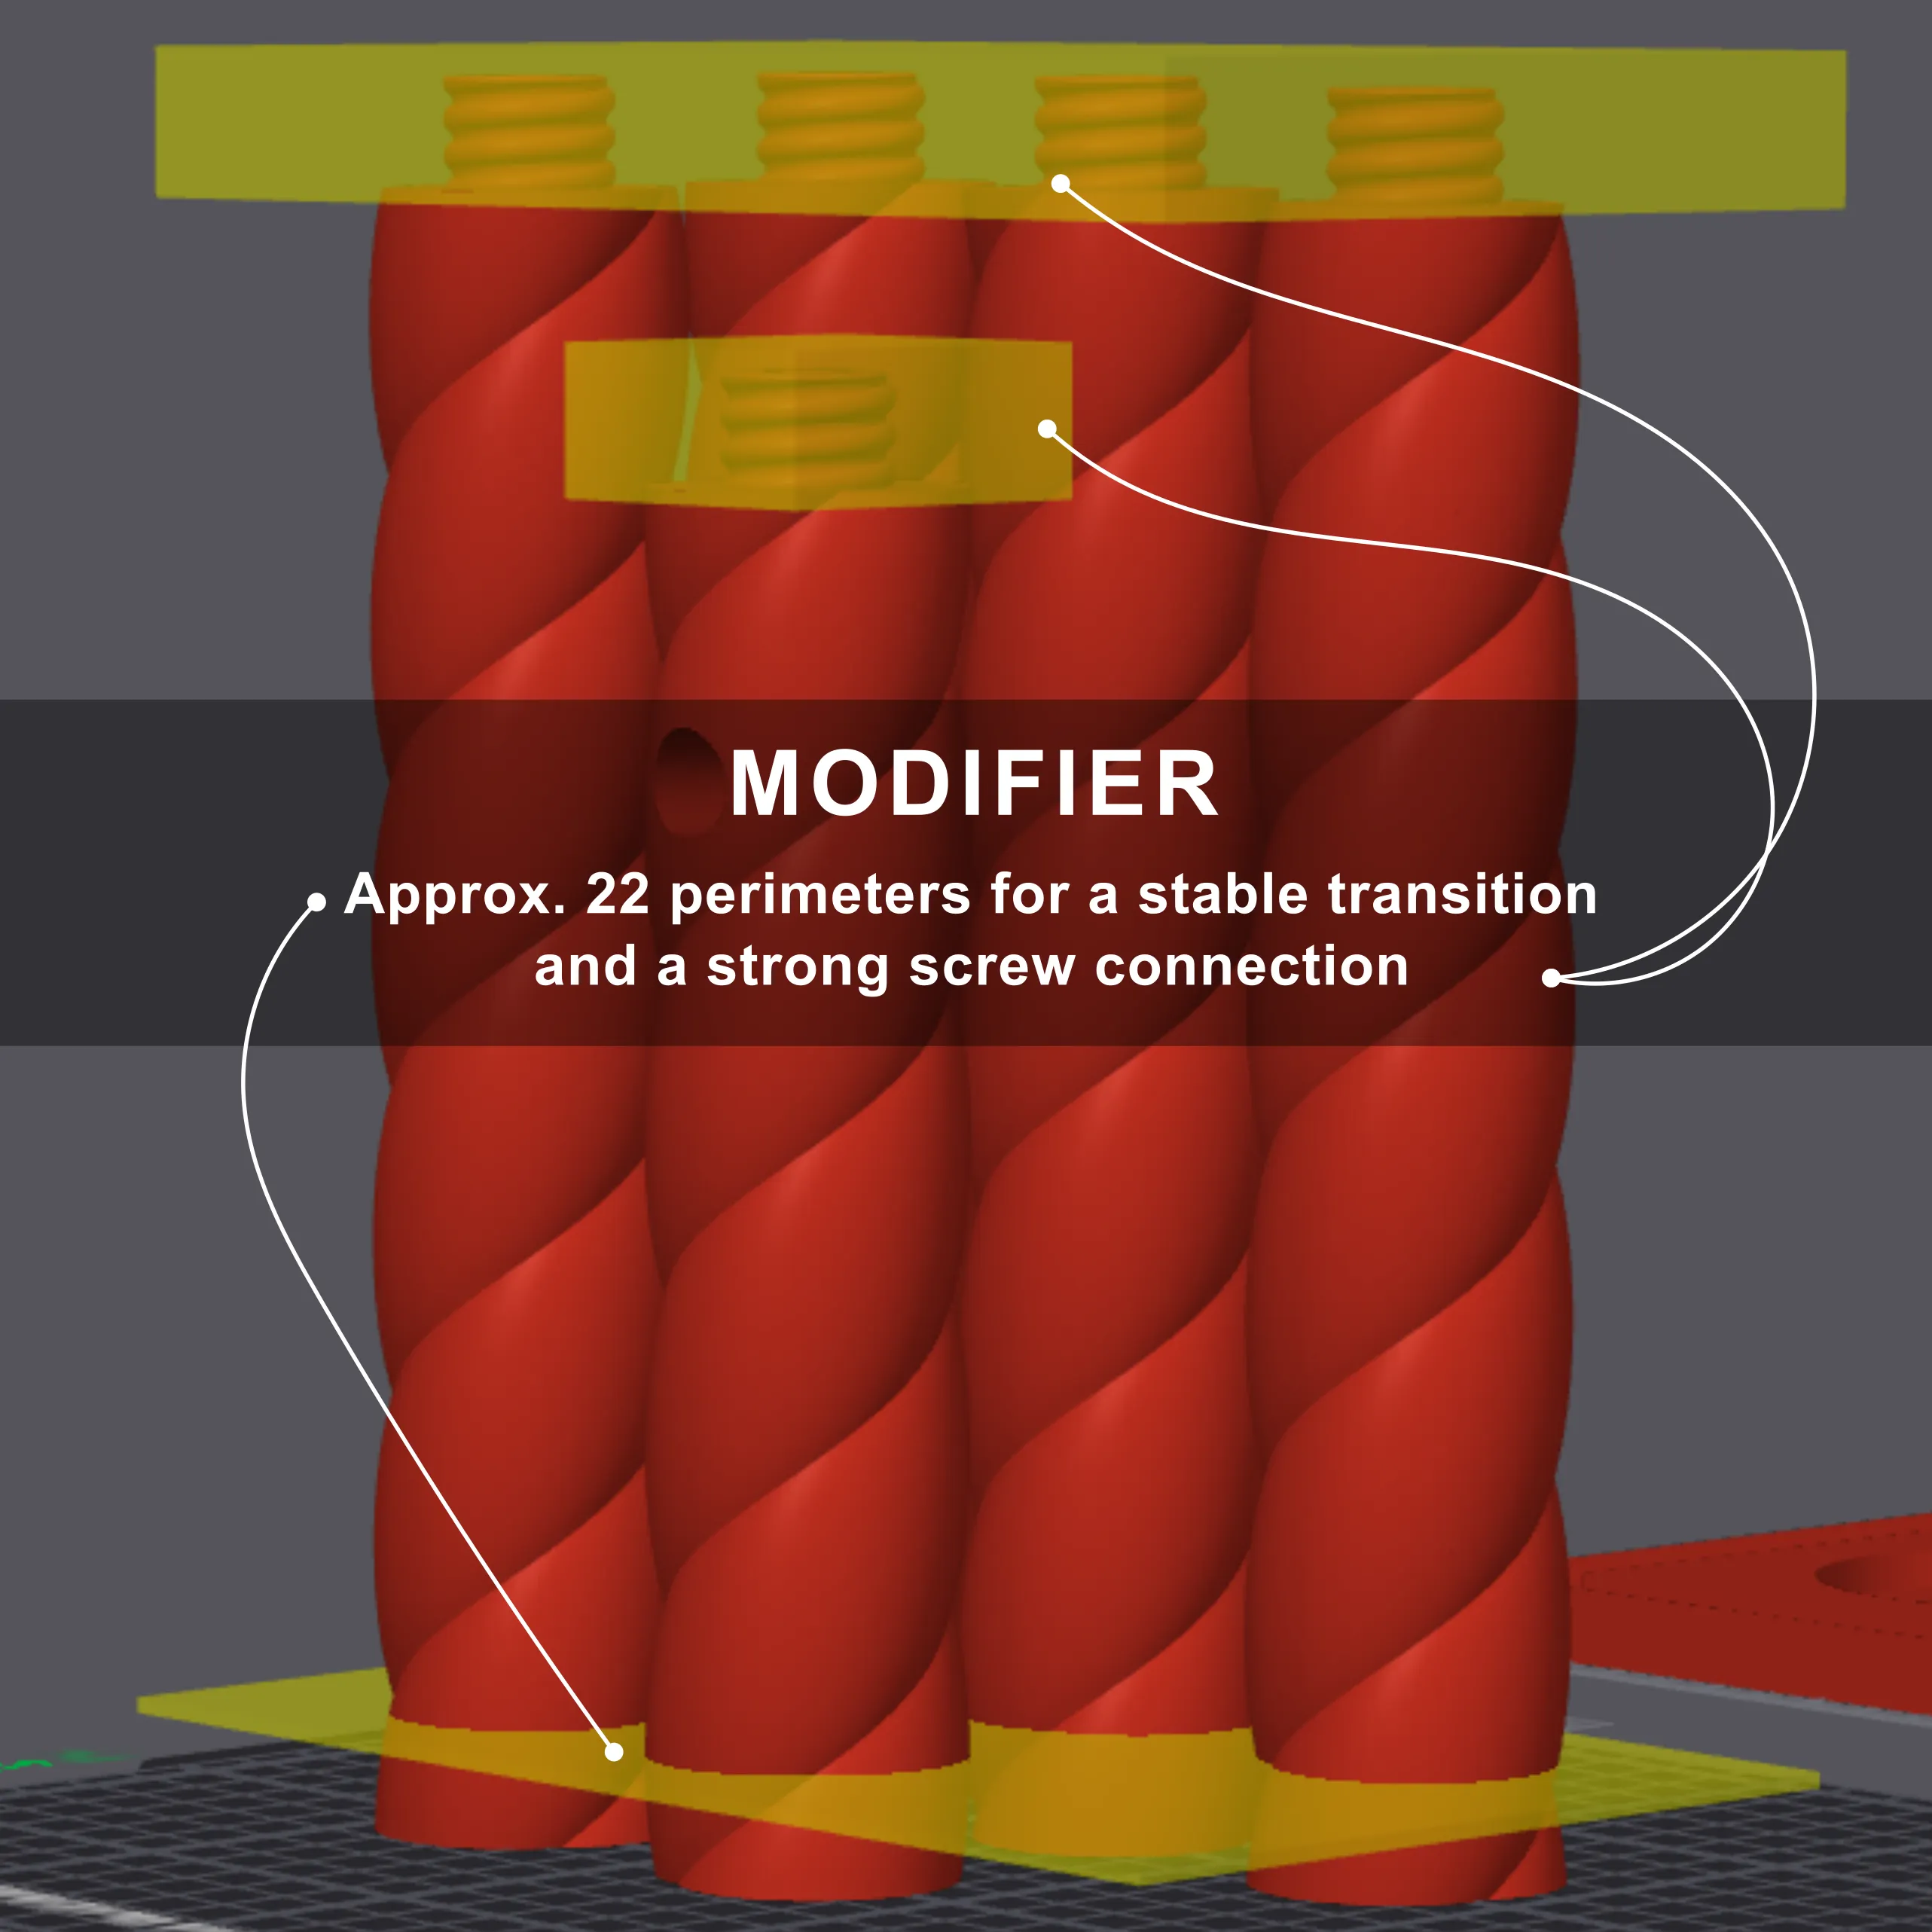
Important: Please do not change parameters or rotate parts
Please do not change any print parameters
— unless you intentionally want to increase infill —
and do not rotate the models into a different orientation.
Why?
Because all elements — supports, modifiers, bridging angles, wall thicknesses and thread geometry — are precisely aligned and calibrated.
This ensures a clean, reliable, and perfectly repeatable print result.
If you change settings, please do so only if:
- you really know what you’re doing, and
- entirely at your own responsibility.
If supports or bridges fail due to altered settings,
please do not let this negatively affect your print-profile rating.
I invested a lot of time, testing and filament to deliver the best, most reliable settings.
Thank you! ♥
Matching Decoration & Accessories (available on my MakerWorld page)
Additional decorative window inserts:
(link placeholder
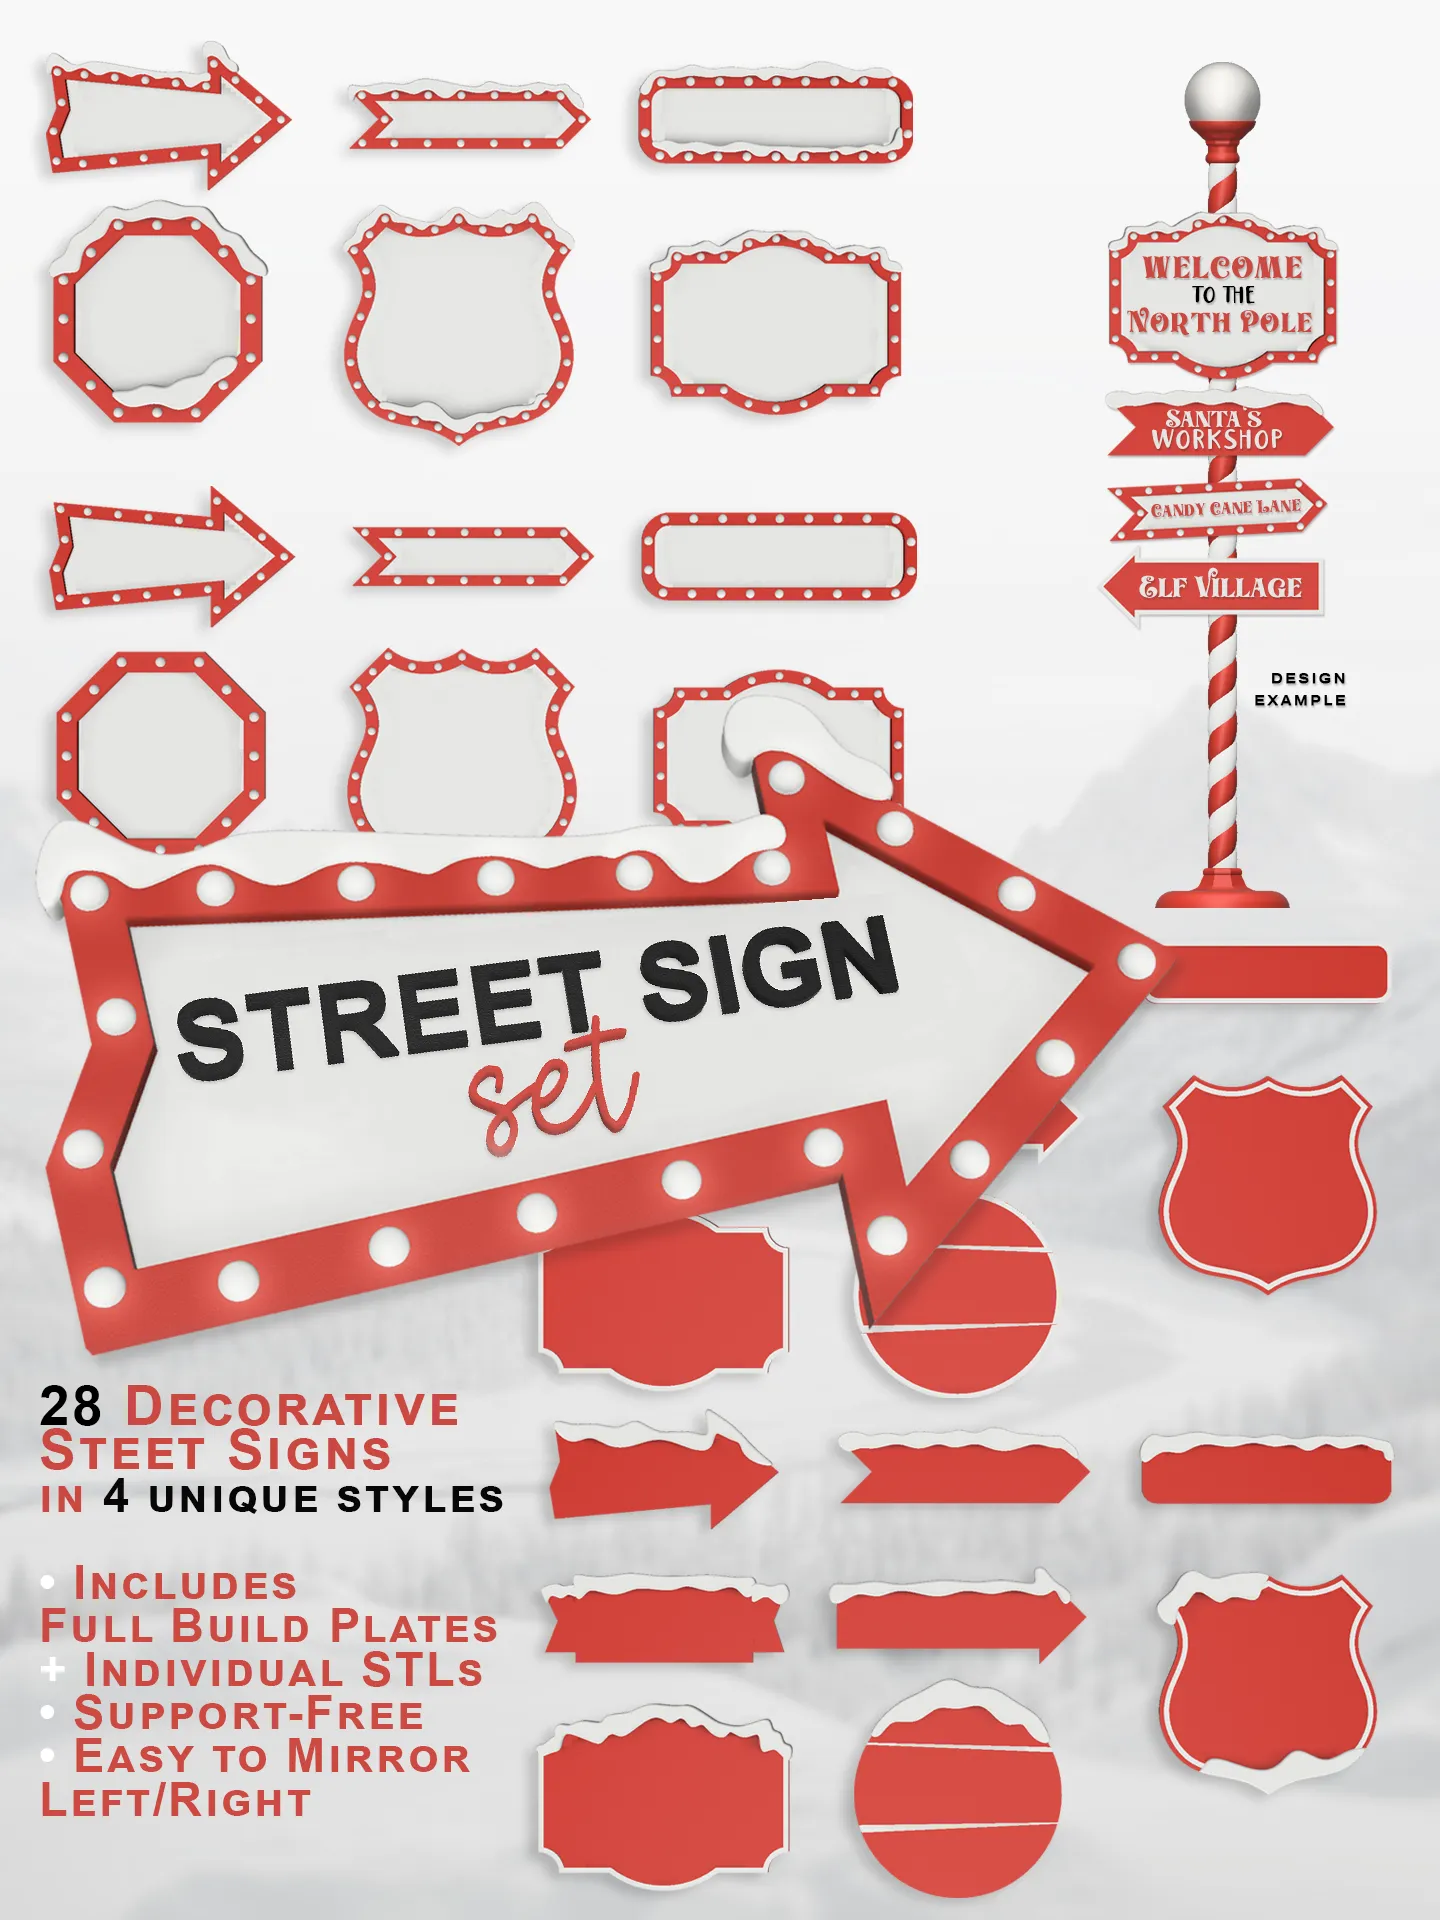
STREET SIGNS:
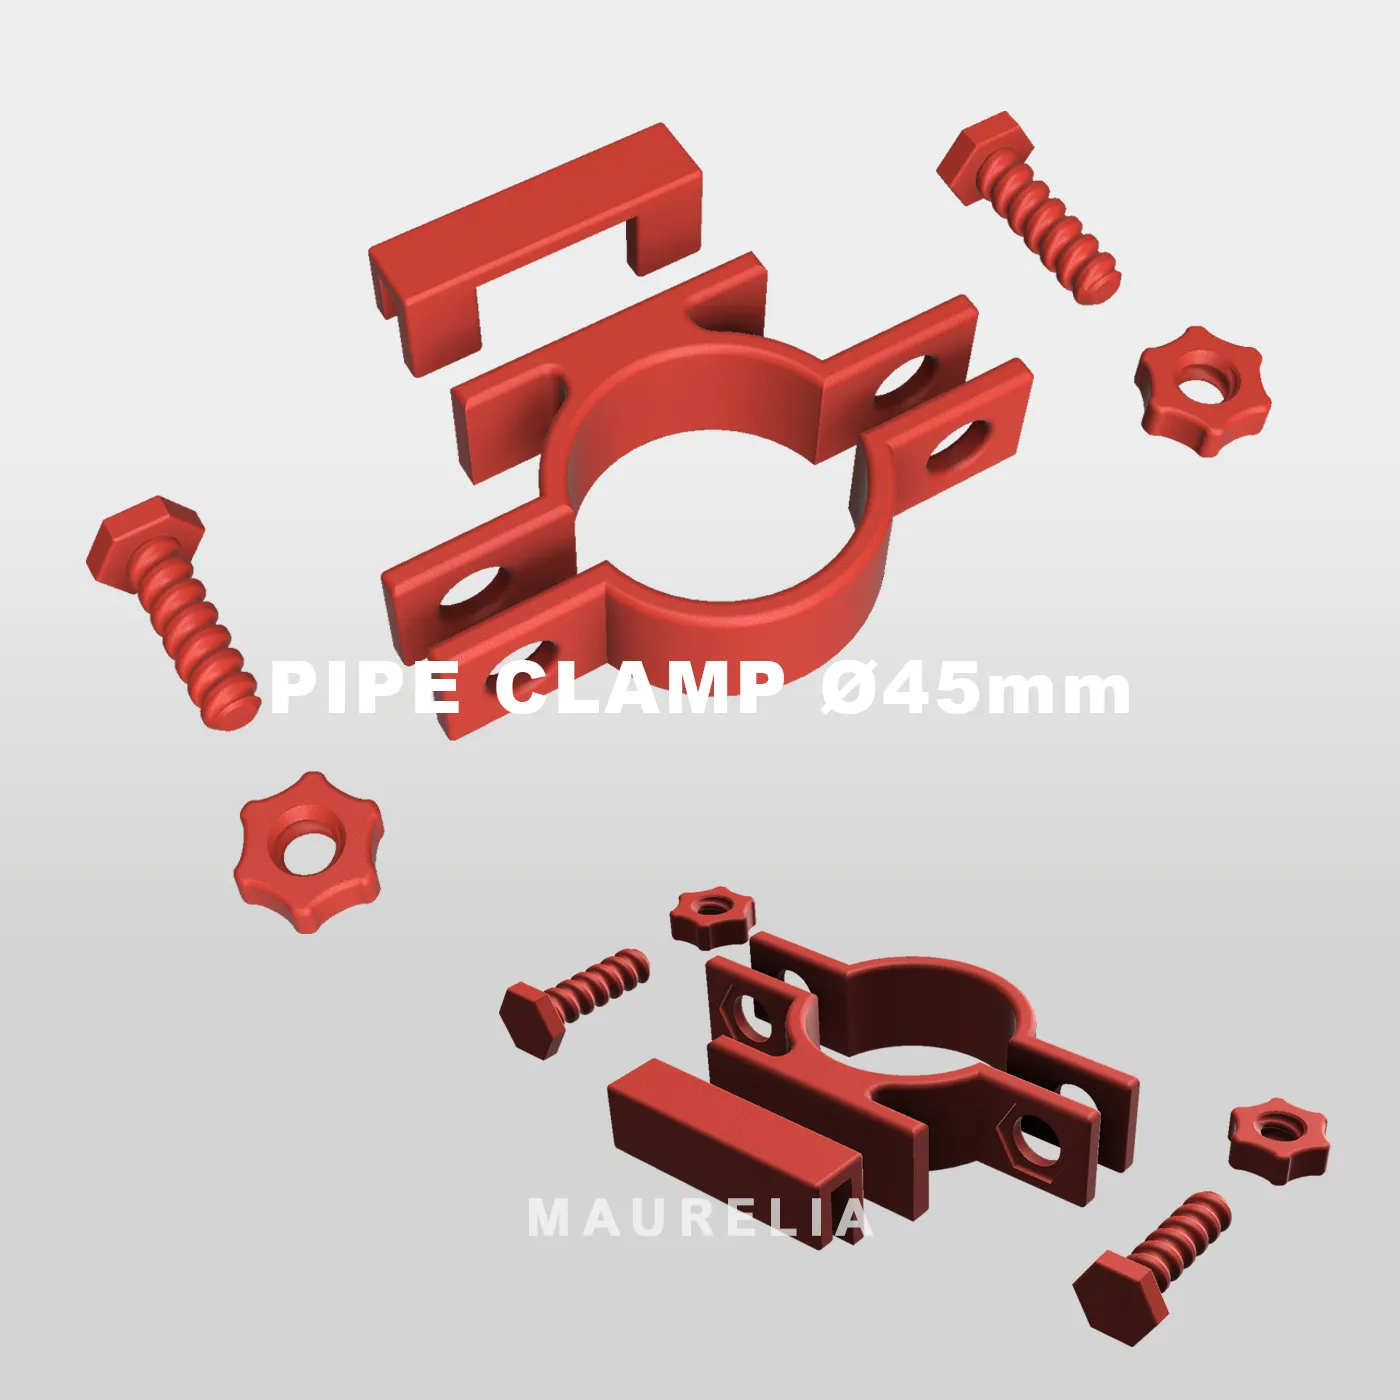
PIPE CLAMP - Street Sign mounting kit
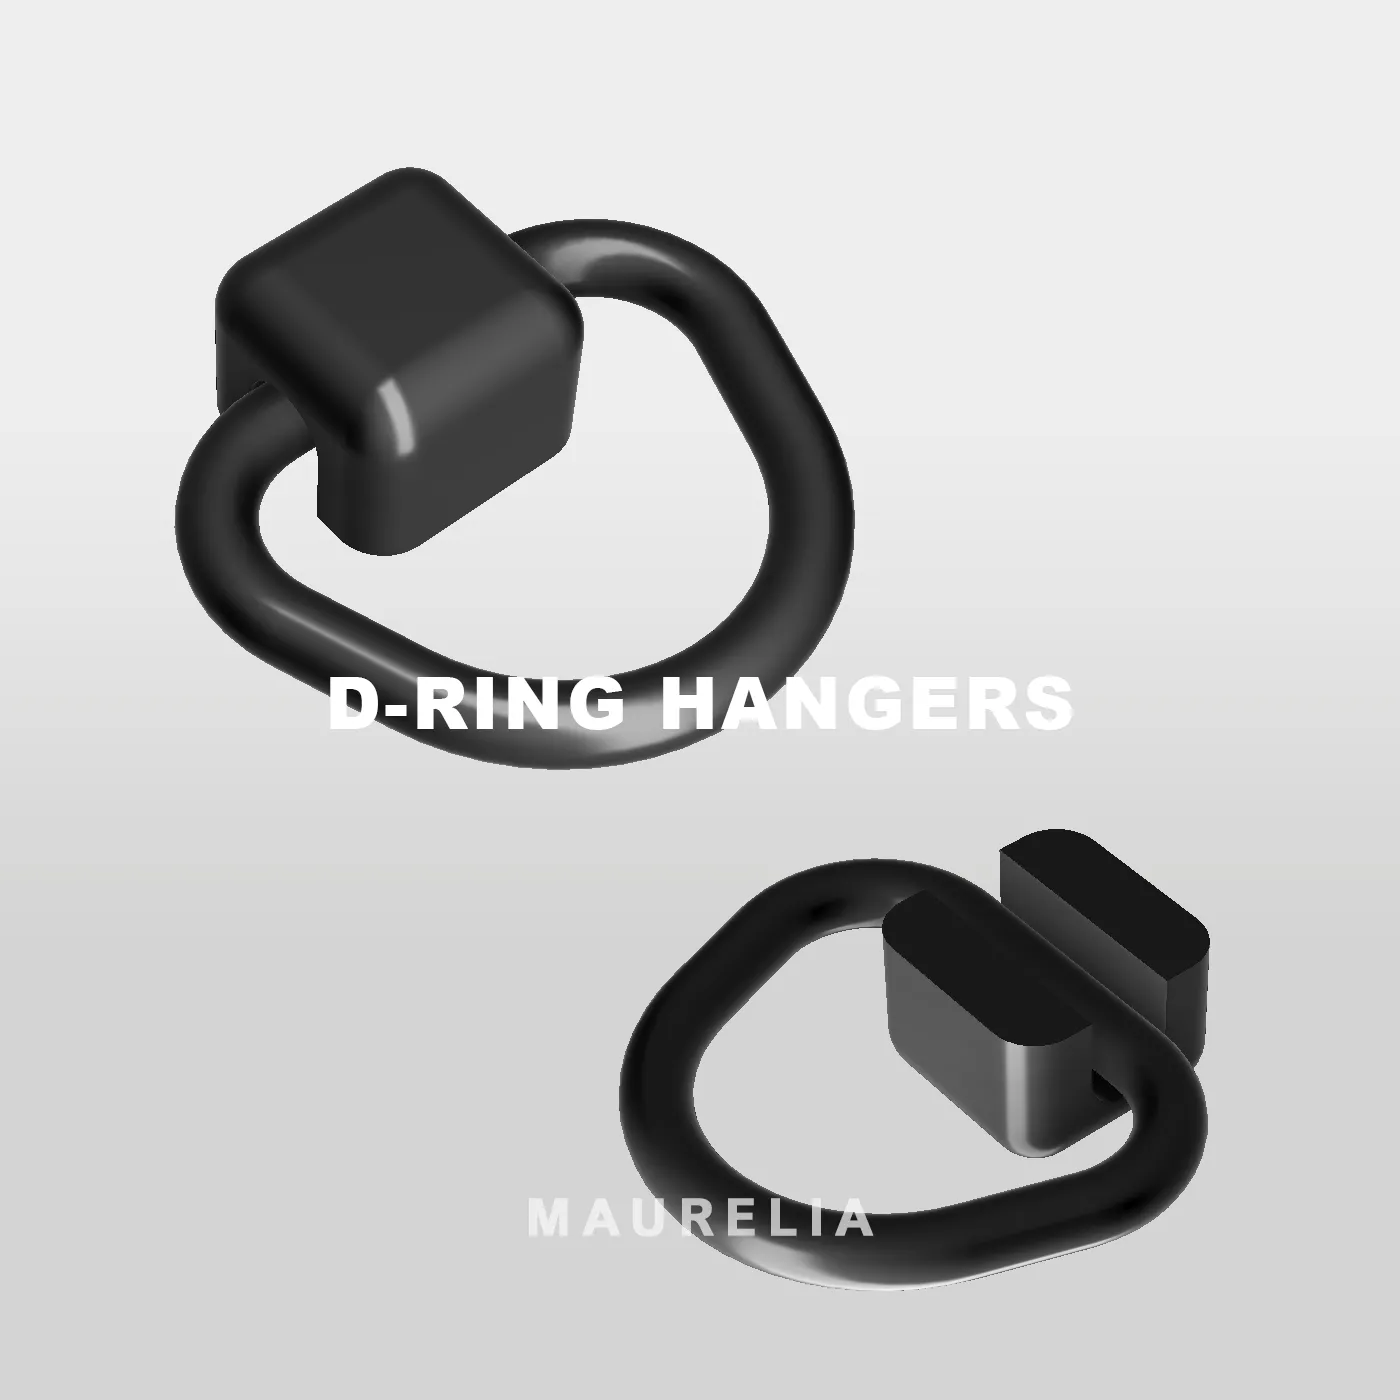
D HANGERS - To hang Street Signs on the crossbar
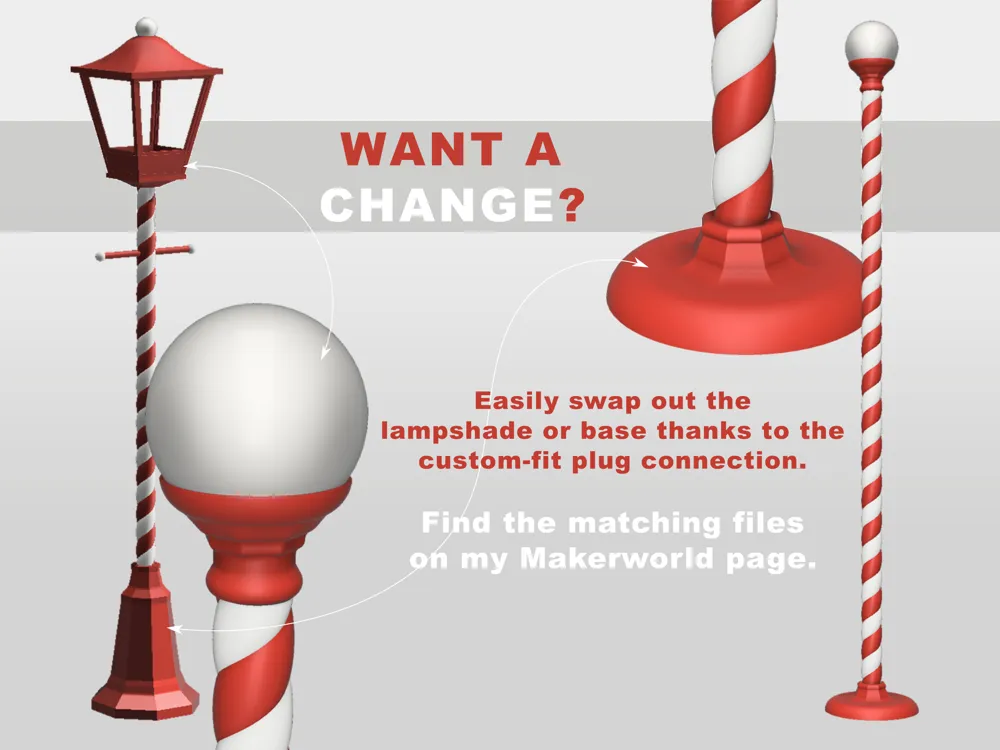
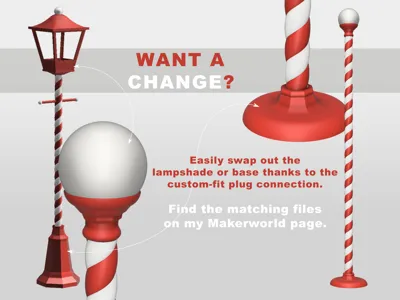
Want a change? You can easily replace the lampshade and the base thanks to the adapted screw connection:
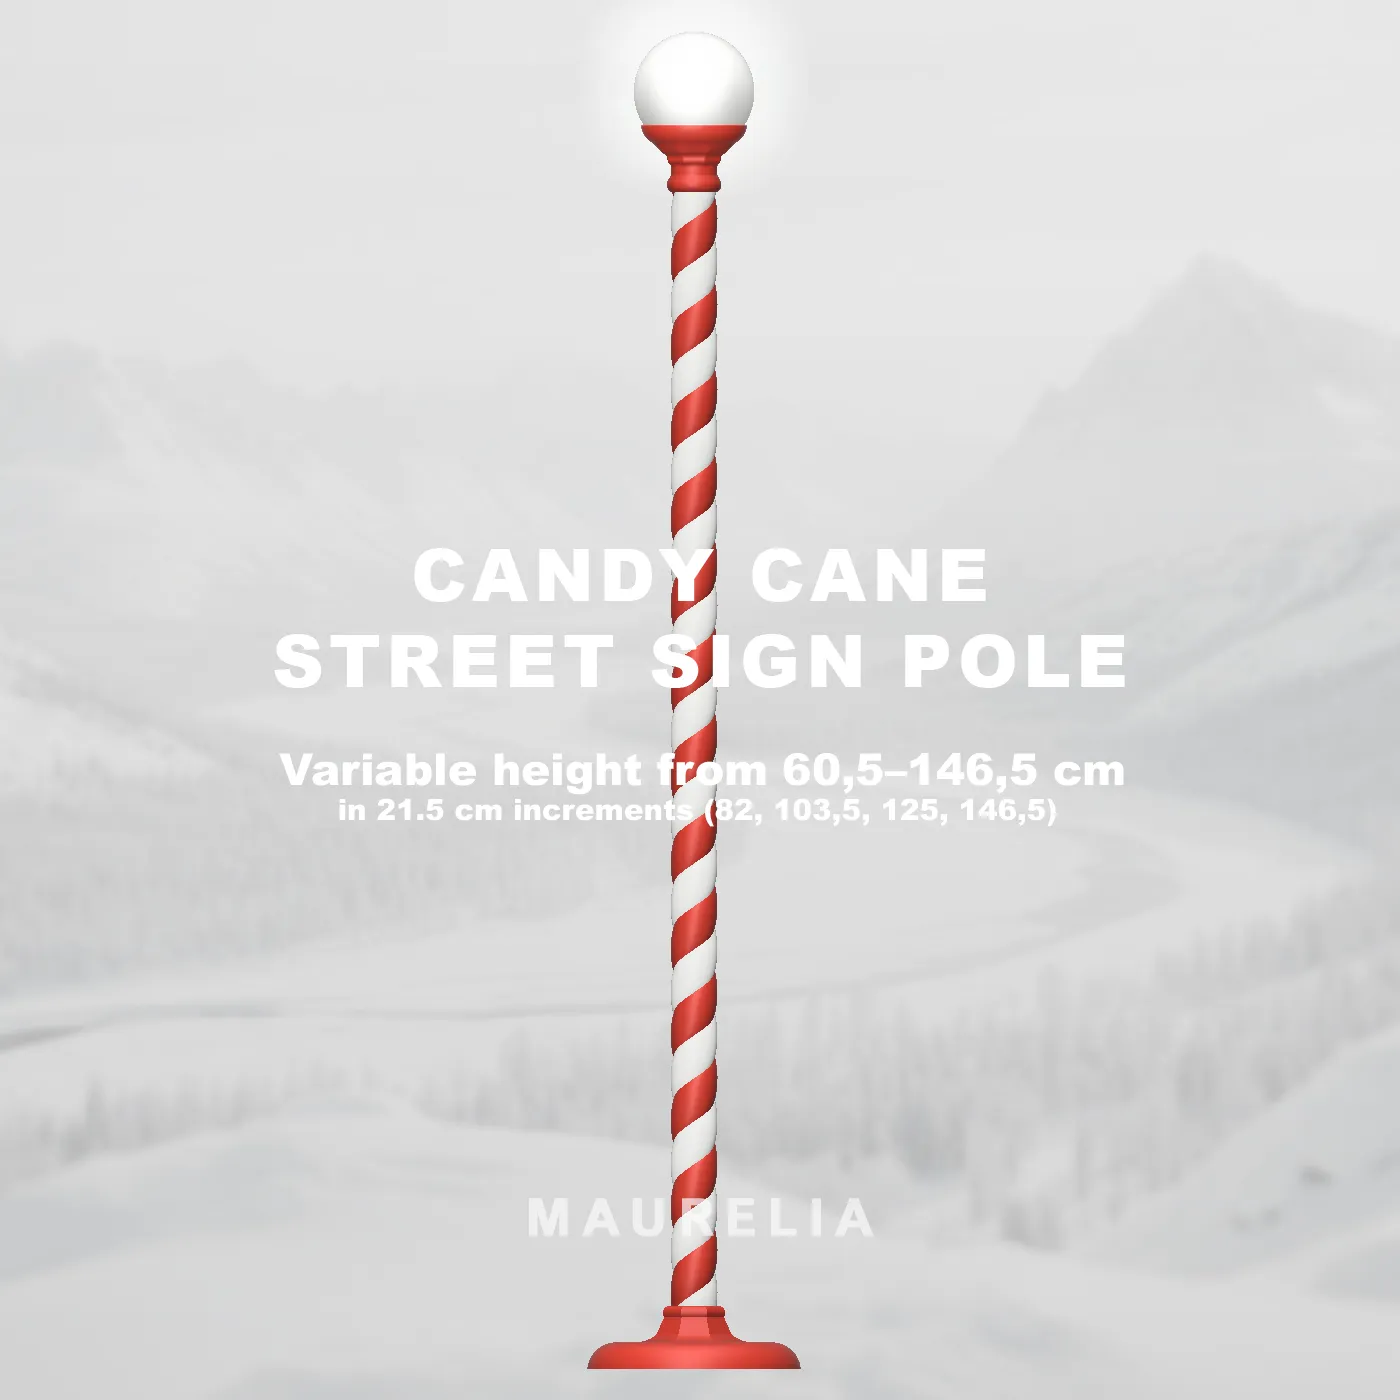
CANDY CANE STREET SIGN POLE
I wish you lots of joy with this lantern —
it instantly brings Christmas spirit into any room.
I’m really looking forward to seeing your paint jobs, custom versions, and setups!
Boost Me (for free)
Every boost is a reminder that creativity connects us — thank you!
License

You shall not share, sub-license, sell, rent, host, transfer, or distribute in any way the digital or 3D printed versions of this object, nor any other derivative work of this object in its digital or physical format (including - but not limited to - remixes of this object, and hosting on other digital platforms). The objects may not be used without permission in any way whatsoever in which you charge money, or collect fees.


Comment & Rating (193)