Album Cover "Electric Abortion" - HUEFORGE like


Print Profile(1)

Description
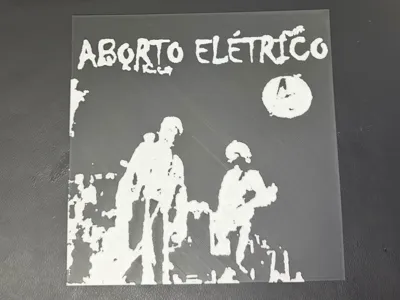
Aborto Elétrico Tribute – Simple 2-Color Cover (B&W)
This model is a Hueforge-style tribute (made with the free alternative Kromacut) to Aborto Elétrico, one of the seminal punk bands from Brasília at the end of the 1970s. Active between 1978 and 1982, Aborto Elétrico brought together Renato Russo, Fê Lemos, Flávio Lemos and others, and became the seed that later generated Legião Urbana and Capital Inicial, two of the most important bands in Brazilian rock. Wikipédia
Born in the context of Brazil’s military dictatorship and the slow political opening, their raw, urgent songs gave voice to a generation that was tired of censorship, violence and empty official speeches. Tracks like “Que País é Este?” and “Veraneio Vascaína” became powerful criticisms of authoritarianism, police repression and social inequality, and would later be canonized in the discographies of Legião Urbana and Capital Inicial, helping shape the protest spirit of 80s Brazilian rock. E-Publicações UERJ+3Wikipédia+3Wikipedia+3
The print itself is very simple and beginner-friendly: only two colors (black & white), flat, with clean shapes meant to evoke DIY punk flyers and xeroxed posters from that era. It should be a quick, low-risk project if you’re testing color-height style prints or just want a piece of Brazilian rock history on your wall or amplifier. This is fan art, not official merchandise.
This is also my first work in this Hueforge-like style, so I’d really appreciate feedback, criticism and suggestions – whether about the design, the way the layers transition, or better print settings. If you tweak the model, remix it, or print it in different materials, please share your results! I'd like a lot to see it! :)
Btw, this is 200mm X 200mm but you can resize it in your slicer if you want to, just make sure to NOT scale on the Z axis.
3D Print Instructions
Layer height: 0.080 mm
First layer height: 0.160 mm
Recommended: Layer loops: 1; Infill: 100%
Start with color: #000000
Color swap plan:
- Start with #000000
- Swap to #ffffff at layer 9 (~0.800 mm)
Notes: Heights are approximate. Confirm in slicer before printing.
Made with Kromacut by vycdev!
Comment & Rating (0)