
Wio Tracker L1 Pro Case w/ 28mm Walkie Talkie Clip
Print Profile(1)

Bill of Materials
- M3x8 Hex Socket Head Screw x 2:
- M3 Hex Nut x 2:
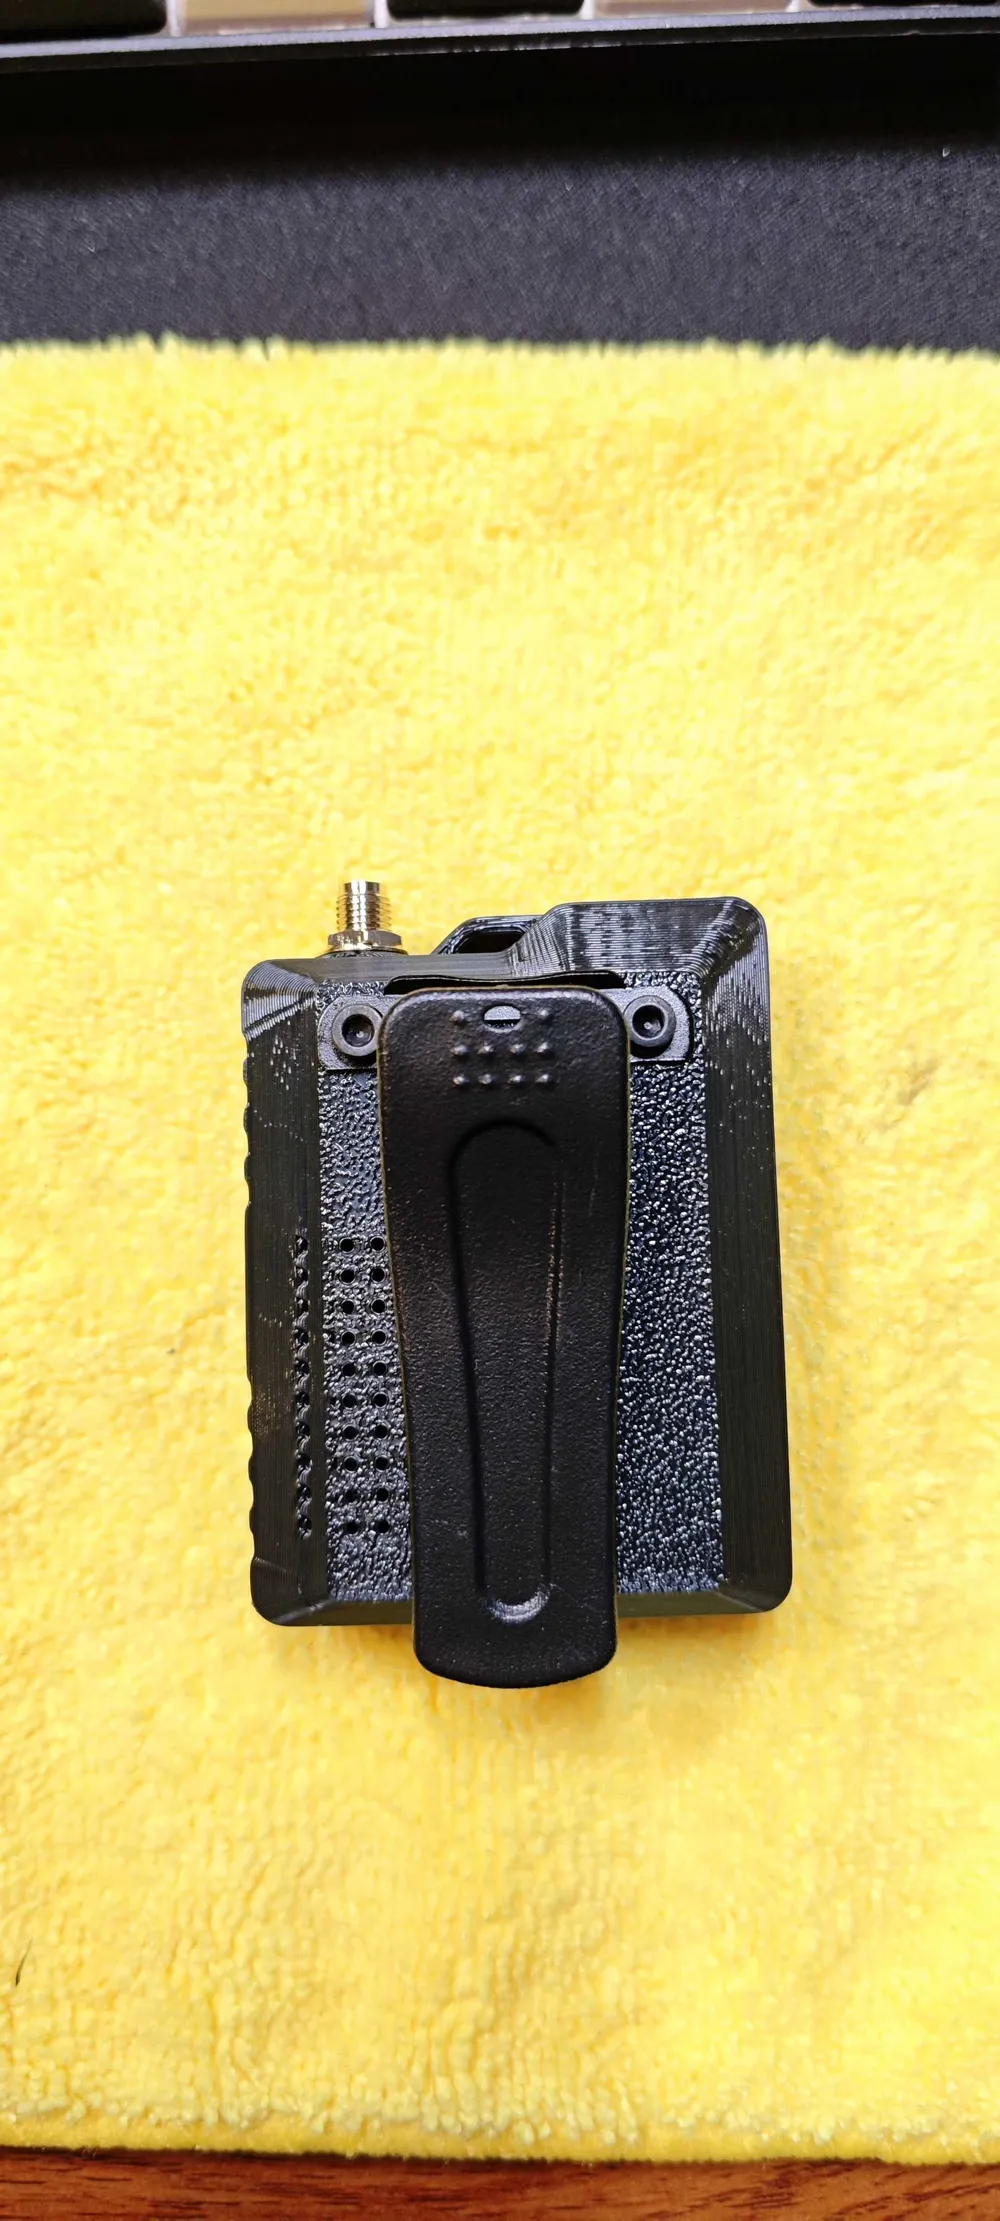
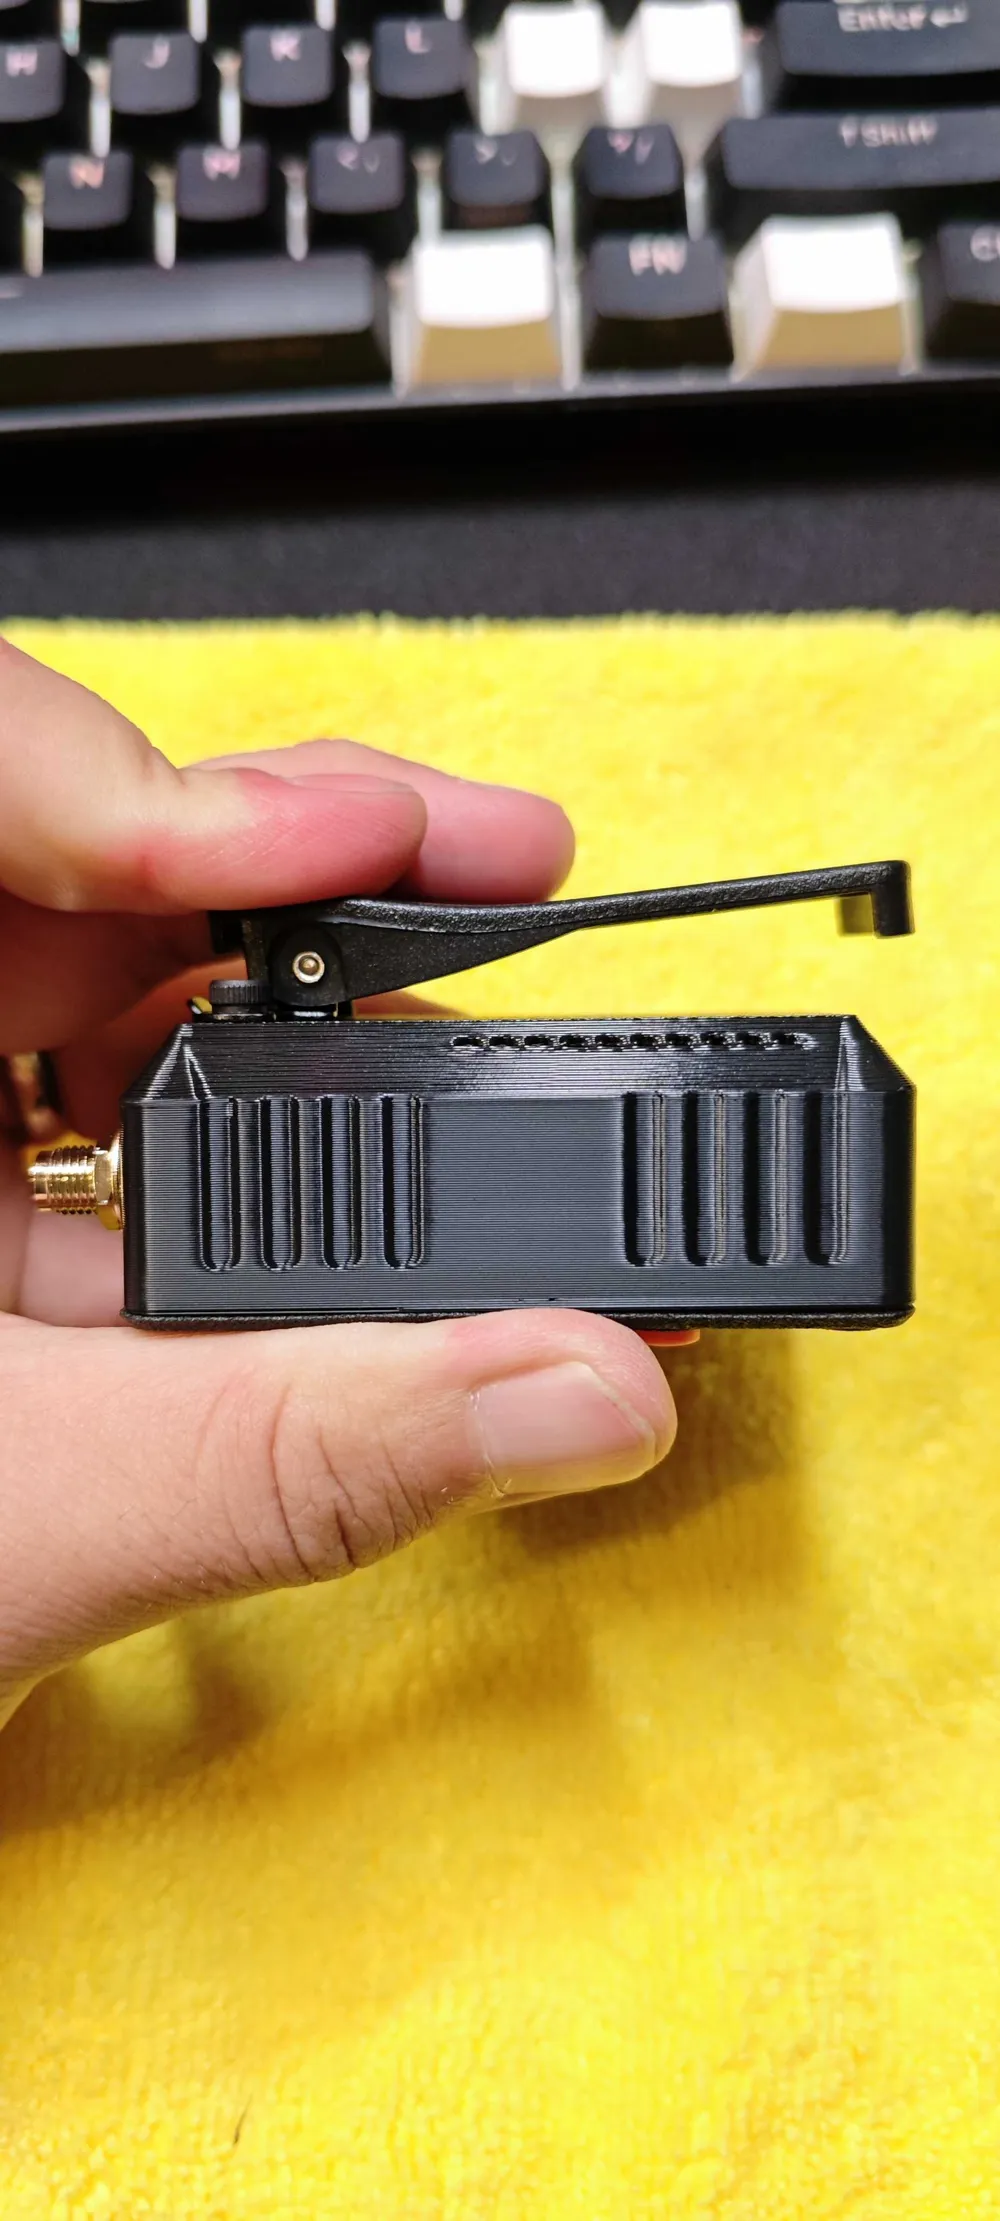
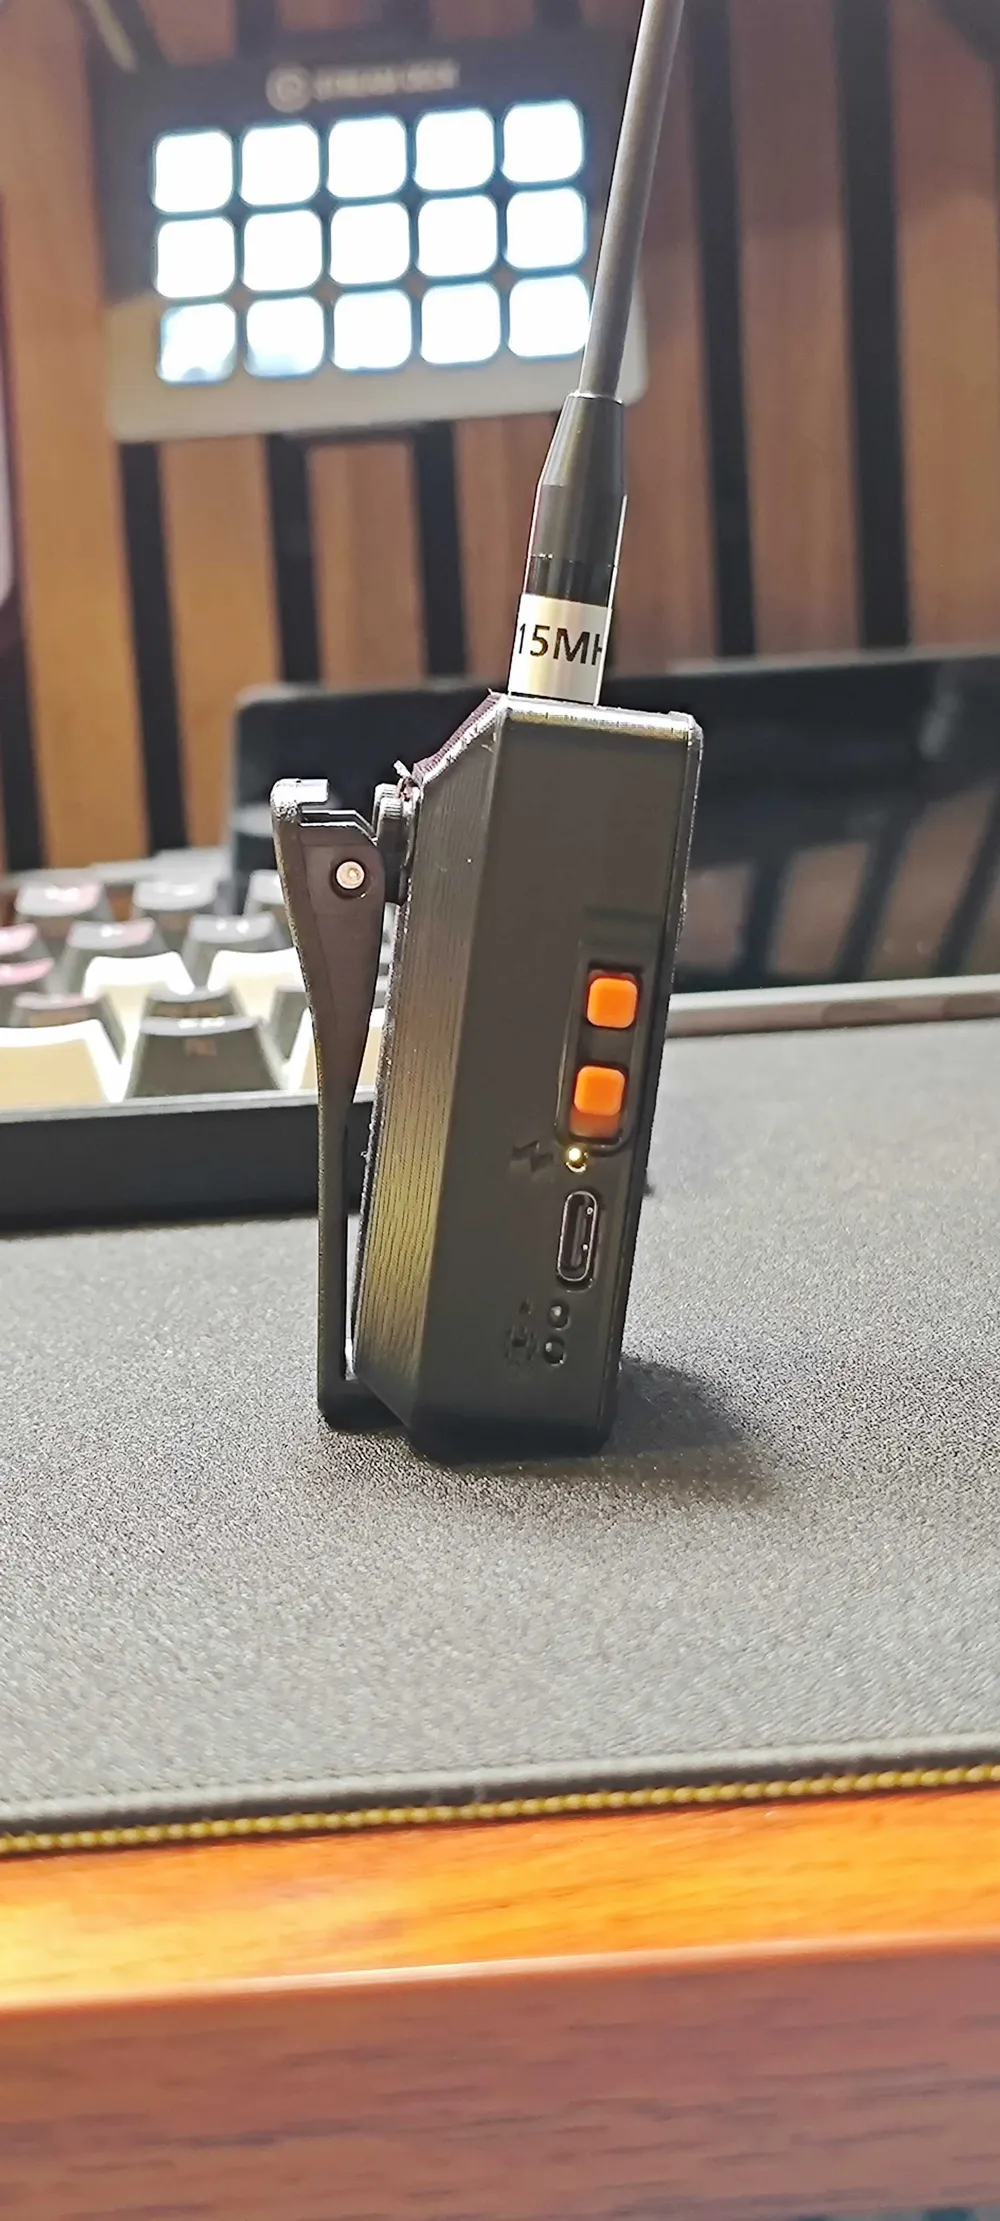
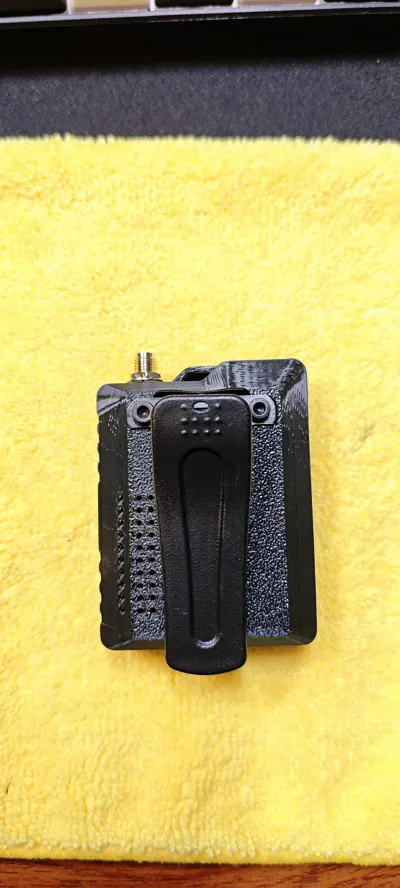
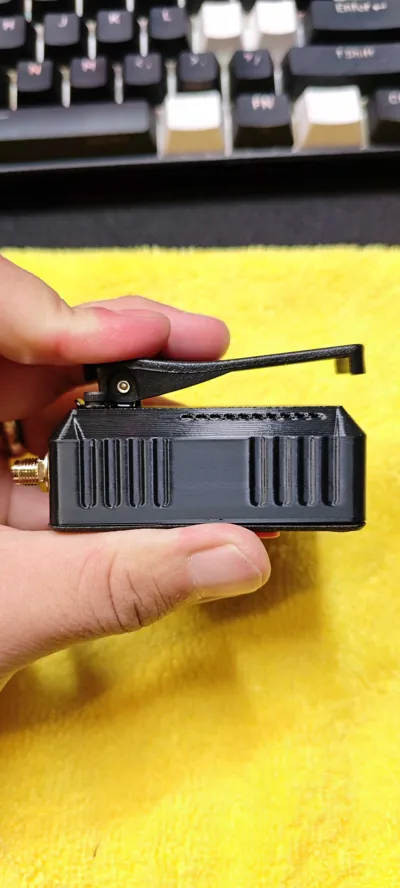
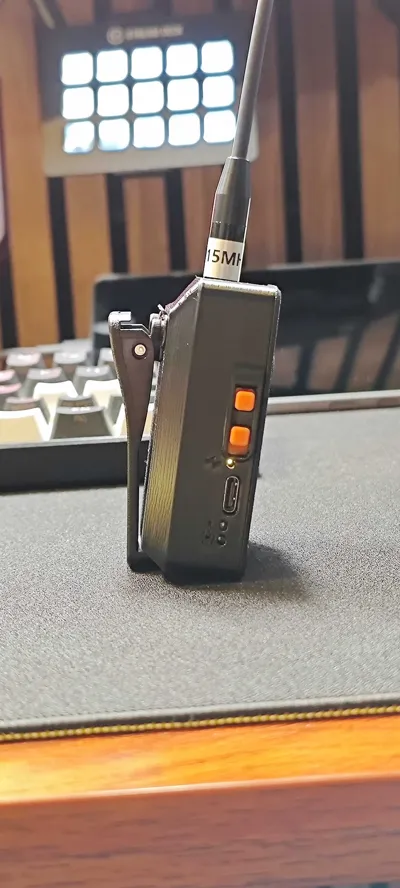
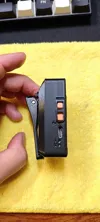
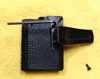
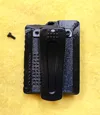
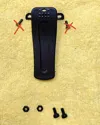
- Baofeng H-777 Walkie Talkie Replacement Belt Clip x 1: holes 28mm apart
Description
Community Note: The final design in this upload is an original concept and no outside design was used as inspiration or reference. Only the original file provided by the manufacturer was used as a starting off point and this remix is a result of that source file and the concept that I needed for my use-case. No third-party files, or designs were referenced, included, or used. Any allegations to that end have provided no evidence or substantiated their claim.
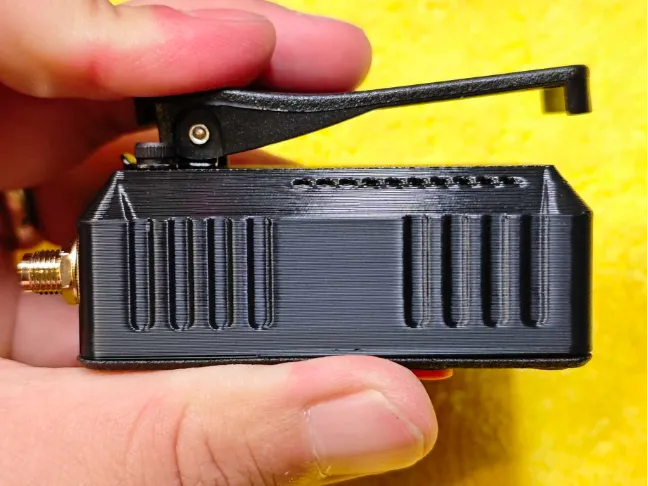
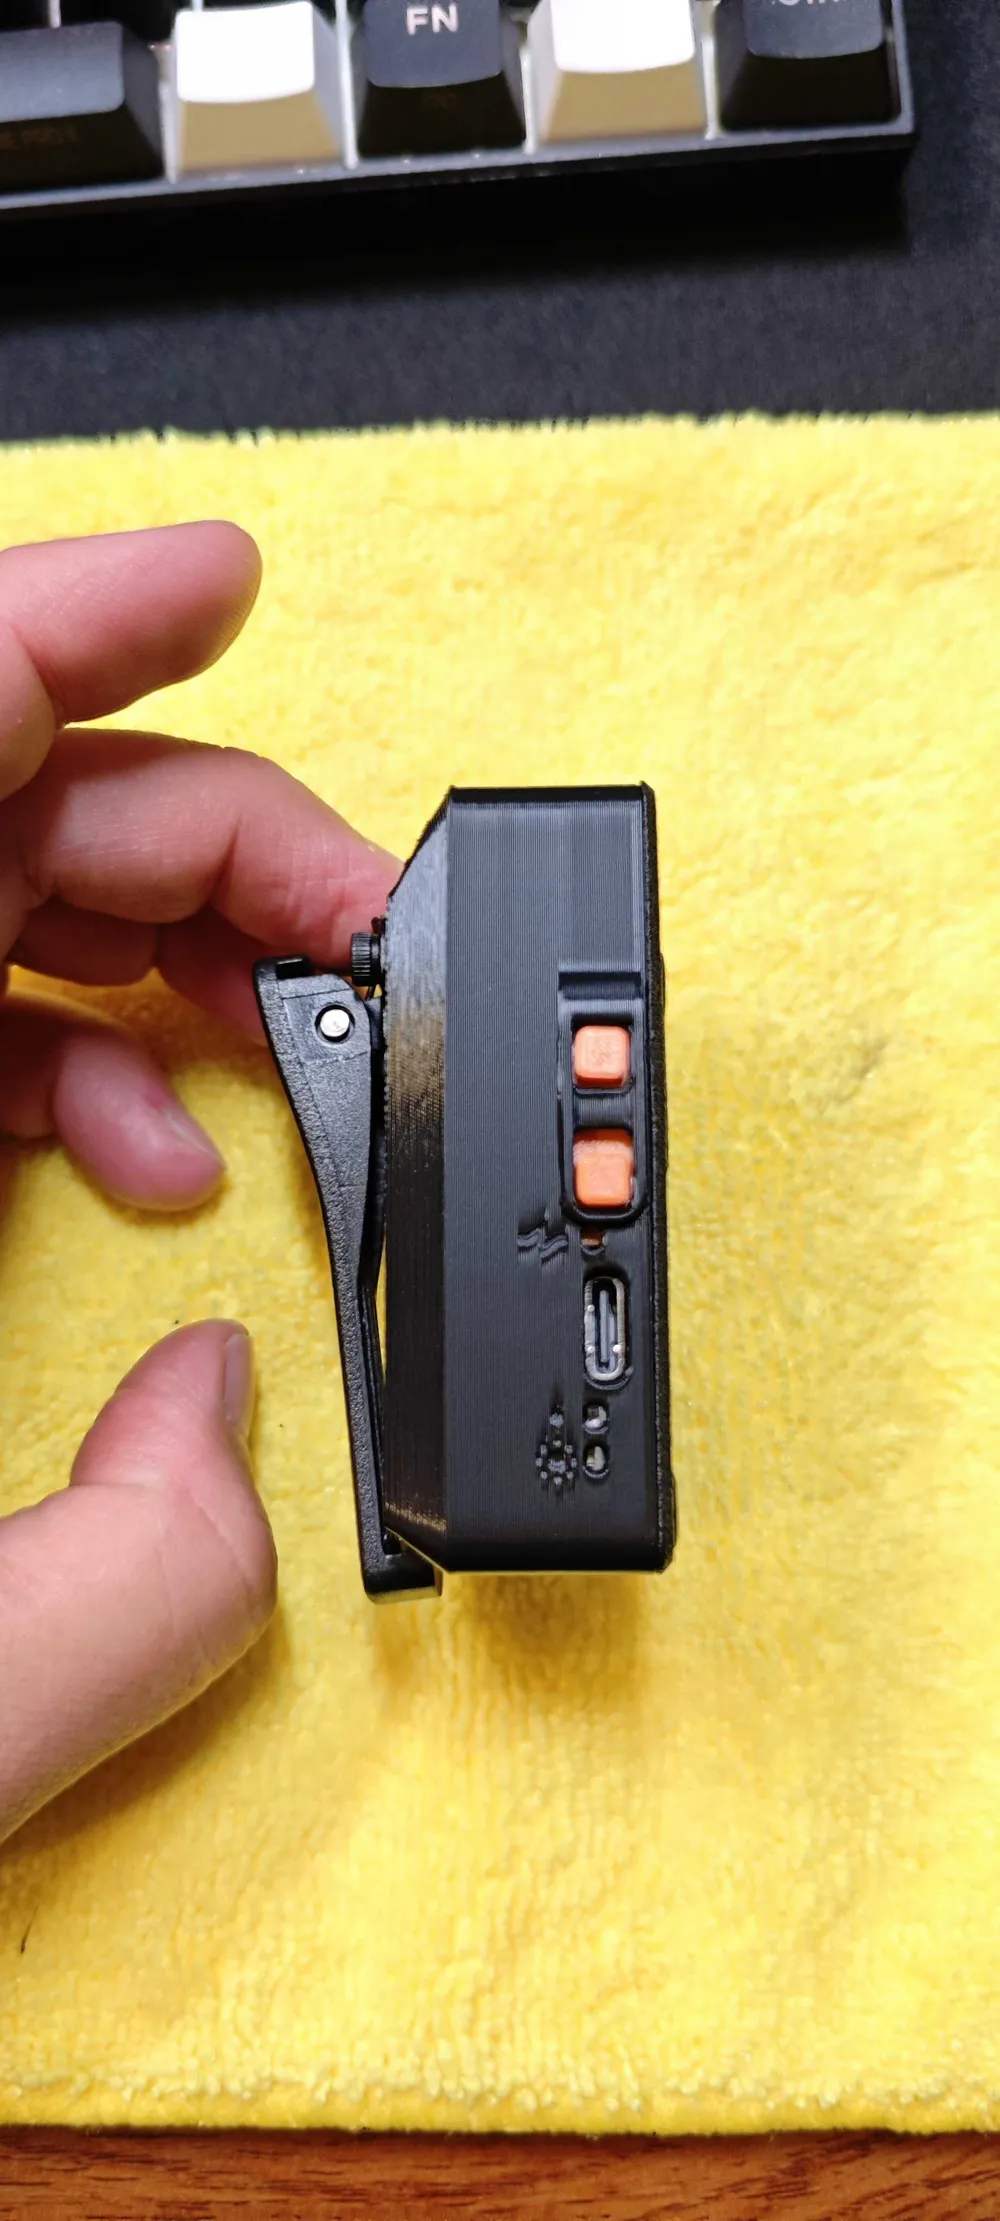
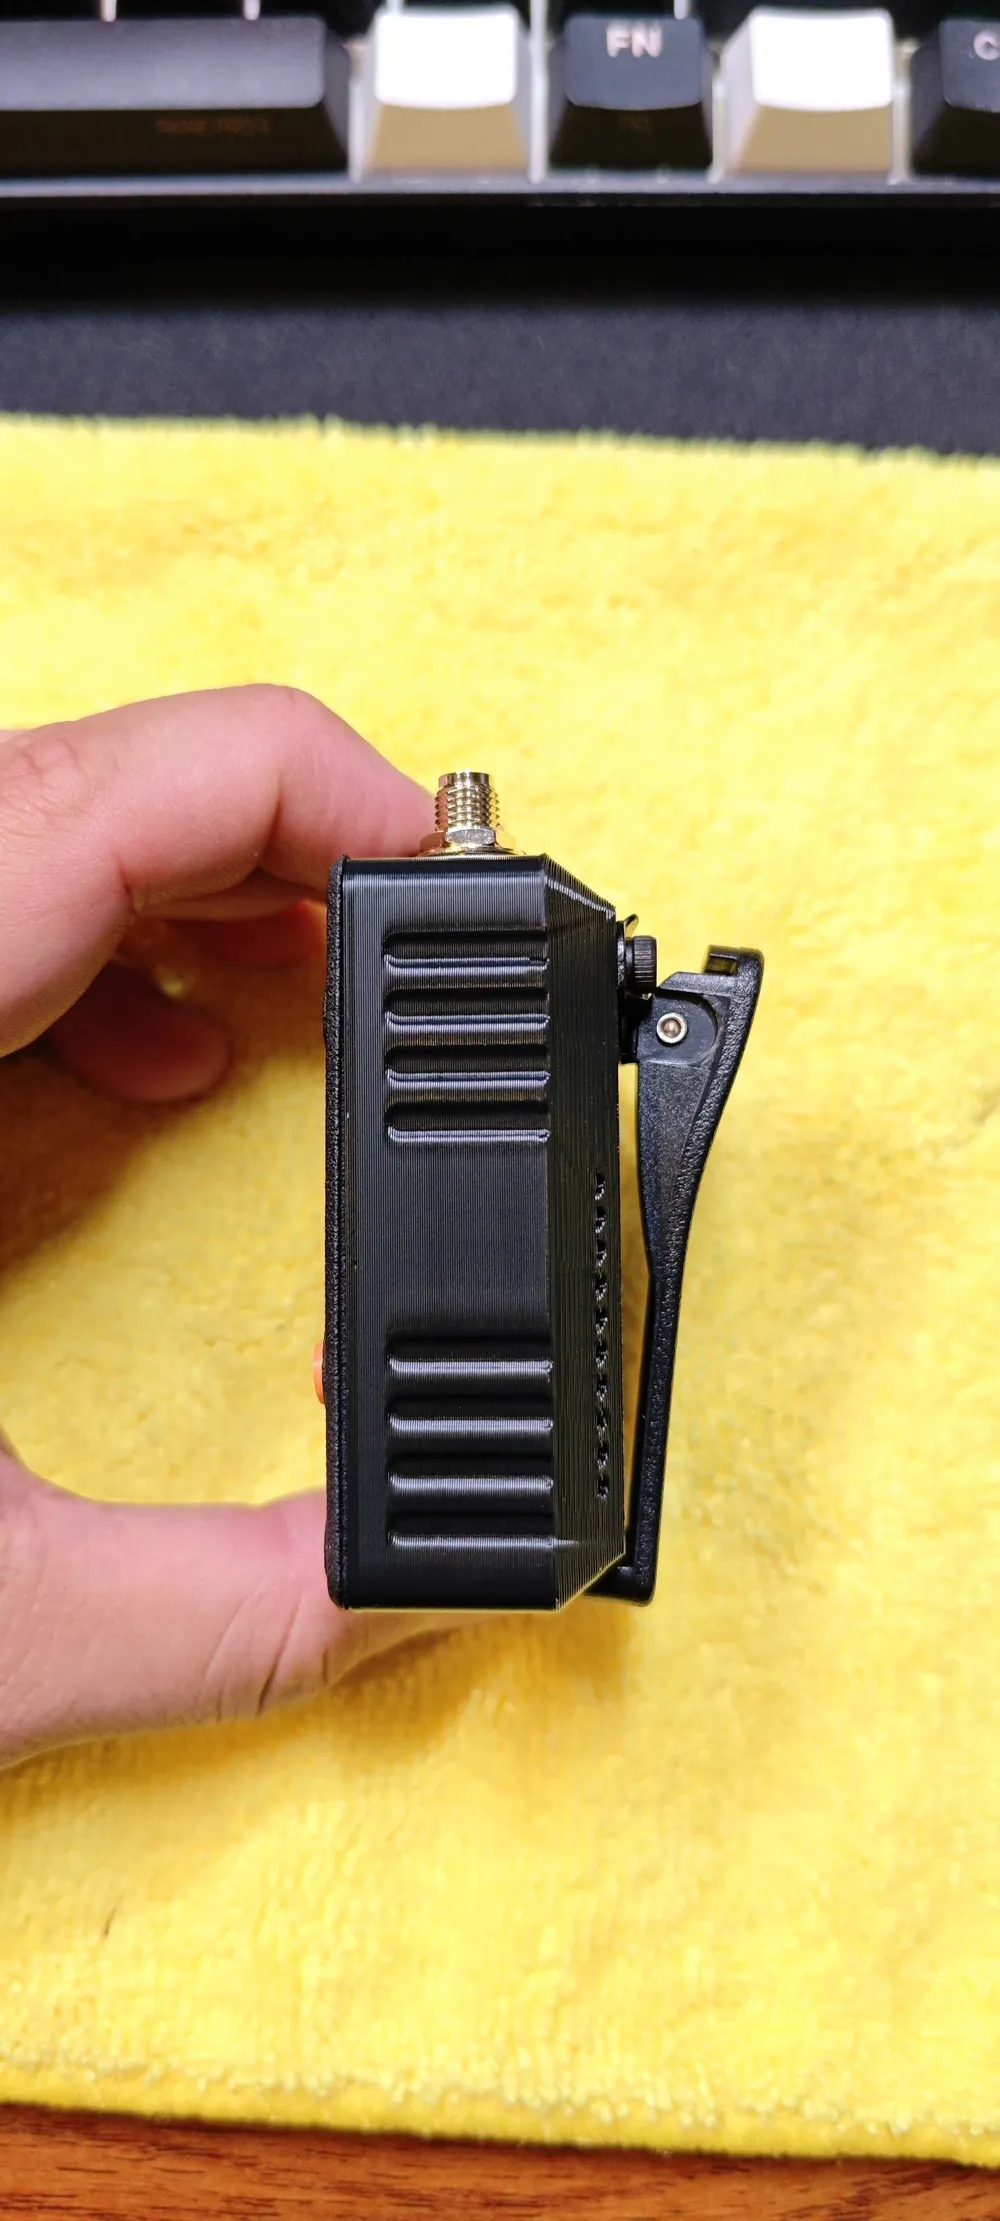
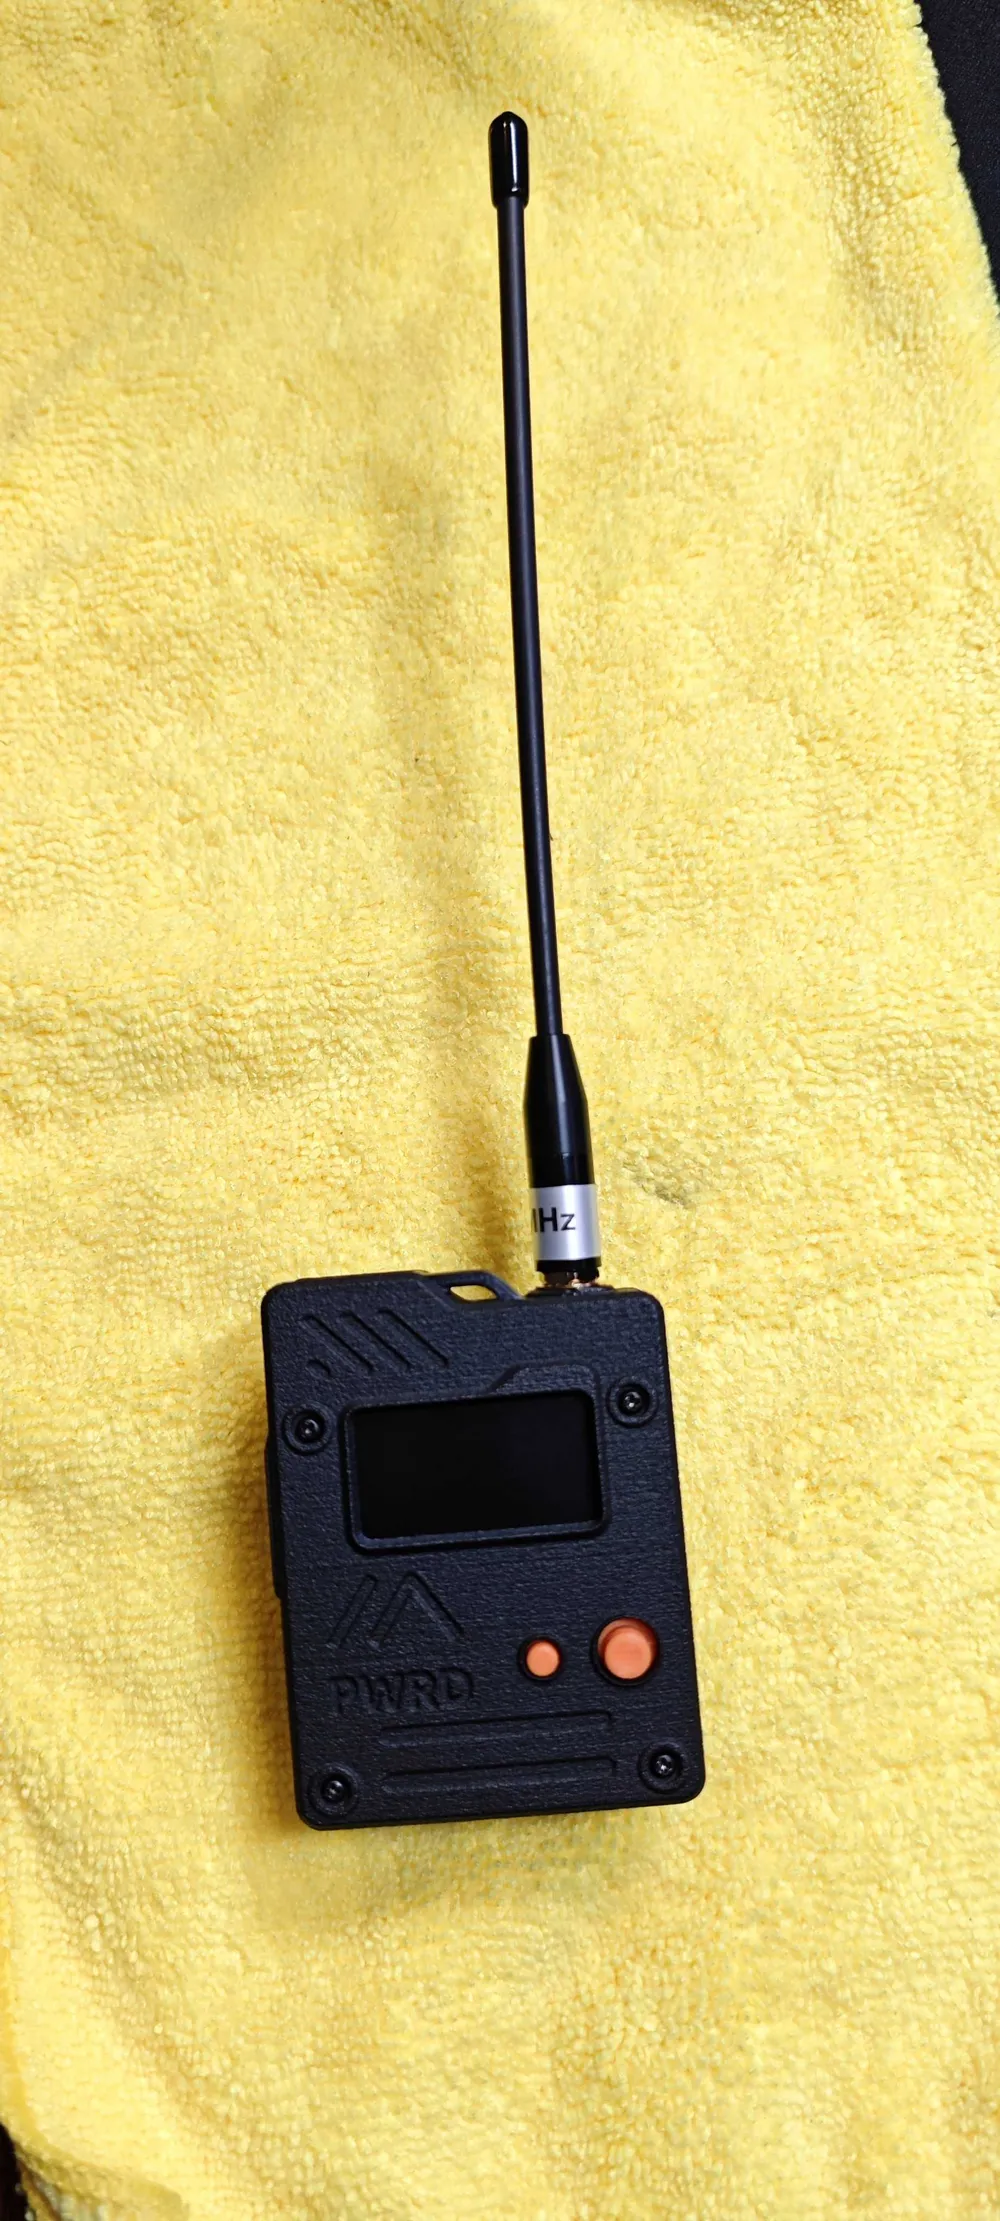
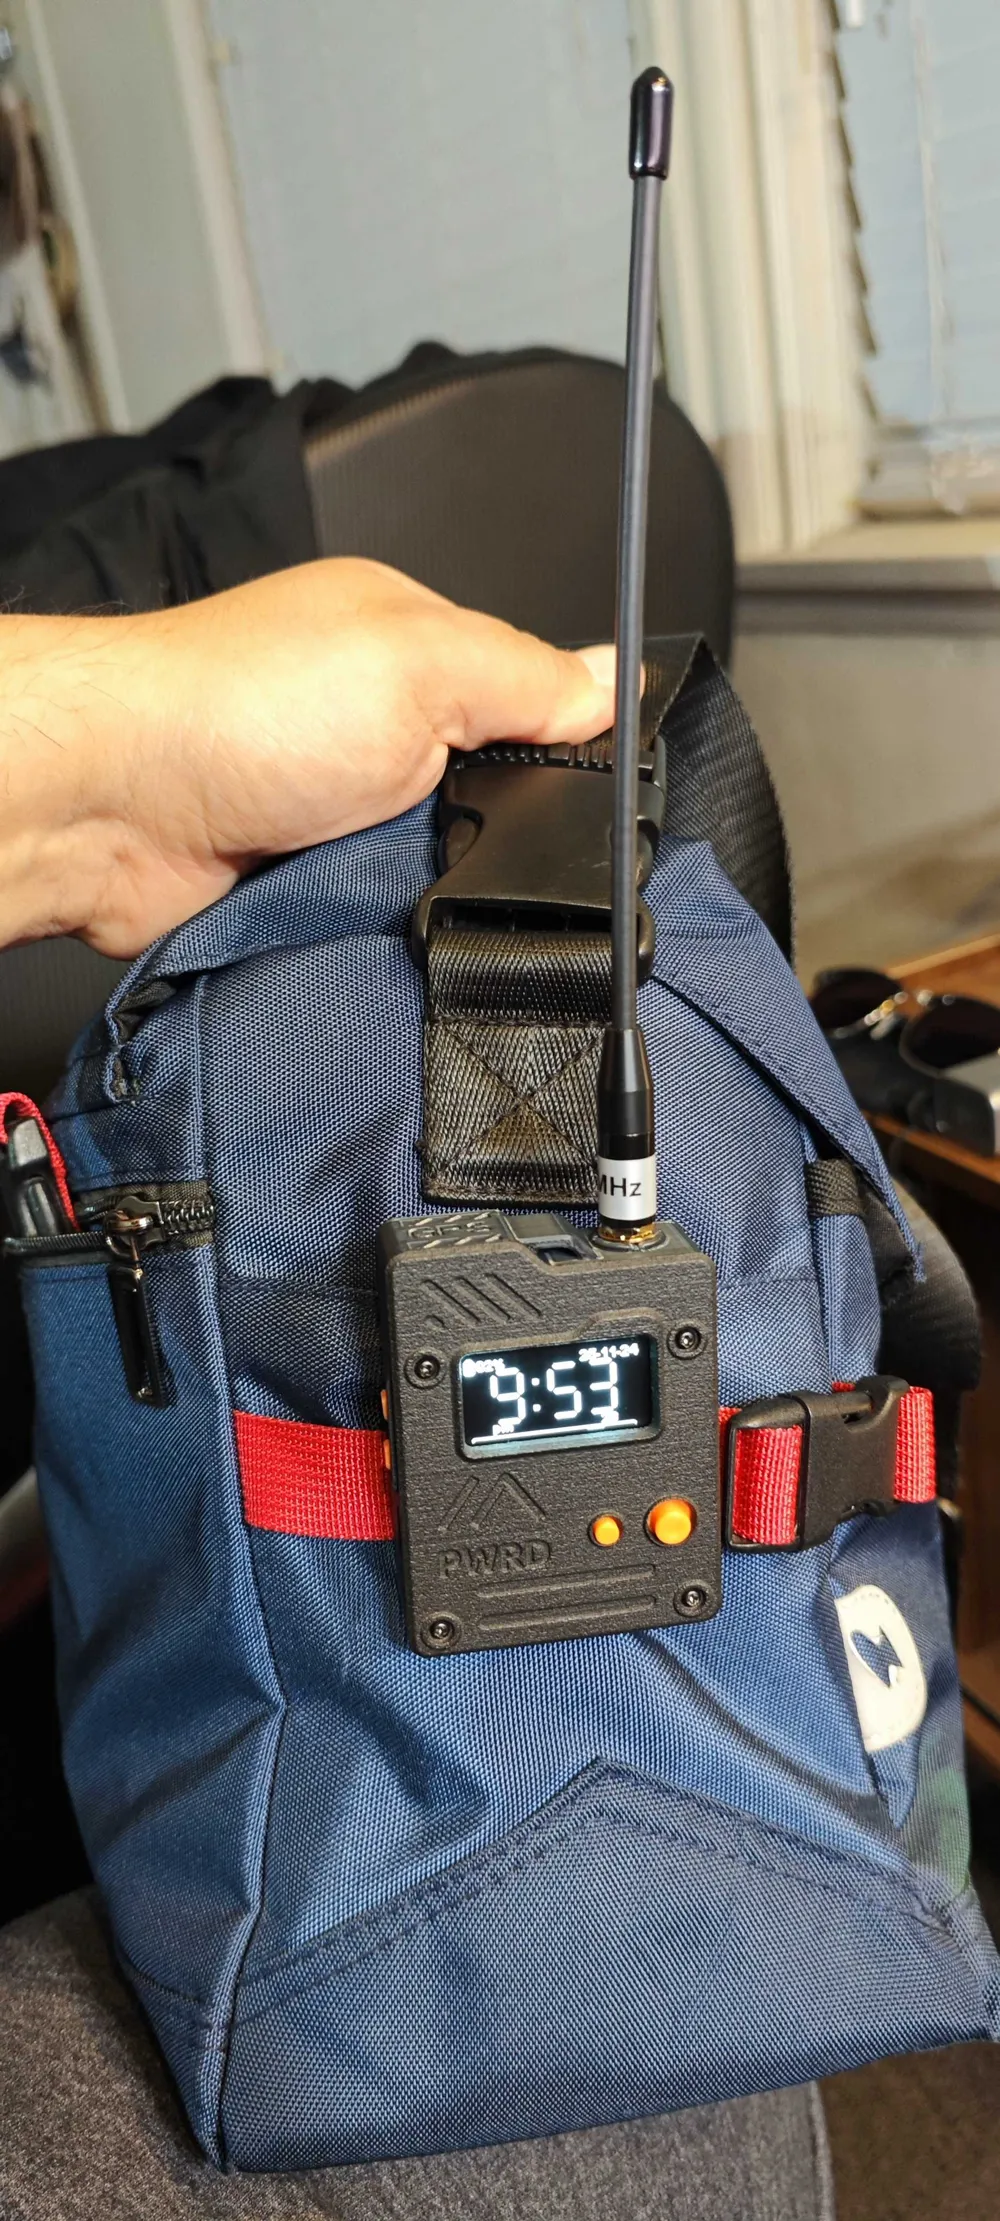
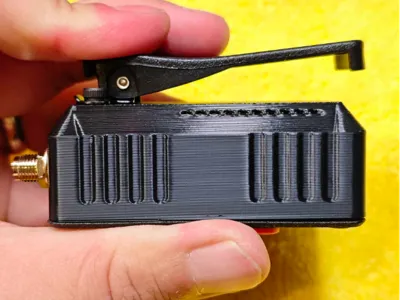
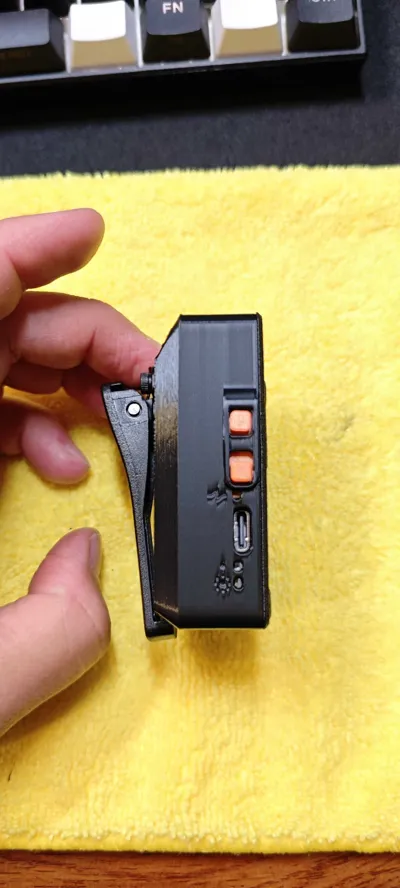
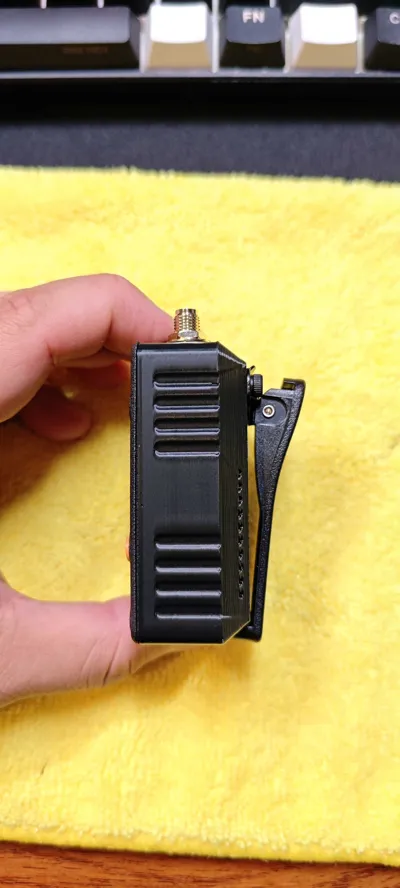
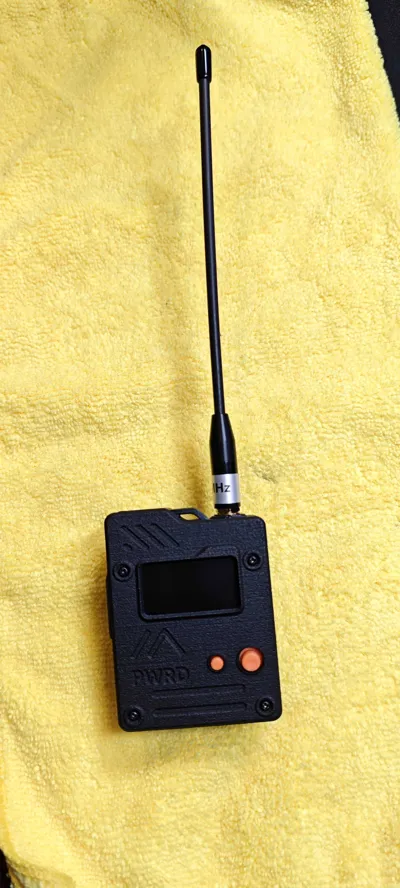
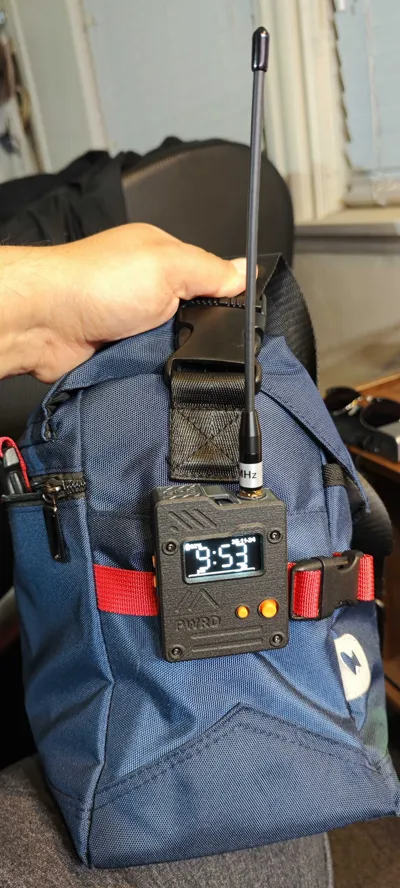
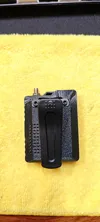
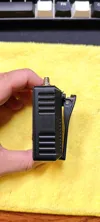
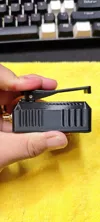
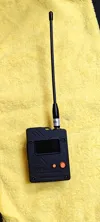
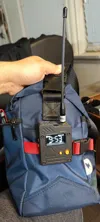
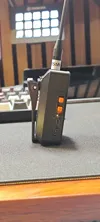
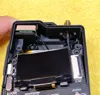
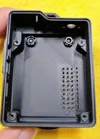
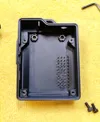
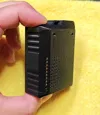
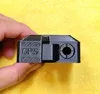
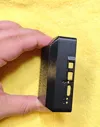
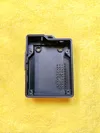
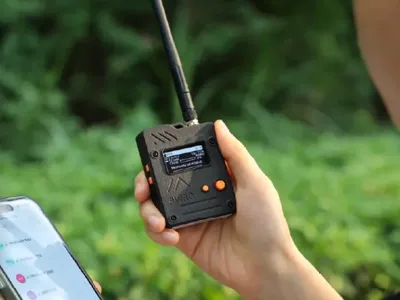
The original Wio Tracker L1 Pro Case is of high quality, but is not easy to print on a traditional printer. This model is remixed to allow for minimal supports when printed flat on its back. The back edges have been rounded and a gentle slope has been added where before there was none, behind the GPS module on the exterior of the case. Additionally, and most important, holes and holders have been added in order to add a standard Baofeng H-777 Walkie Talkie Clip to the back.
NOTES:
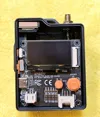
-Holes are 28mm apart and 3mm in diameter. M3 Hex Nuts and Screws are required. The Baofeng replacement clip comes with smaller screws. You will not use them.
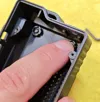
-The nut holder inside the case is not designed to resist the rotation of the hex nut, it is to help hold it in place while you tighten down the screw. Use your finger if necessary to apply pressure and keep the nut from spinning while tightening the belt clip screws
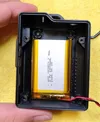
-The 2000mAh battery fits perfectly without modification below the hex nuts.
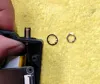
- I removed the lock washer from the RP-SMA connector that comes with the Wio Tracker, this helped my whip antenna screw further down and get better readings.
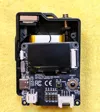
-BE VERY CAREFUL not to strip the faceplate screws when reassembling the unit. Use the right size screwdriver and tighten slowly.
-This might be a good time to upgrade the joystick button. Mine works fine, but others have reported issues.
-A double sided tape, wall mount holder is also available on my profile for mounting to any surface.
Documentation (23)
This remix is based on

License



Comment & Rating (1)