
Manual Material System (MMS) - IKEA Platsa A1 Mini
Print Profile(3)


Description

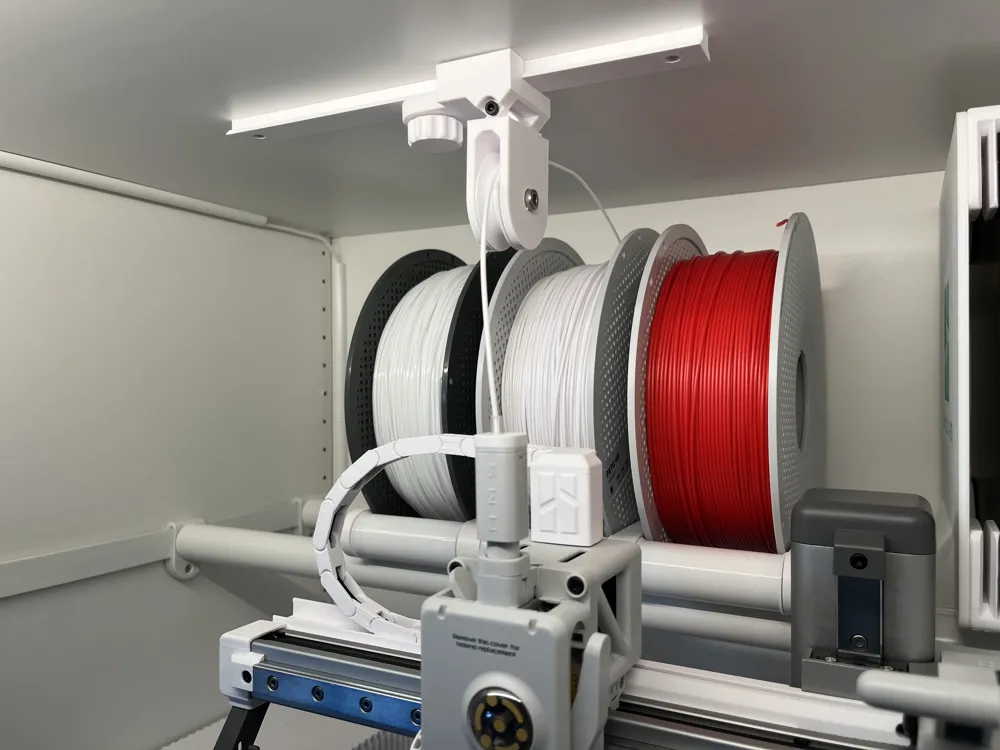
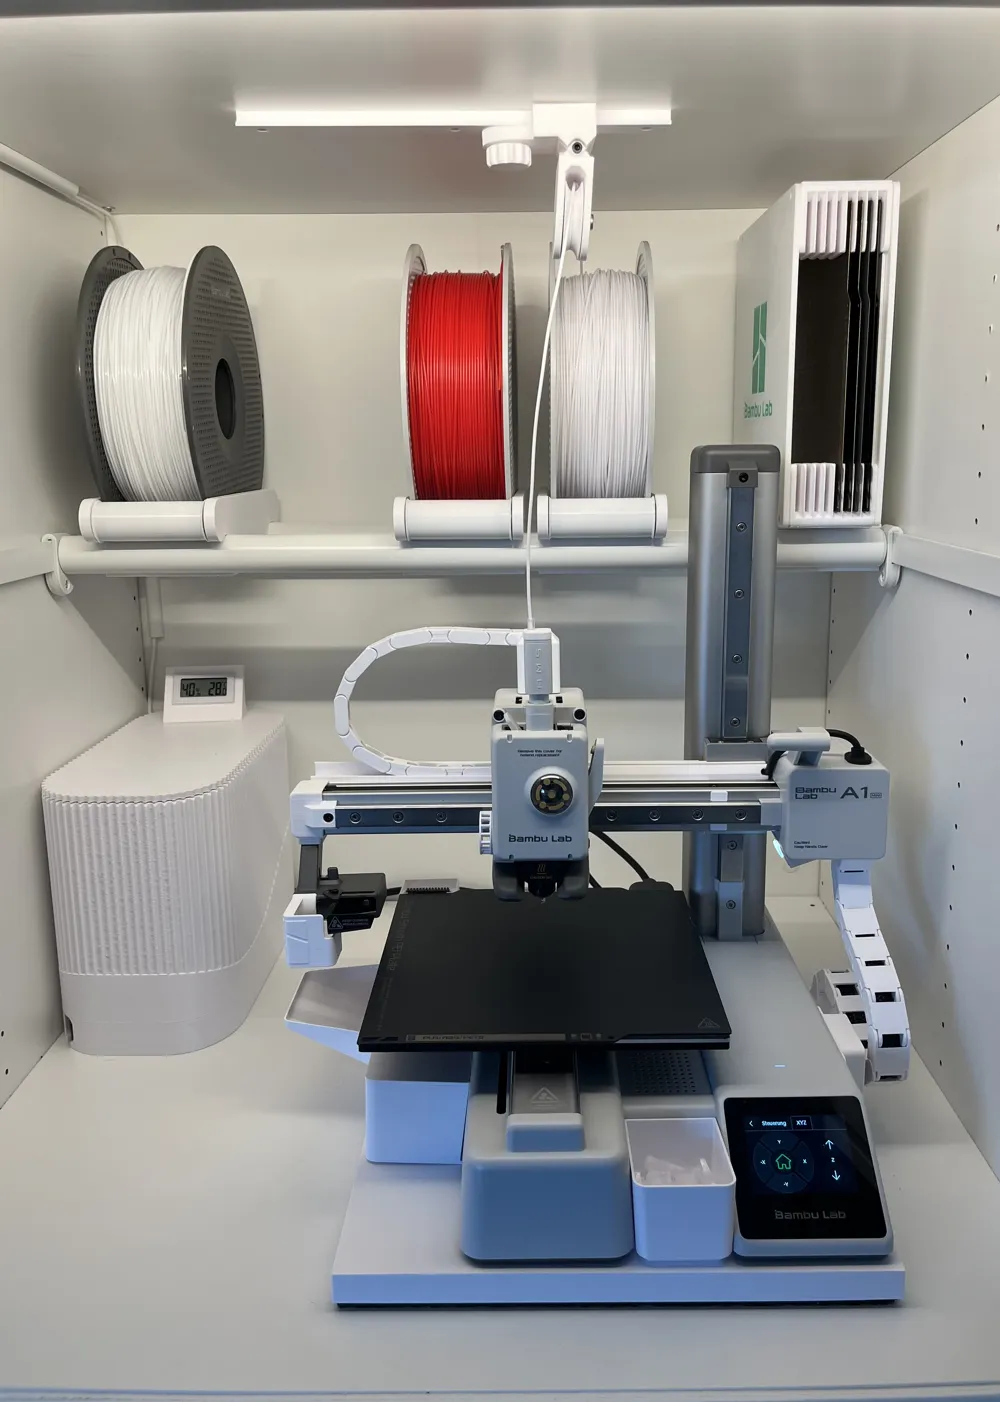
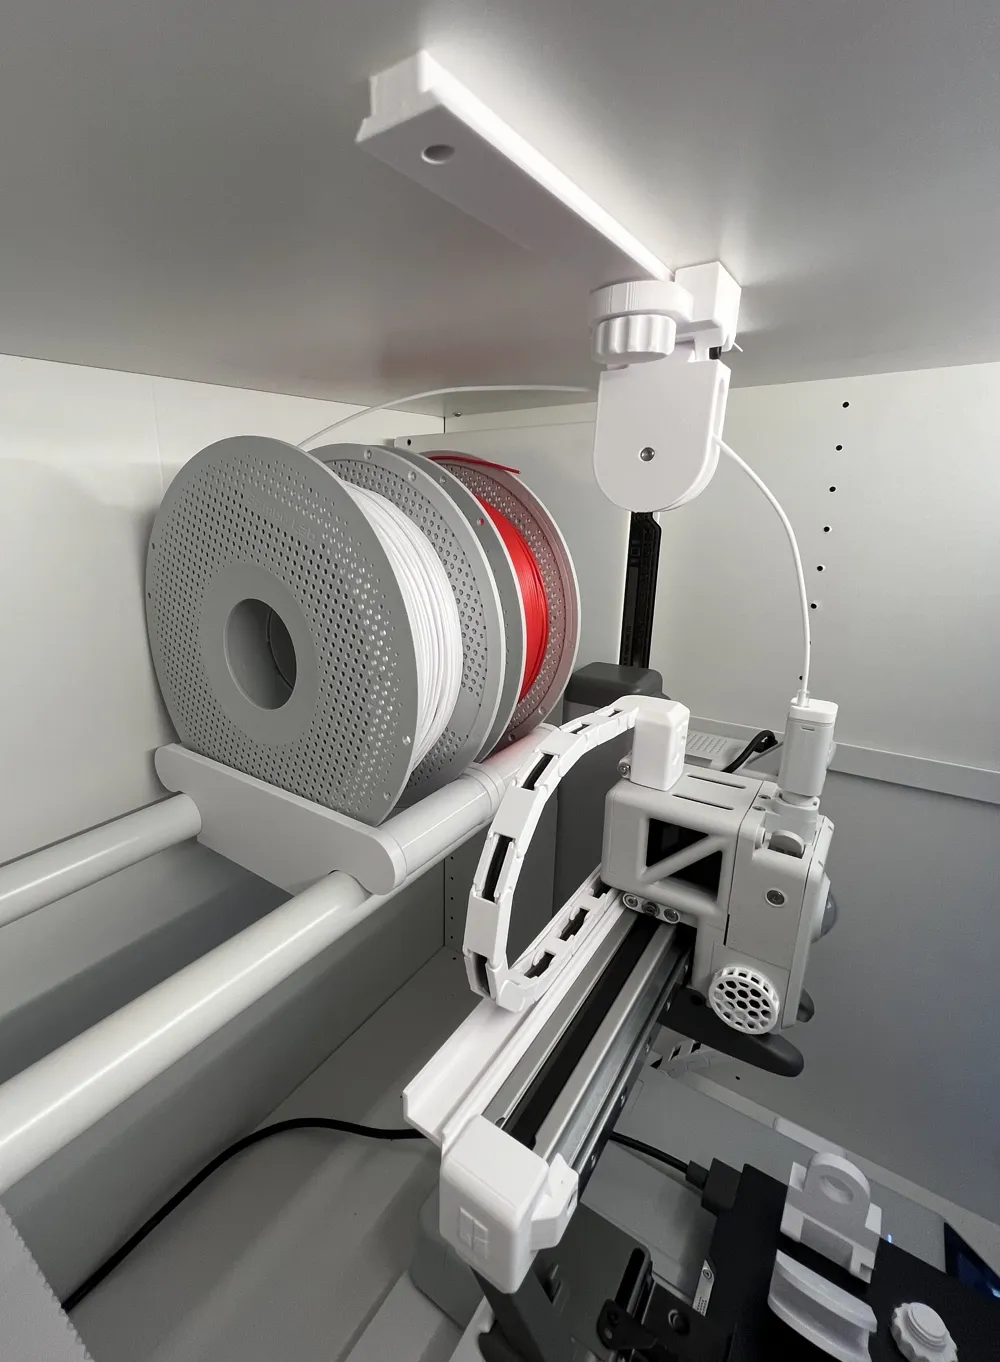

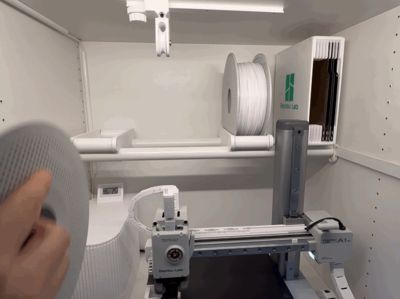
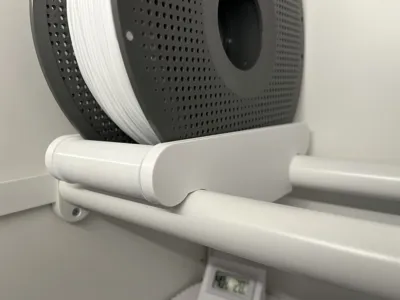
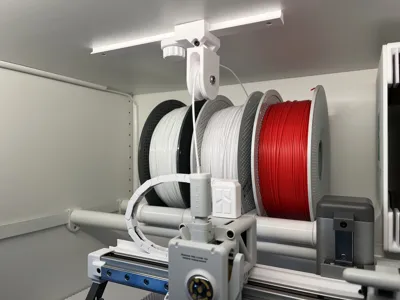
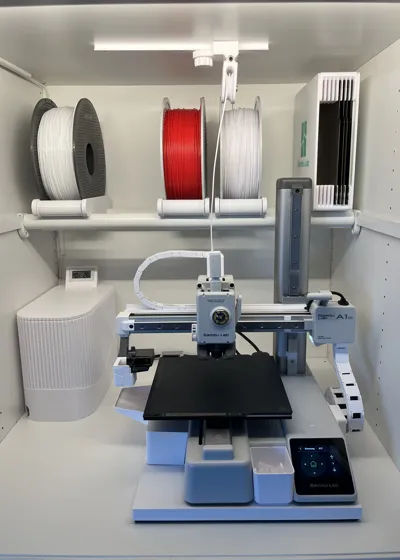
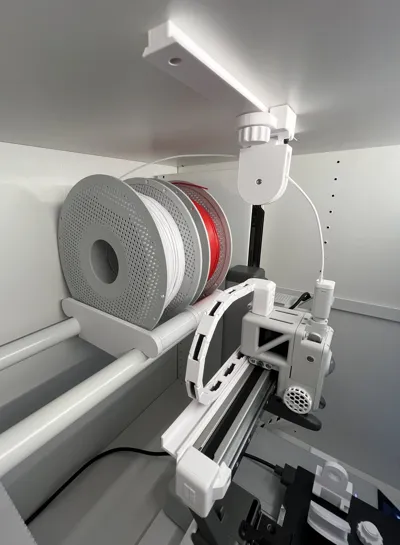
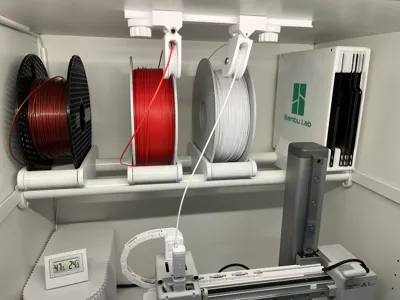
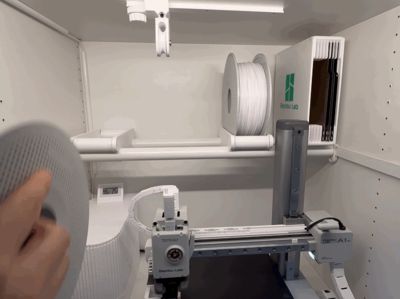
Manual Material System (MMS) for IKEA Platsa & A1 Mini
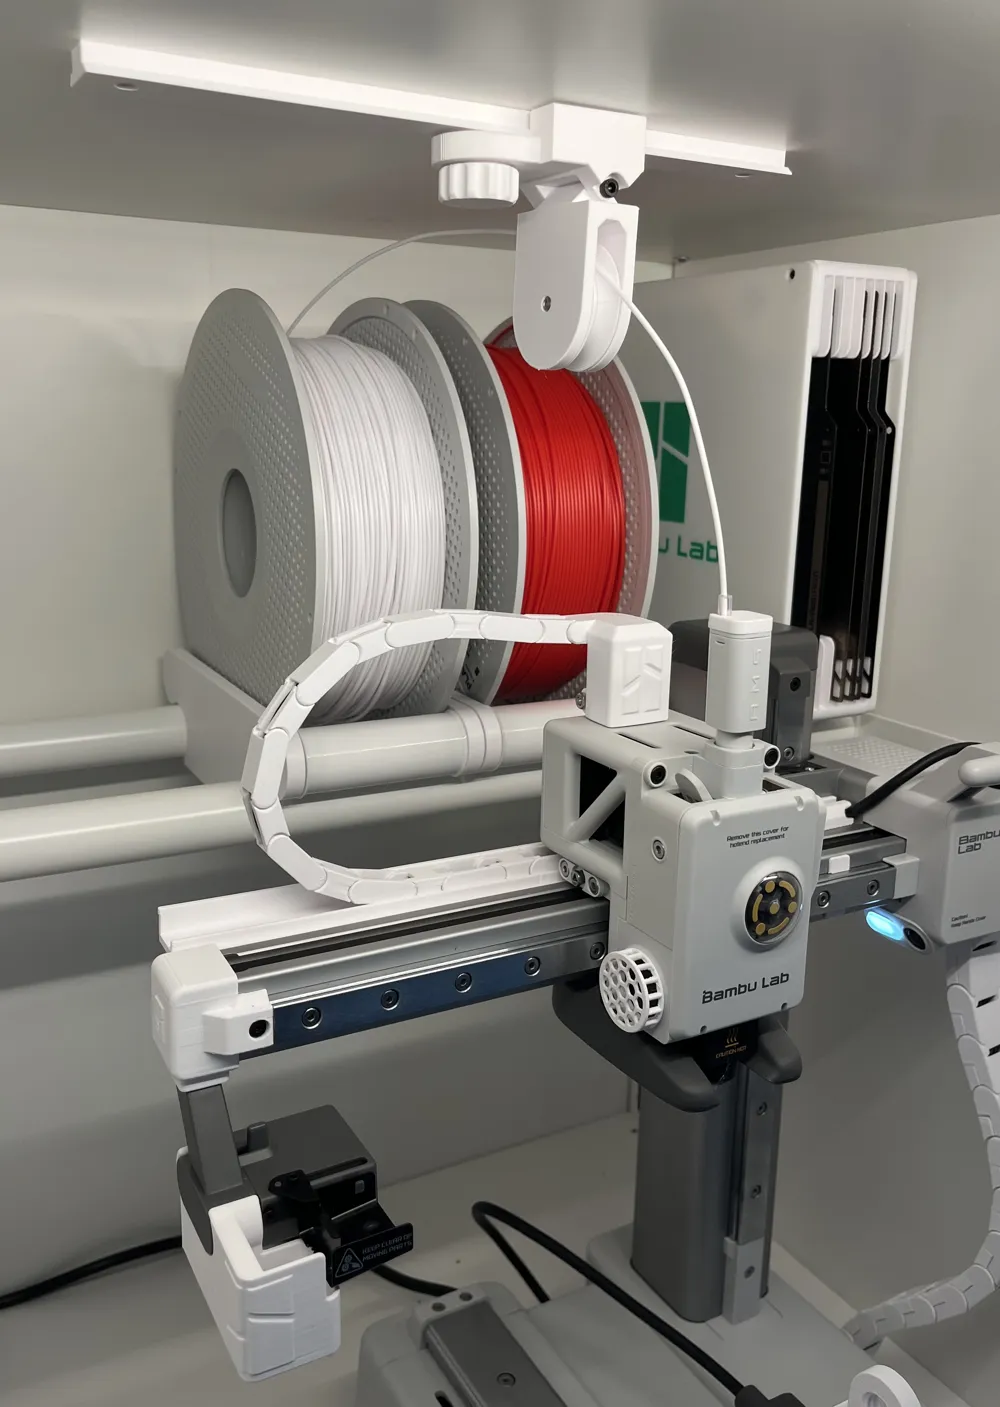
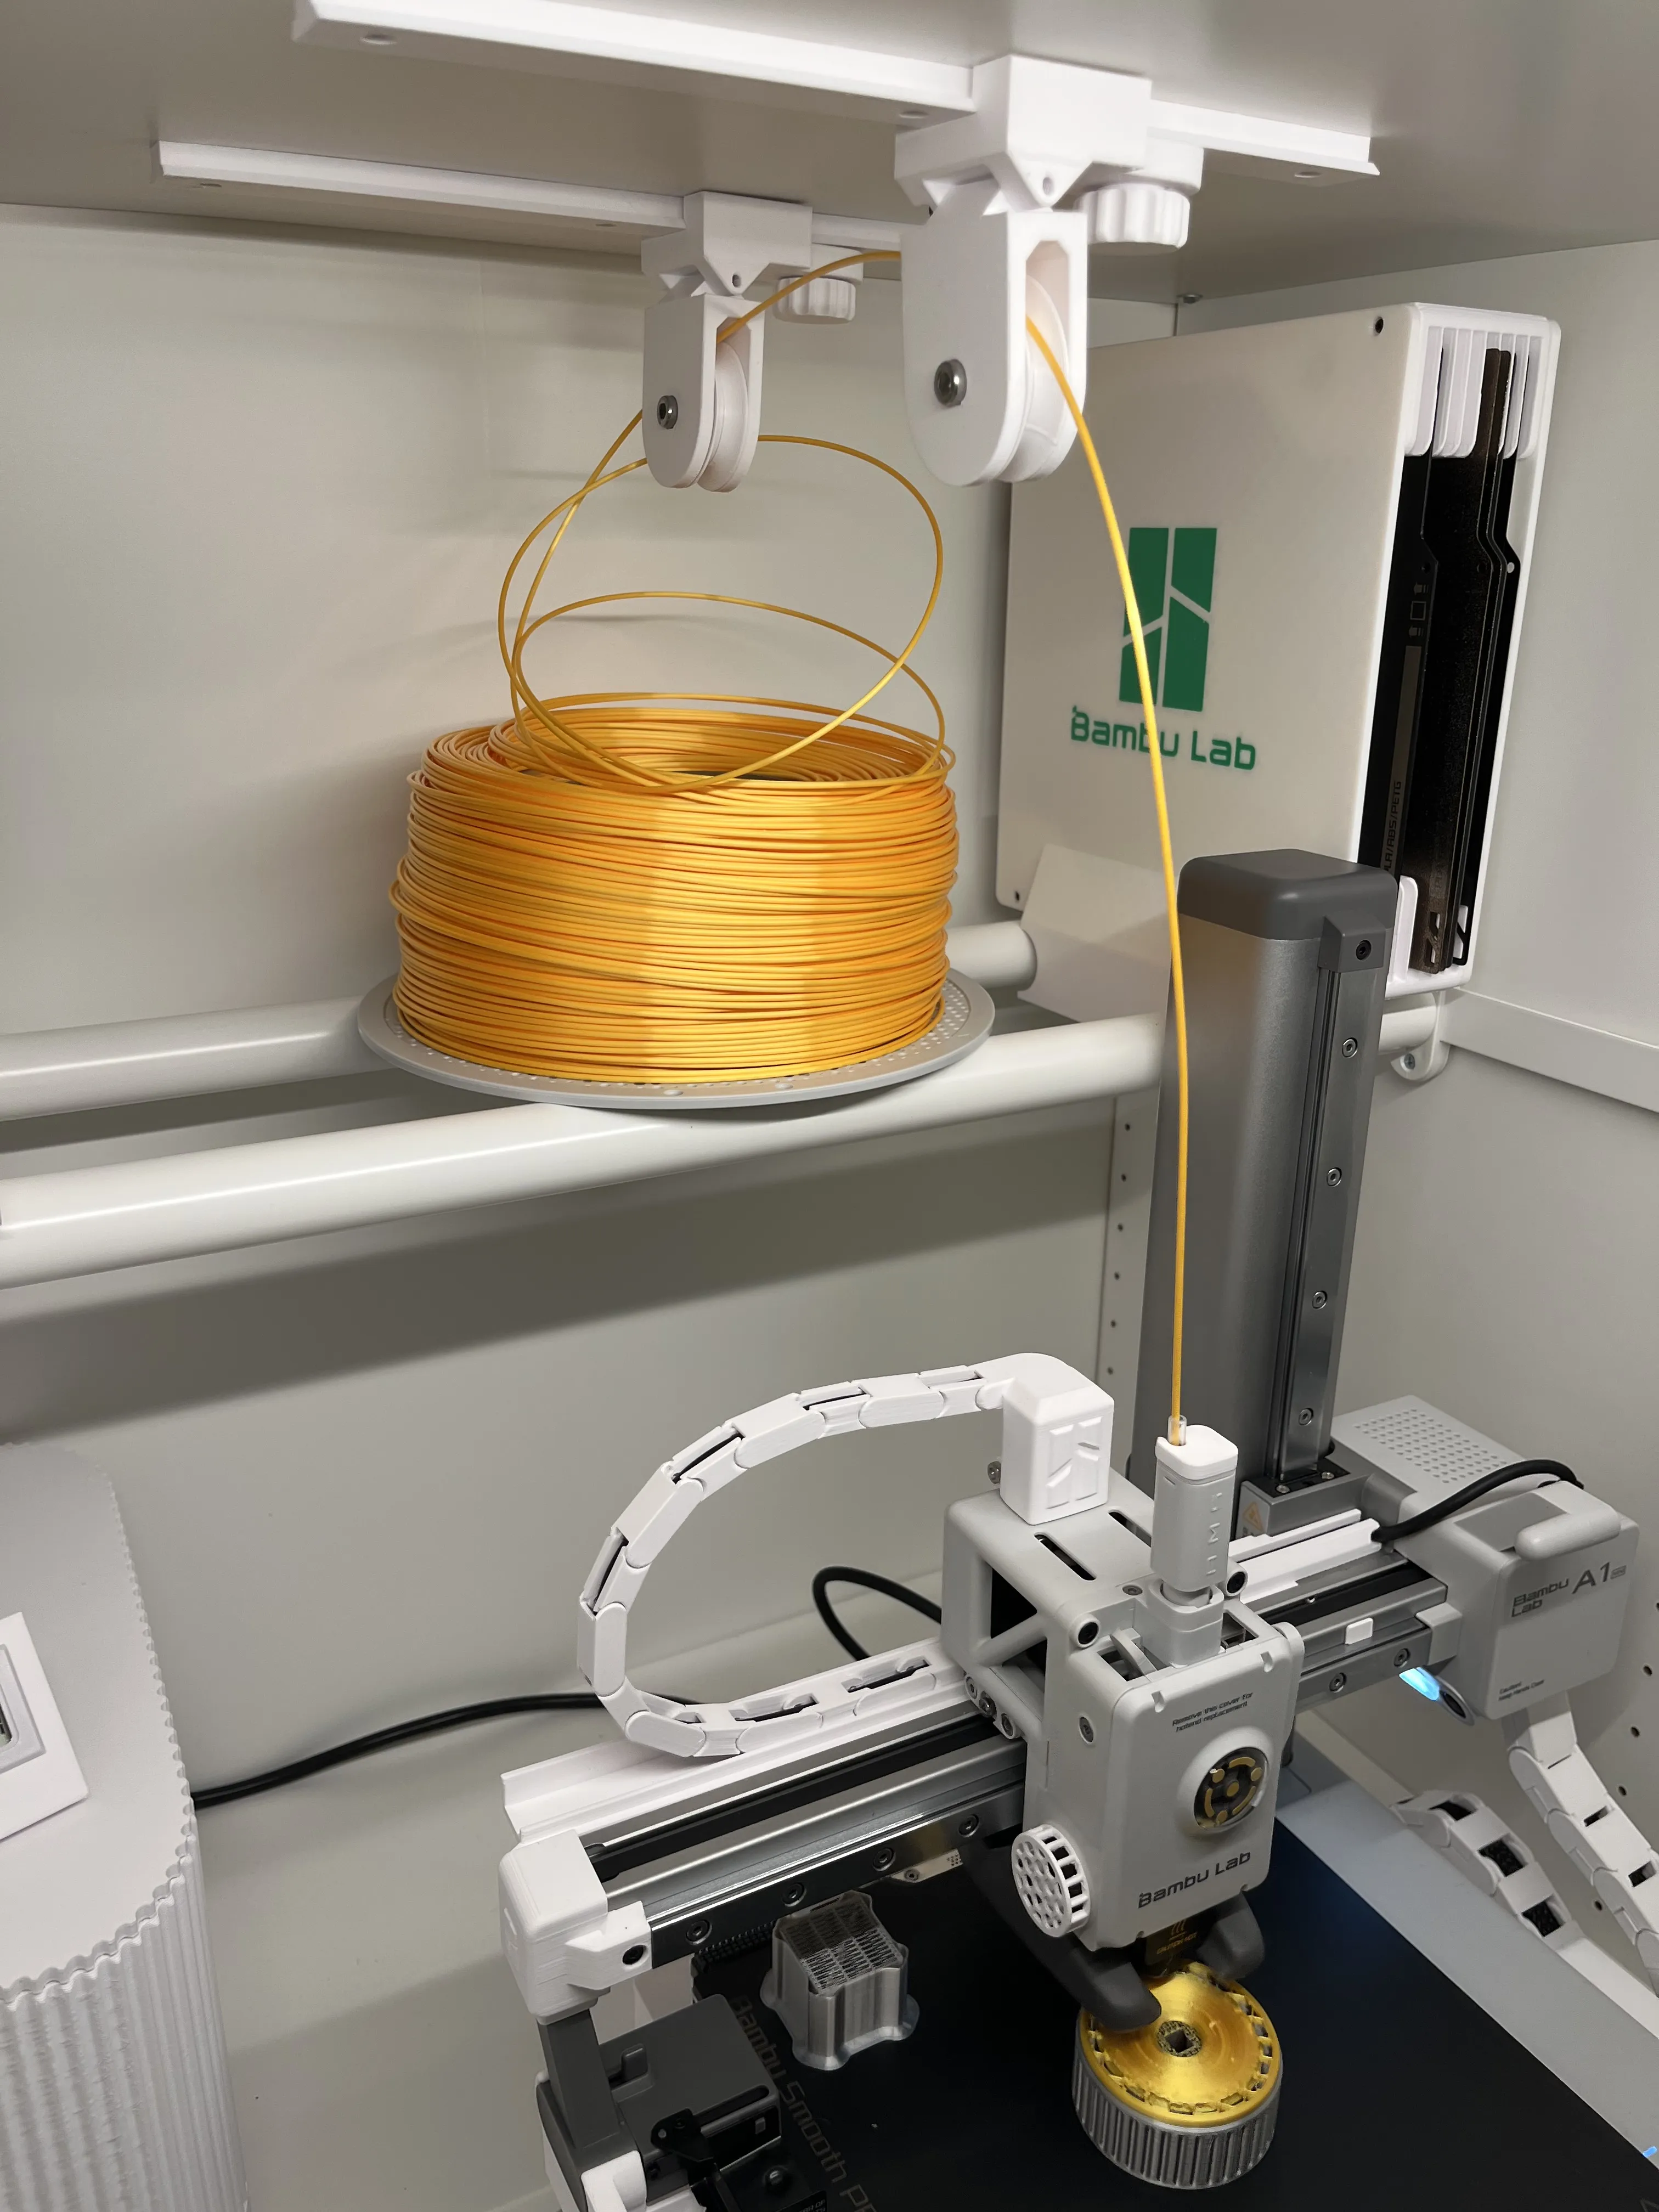
Inspired by a well-known filament management system, I designed a solution that makes manually changing filaments for the A1 Mini very easy.
It can of course also be used for other small printers or maybe other cabinets, but it was developed specifically for the A1 Mini in an IKEA Platsa cabinet.
You will need the following additional items:
- an IKEA Platsa cabinet body (60cm width, 55cm depth and at least 60cm in height - e.g. Product ID 103.309.72)
- 1x IKEA Hjälpa hanging rails for clothes rail (55cm - Product ID 605.055.11)
- 2x IKEA Hjälpa clothes rail (60cm - Product ID 404.978.28)
- 5x 608ZZ ball bearings (+4 for each additional filament holder)
- 1x M3x30 screw
- 1x M5x16 screw
- 3x Small wood screws
Please find the attached PDF file for assembly instructions.
I printed all parts with PETG (and TPU) but I am pretty sure it will work fine as well with PLA.
Important notes
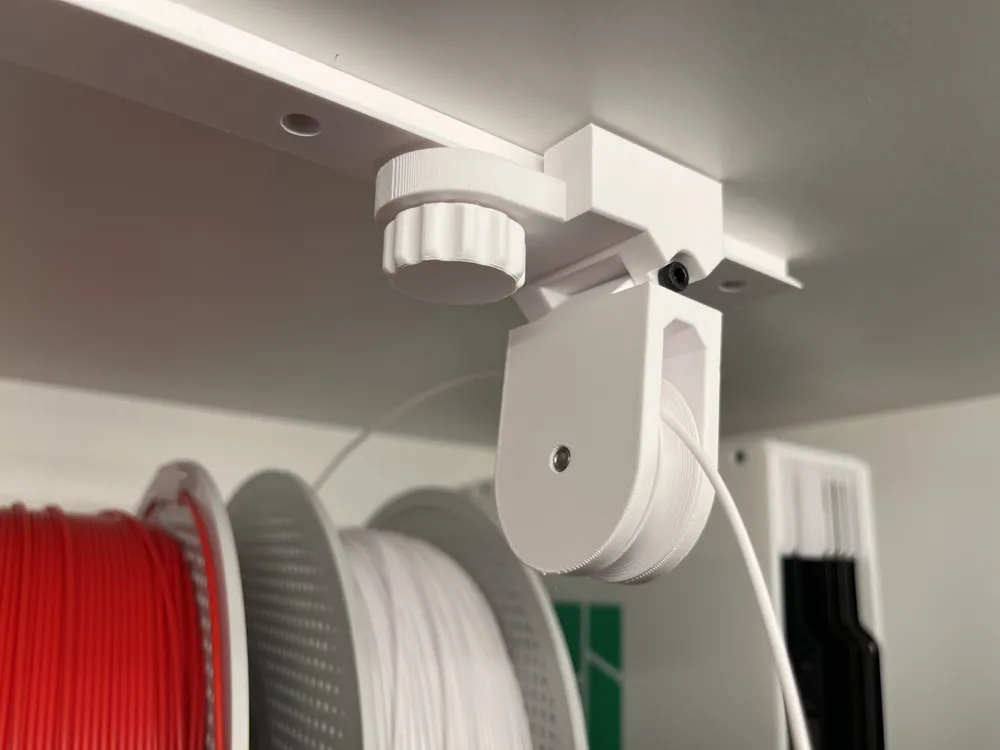
1. The rollers for the spool holders can be printed and used with PETG/PLA, but in this case the unwinding noise is much louder.
I therefore strongly recommend printing them with TPU and additionally printing the inner core in PETG/PLA.
In concrete terms, this means: either loud, hard rollers OR quiet, soft rollers (which, however, need a separate core).
Decide for yourself! Since the filament is usually unwound slowly, hard rollers may also be acceptable.
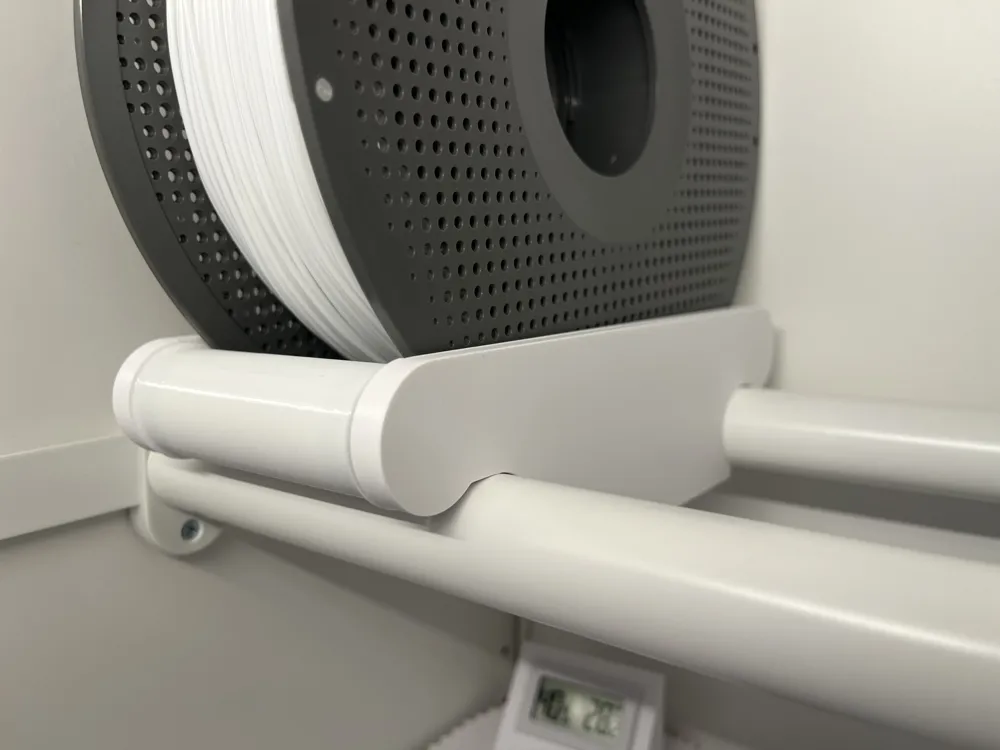
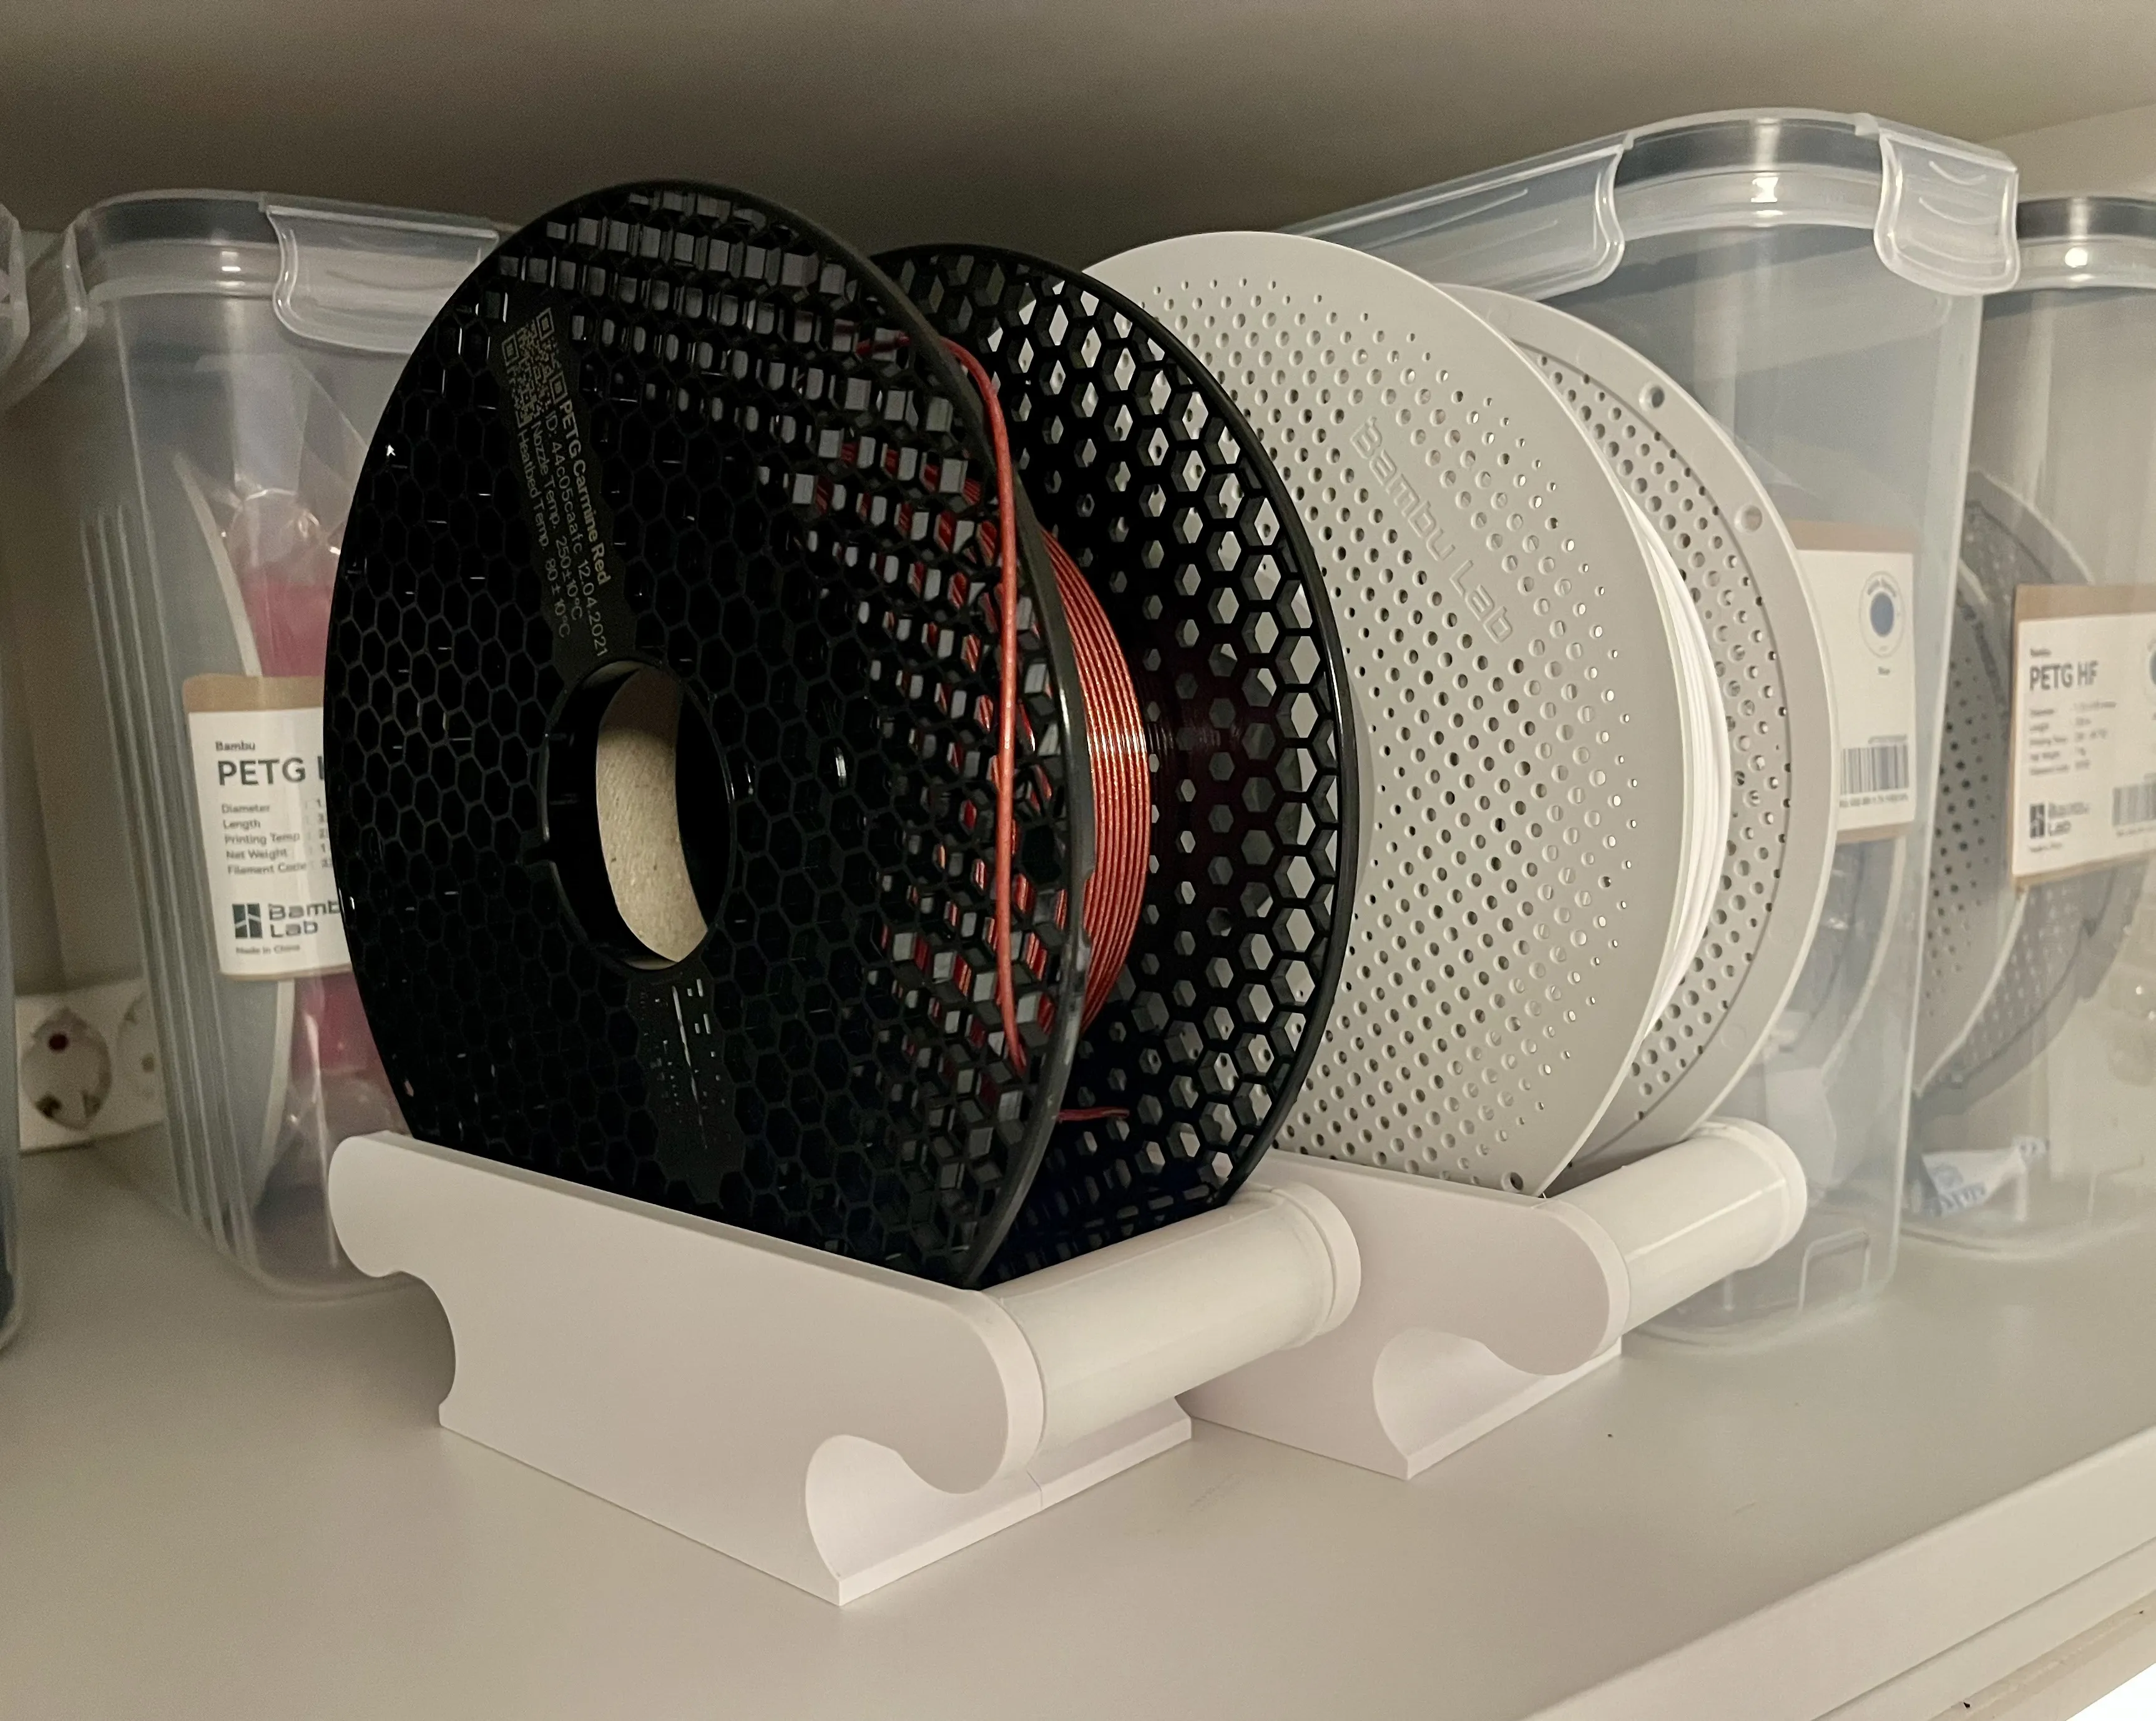
2. During construction, it became clear that Bambu Lab spools come in two different widths:
Some of the normal ones (light gray) are 65mm wide and some are 68mm wide.
The high-temperature spools (dark gray) are usually 68mm wide as per my experience.
For the standard profile, I chose the 68mm width because all types fit there, although there might be a little bit of looseness for some.
However, I am also publishing another profile in case you want a better fit for the narrower spools.
Tip 1*
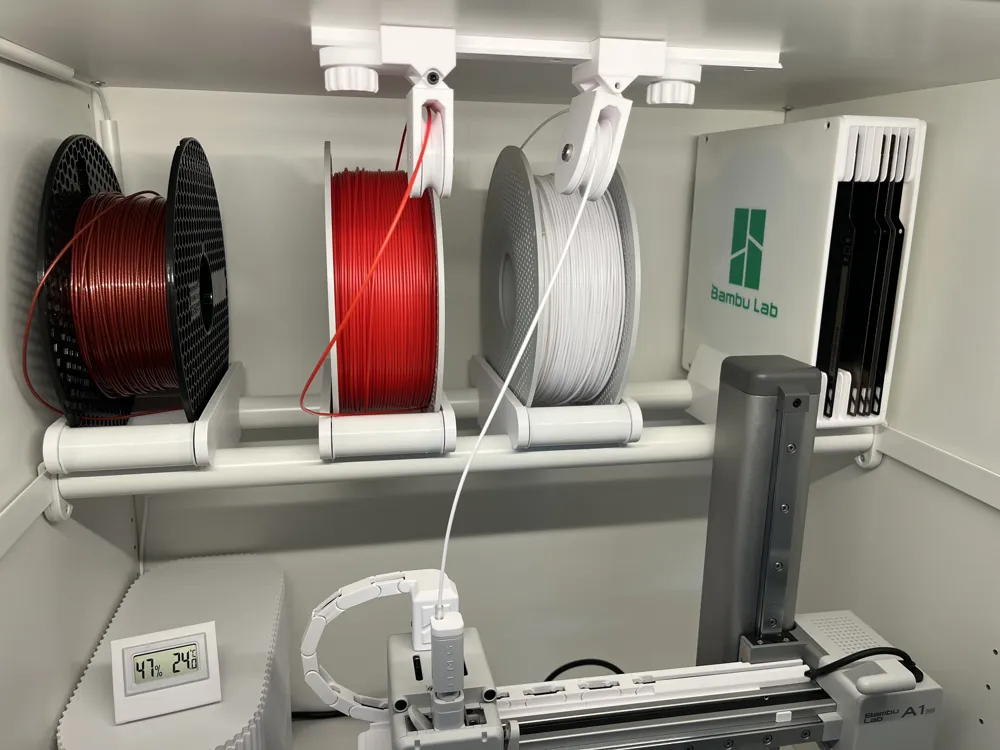
All parts are modular in design. You can build your setup however you want.
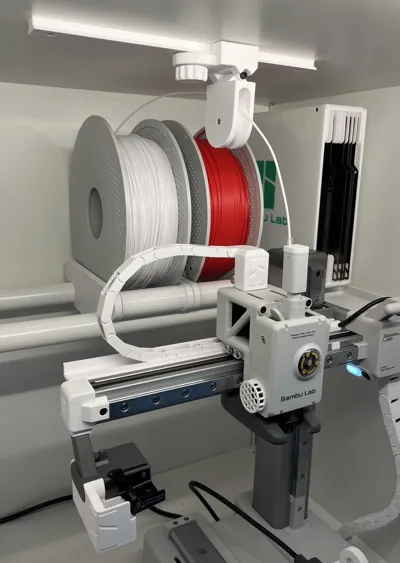
You can print multiple carriers, use multiple rails, and/or multiple pulleys.
In my tests, I was able to put three spools next to each other without any problems during unwinding.
The spool carriers can even be used as regular holders for storage.
Tip 2
I highly recommend using @Grinsekatze3D's “A1 Mini Cable Chain” to gain significantly more space above the printer.
Tip 3
If you want to print the rolls with TPU, be sure to use the textured PEI plate.
The profile has been adjusted accordingly. I had massive problems getting the printed rolls off a smooth PEI plate and damaged the surface in the process. Heating up the heatbed also helps enormously.
Tip 4
To avoid stringing when printing with TPU, simply print the rolls one after the other rather than together.
*A brief story about how Tip 1 can (sort of) save your life:
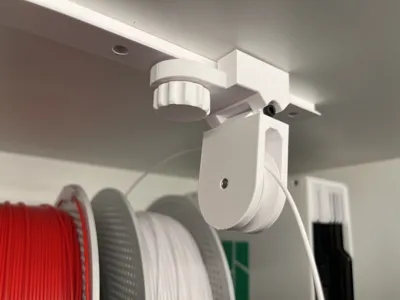
While preparing for a filament change, I dropped a brand-new spool on the floor, and it burst open and fell apart. There was no way to put it back together again. But I needed that exact color to finish the print, so I had the idea of using a second pulley to pull the filament up sideways. I installed a second rail right in the middle above the spool rack and slid a second pulley onto it. It worked great, and because the carriers are so easy to move, I was able to do it all while printing was still in progress.
Update 01/2026
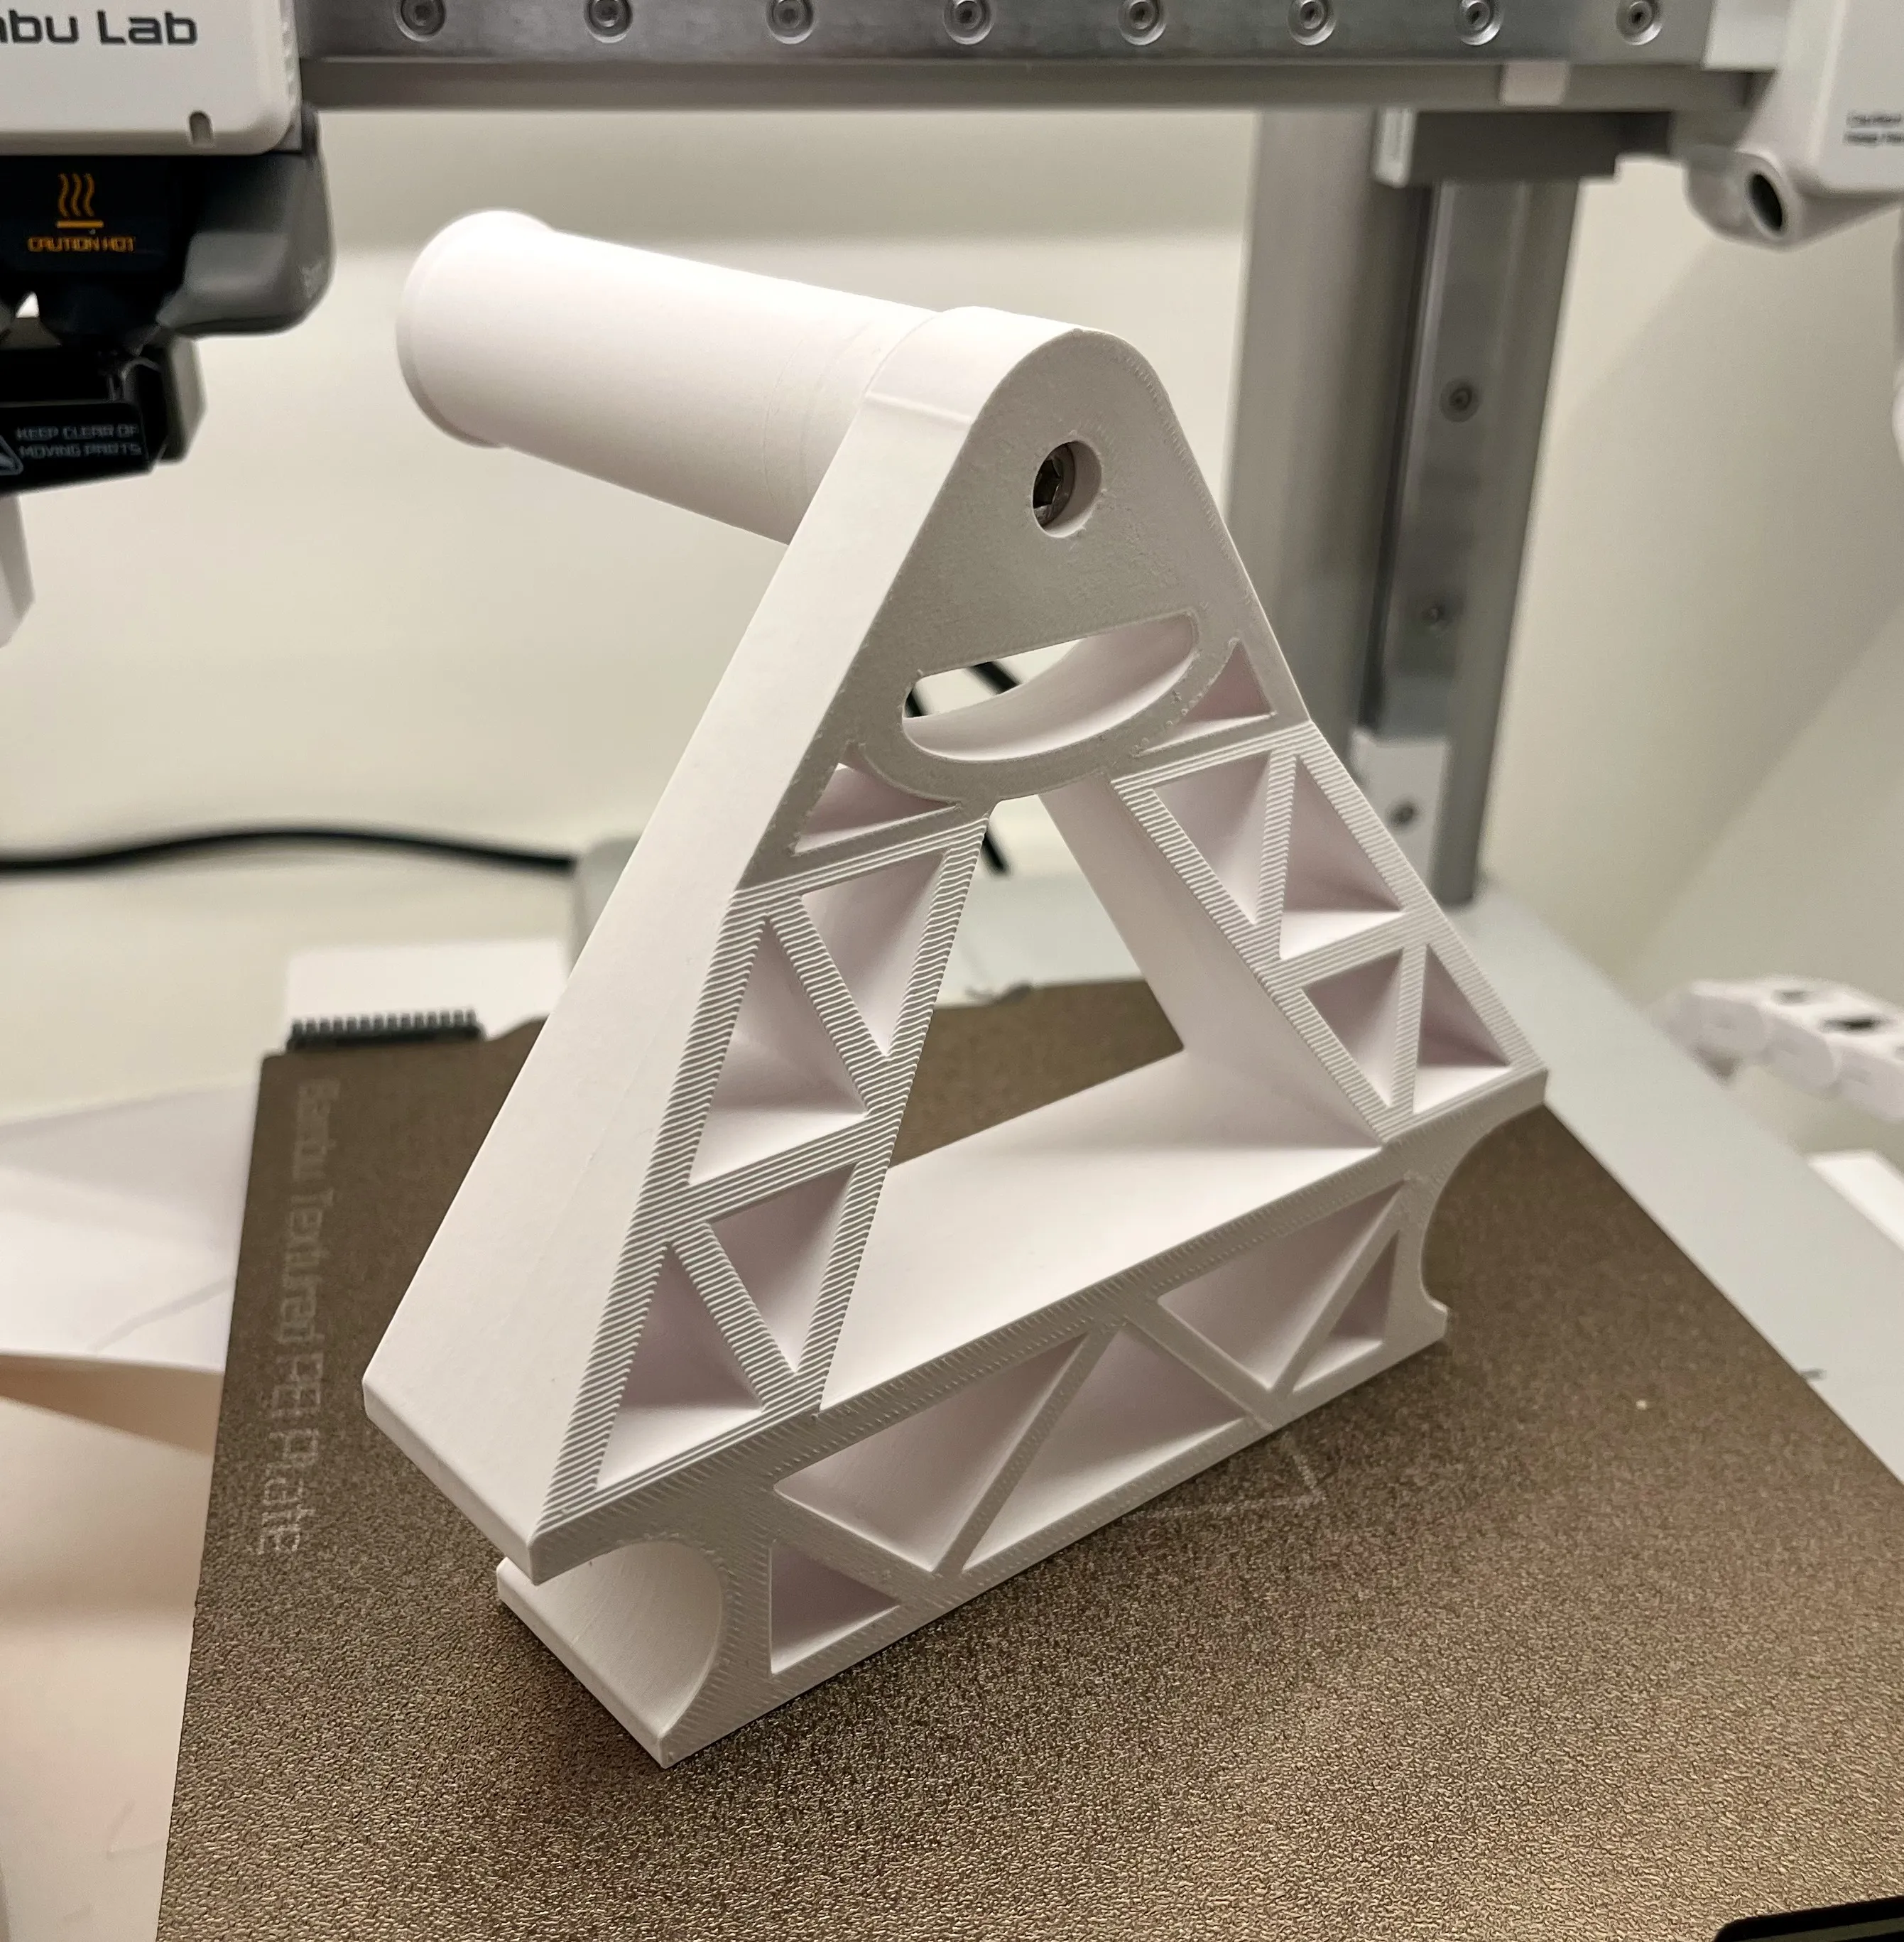
There is now another print profile that includes a part I call the “Escape Guard.”
The spools actually hold up very well under their own weight, even when they are almost empty. However, at the very end, when the last piece of filament is torn off the adhesive strip, the entire spool is lifted up and, in worst case, can fall onto the print bed.
That's why I designed this part as a safety feature. Like everything else, it can be easily moved back and forth on the clothes rails.
You will need the following additional items:
- 1x M5x16 screw (or longer)
- 1x M5 nut
Do not forget to rate, like, boost or give feedback. Any support is highly appreciated!
Boost Me (for free)
I have put a lot of work and time into creating these parts.
Please appreciate the dozens of prototypes I have made in order to share a good product with the community.
Every boost motivates me to continue. Thanks and happy printing!
Documentation (1)
License

You shall not share, sub-license, sell, rent, host, transfer, or distribute in any way the digital or 3D printed versions of this object, nor any other derivative work of this object in its digital or physical format (including - but not limited to - remixes of this object, and hosting on other digital platforms). The objects may not be used without permission in any way whatsoever in which you charge money, or collect fees.


Comment & Rating (17)