
Top Loader Wall Frame for TCGs - UPDATED
Print Profile(2)


Description
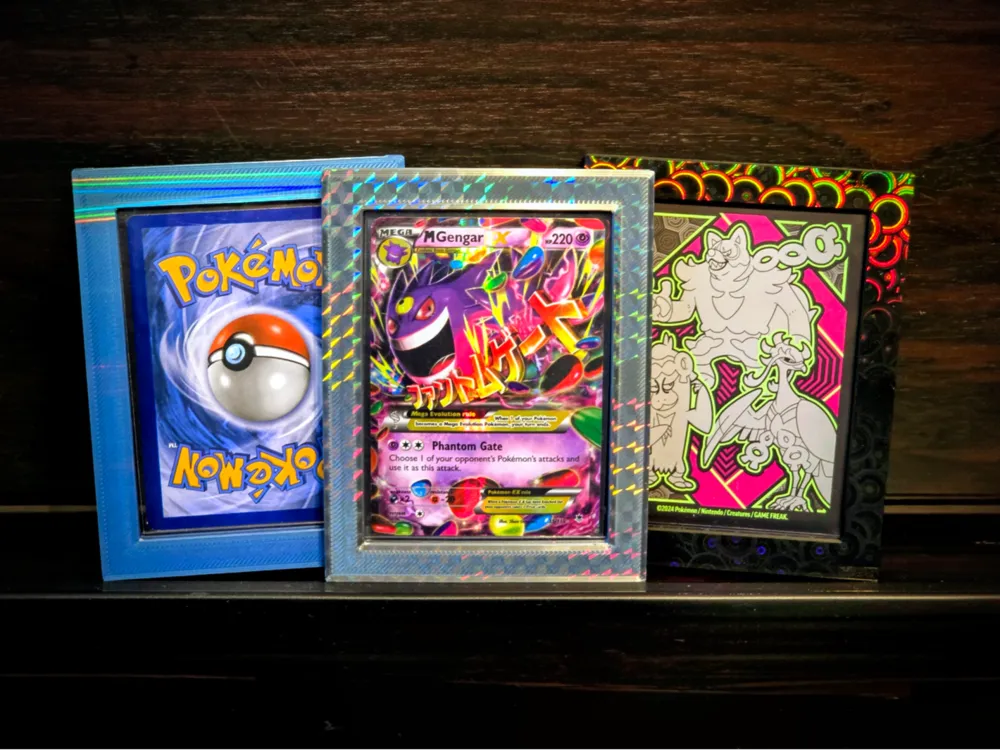
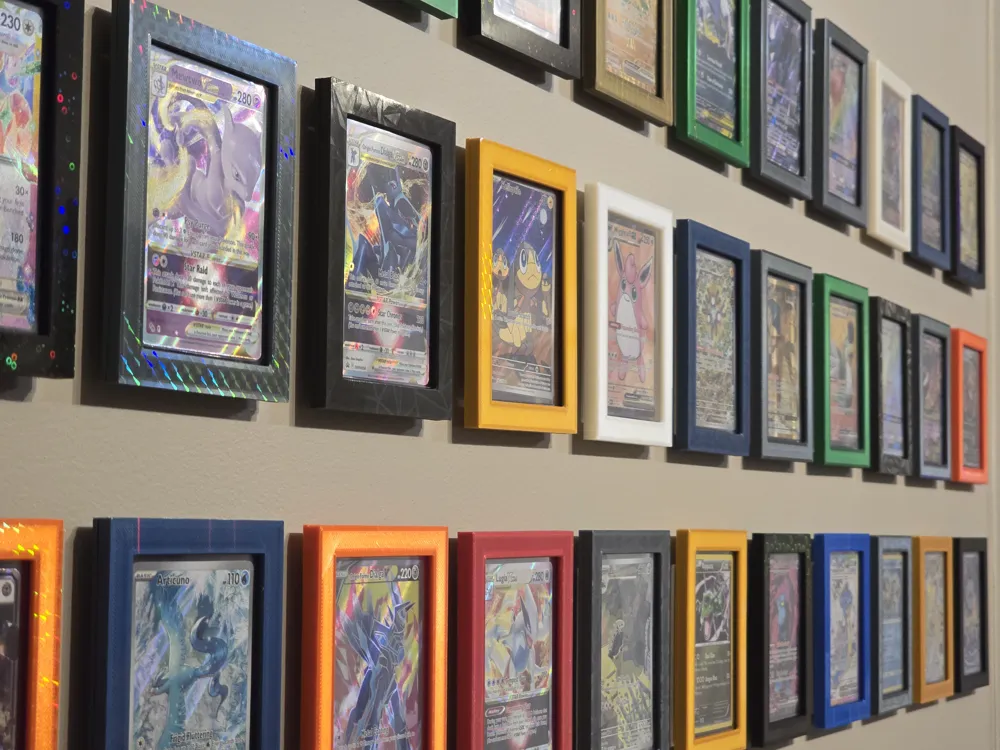
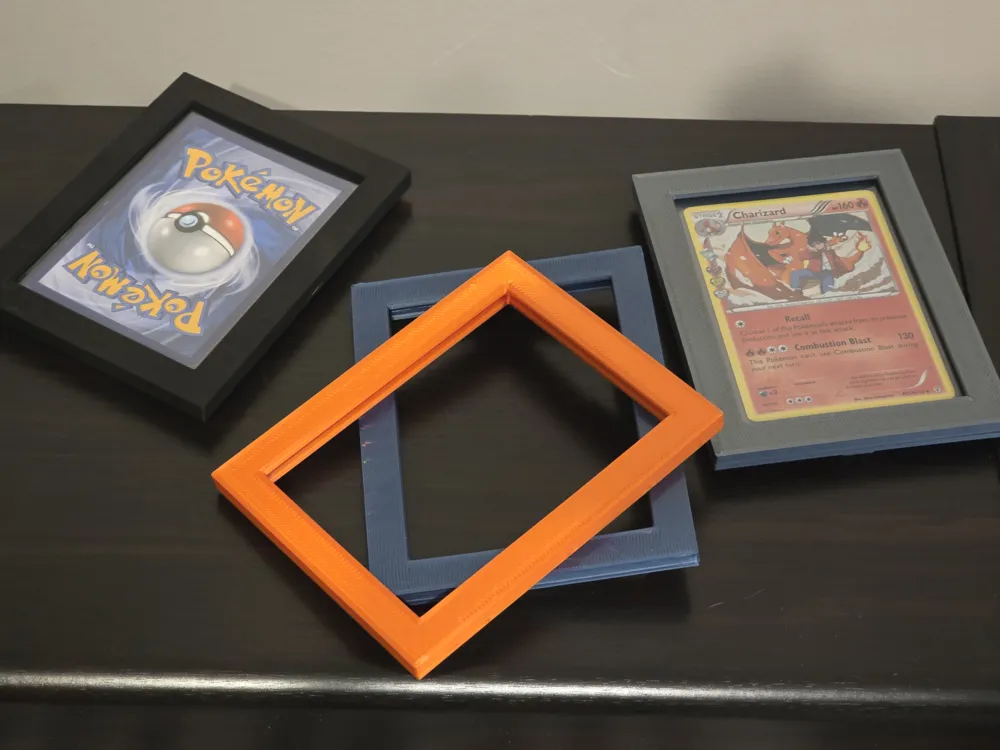
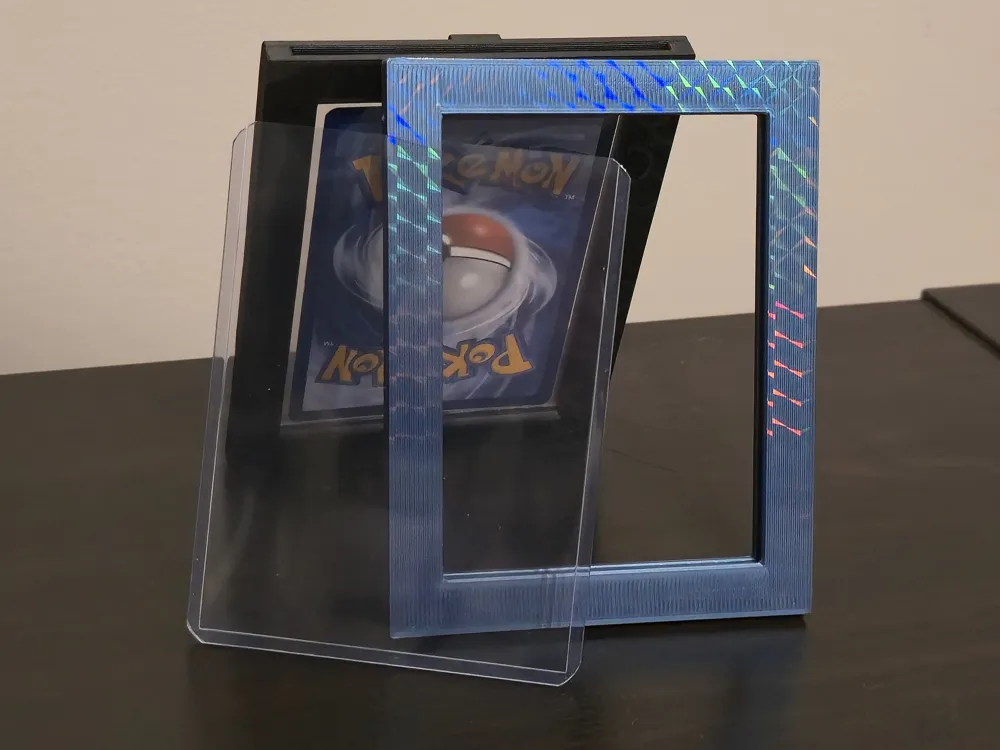
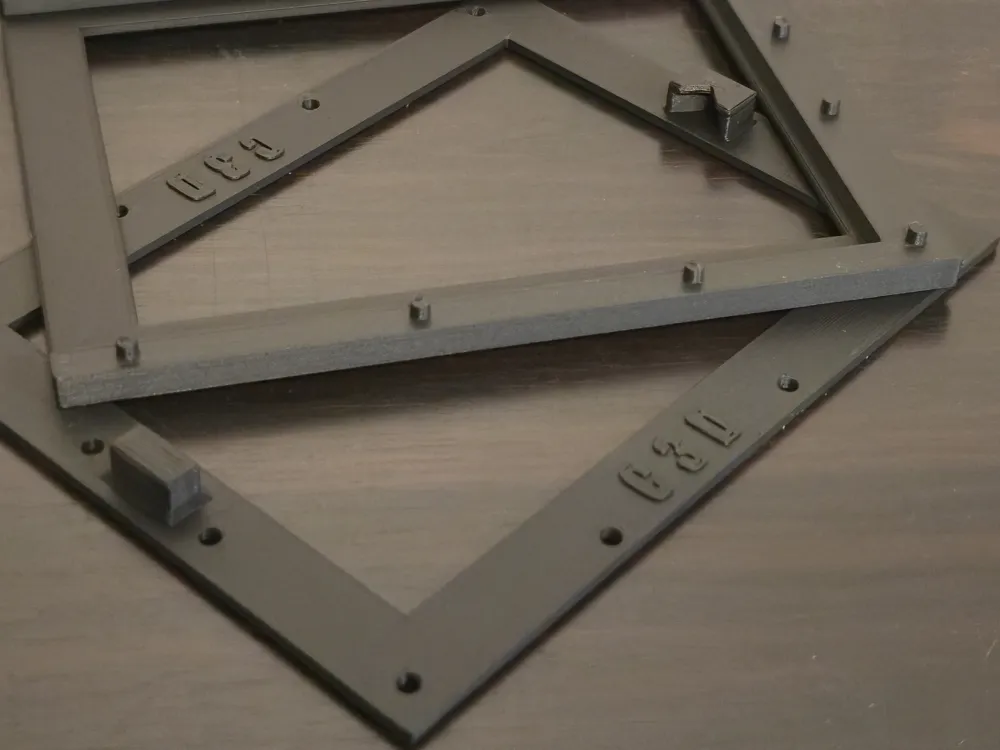
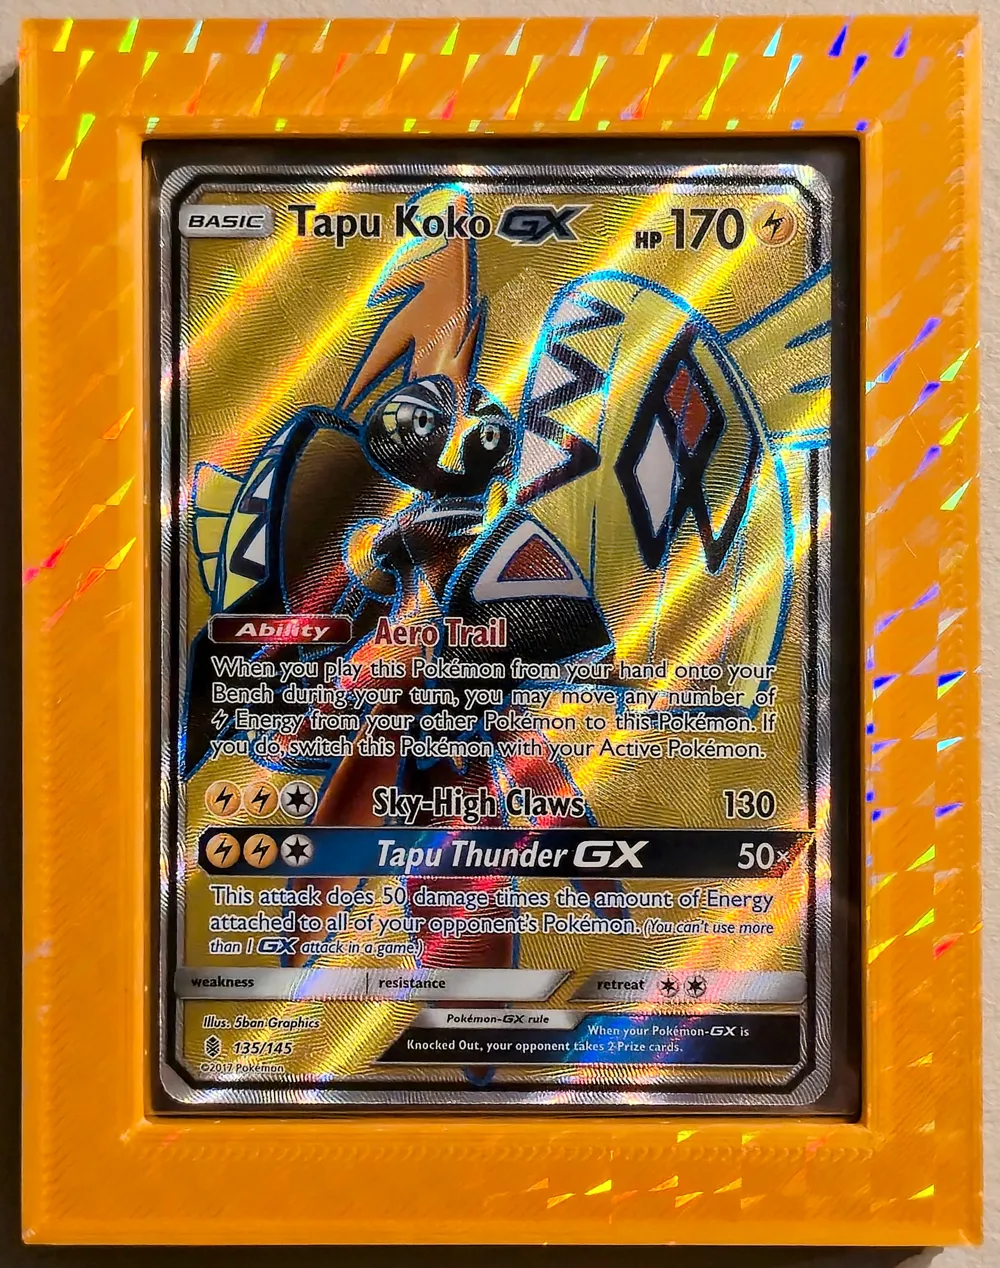
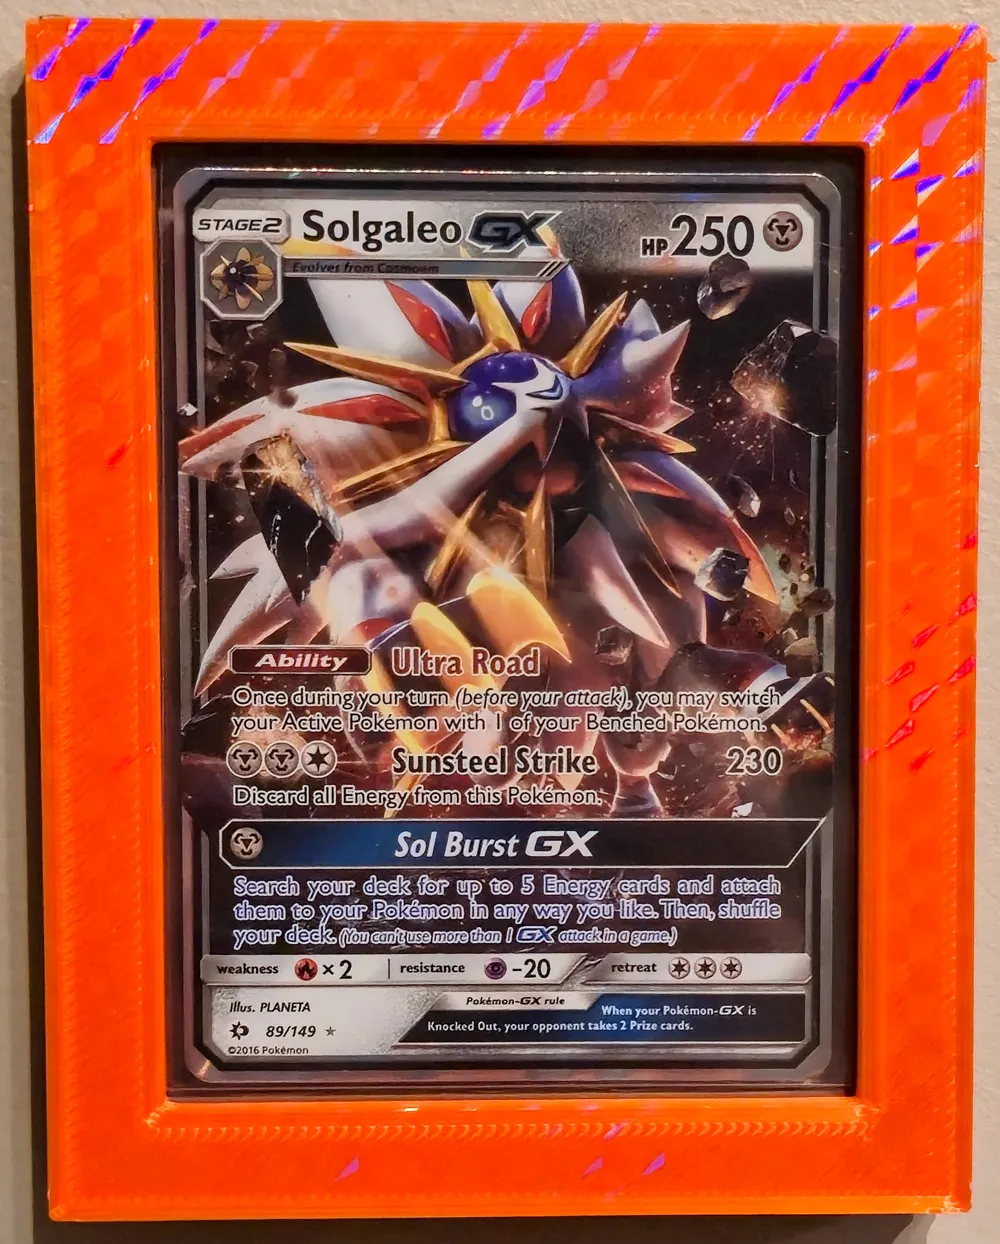
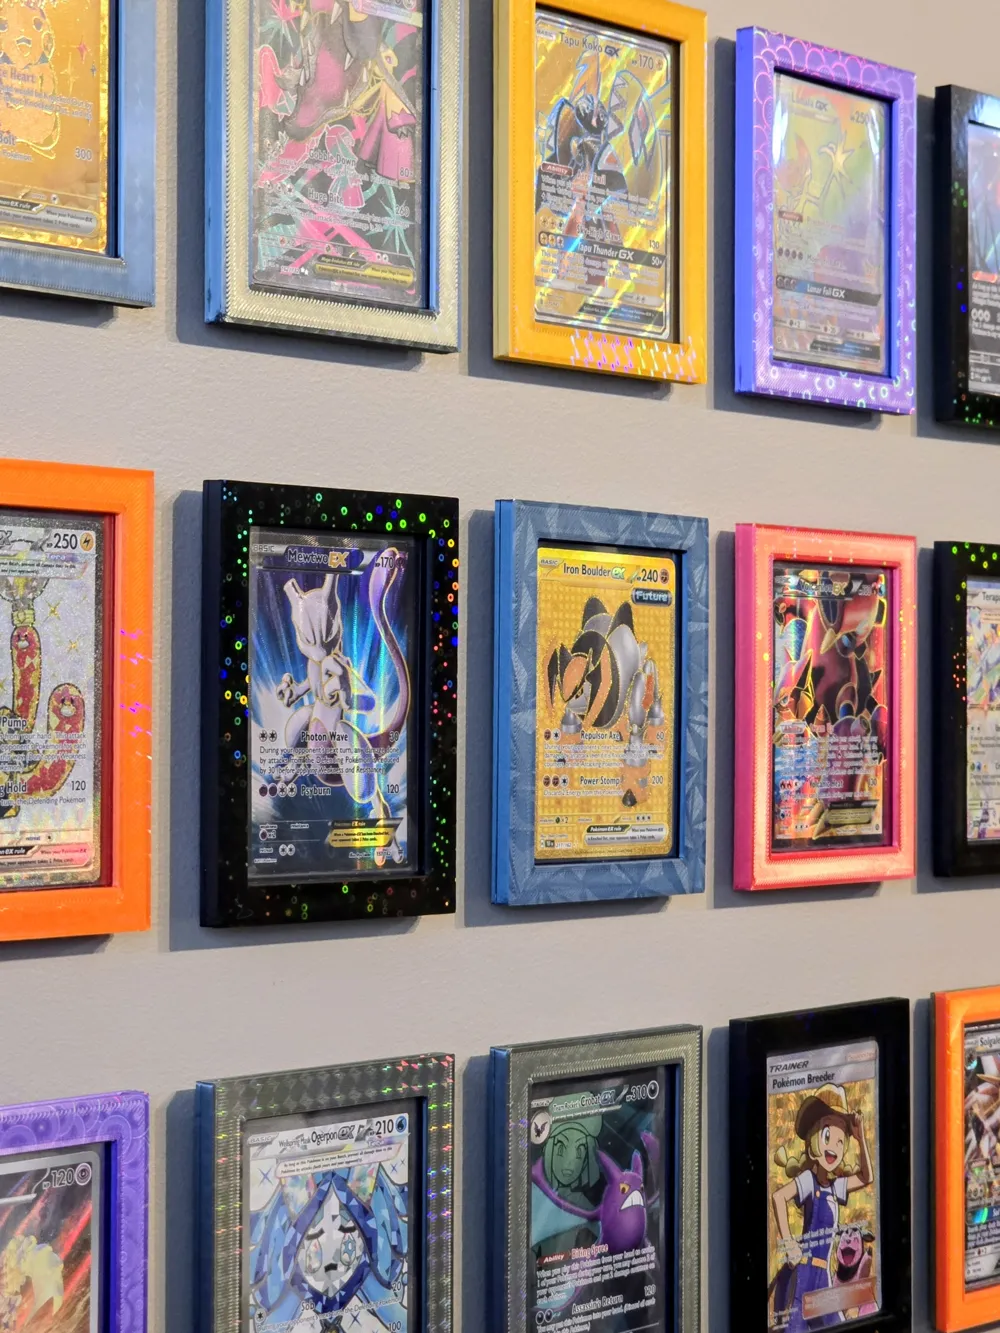
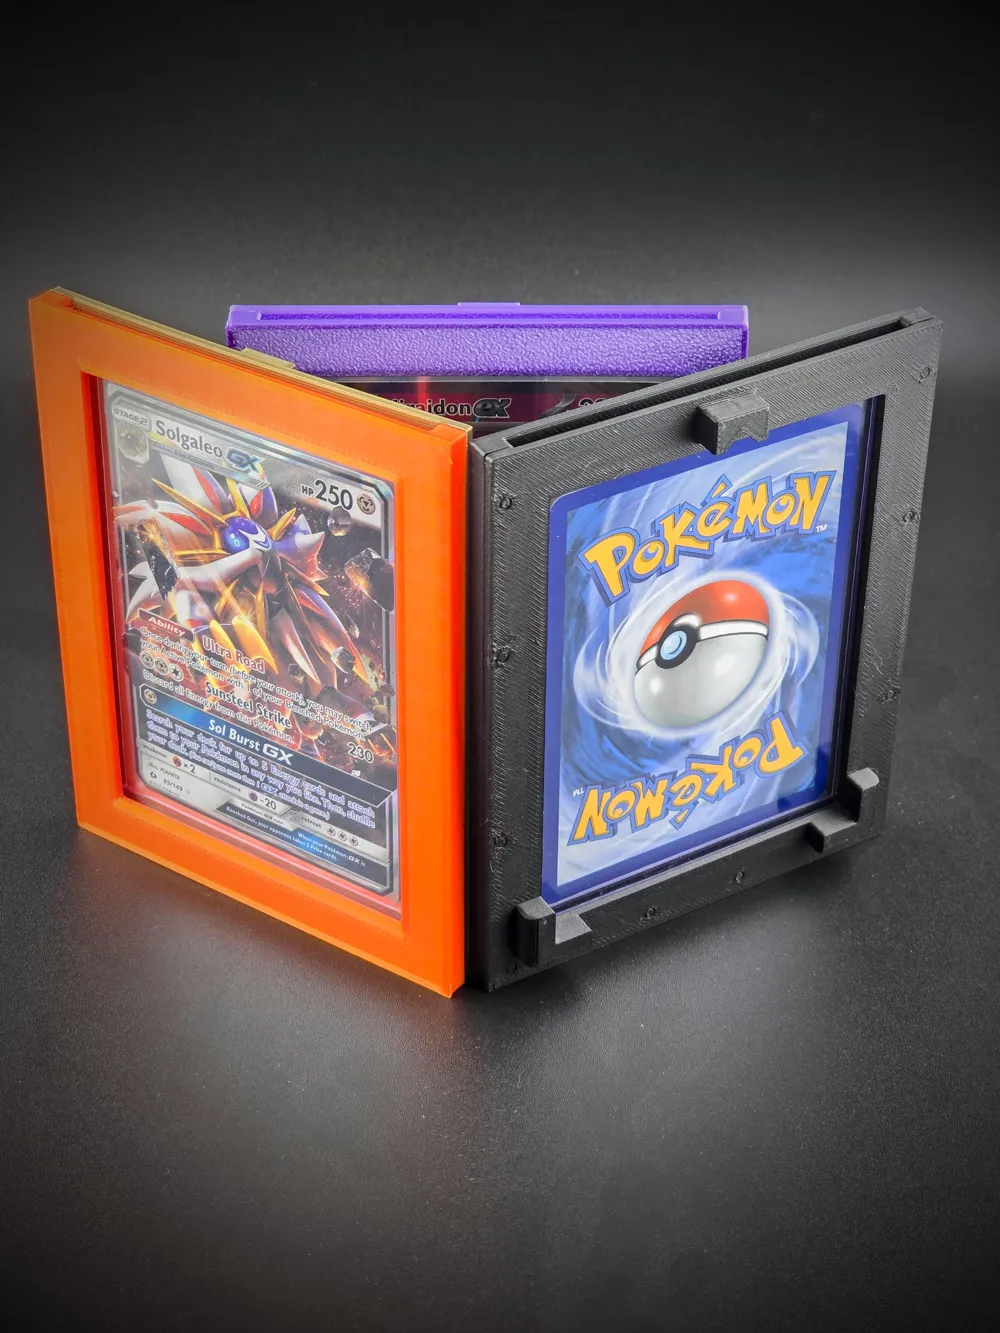
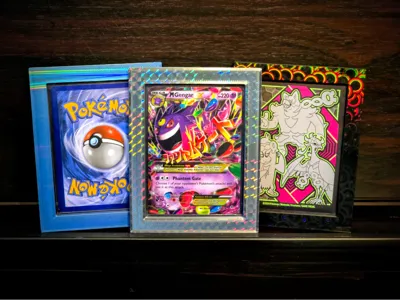
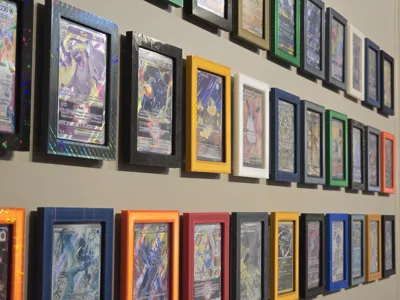
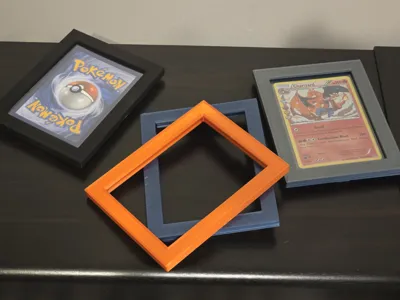
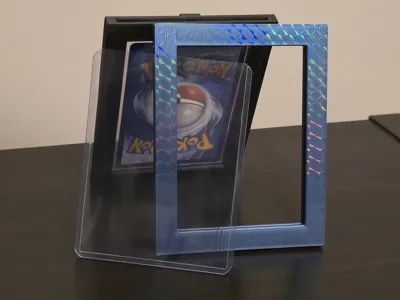
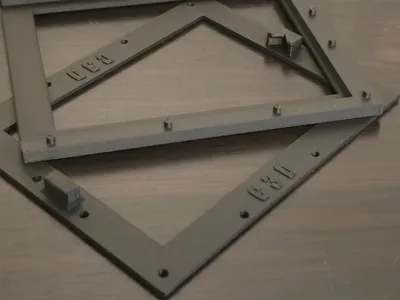
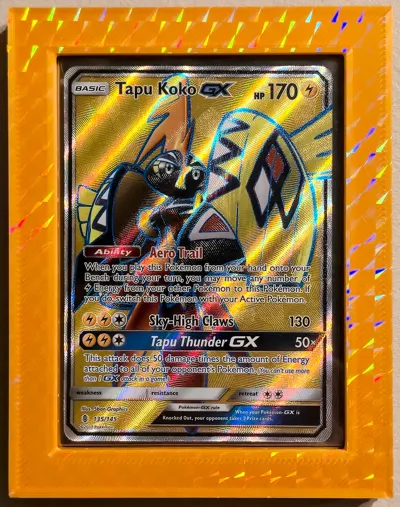
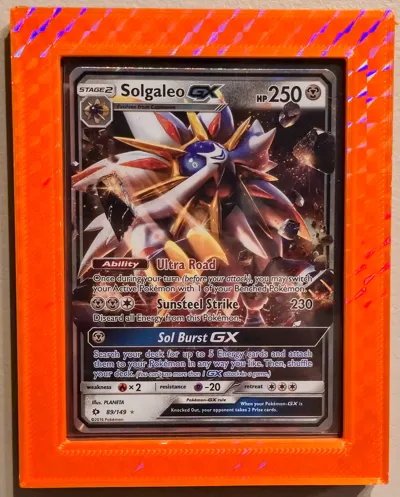
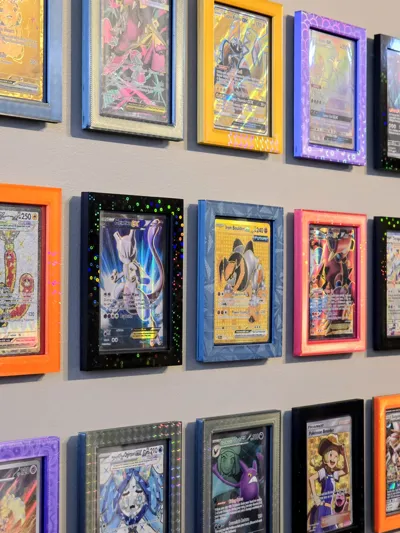
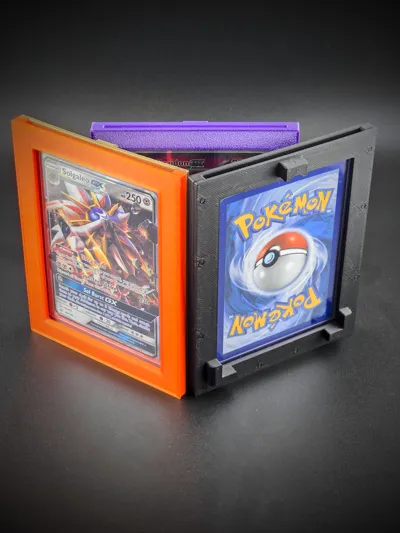
I designed and created a very simple to print, single card wall display frame for my favorite trading cards. I have a bit of an addiction and wanted to display some of them in a clean minimalist way. It is designed to fit an average 35pt/75pt top loader (I generally use the Beckett Shield top loaders). With proper calibrations, the frame front and backs can snap together (though a touch of super glue always helps). The design is simple, clean, light weight and very quick and easy to print. The ones I have completed, I used the 3d effect sheets/plates to help accent the holo effect of the cards themselves.
UPDATED!!!
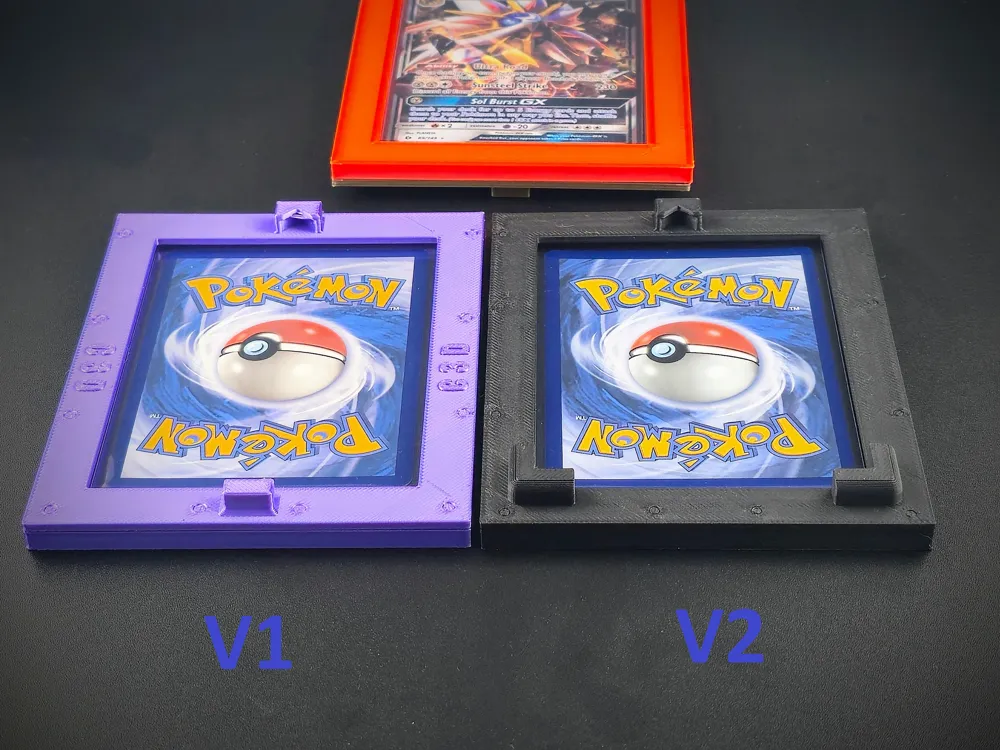
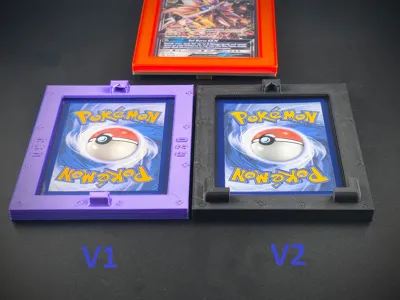
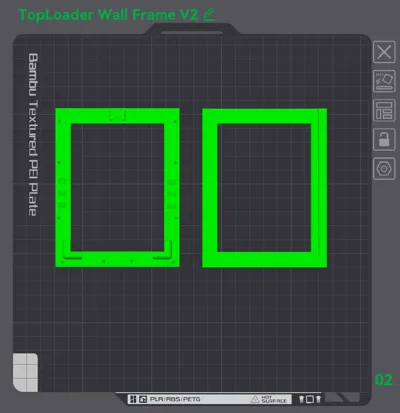
I have now released a version 2 of the wall frame. This new version has changed the bump stops on the rear bottom portion to help create a little more stability when it is hung on the wall. I have also added 2 new STL files of the fully assembled frame so users can split the model themselves and add there own connectors, if they so choose. This may also be useful for some users who may be experiencing to tight or loose of tolerances in the snaps. Now users can cut the model and when adding the connectors, can increase or decrease the tolerances as they see fit. The instructions on splitting the model are below.
Boost Me (for free)
Help encourage me to continue my journey in learning to 3d model!
Here are the links for some of my other projects for displaying your favorite cards:
Magnetic One-Touch Standing Desk Frame
Horizontal Top Loader Wall Frame
NEW!!! Snap Together Top Loader Wall Frame
I am still fairly new to 3d design and this was one of my first creations that I feel comfortable sharing.
Settings I used:
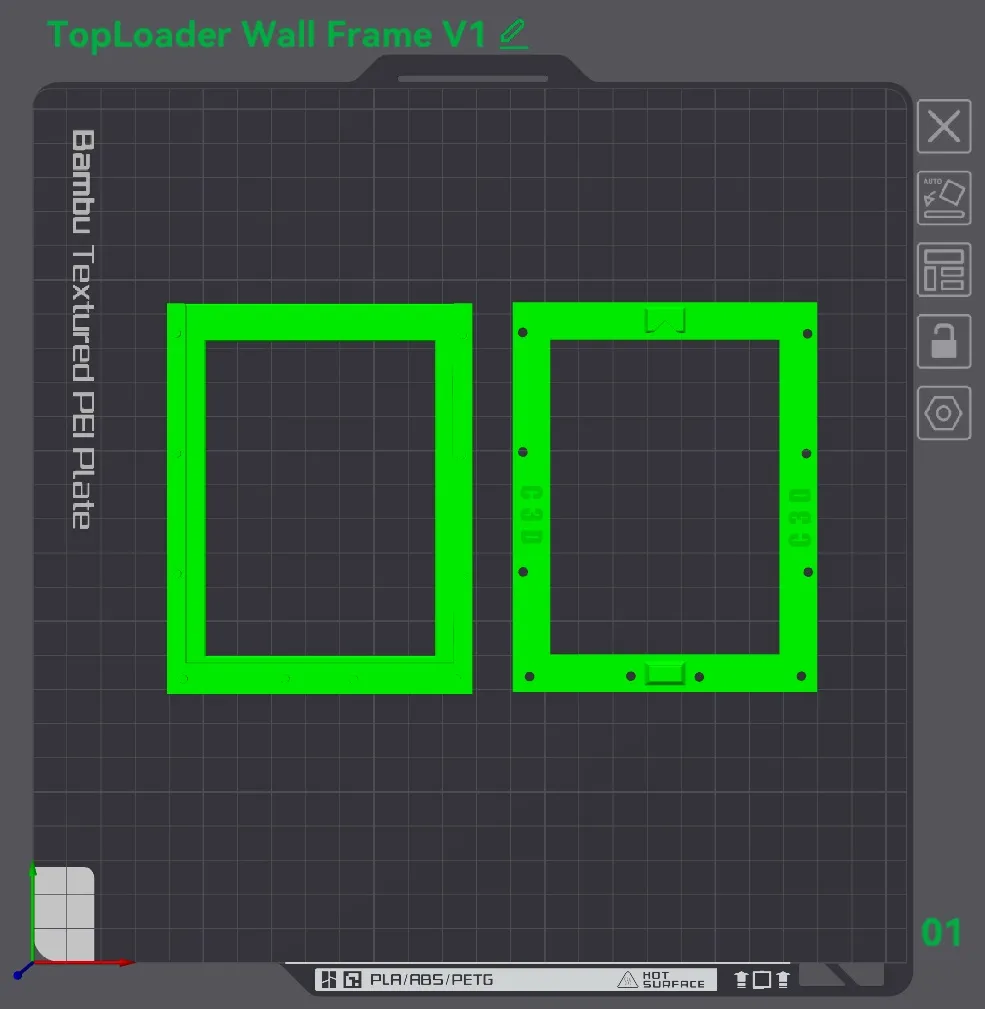
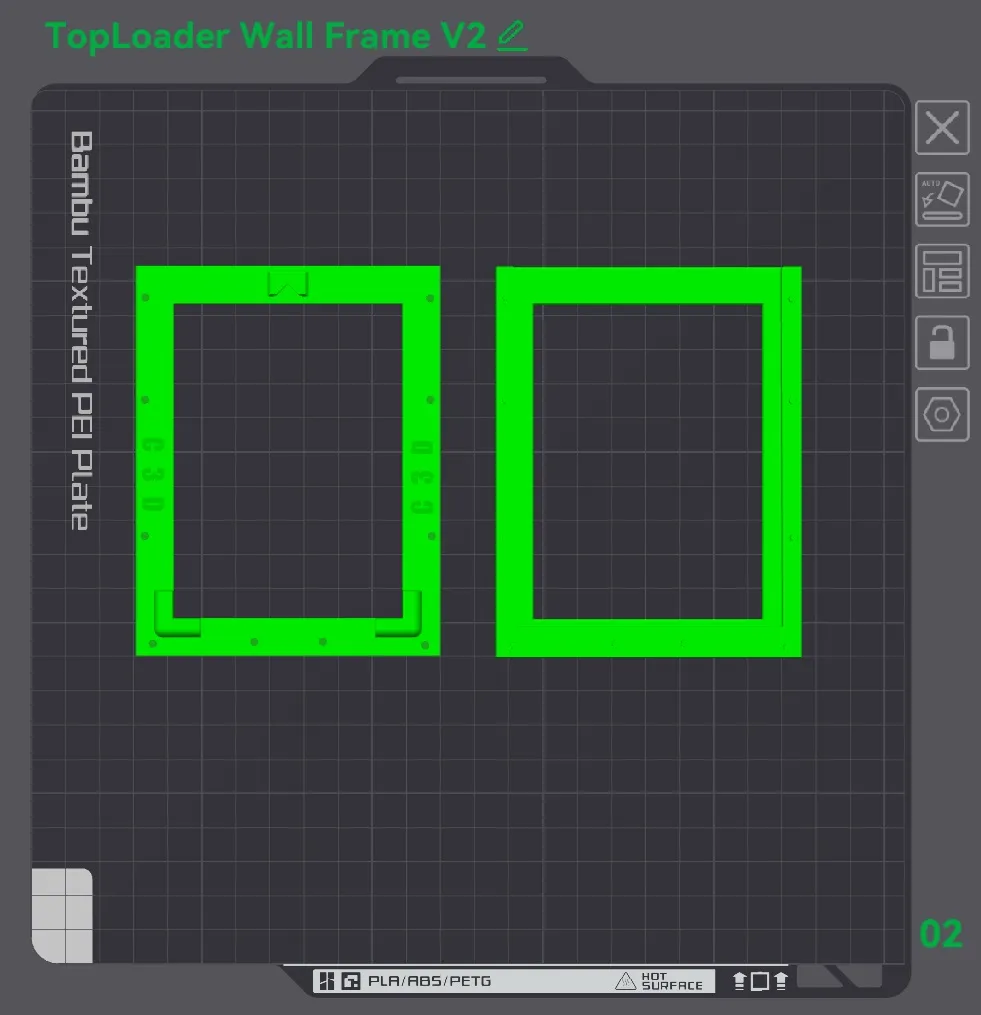
3 walls
8-10% infill (gyroid or cubic work well for me)
0.2 layer height
Arachne
Infill direction set to 90 (worked for me but experiment for best results)
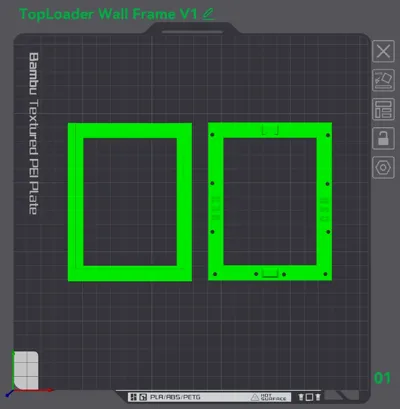
**If you are using the STL file that is NOT sliced, please follow these instructions, which are the same for V1 and V2:
- Select the model and click on "cut" from the top menu
- Change the "Height" of the cut to 4.59
- Select “keep orientation” for both Objects A and B
- Click “Add Connectors” and place your connectors as you see fit. I use “plug” type with “Prizm” style and “Circle” shape. The depth is set to 2 and the size is set to 2.5. The tolerances I found working the best is 0.2 for depth and size. A tolerance of 0.18 for the size was a little too tight and most of the plugs broke and anything larger then 0.2 was too loose. Going larger is ok but then some type of glue will be required.
- Click “Confirm Connectors” and then “Perform Cut”
Note: The backs are tagged with C3D. This is a partnership side gig I have with a friend of mine when we visit local markets. The design is purely my own.
License

You shall not share, sub-license, sell, rent, host, transfer, or distribute in any way the digital or 3D printed versions of this object, nor any other derivative work of this object in its digital or physical format (including - but not limited to - remixes of this object, and hosting on other digital platforms). The objects may not be used without permission in any way whatsoever in which you charge money, or collect fees.


Comment & Rating (101)