
Ultimate DND Players Kit - v3 -Lockable, Tracking
Print Profile(8)


Bill of Materials

Description
Boost Me (for free)
I love the community and I cherish the feedback, and iterating on large projects like this takes many hours and rolls of filament, and boosts are an incredible way to show appreciation and help make all of the effort worthwile.
Membership
Want to sell this, or get access to a members only discord where you can ask questions, give suggestions, brainstorm new products and beta test new models (or fixes to existing models) before anyone else. Join my commercial sales membership!
v3 Changes:
- BETTER HINGES! 🎉 Many people experienced hinge failures on the previous version because of the small hinges, so I've incorporated full length hinges which are significantly more sturdy
- Hinges now use filament as opposed to bolts to reduce need for extra hardware.
- So many people asked to bring the v1 graphics back and I have to admit, they were absolutely right, it looks way better
- Numbers on the wheels are now raised rather than recessed for better readability, as well as to make it easier for non AMS users to paint over the numbers
- Fonts updated to something a bit more magical, and to use a font that is available in MakerStudio to maintain compatibility with the door customizer that IS NOW AVAILABLE! https://makerworld.com/en/models/2021279-ultimate-dnd-player-kit-customizable-door-inserts

This model is fully backwards compatible with the v2 internals. If you like the wheels you printed or the door covers or even the lock, all of those things will still fit perfectly in this tray, so if you just want the hinge upgrade, you can just print the shells and keep all of your existing internals. Similarly, if you liked the previous fonts you can get the doors and click wheels from the v2 version and use those with no issues.
Change Log
24/11/2025: Reuploaded the STL files for the tray bottom and the click rod as old versions were uploaded causing fitment issues. This only affected raw STL file users, anyone using print profiles or 3mf files weren't affected. Big shout out to @user_3215966599 for helping track down this issue.
The Ultimate Player Tray just got a huge upgrade
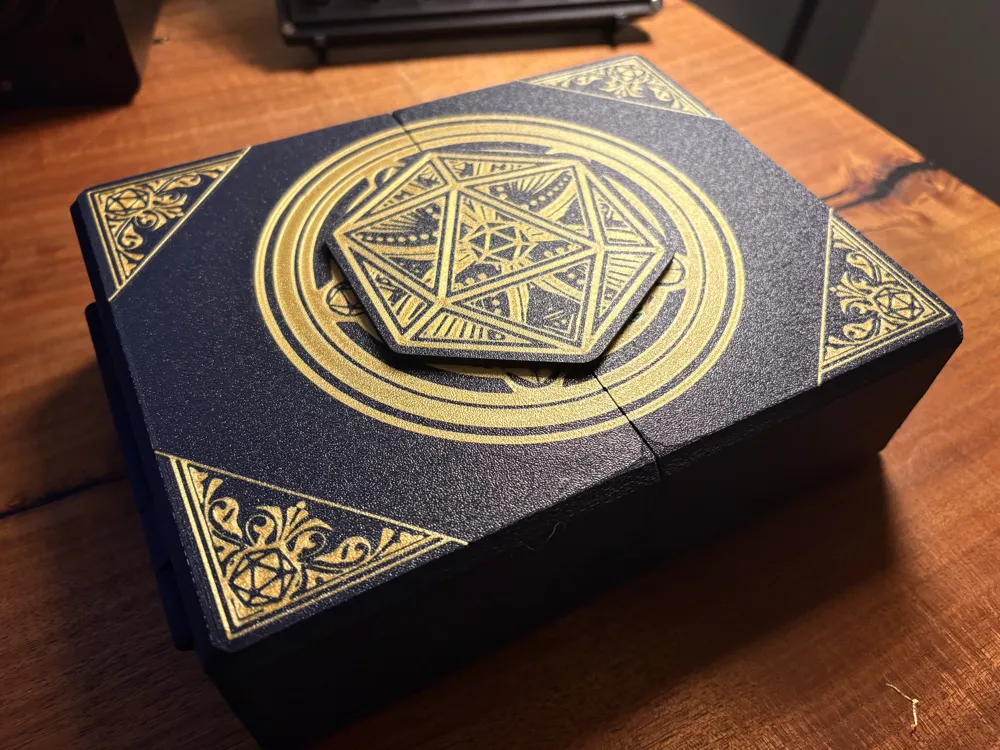
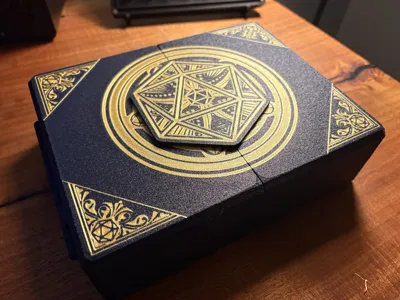
The number one requested feature from my first version was a more secure lid, so I've added swing doors with a really nifty rotating d20 lock (with magnets of course)
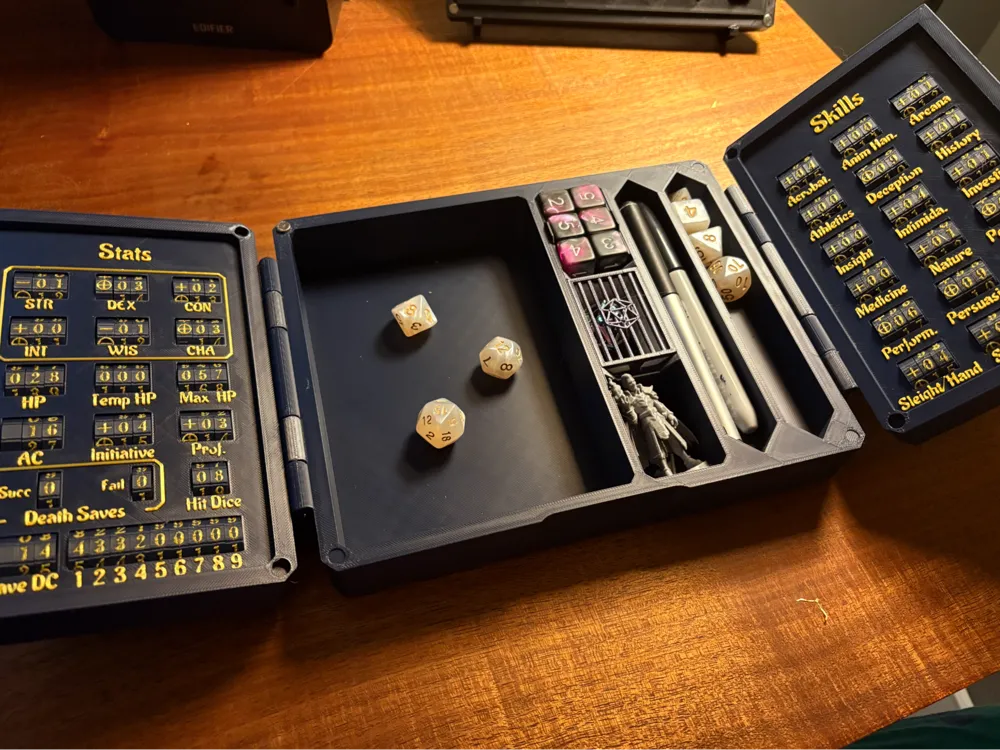
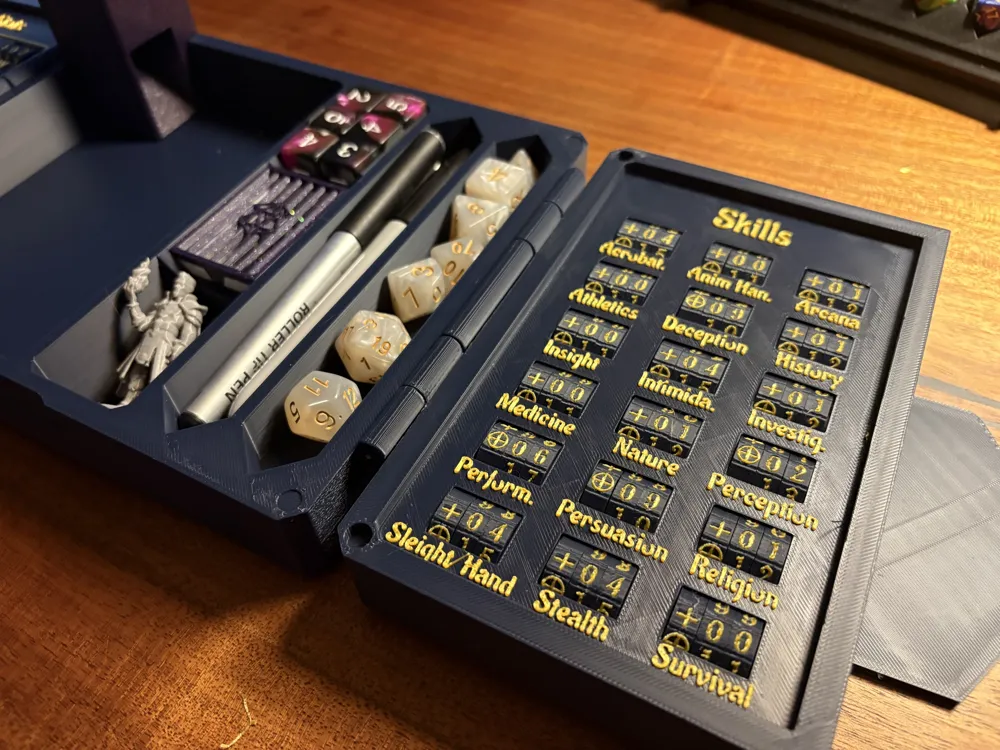
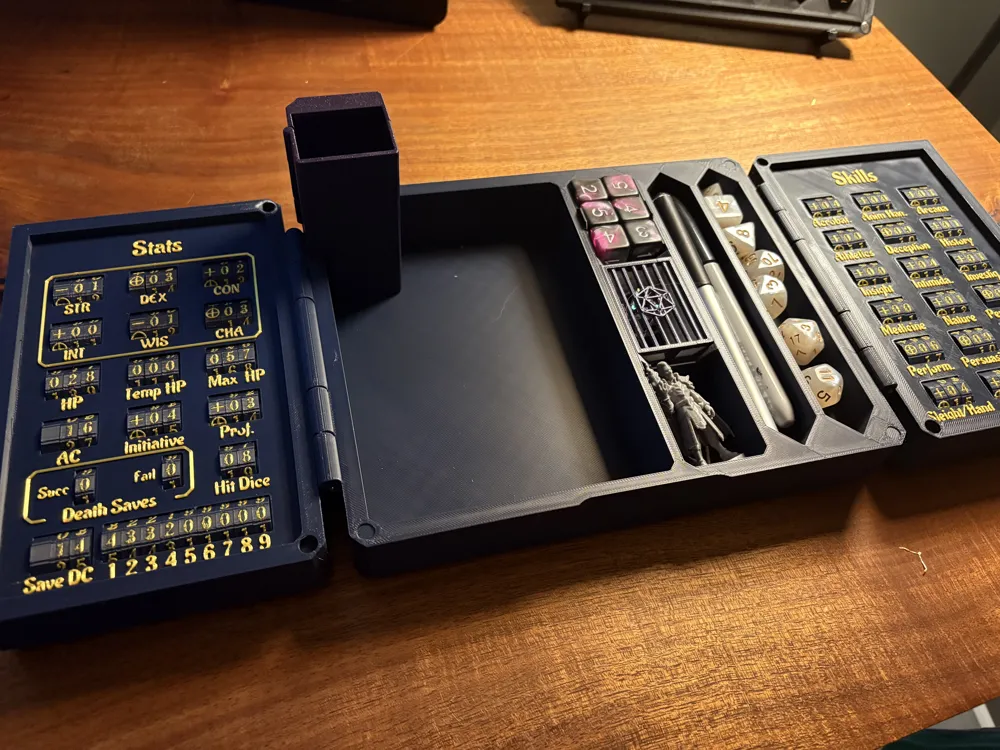
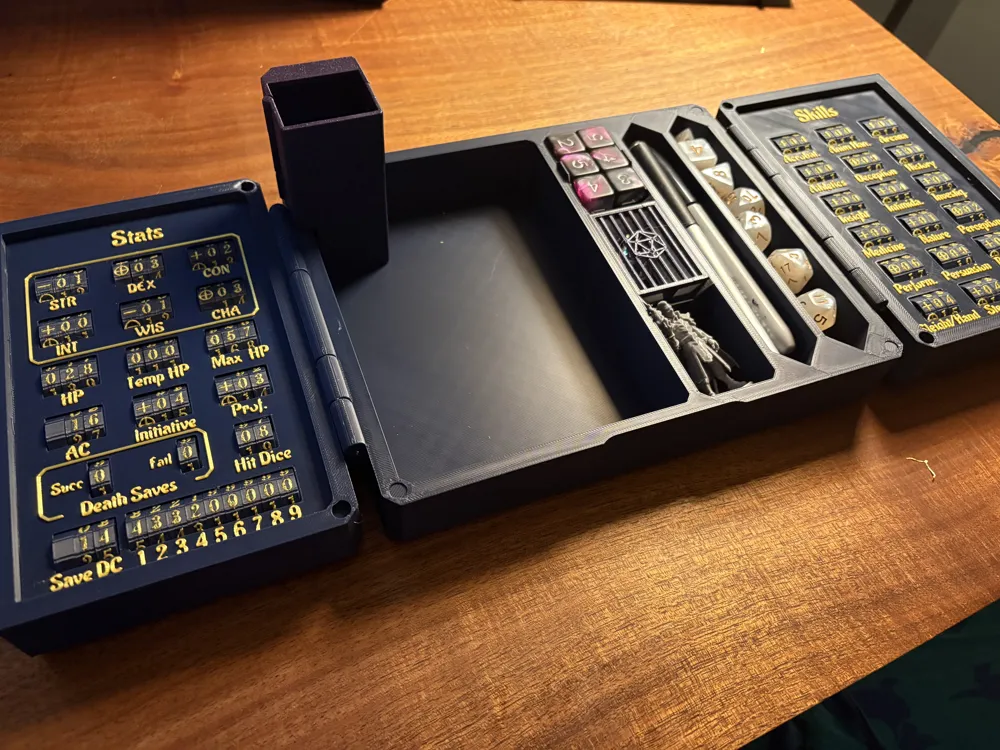
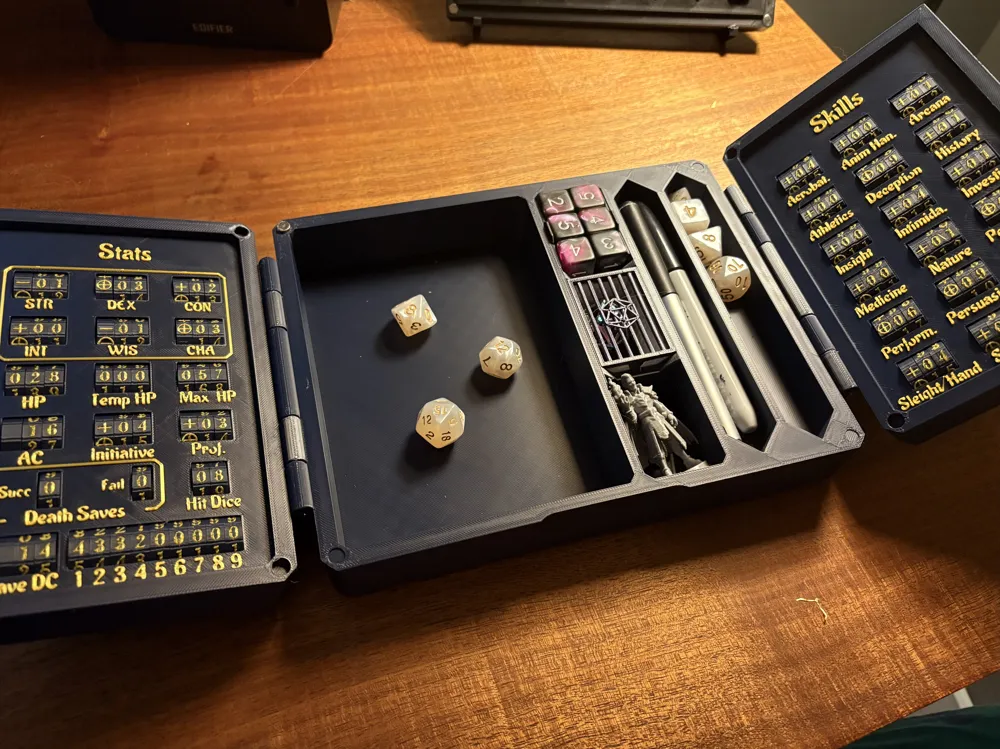
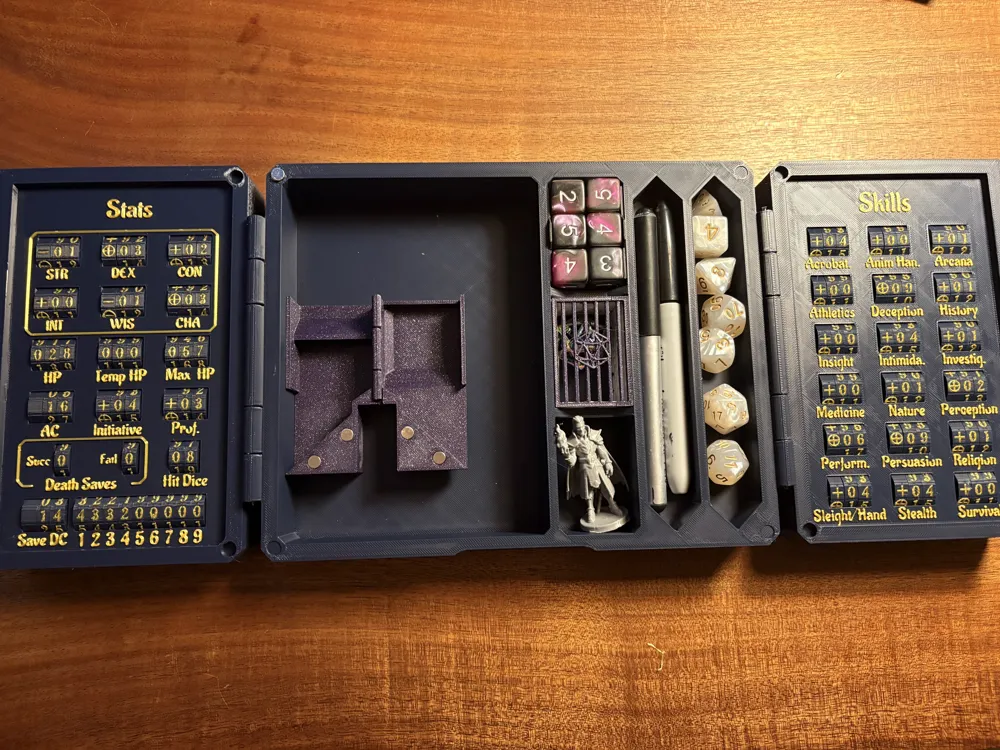
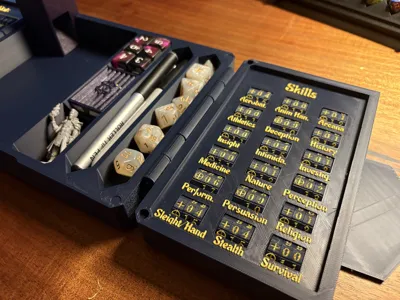
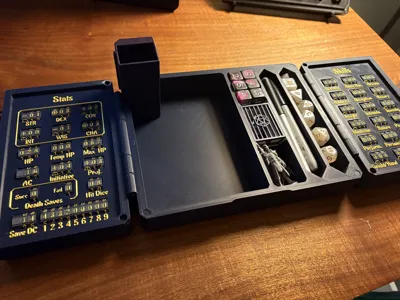
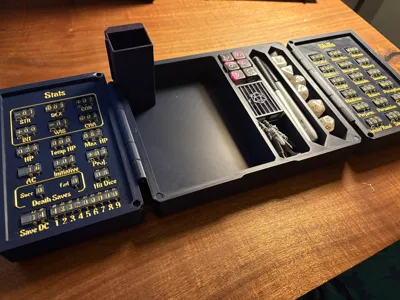
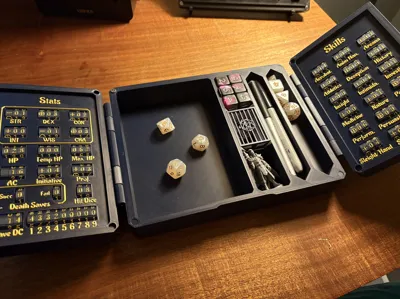
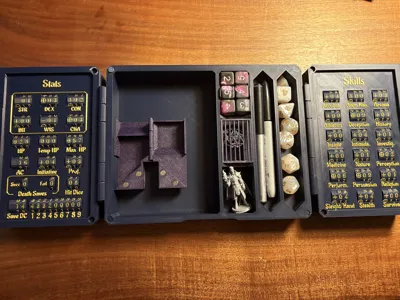
While I was at it, I found a number of cool life count clickers and other sorts of built in mechanisms for tracking character sheets, so I've packed the doors full of trackers for everything you need to run a full dnd session, no extra character sheet, all ready to go, sets up in 6 seconds. Its got:
Left Door:
Main stats (STR, CON, DEX, WIS, INT, CHA)
HP (Max, temp and Current)
Initiative, AC, and Proficiency Bonus
Death saves (passes and fails)
Hit dice counter
Spell Save DC, and Spell Slot trackers
Right Door:
All 18 Skills needed to make any checks
Print Settings
The most important thing for this project is making sure that “Wall Generator” is ARACHNE, not classic. Without this setting, the wheels won't work and the door designs will look off. If you encounter any issues looking like some walls aren't generating properly, check this setting.
For the tray body I suggest using infill percentage of 15%, with 3 walls.
Click wheels should be printed at 0.12 layer height to maintain clearer text (or feel free to swap out for the 0.2mm hotend)
The print profiles included have fuzzy skin painted on which increases time, but makes the final result so much better. If you want faster prints, feel free to disable that.
Support settings are manually painted (just the slide arcs on the lids) with normal/snug settings
Hardware Needed
- Magnet (6x2) - 6
Assembly
PLEASE READ THROUGH THE ASSEMBLY GUIDE
I have designed everything to be as straightforward as possible to install, and for the most part everything is pretty self explanitory. A few parts of assembly to note.
- Print all of the parts
- Carefully remove supports from the locking mechanism, and test that the lock slides nicely. This is important to nail down for good operation.
- Place the doors on the tray in the closed position and feed a length of filament all the way through, then trim the ends. PETG preferred
- Assemble the click wheels onto the rods according to what each stat needs, taking note of order and particular note of orientation of numbers upwards.
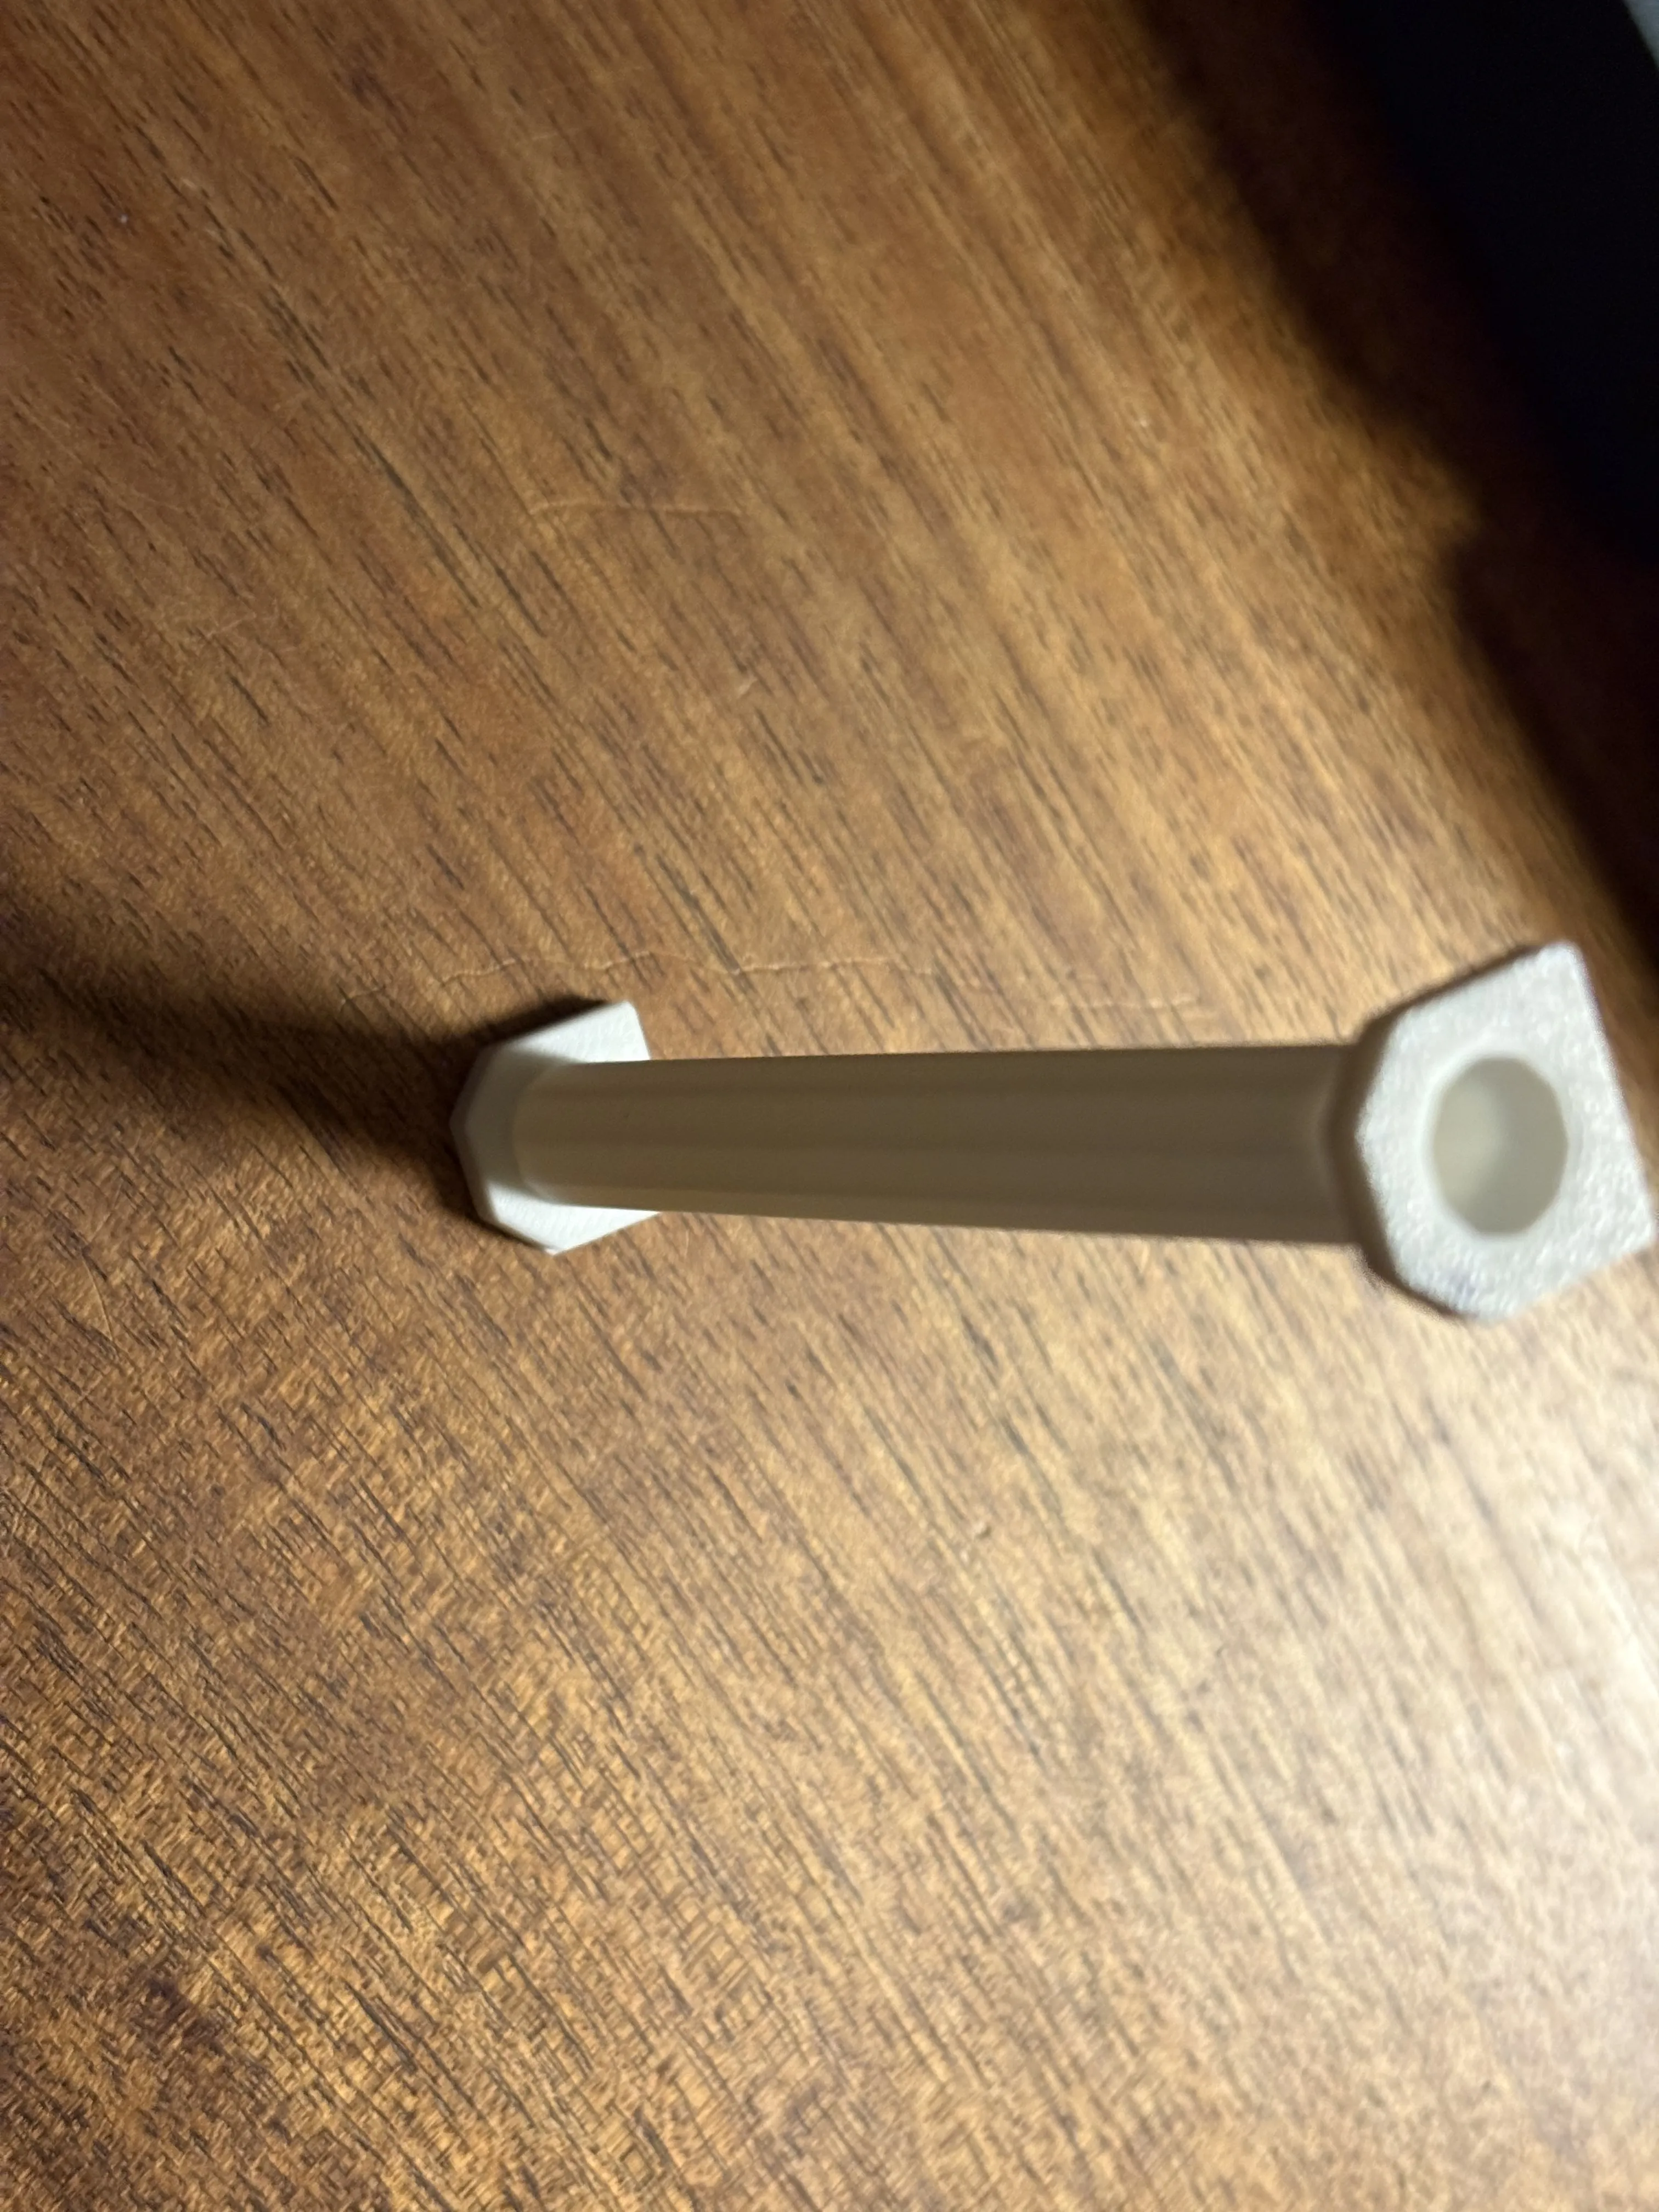
Note the proper orientation of the end cap to the main rod end - Once the number and +- wheels are on each rod in the proper orientation, add on the end caps to each rod being very careful to make sure the indented bottom is in the same orientation, and the rod slides all the way to the end of the end cap and sits flush. This should be a fairly tight fit. You can sand them slightly if yours are too tight but you want the fit to be as rigid as possible. If yours print too loose, add a drop of super glue and let cure.
- Insert each assembly into the slots in the door taking care that the chamfered part of the rod ends goes DOWN, this is super important or your numbers won't sit nicely in the middle
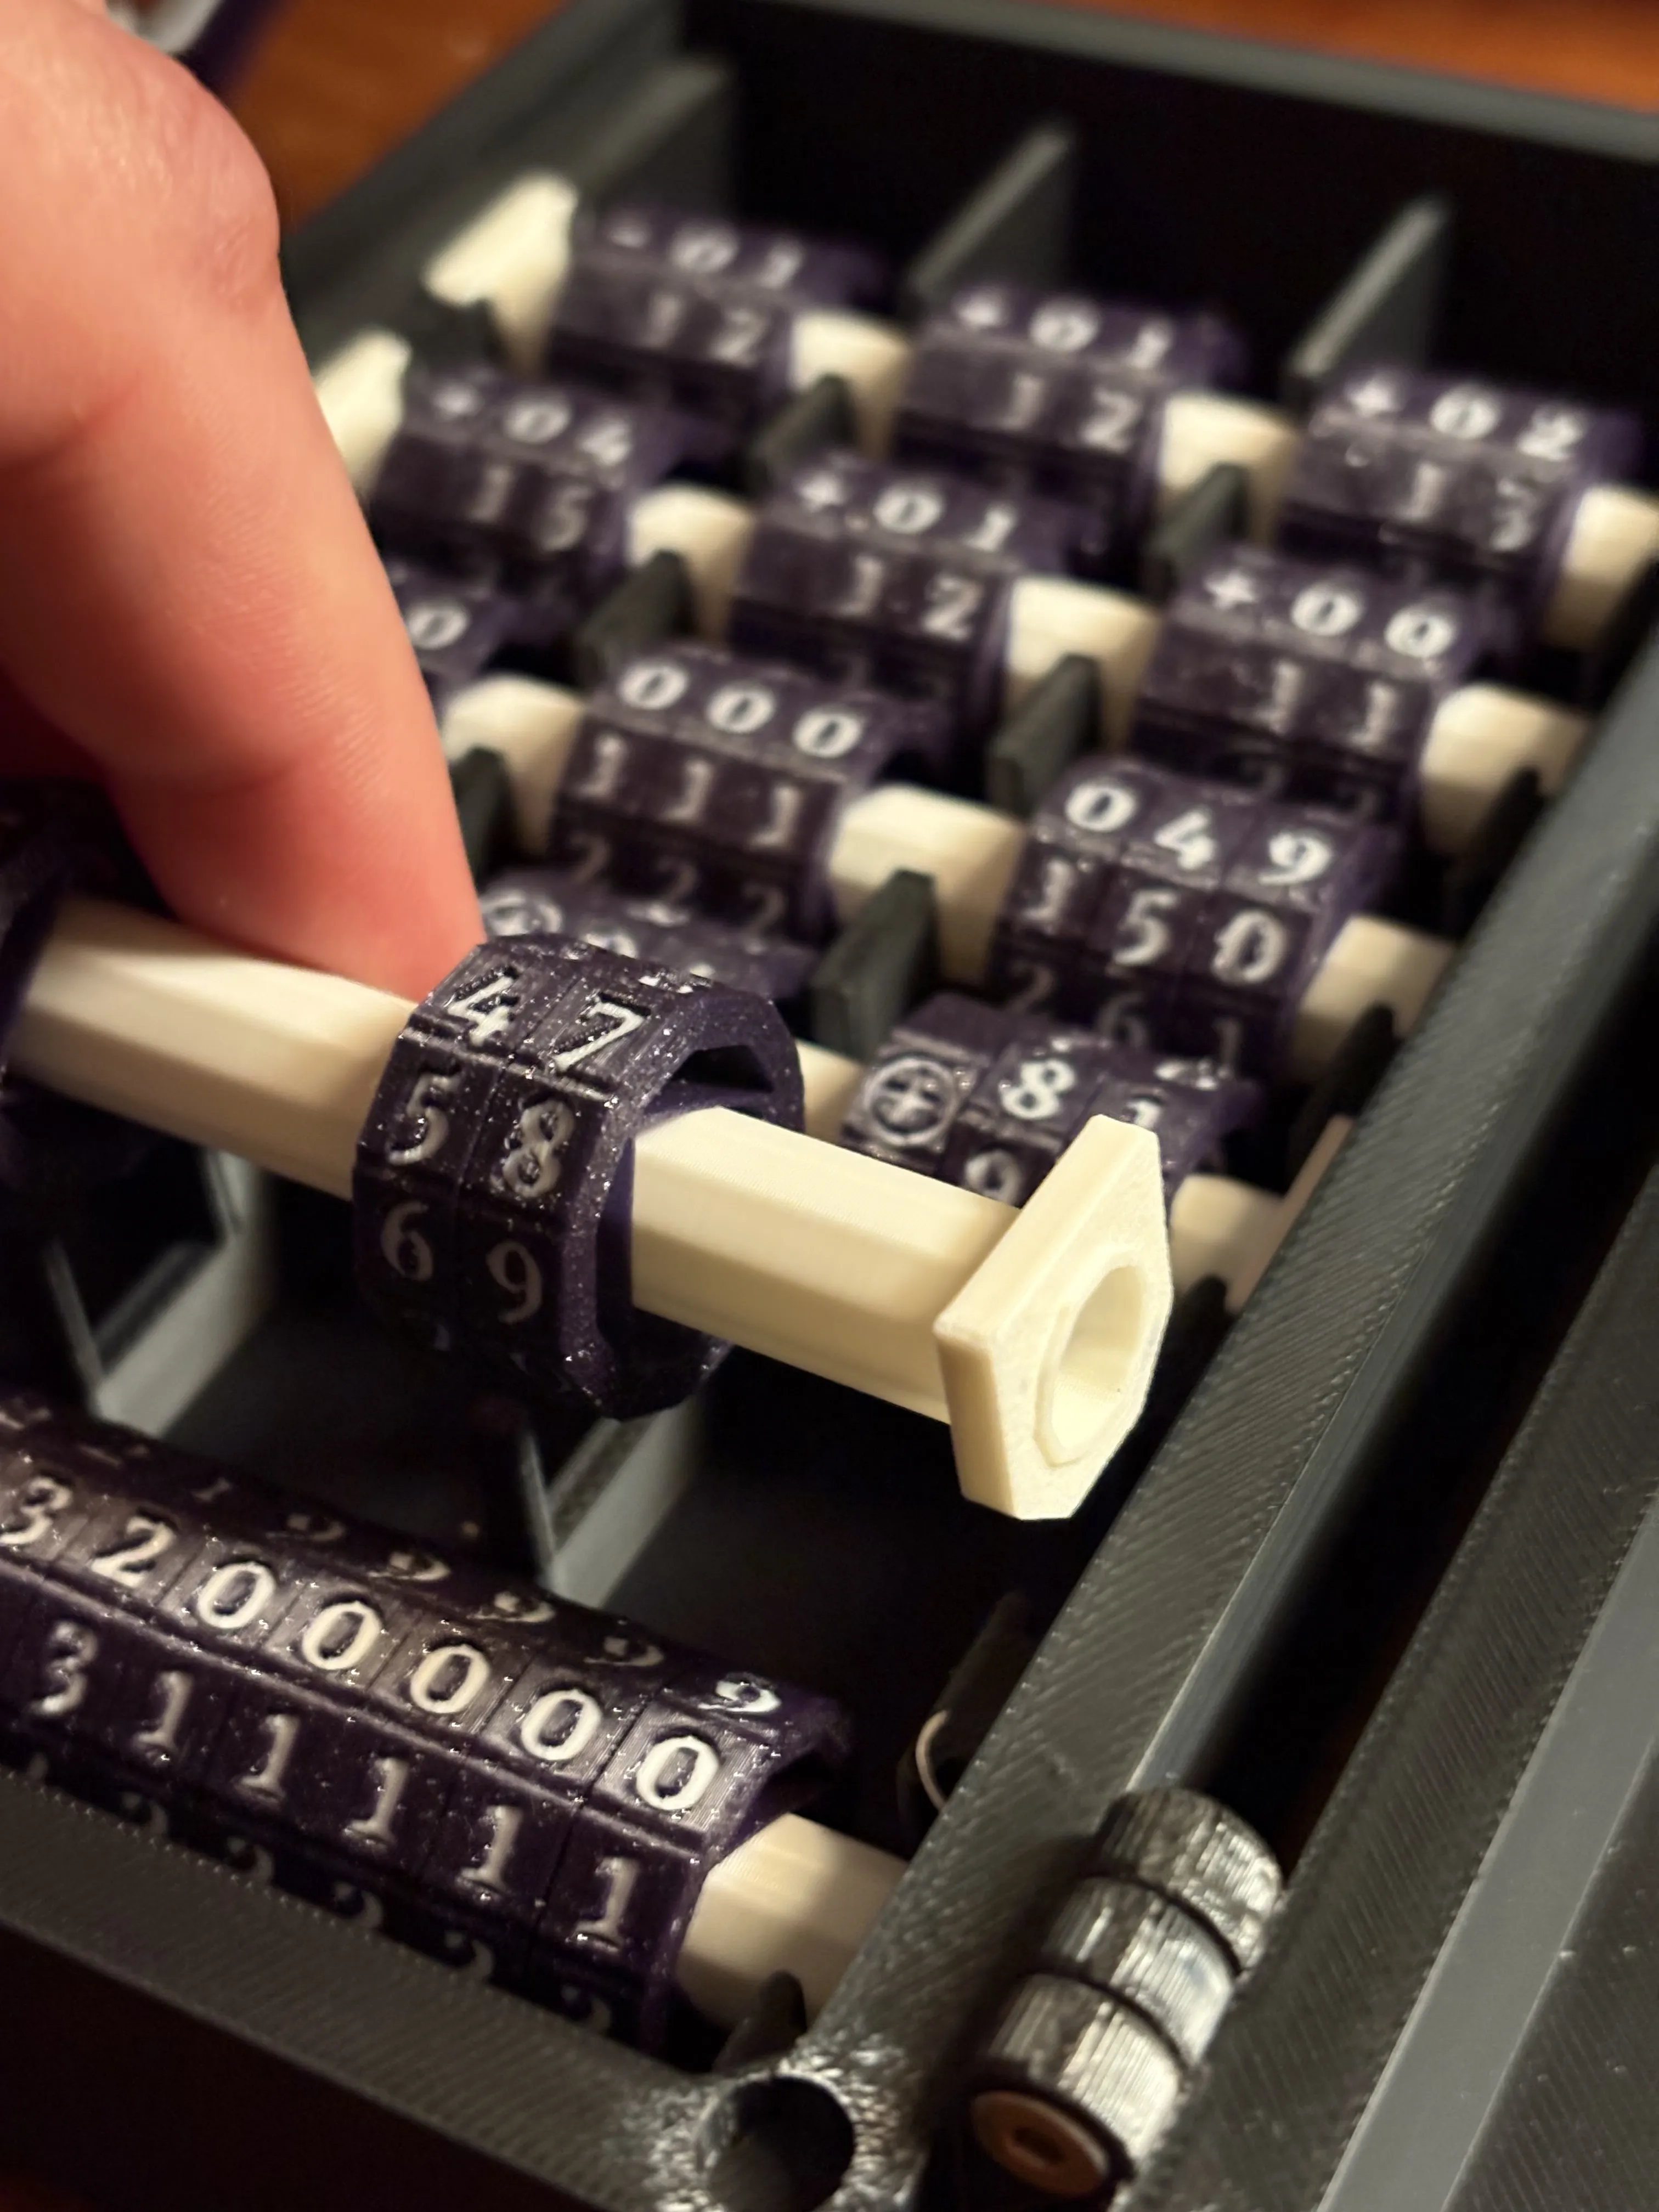
The ideal orientation for the wheel rods Once all of the wheels are installed its time to add the door. This can be a fairly tedious process, and its best to use a hook, a weeding tool or some other thin poker to adjust the wheels until the door slots in please note:
- The door is very slightly oversized. This is by design and so it requires a bit of force to get it in, it should sit into a slot just above the wheel click receivers tops and function as something to hold the wheel clicks in.
- Start with the inside edge first (the one with the 2 corner notches, as it requres the least amount of force to get in into the intended slot.
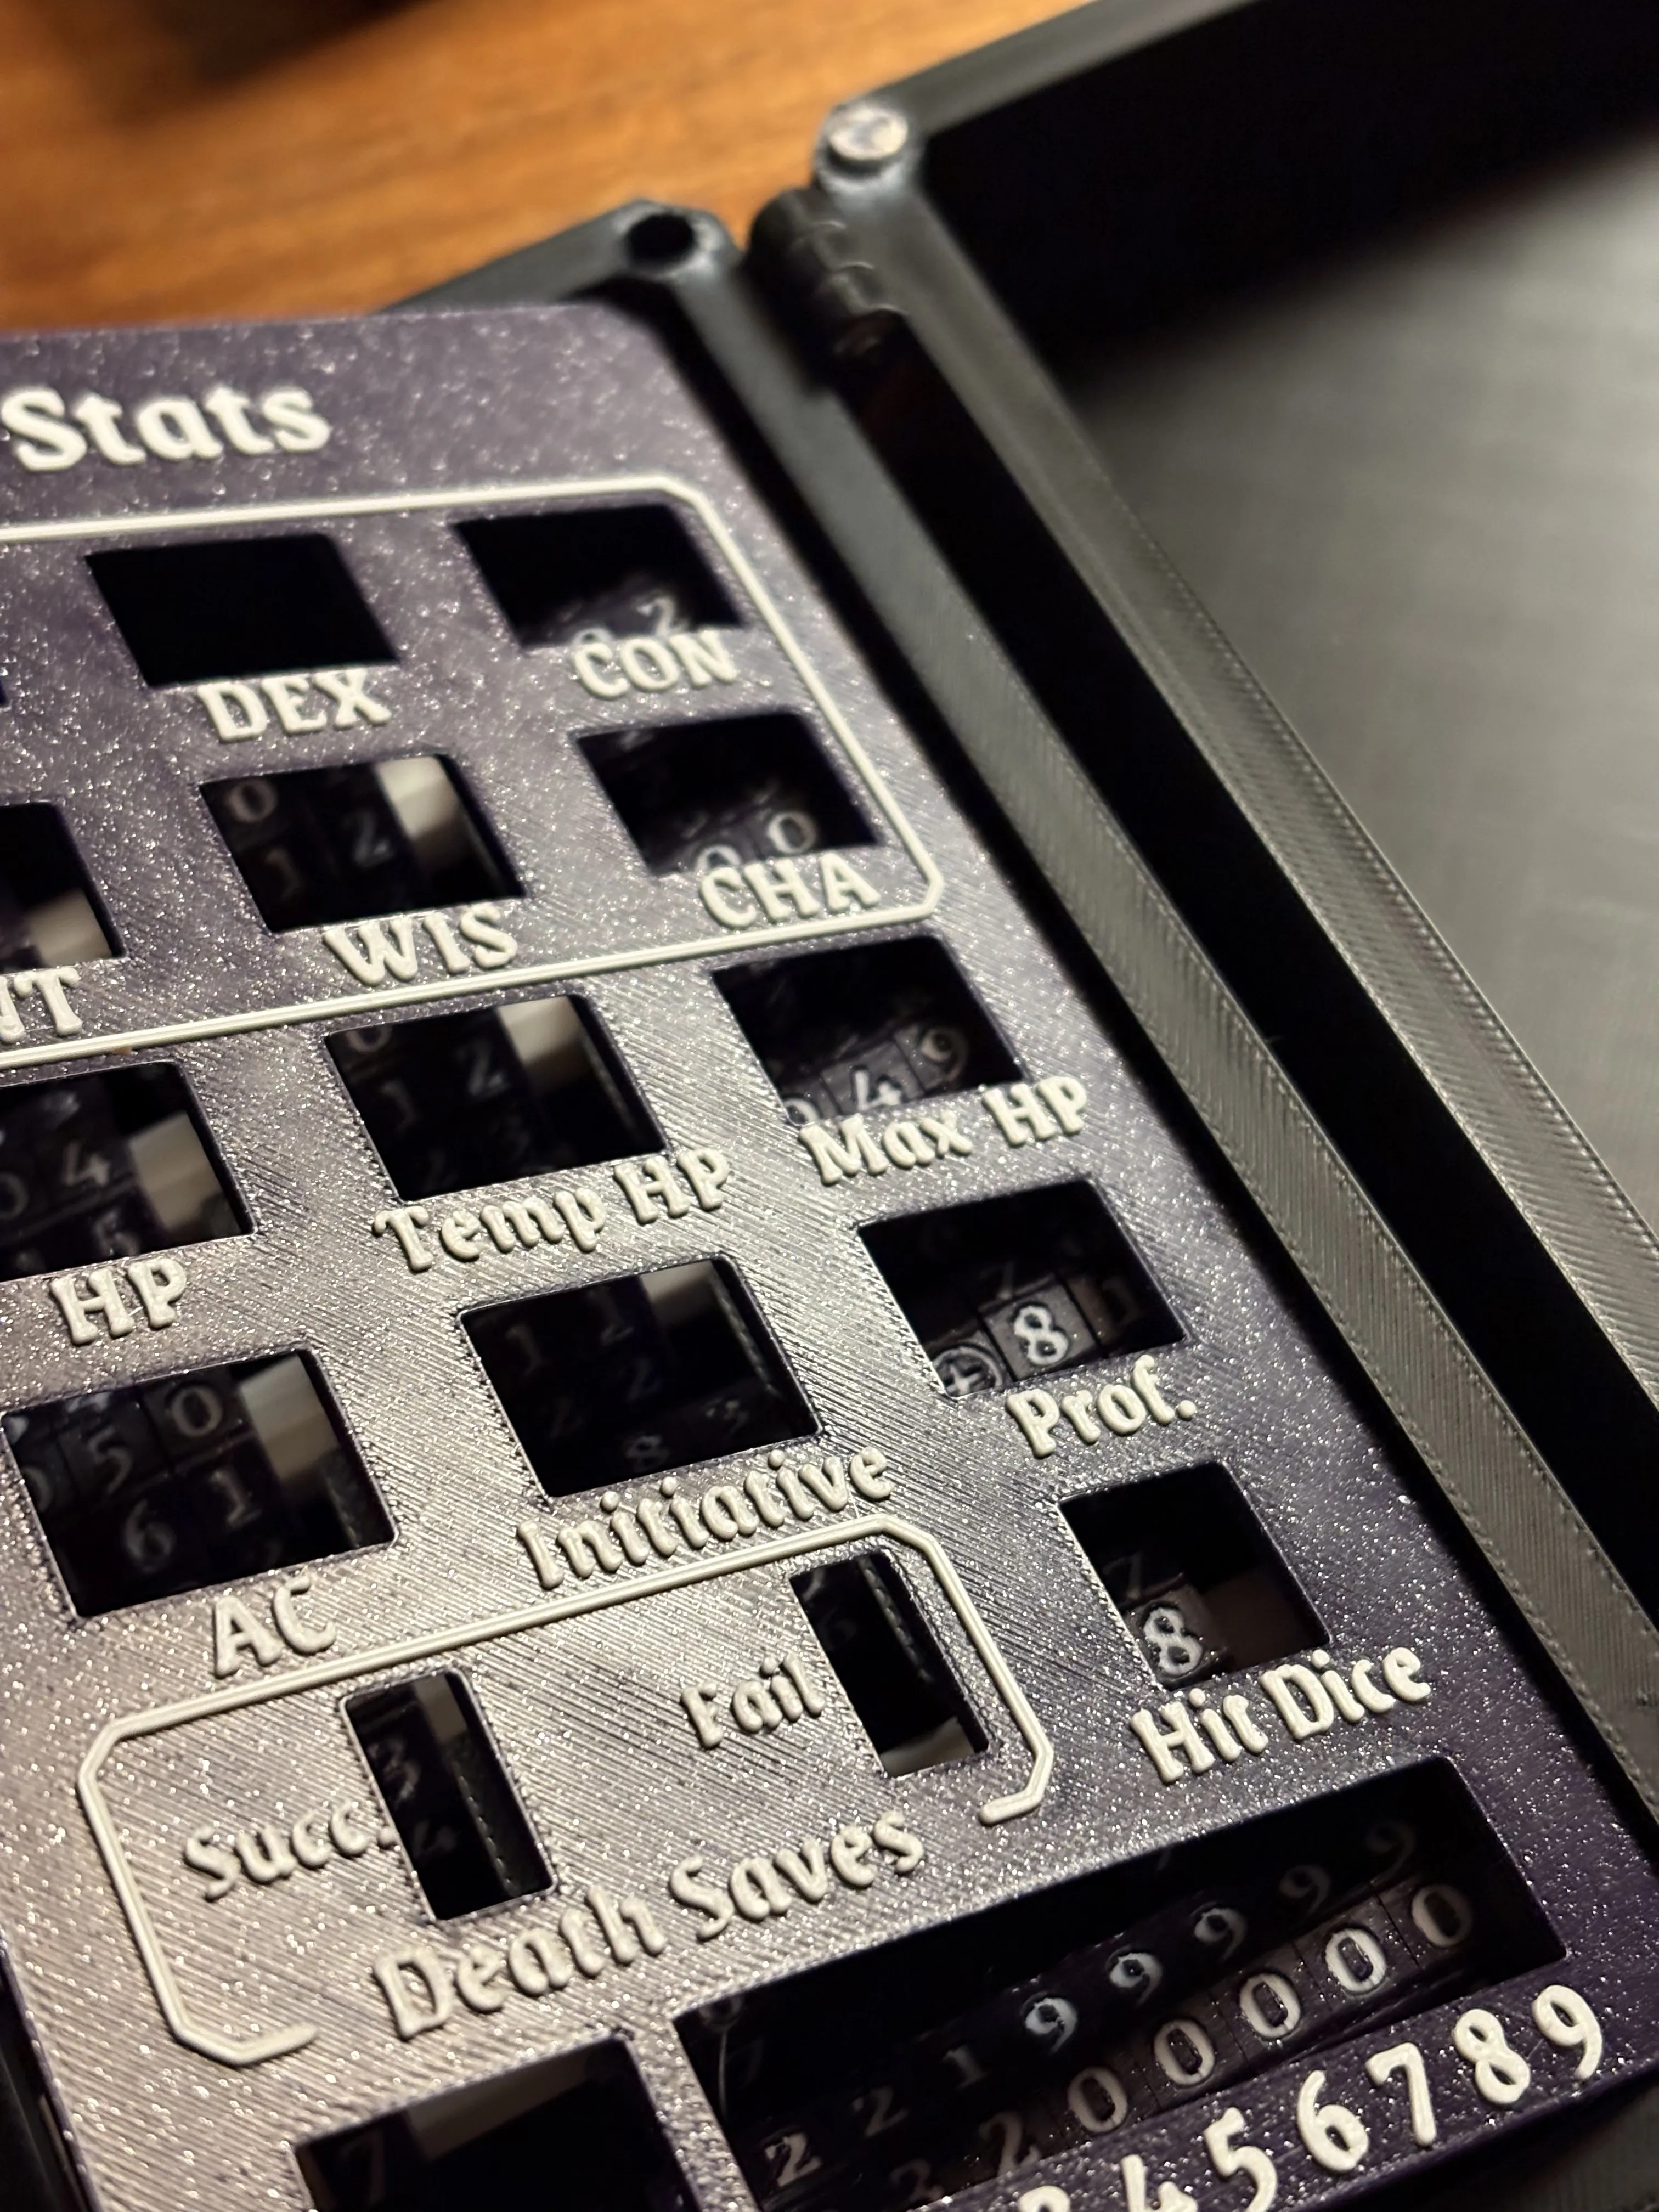
Insert the cover in to the inside corner first - From there work your way outside, using your hook to make small adjustments to the wheelsuntil they fit into the windows and repeat.
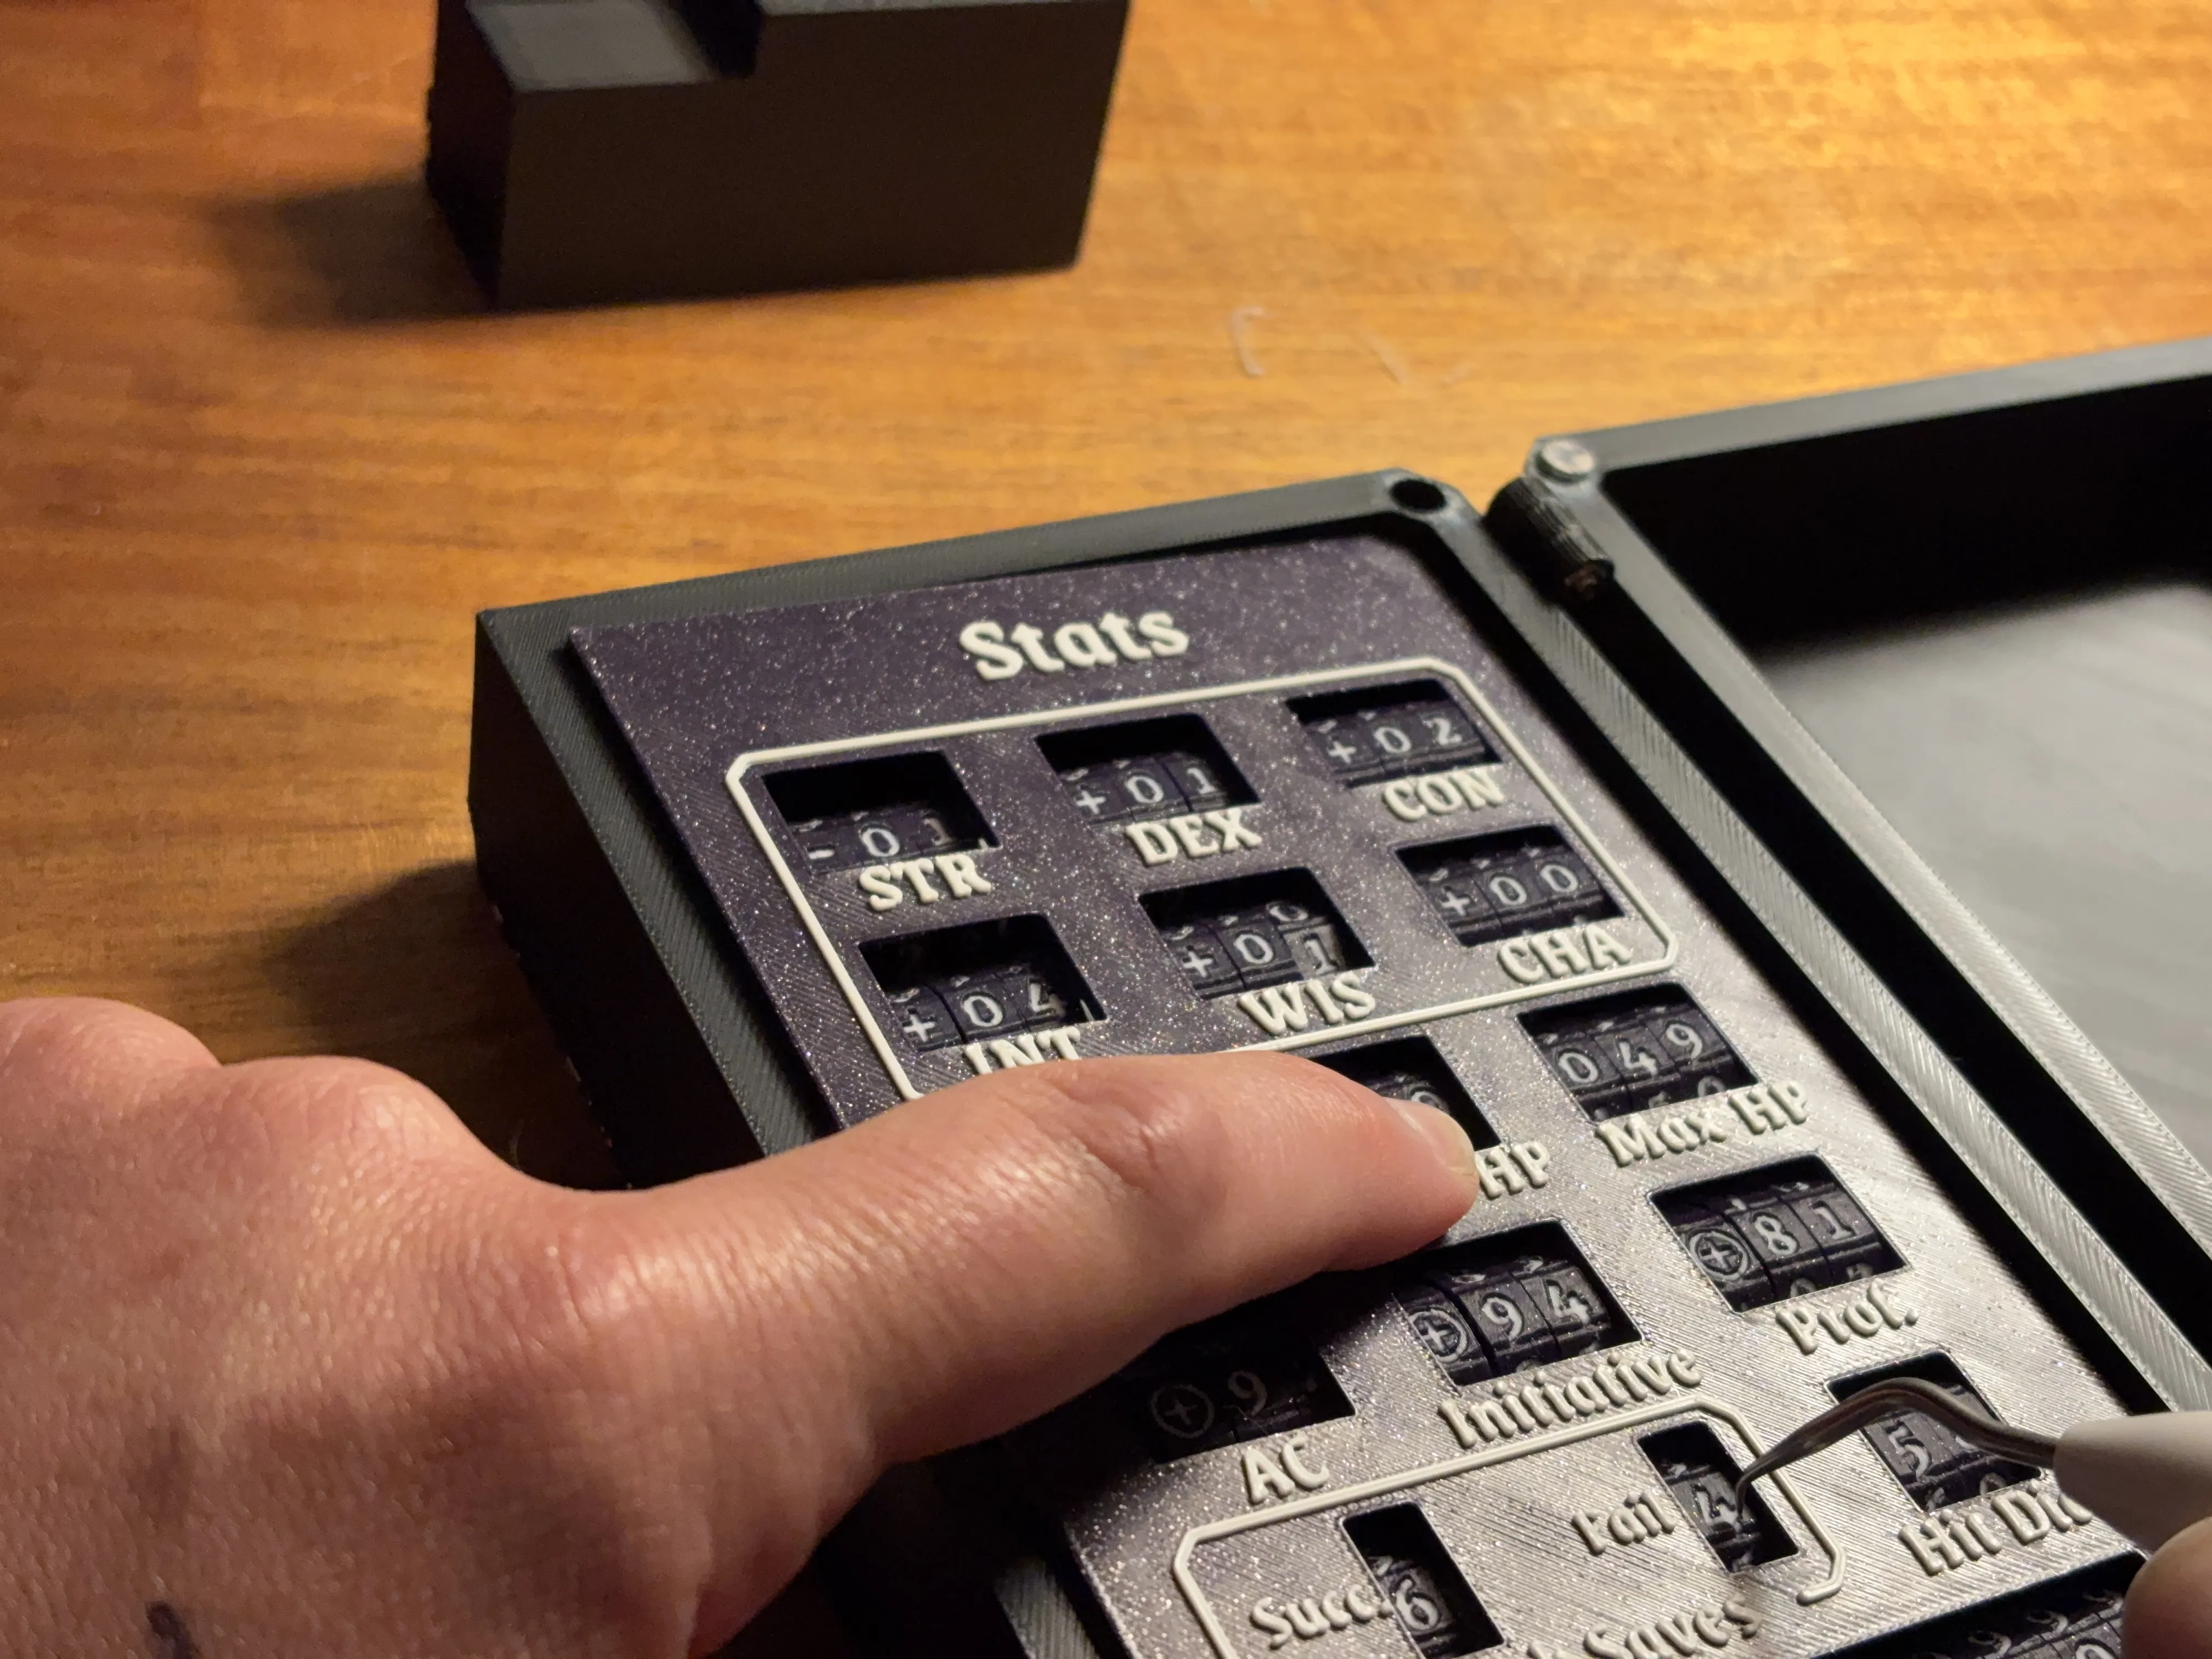
Using a hook to make small adjustments to each wheel until they sit nicely - The covers should sit fully flat and not be bowing by the end of this process. If it is bowing for any reason or you pressing on it makes it move and it doesn't feel solid, then very likely you have a wheel still not sitting perfectly in the window. Use your hook to move the wheels slightly around the affected window areas until it clicks into place, often times there are quite a few of these.
- Take heart it can be tedious but you will eventually get it and it is VERY satisfying.
Final Notes
I've added a print profile to the v2 tray that is just part of the locking mechanism so you can test and fine tune your support settings before wasting a bunch of filament on doors. Please use this to make sure your lock works well, once you are satisfied, then you can print the main doors. You can find that here https://makerworld.com/en/models/1958124-ultimate-dnd-players-kit-v2-lockable-tracking#profileId-2104631
Customizations
Make this your own! Got another game you want to play? Different stats you want to track? Cool designs? Different fonts? The doors are designed to be used as blank canvases. Anything you can fit on the 12 rails, you can customize.
I'm uploading blank door covers, and blank click wheels as seperate models with remixes enabled, so feel free to go crazy and make whatever you want! I'm looking forward to seeing what the community comes up with.
All accessories you have already printed for v1 or v2 will automatically work for v3 as well-full backwards compatibility
Accessories
Click on the images to go to the model profile for that accessory
Customizable Door Inserts
At long last and after many requests these are now available!
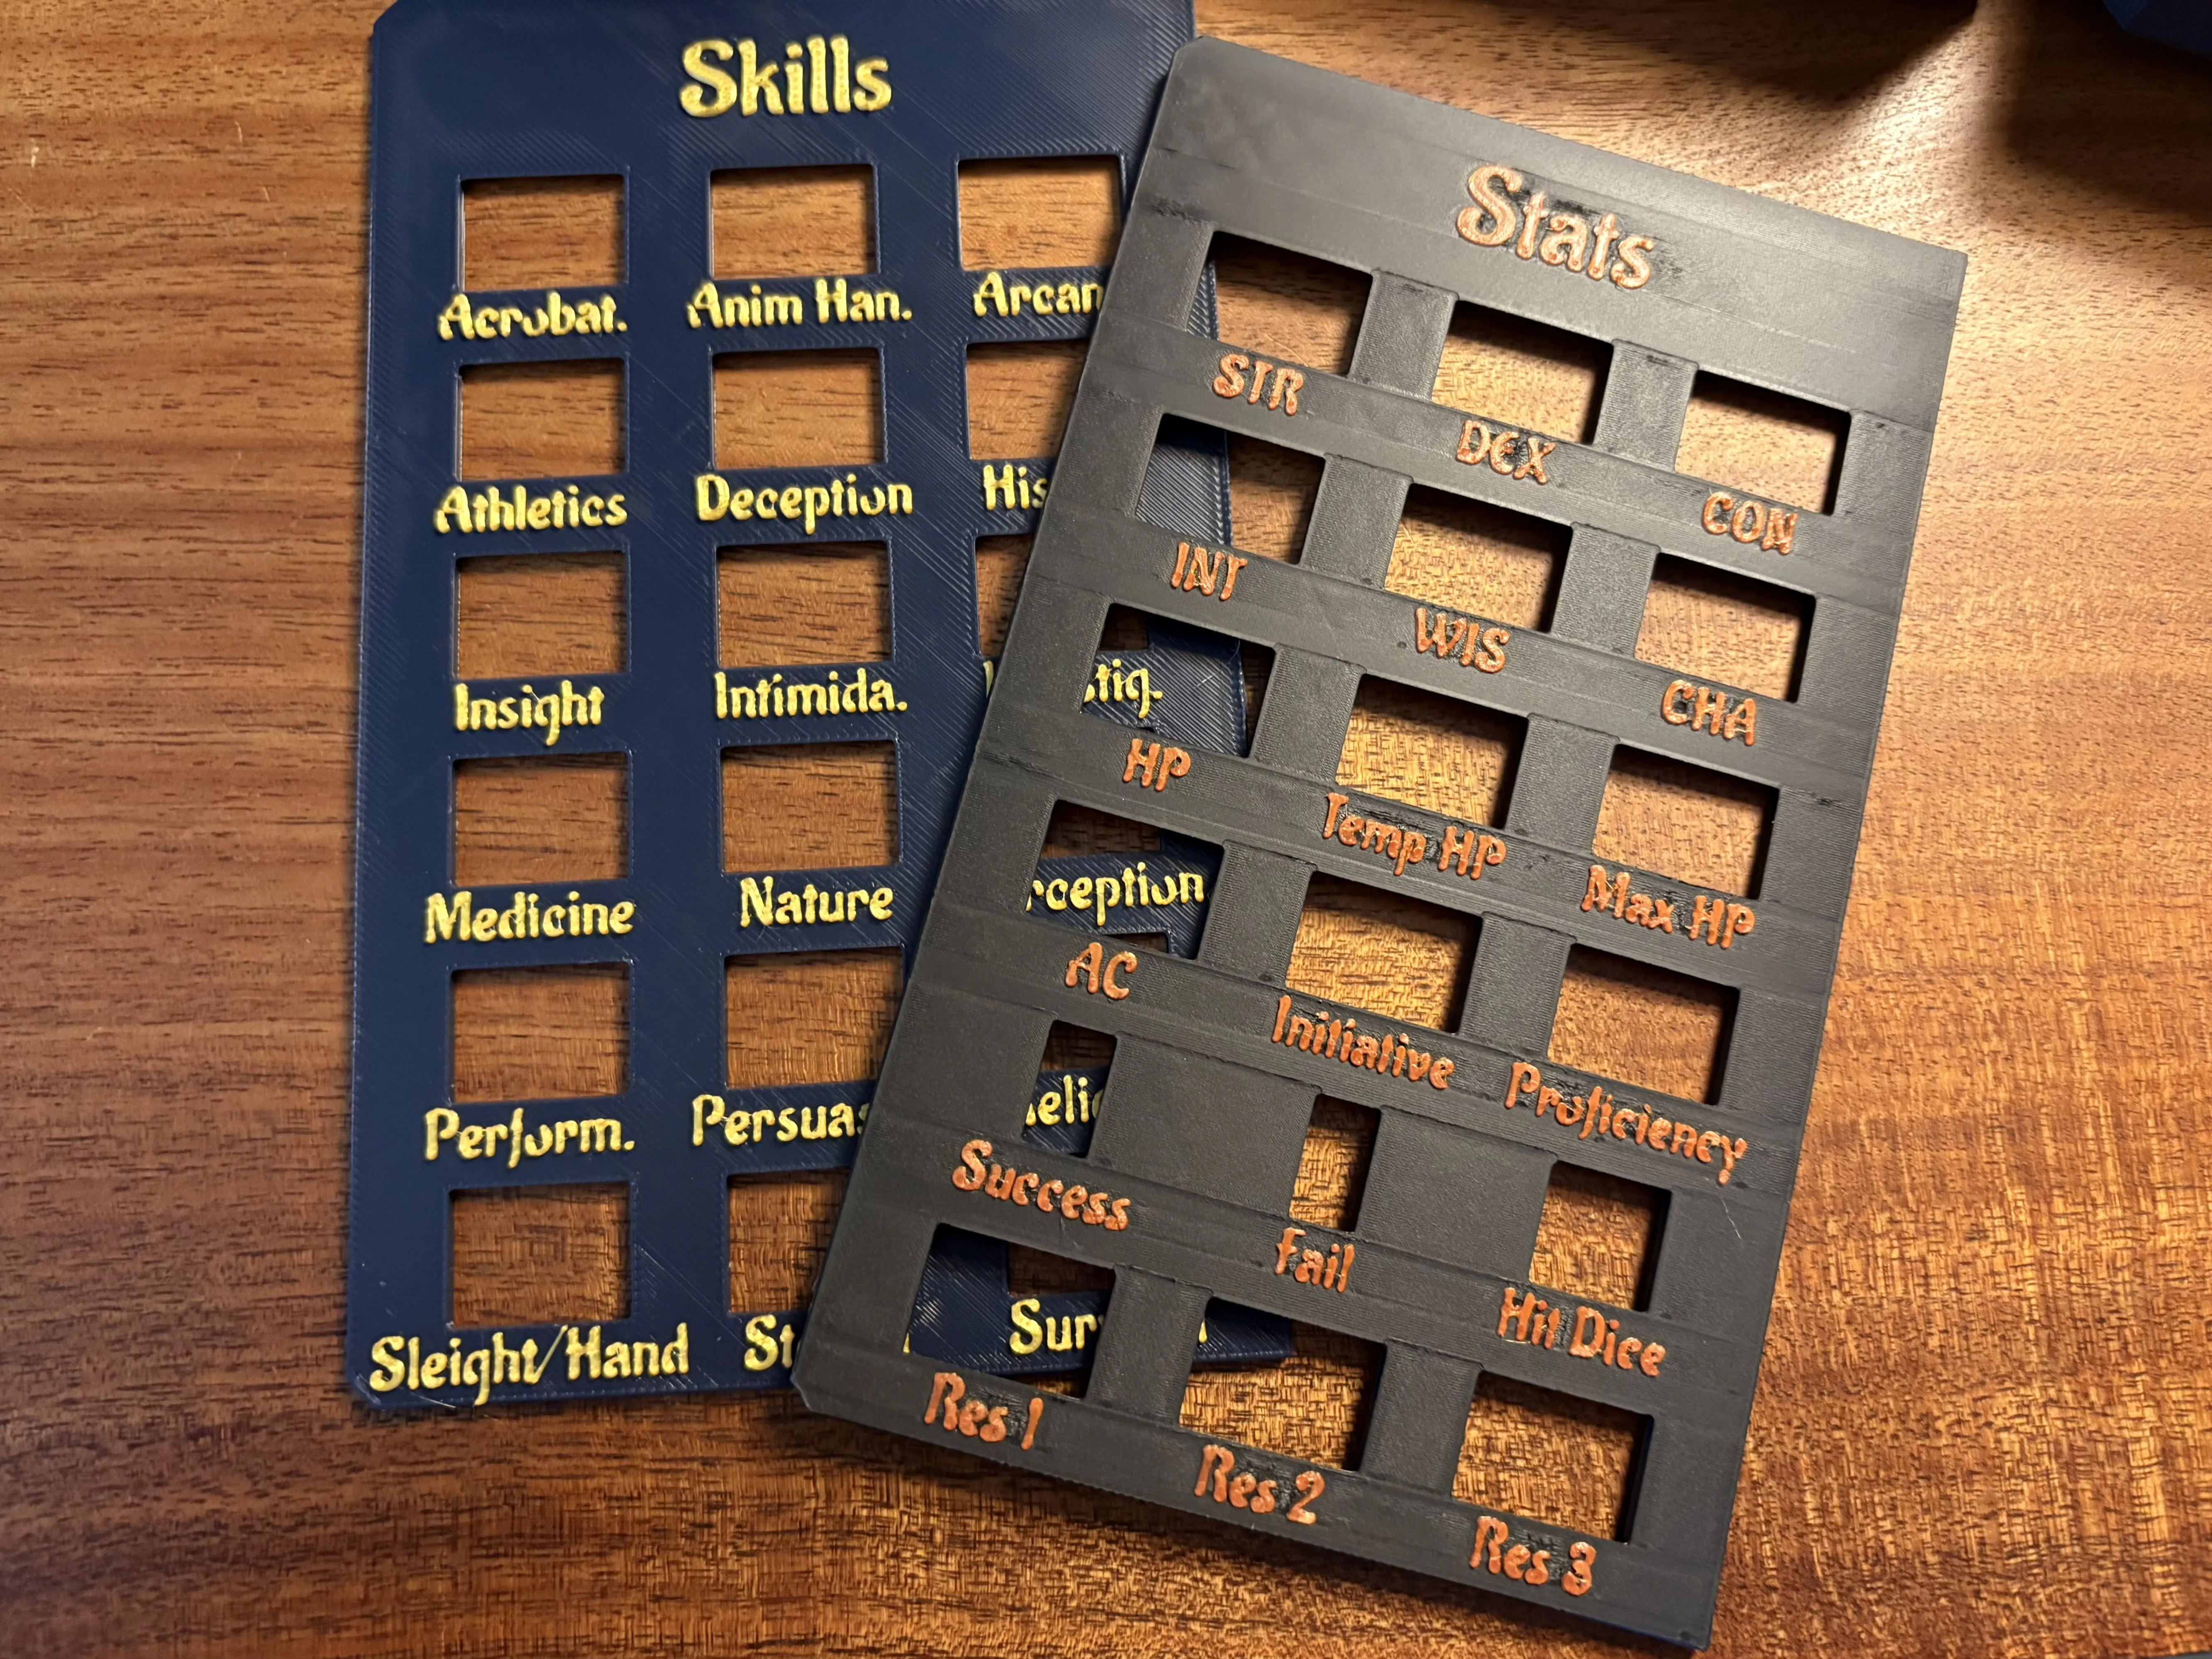
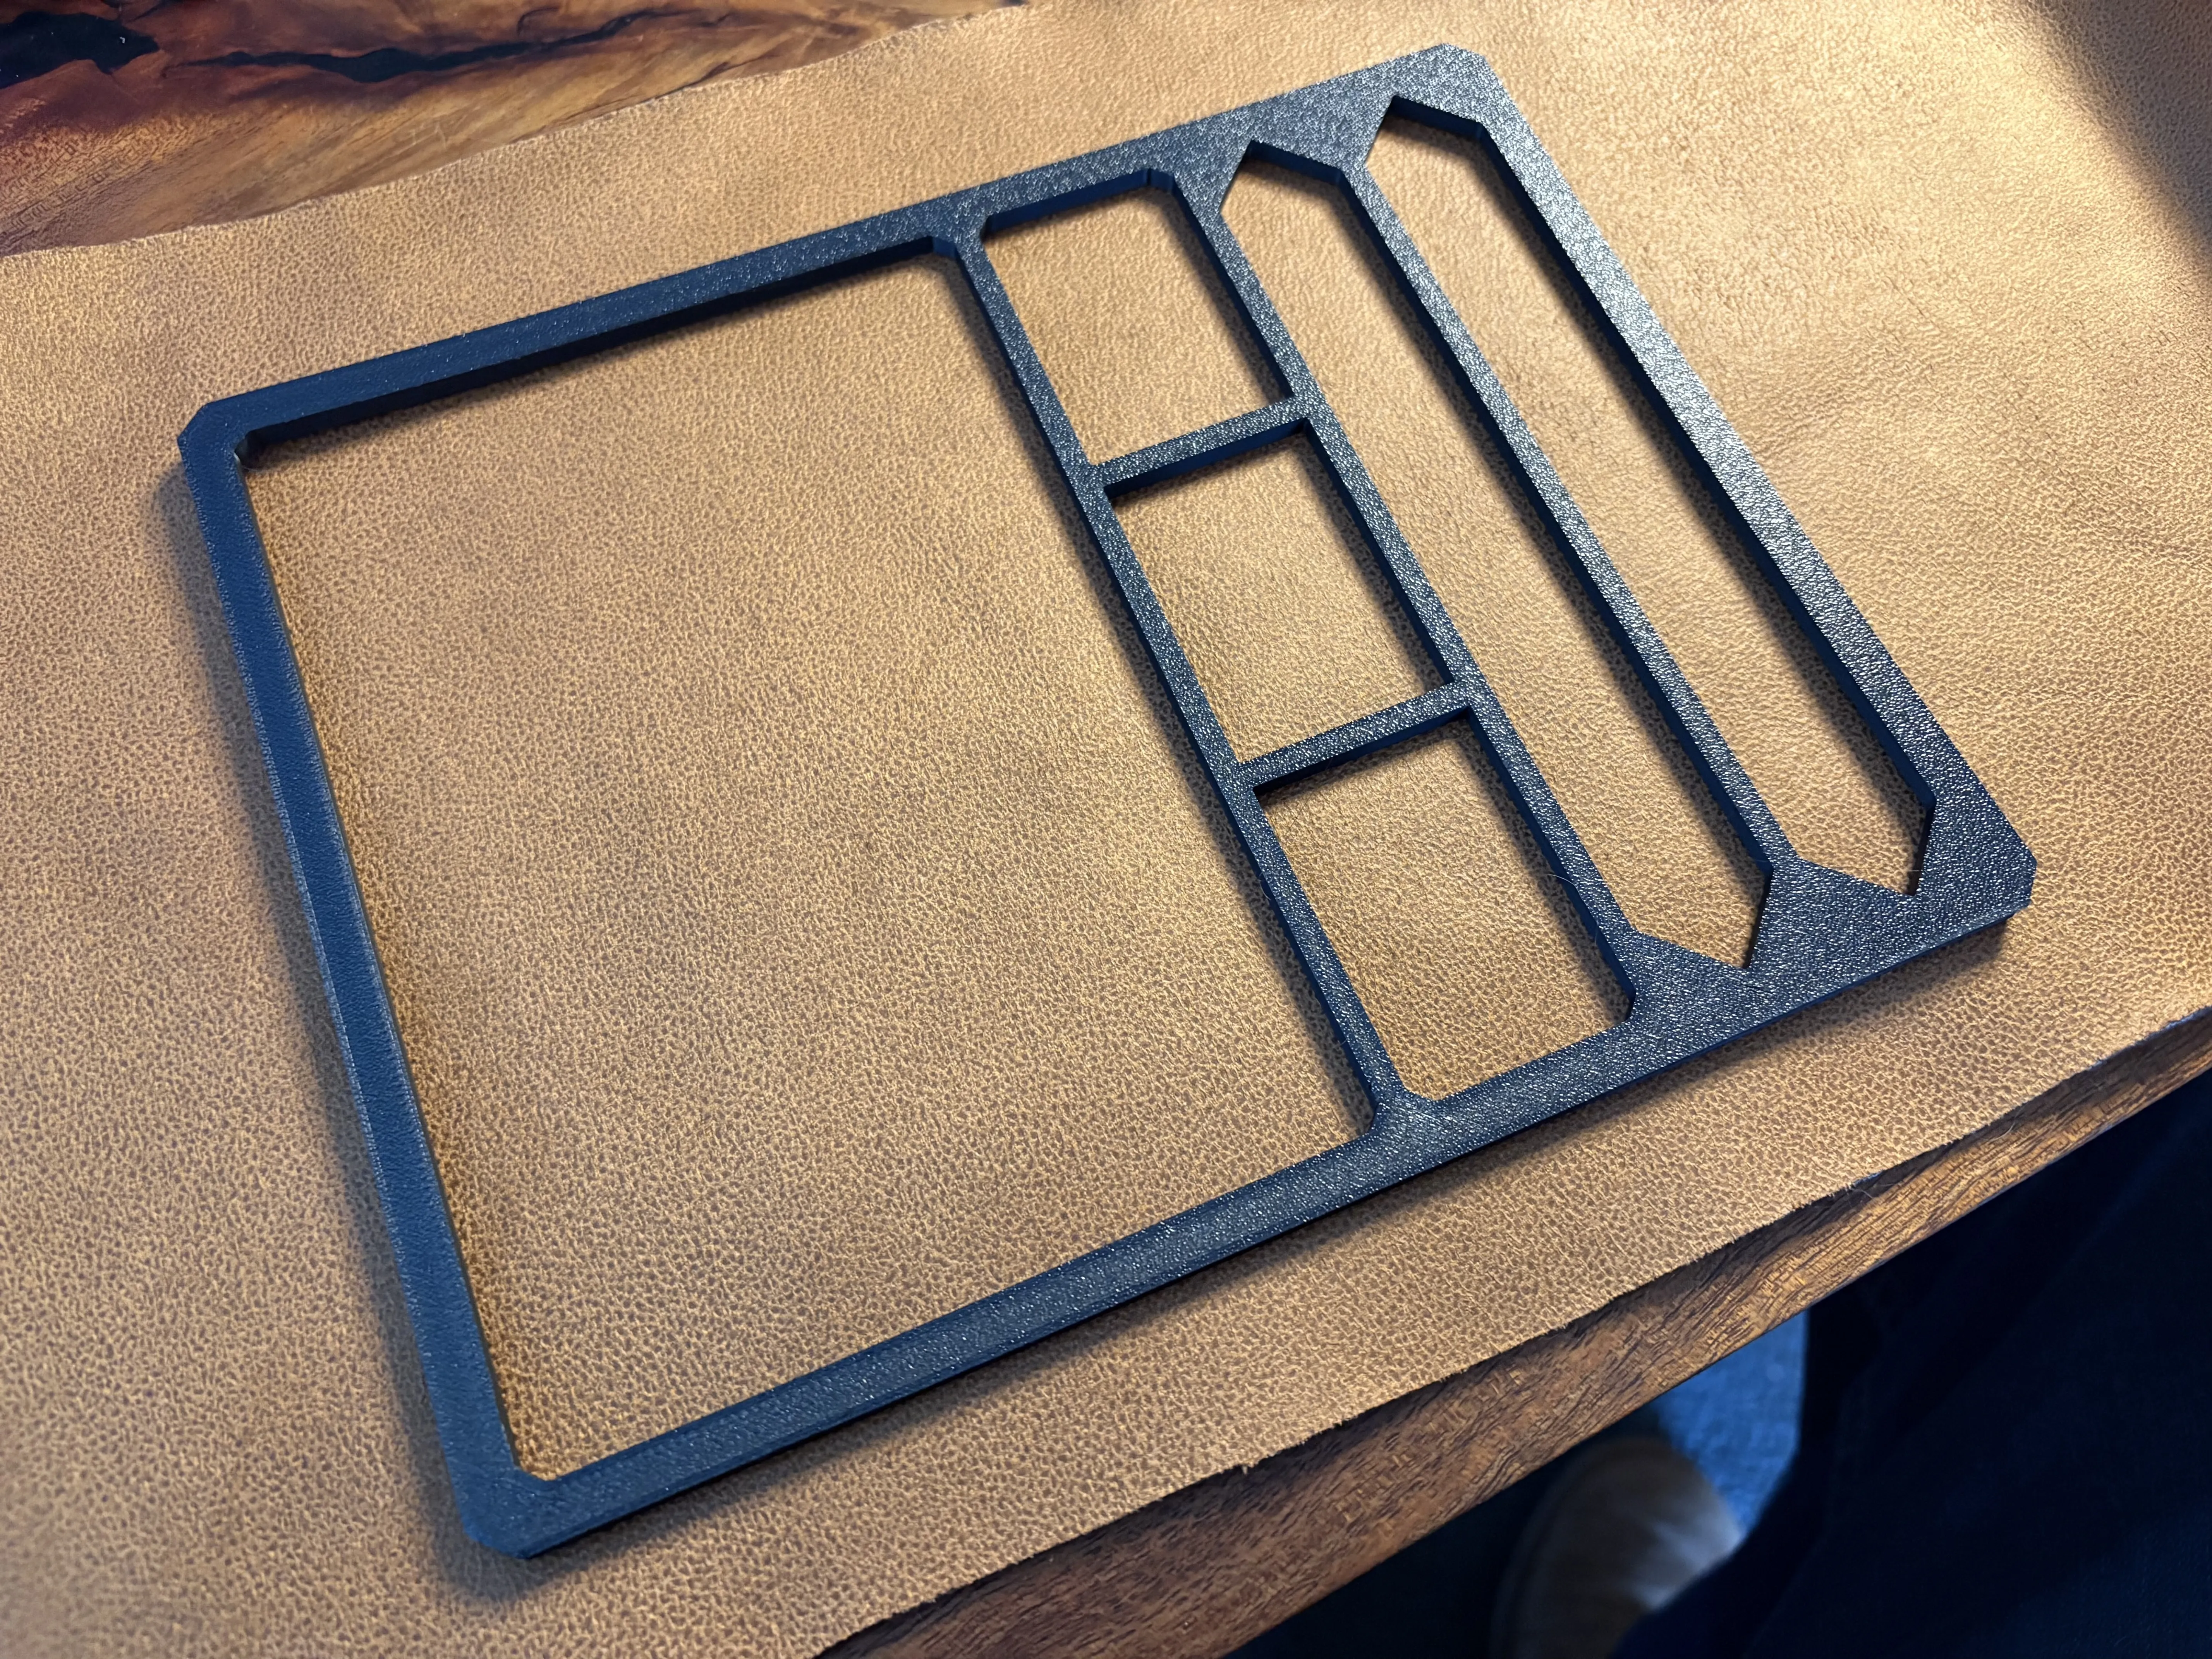
Stencil for cutting inlay
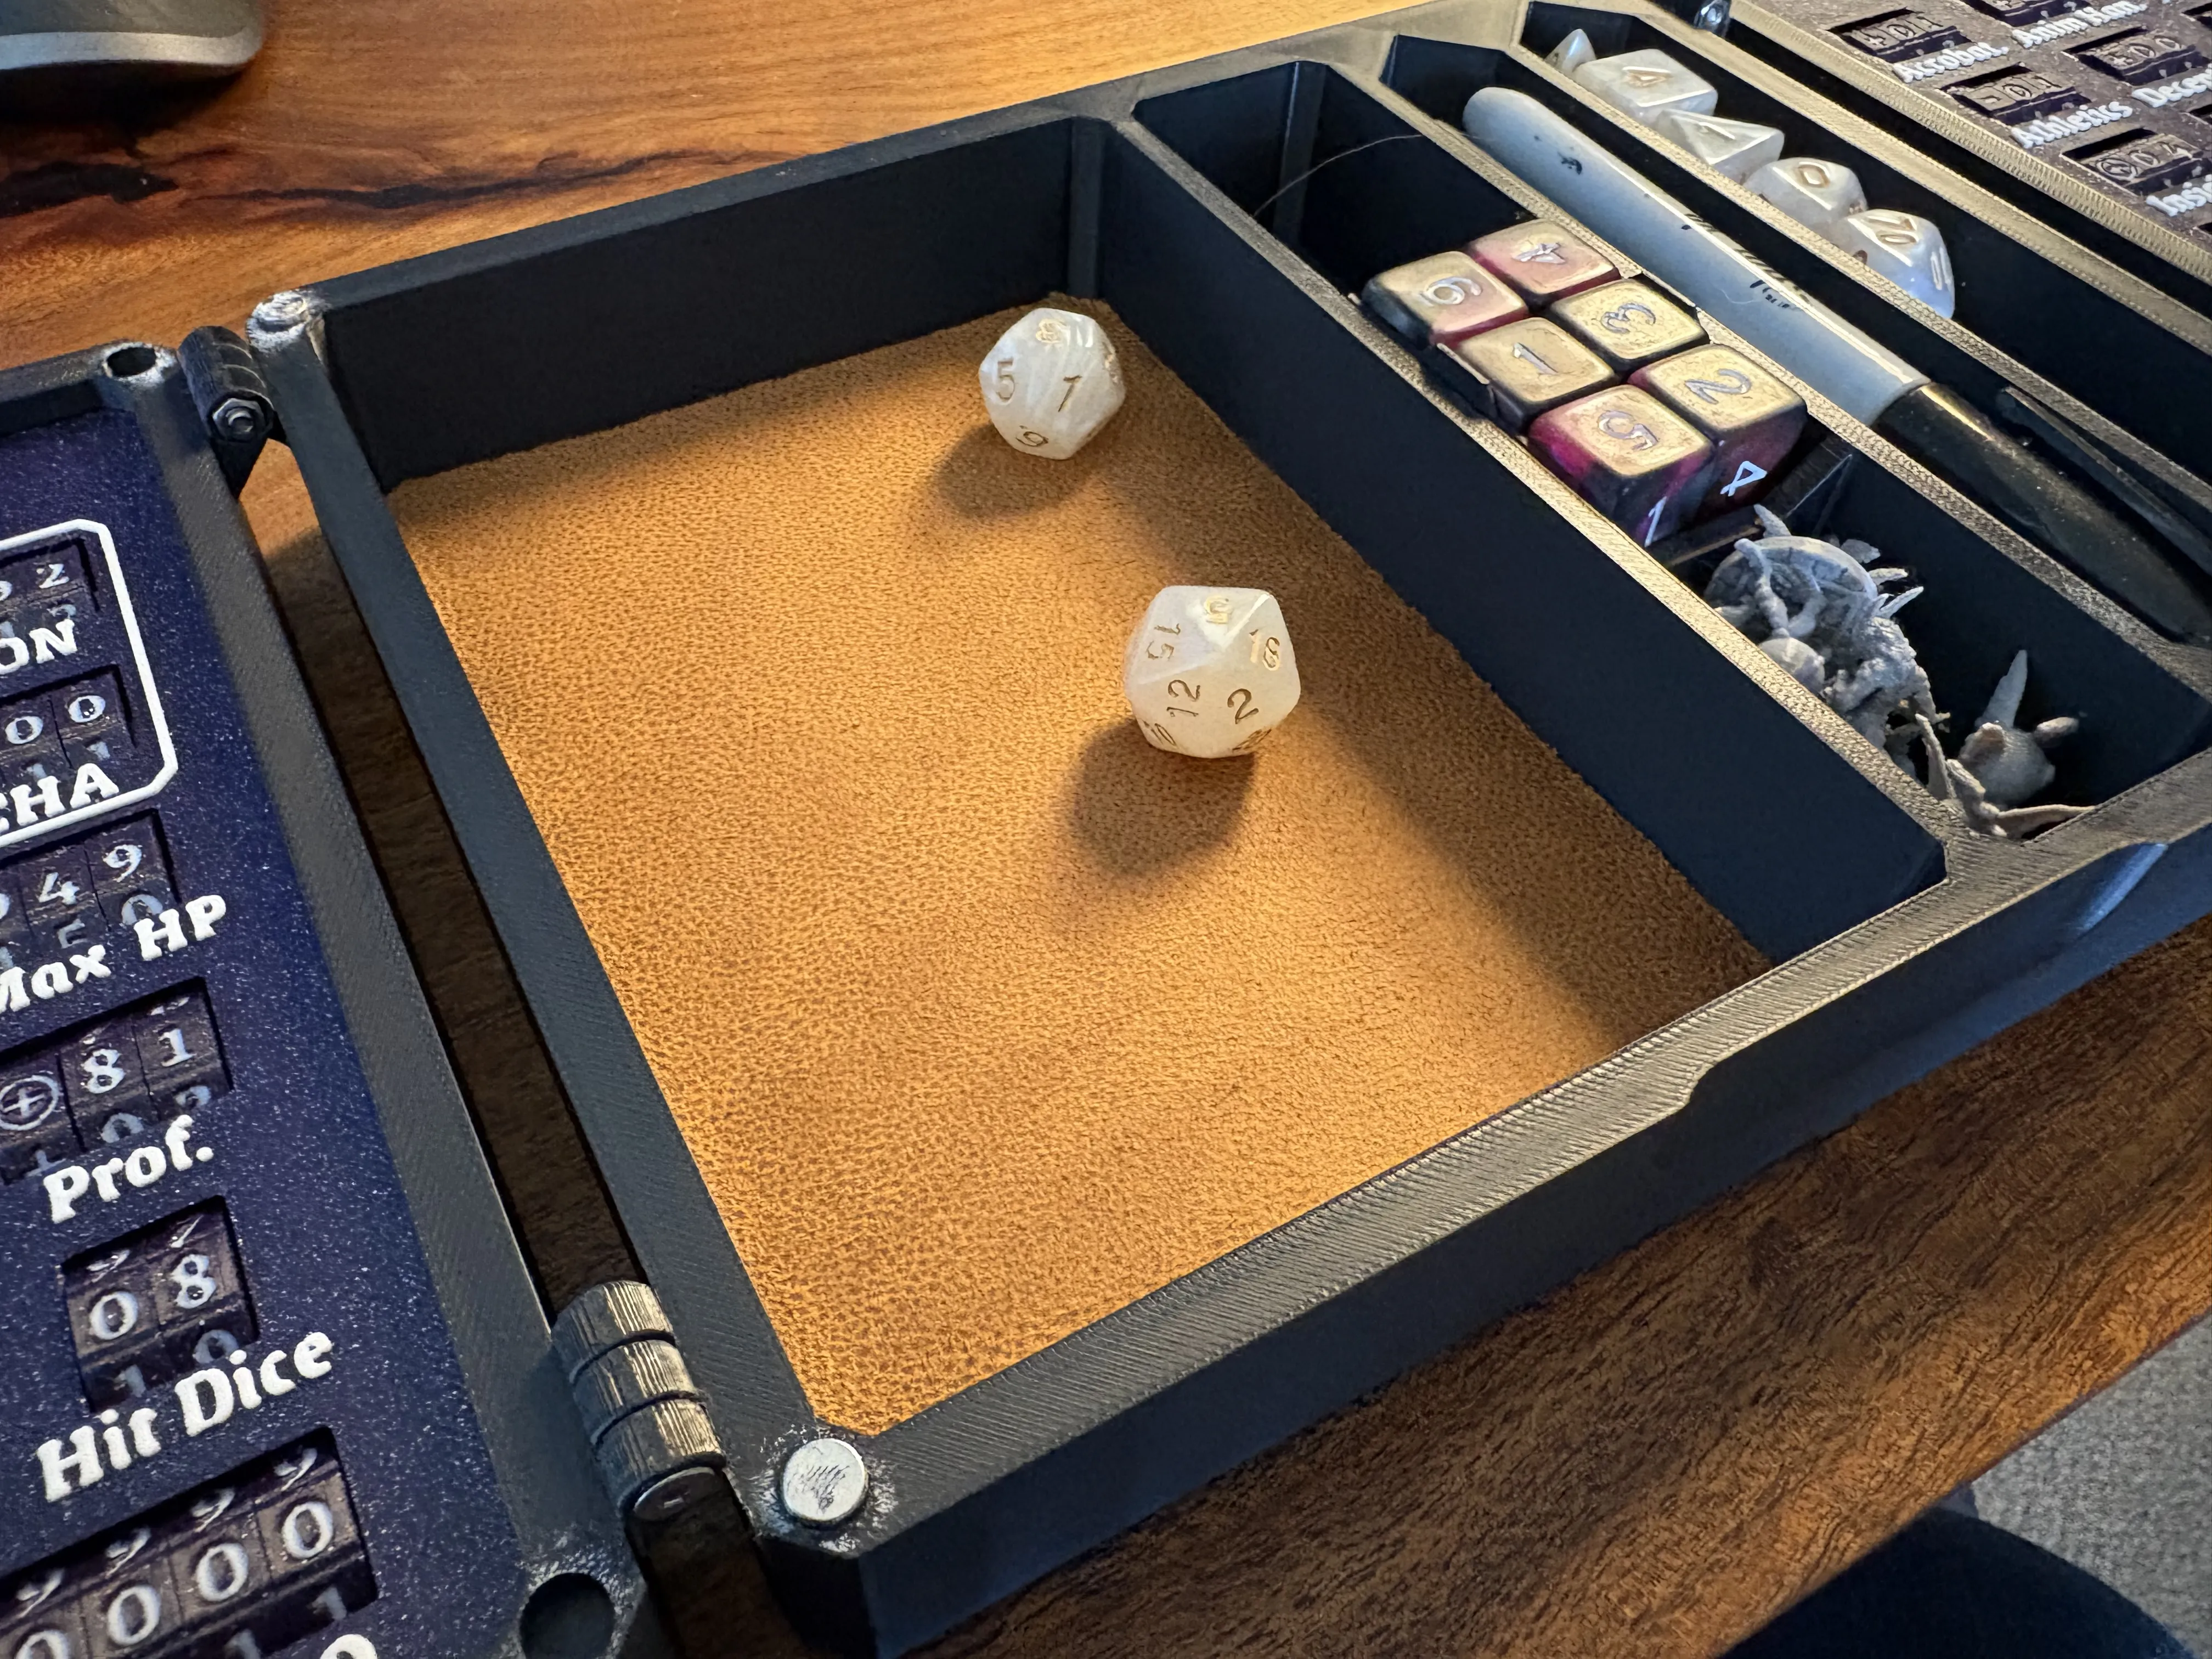
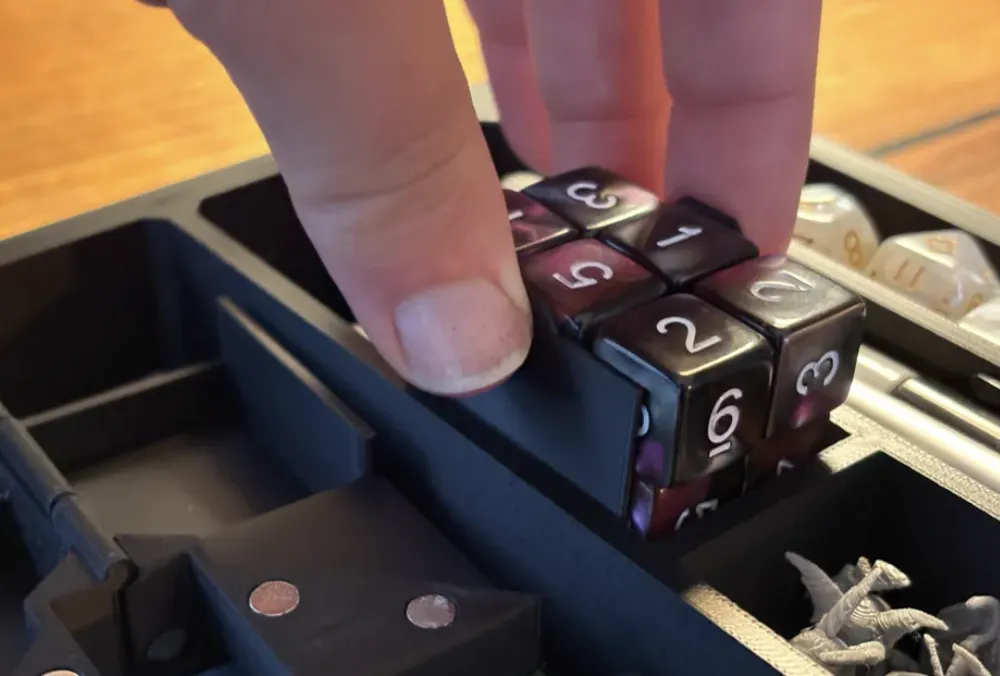
Dice Lifter
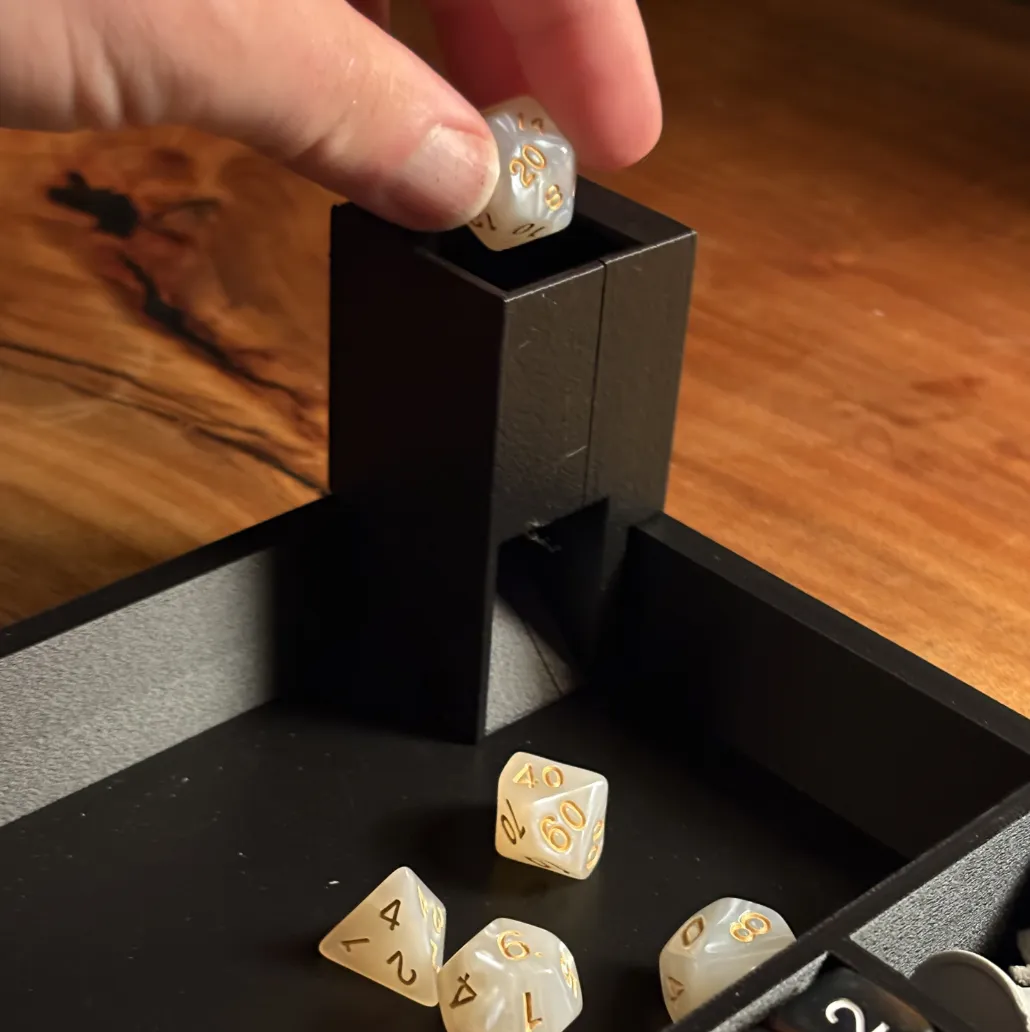
Fold away dice tower
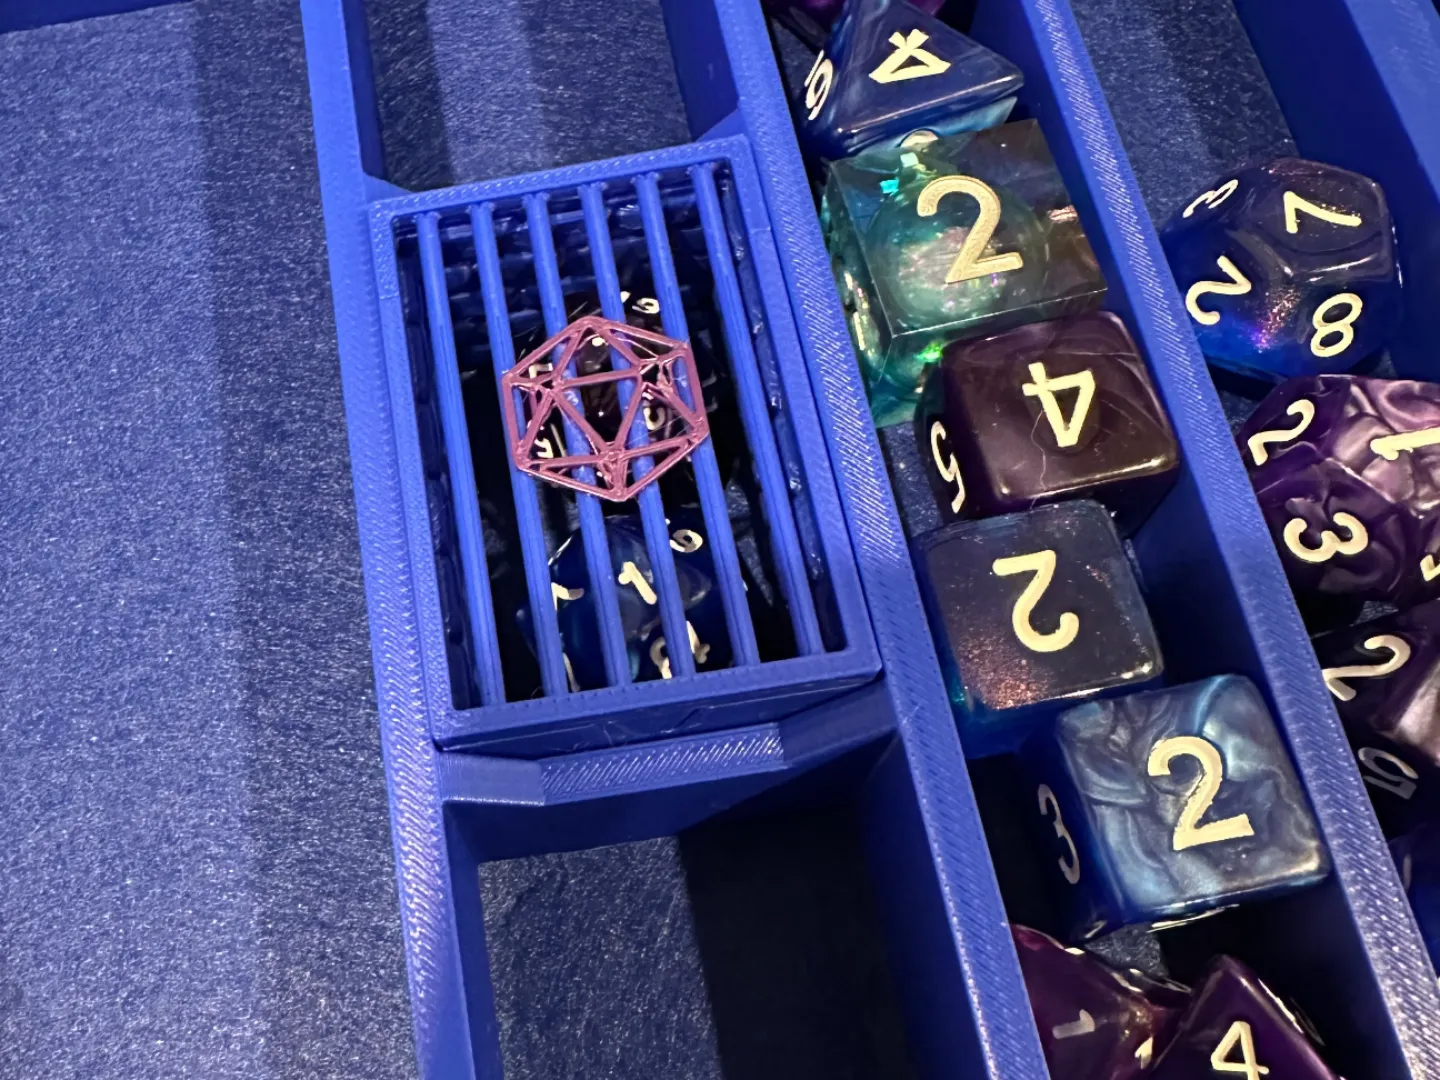
Dice Jail - Made by @hyperdingo
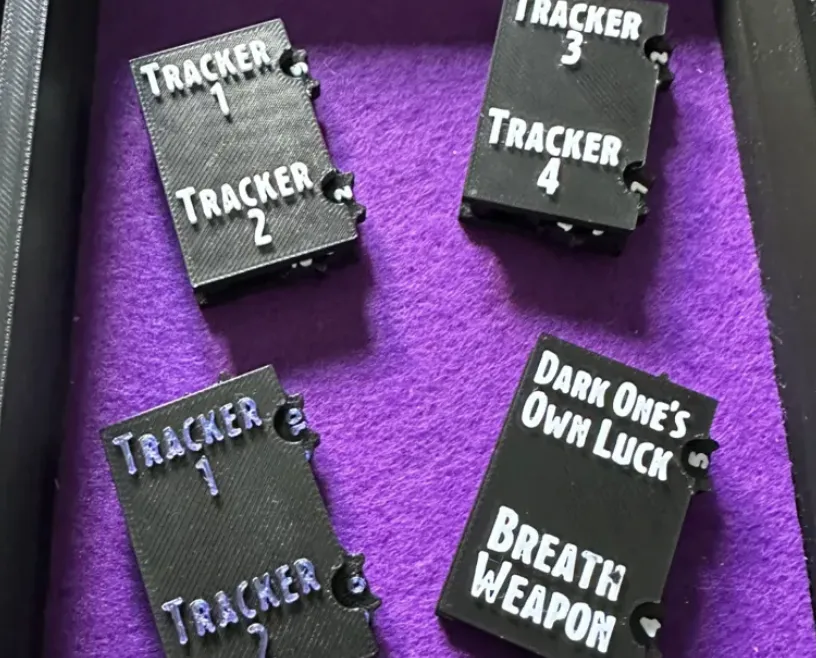
Mini Trackers - Made by @hyperdingo
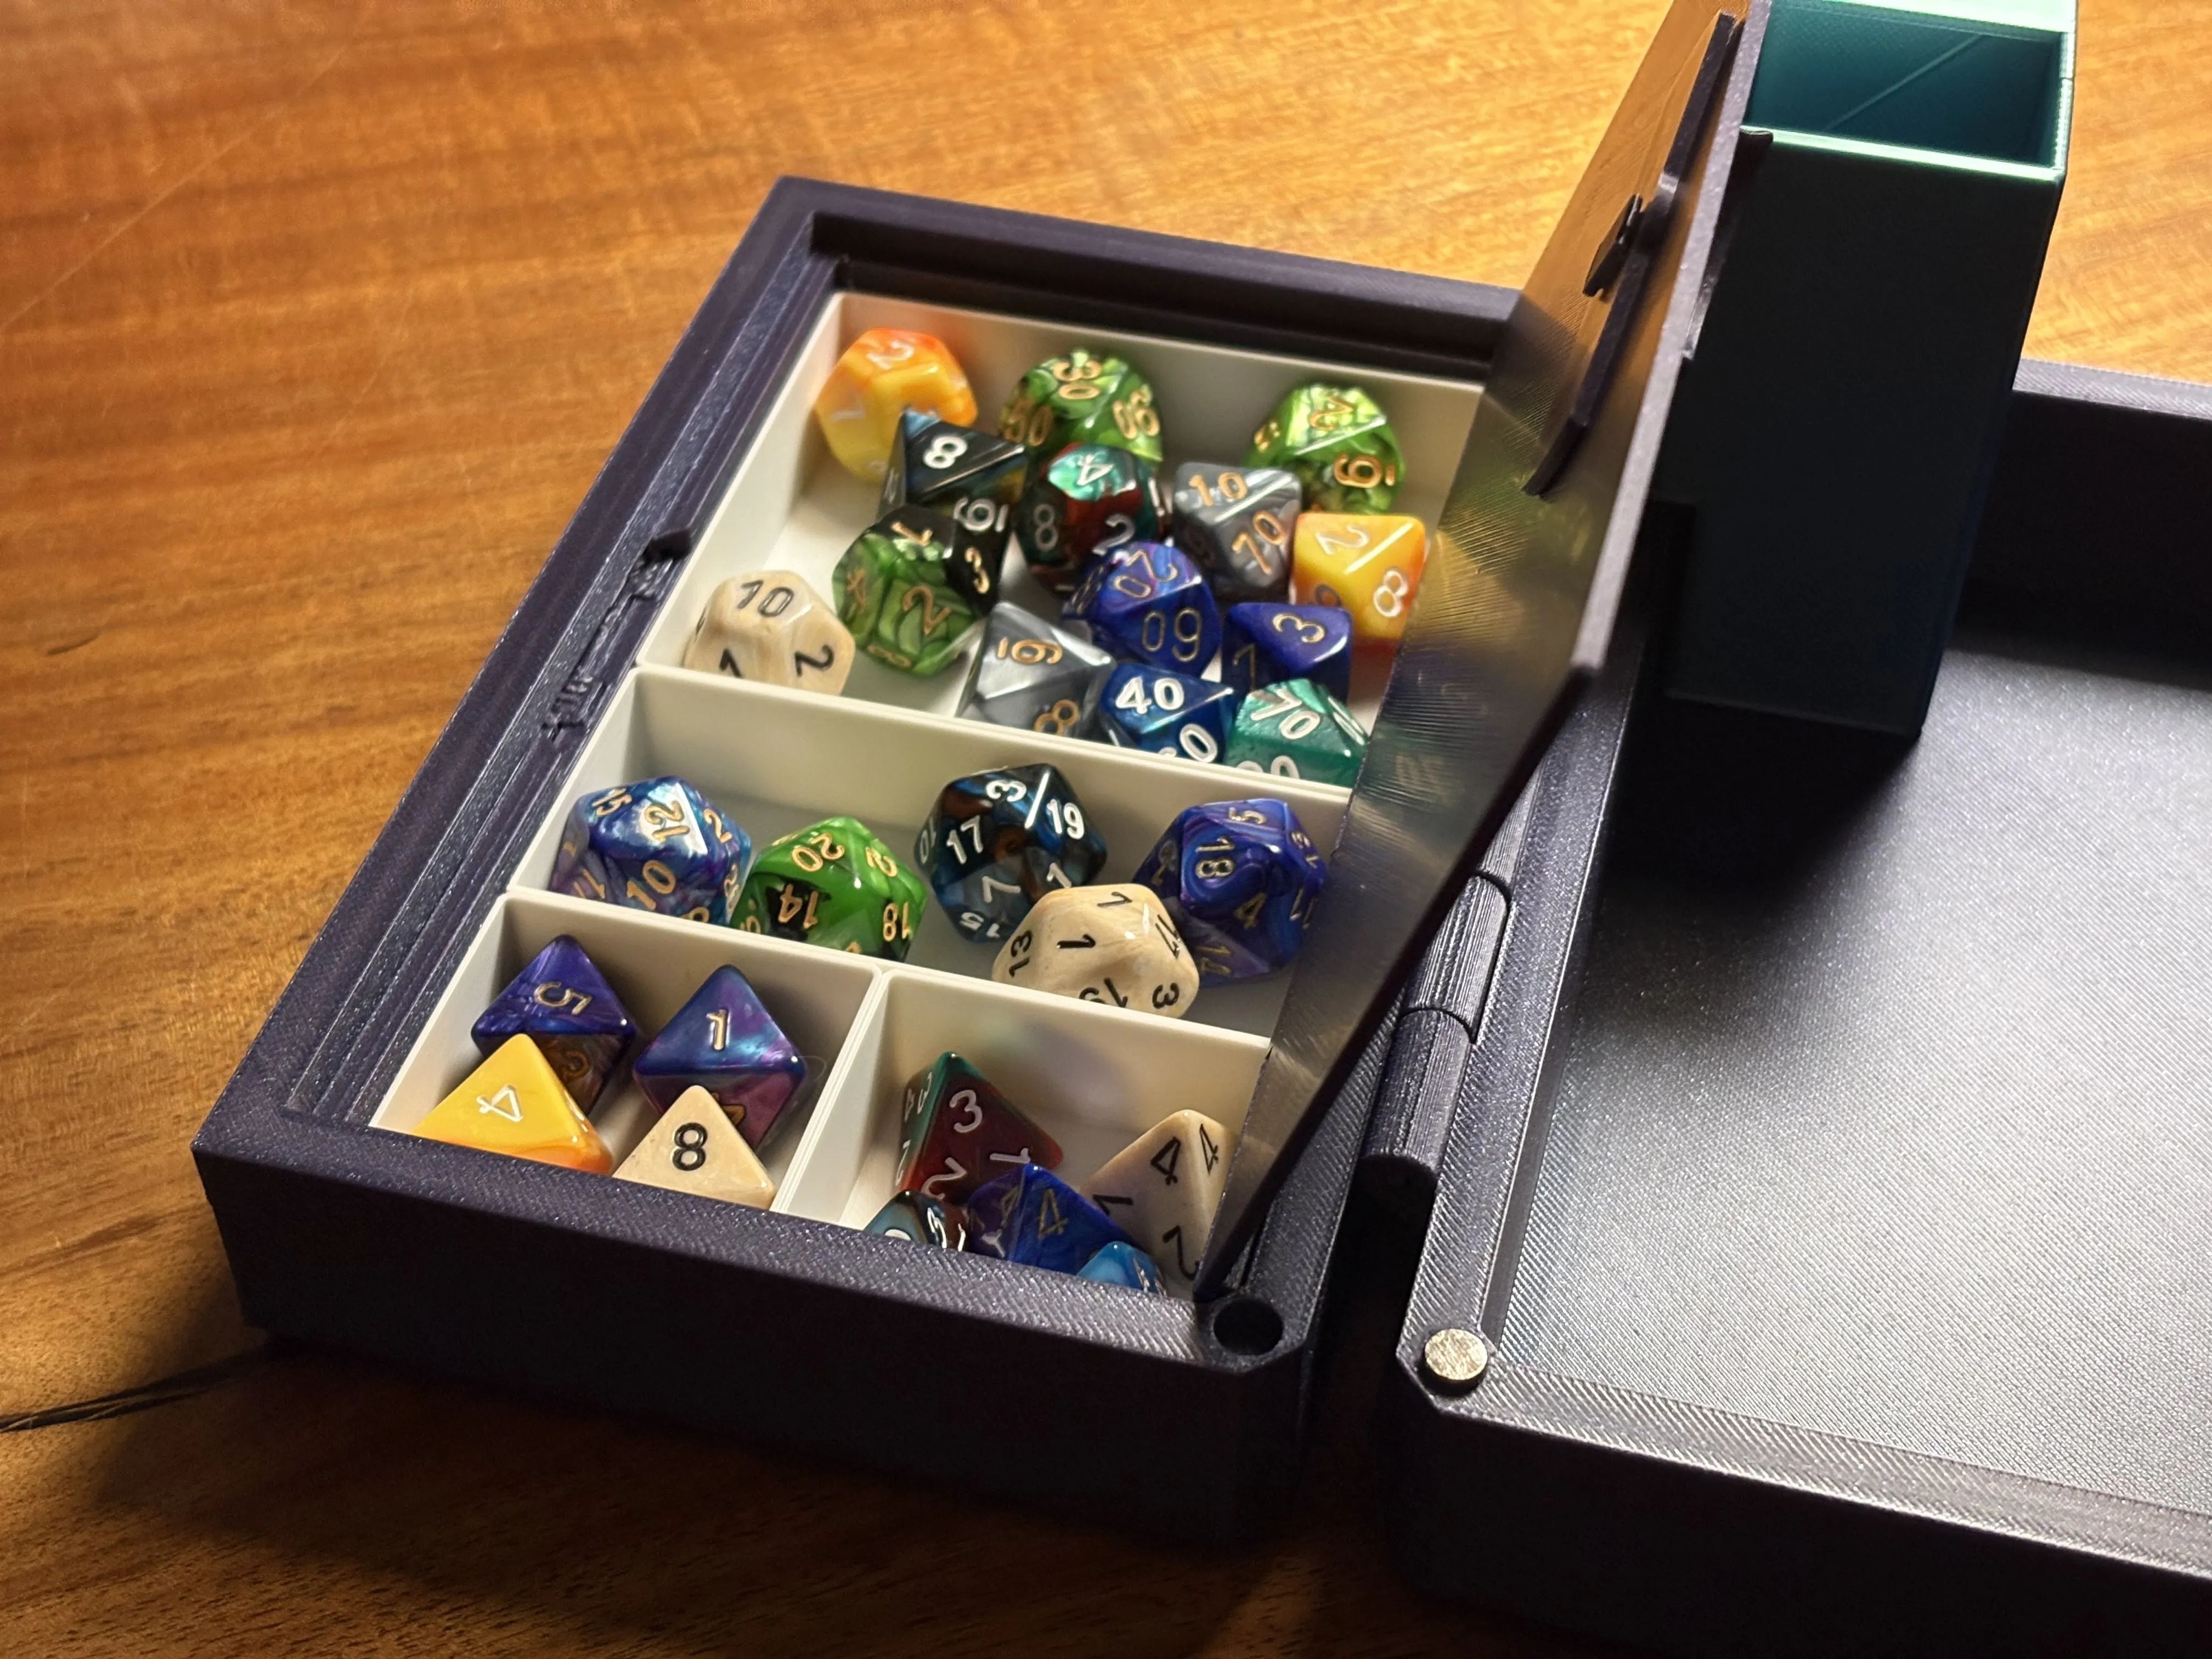
In Door Storage Mod
A full mod for the doors that allow you to use them as storage instead of trackers: https://makerworld.com/en/models/2130640-ultimate-player-kit-in-door-storage-mod#profileId-2307225
Have you already printed the v1 or v2 and you want to upgrade?
The filament hinge is such a significant upgrade, that I highly recommend just reprinting the whole tray. But I totally get it, filament is expensive and times are hard. I've included just the hinge on a seperate plate in the main print profile if you would like to try and attach it to your current v2. I have designed the hinge so that it fits between the v2 hinges, but I should warn that I have only had mixed success with this technique.
Requests? Changes?
I love feedback! Let me know what you want to see in v4, and I'll do my best to make it happen.
A sincere thanks to you, the community
I want to wish my utmost thanks to you all, the community for all of the support you have shown me. I did not expect this model to get so much attention, and the 3d printing community has been, by an large, one of the most supportive communities ever. I got so much feedback, both positive and critical, and even when it was critical, people were helping debug issues, suggesting improvements and fixes and some users even took it upon themselves to try different things and send me their solutions.
A final note of thanks to the user https://makerworld.com/en/@AlephBaker AlephBaker, who suggested the filament hinges and even sent over a demo solution of what they might look like.
License

You shall not share, sub-license, sell, rent, host, transfer, or distribute in any way the digital or 3D printed versions of this object, nor any other derivative work of this object in its digital or physical format (including - but not limited to - remixes of this object, and hosting on other digital platforms). The objects may not be used without permission in any way whatsoever in which you charge money, or collect fees.


Comment & Rating (2261)