
IKEA Skadis "FREEDOM" Pegboard
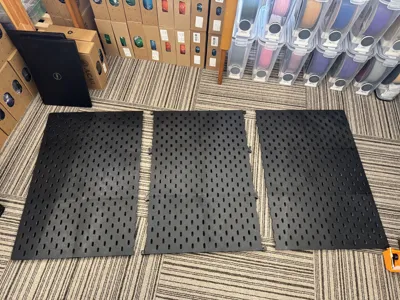
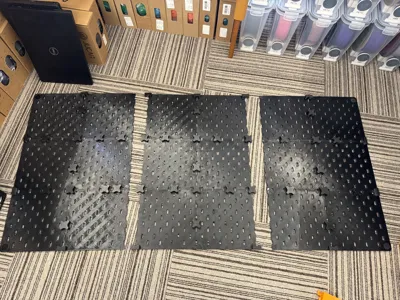
Print Profile(9)





Description
Boost Me (for free)
If you find this model useful, please boost it!
Wishing you a great time printing and decorating your workspace! Thank you!
Updated 21/07/2026: The Google Sheet has been updated with the number of sheets to be printed. Thanks to @PyeGuy314 for this support.
Updated 01/05/2026: Added 28x28cm version for Bambu Lab H2 Series & A2L
Updated 08/12/2025: Add ‘’SKÅDIS Collection by Gaa3D''
Updated 25/11/2025: Add calculations for the number of printed units.
Updated 24/11/2025: Added separate filament profiles for PLA and PETG for easier printing on Bambu Handy.
Updated 19/11/2025: Added 16x16cm version for Bambu Lab A1 mini
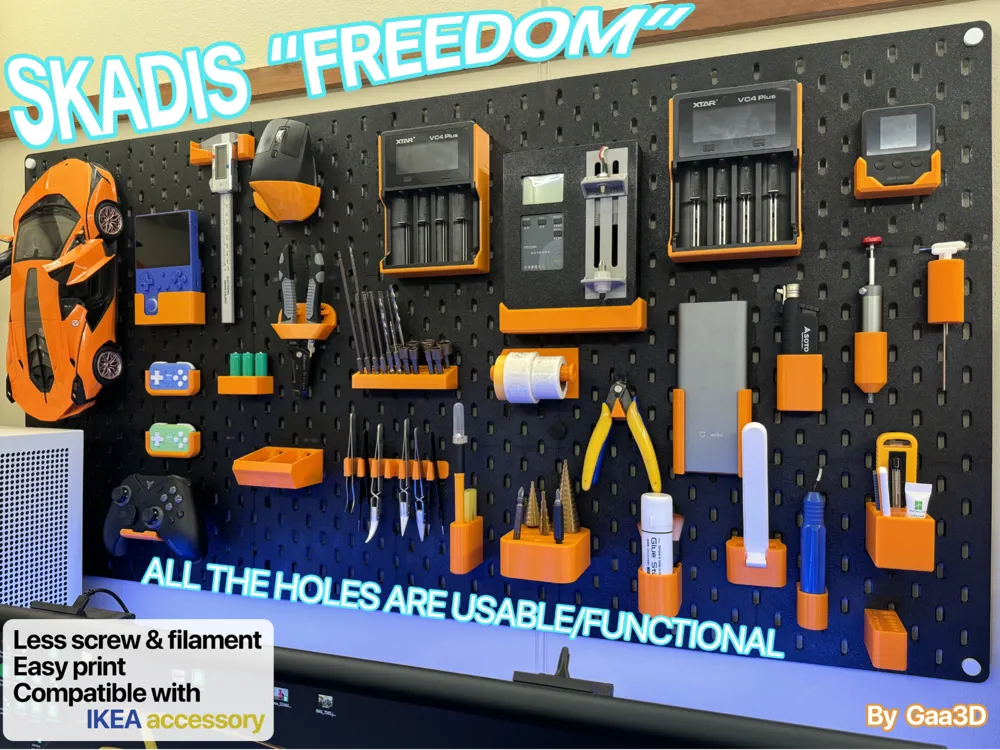
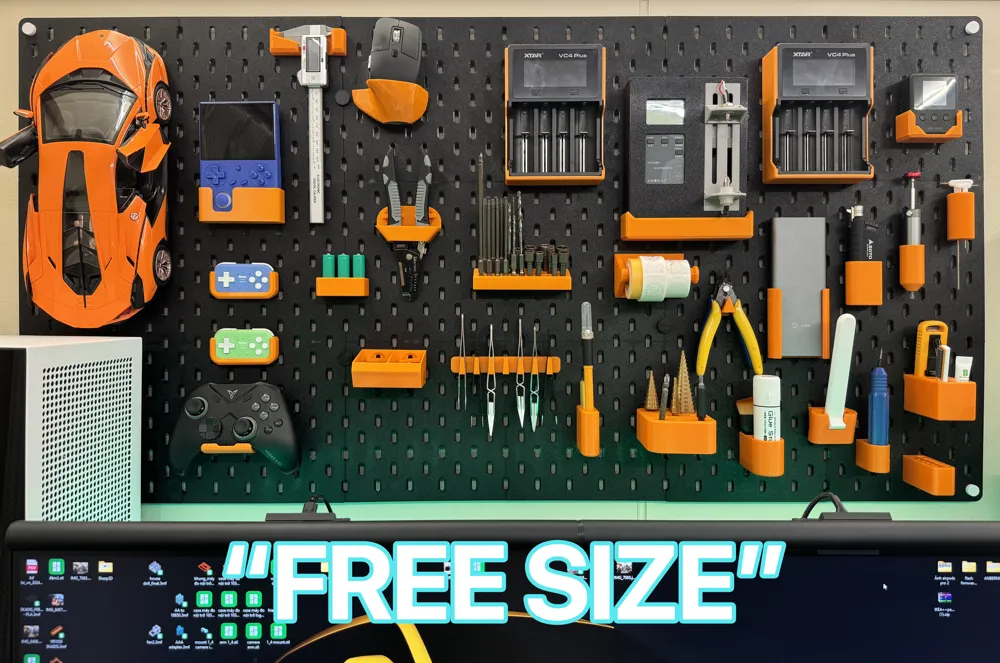
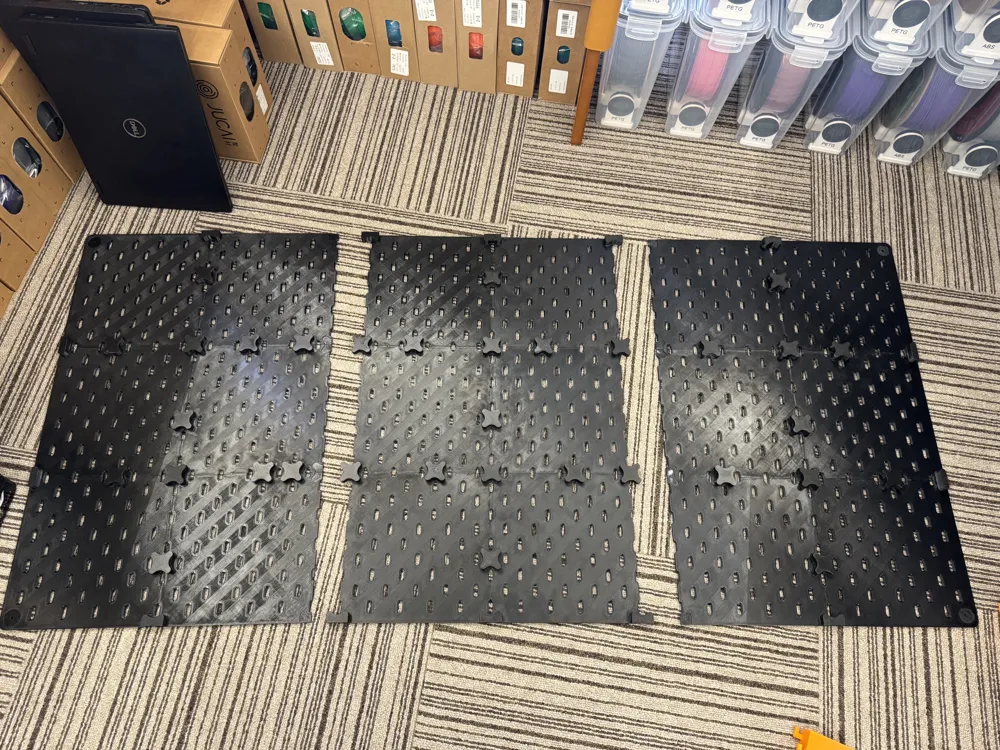
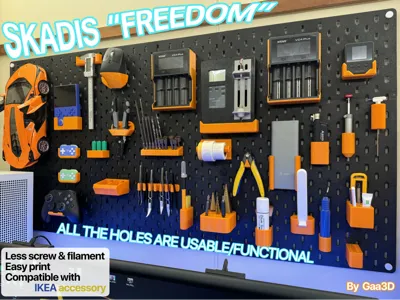
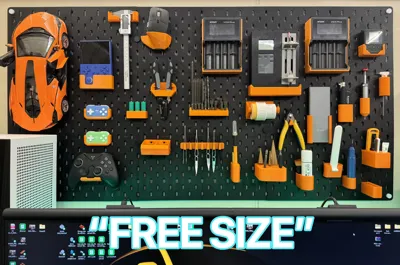
I designed a modular board based on the IKEA SKÅDIS specifications. The special feature is that you can freely customize the board size while still being able to use all the holes exactly like the original.
Advantages:
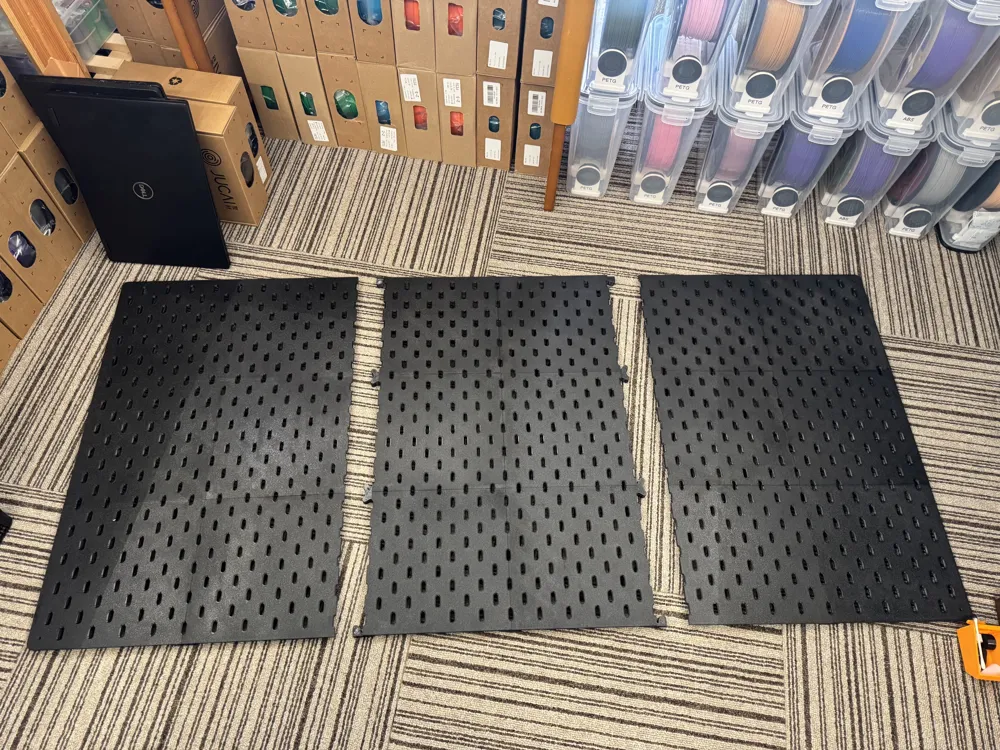
• Fully customizable to any size (minimum setup is one board assembled from 4 panels).
• Each 20×20 cm panel takes about 3 hours to print and uses ~100g of filament (on average, 1kg filament can make 9 panels).
• All holes on the board can be used normally.
• Easy to print (I printed 18 consecutive panels using both the A1 and P1S without failure).
• Requires very few mounting screws, without affecting load-bearing strength (the example 120×60 cm board uses only 8 wall screws and occupies only 4 holes—just like IKEA SKÅDIS).
• No further customization required, you can easily print directly on the Bambu Handy and Bambu Studio.
• Compatible with a wide range of accessories in the IKEA SKÅDIS, some of which are created by Gaa3D
Structure:
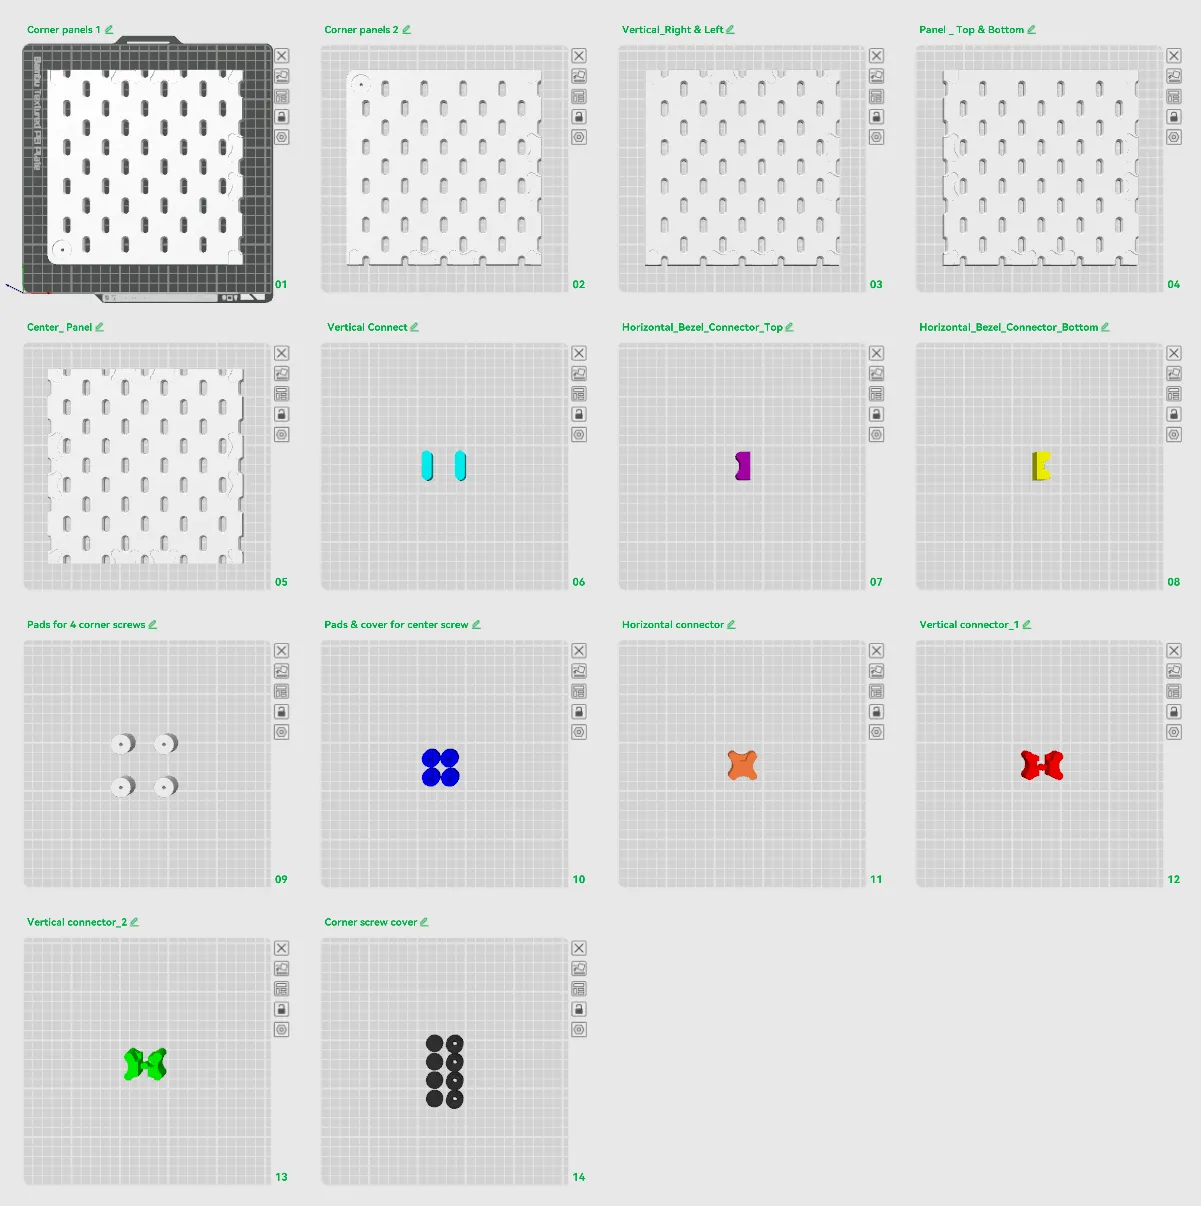
The file includes 5 different panel types:
• 2 different corner panels - plate 1&2 (minimum setup is one board assembled from 4 panels, each corner panel will be printed twice).
• 1 vertical edge middle panel - plate 3 (used for both the left and right sides — print at least twice if you want to extend the overall height of the board).
• 1 horizontal edge middle panel - plate 4 (used for both the top and bottom — print at least twice if you want to extend the overall width of the board).
• 1 center panel - plate 5 (print this when all edges are extended).
Regarding the connectors:
They are color marked for easy identification. Please select the color you prefer before printing.
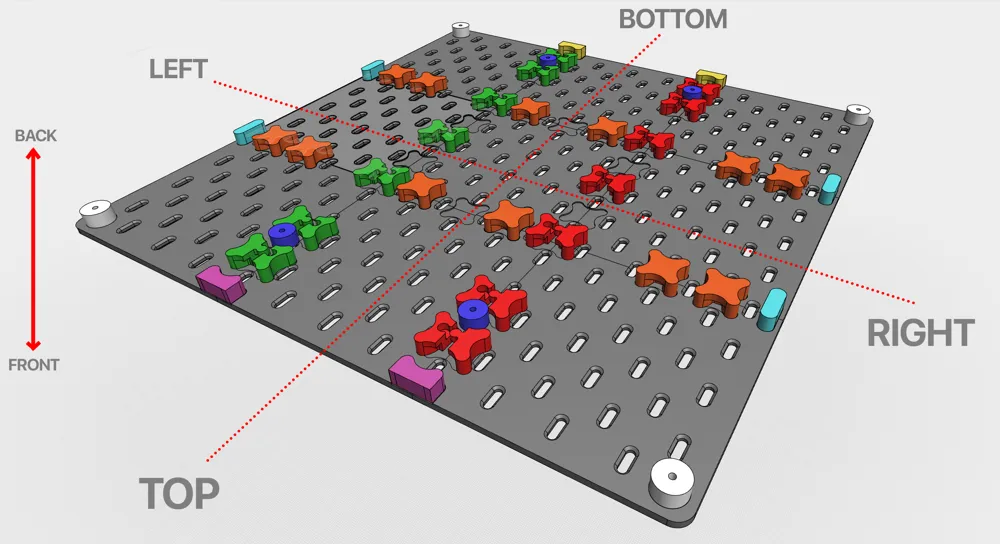
• Vertical Bezel Connector - plate 6: This bar connects the bezel panels vertically. (The required print quantity needs to be calculated.)
• Horizontal Bezel Connector_Top - plate 7: This bar connects the top horizontal bezel panels. (The required print quantity needs to be calculated.)
• Horizontal Bezel Connector_Bottom - plate 8: This bar connects the bottom horizontal bezel panels. (The required print quantity needs to be calculated.)
• Pad of Corner Screws - plate 9: These are the four back pads for the four corner panels. (Fixed quantity — can be printed immediately).
• Pad & Cover of Center Screw - plate 10: Used when reinforcing the center area of the board with wall screws for large board sizes. (The quantity should be estimated based on how sturdy you want the board to be. Recommended: one wall screw for every 40 cm of the board’s total width.)
• Horizontal Connector - plate 11: A rigid connector that locks the panels together. It can also be used horizontally when creating a solid, one-piece board.
• Vertical connector 1&2 - plate 12&13: Separate connector used to attach panels together, can be separated if needed, making installation easier for large board assemblies. (Can be replaced with horizontal connection)
• Corner Screw Cover - plate 14: Covers the wall screws on the four corner panels. (Fixed quantity — can be printed immediately).
Calculating the number of panel and connector:
I have created a google sheet link, you can enter the table size and the number of panels & connector will be calculated automatically.
Link: Google Sheet
* Use the connector type in plates 12 & 13 if you want easier wall mounting with larger boards. However, it is generally recommended to use the rigid connector type as in plate 11.
* The number of connections is only approximate and calculated based on the maximum number that can be used, so in practice, if you are not hanging very heavy objects, you only need to print half the calculated number.
Assembly Instruction:
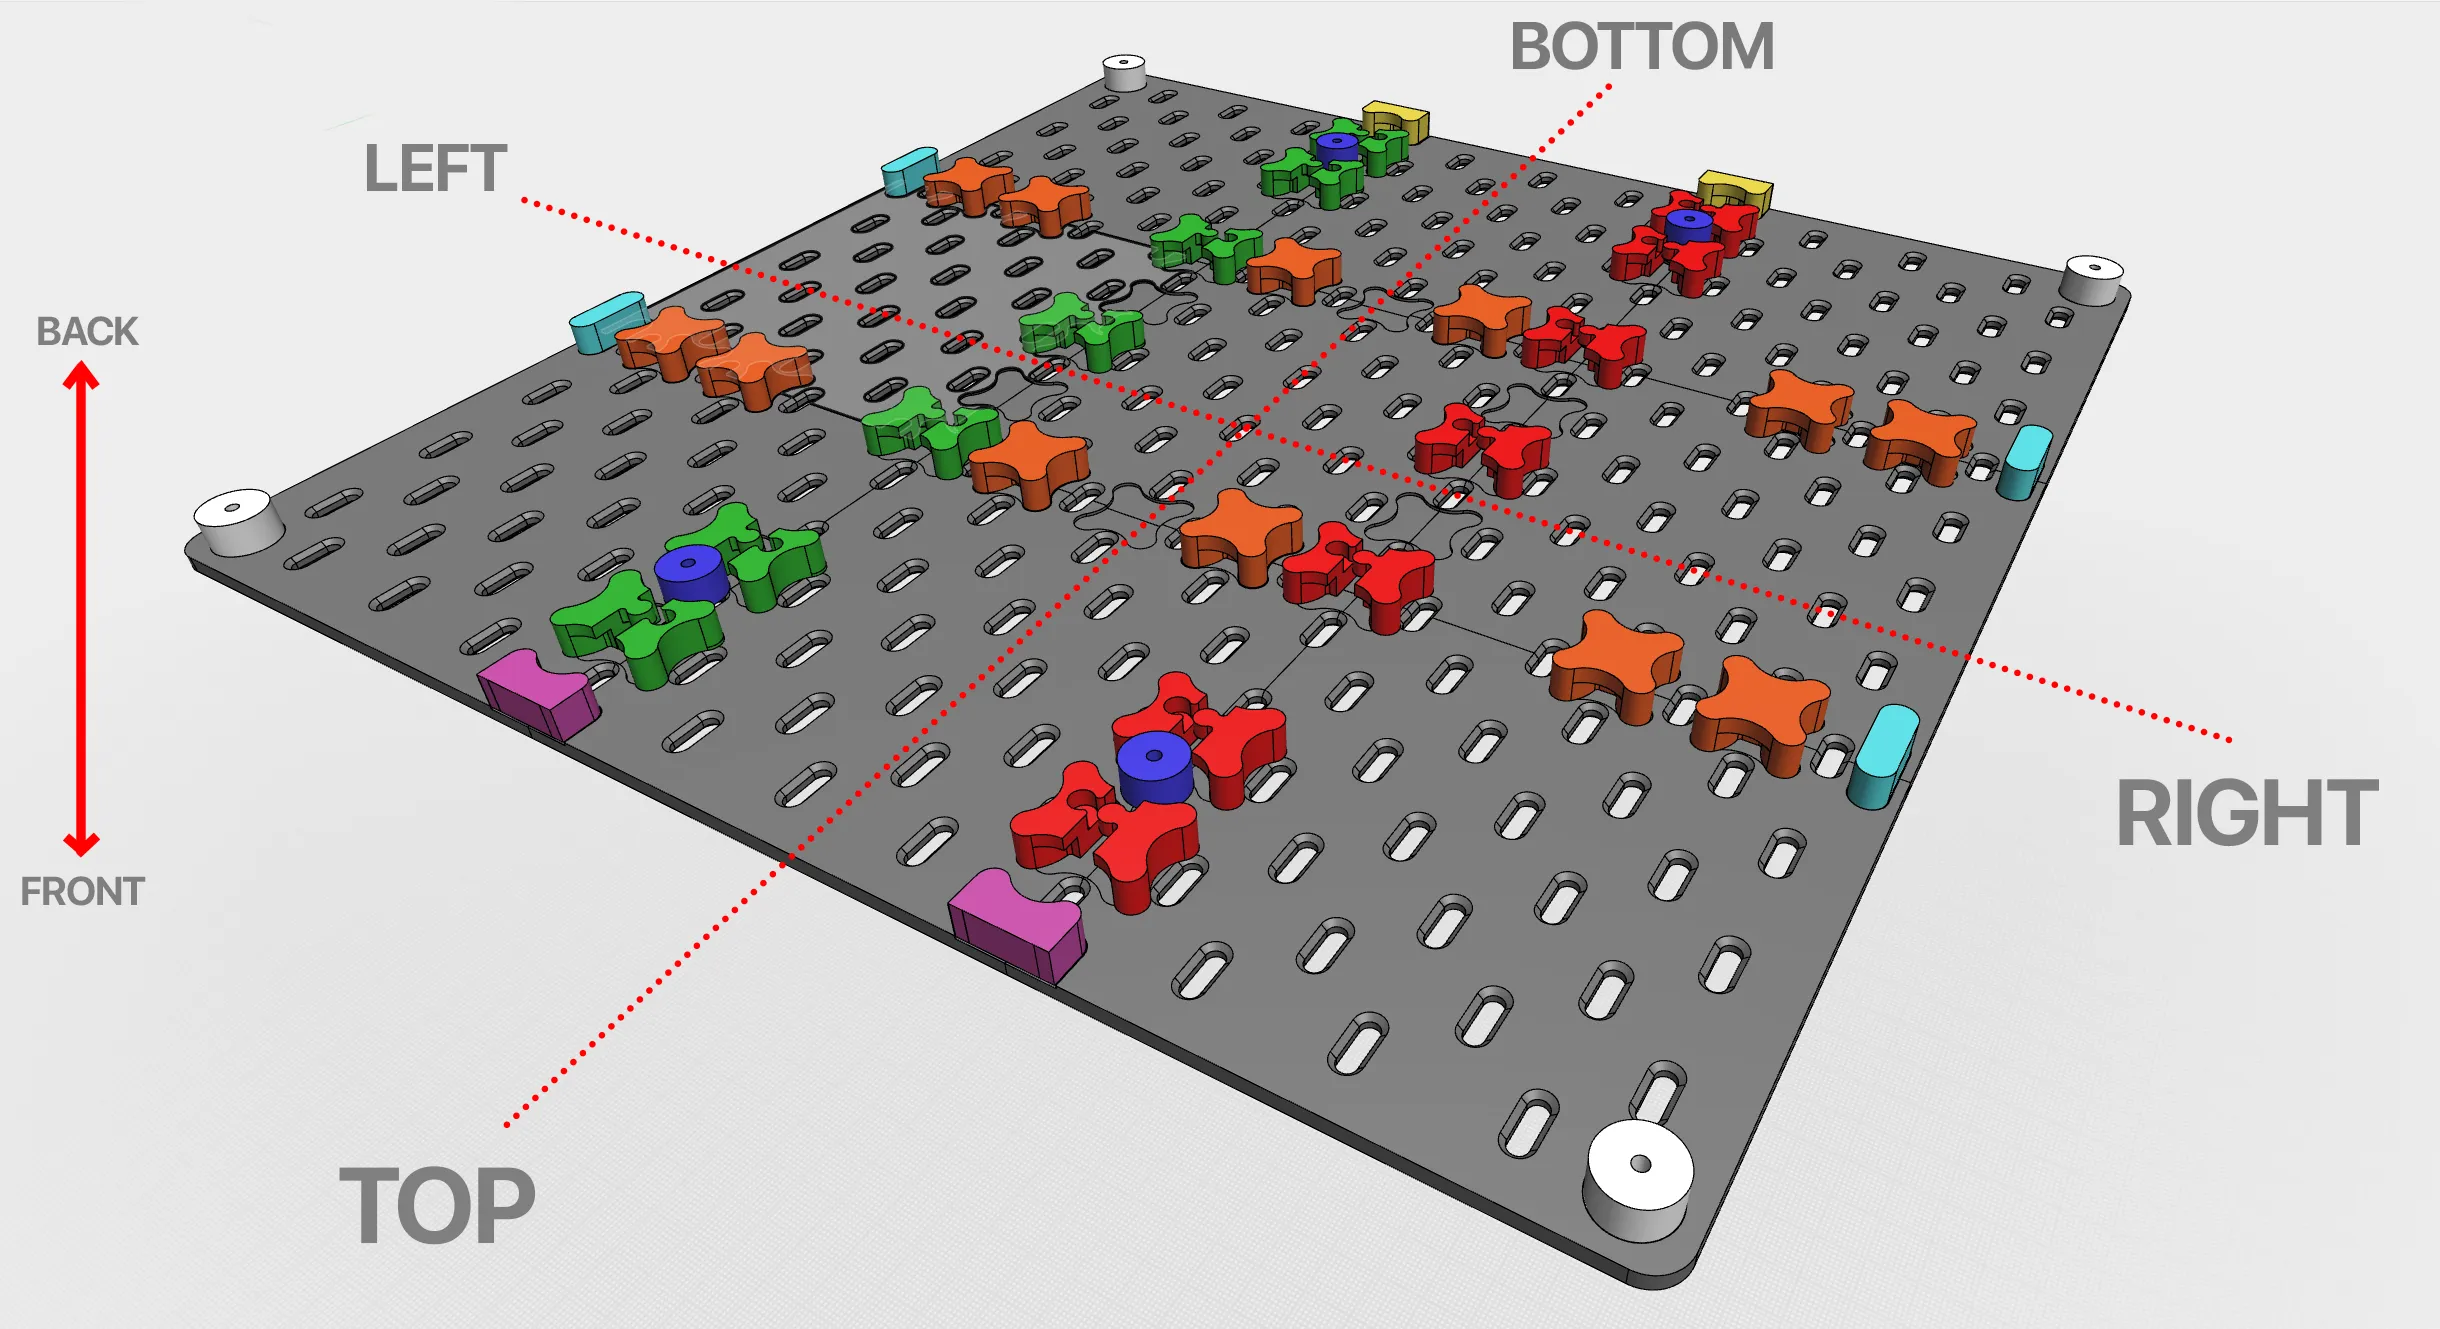
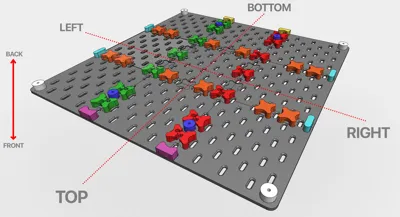
An example illustrating the connections with a 3x3 panel.
The connections are marked with the same color as in the 3D-print file.
Recommendations:
• Use the connector type in plates 12 & 13 if you want easier wall mounting with larger boards. However, it is generally recommended to use the hard connector type as in plate 11.
• Use PETG or PLA for the panels.
• Use the same type and color of filament for all panels to ensure consistent shrinkage and a uniform look.
• Use the texture of the PEI plate included with Bambu Lab printers for the best surface finish.
• Apply glue to the print bed before printing to improve adhesion (cover the entire 20×20 cm area).
• After printing, wait about 15~20 minutes for the part to cool gradually to avoid warping.
• Clean the build plate after every 2 prints, then reapply glue.
• Use super glue to bond the panels and the rear connectors.
• Carefully calculate the number of plates you need before printing to avoid unnecessary waste.
A few tips:
• If you print with black filament, super glue may leave white residue on the surface. Use a little black paint and a cotton swab to touch up the affected areas—your board will look brand new again. (This effect is not noticeable on white filament.)
• If you print extra panels beyond what you need, you can still keep them for other future projects or decoration setups.
If you find this model useful, please boost it!
Wishing you a great time printing and decorating your workspace! Thank you!
License

You shall not share, sub-license, sell, rent, host, transfer, or distribute in any way the digital or 3D printed versions of this object, nor any other derivative work of this object in its digital or physical format (including - but not limited to - remixes of this object, and hosting on other digital platforms). The objects may not be used without permission in any way whatsoever in which you charge money, or collect fees.


Comment & Rating (126)