
V6 Competizione TRYX
Print Profile(1)

Bill of Materials




Description
V6 Competizione TRYX – Full Introduction & Assembly Guide

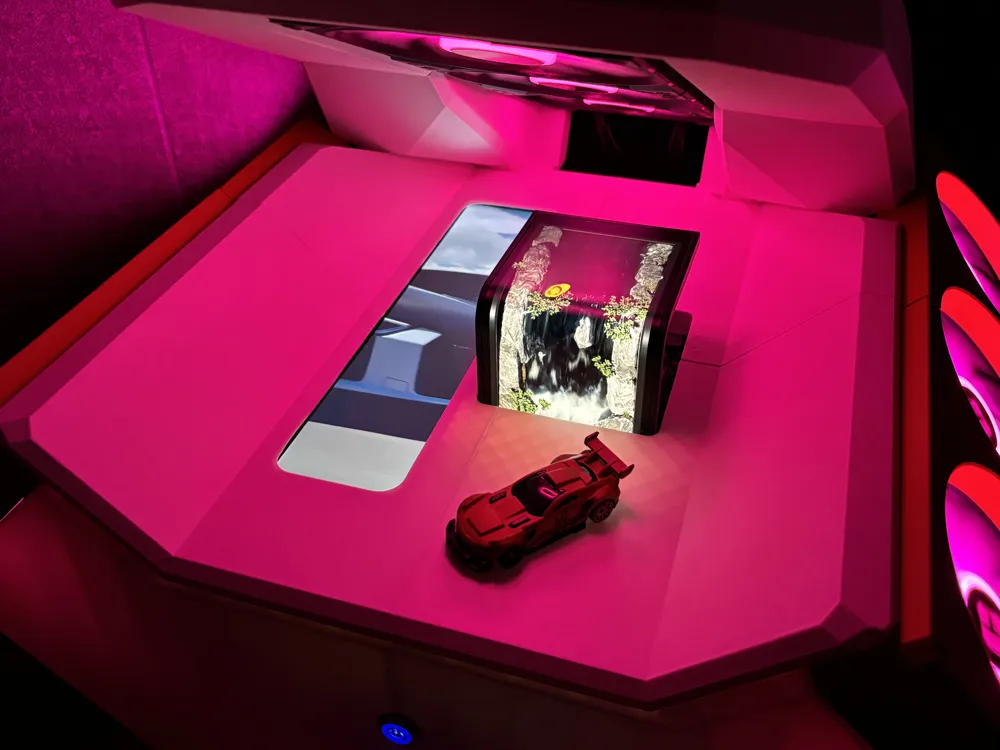
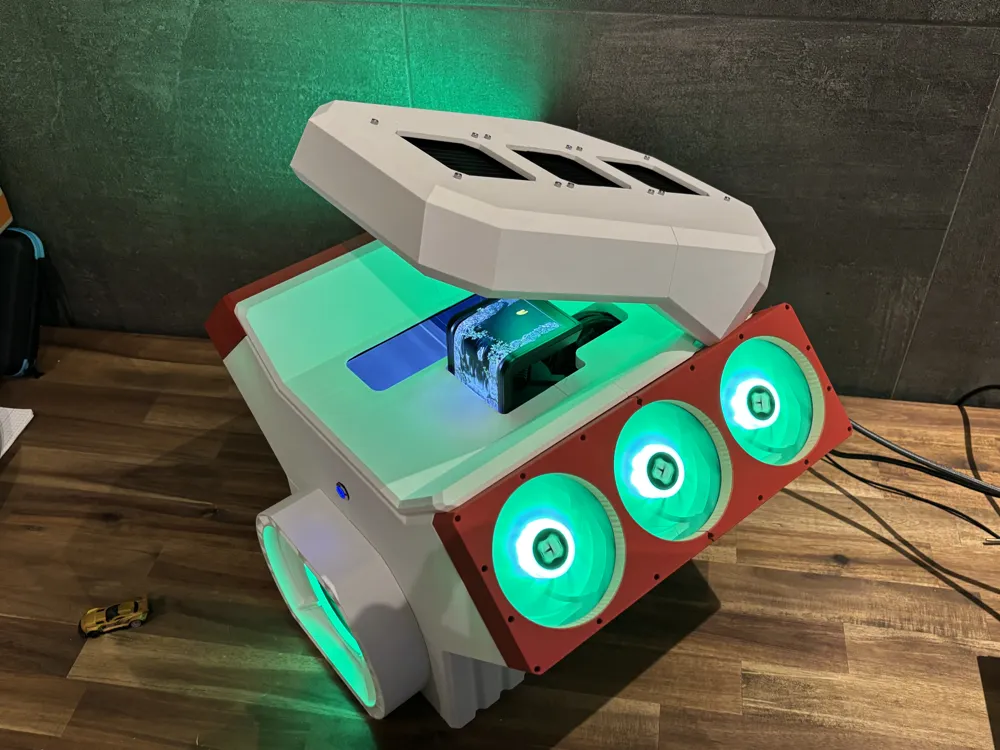
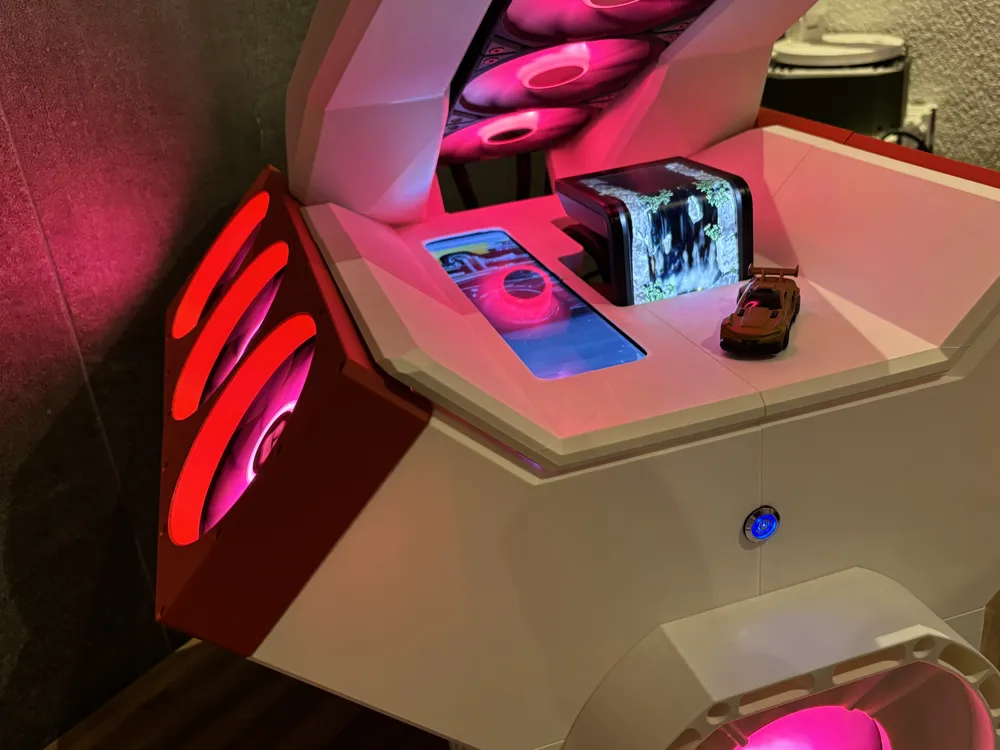
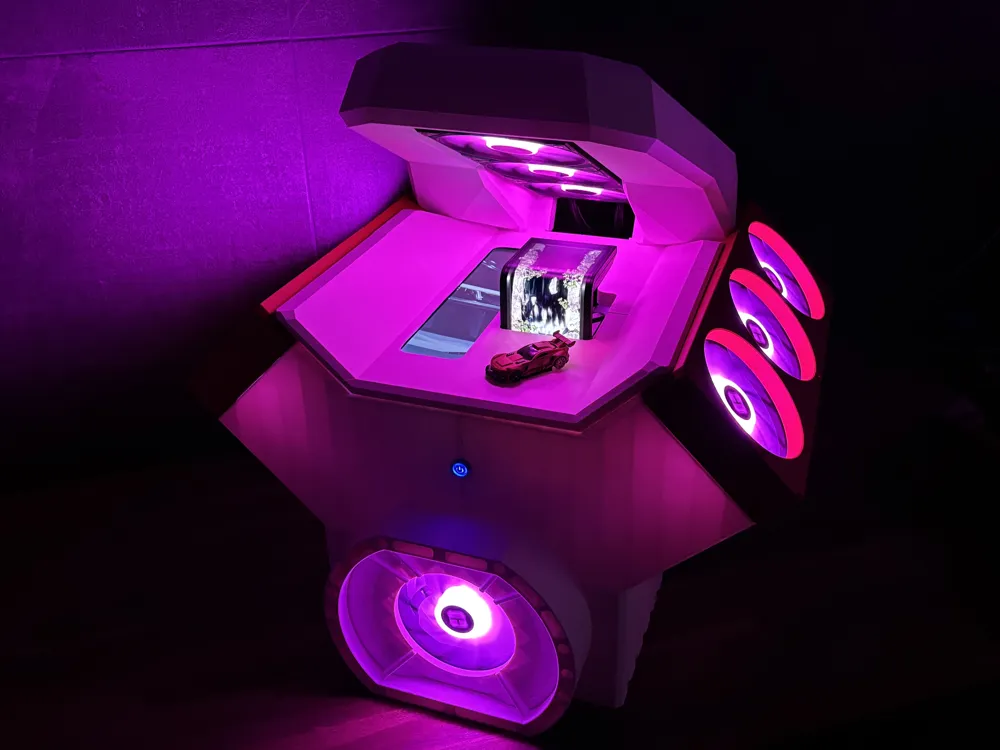
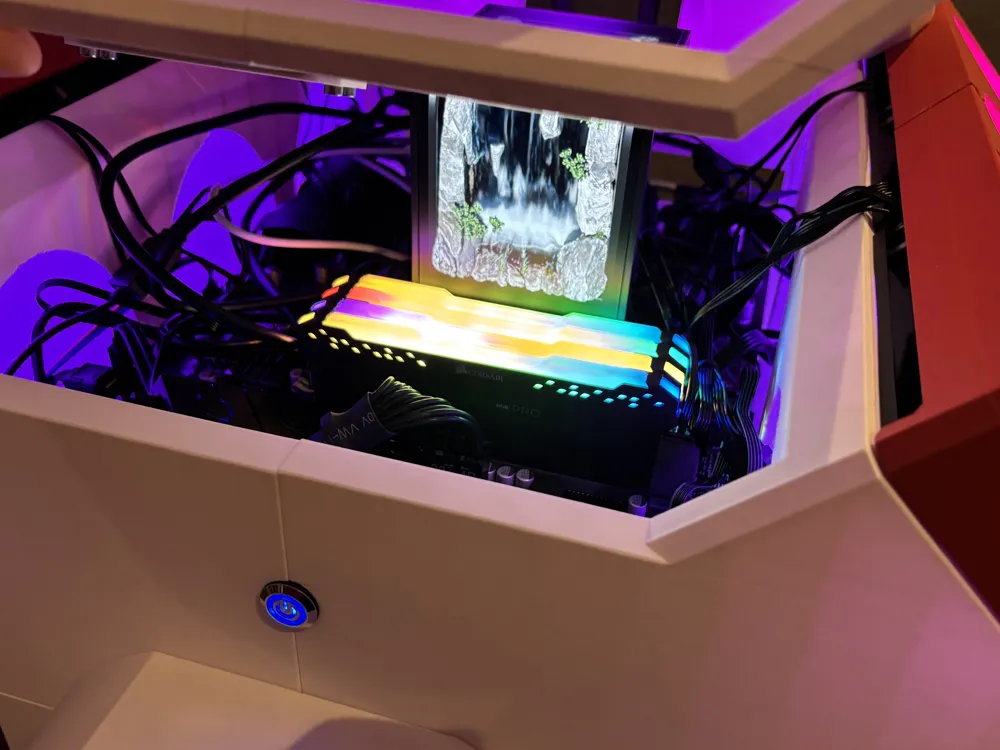
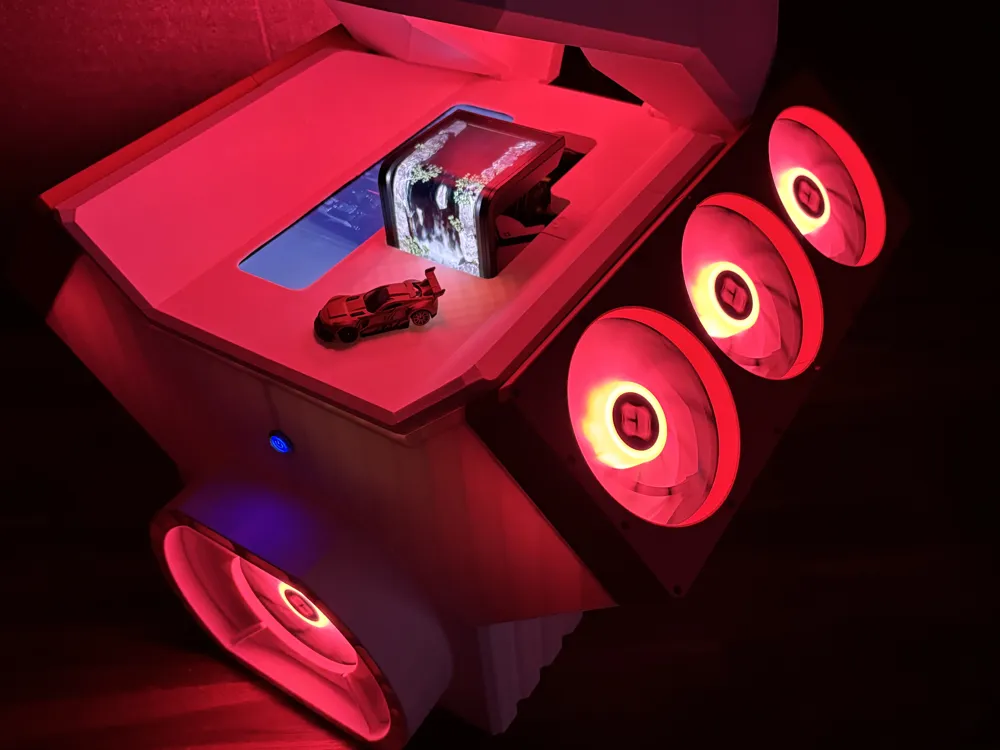
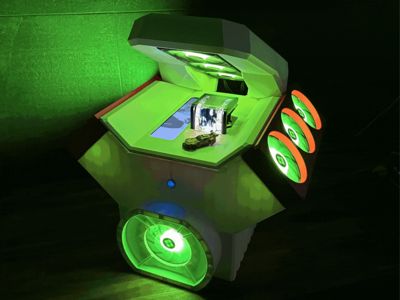
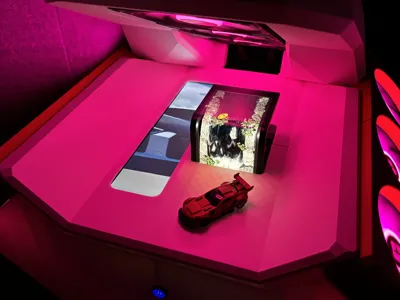
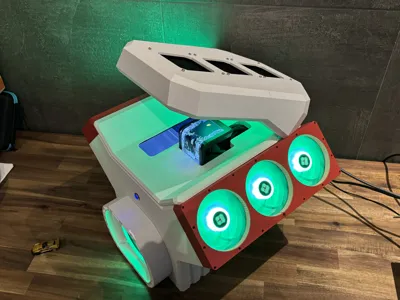
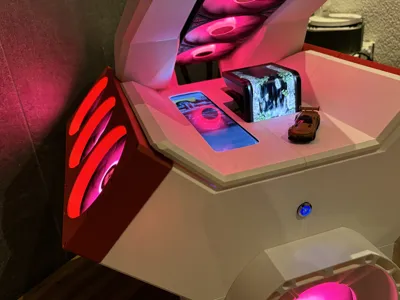
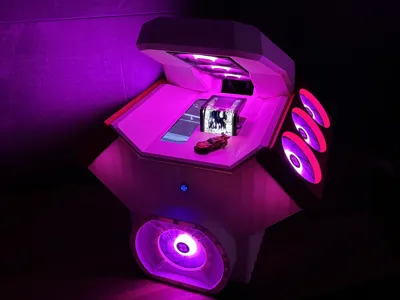
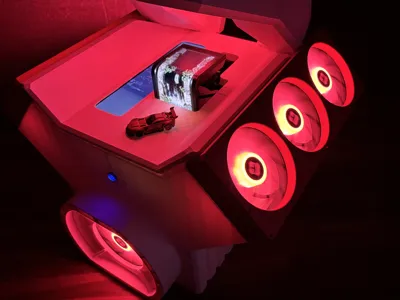
The V6 Competizione TRYX is a fully 3D-printed open-frame PC case inspired by the look of a real high-performance V6 engine. The entire design is built around the central TRYX water cooling display, placed exactly where the intake manifold sits on a real racing engine. On the left side, I added a slim 8.8-inch auxiliary display, perfect for AIDA64 data, system monitoring, animations or videos. This area is fully customizable. The included .3MF files allow you to modify all parts to match your own hardware setup. Different power supplies, SSDs or GPUs may vary in size – so editing is encouraged. Files are for private use only and may not be used commercially. If you have questions, feel free to contact me.
Boost Me (for free)
Thank youuu
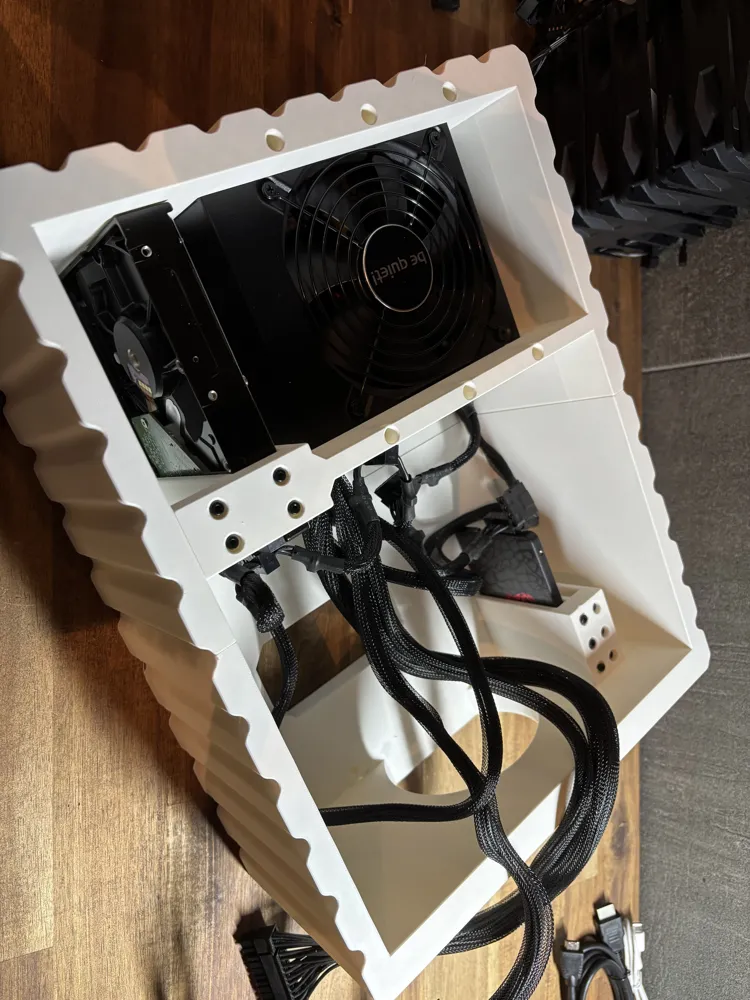
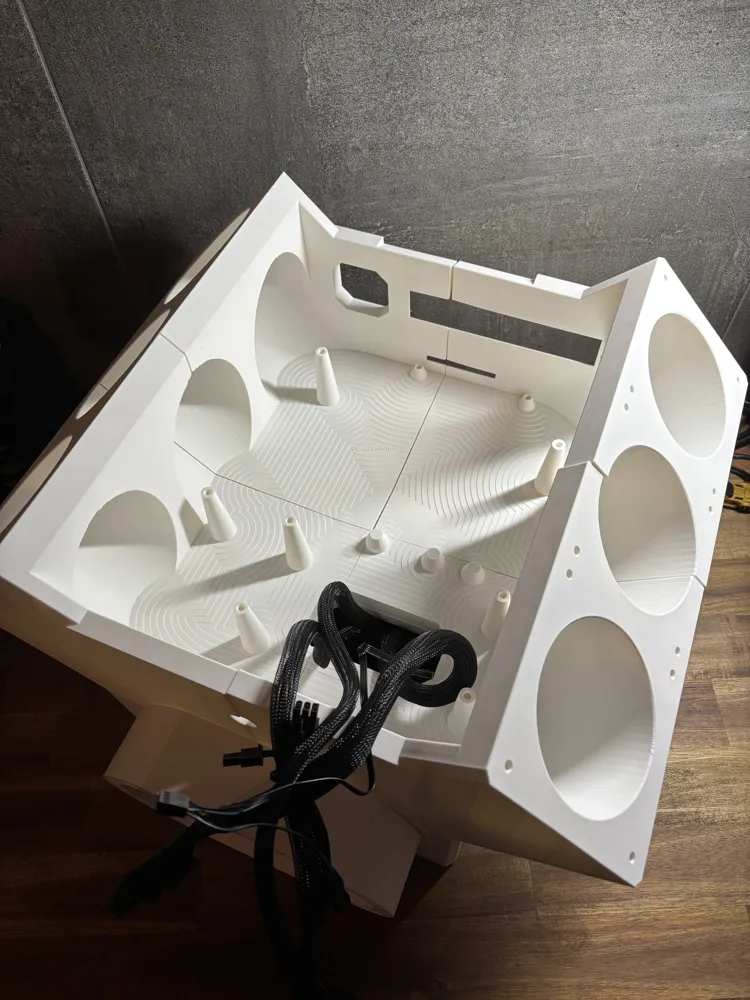
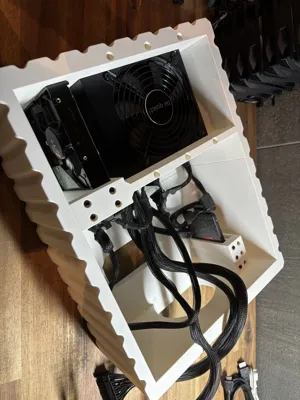
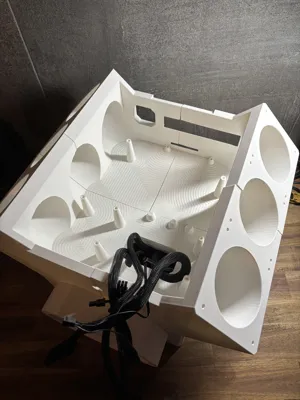
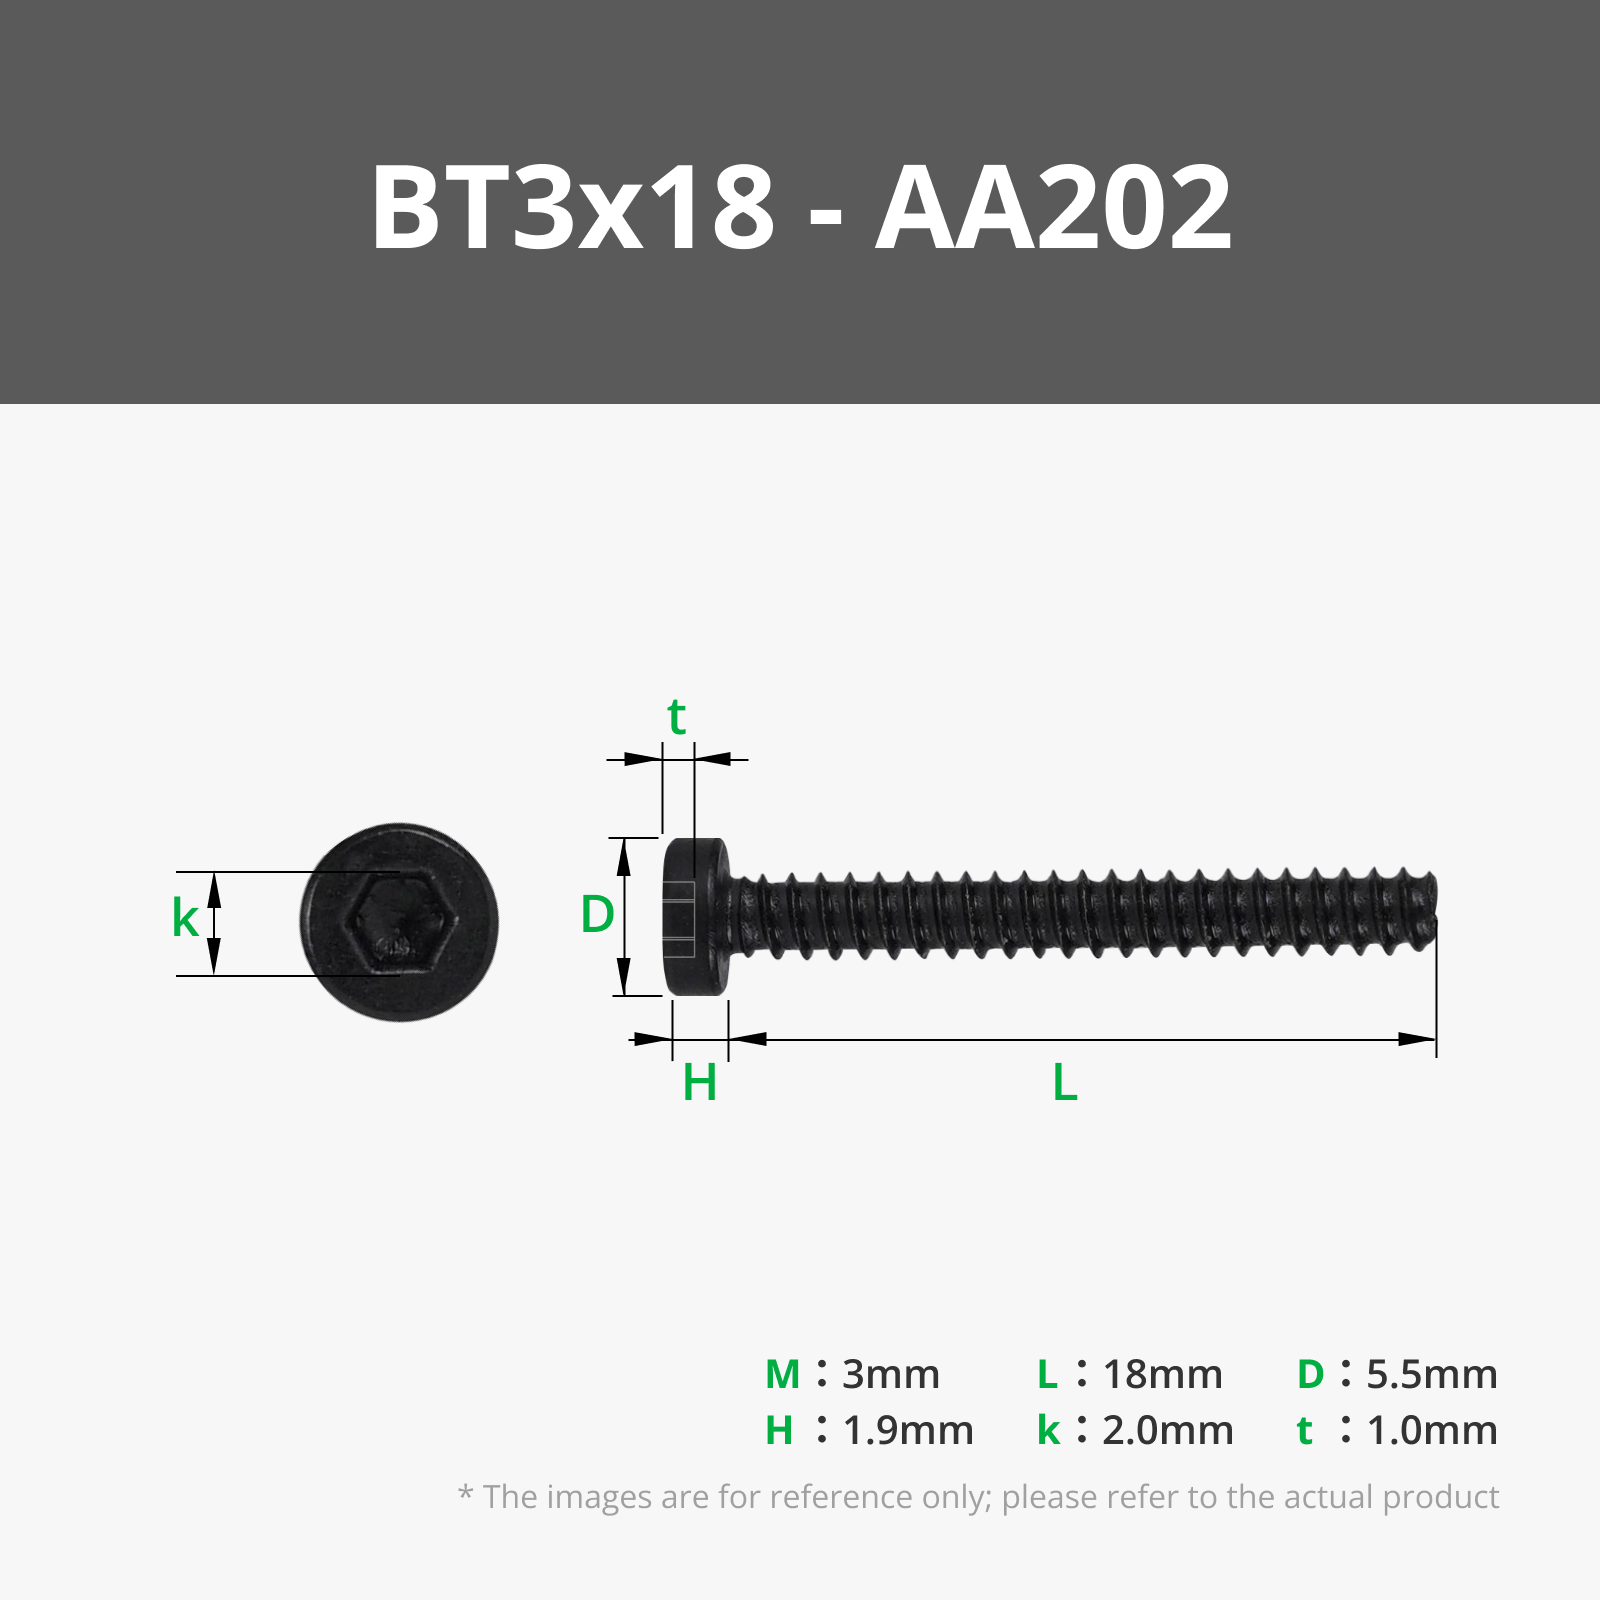
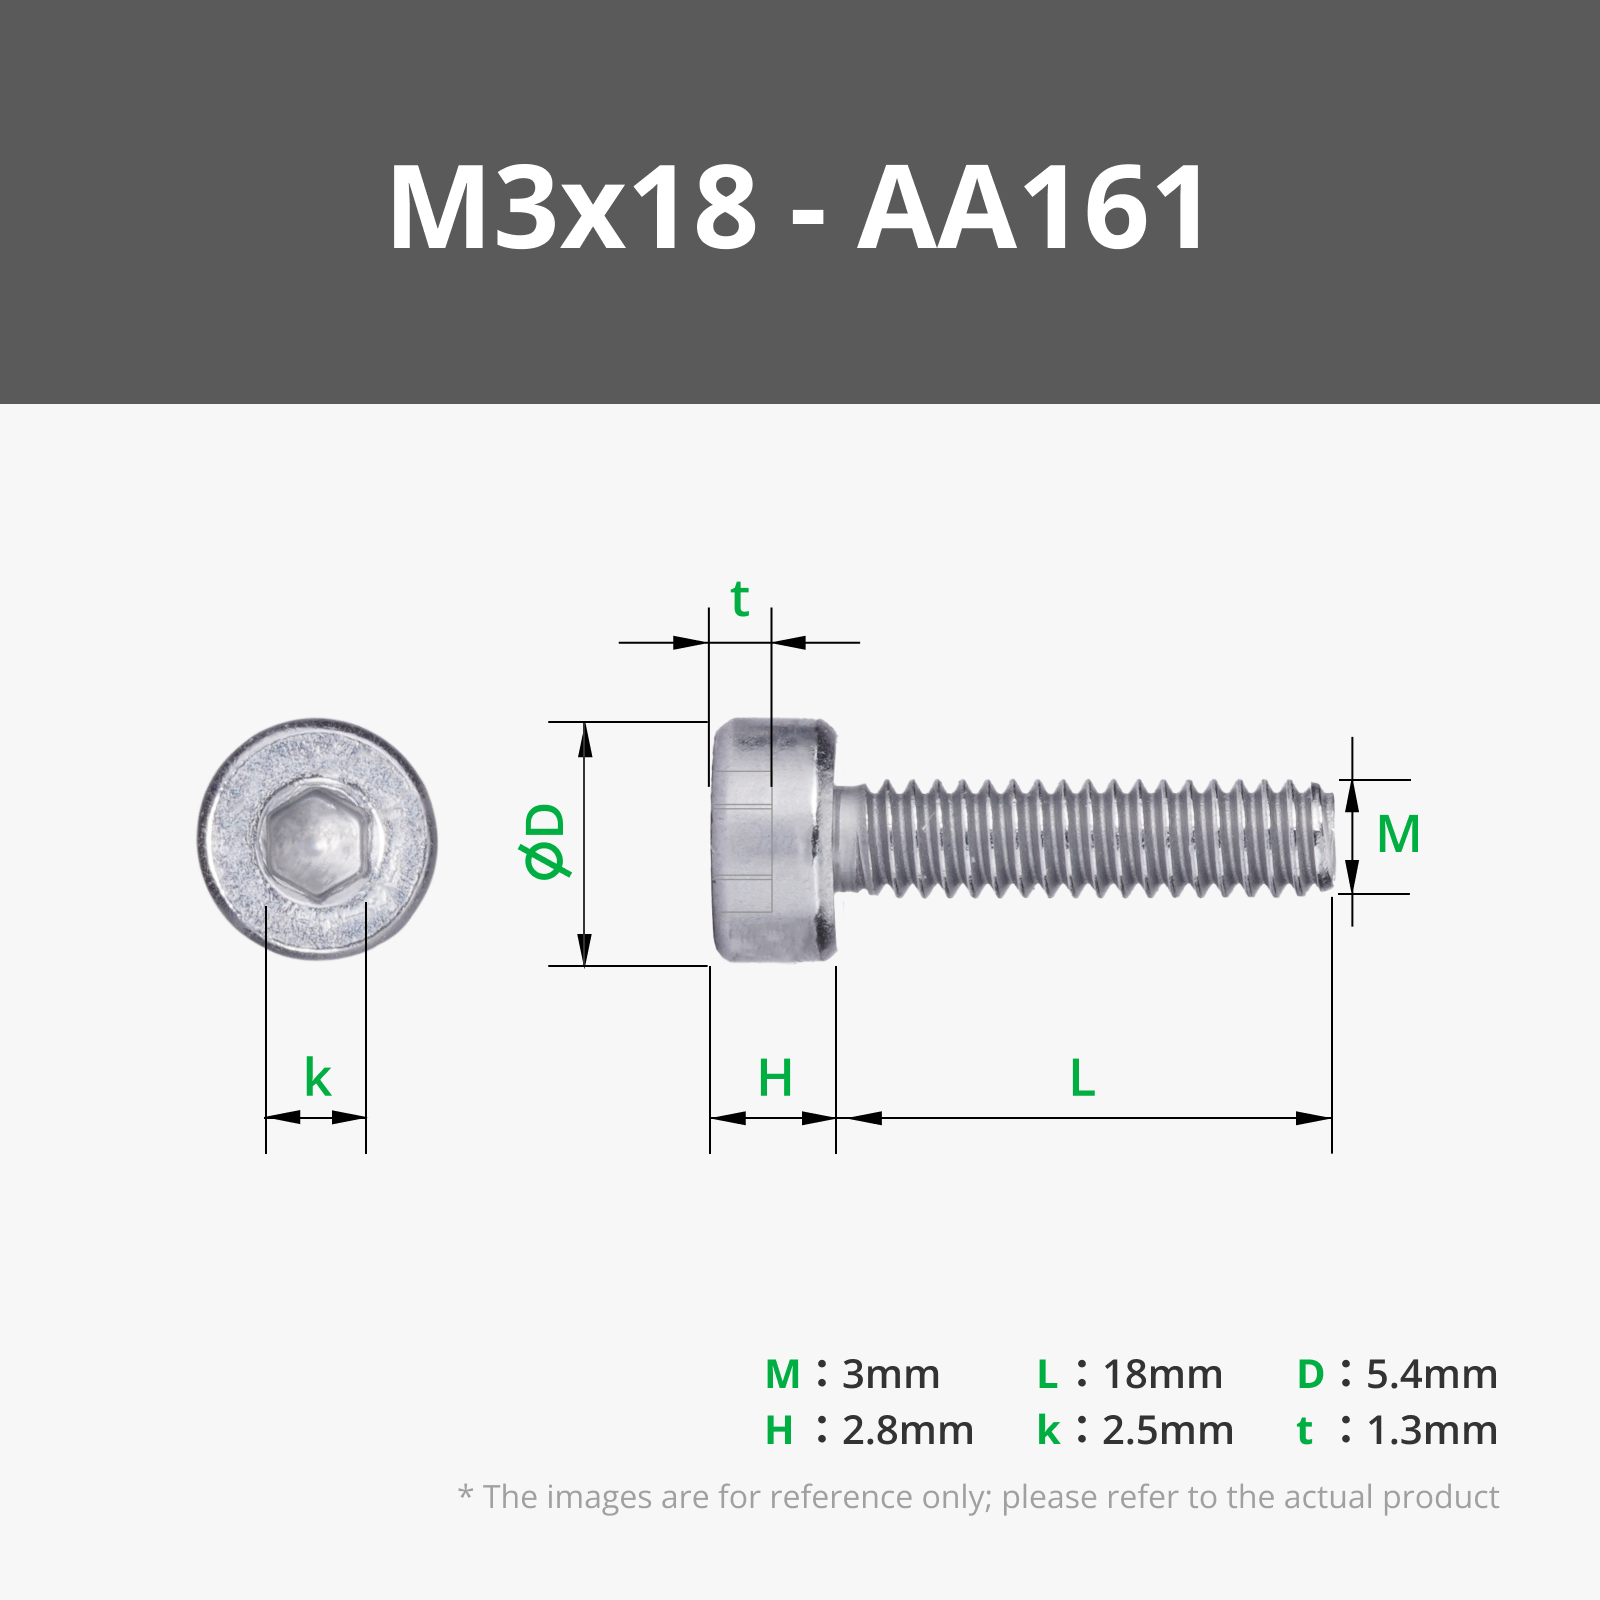
Start by assembling the engine block. The oil pan forms the base, and on top of it you place the four cylinder-bank components. All base parts should be glued first and then screwed together, ensuring the structure becomes extremely solid. Insert all heat-set threaded inserts into the cylinder parts before tightening. Then secure the cylinder banks to the oil pan using grey M3×18 screws (aa161). Once the block is assembled, install the power supply. Since the PSU has no screw holes, it is held in place by light clamping pressureusing black M3×18 screws (aa202). Next to the PSU, there is room for two 3.5" HDDs, also gently clamped with black M3×14 screws (aa201). On the opposite side, two 2.5" SSDs can be mounted, again using black M3×14 (aa201). Route the cables through the designated slot.
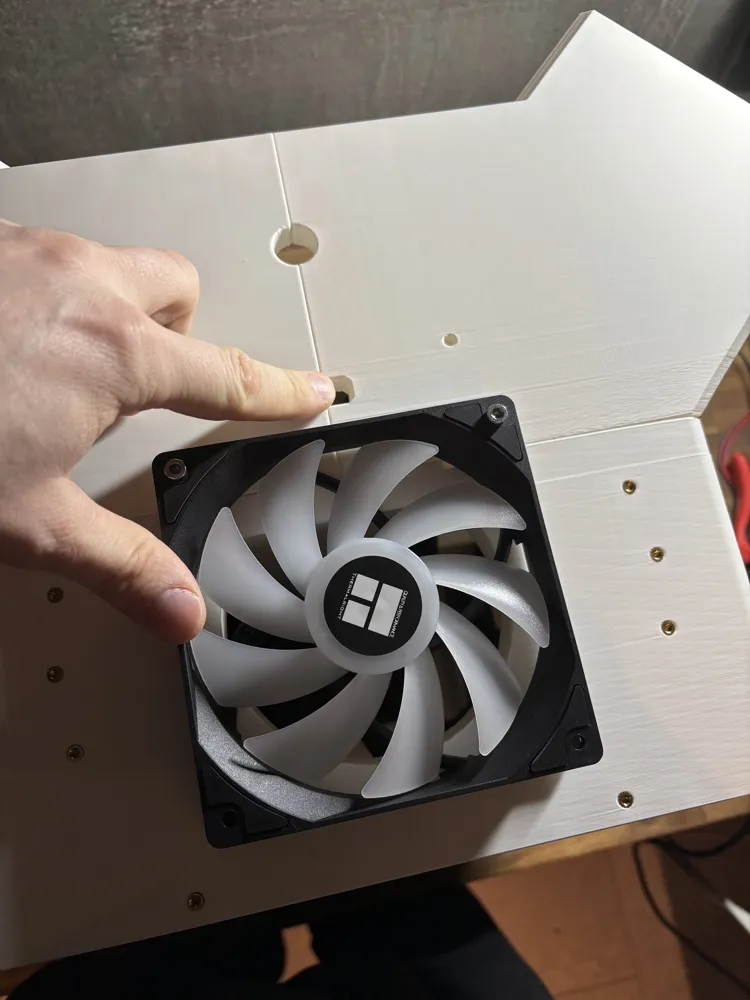
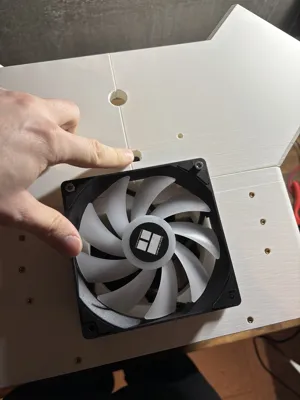
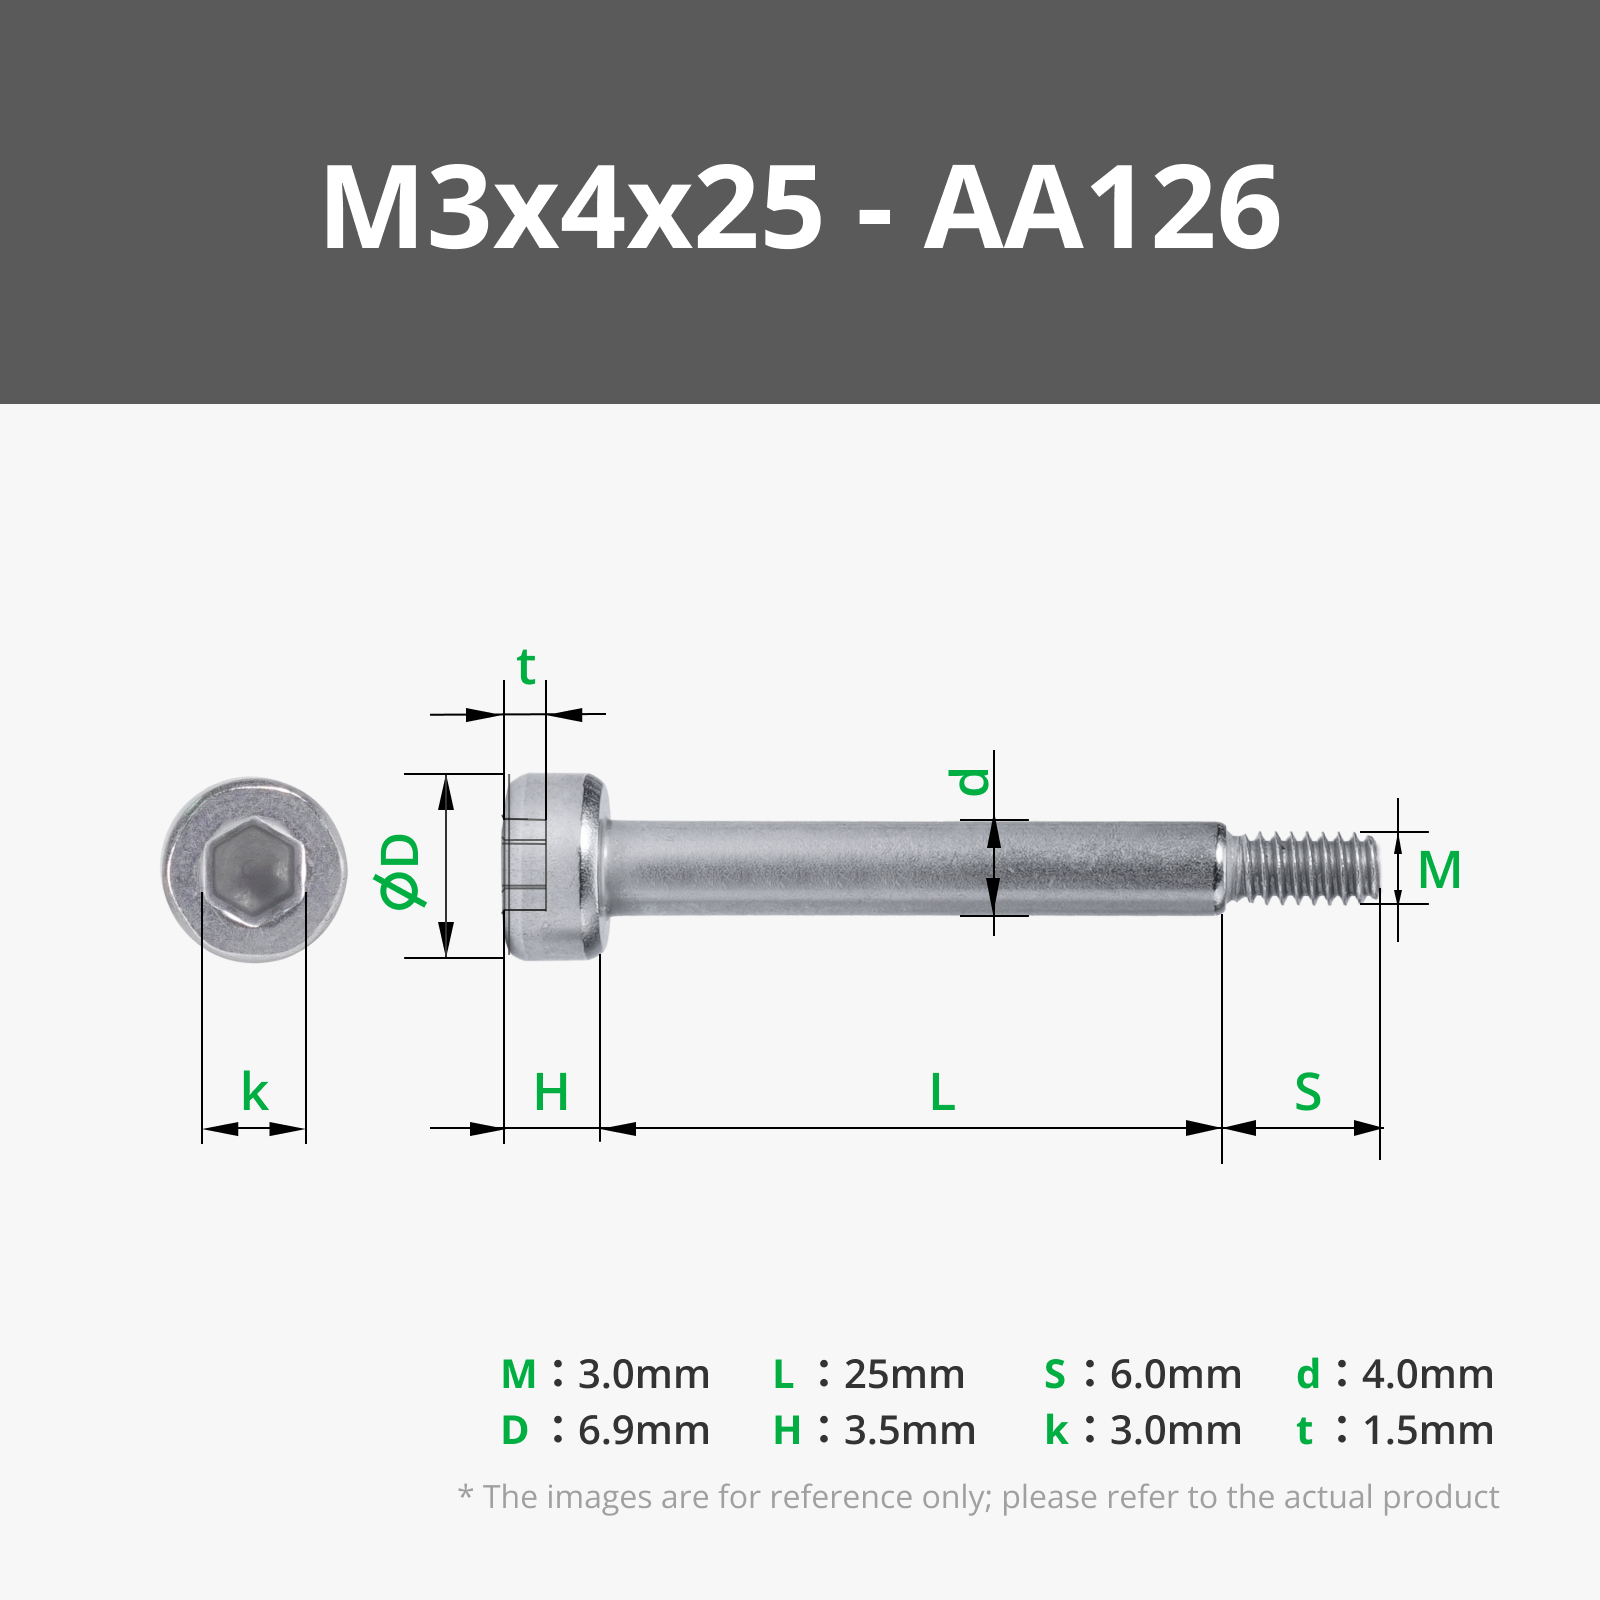
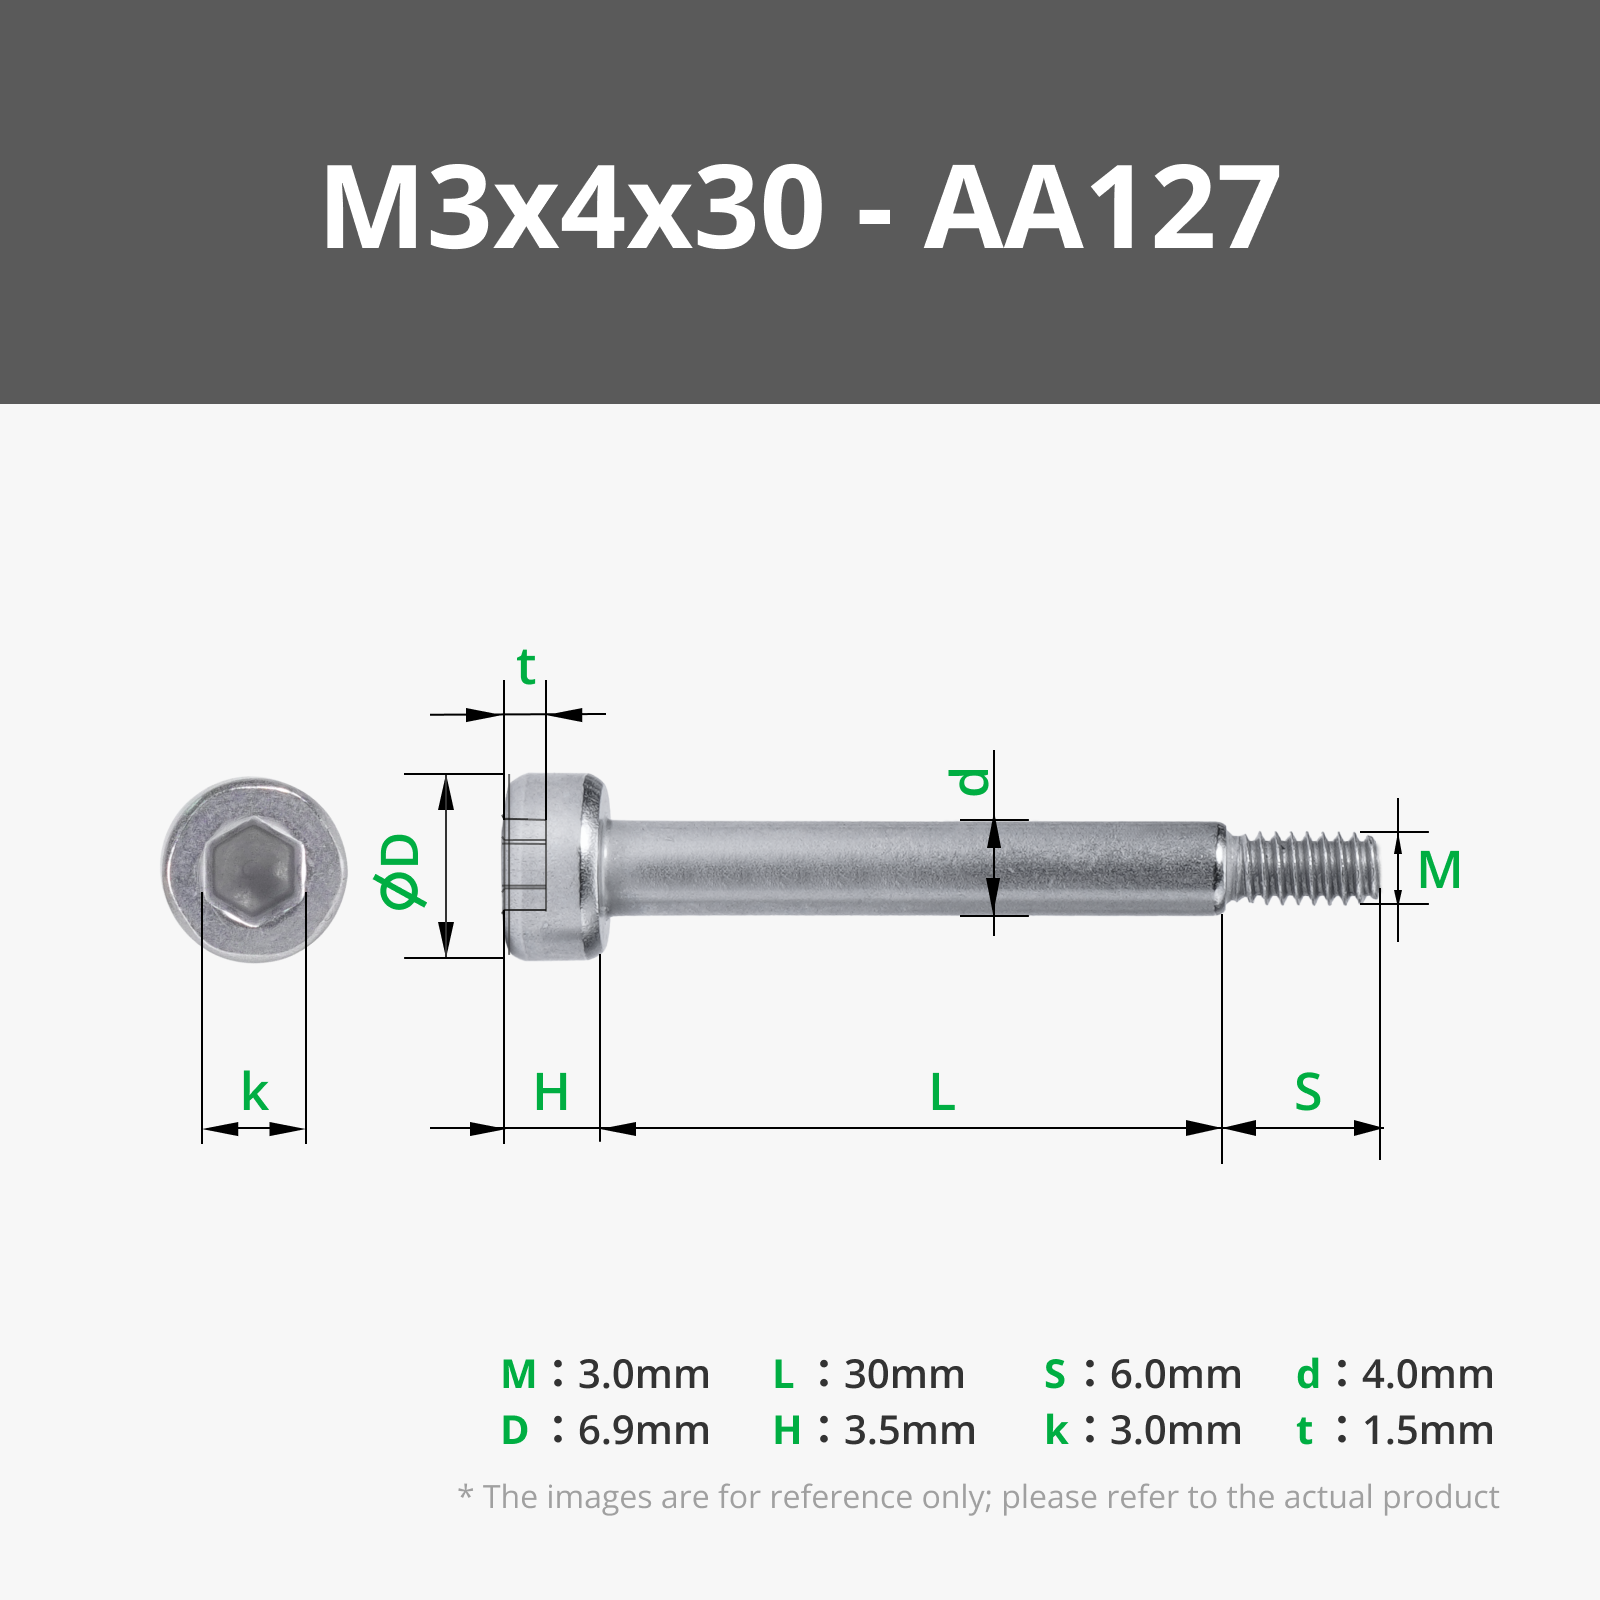
The front fan is installed first: the fan itself uses grey M3×4×25 screws (aa126), and the decorative front cover on top of it uses grey M3×4×30 screws (aa127). The six cylinder fans (“piston fans”) are mounted the same way using M3×4×25 (aa126).
A special feature:
The red V6 covers on the left and right sides contain small circular recesses on the inside. These are designed to fit 4×2 mm magnets. Glue the magnets inside the recesses. Once the covers are placed on the case, they snap into position by attaching magnetically to the metal screws underneath, providing a stable, removable, screw-less attachment.
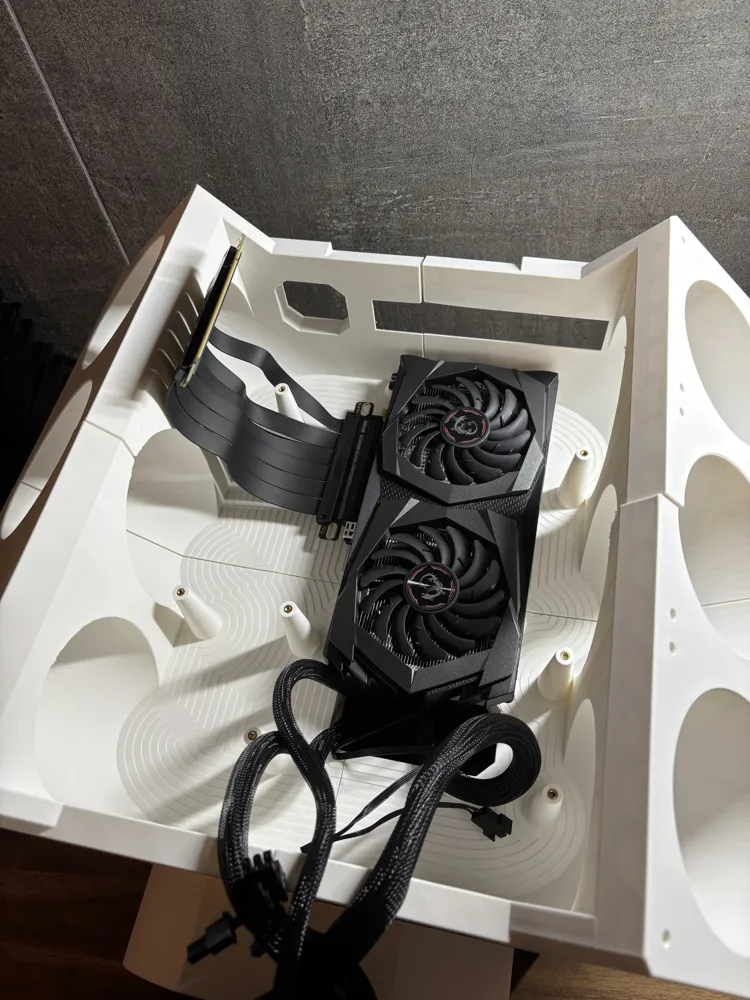
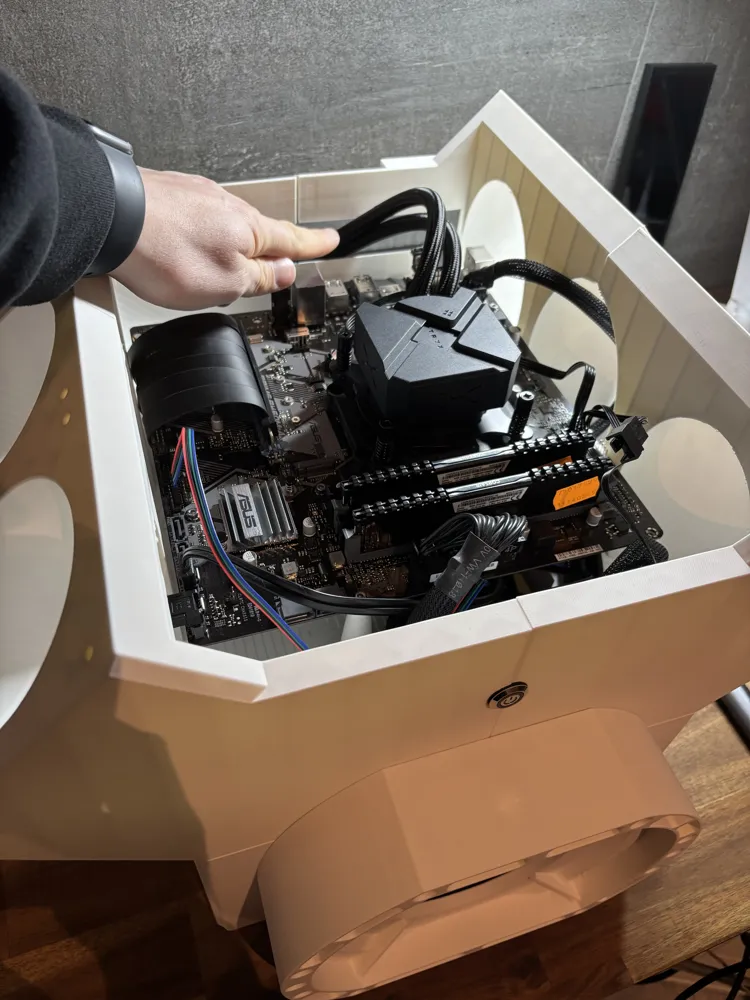
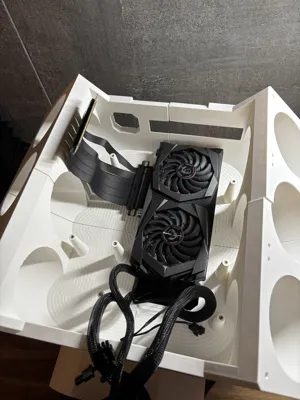
The GPU is installed horizontally using grey M3×8 (aa037), and the motherboard also mounts horizontally on top with M3×8 (aa037). Because the GPU and motherboard sit parallel, you must use a 20 cm PCIe 3.0 x16 riser cable, straight connectors only. I use the ELFJMZP PCIe 3.0 Riser (20 cm). Angled PCIe connectors do not fit due to the limited space.
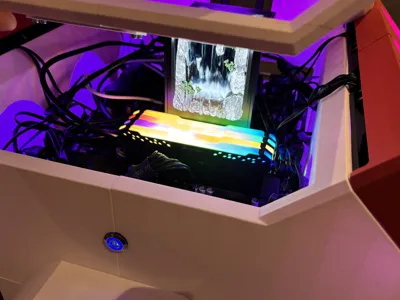
For the top auxiliary screen, I use an 8.8-inch 1920×440 IPS display, model:
AISHICHEN 11.26" Mini Monitor, FHD 1920×440, HDMI & USB-C.
Due to the tight space behind the screen, a U-shaped Mini HDMI adapter (180°) is required. I use:
Duttek 8K U-Shape Mini HDMI Adapter (180°).
Power is supplied via USB-C; video is via HDMI as a normal secondary monitor.
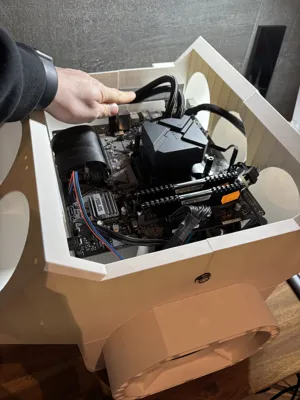
Next, mount the TRYX water cooler. The angled TRYX bracket is glued first and then screwed, using grey M3×18 (aa161). The cooler itself is attached carefully using grey M3×10 screws (aa159) – do not overtighten, as the threads were originally meant for a different screw type. Finally, the top cover is placed on top; I left mine loose for a clean look, but you may glue or lightly screw it if preferred.
After cable management, RGB setup and configuring the TRYX display and 8.8-inch side screen, the V6 Competizione TRYX is fully assembled. The result is a unique engine-themed PC build that showcases the TRYX water cooling system in a spectacular way.
License

You shall not share, sub-license, sell, rent, host, transfer, or distribute in any way the digital or 3D printed versions of this object, nor any other derivative work of this object in its digital or physical format (including - but not limited to - remixes of this object, and hosting on other digital platforms). The objects may not be used without permission in any way whatsoever in which you charge money, or collect fees.


Comment & Rating (54)