
Parkside Battery Adapter for TS101 Soldering Iron
Print Profile(3)


Bill of Materials



- M3x15 or M3x20 screws x 4:
- M2x10 x 2:
- M2 Nuts x 2:
- 608 bearing x 1: https://it.aliexpress.com/item/1005009722982063.html?search_direct=true&spm=a2g0o.productlist.0.0&gatewayAdapt=glo2ita
- jack USB 3.1 tipo-c 2 pin x 1: https://it.aliexpress.com/item/1005008465152216.html?spm=a2g0o.order_list.order_list_main.128.44061802xJBpUW&gatewayAdapt=glo2ita
- DC Power Jack Socket Female x 1: https://it.aliexpress.com/item/4000559875991.html?search_direct=true&spm=a2g0o.productlist.0.0&gatewayAdapt=glo2ita
- Black push button mini switch x 1: https://it.aliexpress.com/item/32873386670.html?search_direct=true&spm=a2g0o.productlist.0.0&gatewayAdapt=glo2ita
- 6.3mm Brass Tinned Crimp Terminal x 2: https://www.aliexpress.com/item/32839880068.html
- plastic screw terminal block x 1: https://it.aliexpress.com/item/1005006849115218.html
Description
Welcome to my world, I hope it will be useful and inspiring for you to create new things. Enjoy |
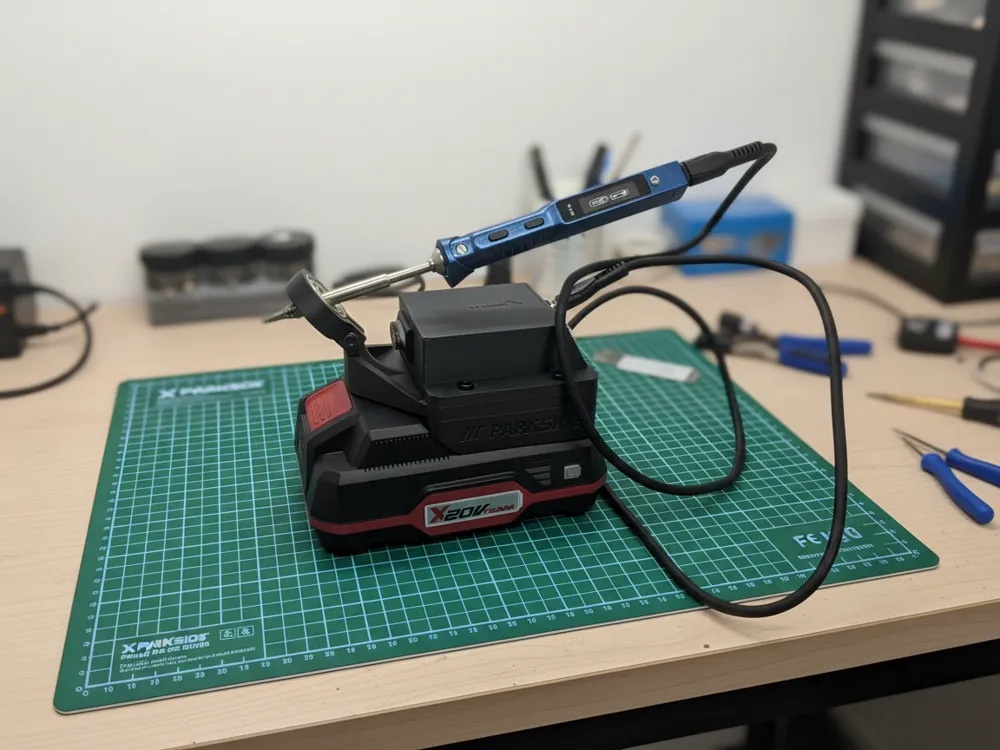
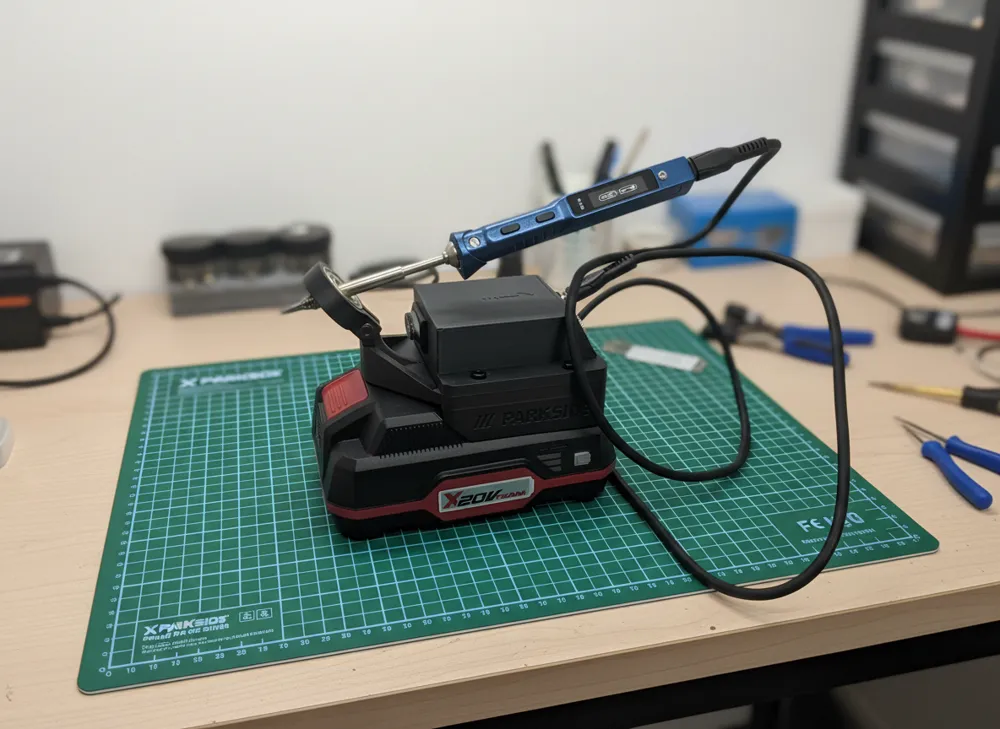
Parkside Battery Adapter for TS101 Soldering Iron
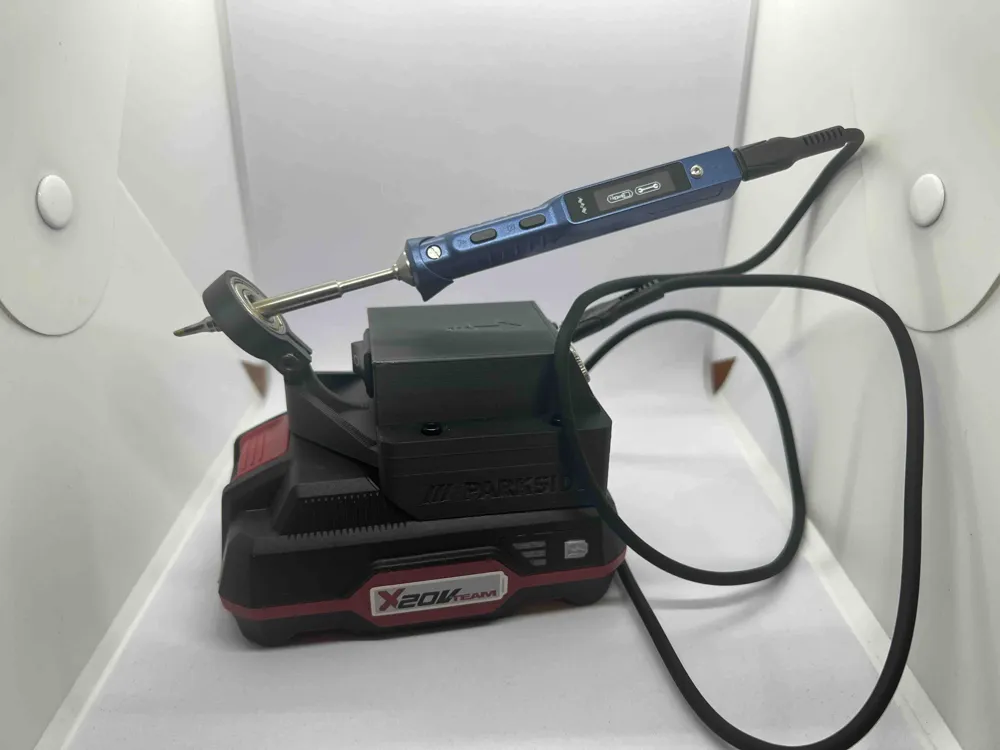
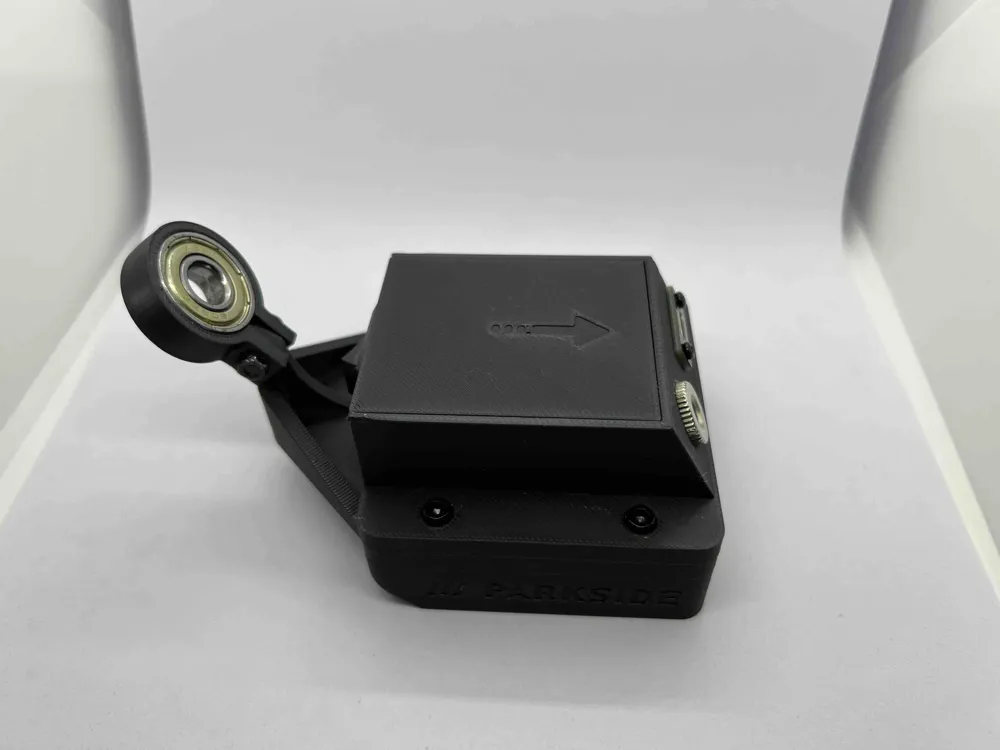
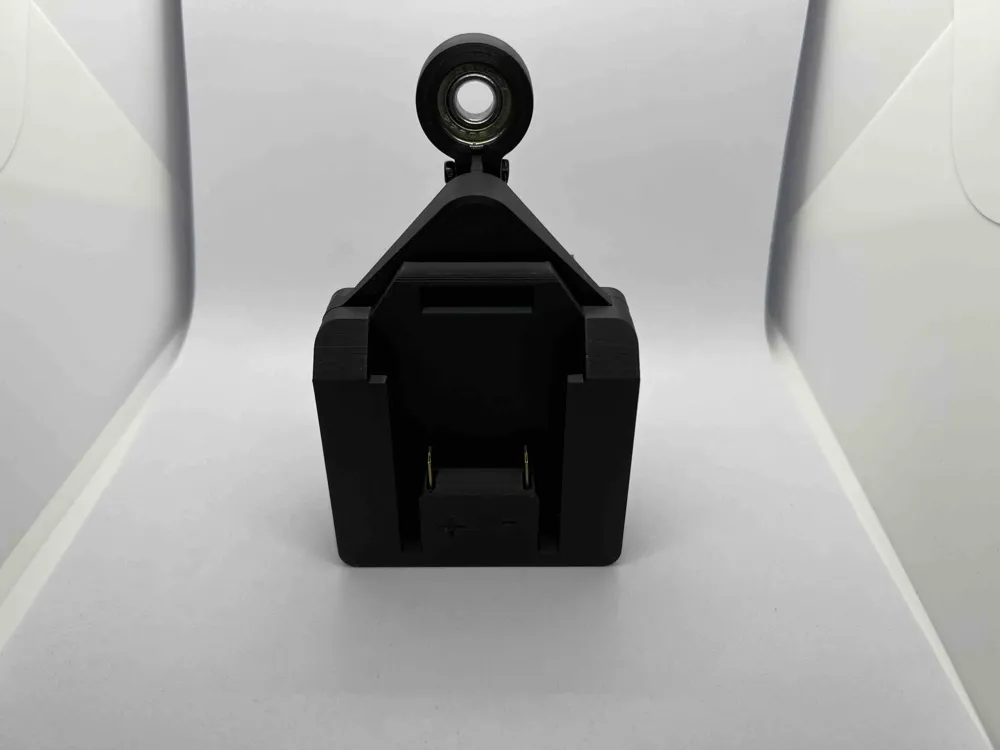
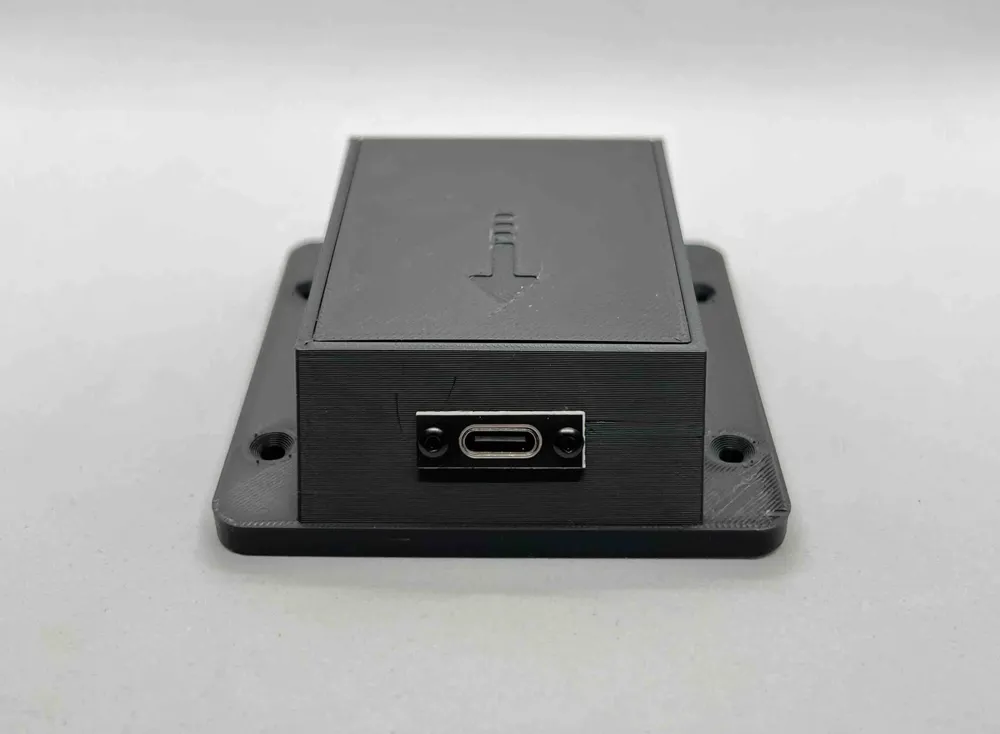
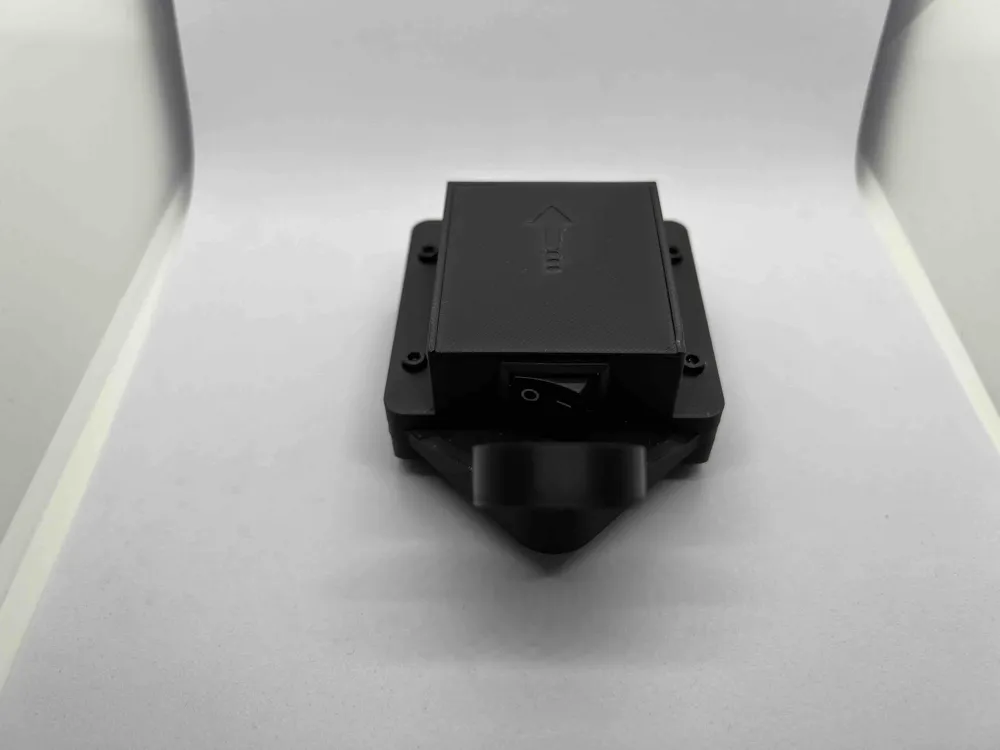
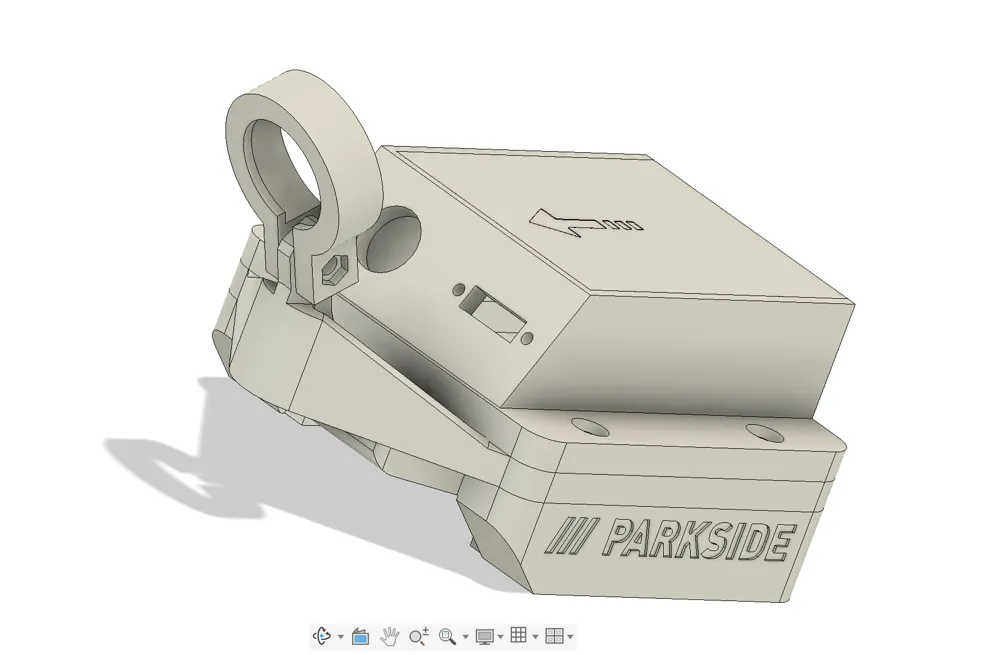
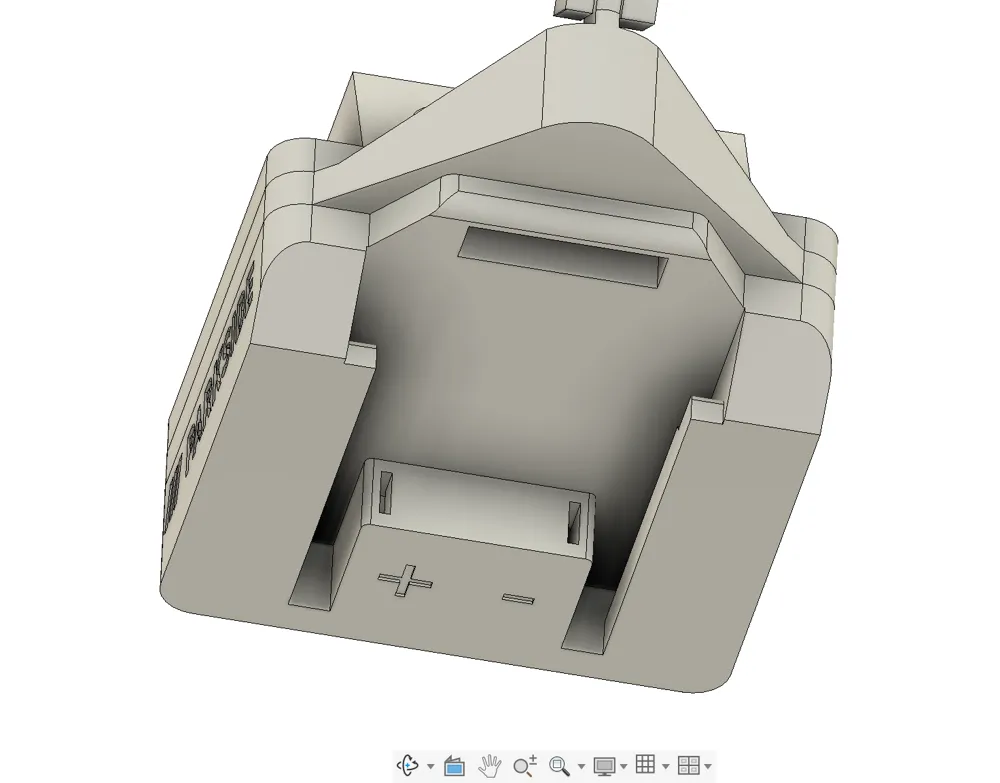
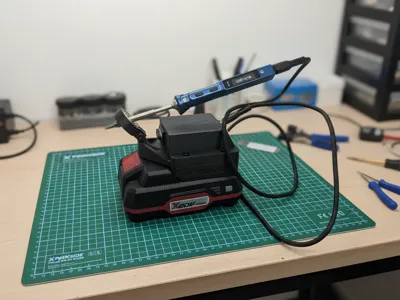
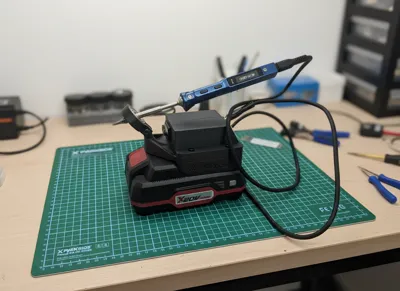
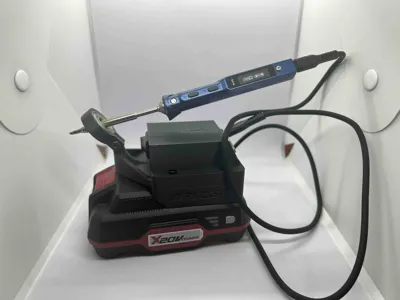
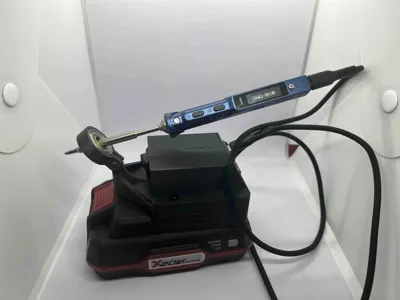
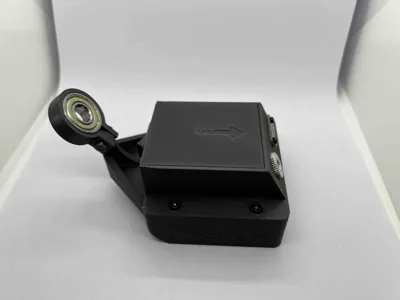
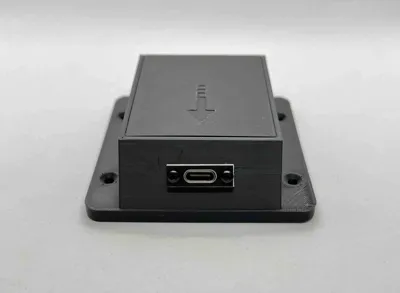
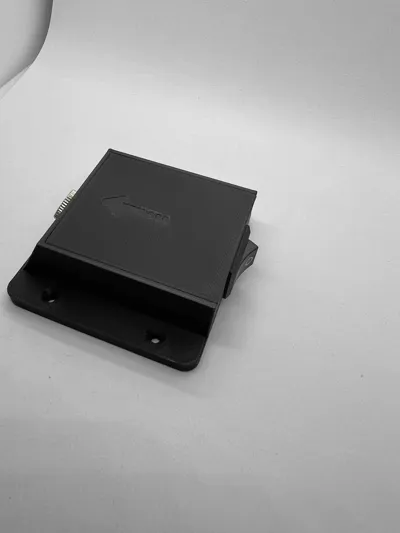
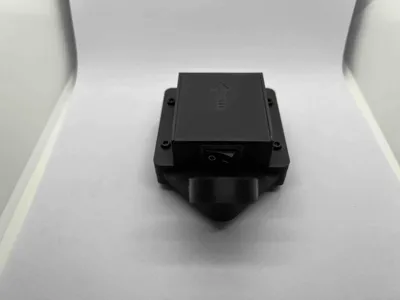
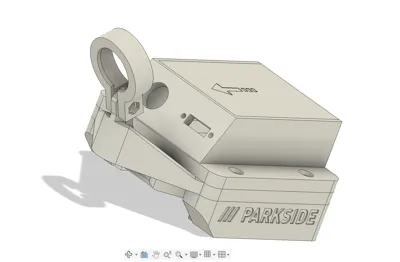
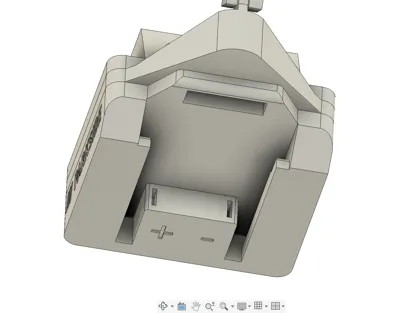
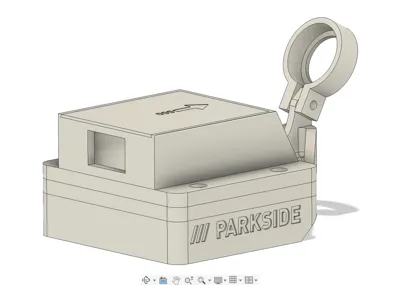
This adapter allows you to use the Parkside battery as a power supply for the TS101 soldering iron.
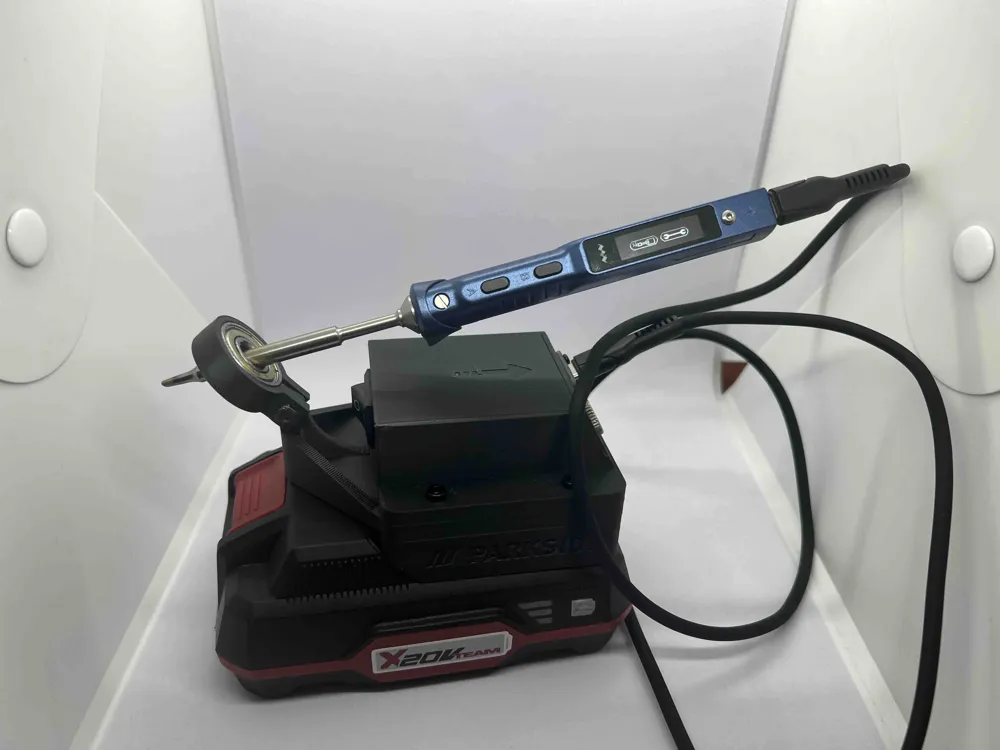
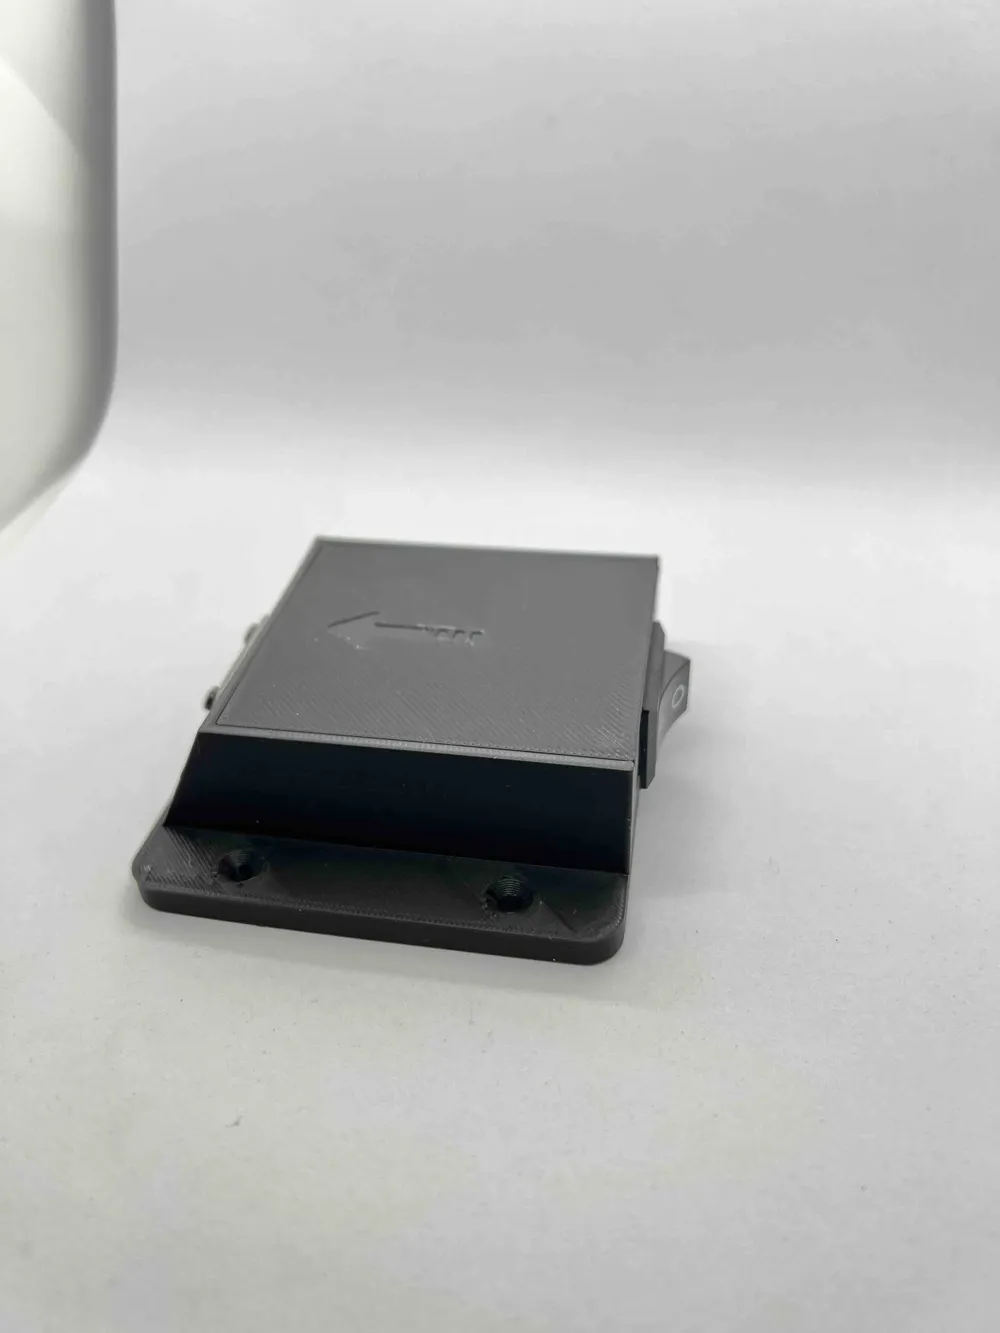
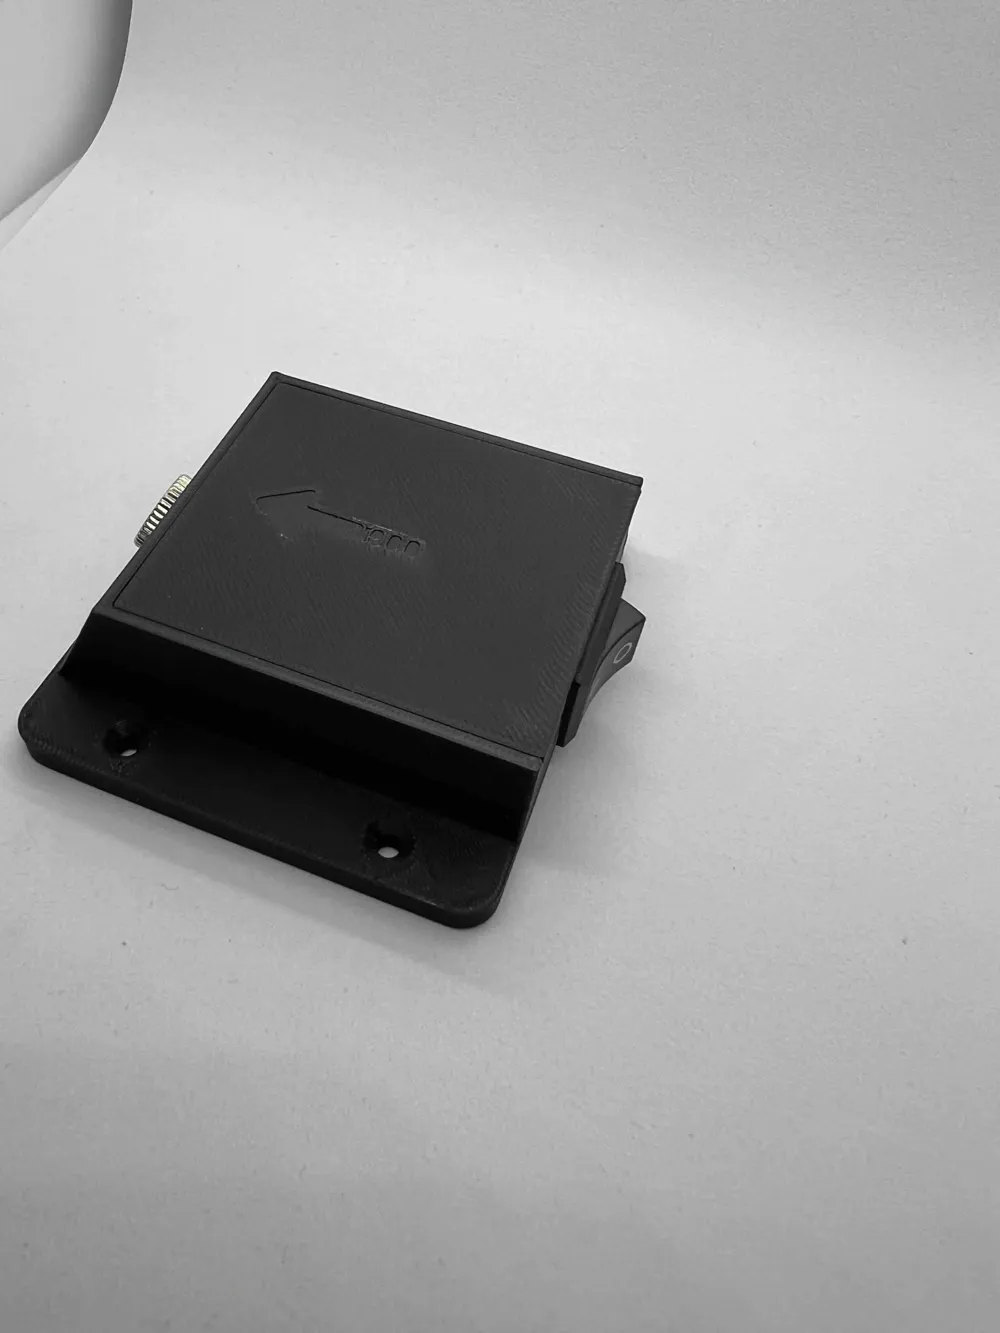
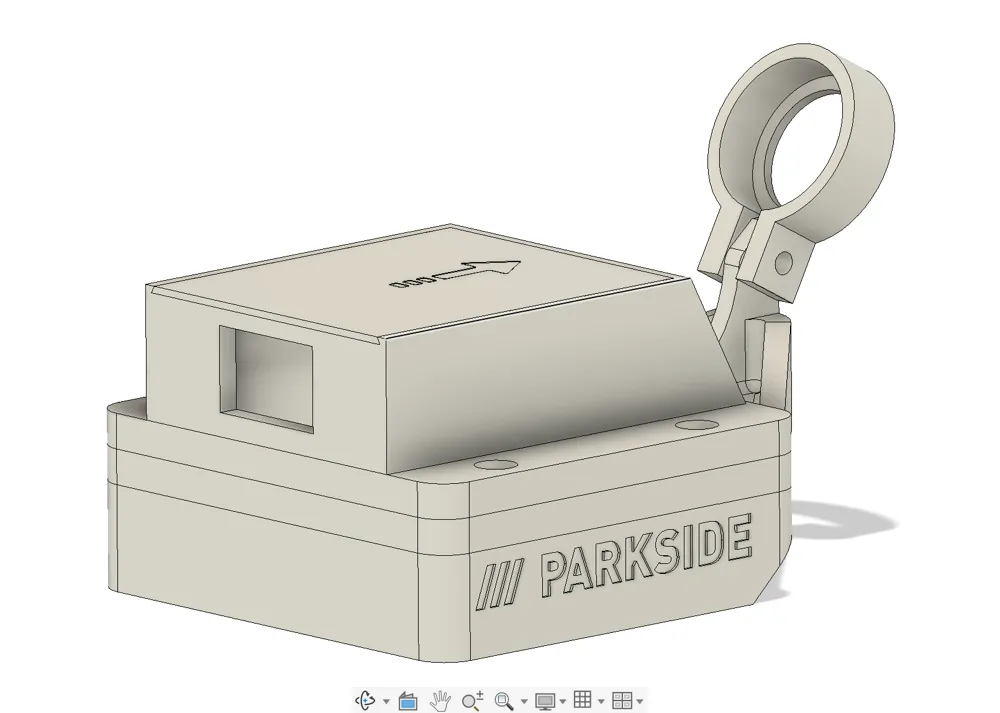
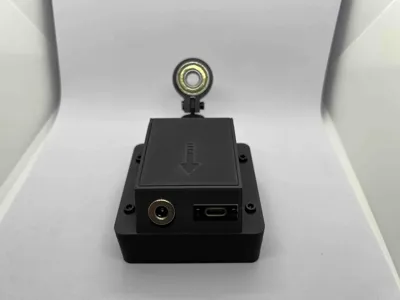
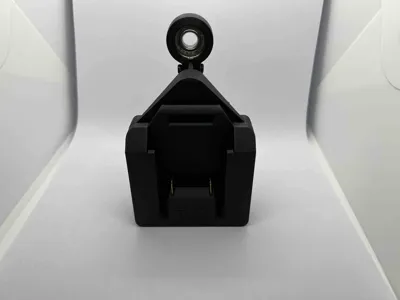
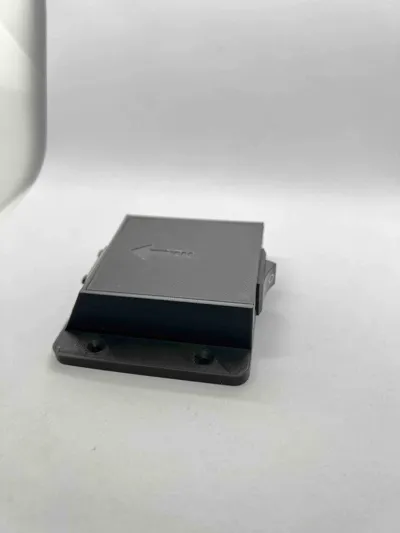
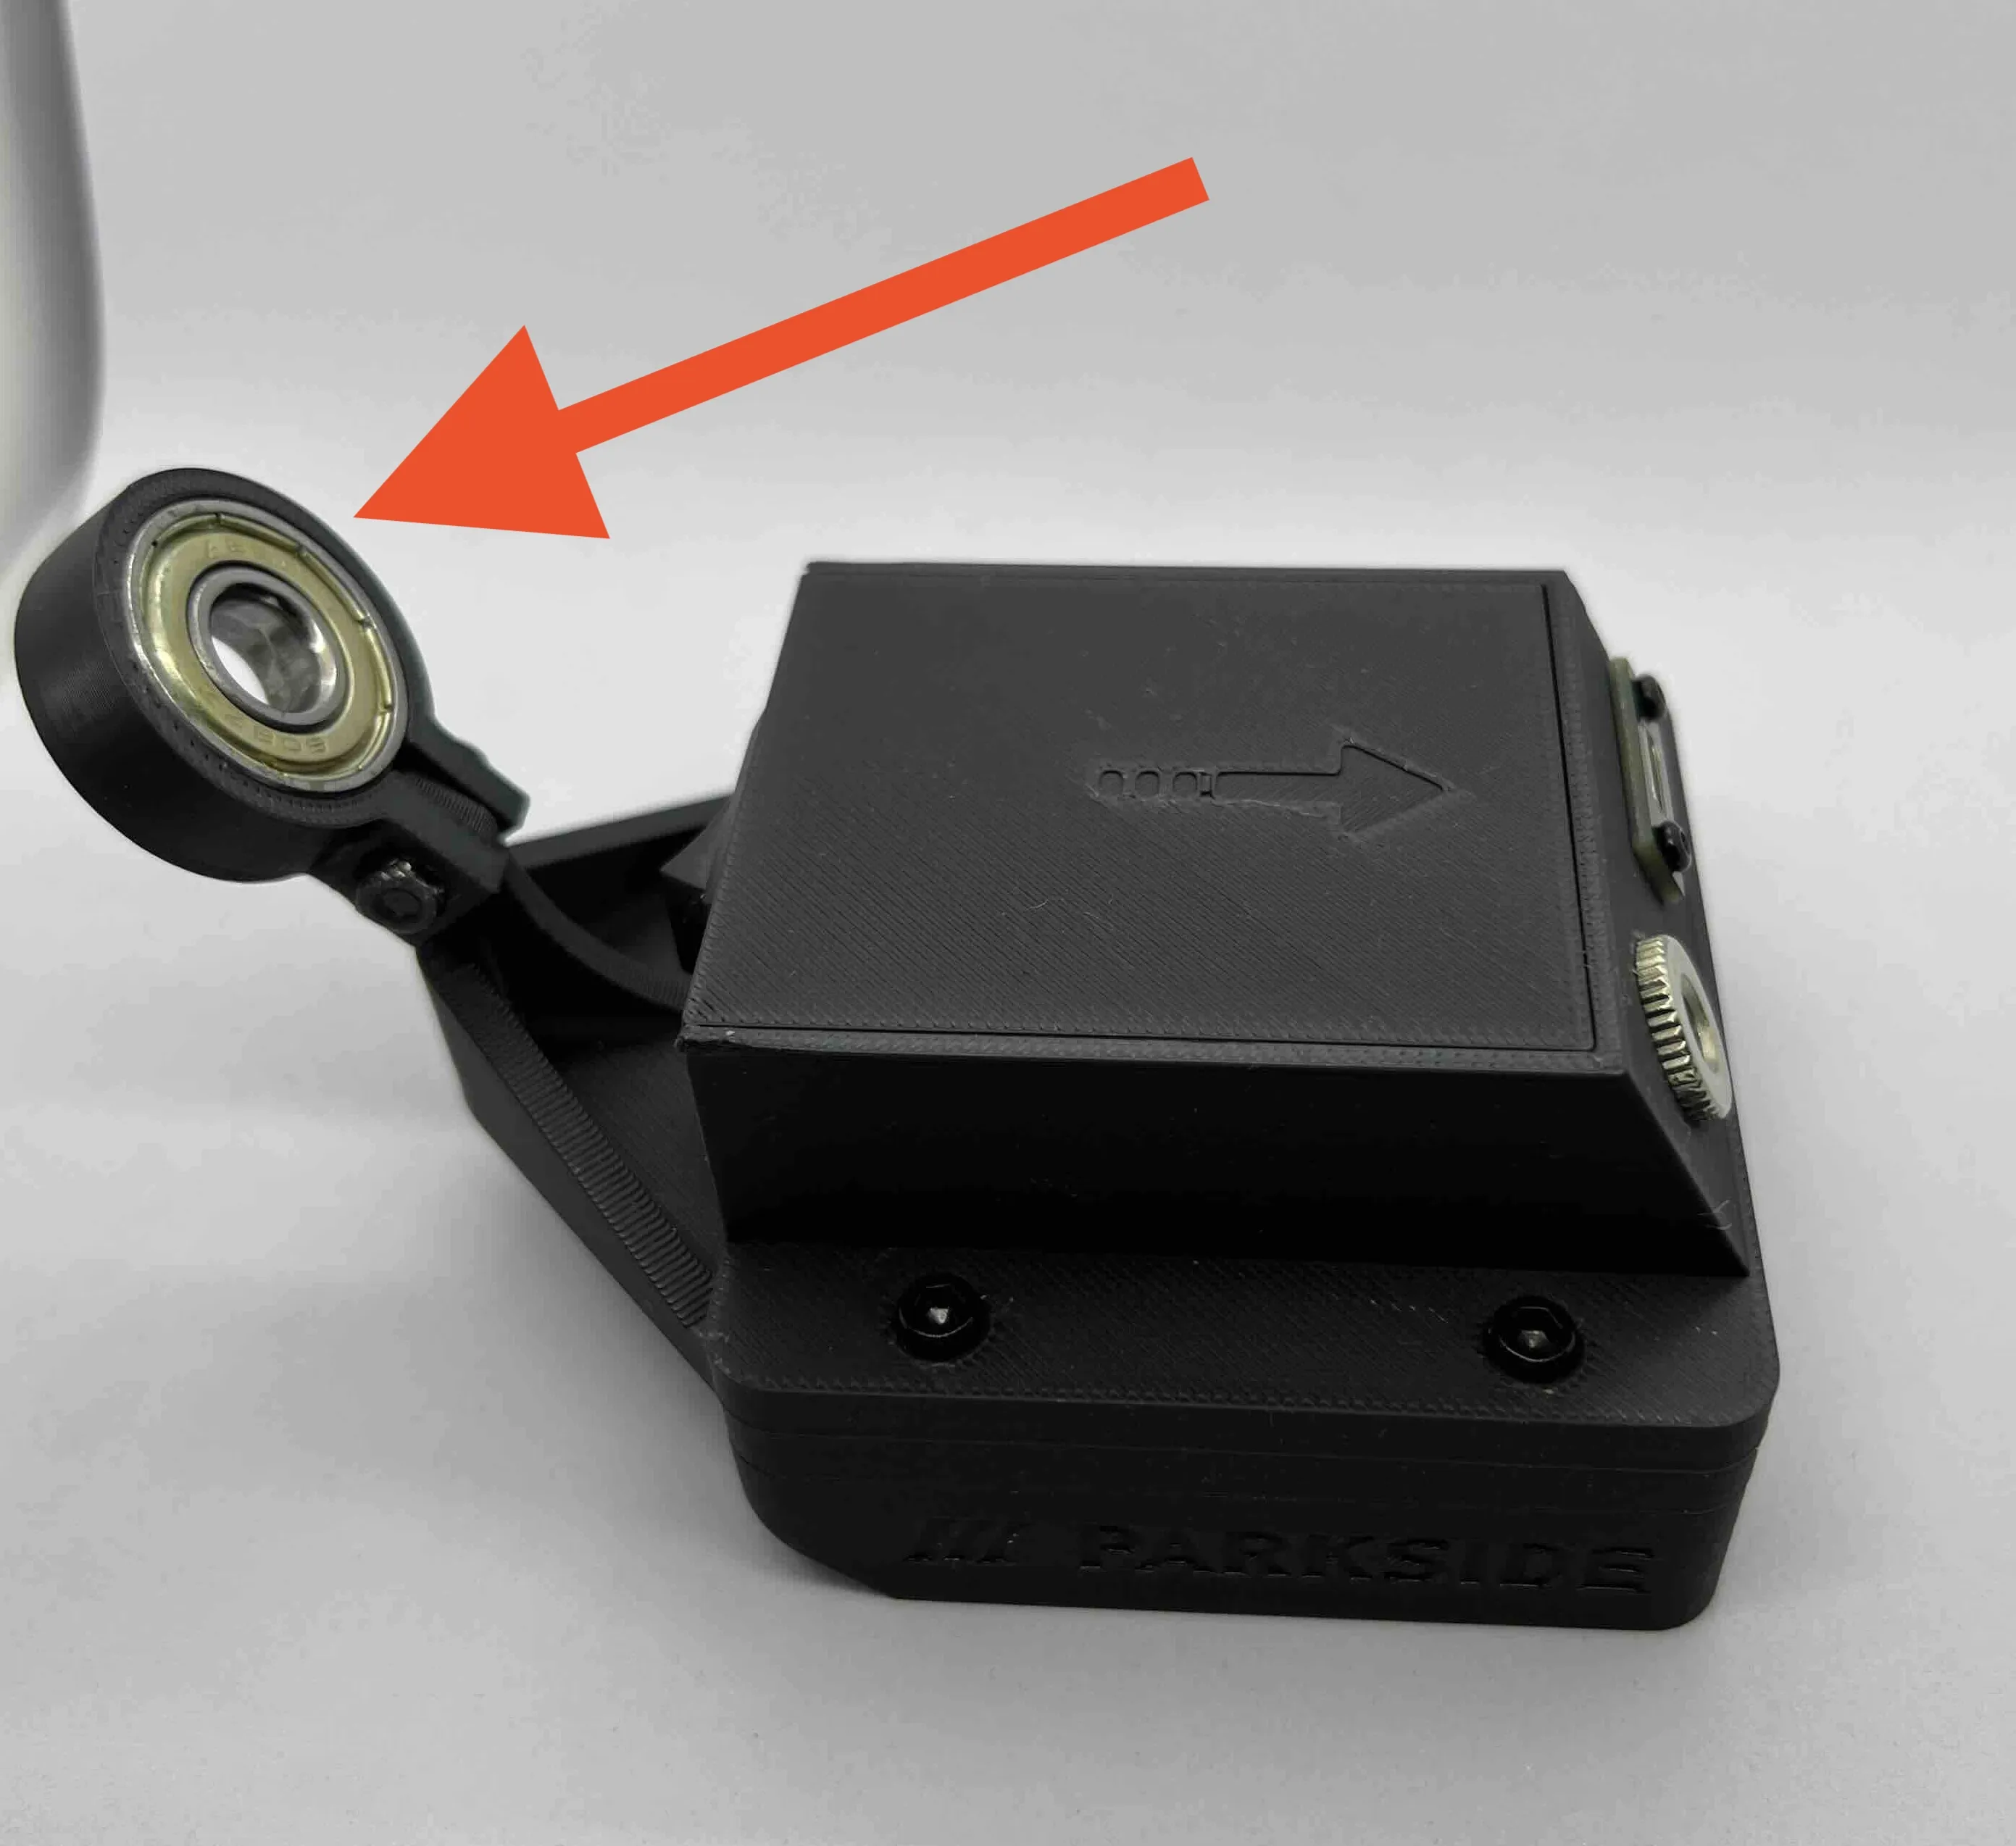
I've created various modules so you can use them as needed. I've also included one that acts as a stand when the soldering iron is on, creating a true soldering station.
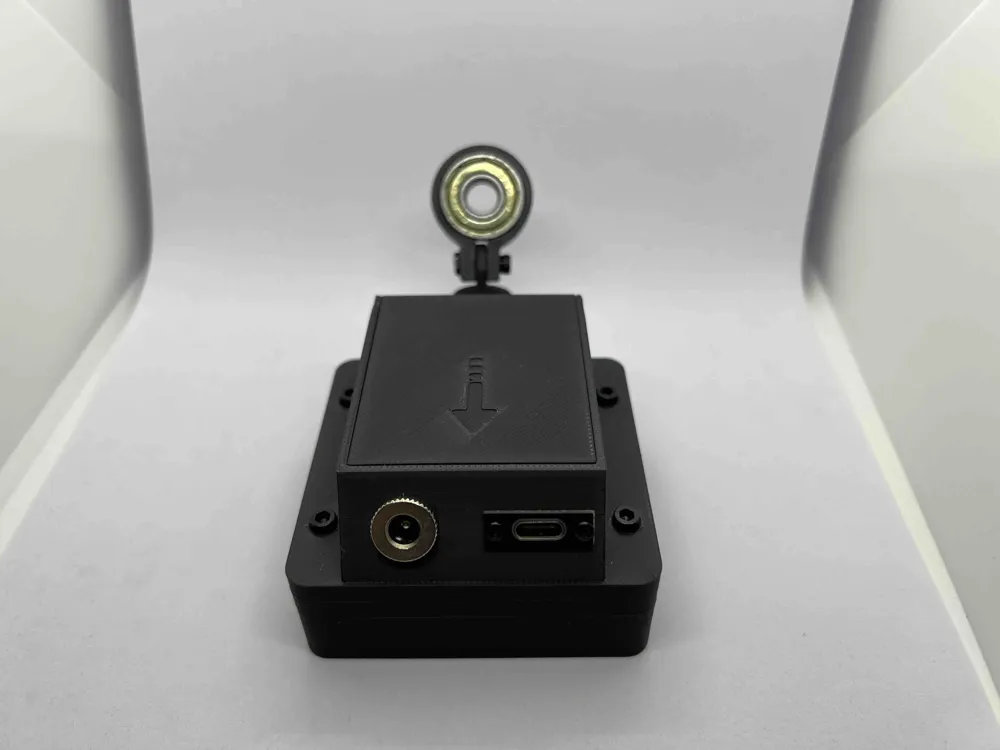
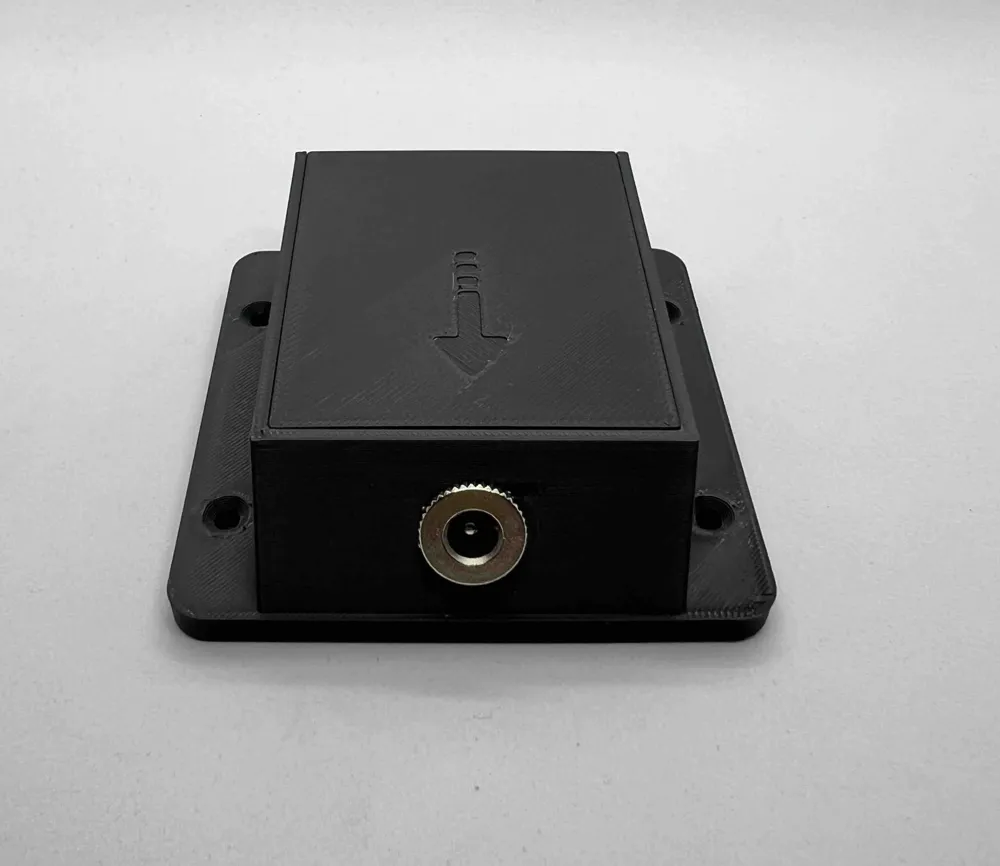
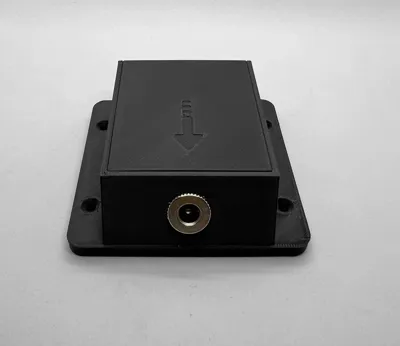
On one side, I've included a convenient switch so you can cut off the power to the soldering iron without unplugging the power cord. On the other side, I've included a USB-C port and a DC port.
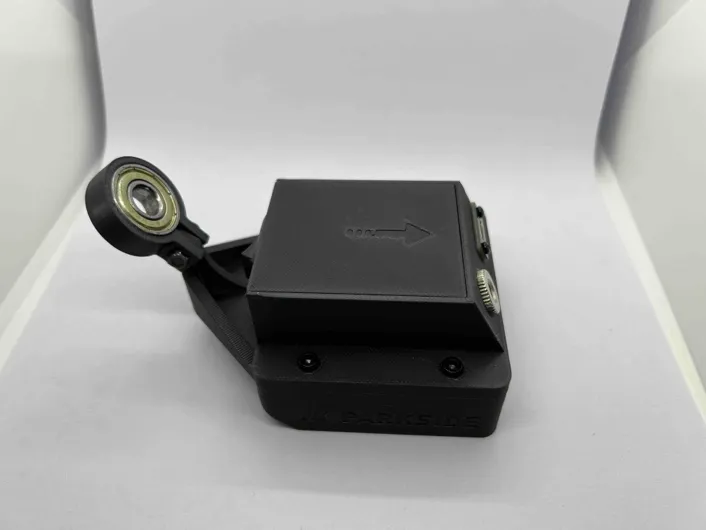
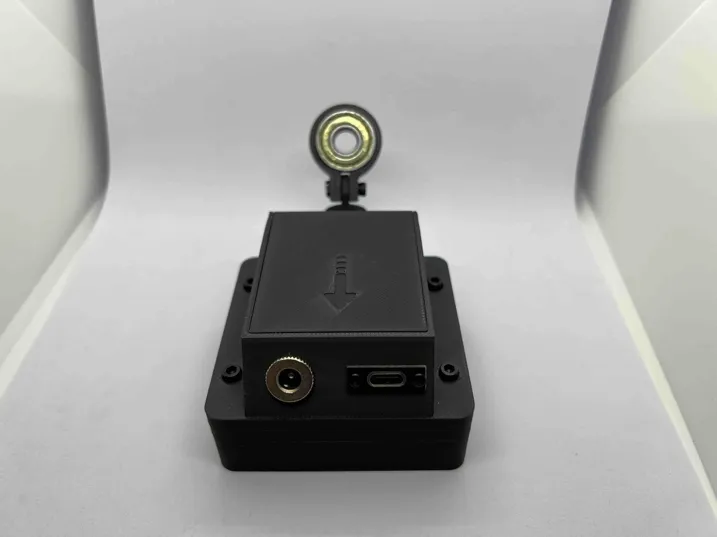
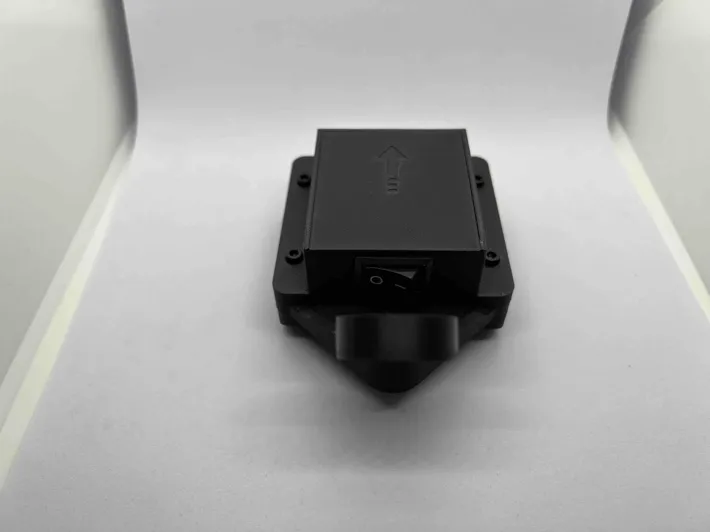
In the other modules I placed the individual components, namely: Switch and DC socket in one and Switch and USB-C socket in the other
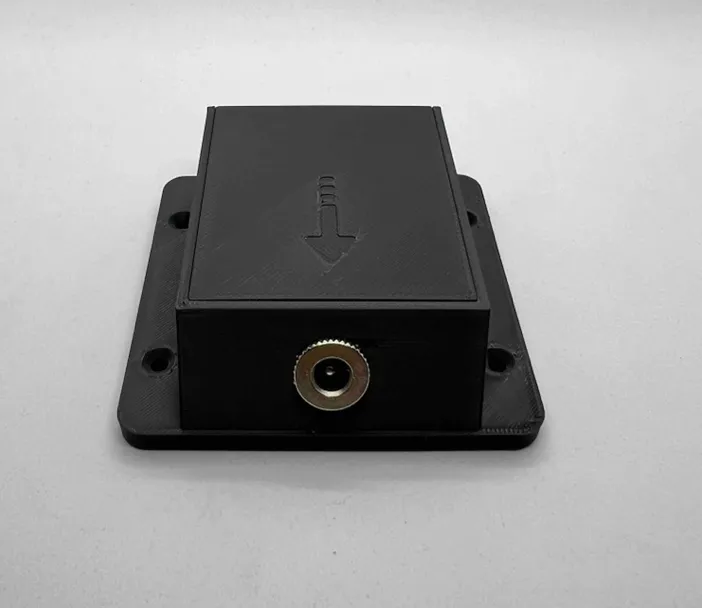
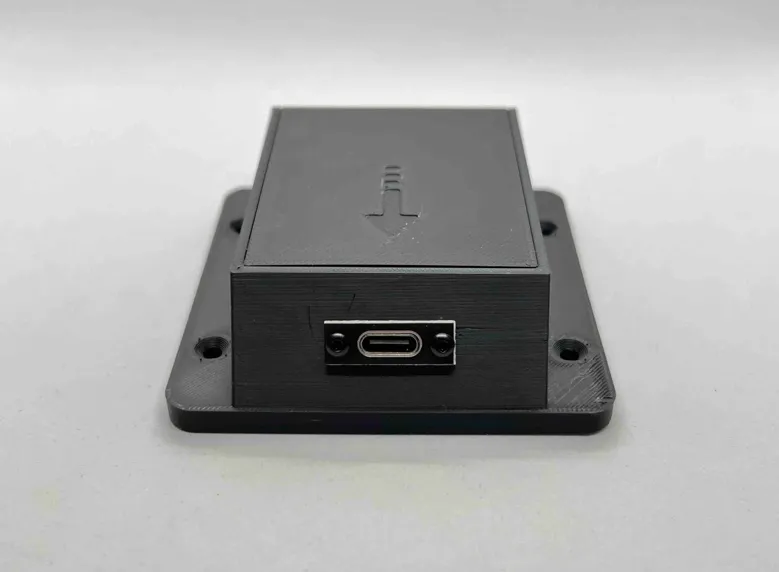
I highly recommend only PETG or ABS, at least for the bearing support, as it must withstand the heat of the soldering iron.
DO NOT use PLA.
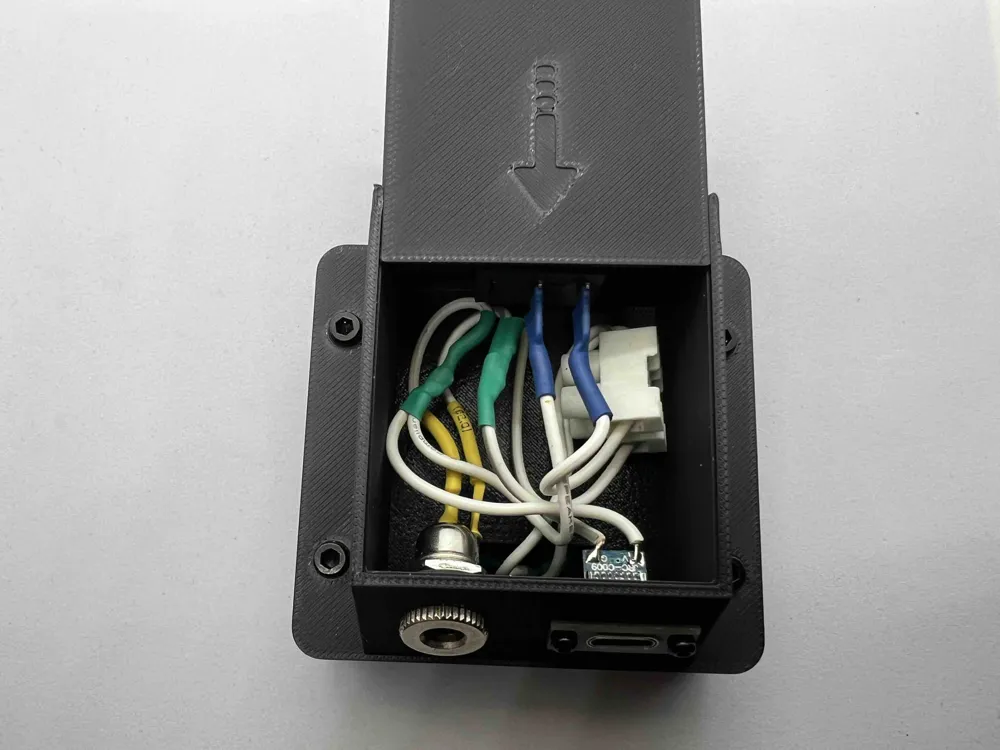
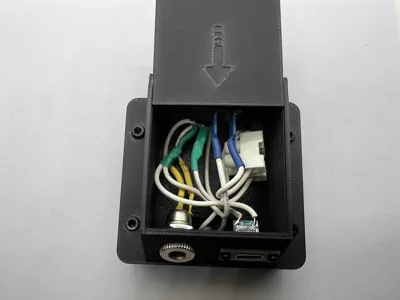
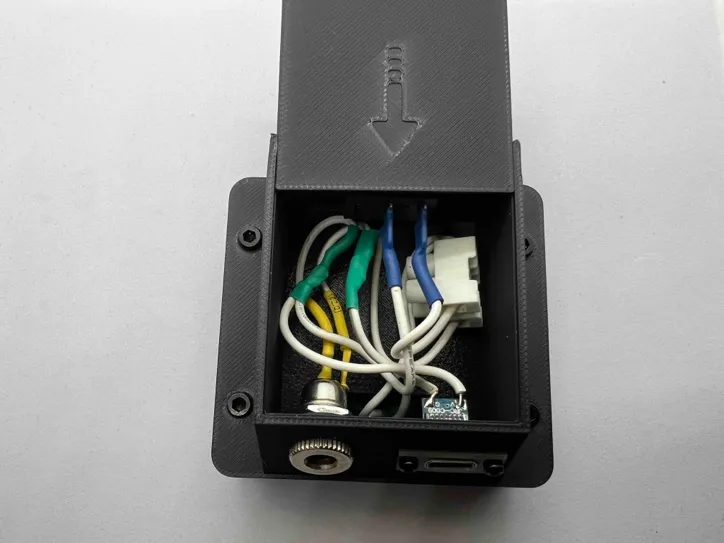
Electrical connection photos
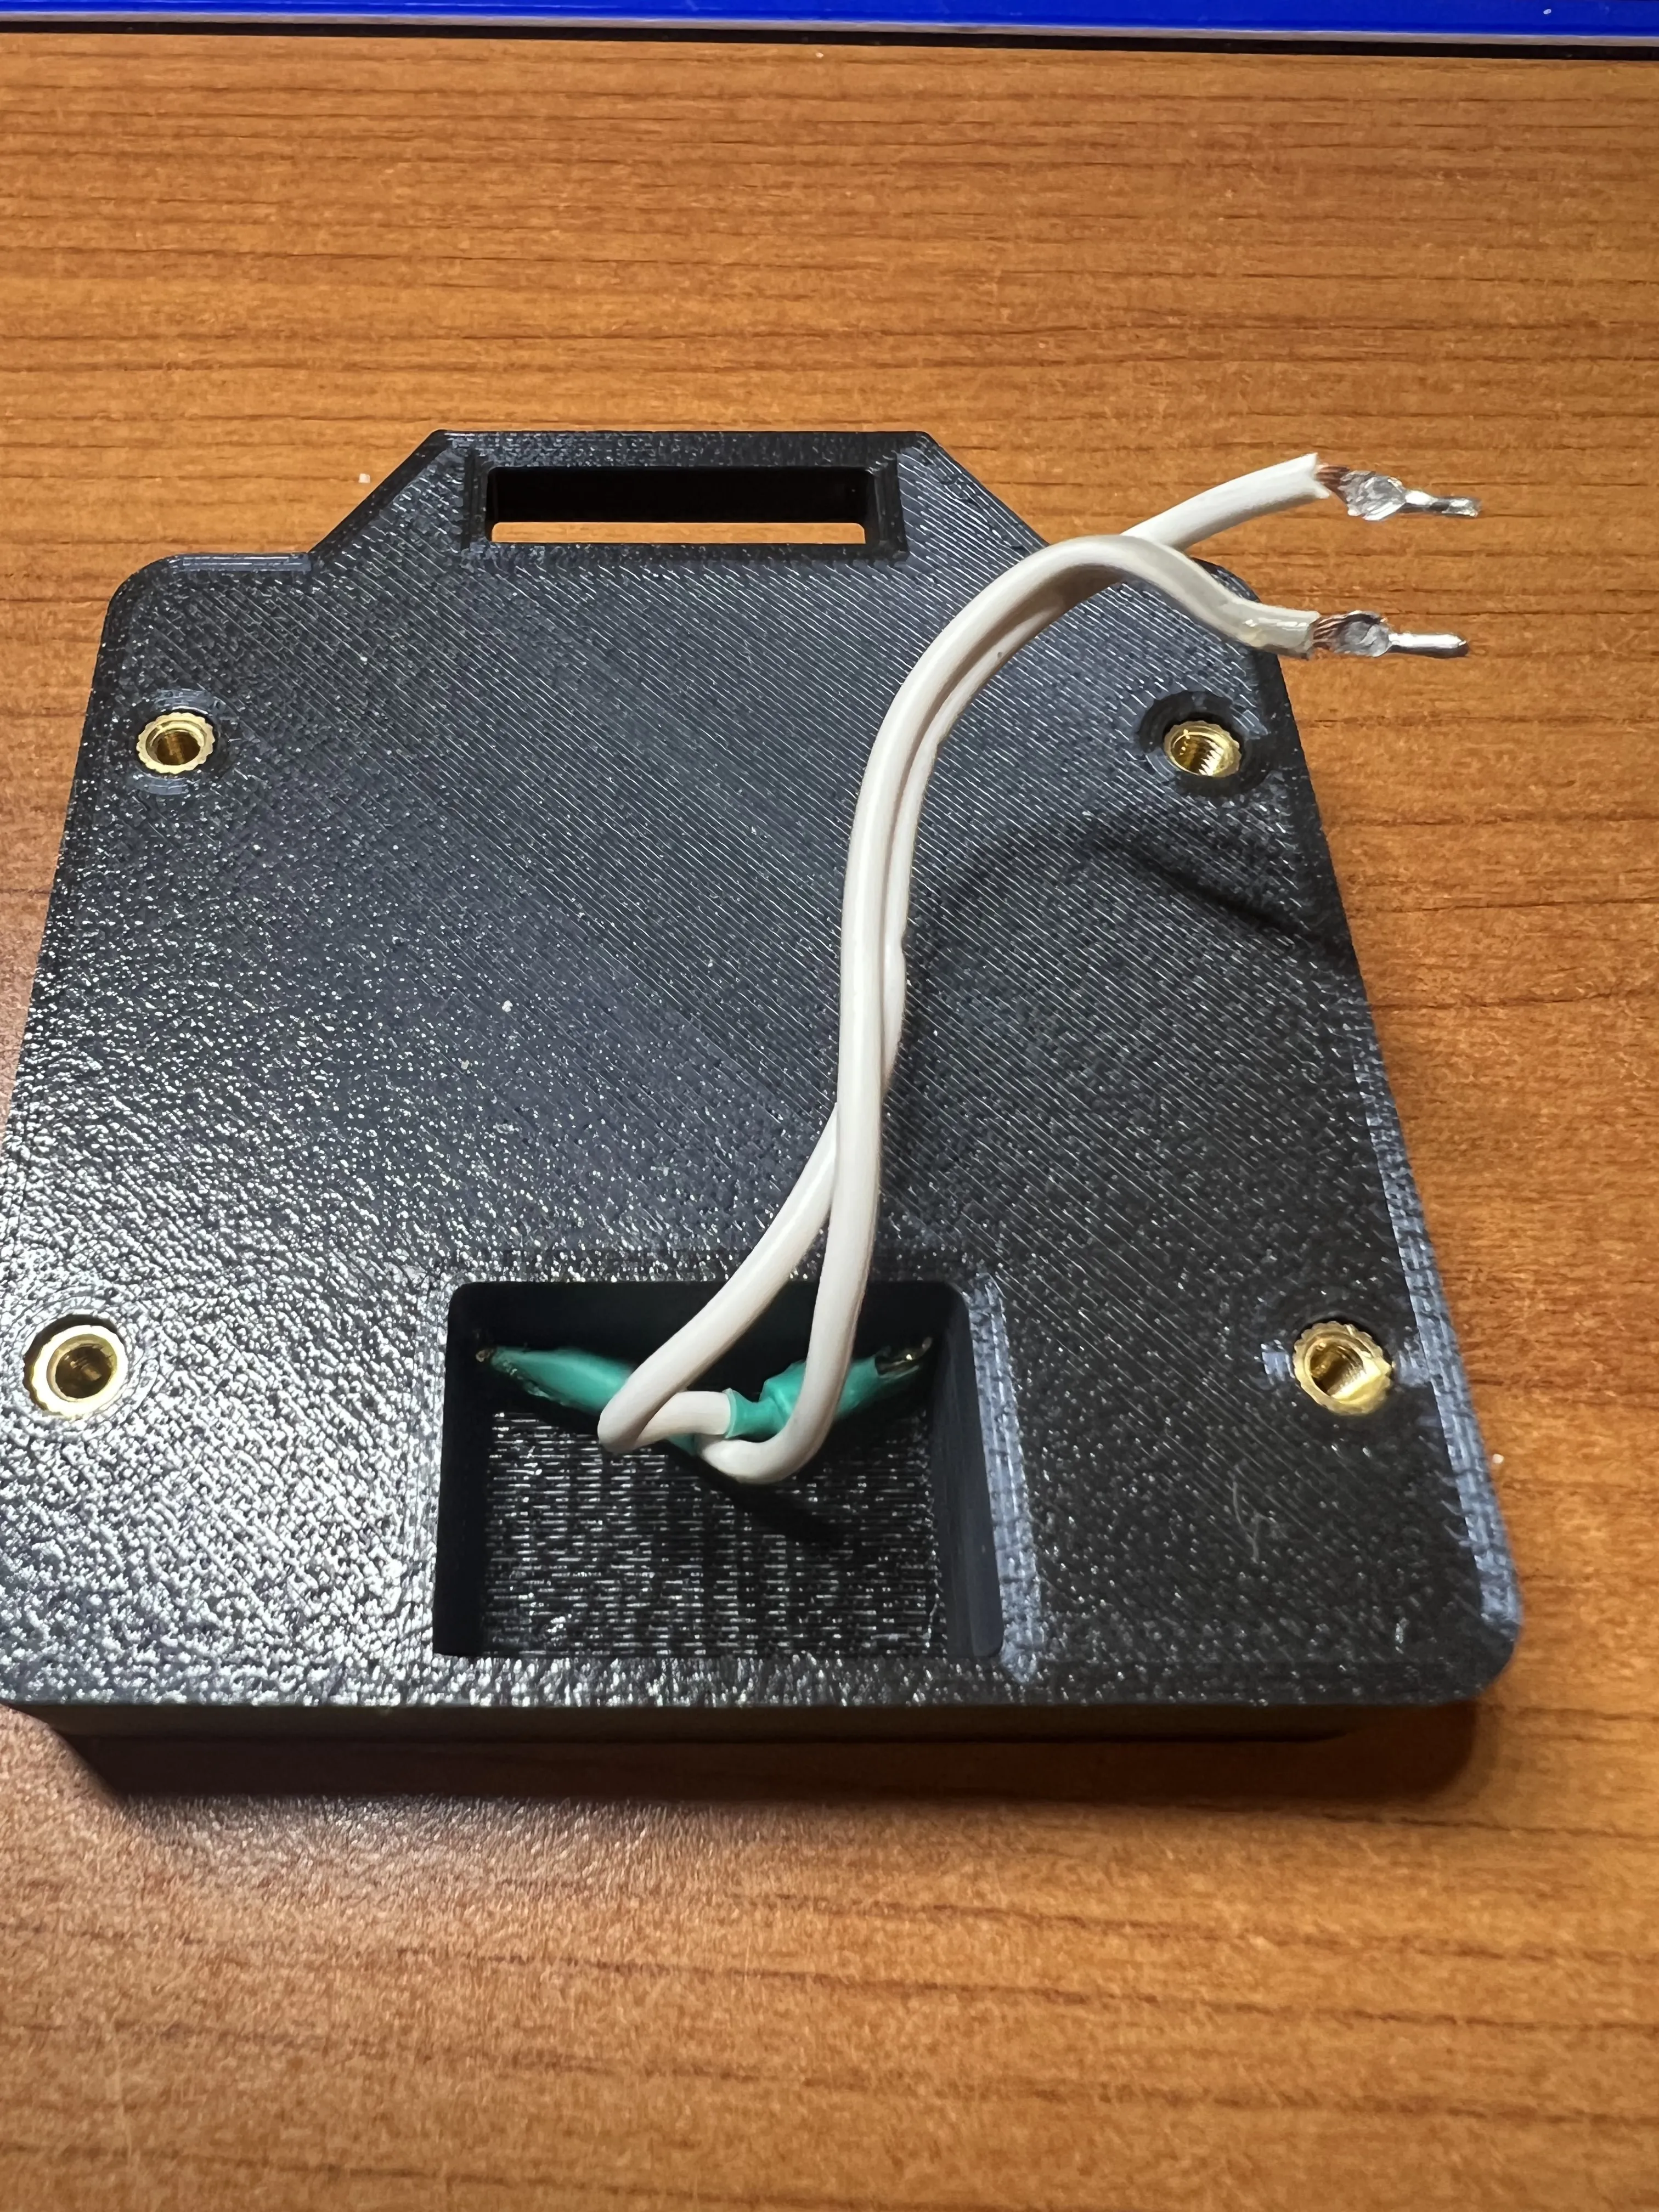
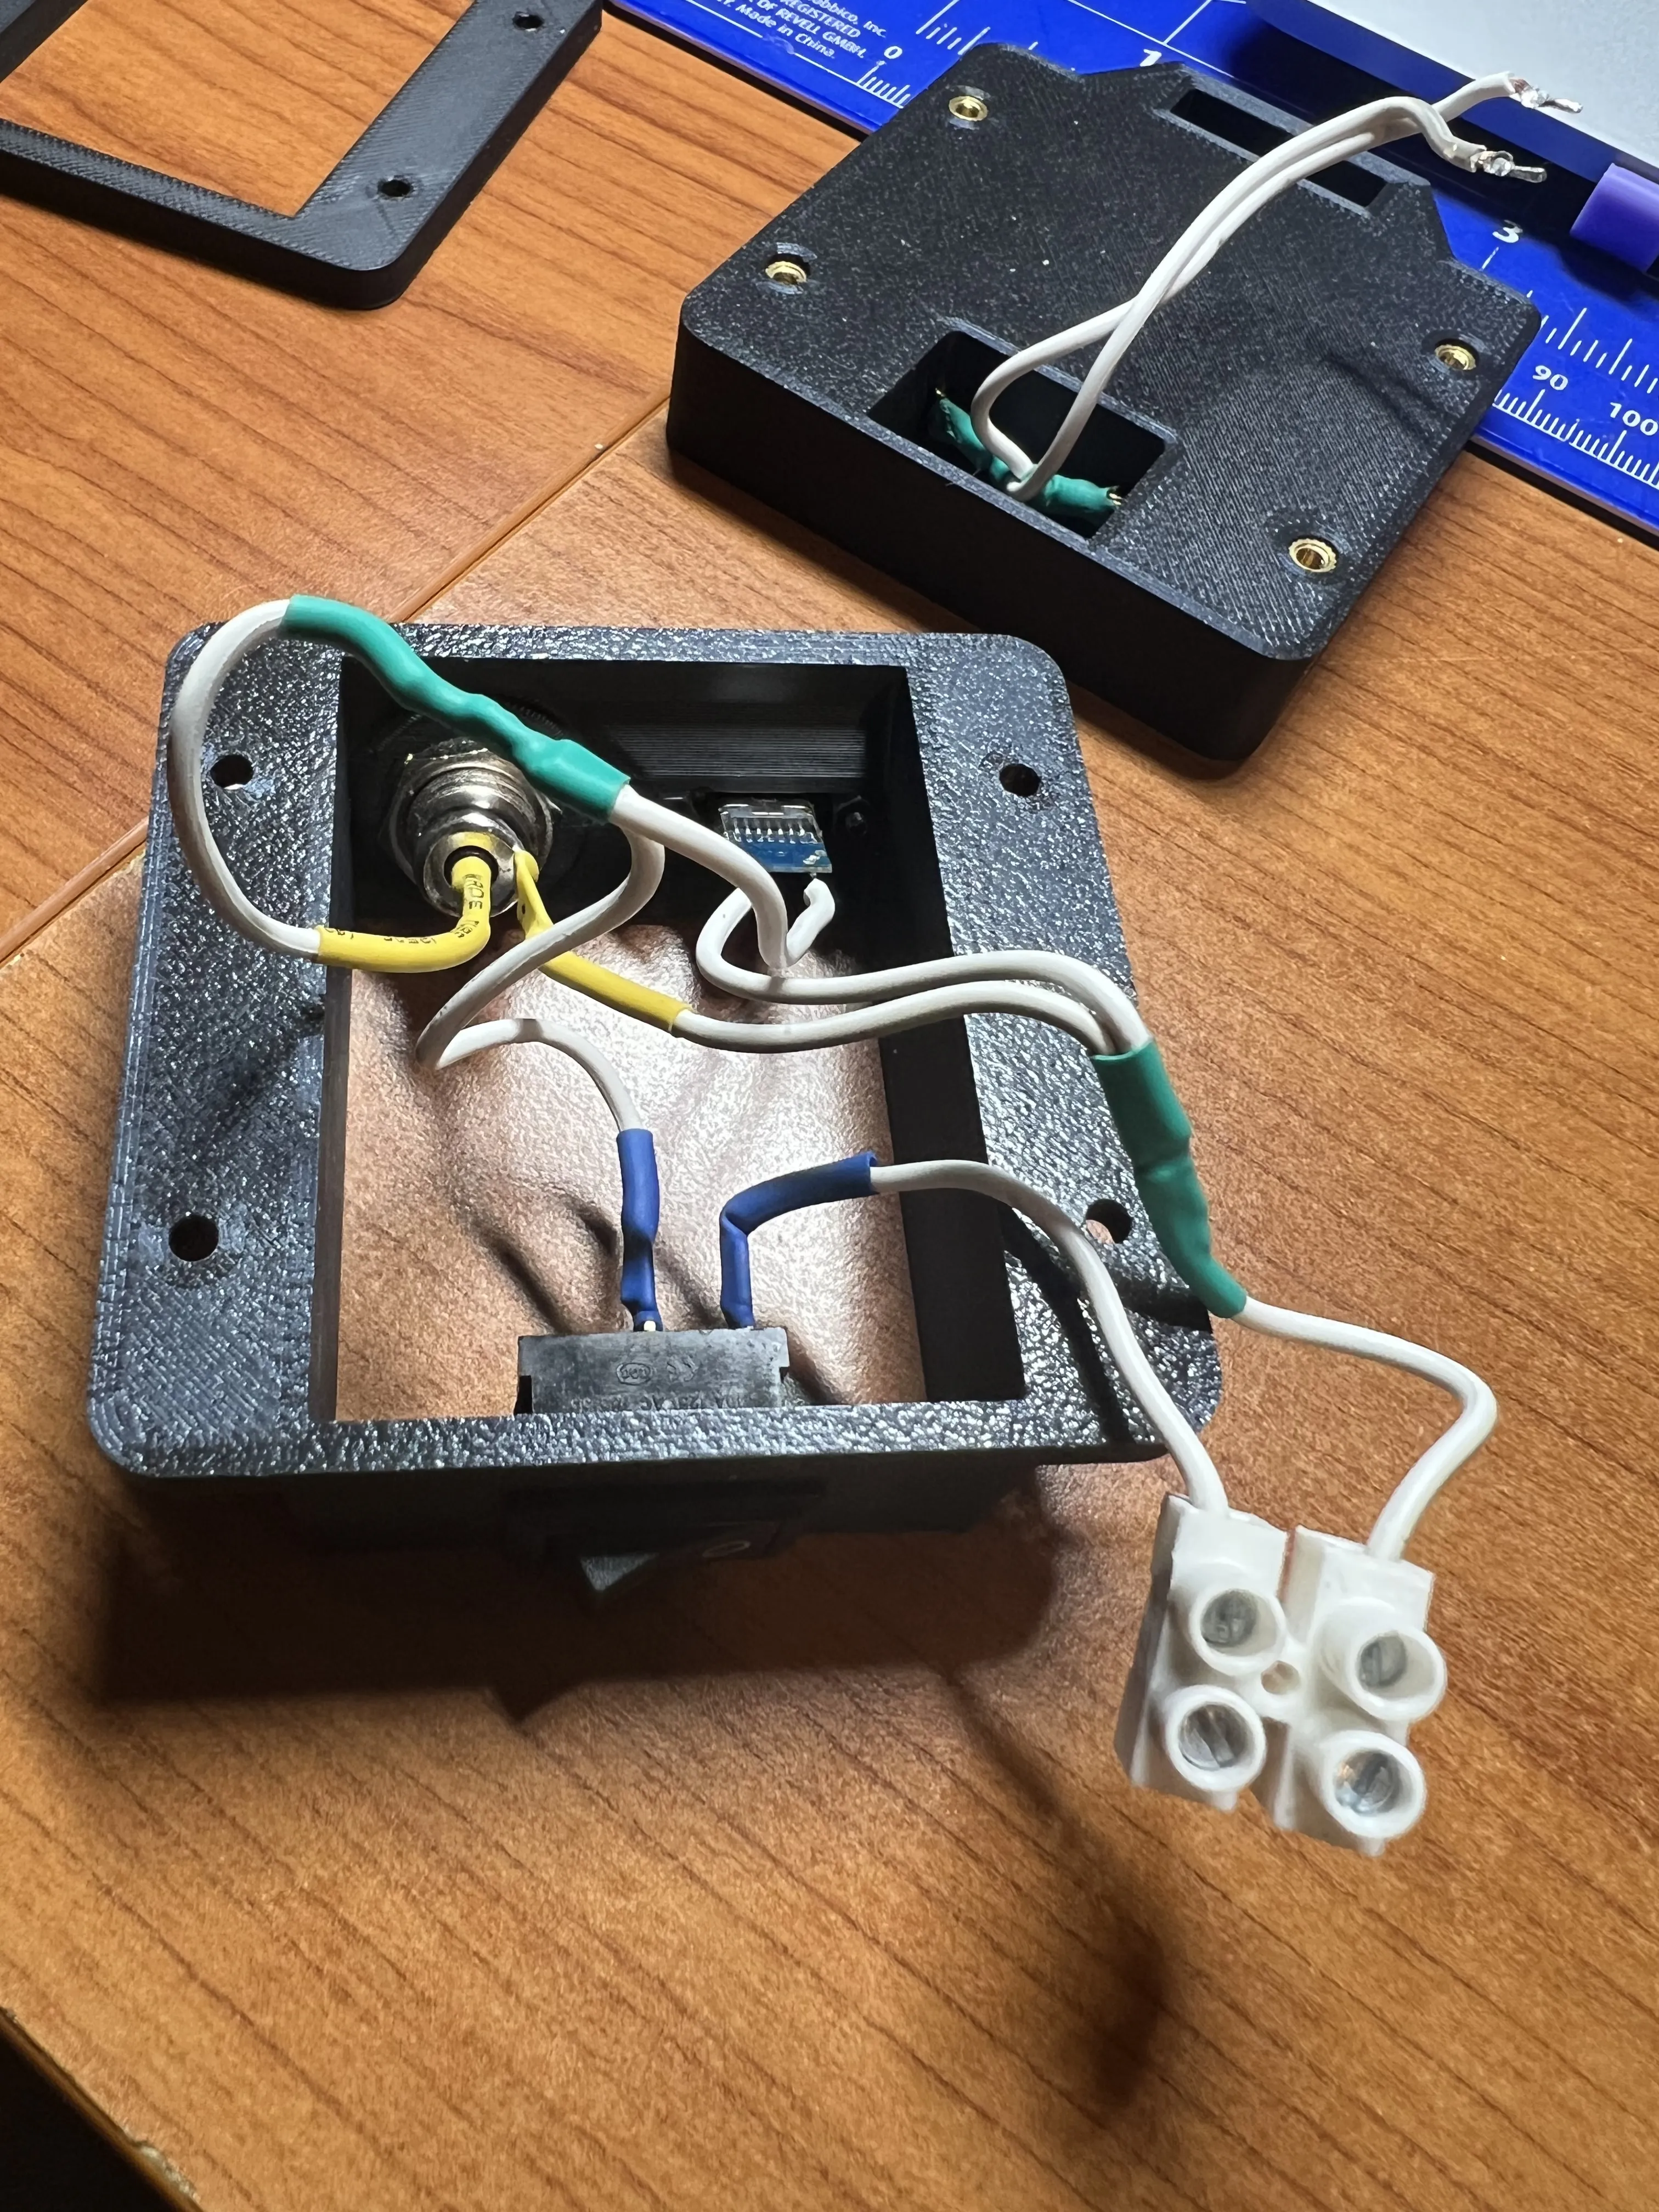
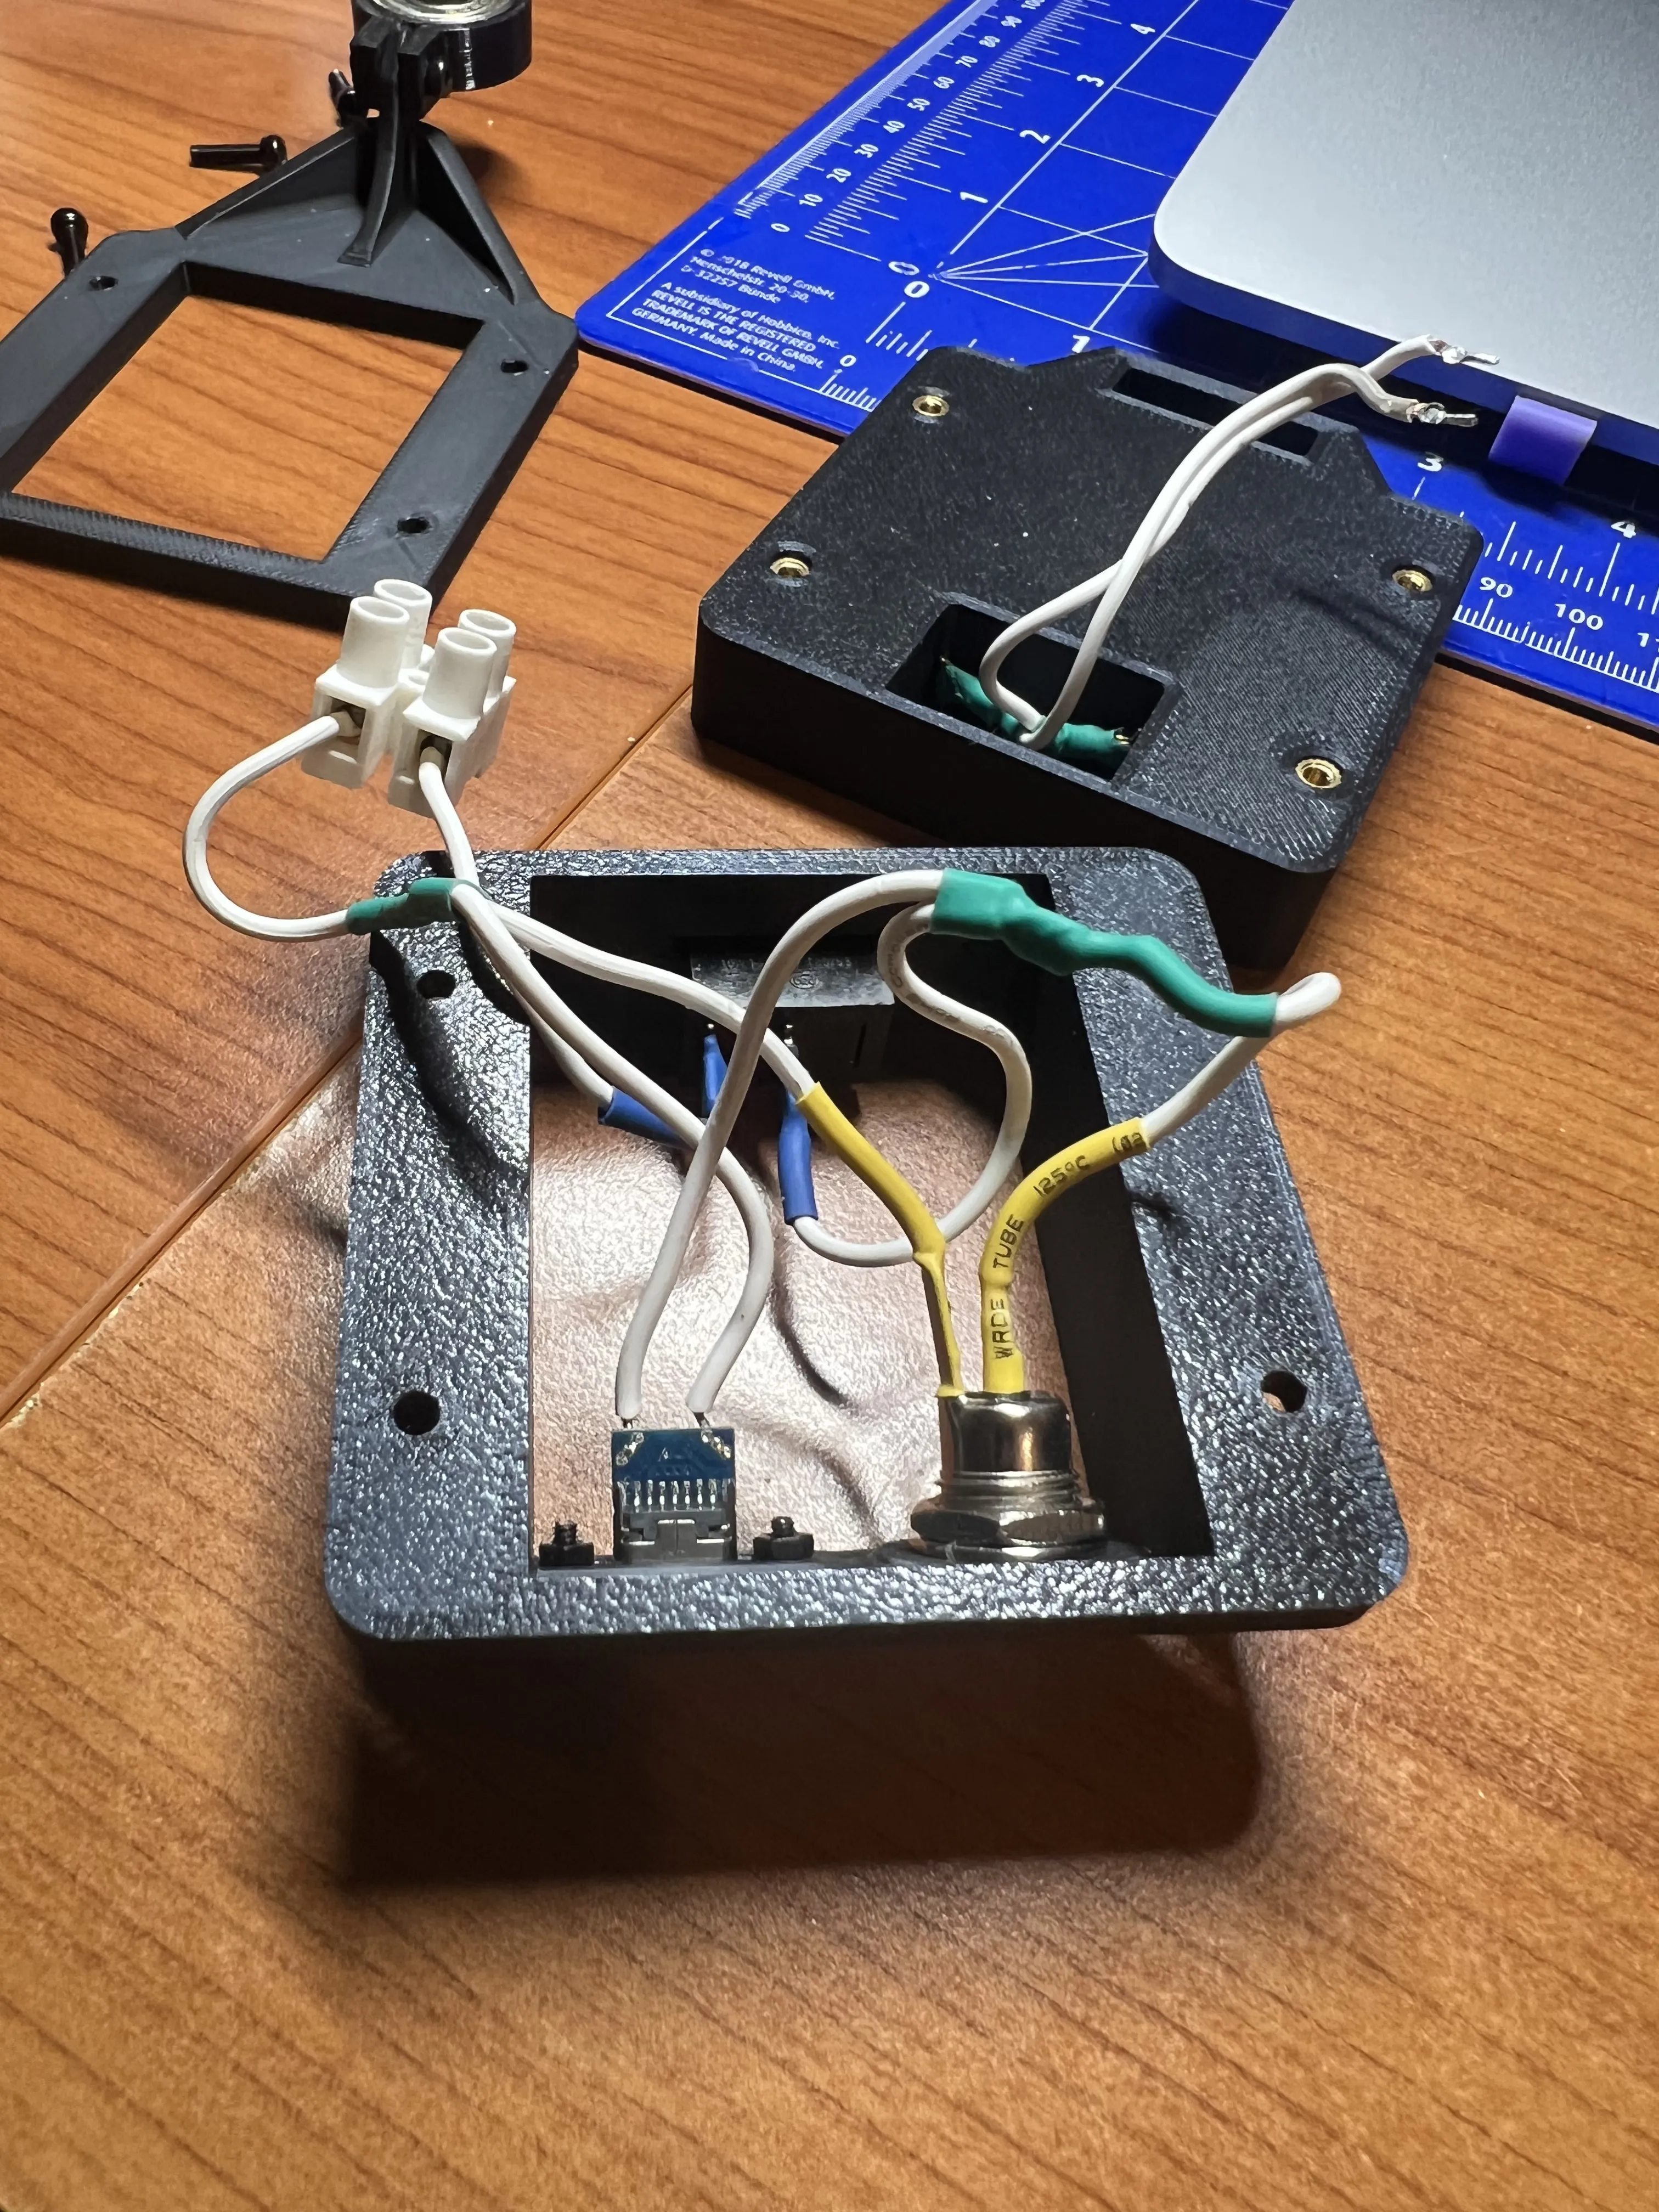
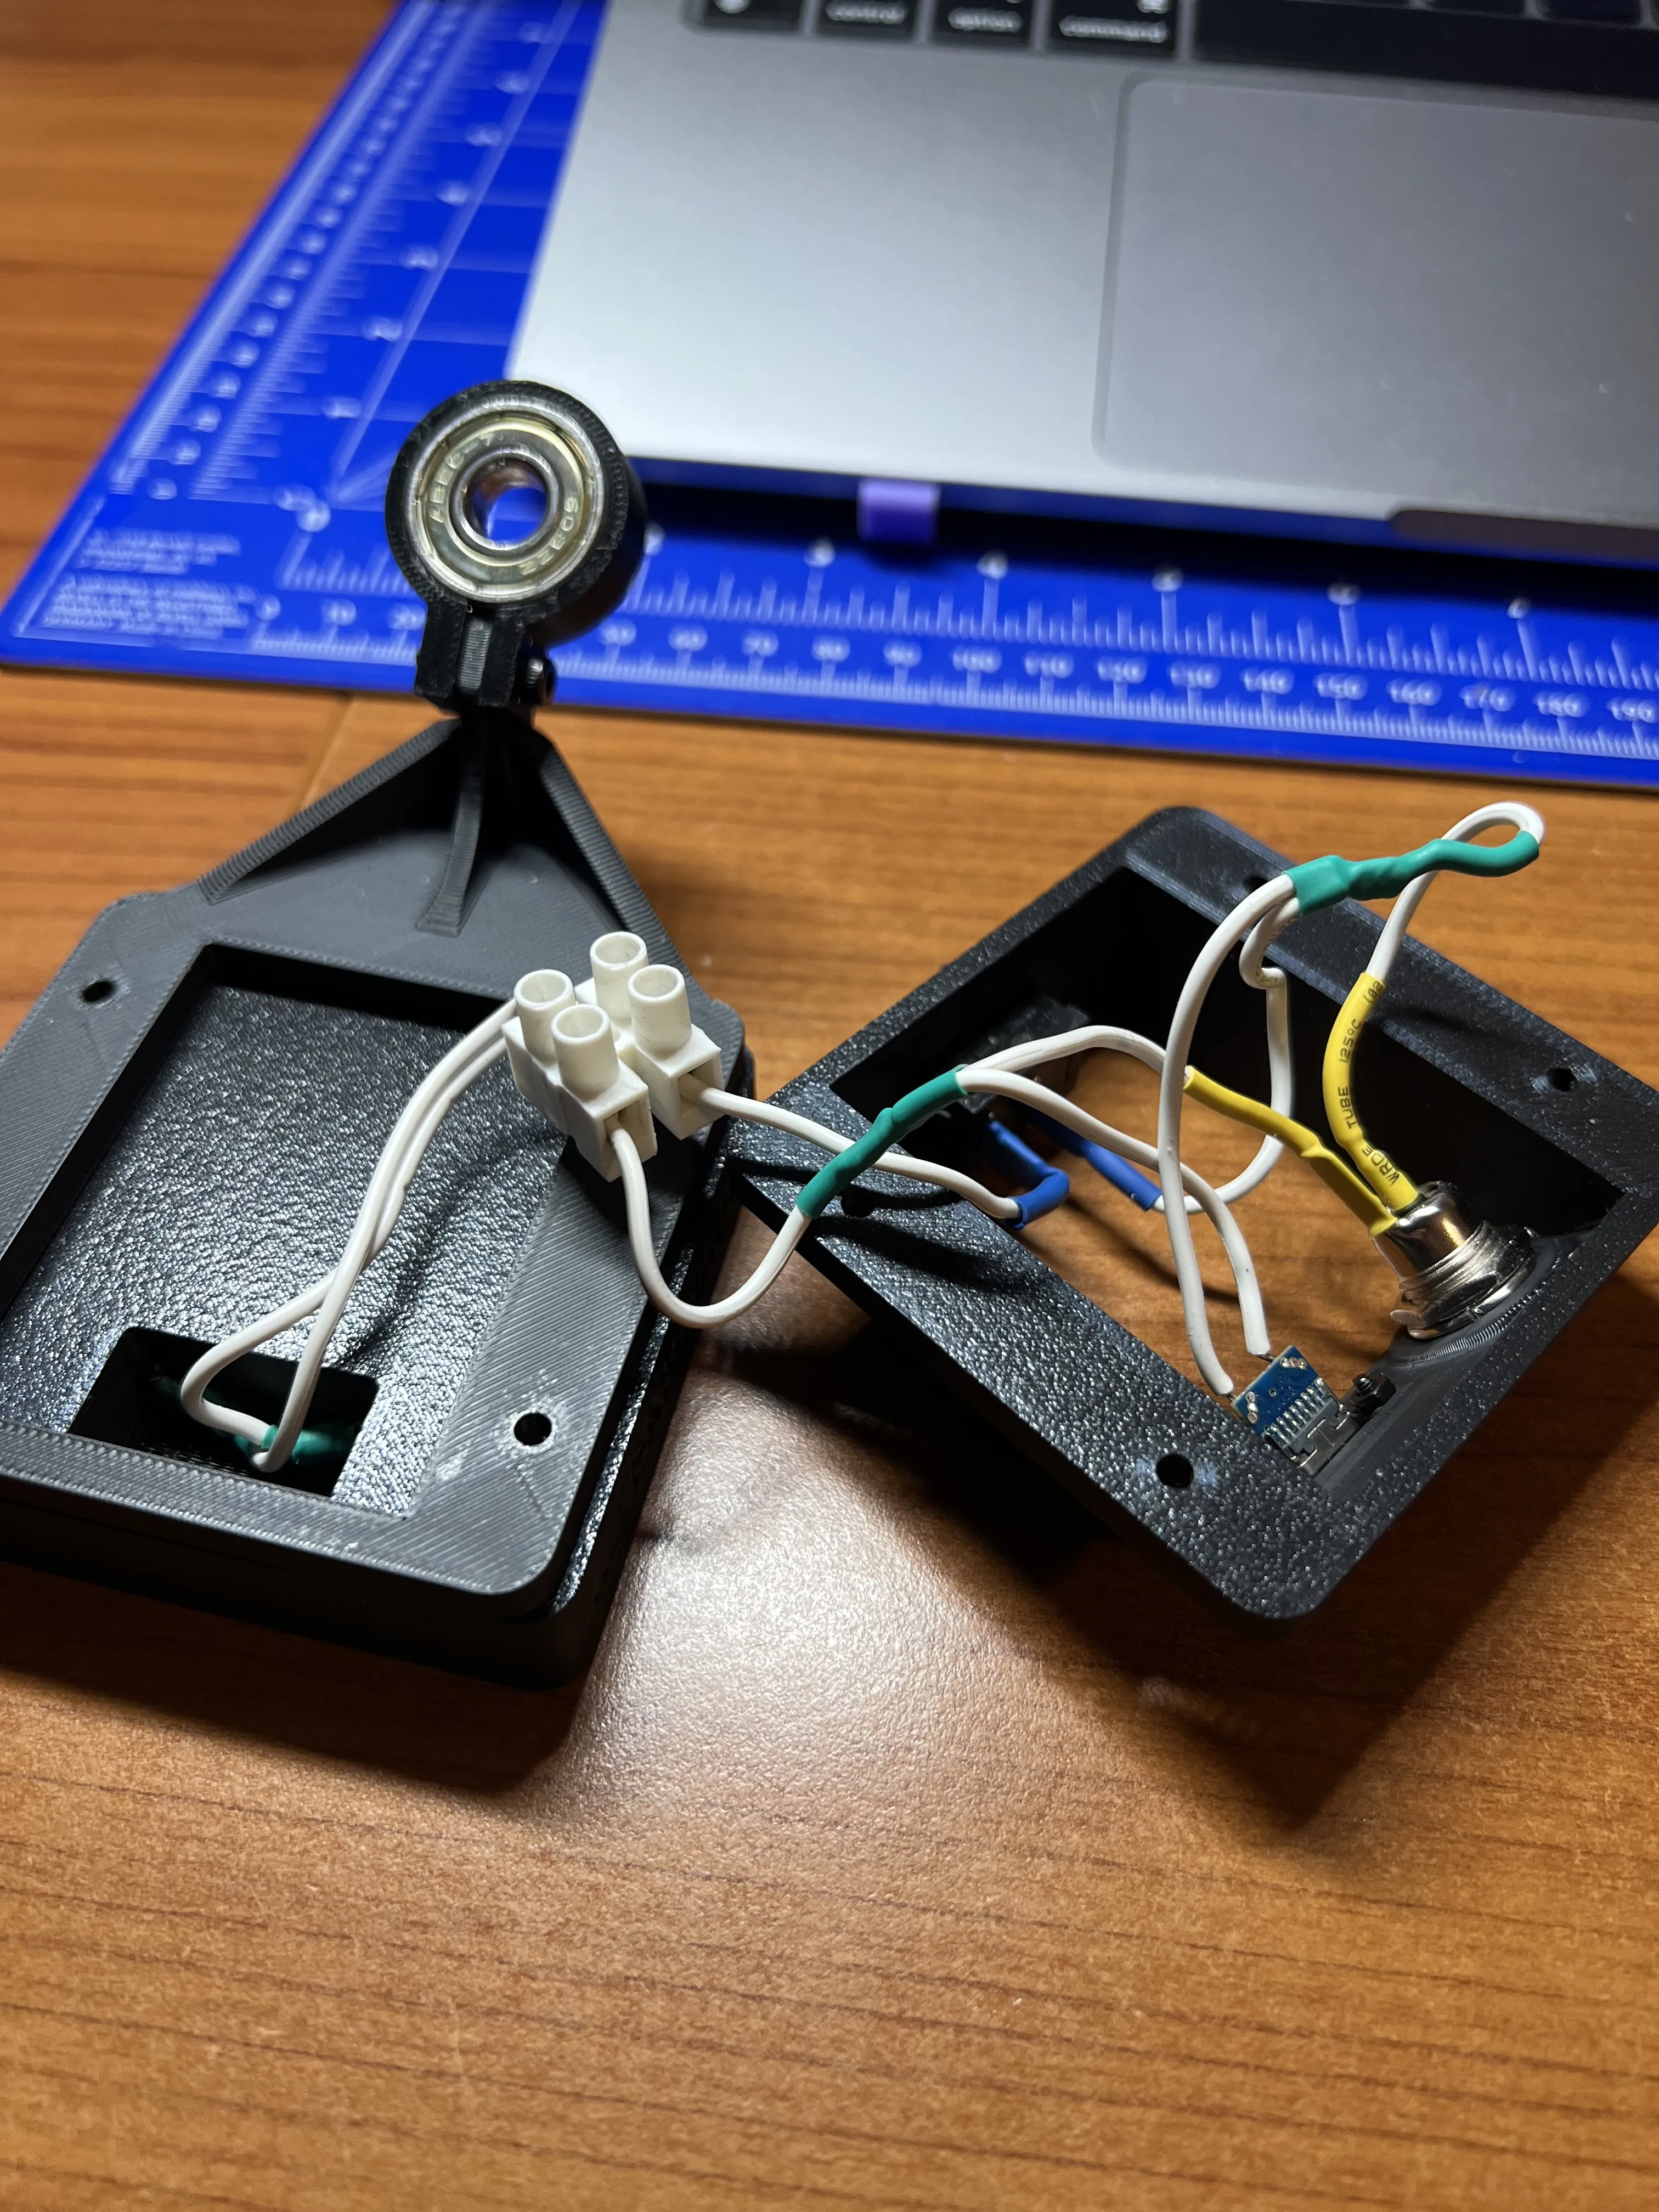
starting from 6.3mm Terminal with positive and negative I connected them to plastic screw terminal block , from plastic screw terminal block I then went with the positive to mini switch and from there to jack USB and DC Power, instead with the negative I went directly to jack USB and DC Power
Always remember to keep the print bed clean, keep the printer clean, and perform regular maintenance. A calibration once in a while never hurts. 😜 Always dry the filament before printing; humidity can wreak havoc and ruin prints.
Come back soon and thanks for the support Boost Me (for free) Please give a 👍 if you like it, it'll help others discover it! If you'd like to take your support to the next level, please give me a 🚀. Thank you so much! 🙏🙏 |
License

You shall not share, sub-license, sell, rent, host, transfer, or distribute in any way the digital or 3D printed versions of this object, nor any other derivative work of this object in its digital or physical format (including - but not limited to - remixes of this object, and hosting on other digital platforms). The objects may not be used without permission in any way whatsoever in which you charge money, or collect fees.


Comment & Rating (15)