
Pinewood Derby - Improved wheels and base for 2.5°
Print Profile(1)

Description
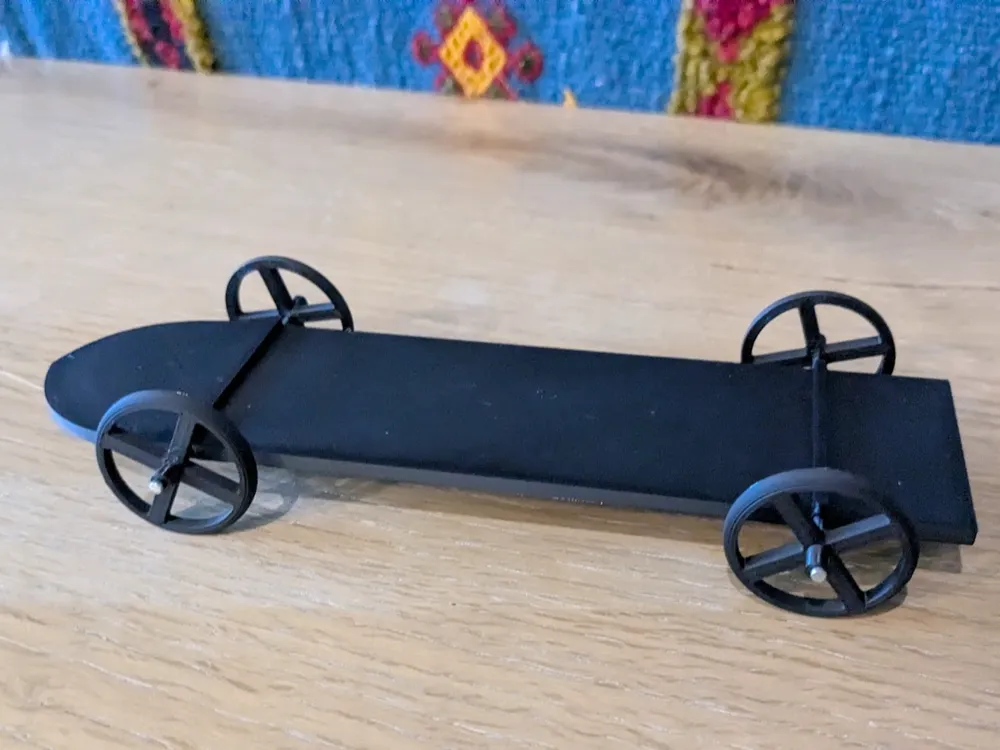
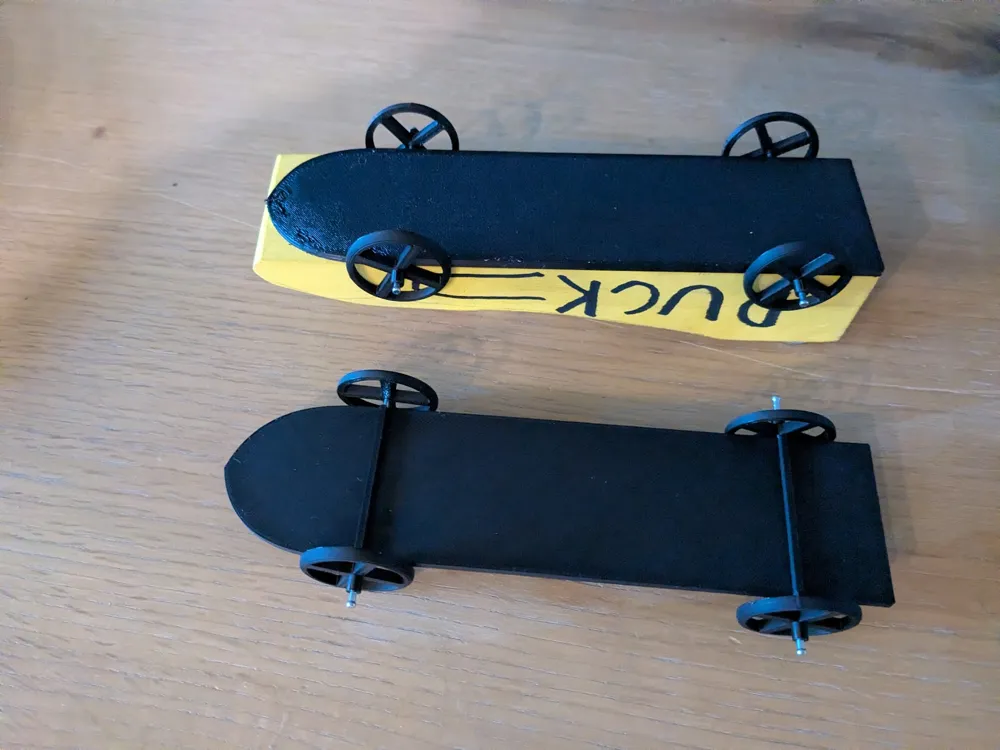
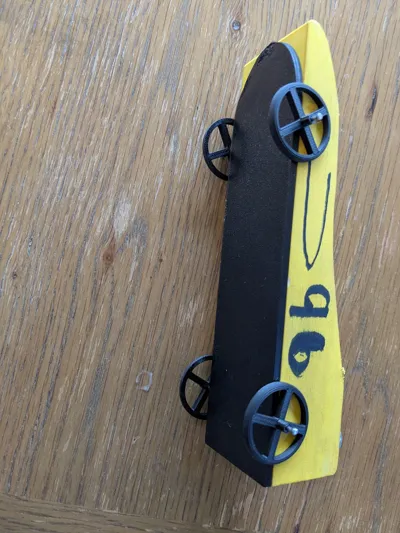
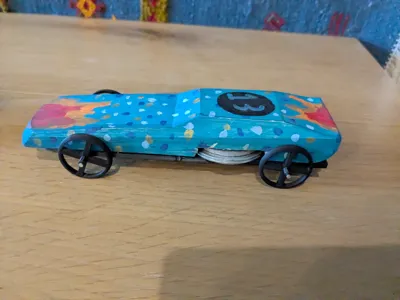
My kids are competing in a Pinewood derby this week. I essentially wanted to do a quick design that solved the biggest problems of optimizing a pinewood derby car:
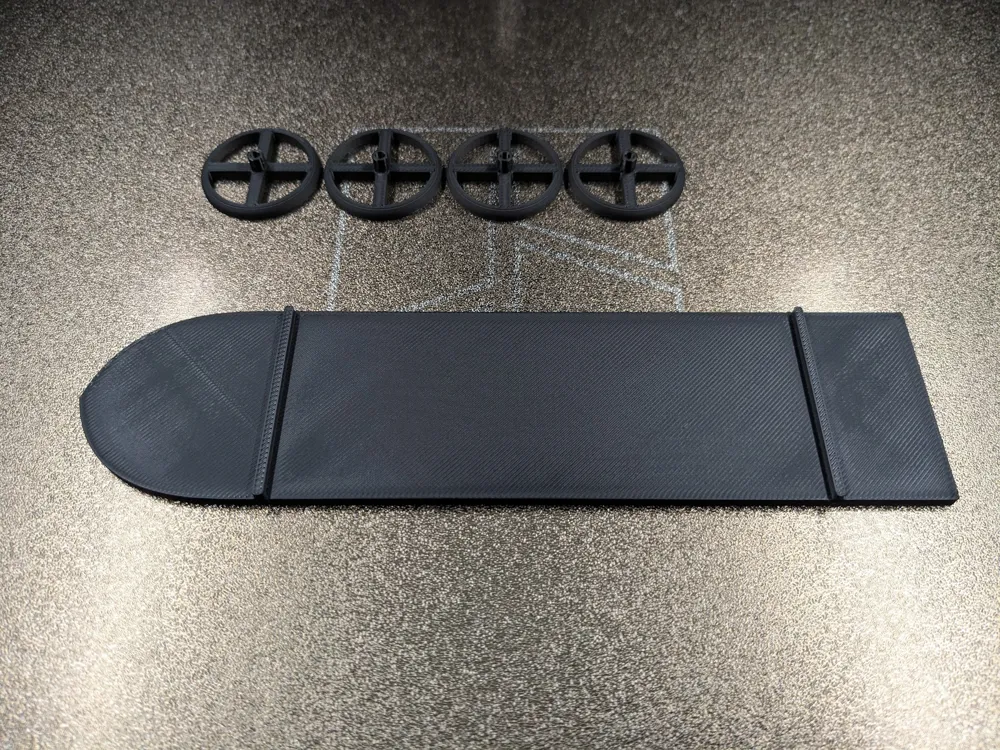
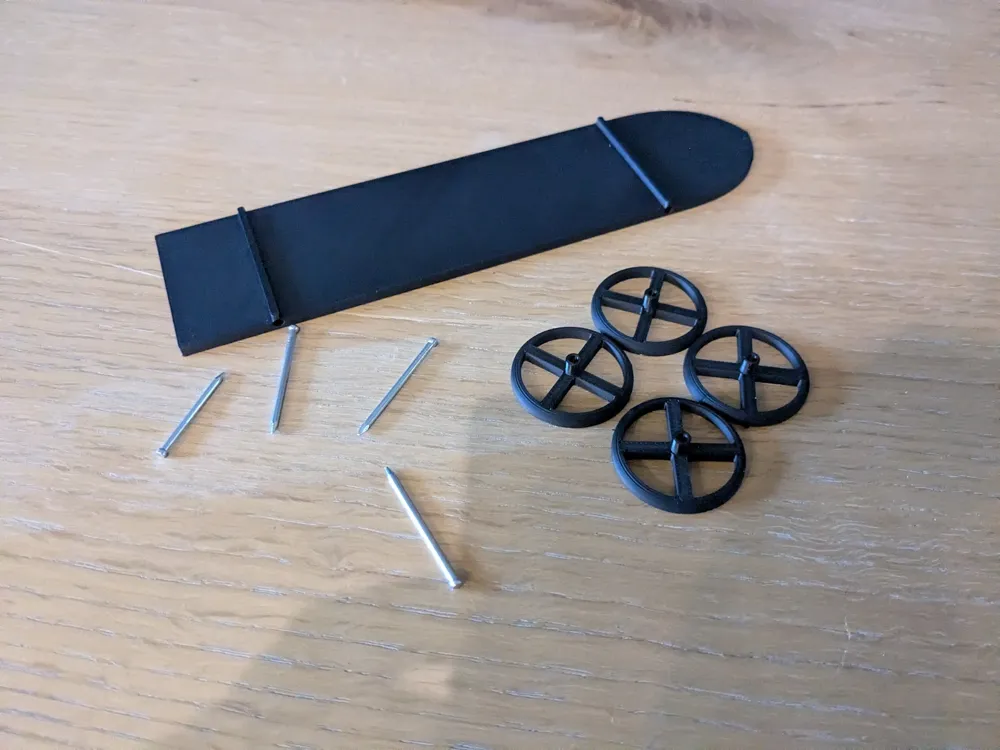
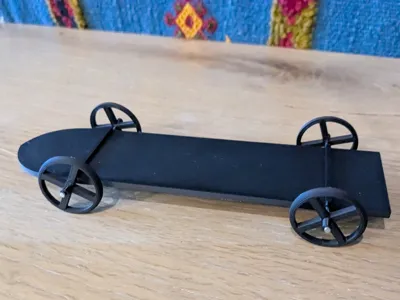
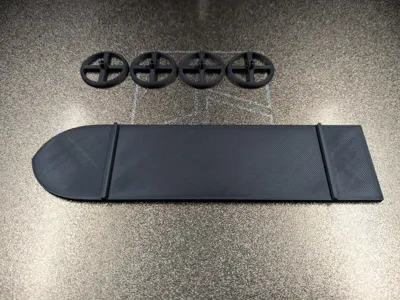
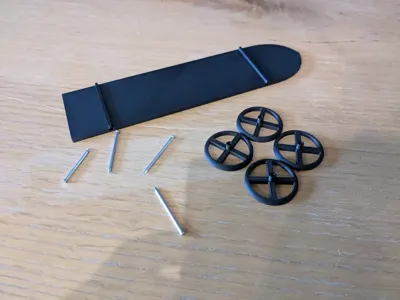
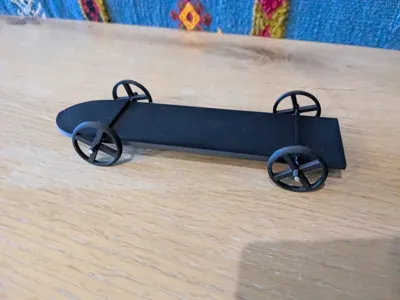
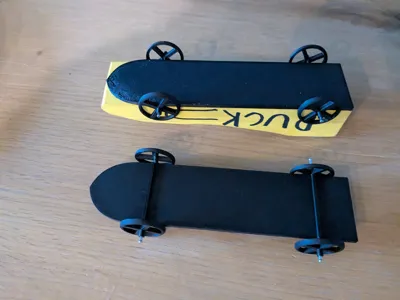
- Lightweight low friction wheels. To maximize performance the wheel weight should be minimal, but the default Pinewood derby wheels are much heavier and are not as smooth as you want for the axel. The standard wheels weigh .13 oz and these weigh .04 oz. (Weight overall is good, but you really don't want that weight in the wheels)
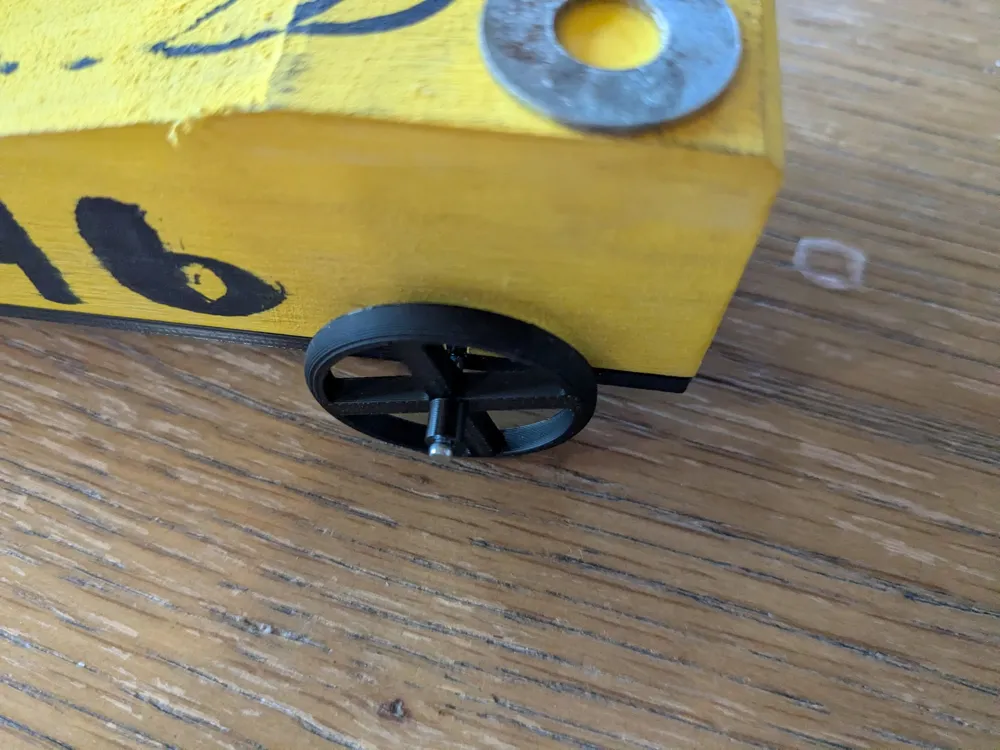
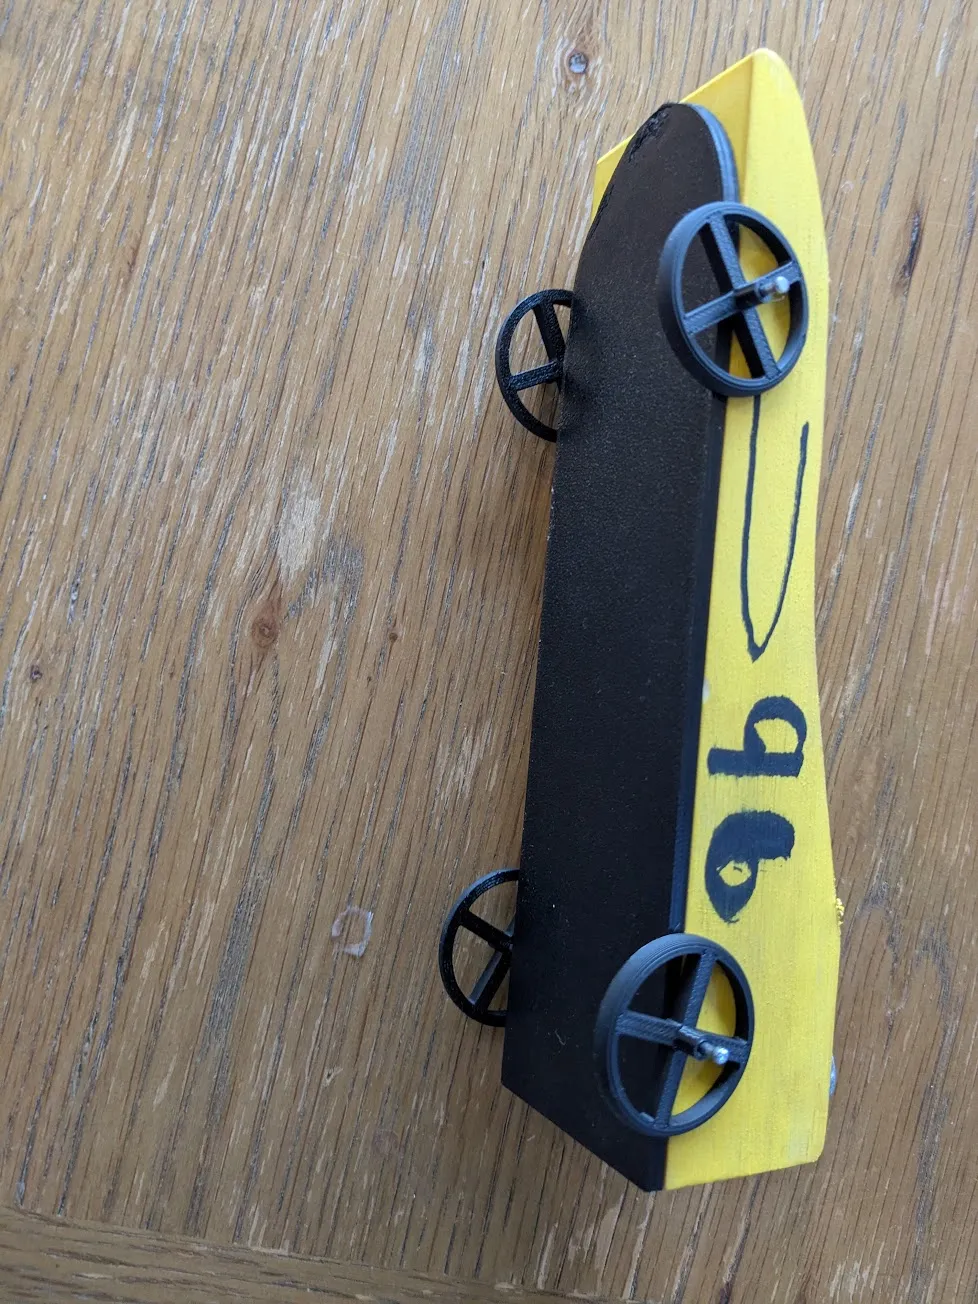
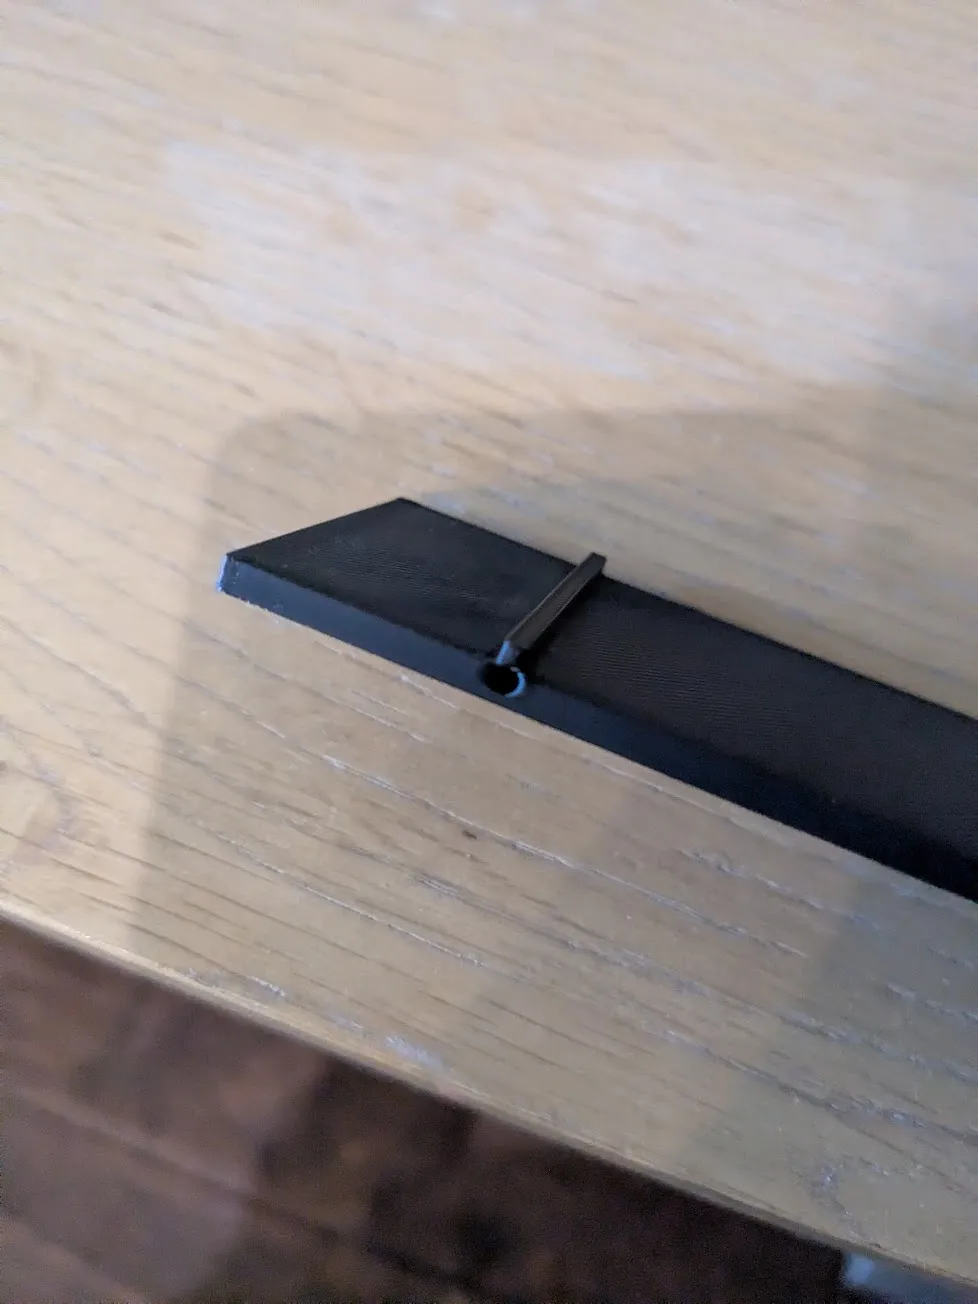
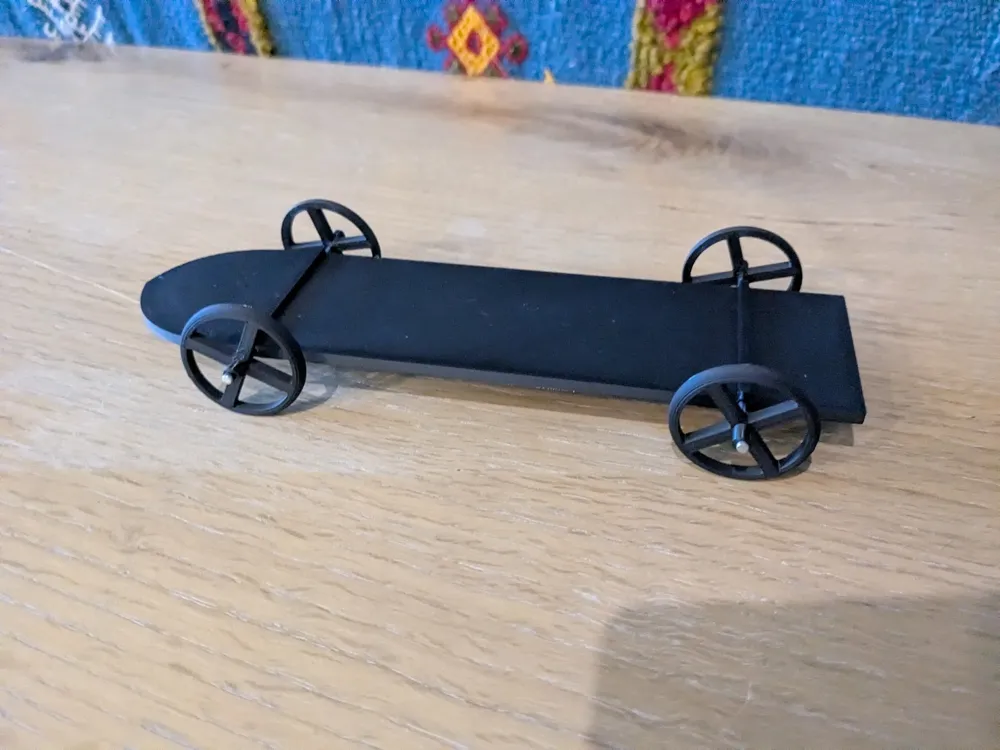
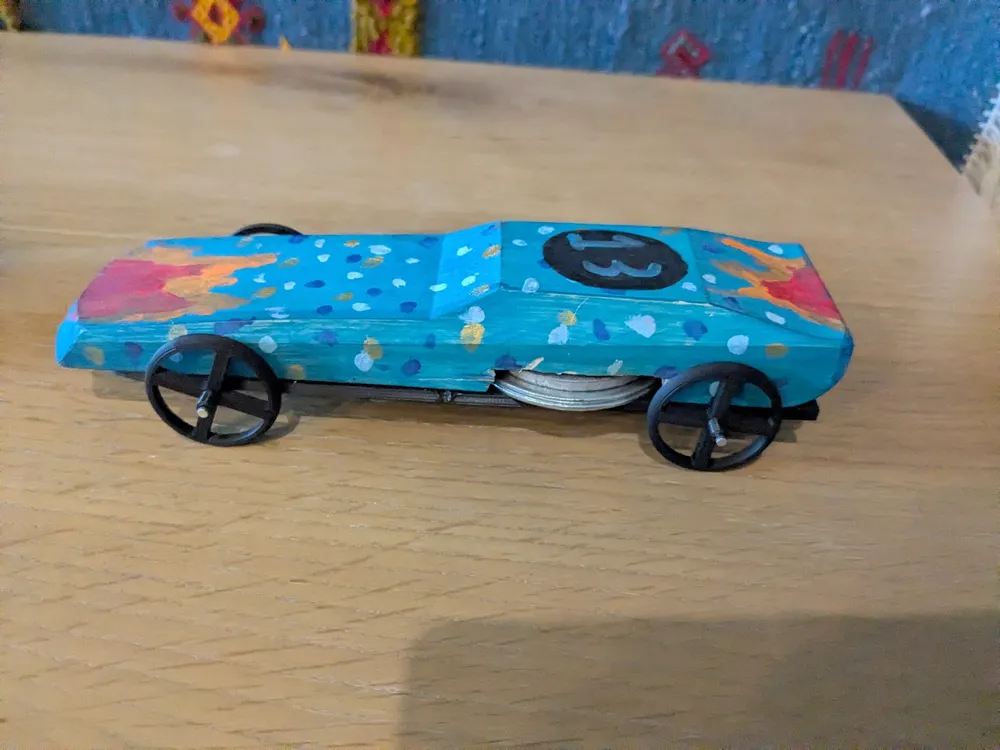
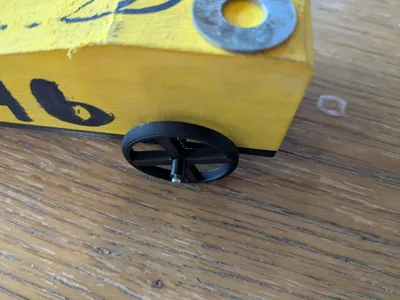
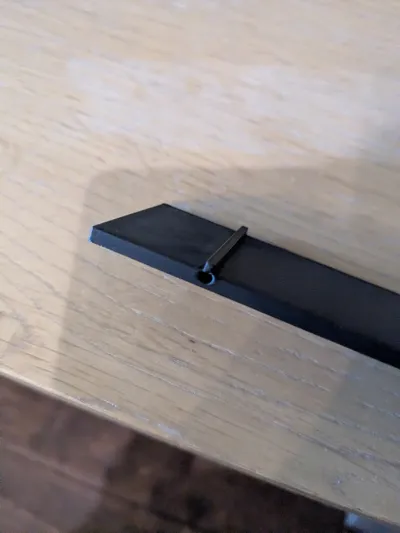
- Car frame that ensures wheels are aligned and angled at 2.5 degrees (up-canted) to further reduce friction and stability. Bending axels are a pain and frequently result in slight imperfections or ones that can be easily knocked out of alignment. This base is designed with the ideal angle built in and provides a platform so that the height of your wheels are consistent across the whole car. This base is designed to click in place with the standard pinewood derby blocks, but I have found that some models have the slots for wheels cut a little differently. little differently. In those case I just cut the base in half and removed any excess. These bases are also good for holding in the weights you may have put in a cavity carved into the bottom of the car (I would recommend a little glue to ensure it holds).
I used finishing nails for my axels because they were generally much more “polished” than the standard nails that come with a kit. The nails I used are about 16 gauge or 1.65mm in diameter for the shaft, and length of 1.25 inches or 32mm. I think this is a standard size you can buy here: https://www.amazon.com/Hillman-Group-532584-Finish-90-Pack/dp/B00PHHQ9LA/ref=sr_1_4
What this doesn't address:
- You should maximize the weight of your car, ideally put that weight about 1" in front of your back wheels.
- You may want to further polish your axels, I did this and found that some of the nails actually didn't need it.
- The 3 wheel approach. I didn't optimize it for this or rail riding. Theoretically, if you didn't add one of the front wheels you may get this benefit easily.
The model takes about 40 minutes to print.
Boost Me (for free)
I hope you like this and it saves you some time for your project.
You can check out my other designs at my homepage here: https://spencermann.com
It is a work in progress, but I hope to provide more information about my models, and some tips if you want to create your own.
License

You shall not share, sub-license, sell, rent, host, transfer, or distribute in any way the digital or 3D printed versions of this object, nor any other derivative work of this object in its digital or physical format (including - but not limited to - remixes of this object, and hosting on other digital platforms). The objects may not be used without permission in any way whatsoever in which you charge money, or collect fees.


Comment & Rating (7)