
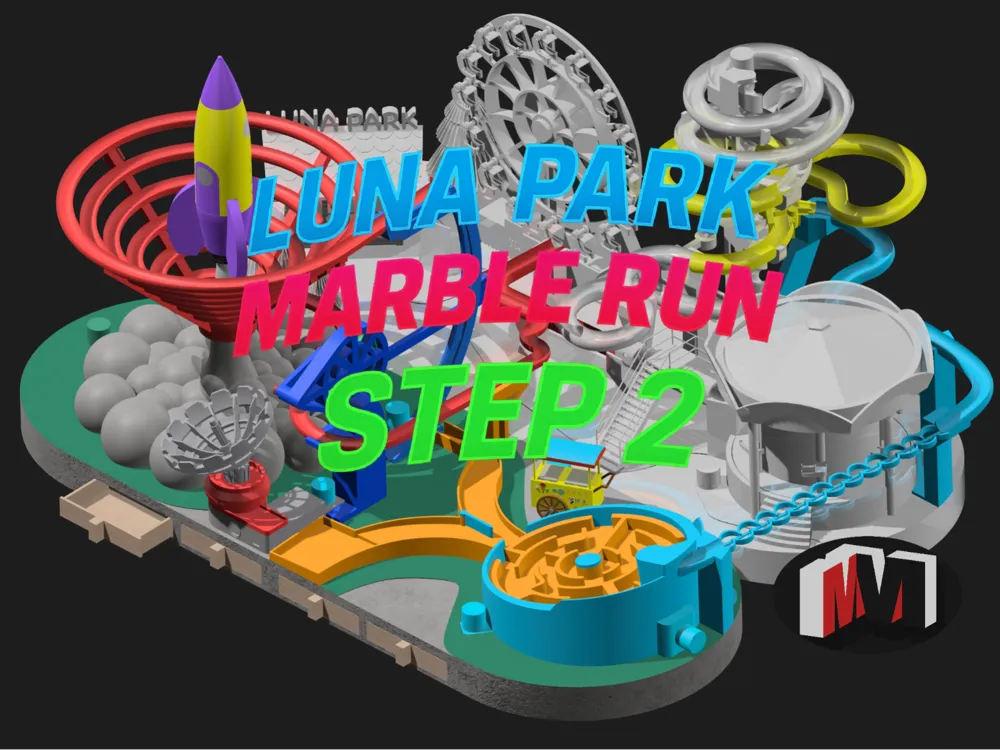
Luna Park Marble Run Step 2
Print Profile(3)


Bill of Materials


- USB extension cable x 1:
Description

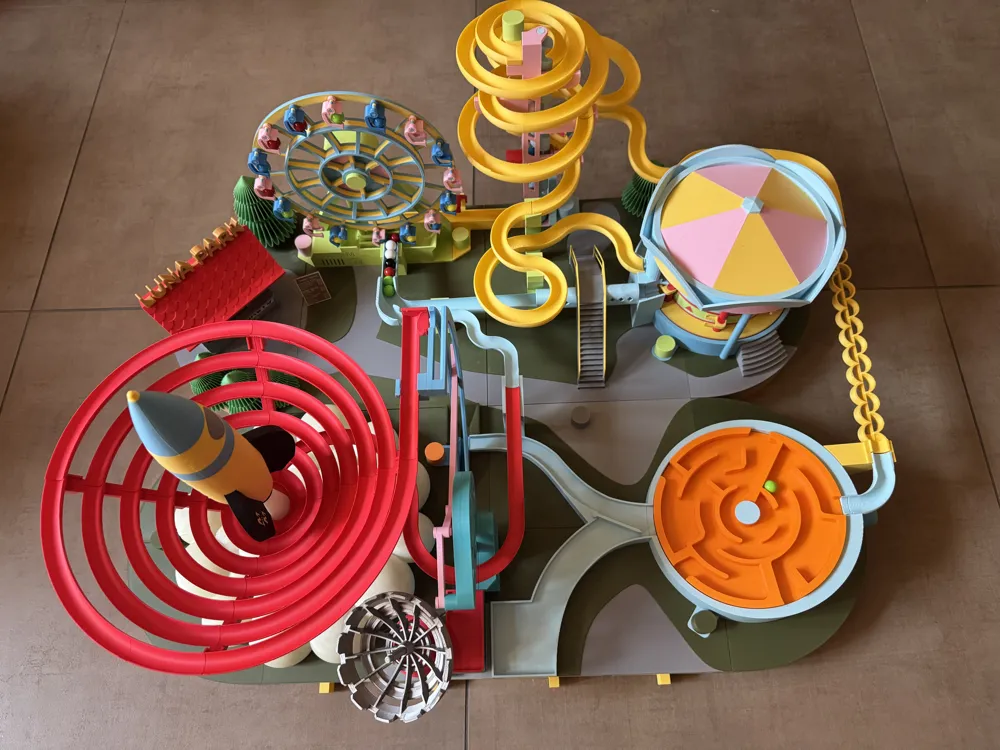
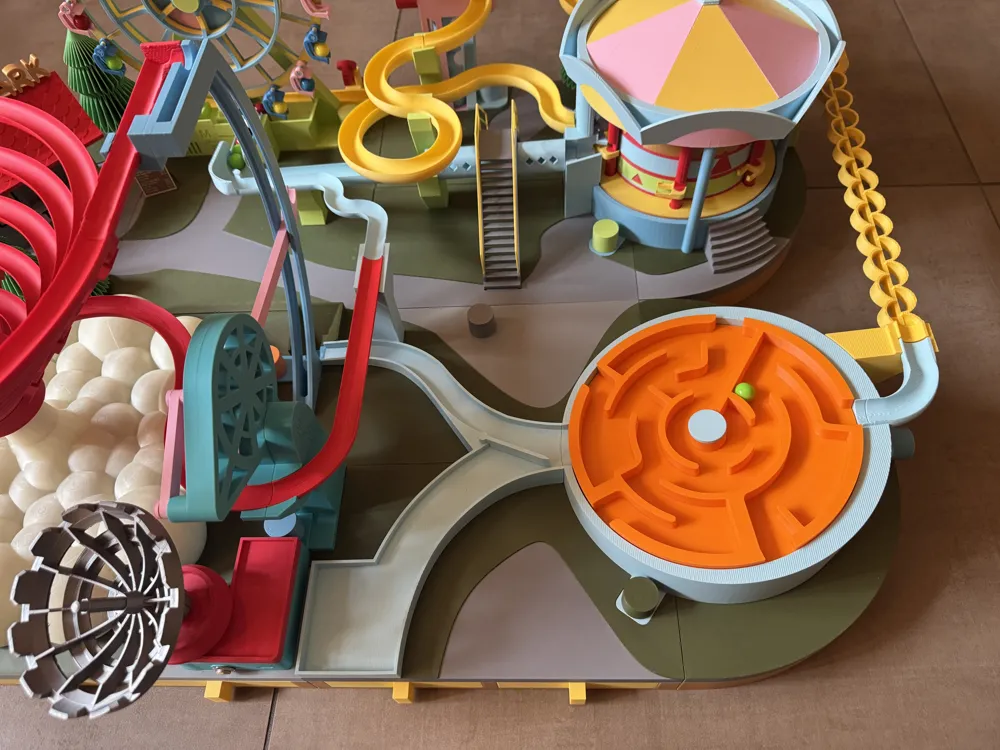
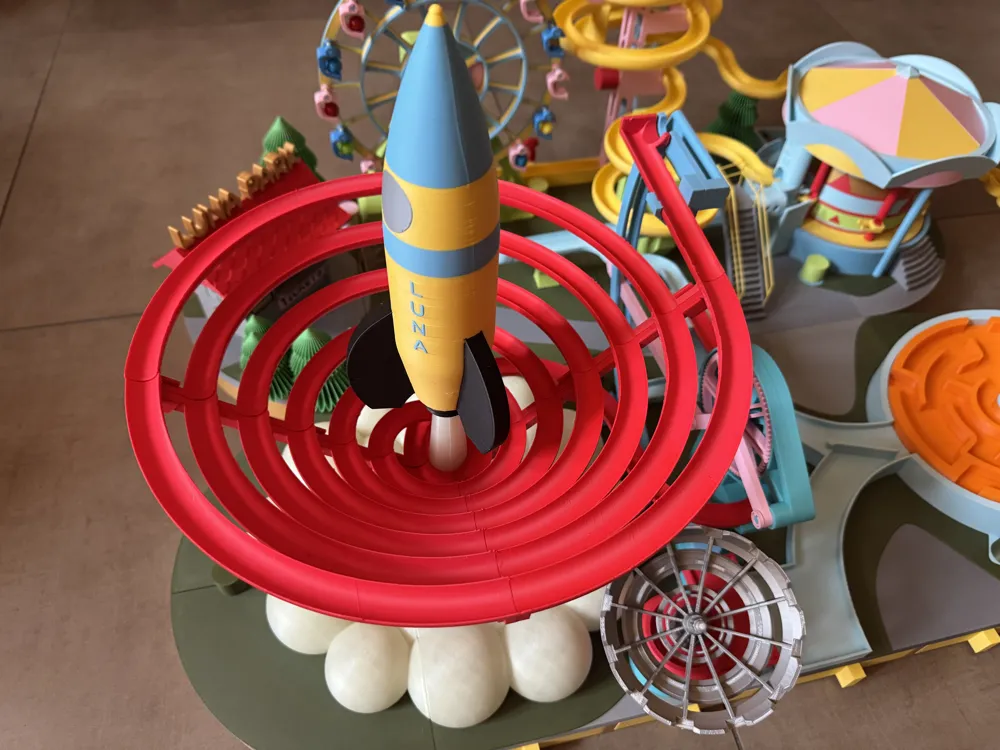
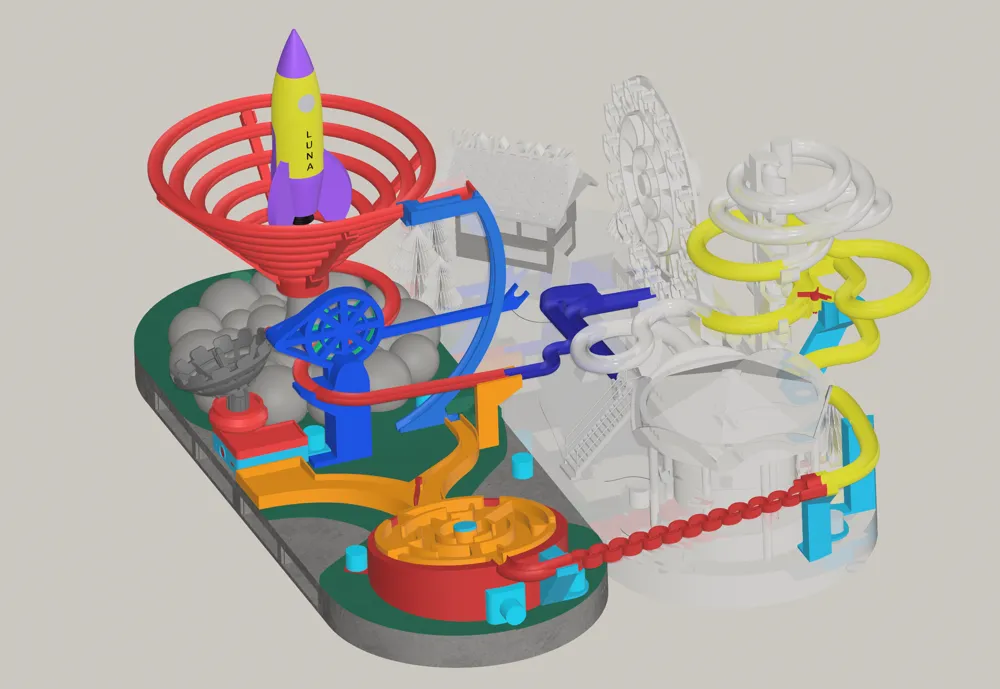
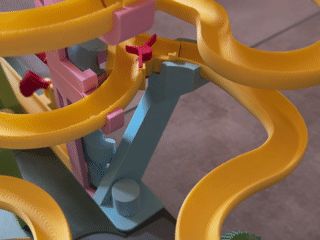
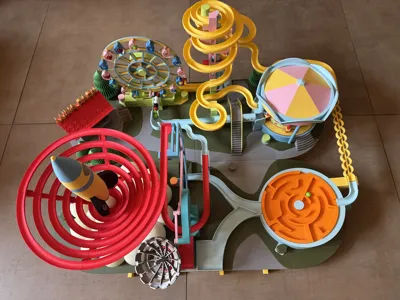
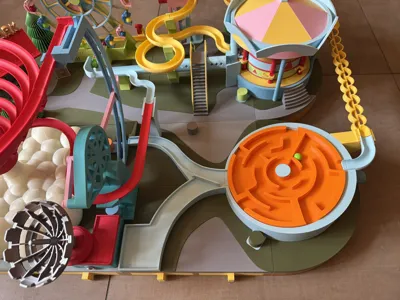
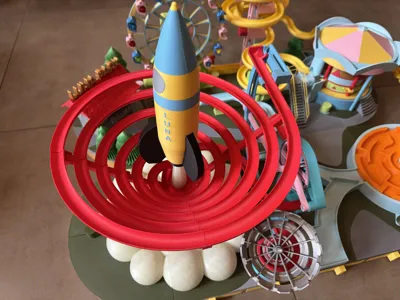
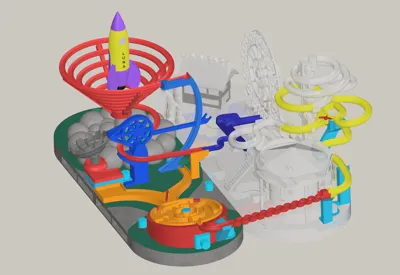
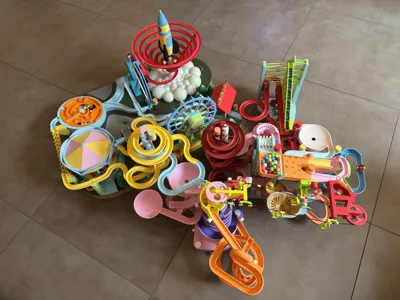
Luna Park Step 2 is the logical next step after Luna Park Step 1 and cannot be operated without Luna Park Step 1. Luna Park Step 2 comes with two new fun-filled tracks: a rotating maze and an arm lift that lifts the marbles onto the rocket track, completing the circle with Step 1. Luna Park Step 2 is simply plugged into Luna Park Step 1.
For “Luna Park Step 2”, you need two TT Motor DC5V 59RPM CCW Single Axis motors. It is important to use TT motors with no more than 59RPM, otherwise functionality will be affected. If you purchase the motors from BBL, they will be the ones with a USB-A connection. The Luna Park model has sufficient cable outputs for this. A battery-powered version can also be built.
Compared to Marble Run 003, Luna Park's base is a more robust base platform with large plates that allow for a more stable expansion. Therefore, the print profile is unfortunately not suitable for the A1 mini.
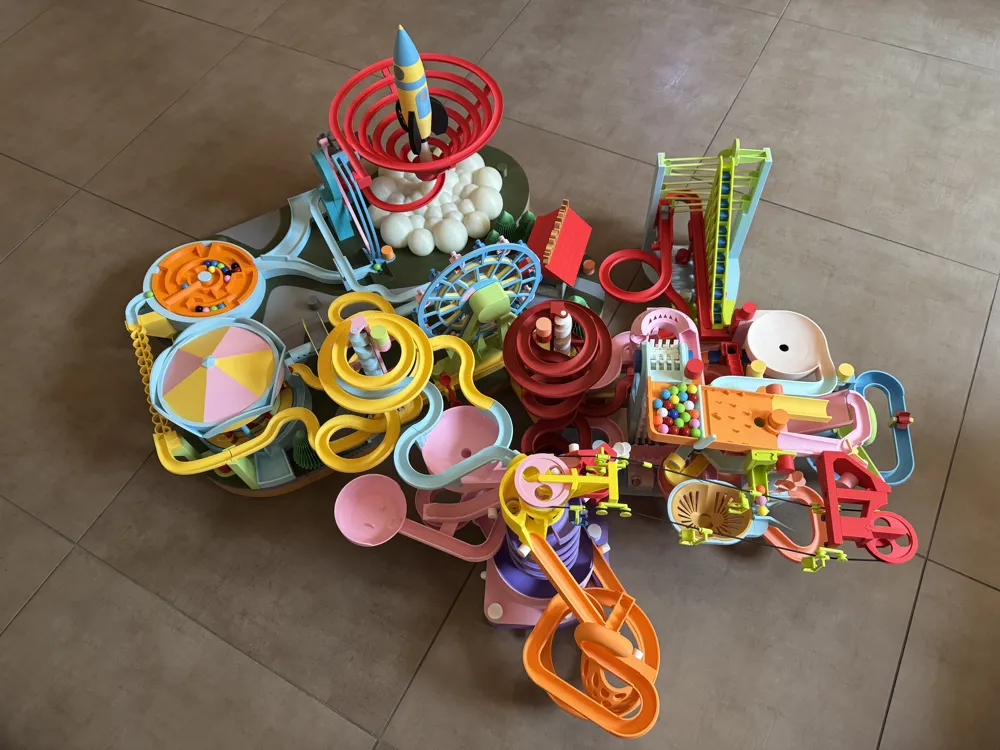
Marble Run 003 with all my add-ons has now reached a size that requires a lot of space, but there are many in the community who have that space. Therefore, if you want to connect the Luna Park to the Marble Run 003 add-ons (see last pic), you can find the connecting parts here. If Luna Park Step 1 is already connected to the Marble Run Addons, you do not need to print new connectors.
Good to know
- Two parts from Luna Park Step 1 are replaced by new parts from Step 2. The Luna Park Step 1 to Marble Run 003 Addons Connector can still be used.
- In the Print Profile many parts are split into further parts so that you can color them more quickly and accurately.
- Some objects have support structures that must be removed carefully and cleanly. Rotate the parts so that you don't overlook any support structures.
- The orientation of some Rocket “Roller Coaster” objects on plates 14 and 15 is not ideal for a very good quality, but it saves a lot of support structure. In my opinion, however, the quality is sufficient.
- Step 1 with 3 motors is supplemented by two additional motors in Step 2. The USB cable guides / outlets from Step 1 can be used. However, to avoid having to remove and reinstall a lot of parts, Step 2 also has cable outlets. The assembly instructions only mention the outputs from Step 2.
- Of course, there is also a battery-powered version for those who know how to use a soldering iron. The battery-powered version also has a USB-C charging module to charge the battery directly, as in Step 1.
- For the rocket exhaust fumes, I used PLA Glow Green (15500), which emit a captivating glow in the dark.
- Using more than 25 marbles can cause jams. At the start, approximately the same number of marbles should be placed in the starting area of Luna Park 1 and 2. The starting area for Luna Step 2 is in the area in front of the arm lift.
- The ice cream cart is not part of this project
Filament:
- PLA (Matte, Glow Green)
Build Plate:
- I’ve been using the BIQUE CryoGrip Pro GlacierPanda Build Plate for several months and I've never had a single adhesion problem with it. I've also never had to use liquid glue. Without the BIQUE Panda Build Plate CryoGrip Pro Glacier, I would choose Smooth PEI / High temp for both X1C and H2D.
Marbles:
- Max. 14mm diameter. Tested with Marbles from Marble Run 003 components kit http://store.bambulab.com/products/marble-run-components-kit-003
Shopping List:
- See parts list
Note: Please be sure to read the assembly instructions before you start printing and assembling, as there are important details that I have not mentioned here.
Boost Me (for free)
I am happy about every boost that helps me to create more beautiful add-ons and models. Thank you very much for your support! 😀
Interested in more Marble Run items? Check out https://makerworld.com/de/collections/5053812 or https://makerworld.com/en/@mplusm
Disclaimer:
When charging the battery (battery powered version) it's essential to strictly follow the safety instructions supplied with the products and specified by the manufacturer. USB charger module only supports standard 5V-1A input. DO NOT use chargers with output higher than 5V-1A (such as mobile fast chargers, 9V/12V adapters, etc.), as this may cause device damage, overheating, or even serious fire hazards. DO NOT cover the device while charging, and keep it away from high temperature, humidity, or flammable environments. Never charge the device unattended.
I’m not responsible for any device damage, malfunction, fire, or other losses resulting from failure. All use is at the user’s own risk.
Documentation (1)
License

You shall not share, sub-license, sell, rent, host, transfer, or distribute in any way the digital or 3D printed versions of this object, nor any other derivative work of this object in its digital or physical format (including - but not limited to - remixes of this object, and hosting on other digital platforms). The objects may not be used without permission in any way whatsoever in which you charge money, or collect fees.


Comment & Rating (75)