Search models, users, collections, and posts

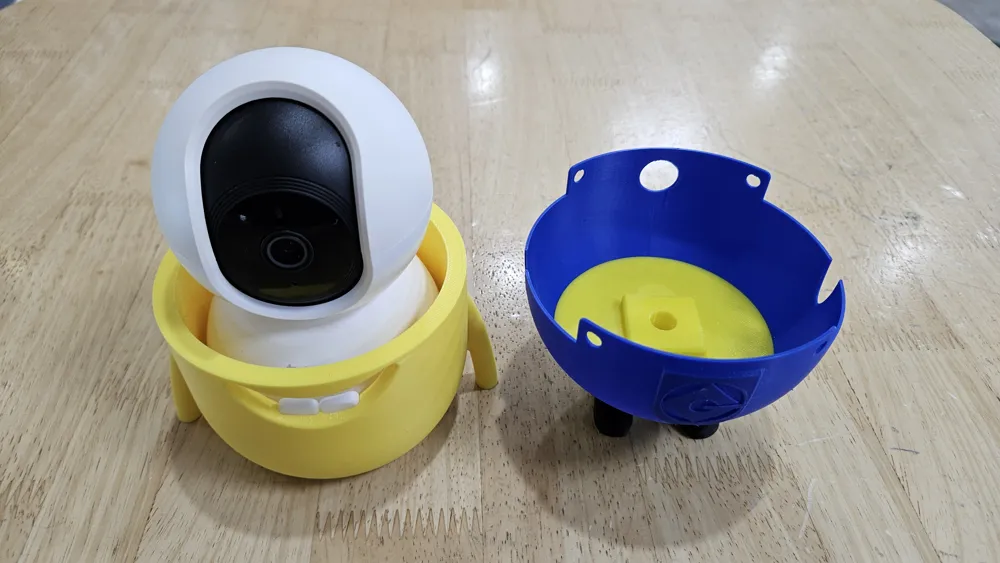
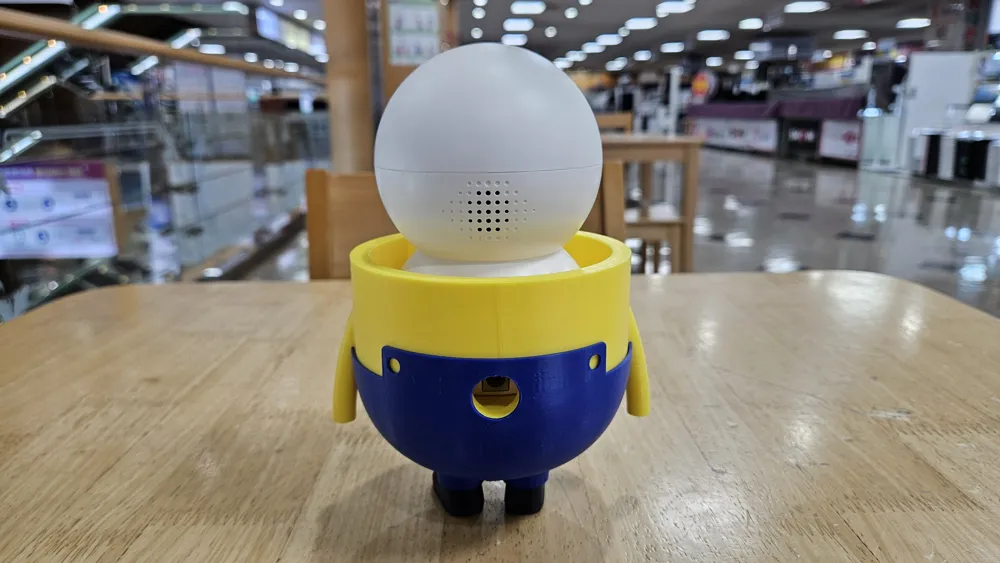
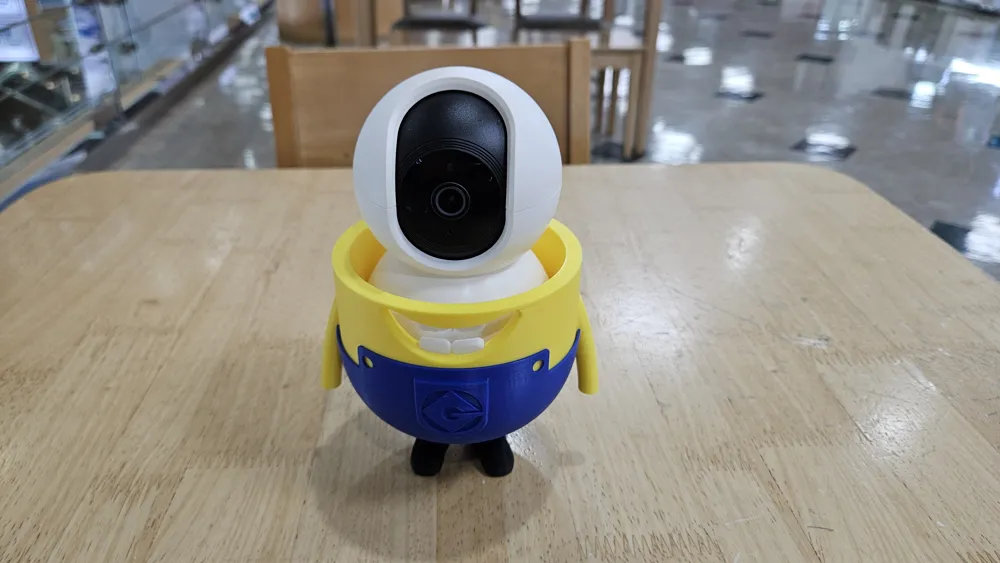
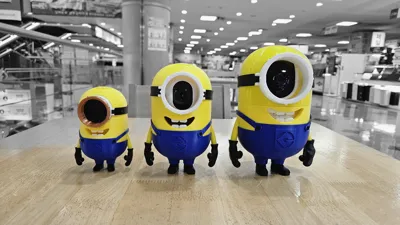
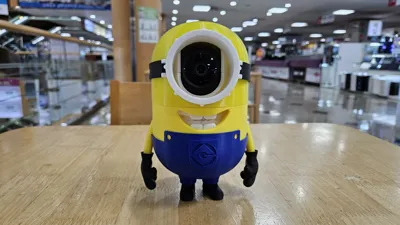
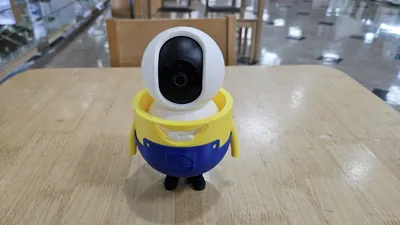
Tapo Minion Camera Cover/Skin ( Tapo C200 Series )
IP Report
GIF

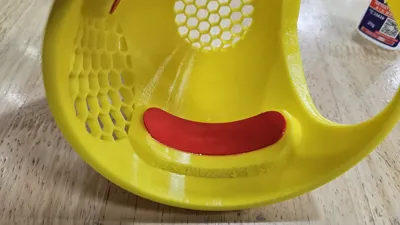
Print Profile(4)

Part B - 0.16mm layer, 3 walls, 15% infill
Designer
2.4 h
2 plates

Part A - 0.16mm layer, 3 walls, 15% infill
Designer
13.7 h
6 plates

A1 mini Part A - 0.16mm layer, 3 walls, 15% infill
Designer
15.3 h
7 plates

A1 mini Part B - 0.16mm layer, 3 walls, 15% infill
Designer
2.7 h
2 plates
Open in Bambu Studio
Boost
707
1778
218
91
1.1 k
520
Released
Description
Description

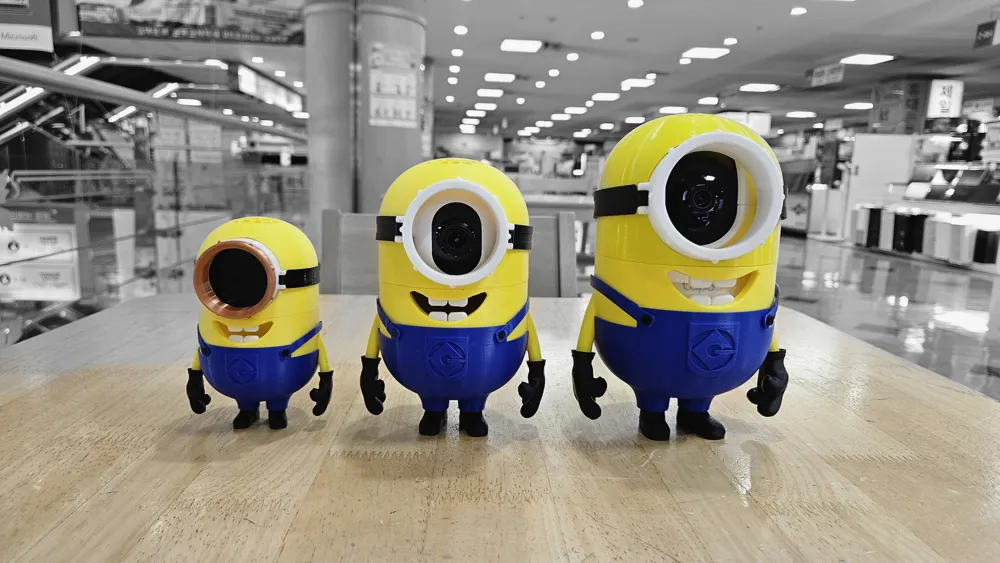
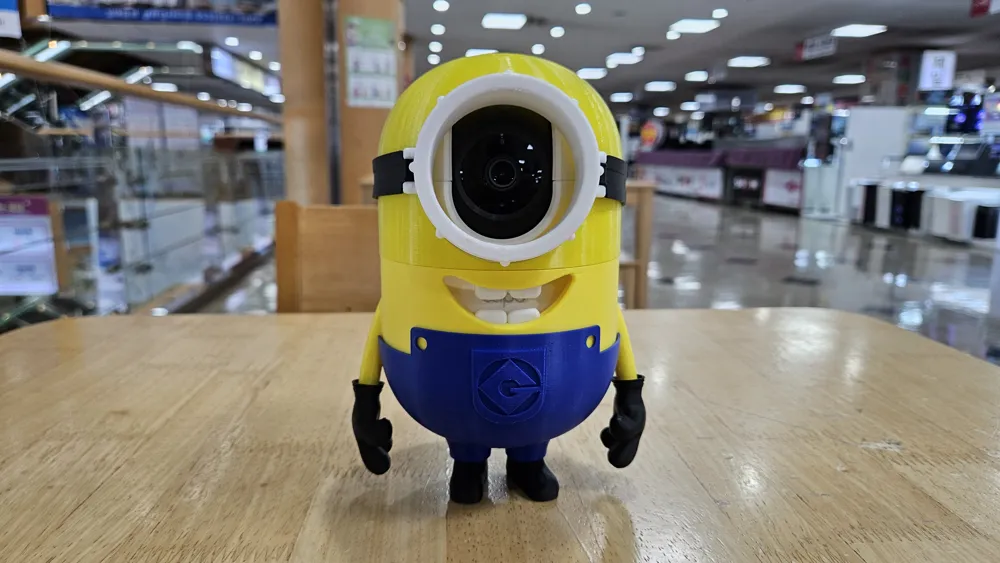
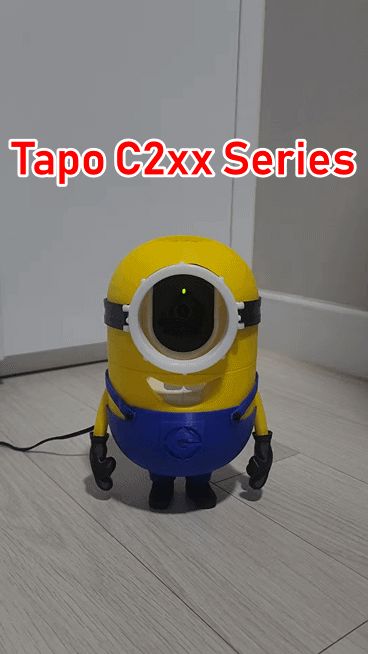
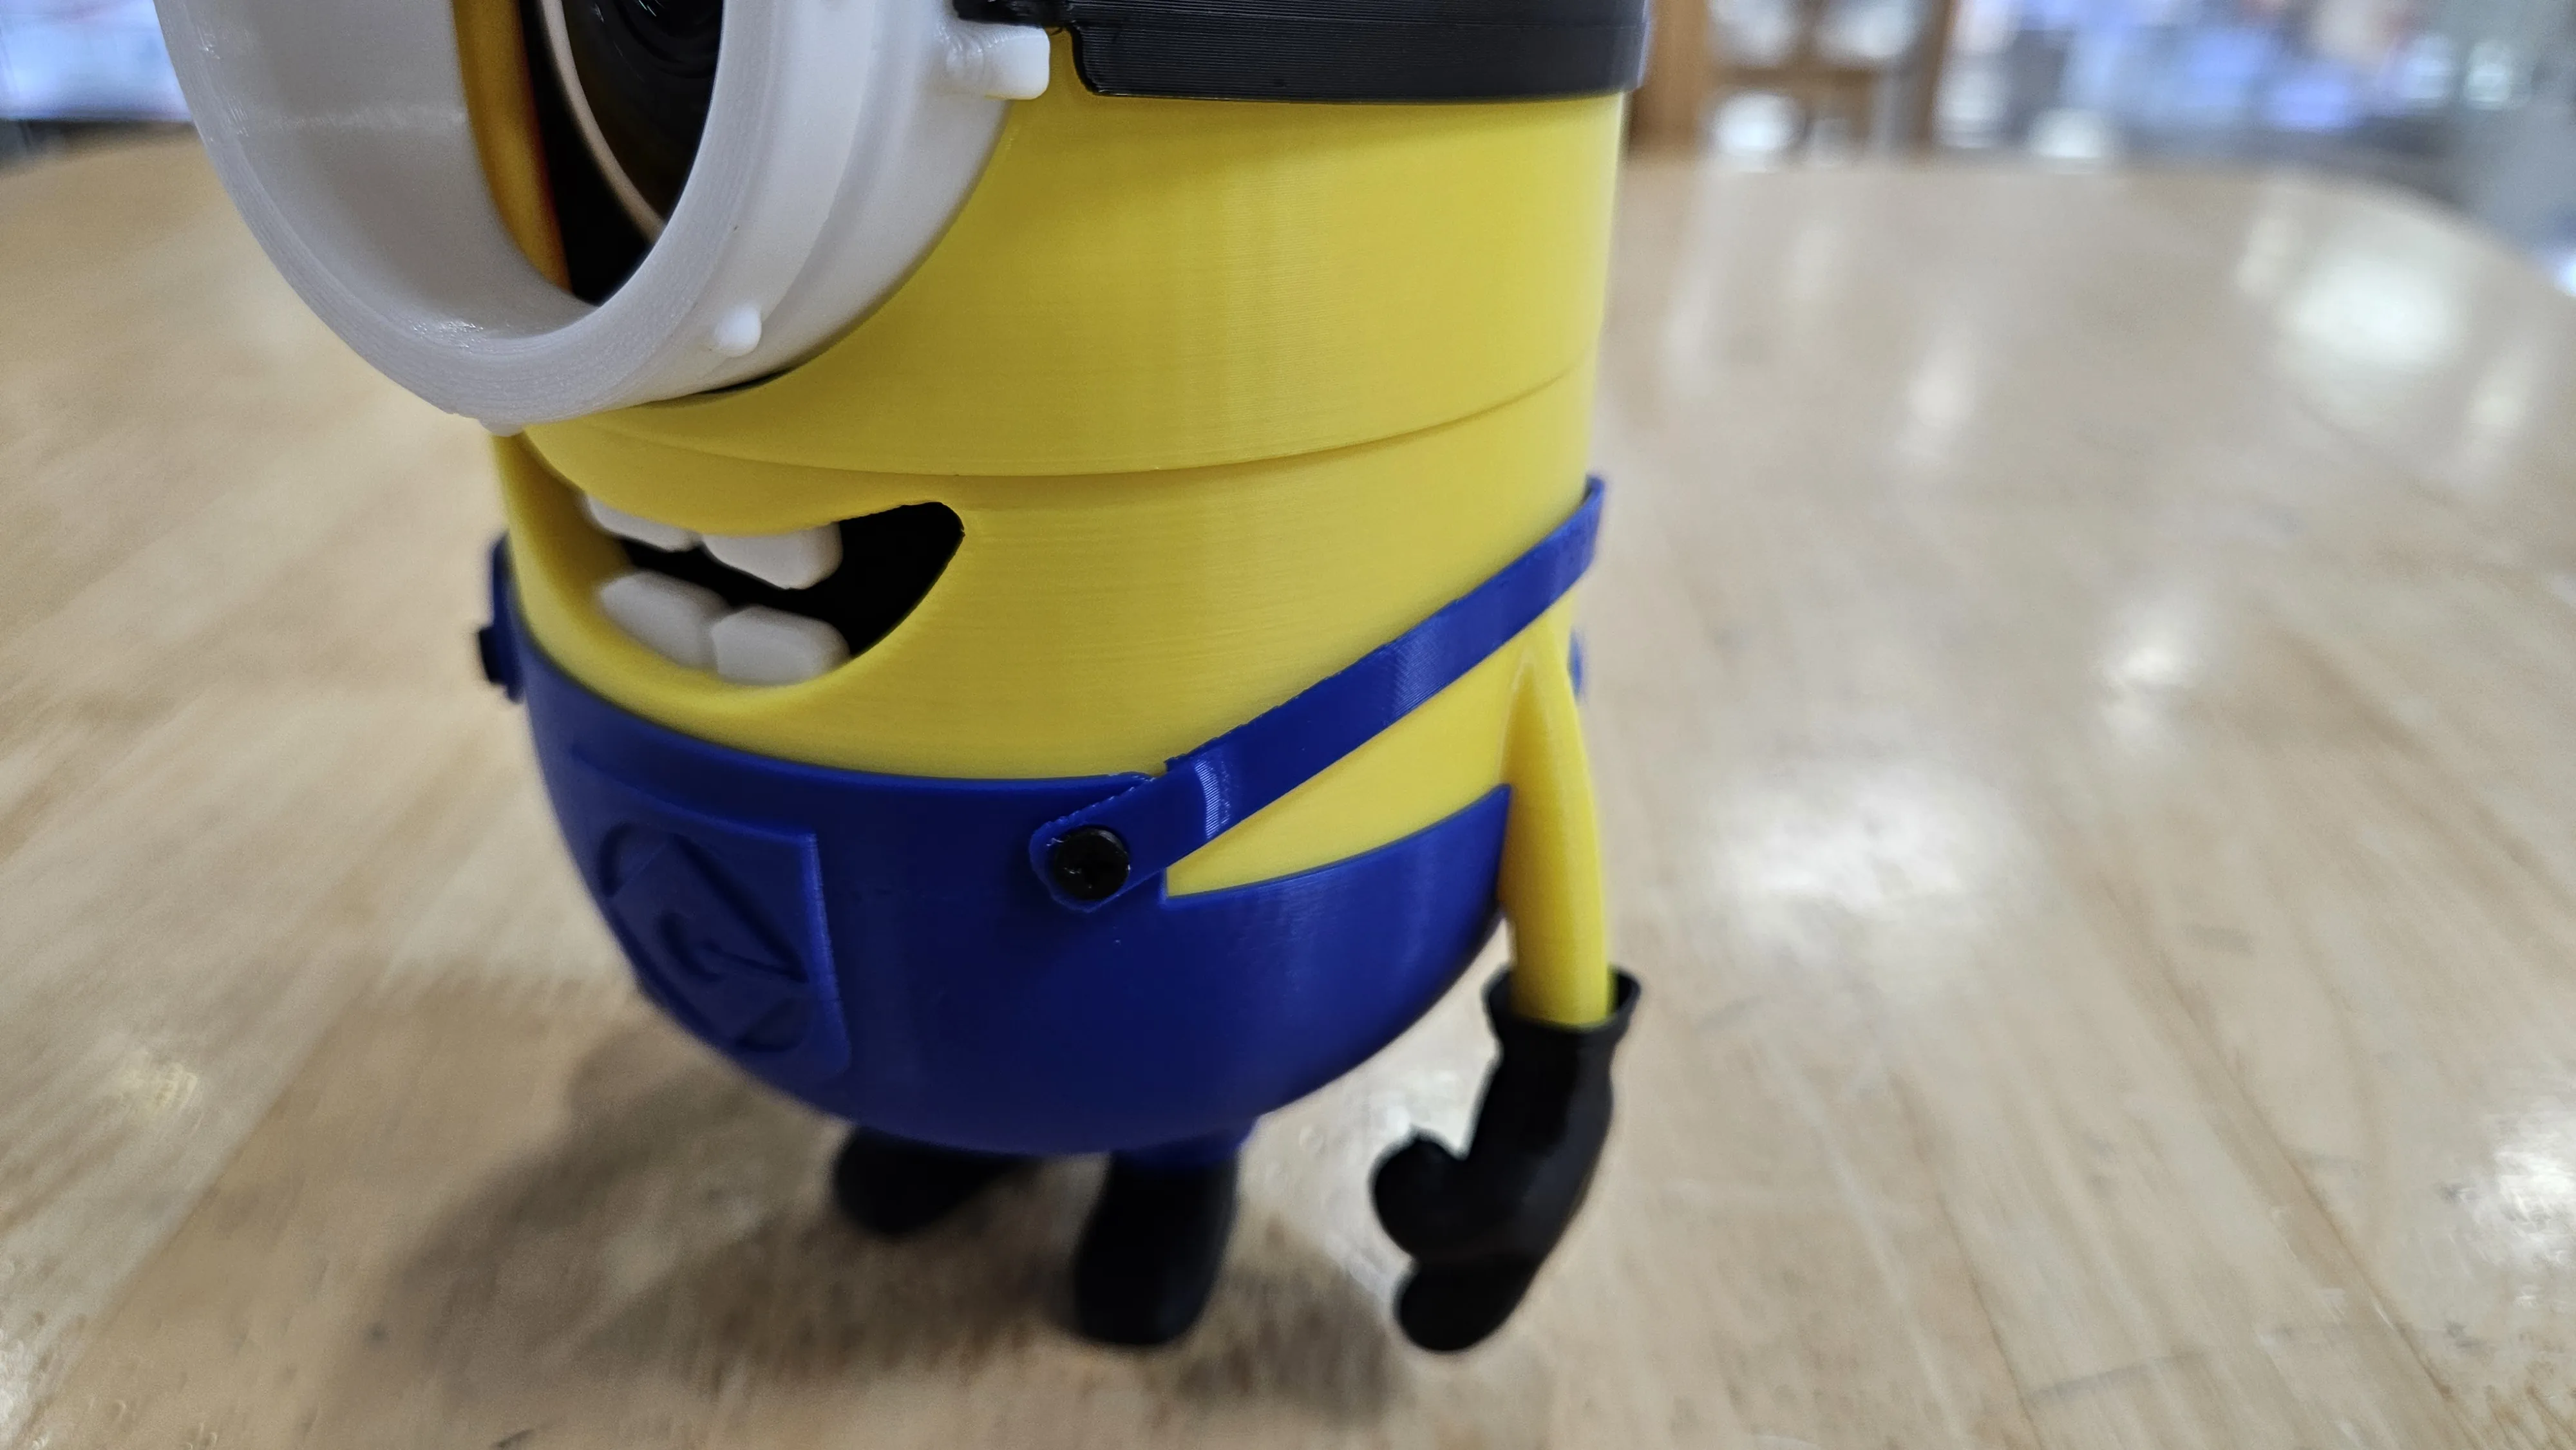
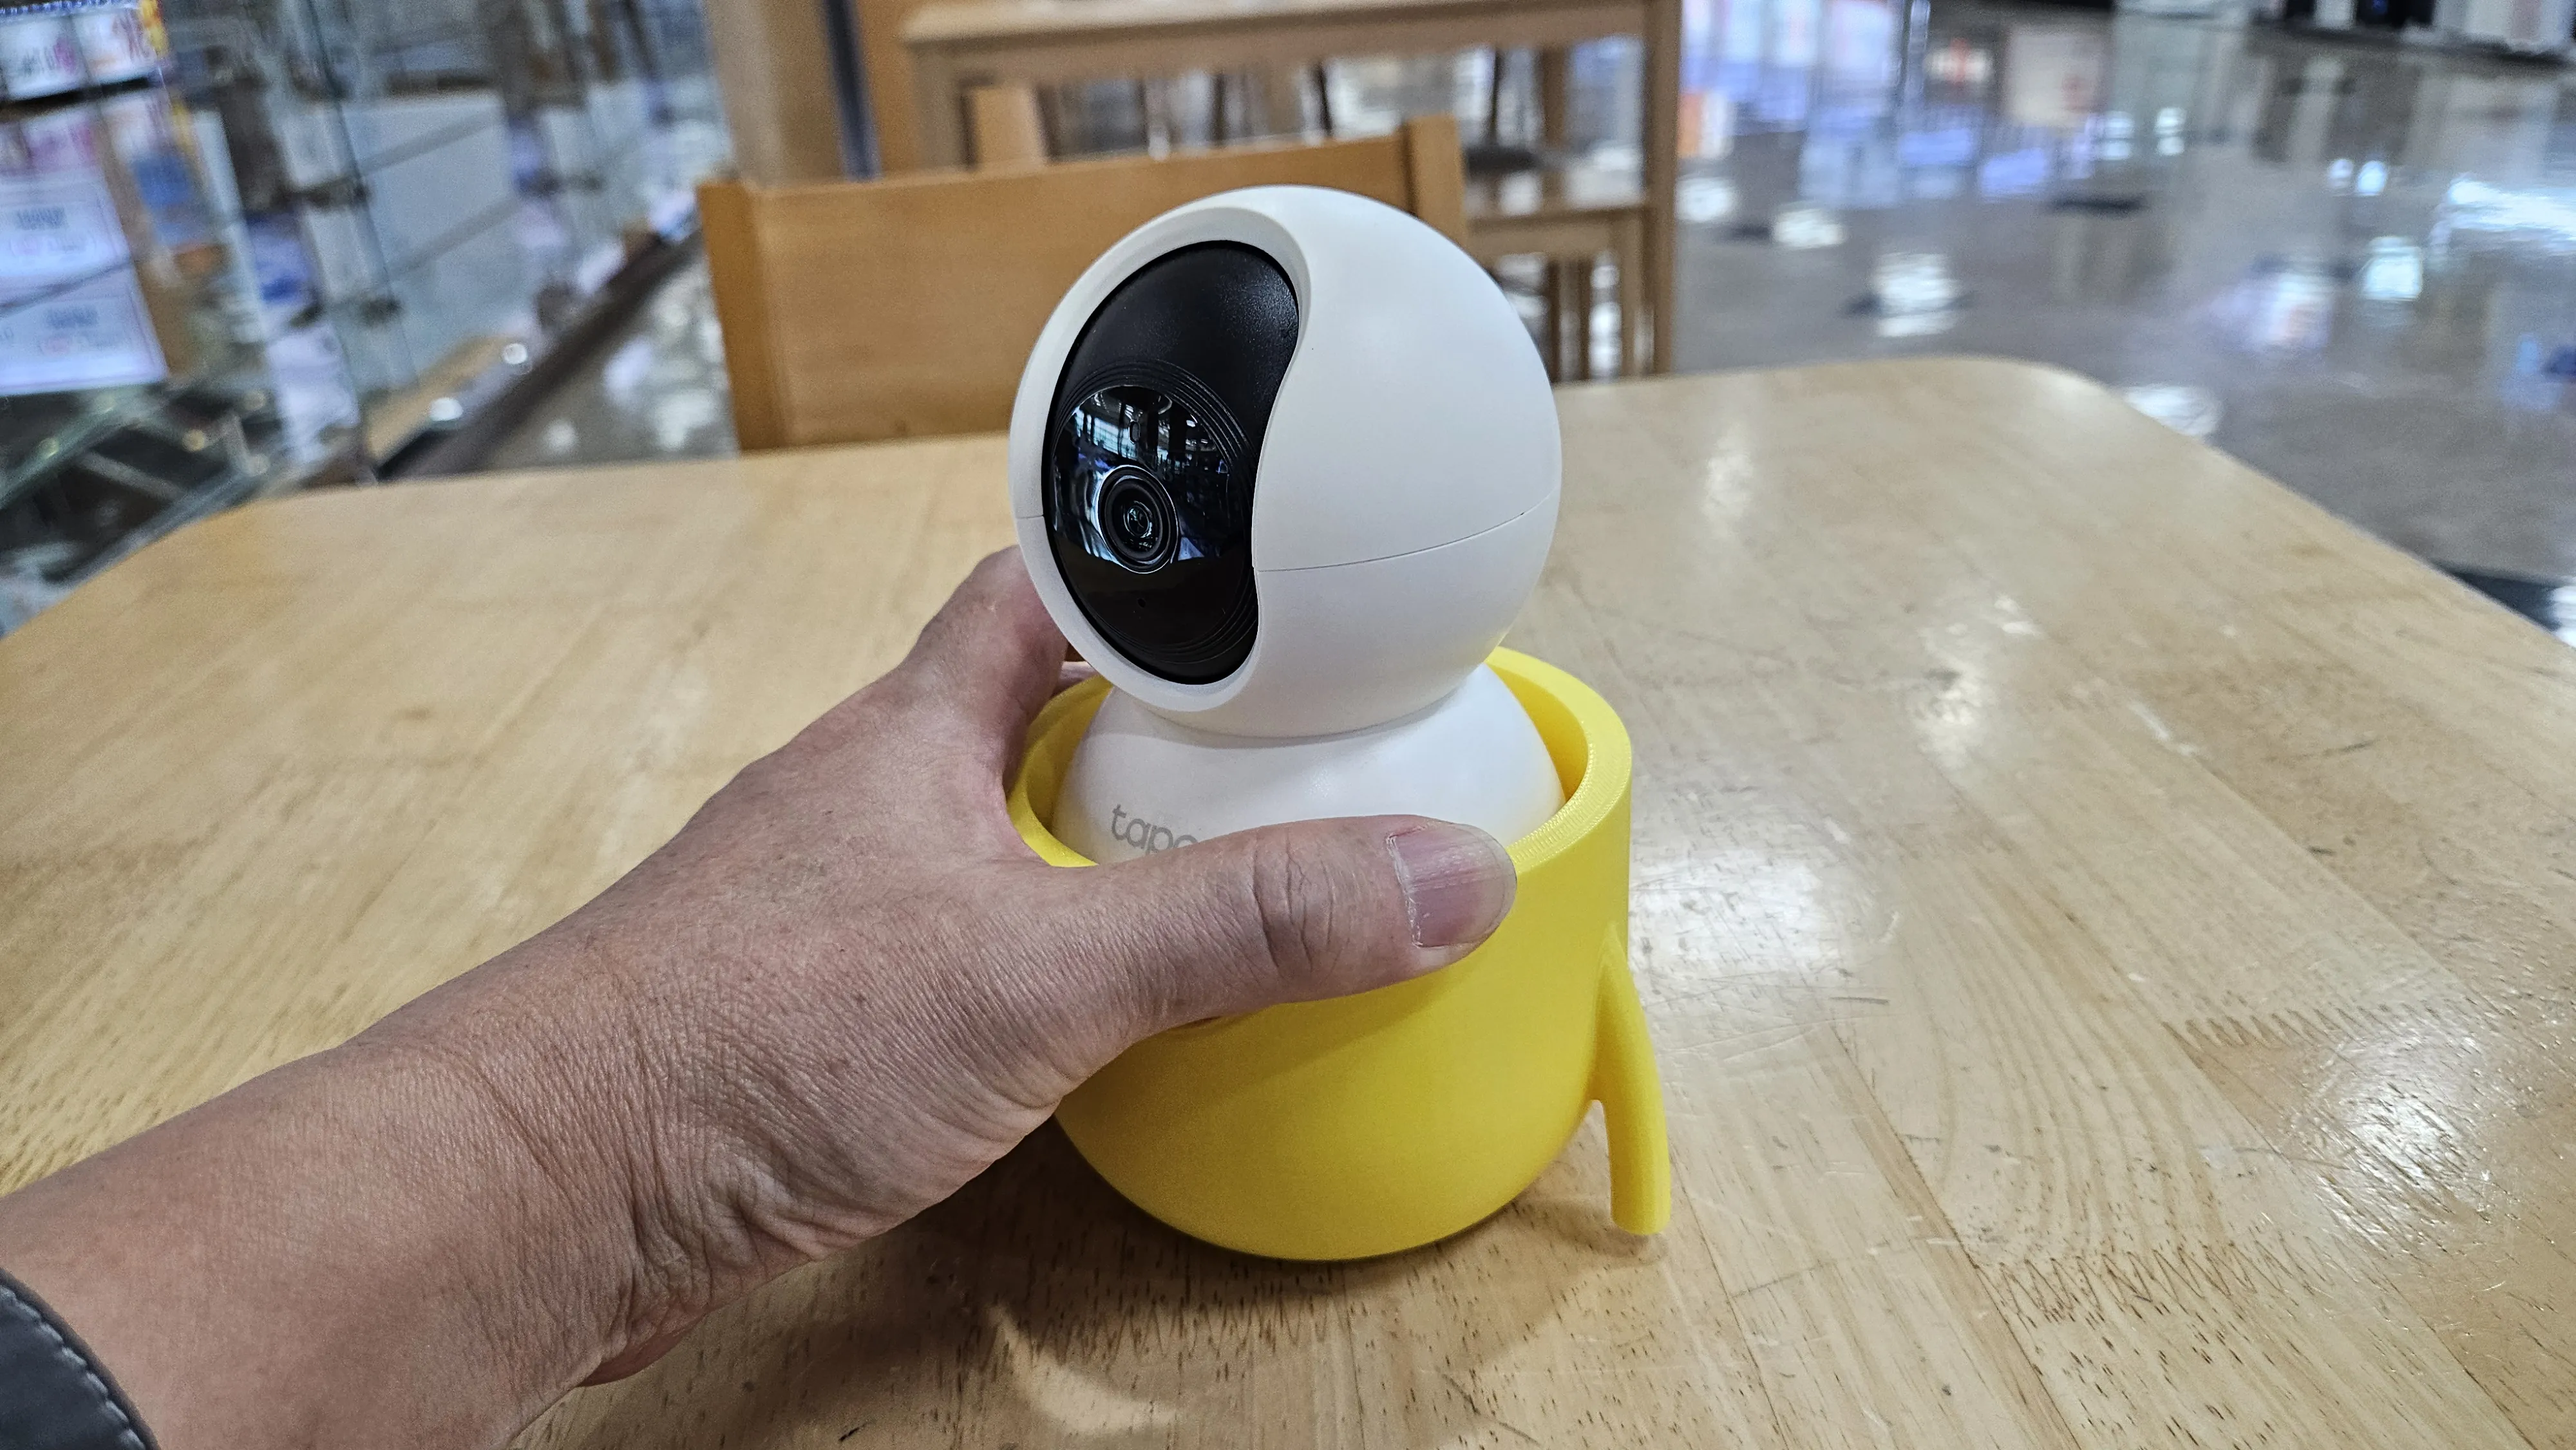
I reinterpreted keybl's Minion Stuart as a skin for the TAPO C2xx Series Camera.
Here is the link to the original model.
https://makerworld.com/en/models/1249317-minion-stuart#profileId-1281647
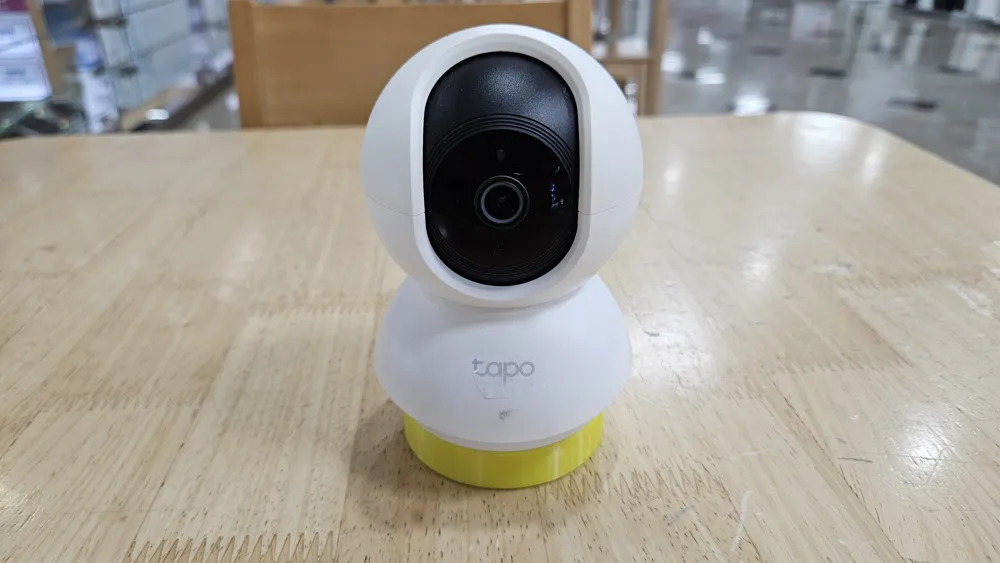
Modeled based on the TAPO C200.
Applicable to all C2xx series models, including the C210, C220, and C230.
. C70 OK
Your printer life becomes even more enjoyable.
------------------------------------------------------------------------------------------------------------
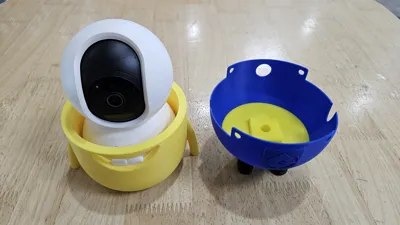
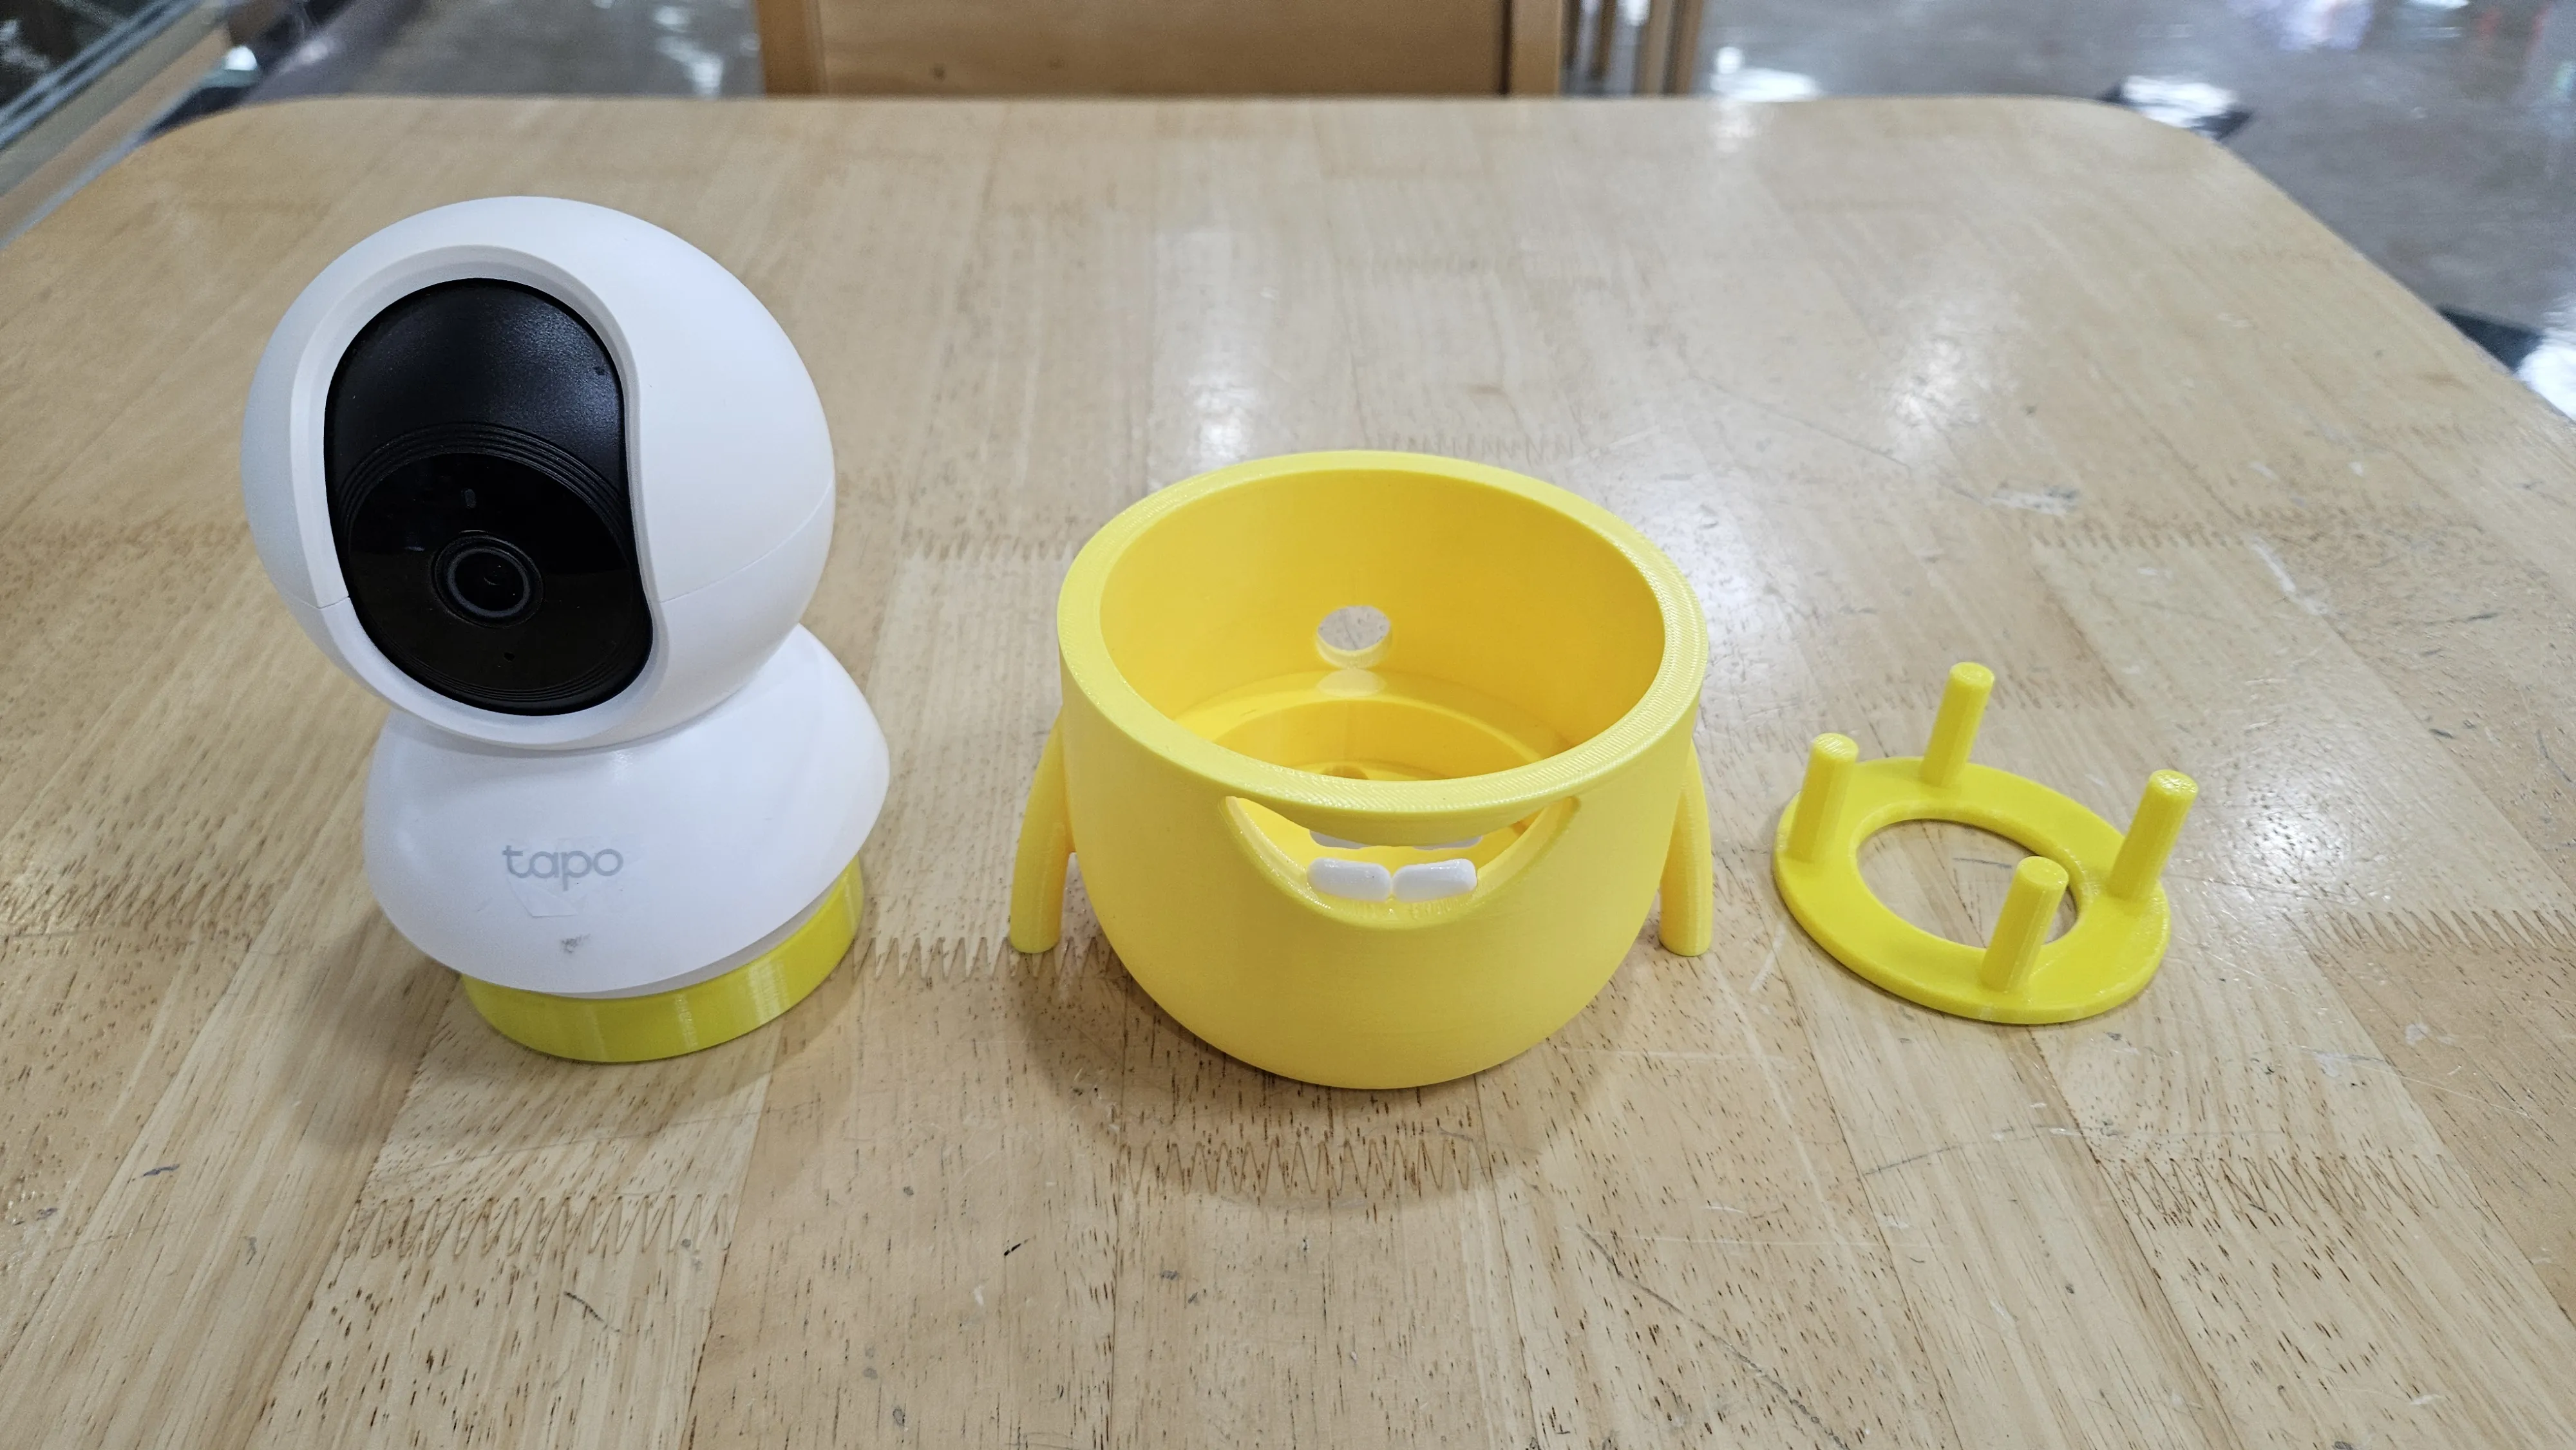
The file is divided into two parts.
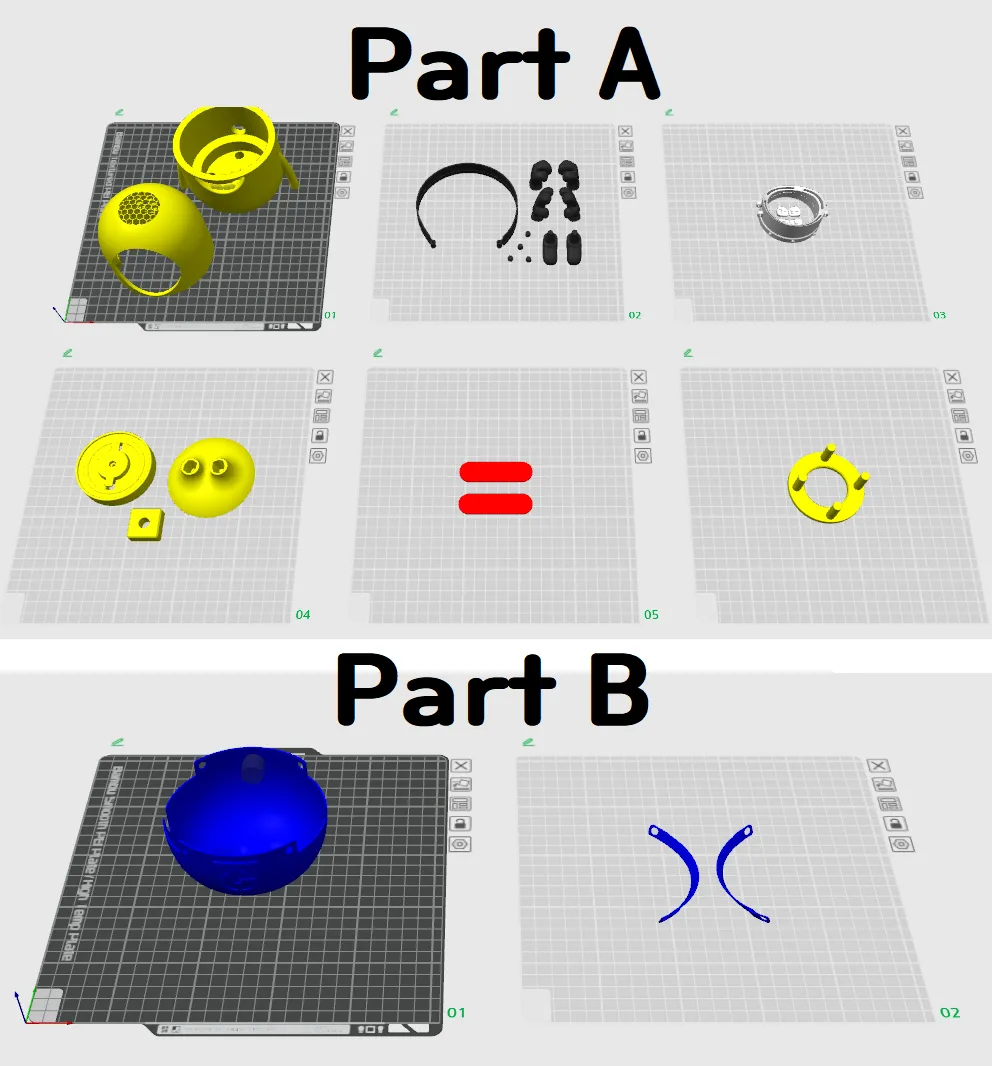
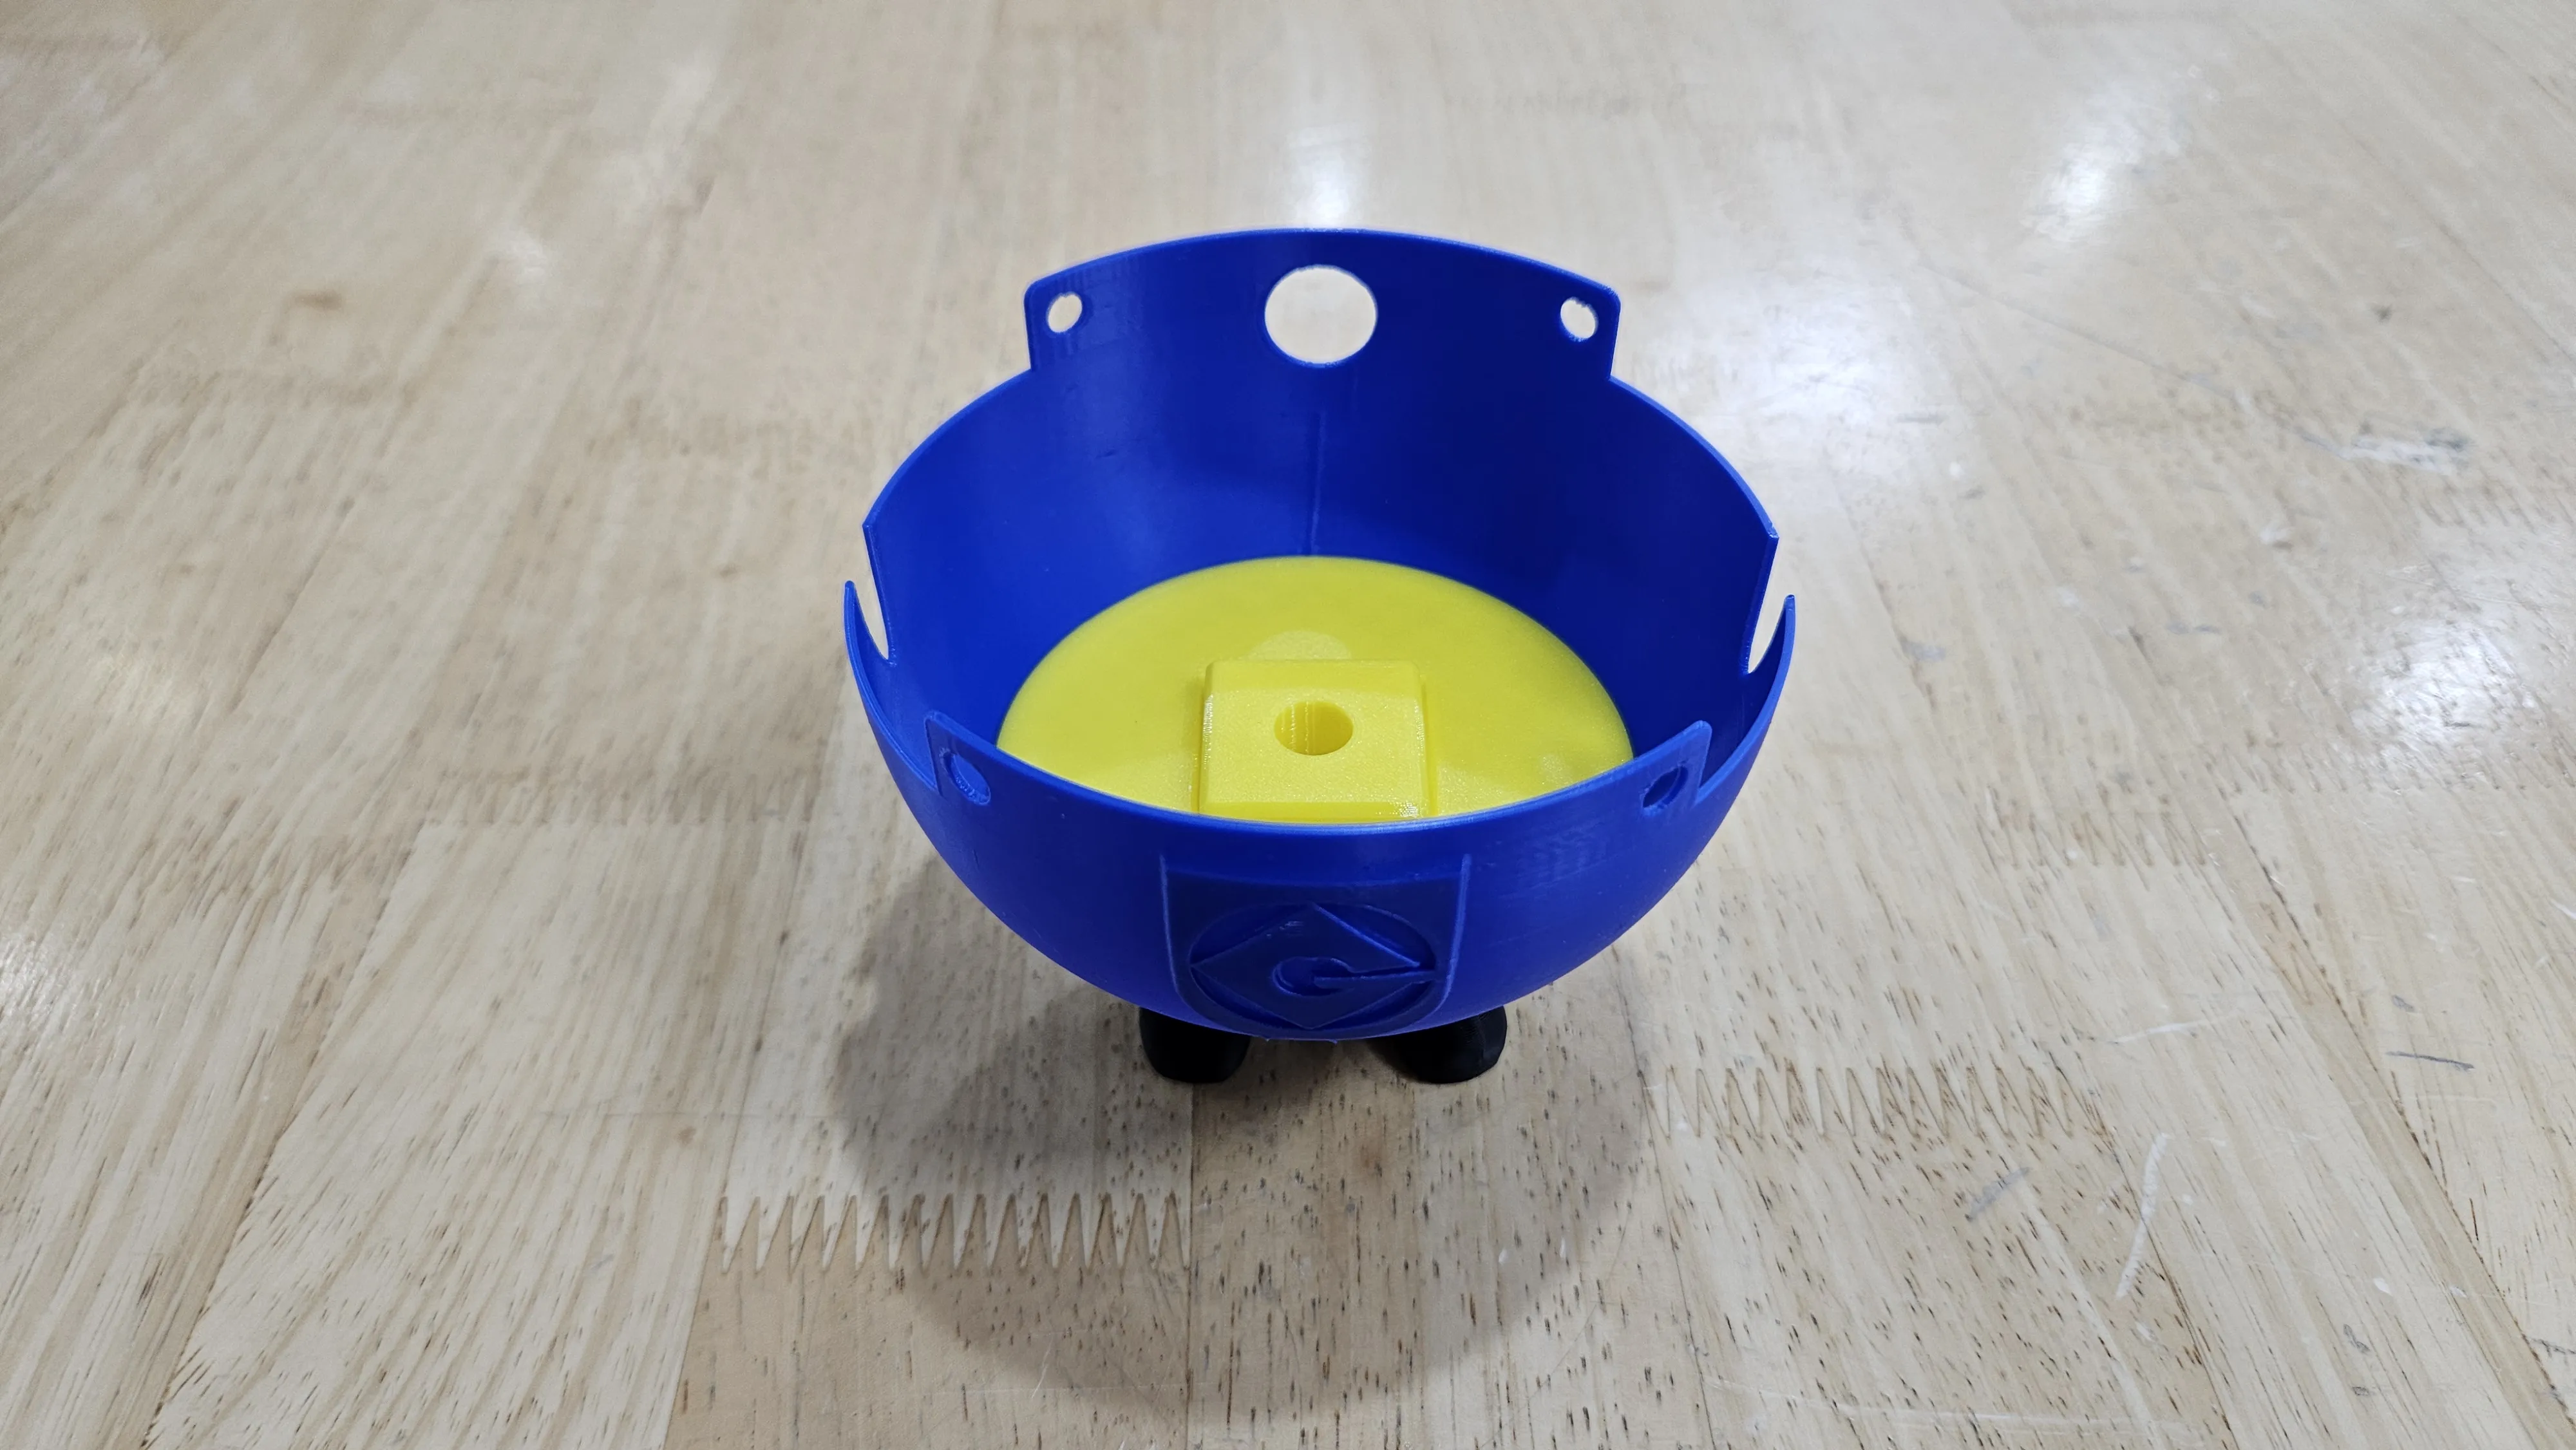
- Assemble the four parts in order.
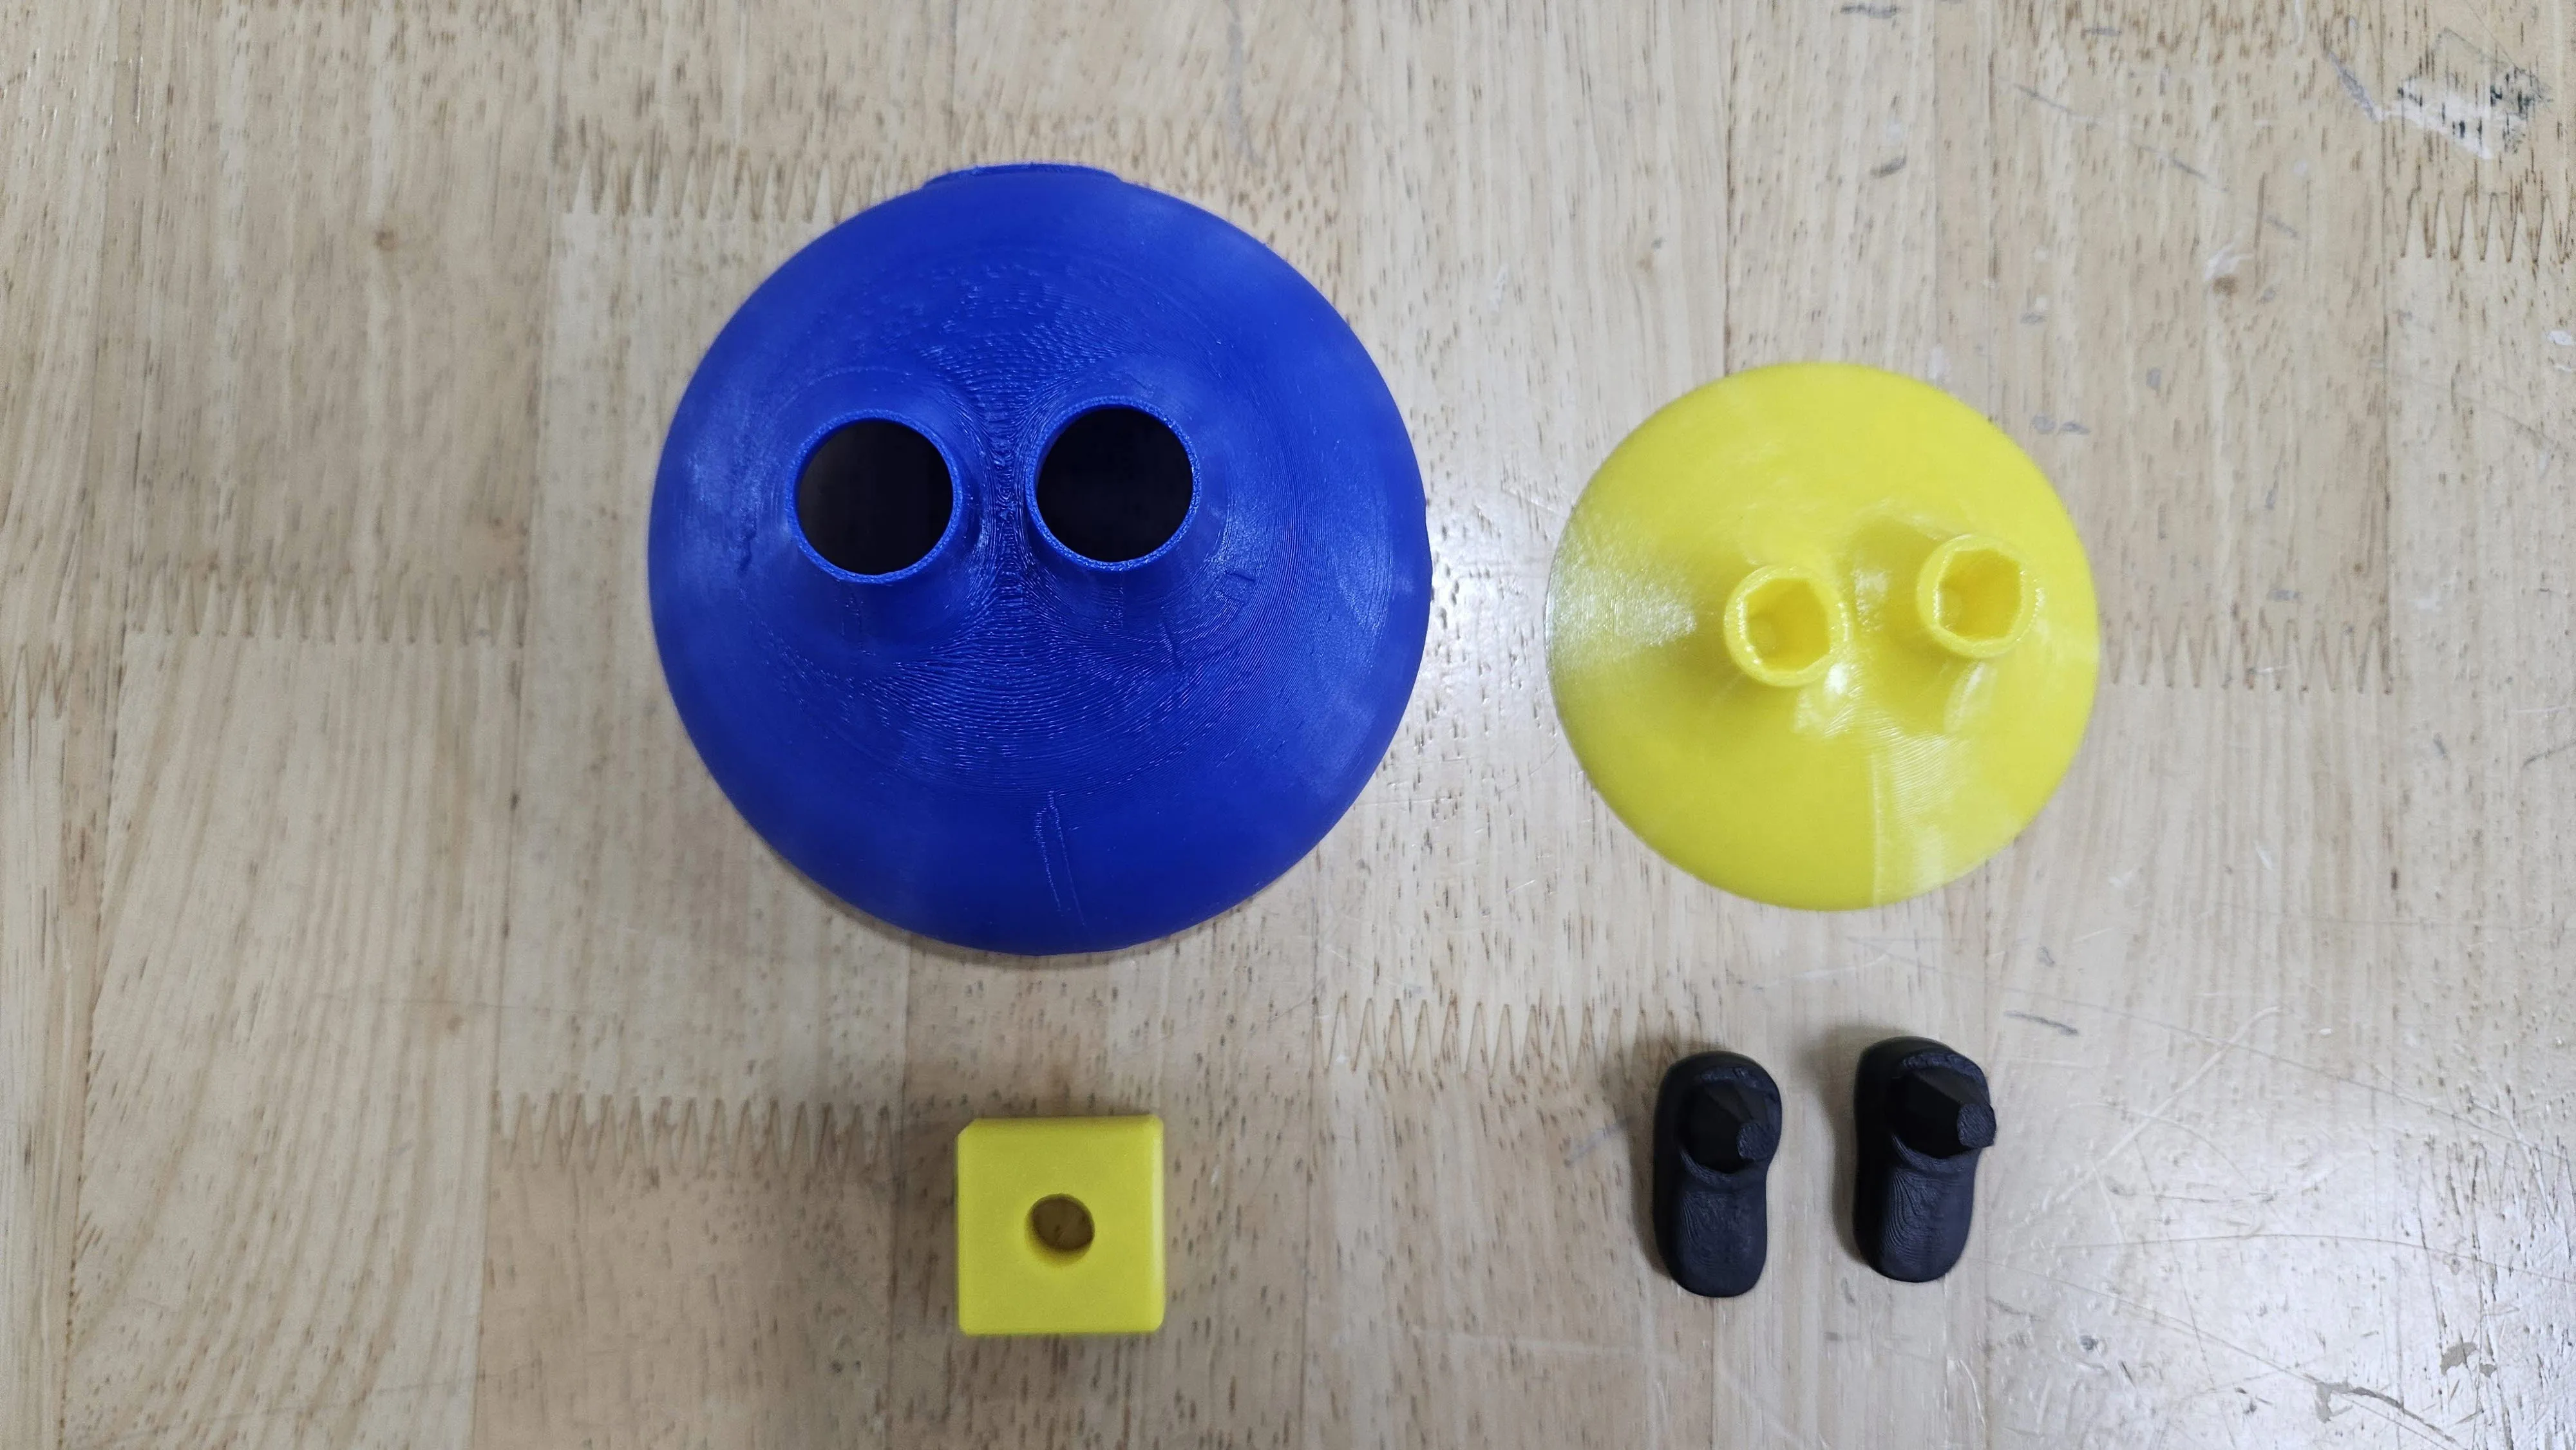
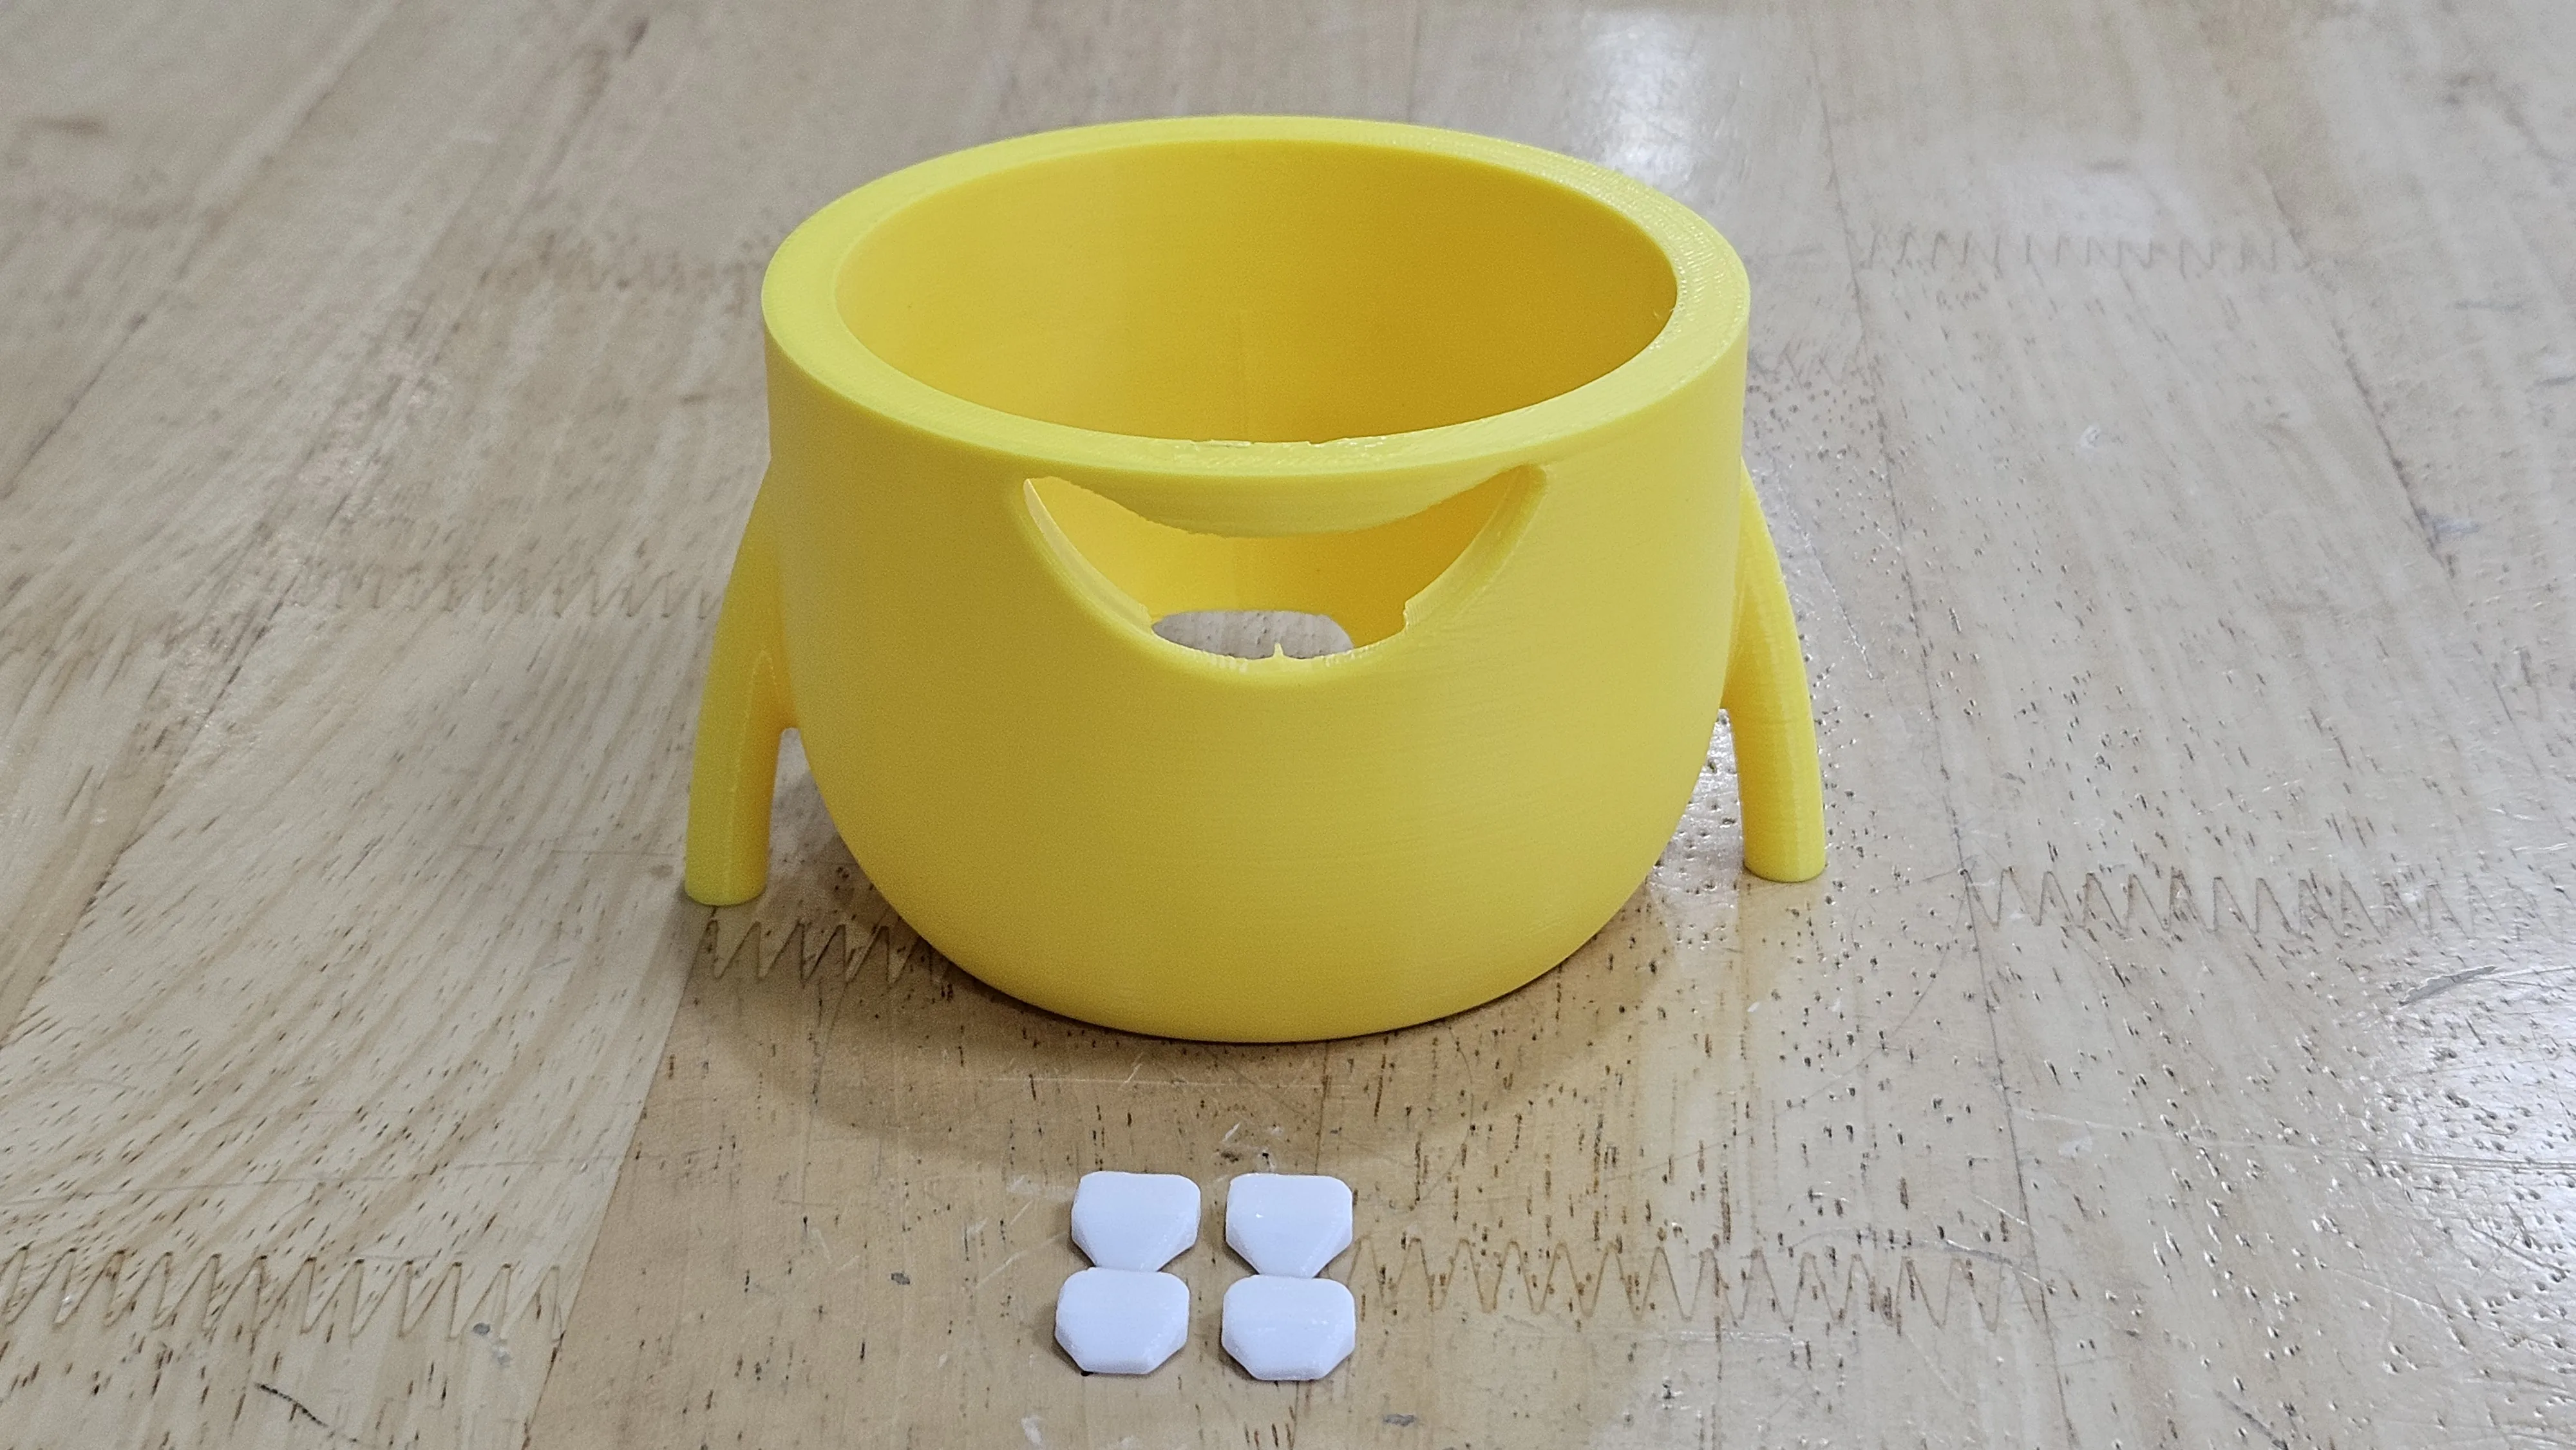
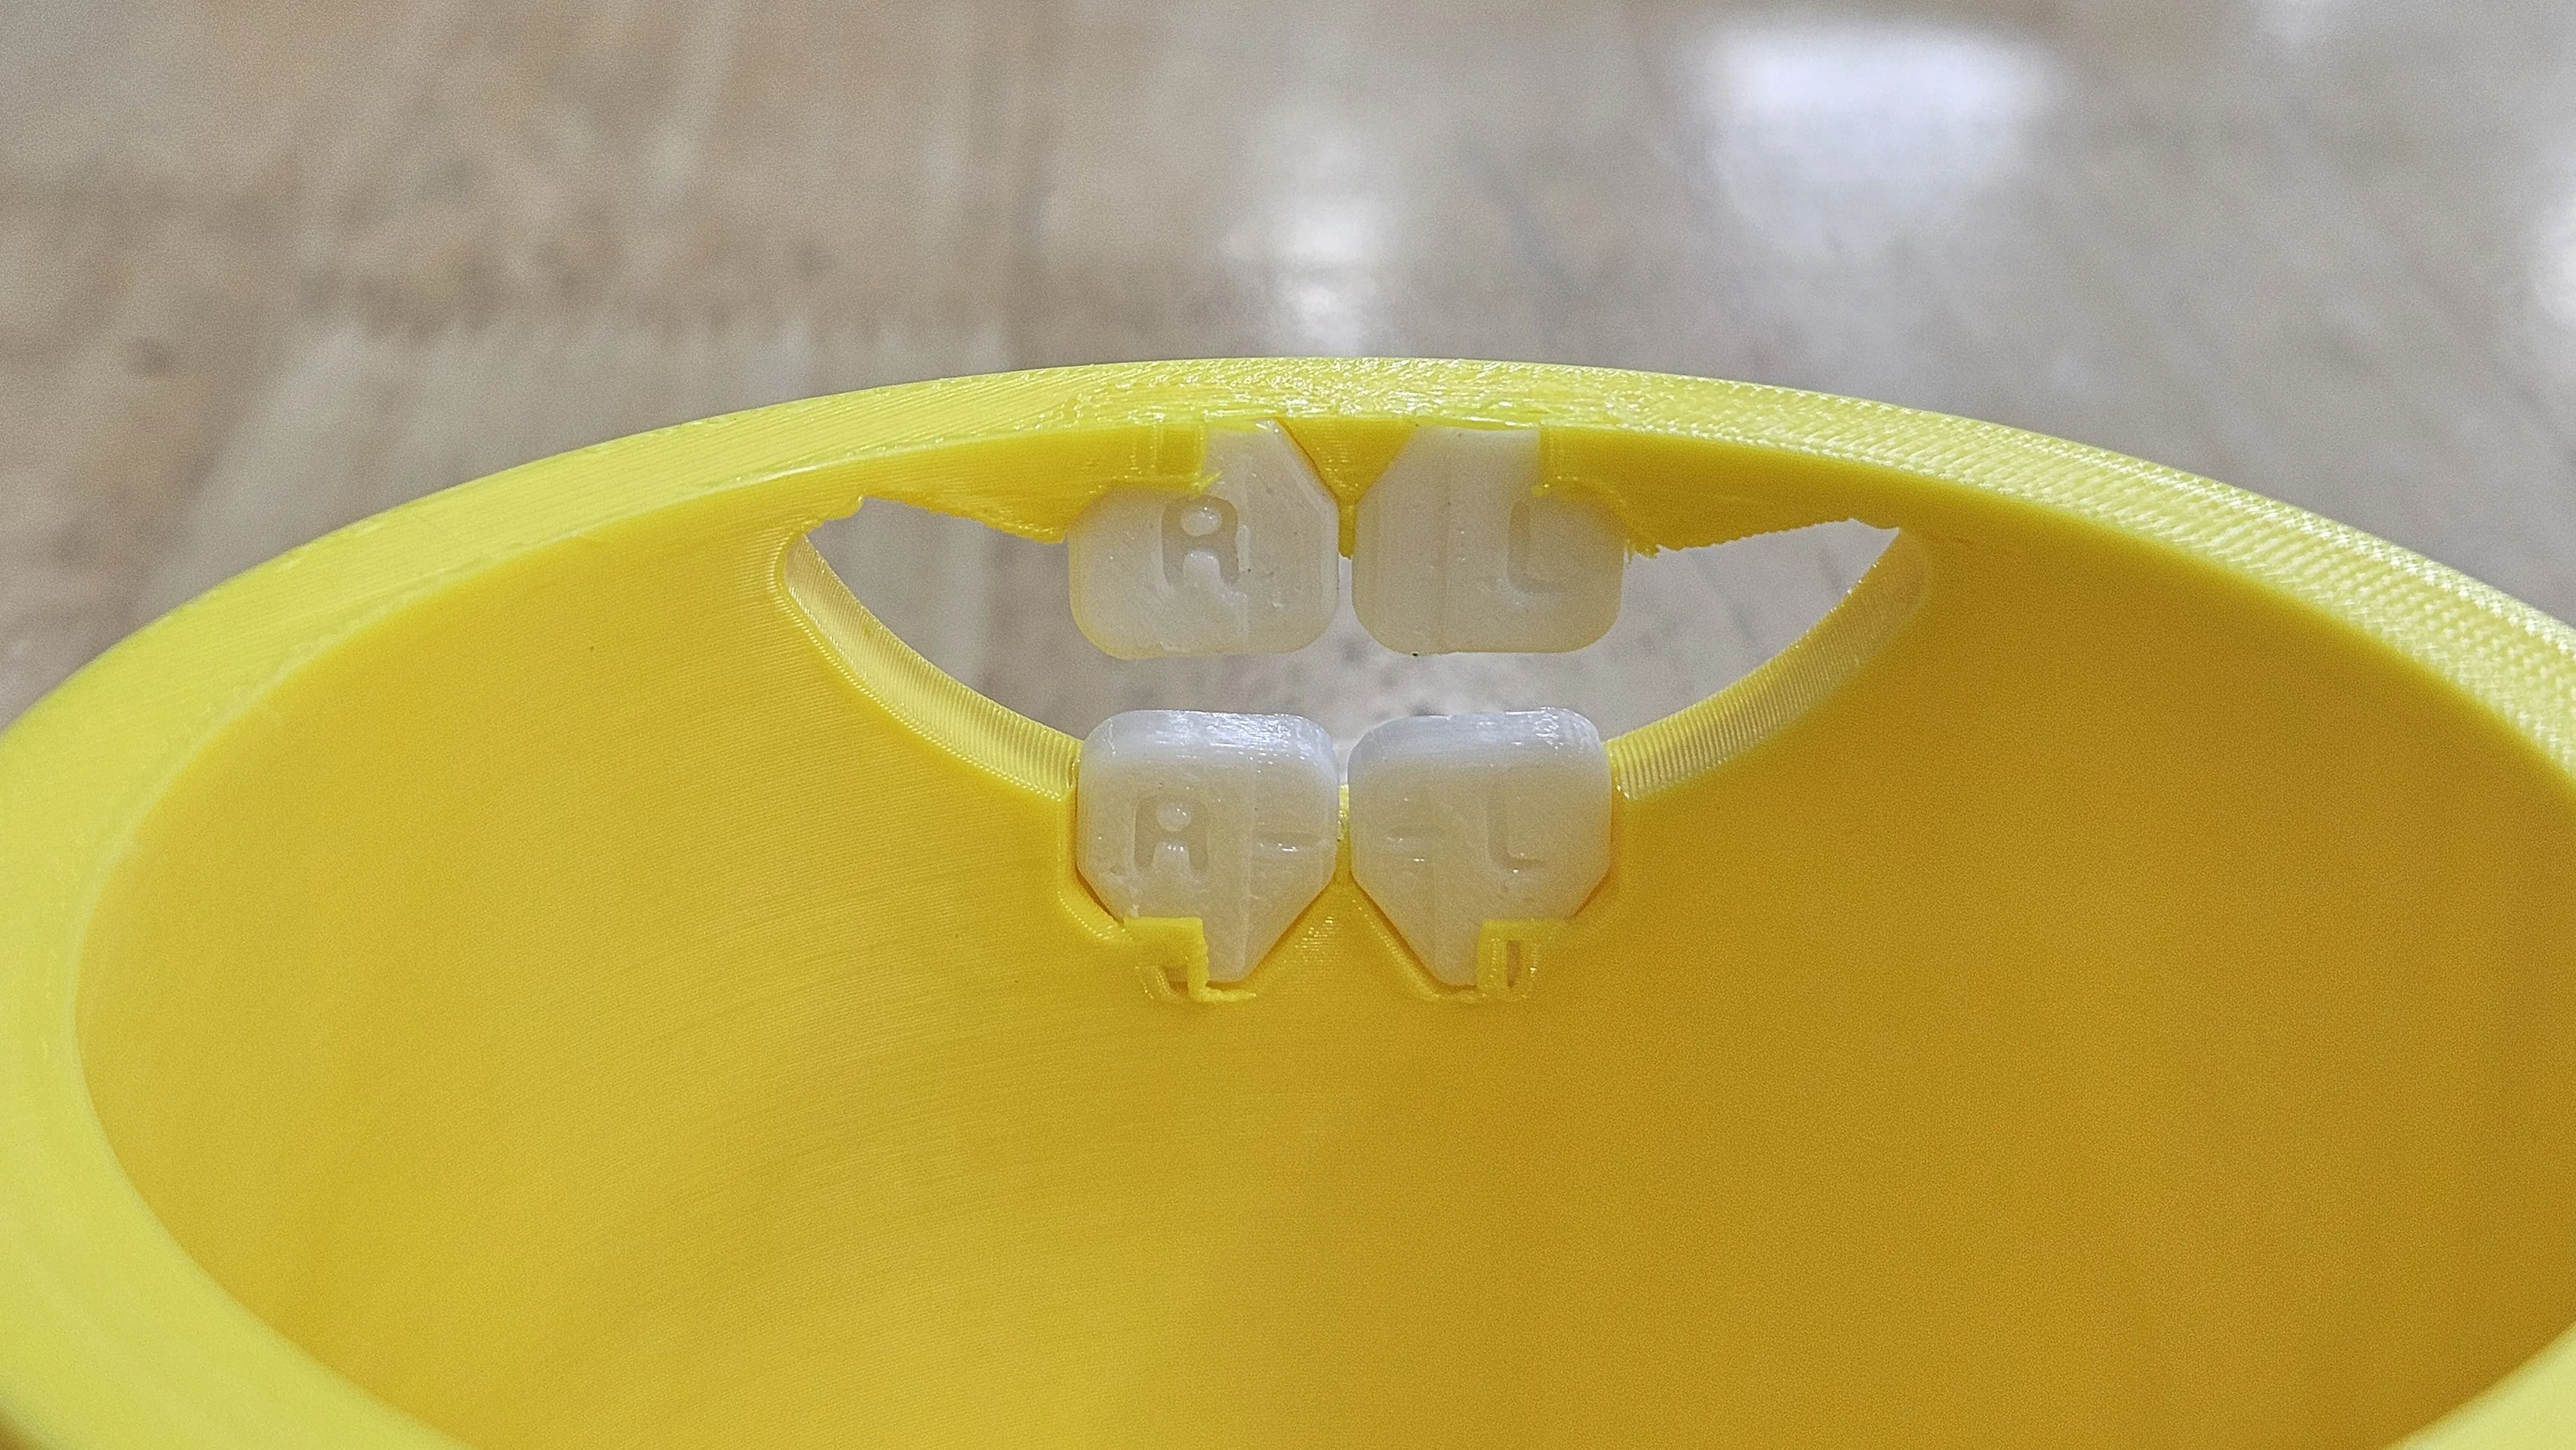
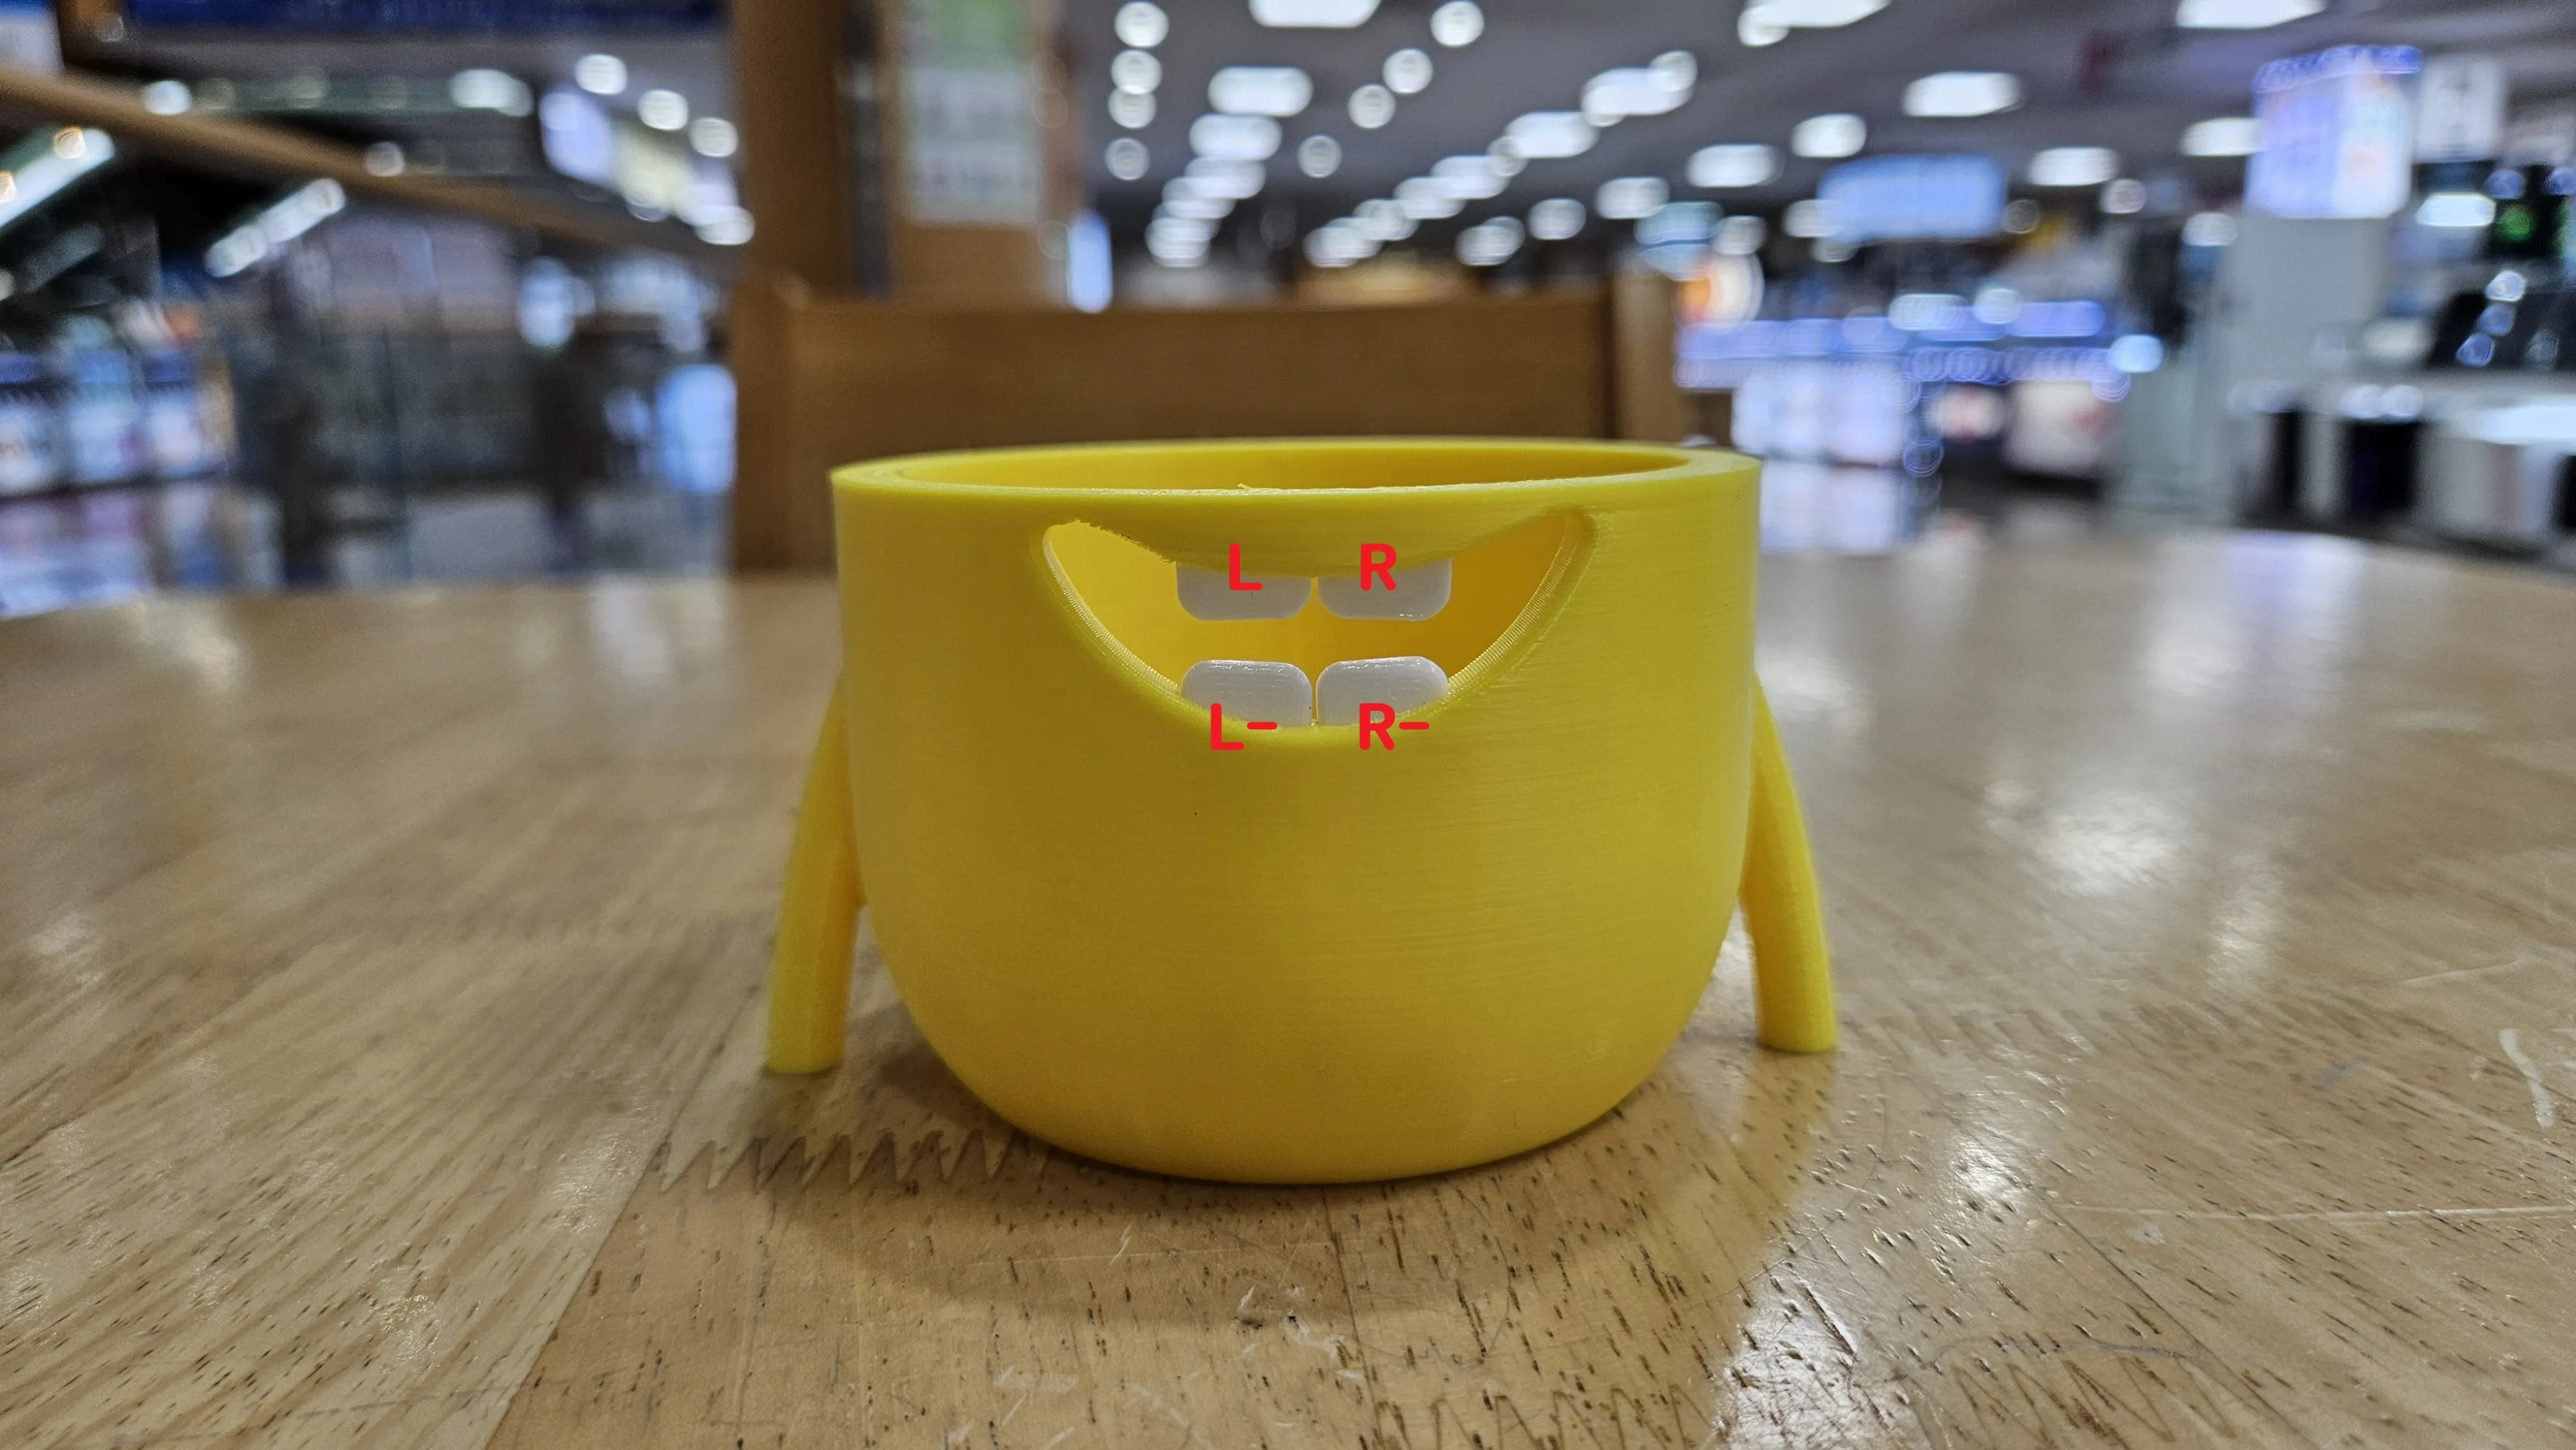
- Assemble the body and teeth into position.
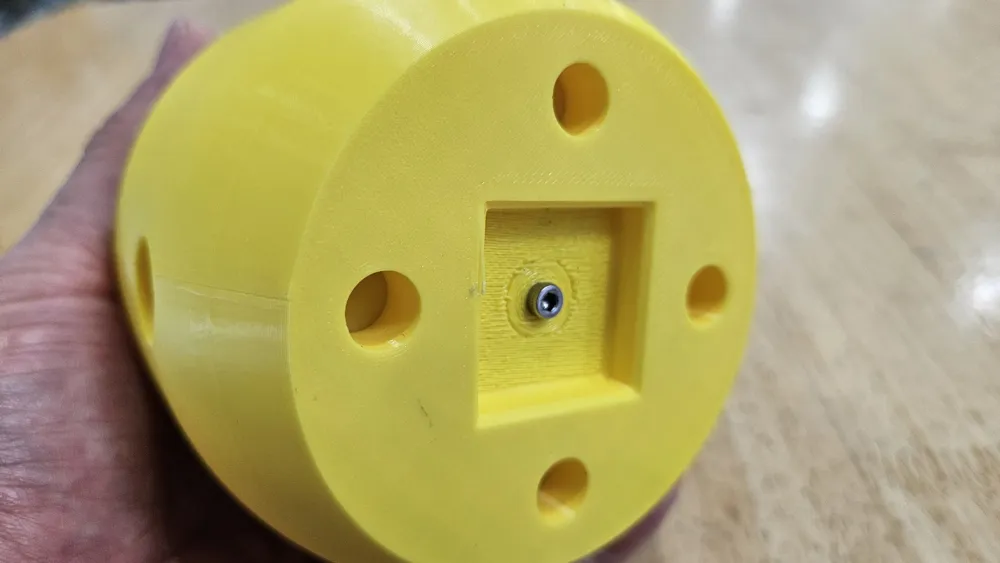
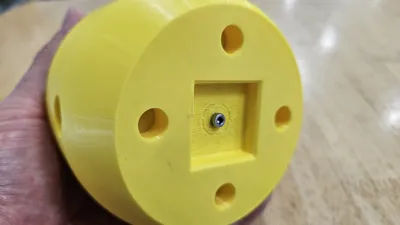
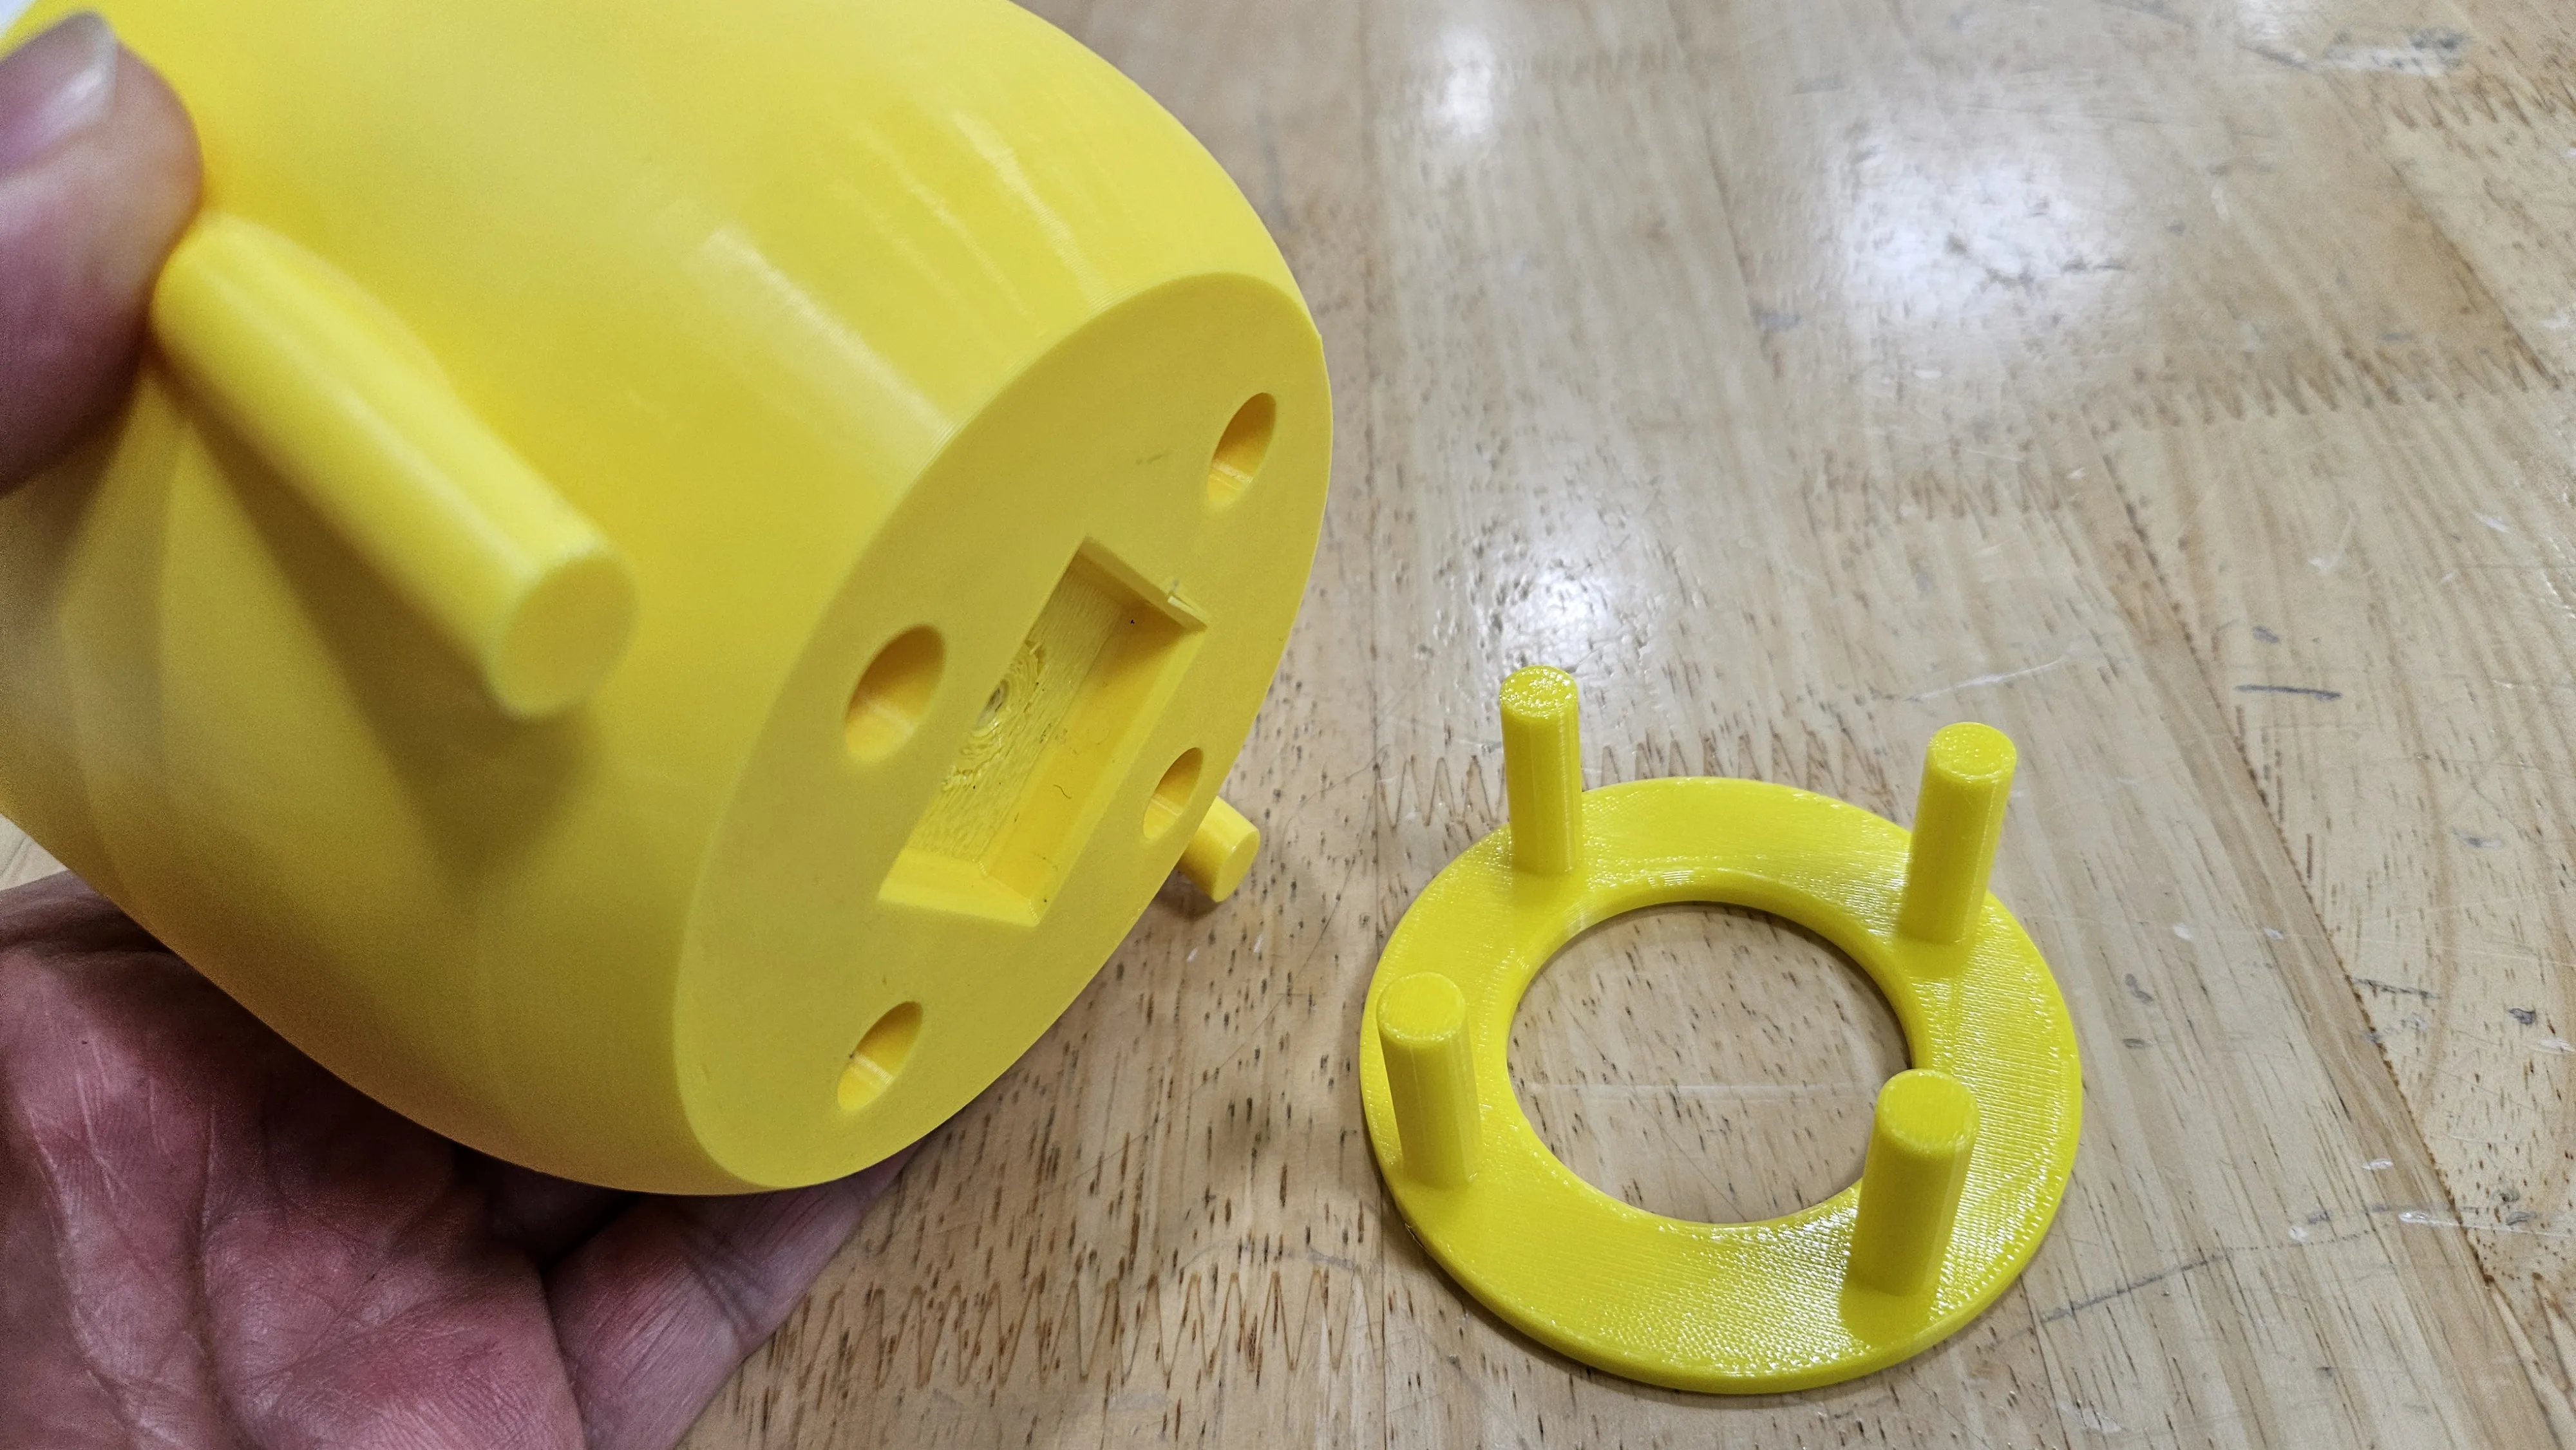
- Wall Mount Assembly
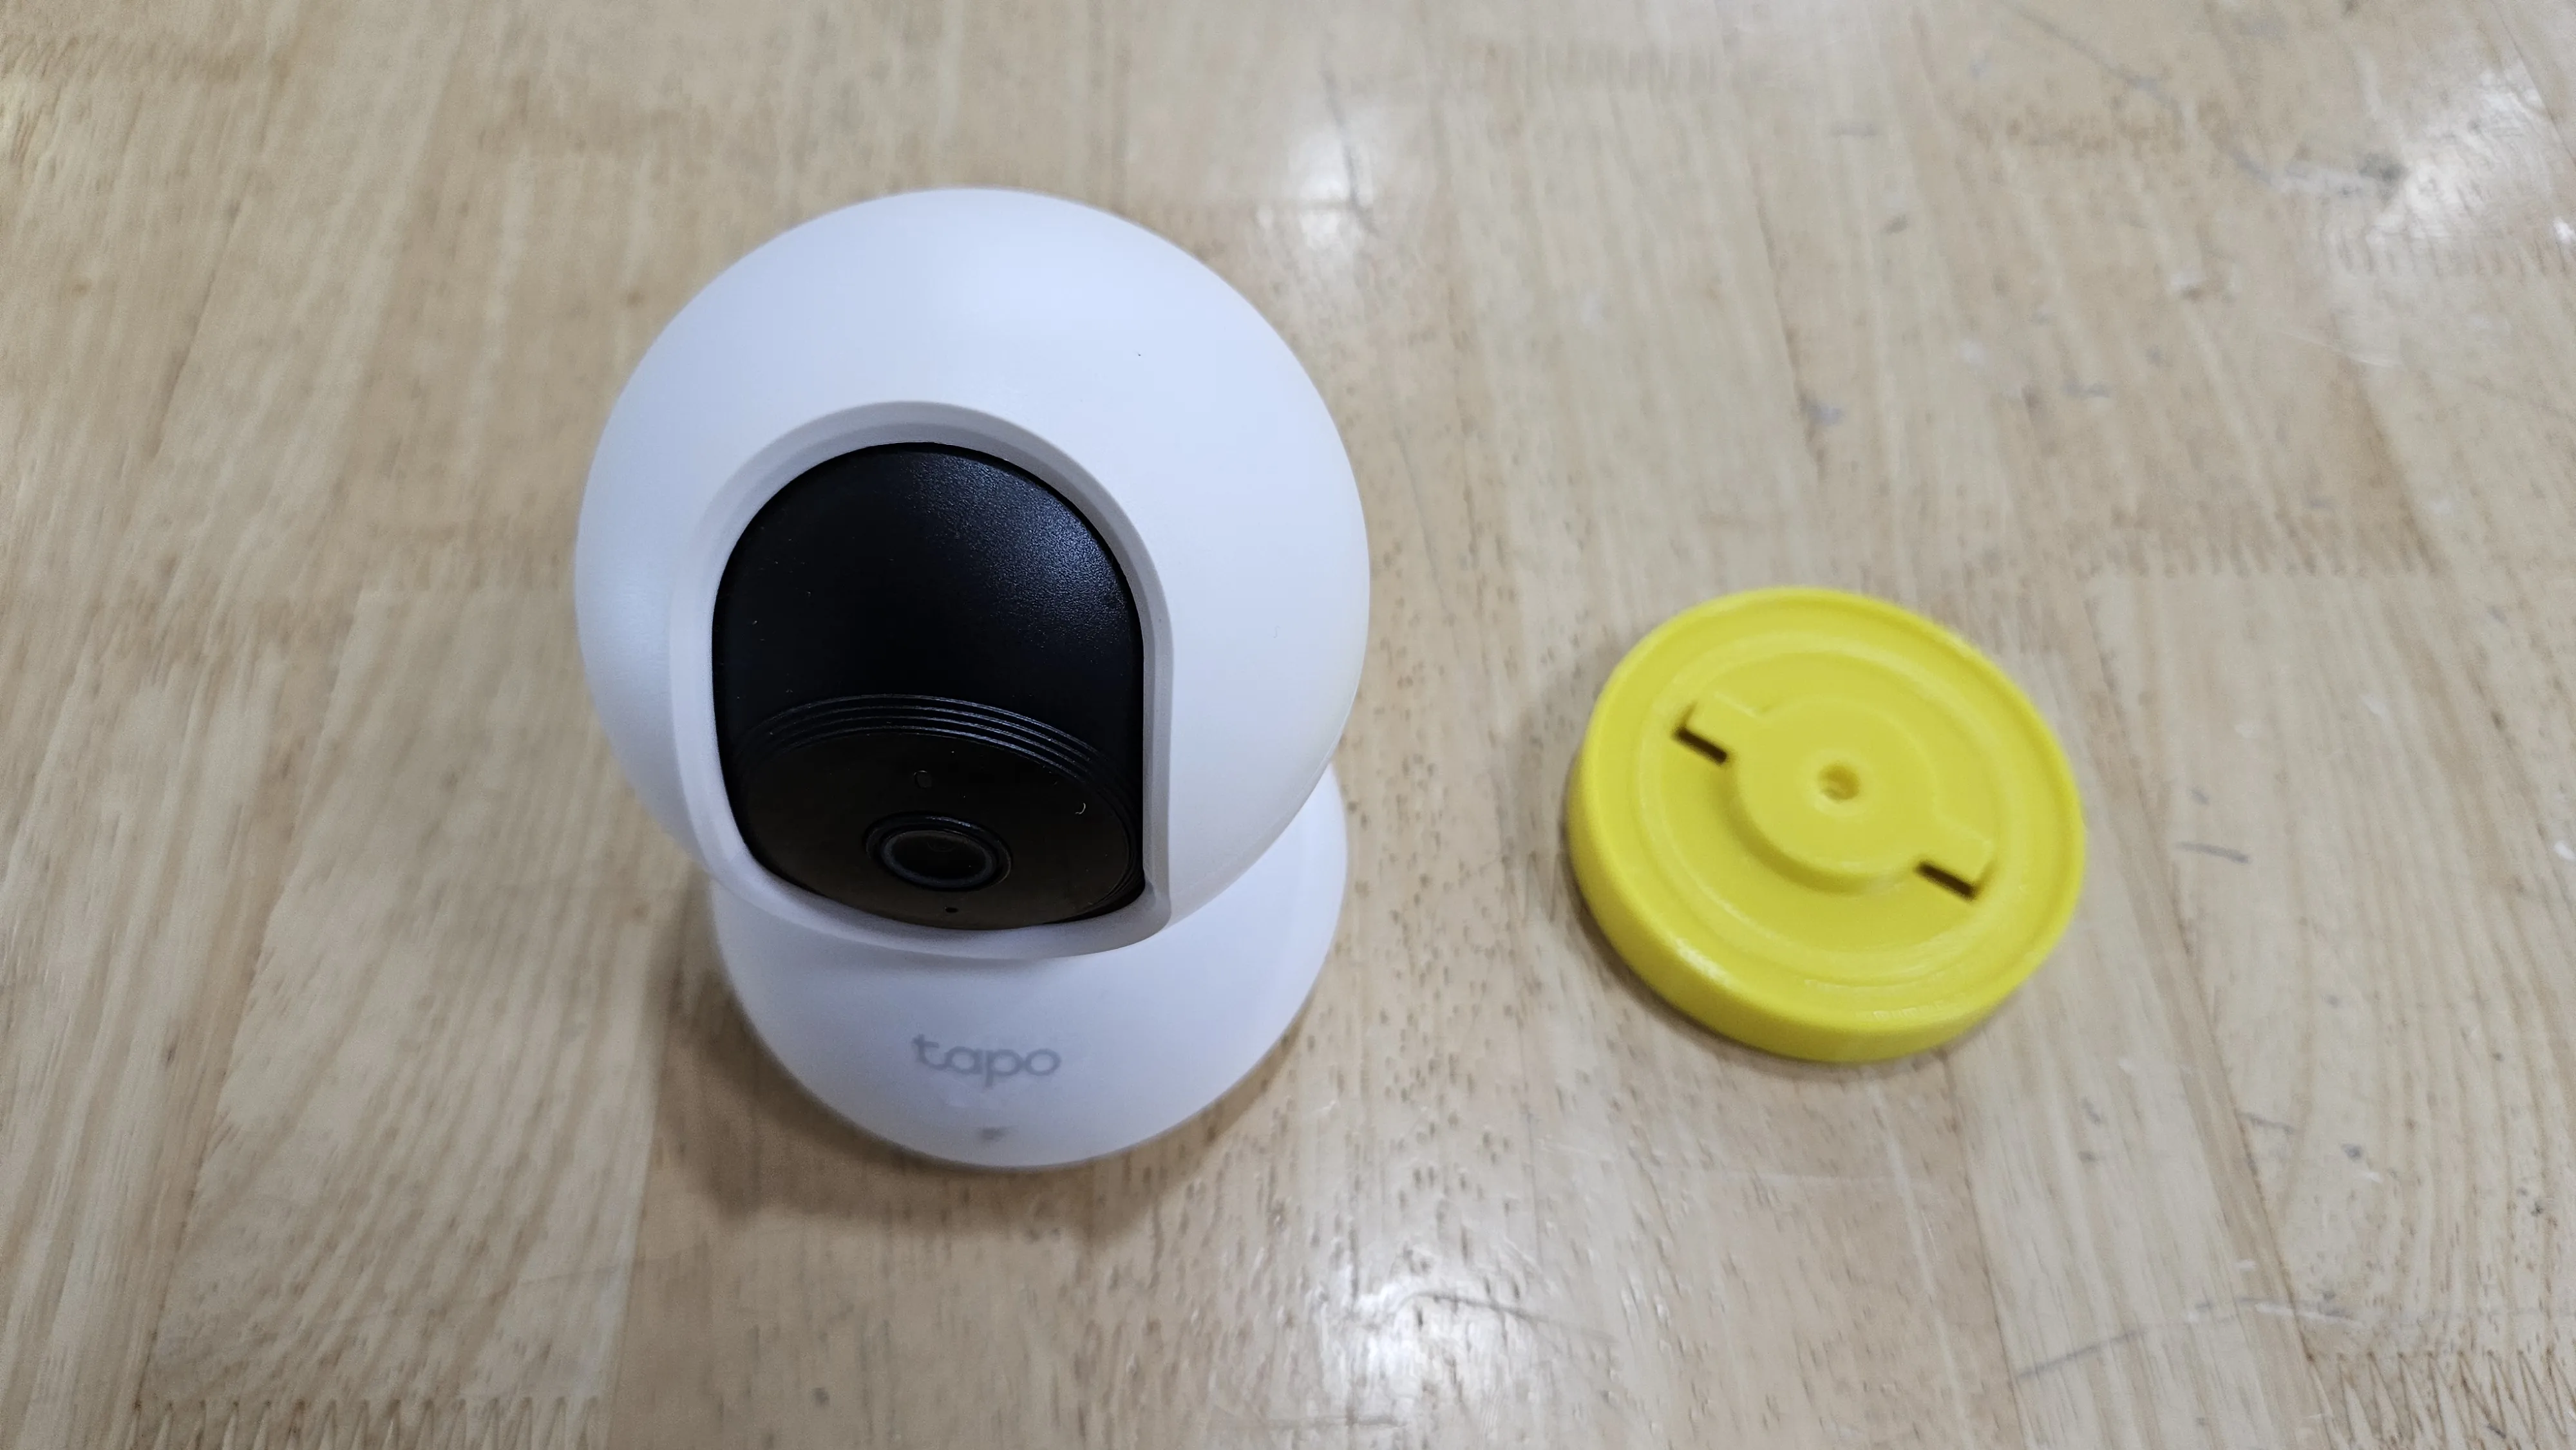
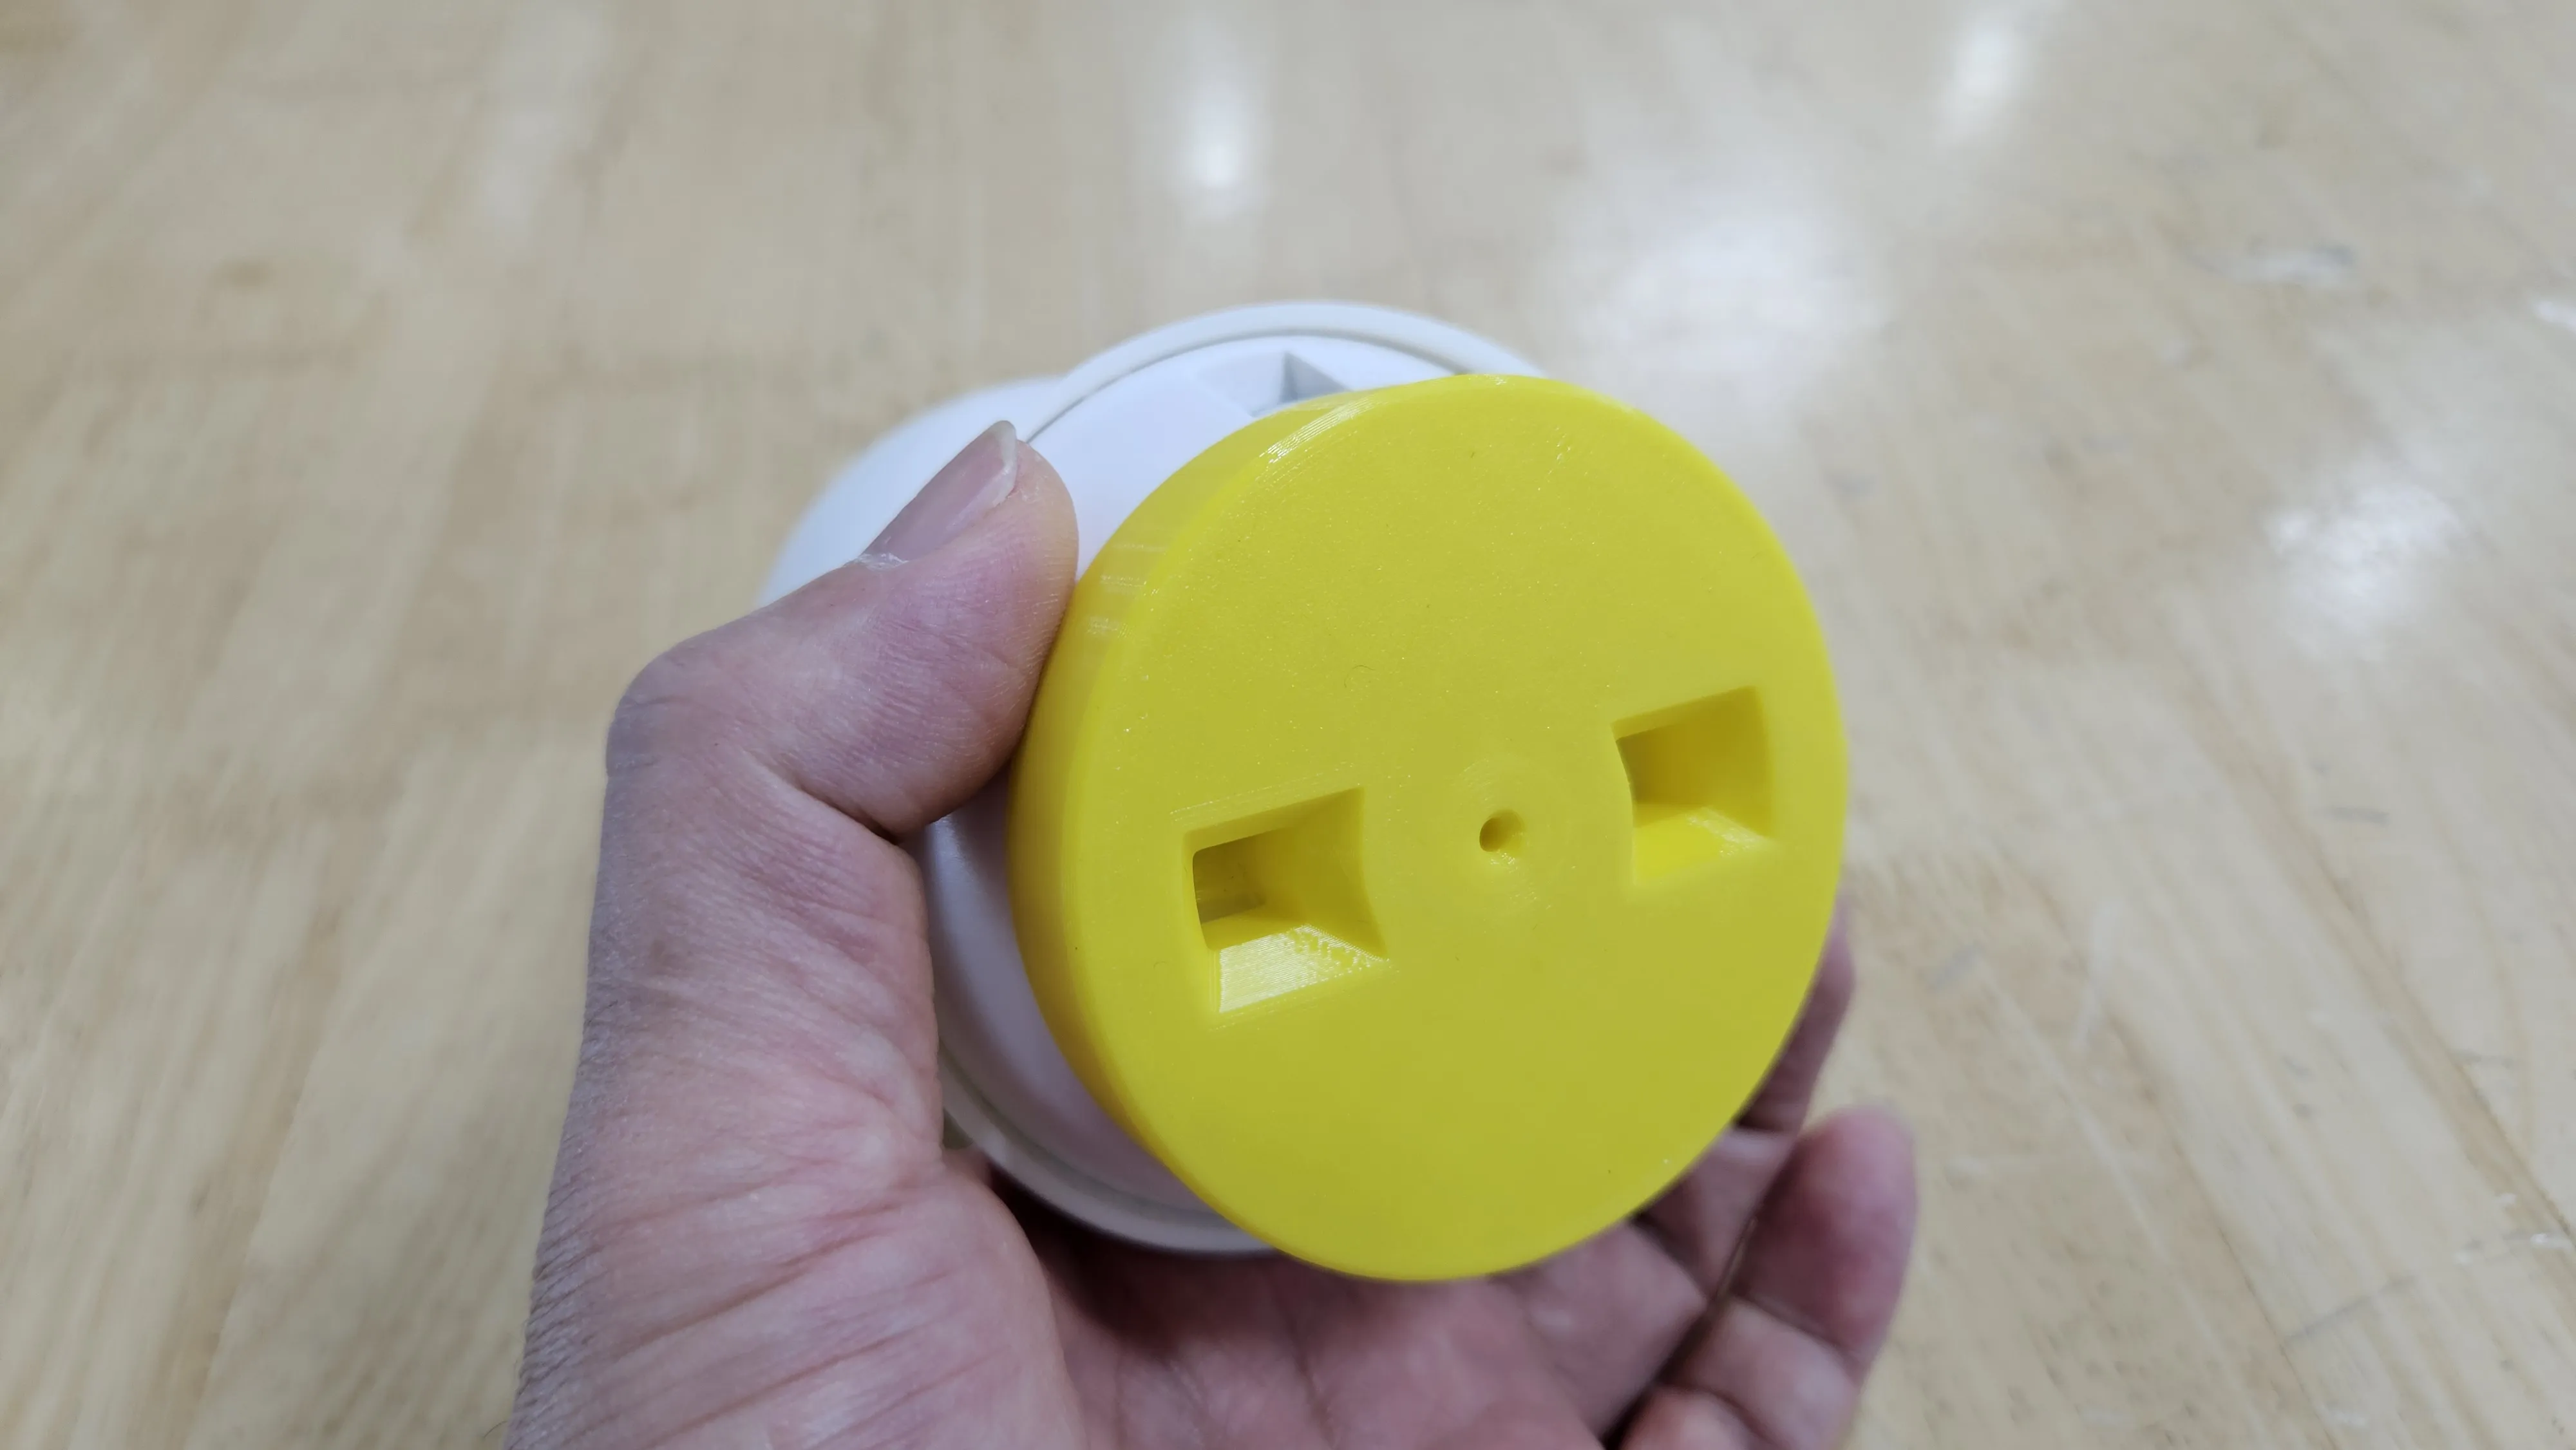
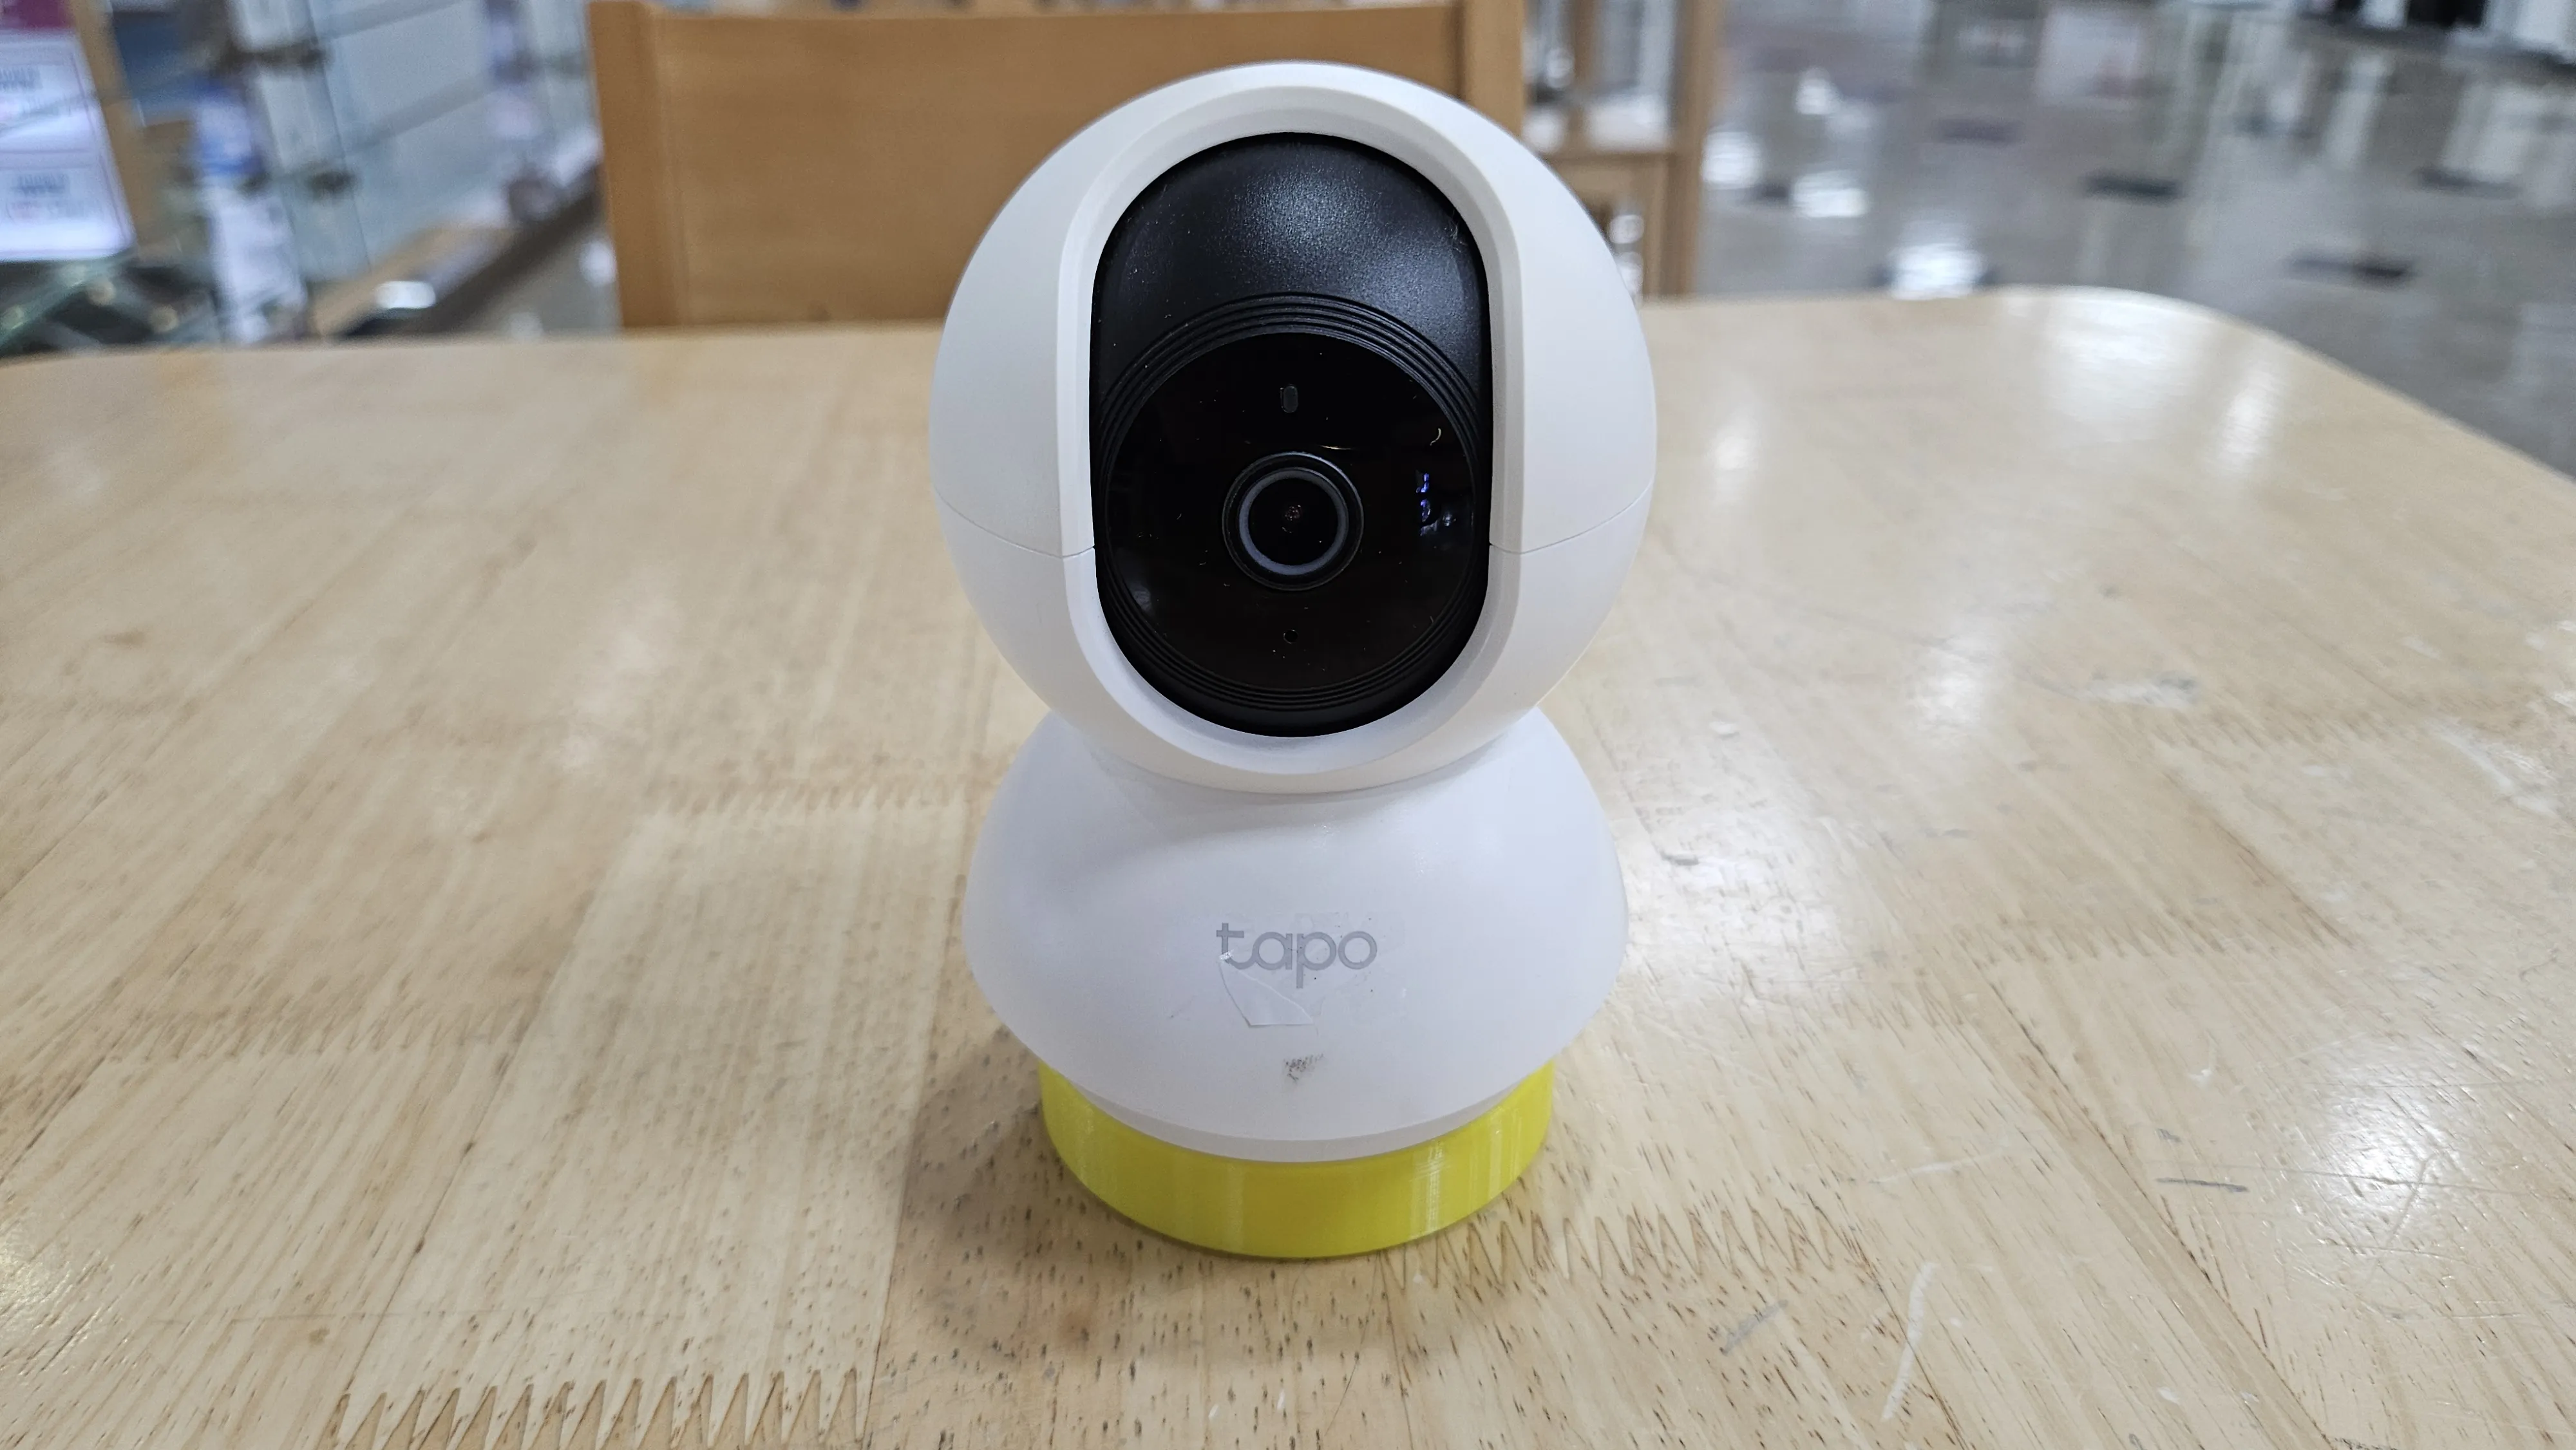
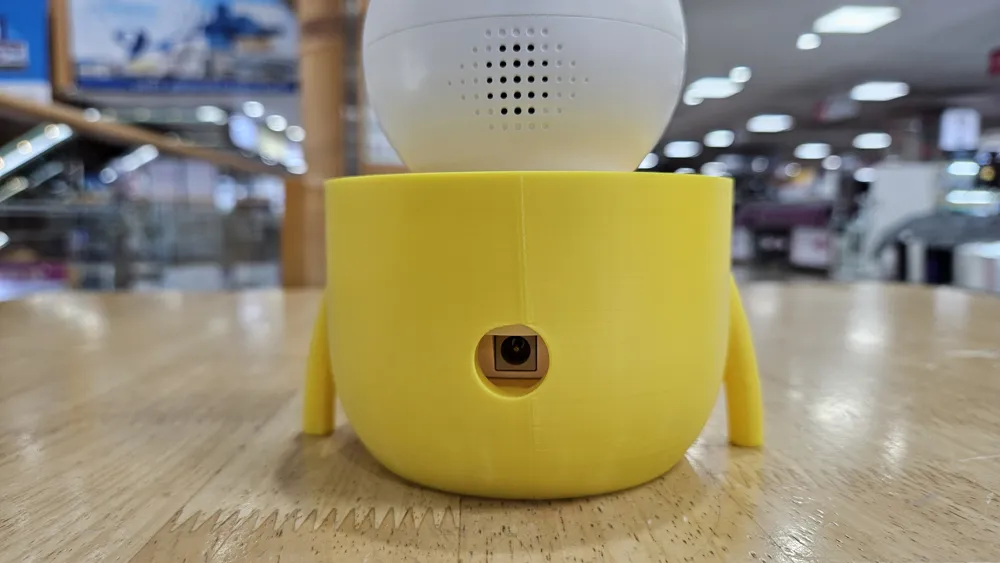
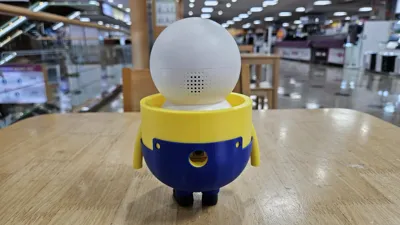
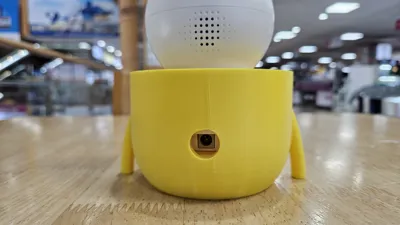
- Align the power terminal hole on the back of the body
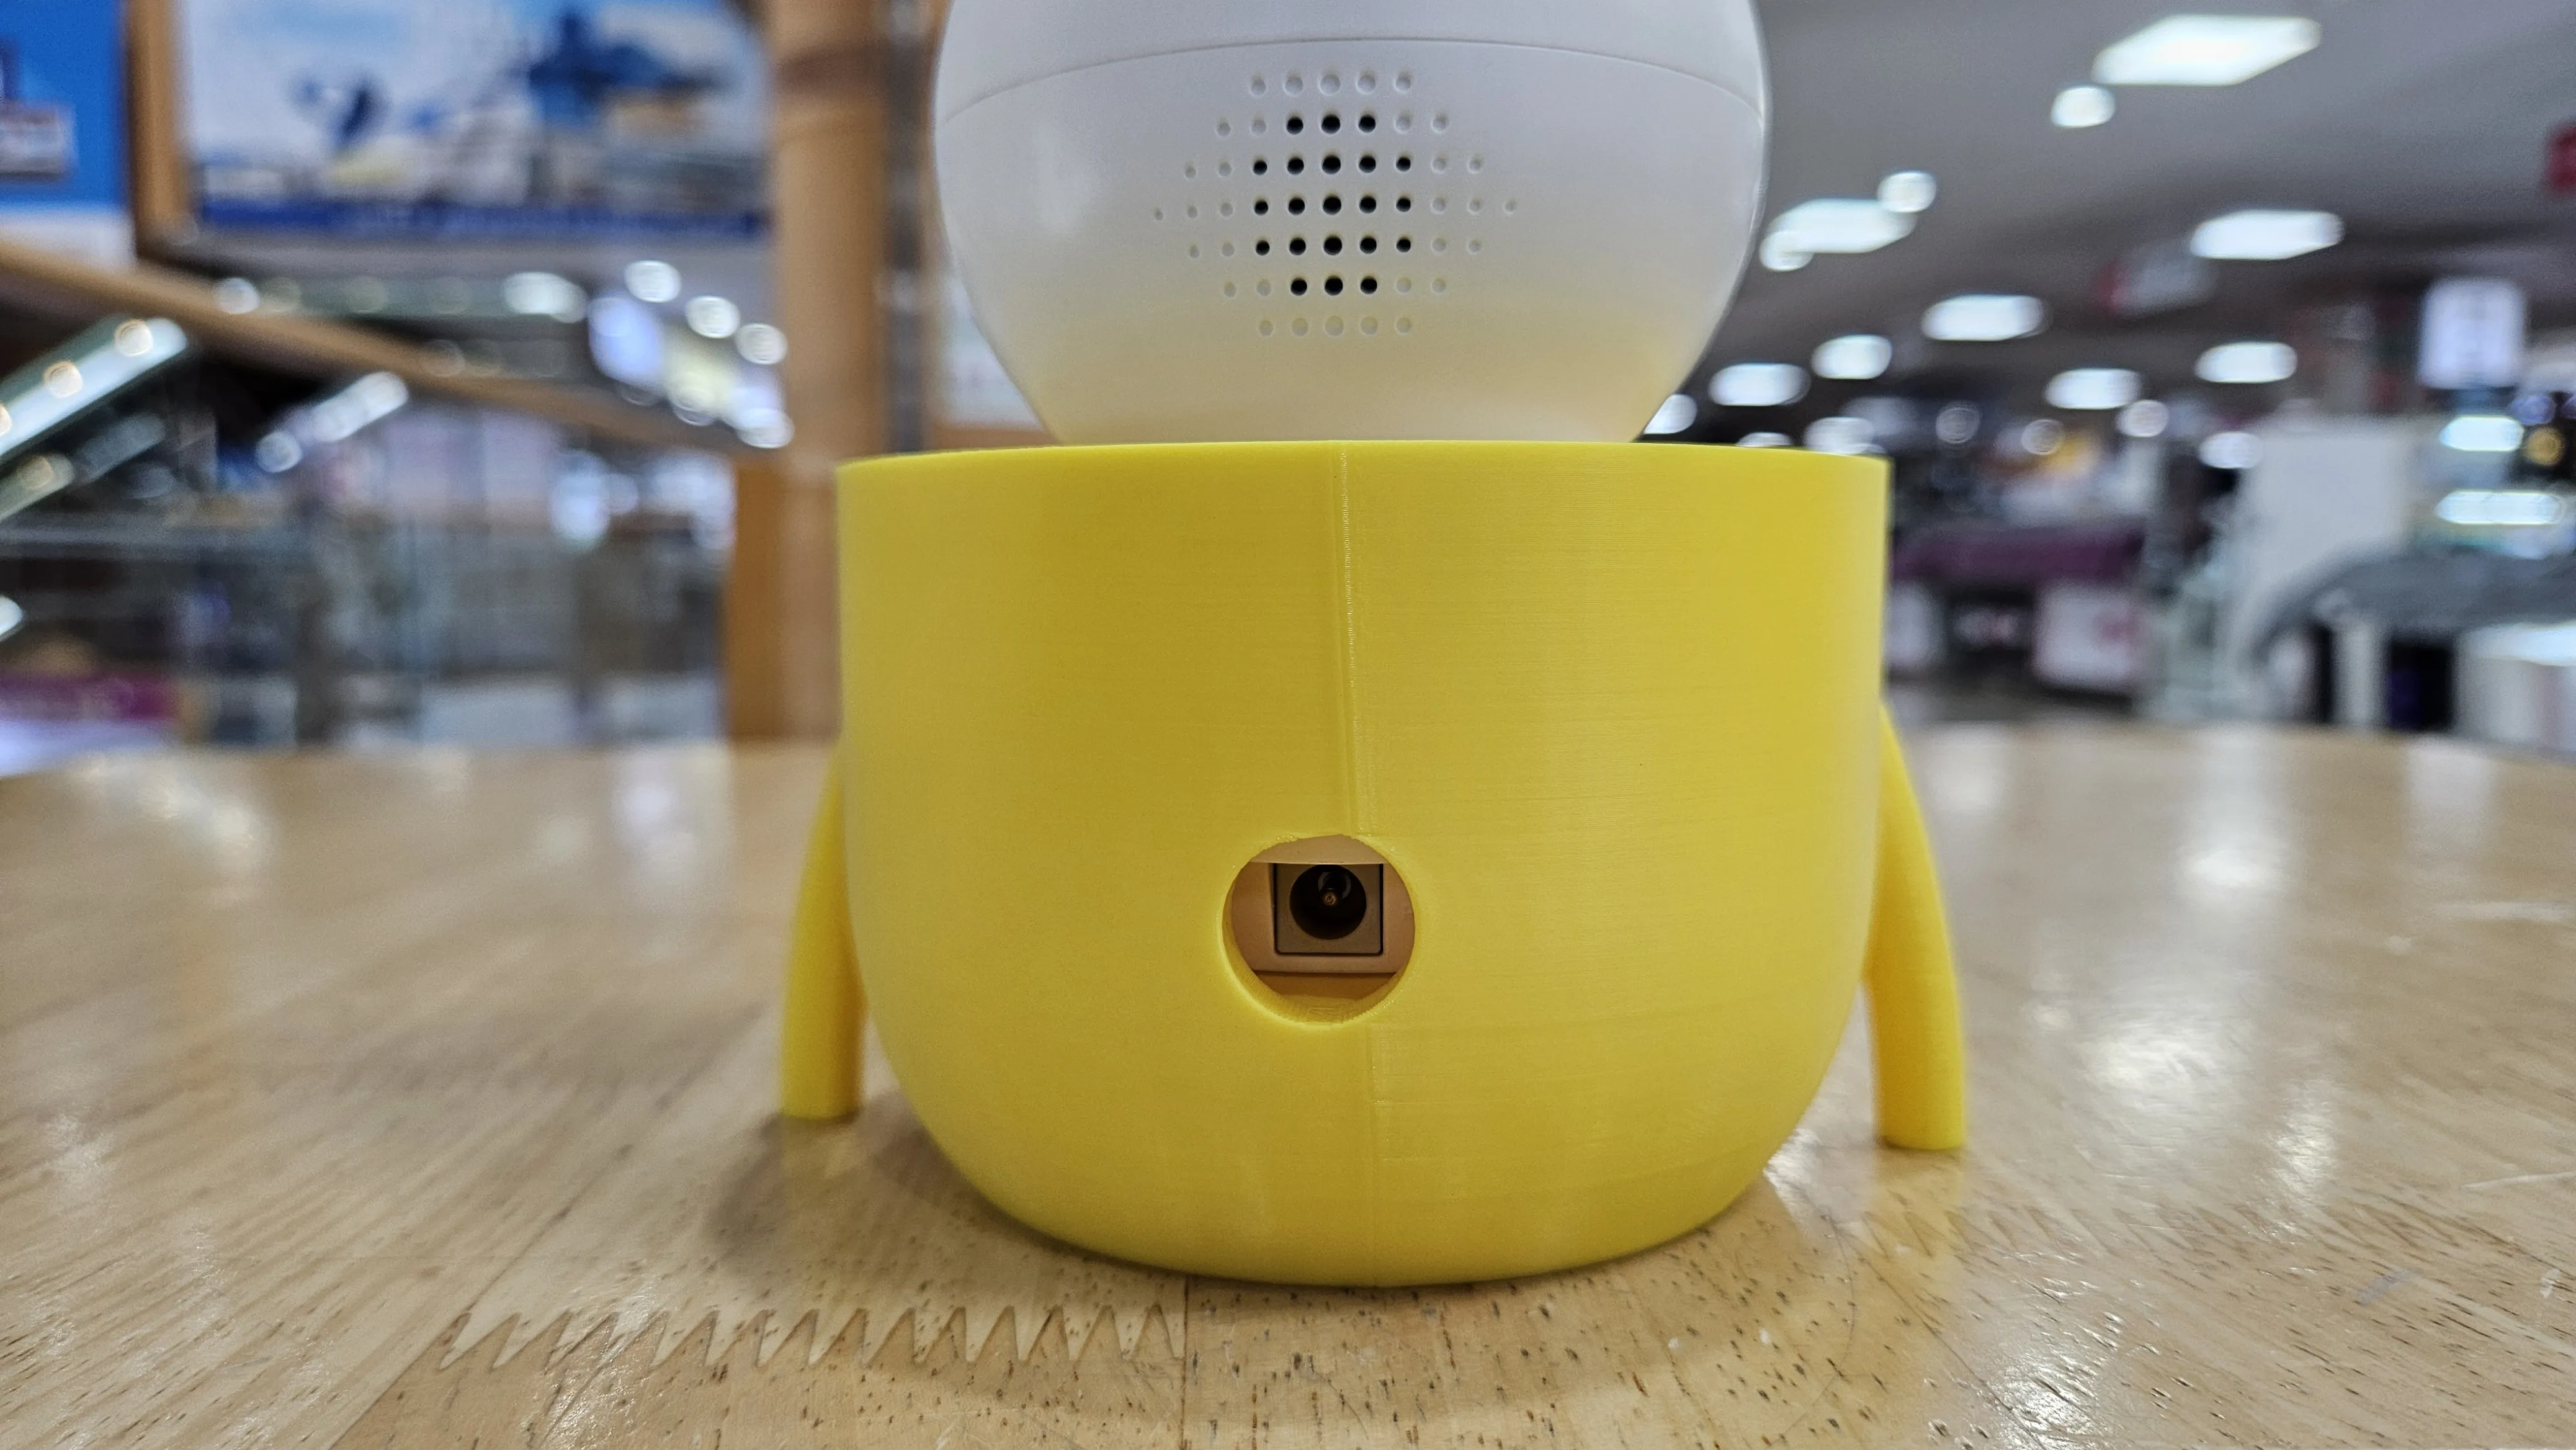
- Secure with an M3 20mm bolt.
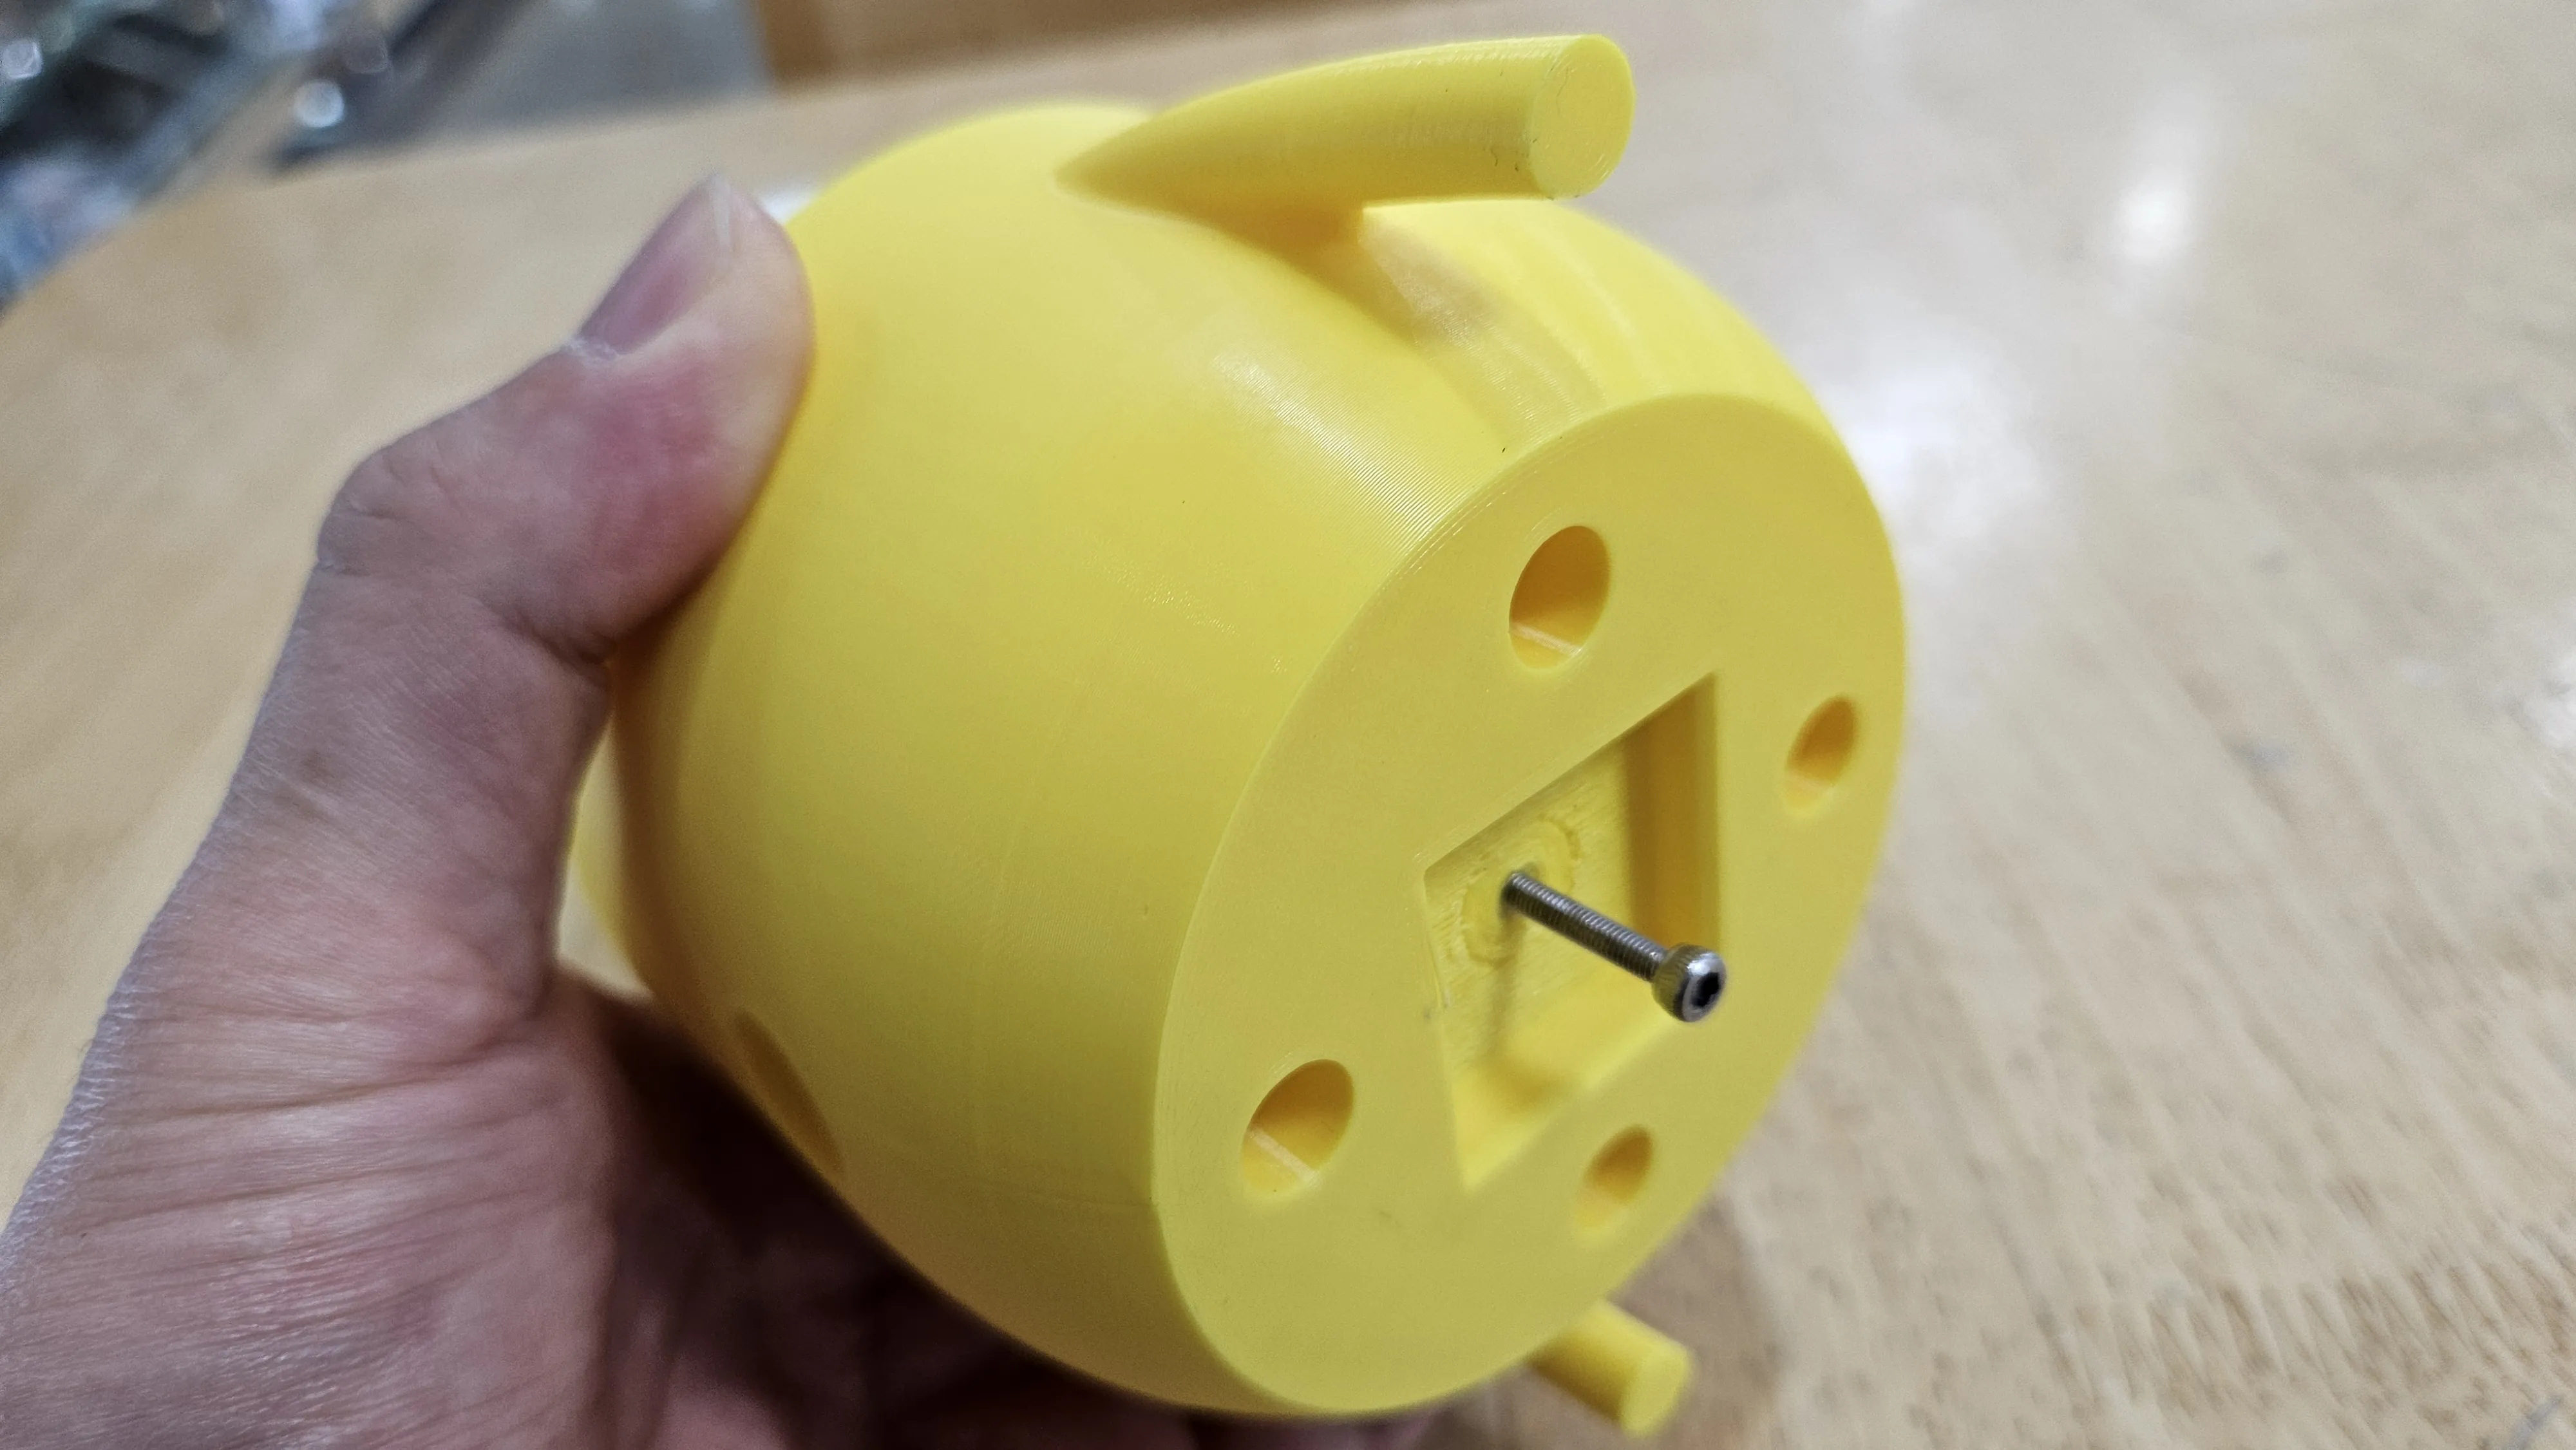
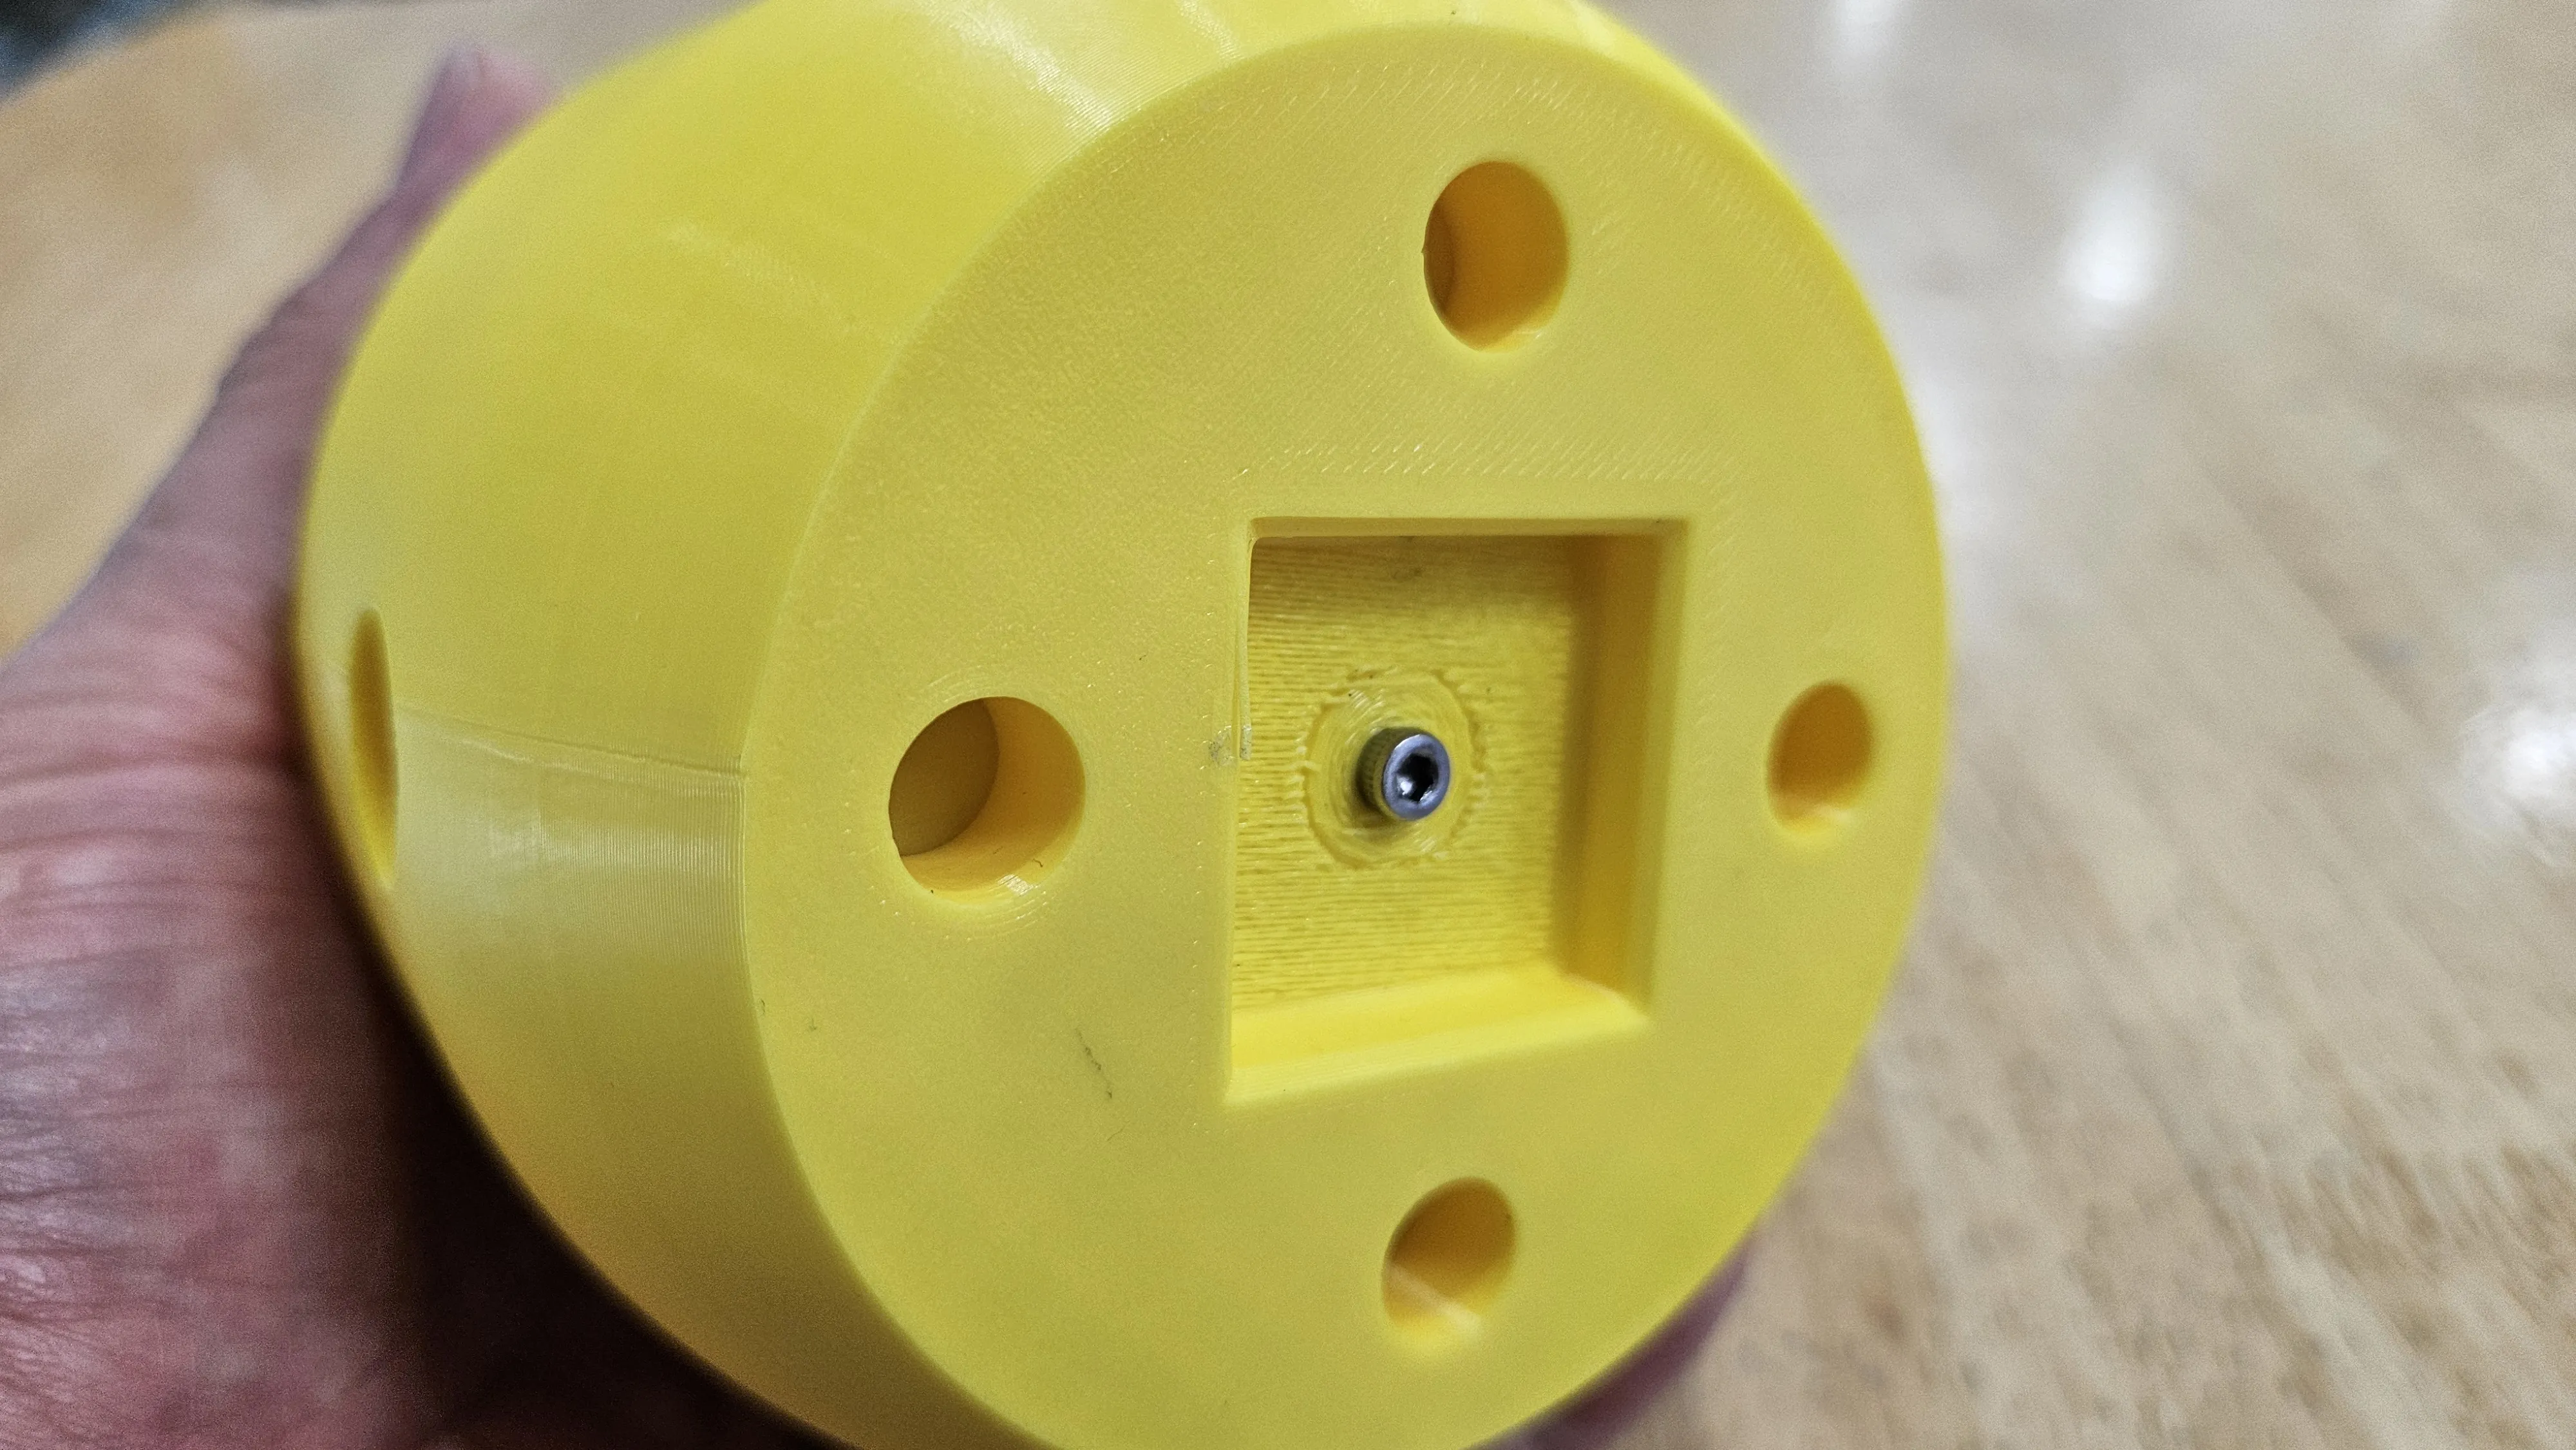
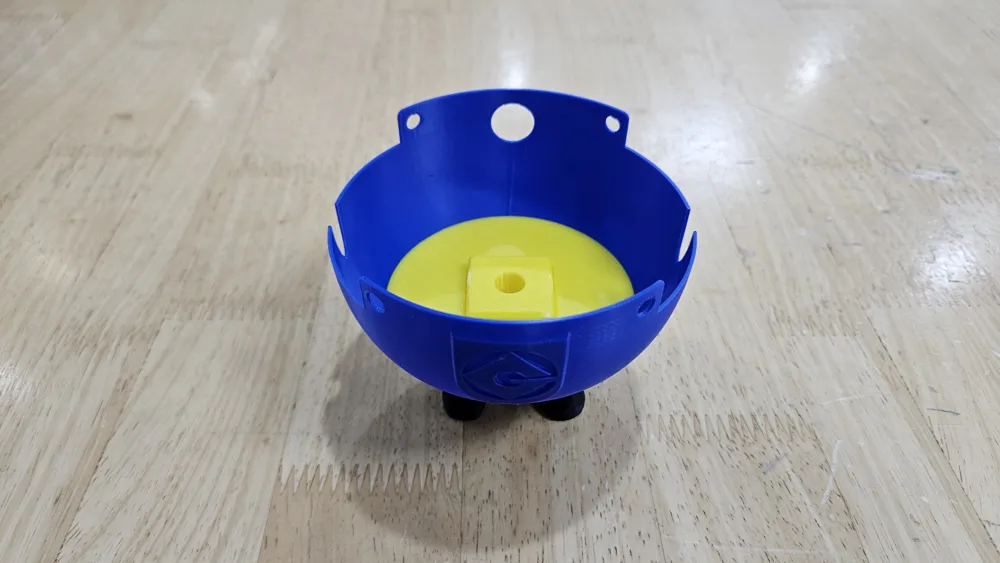
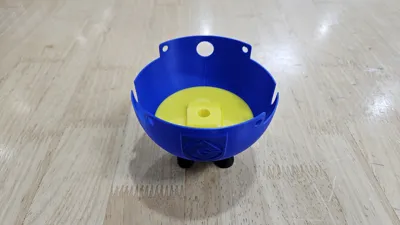
- Pants and lower body assembly
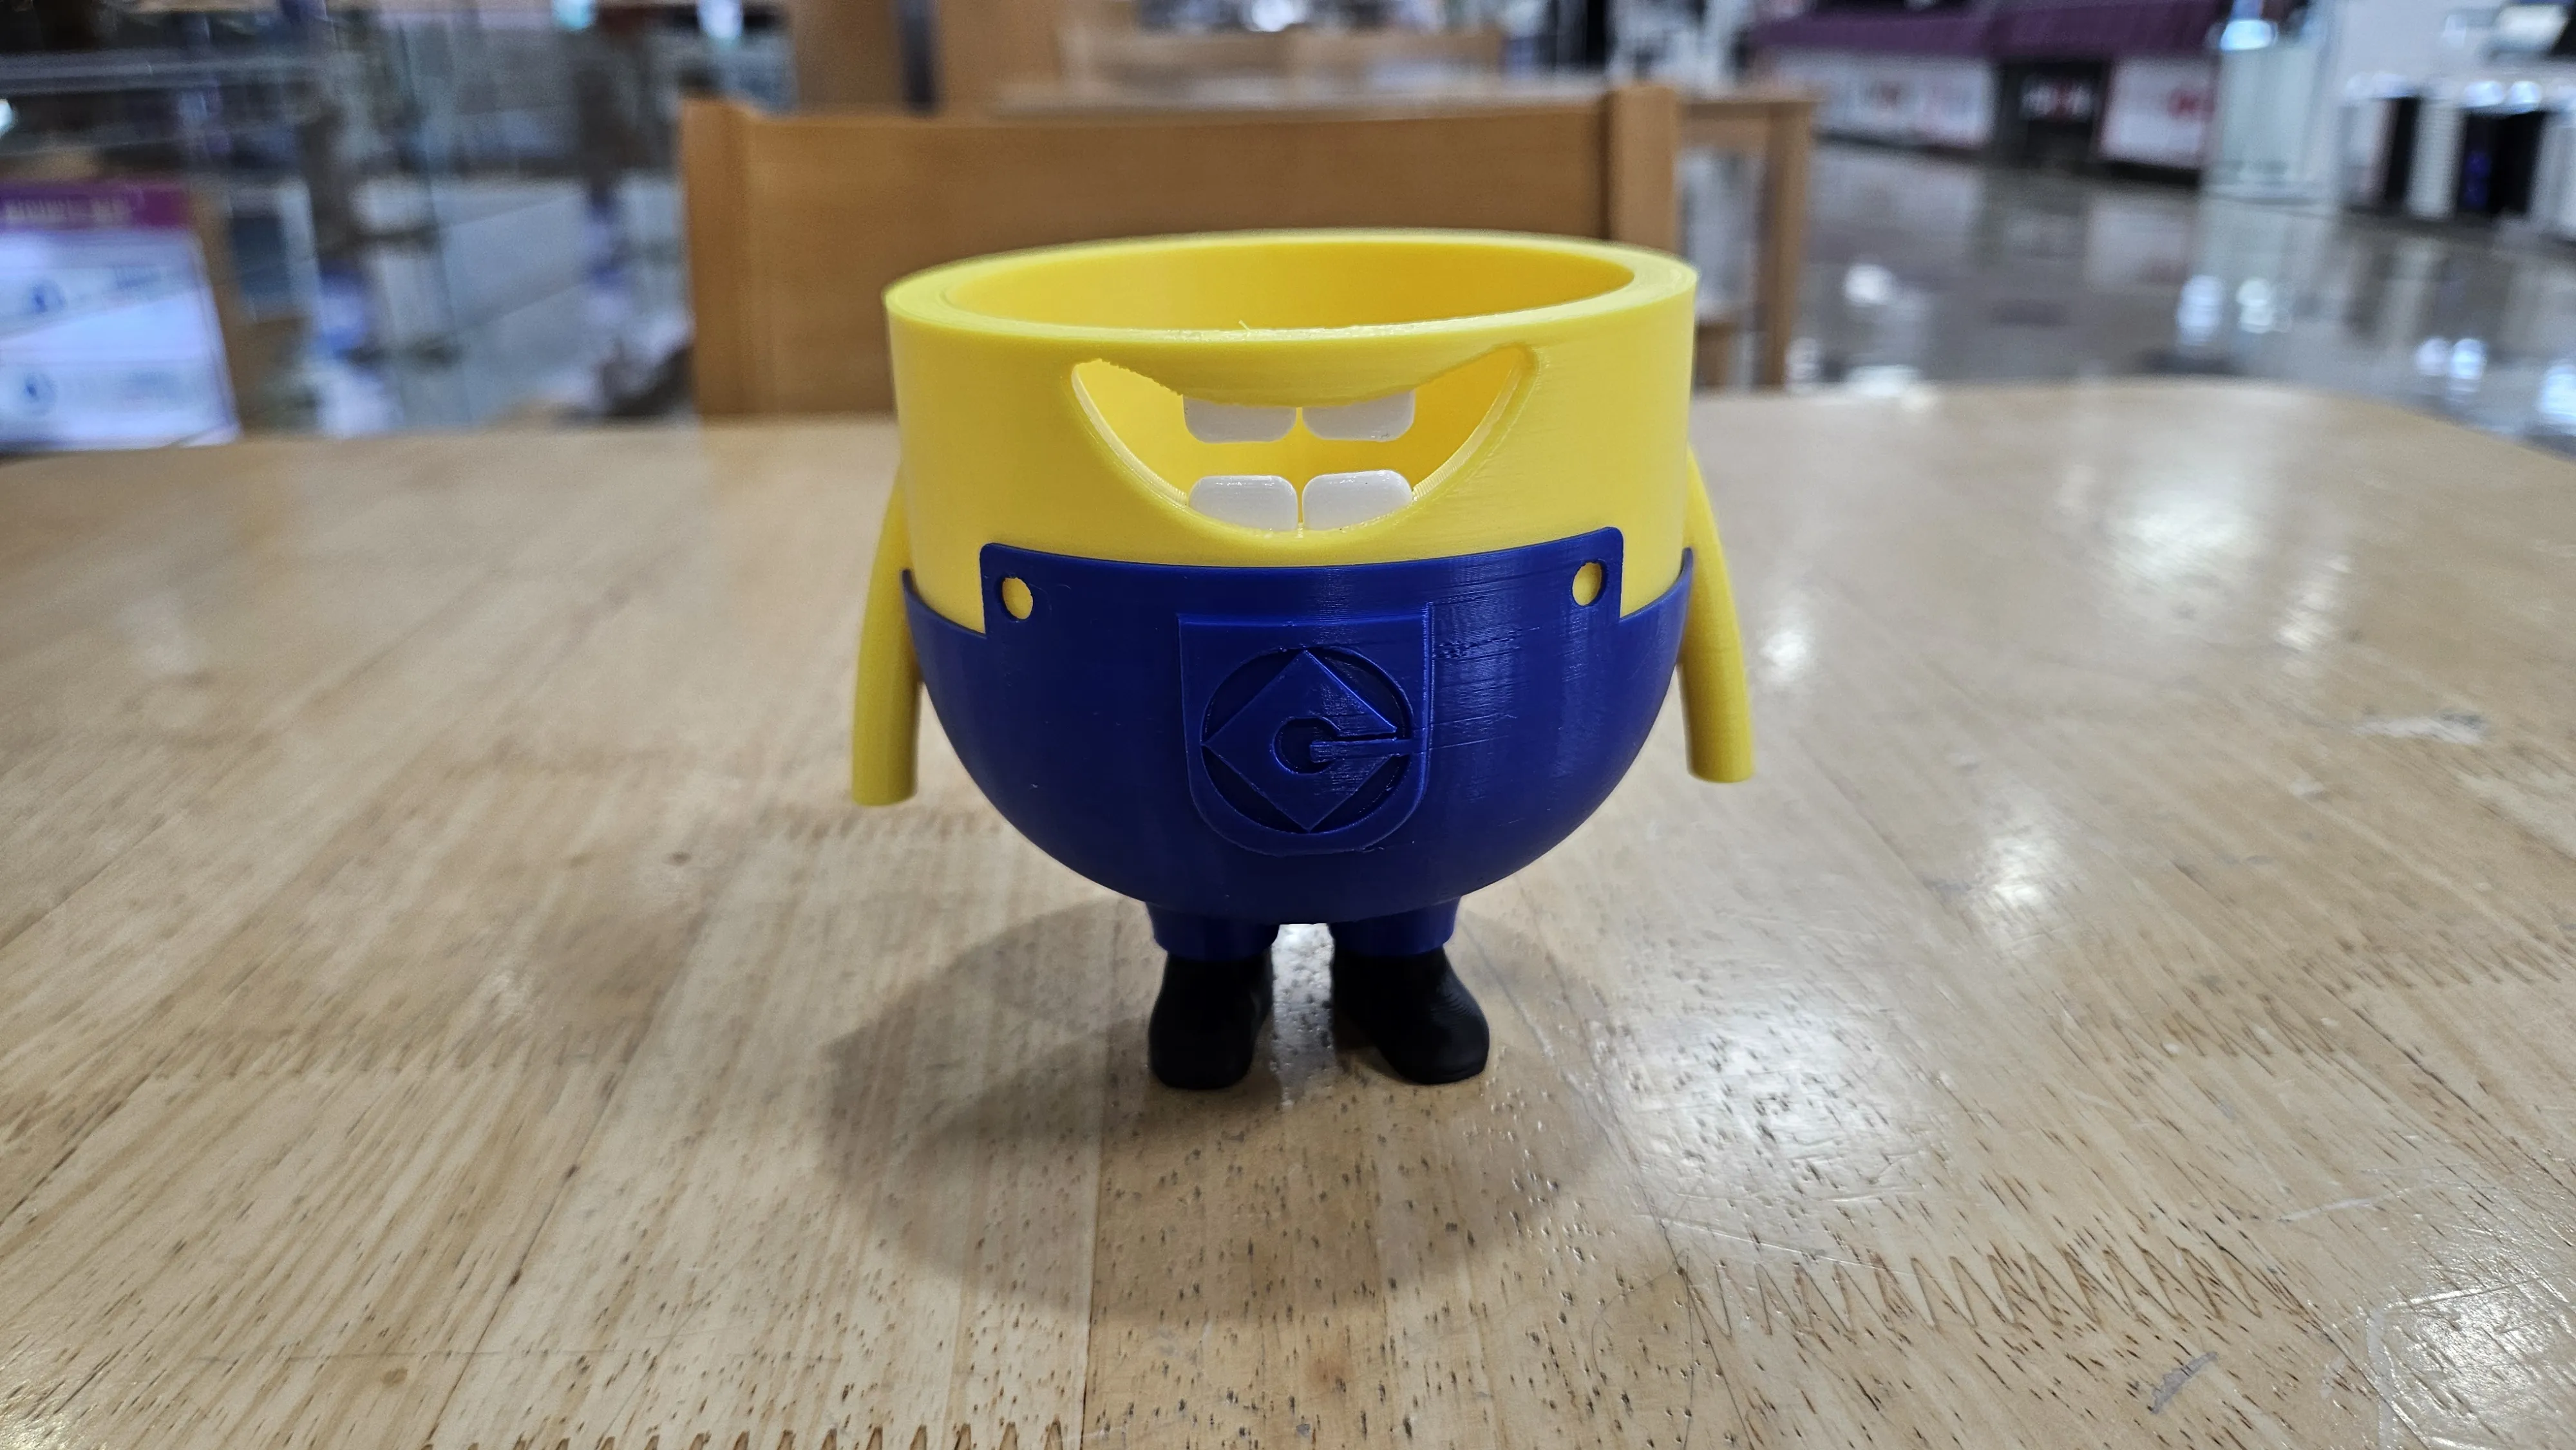
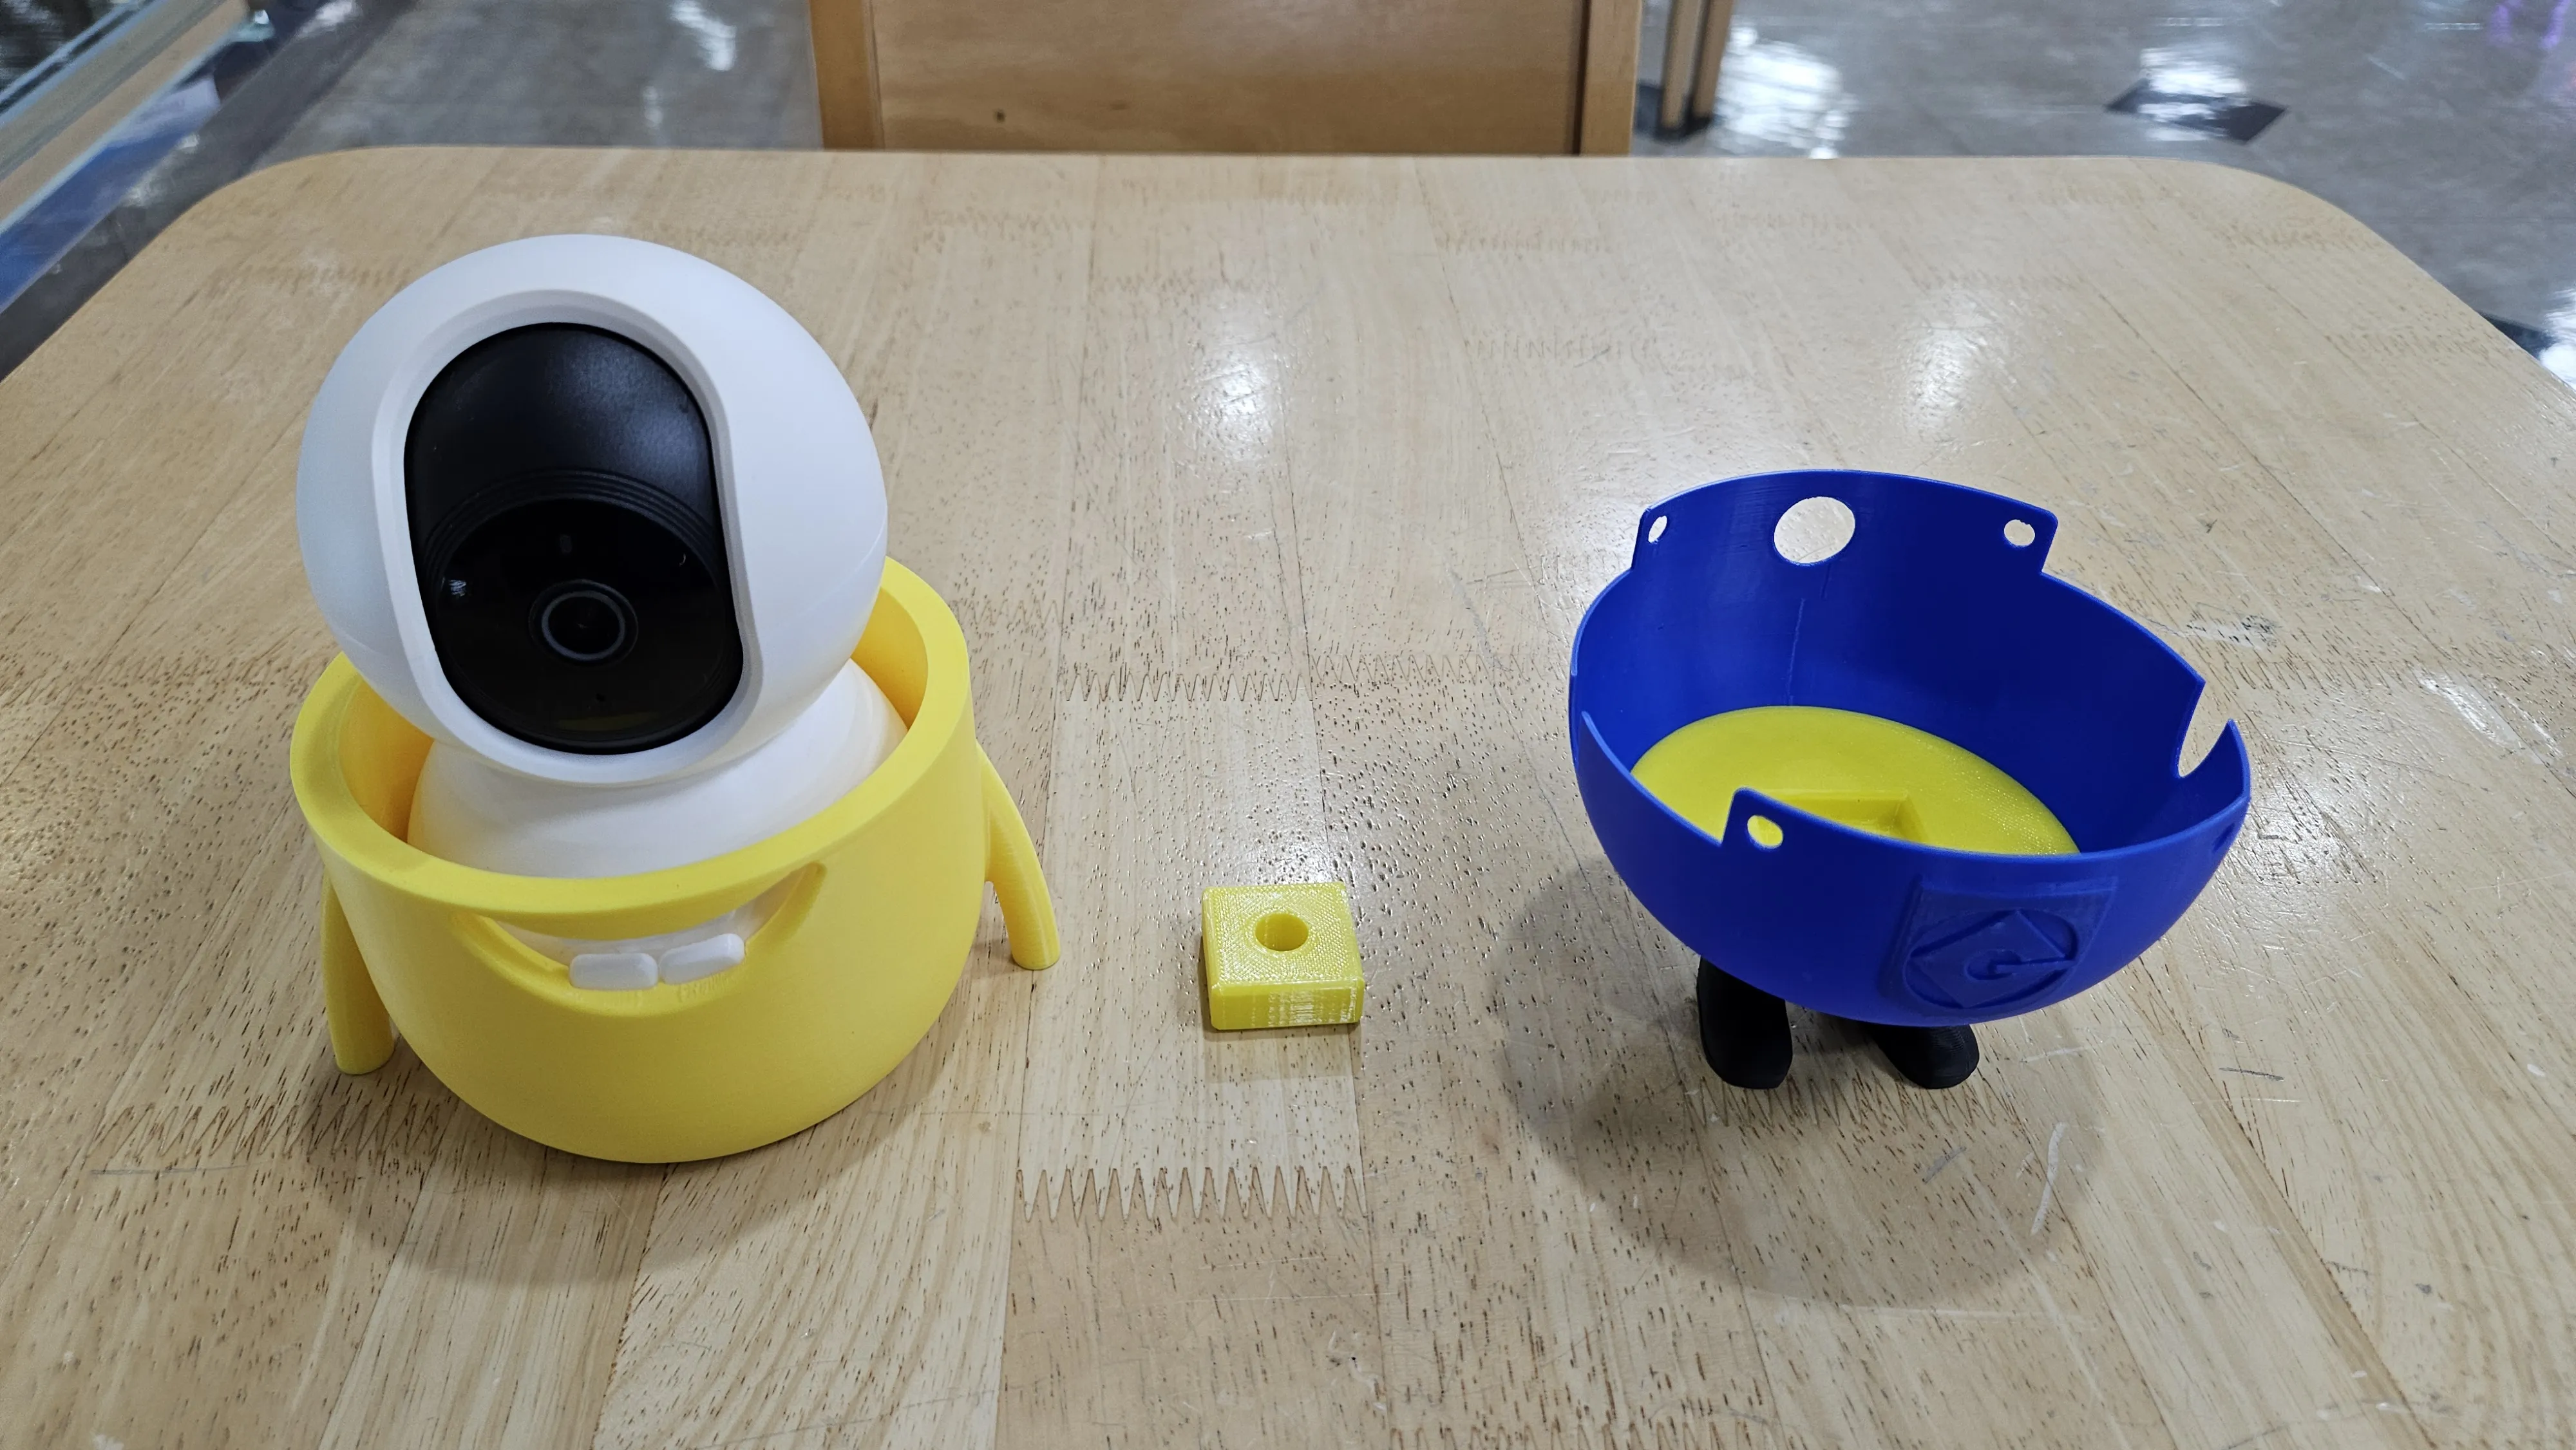
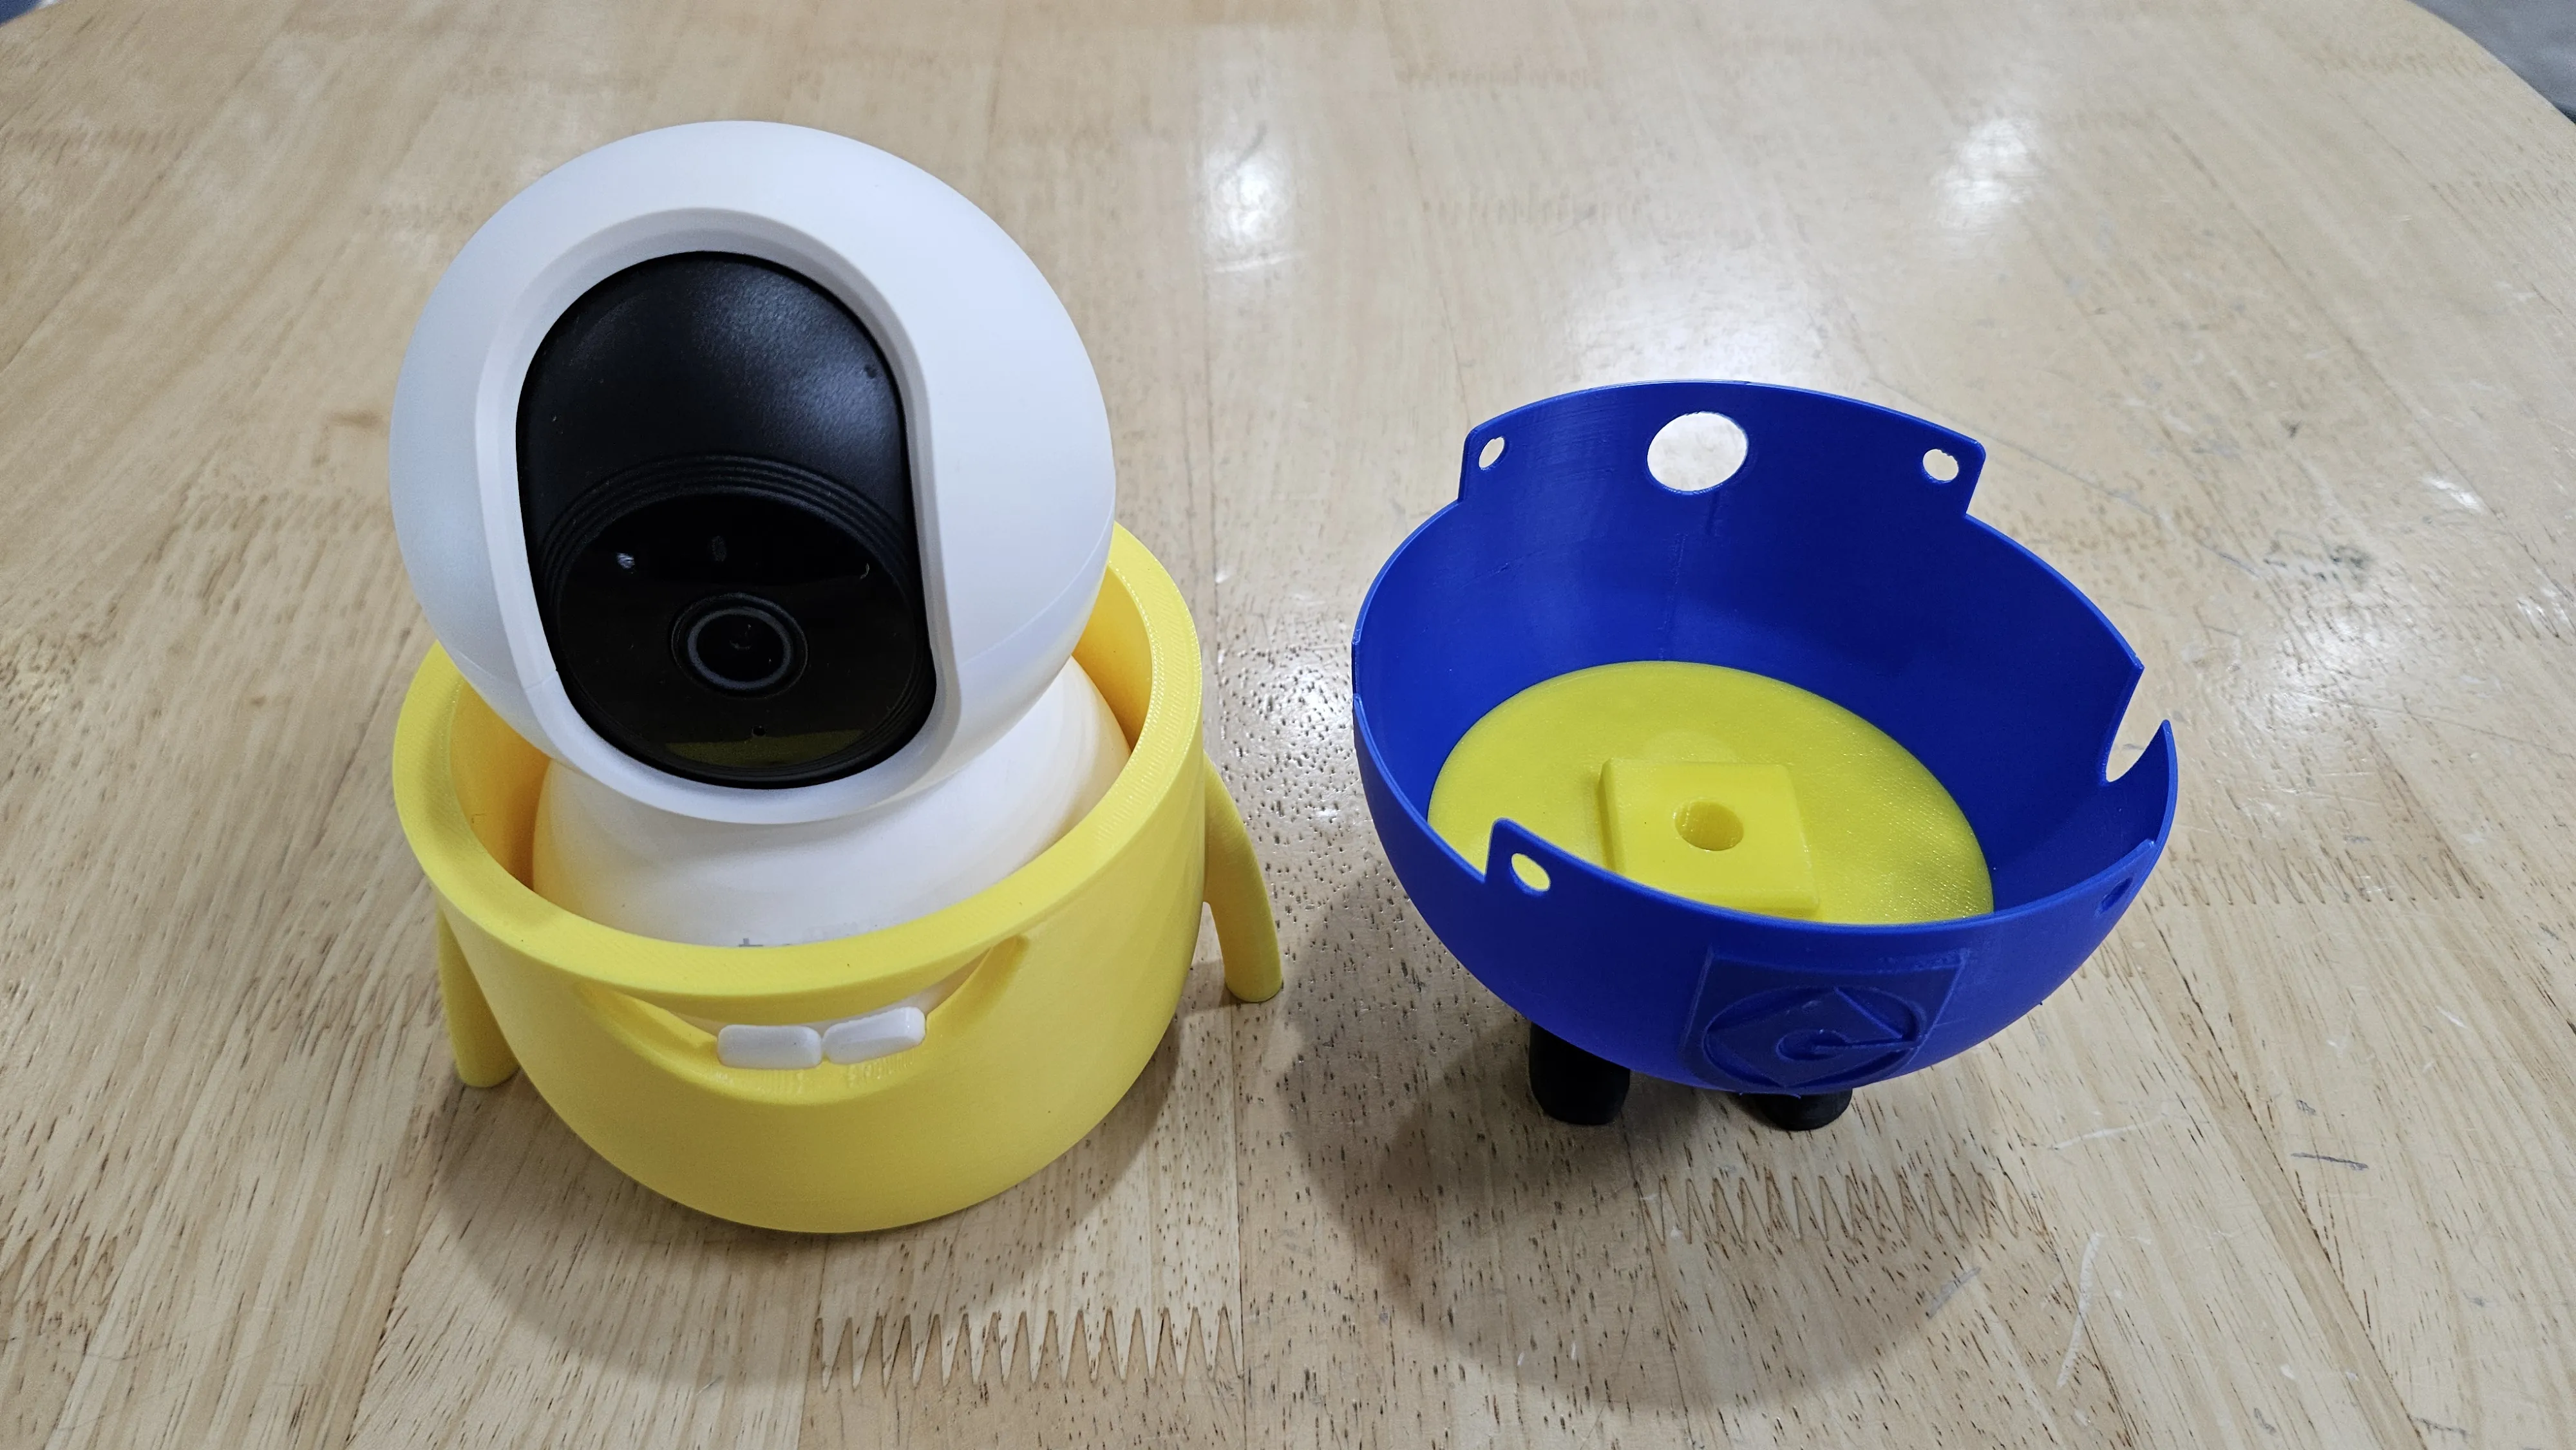
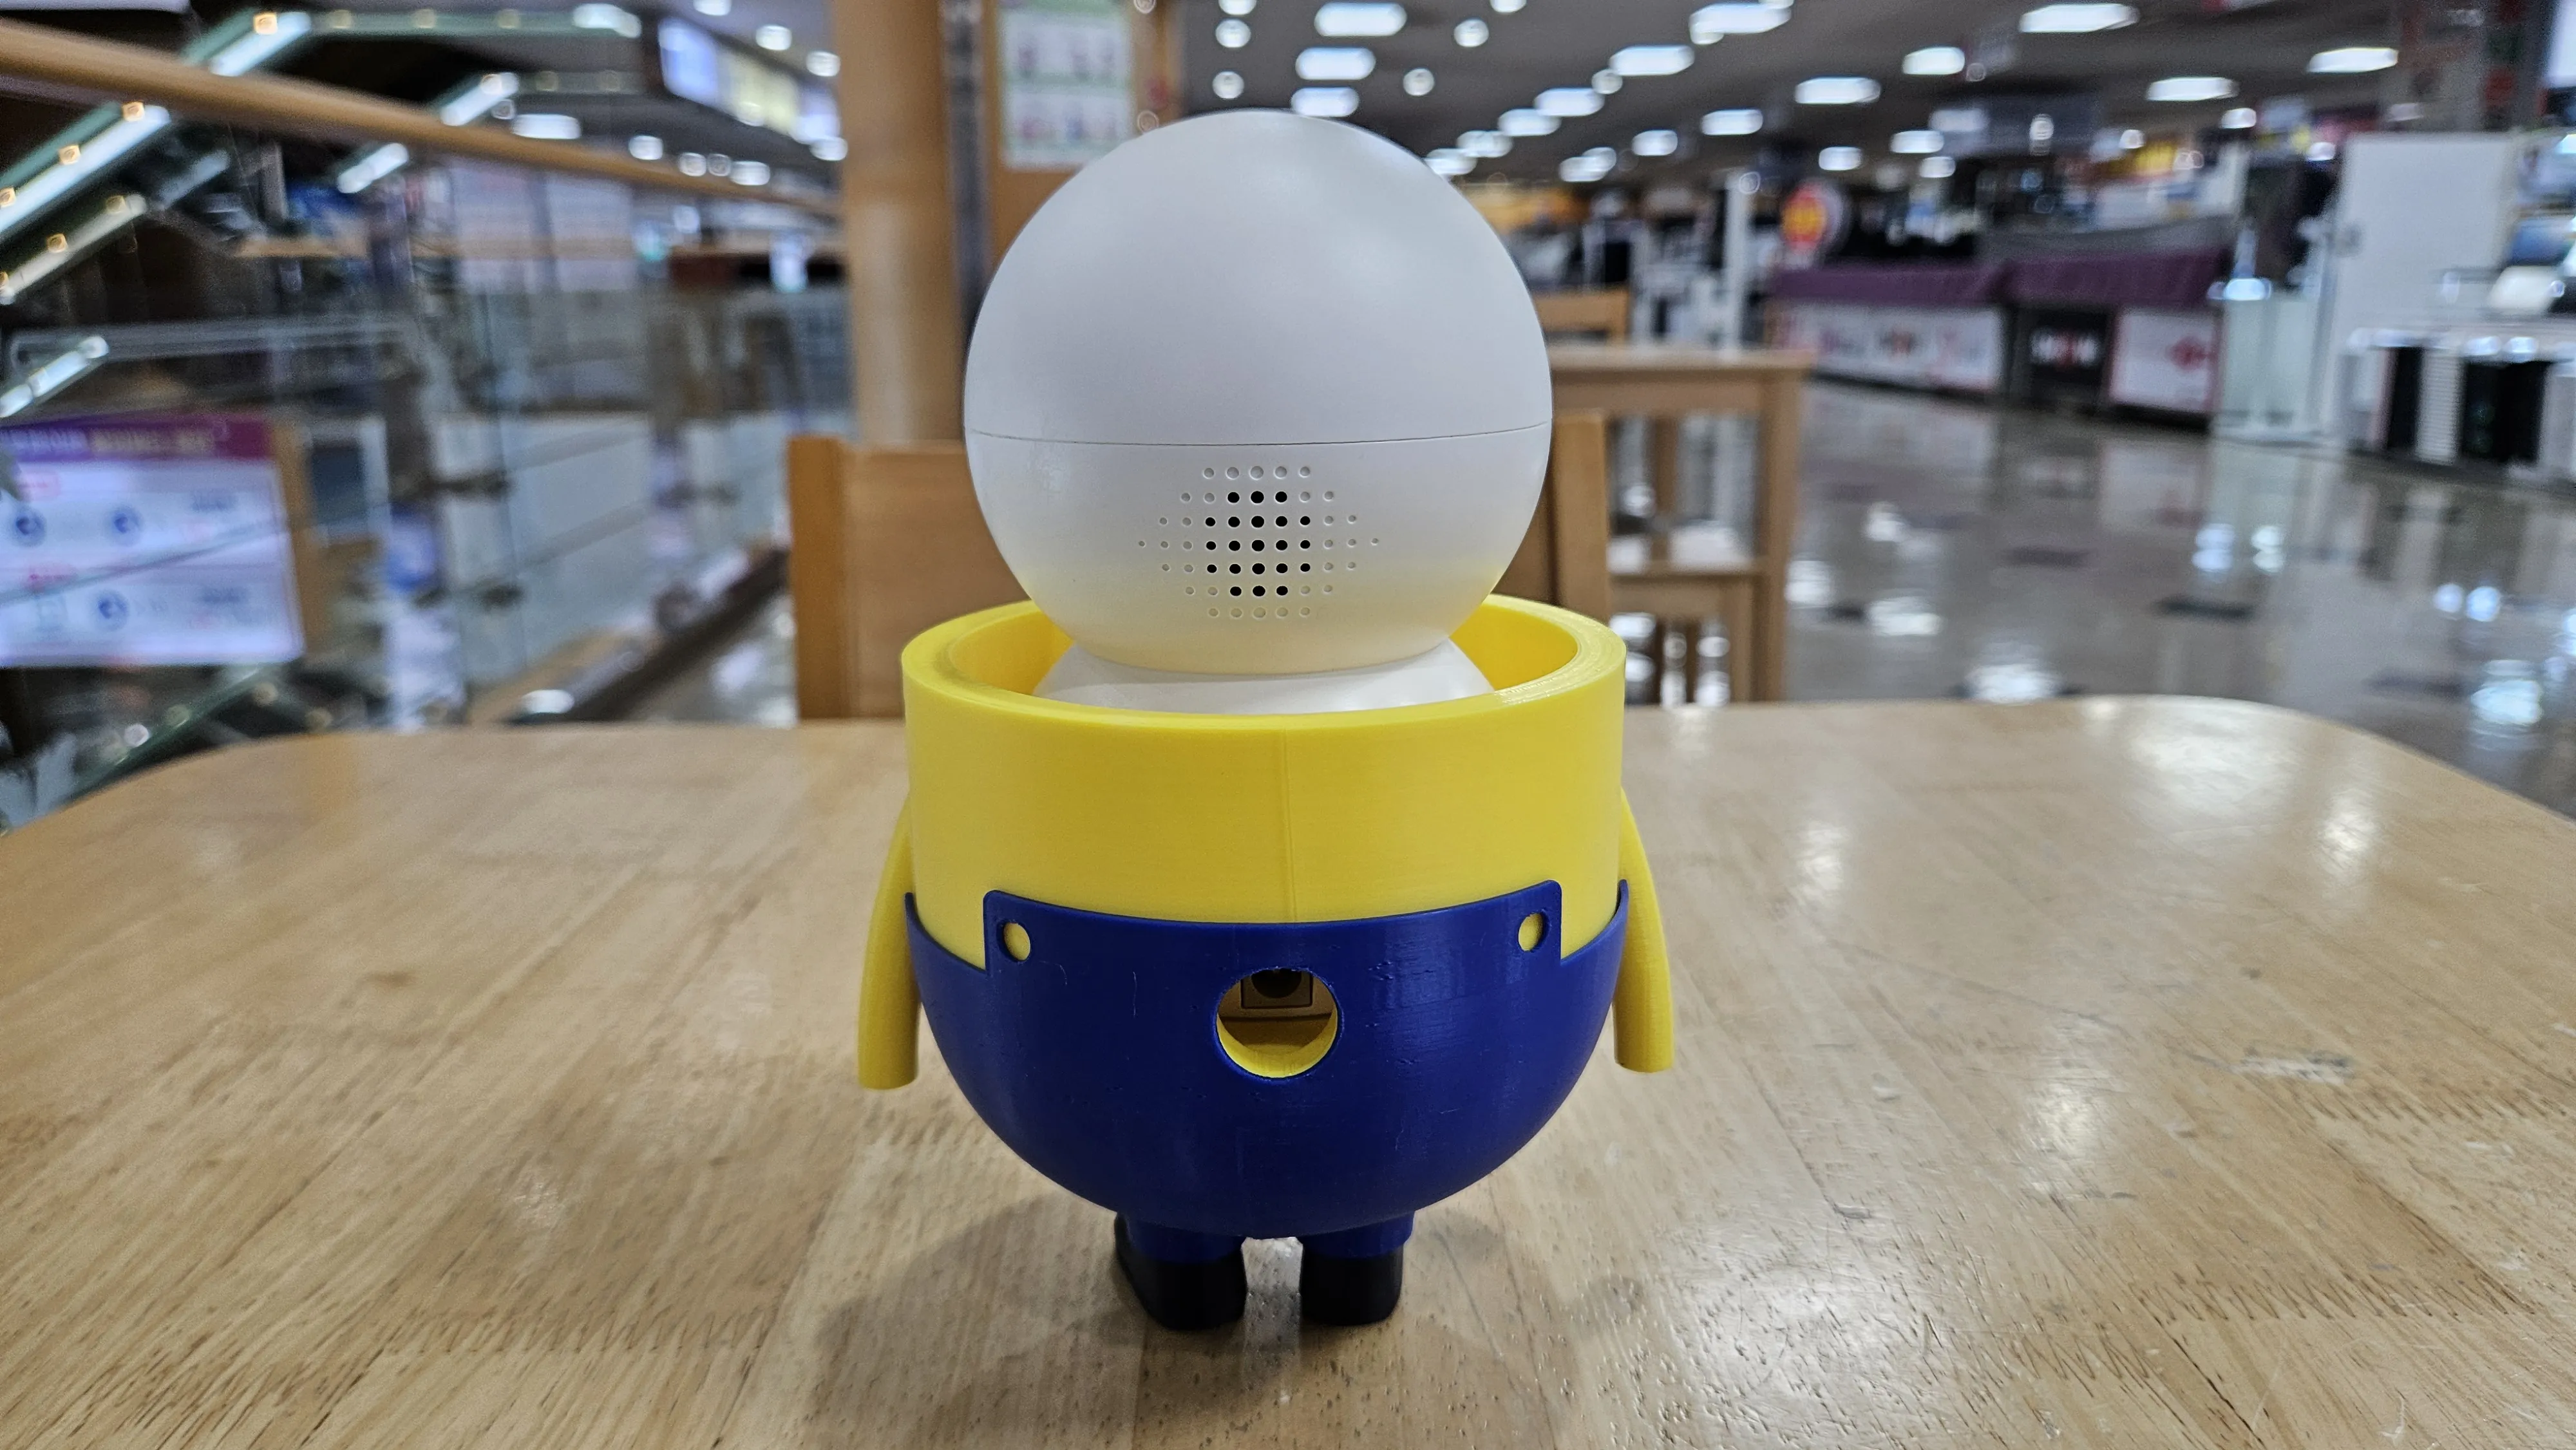
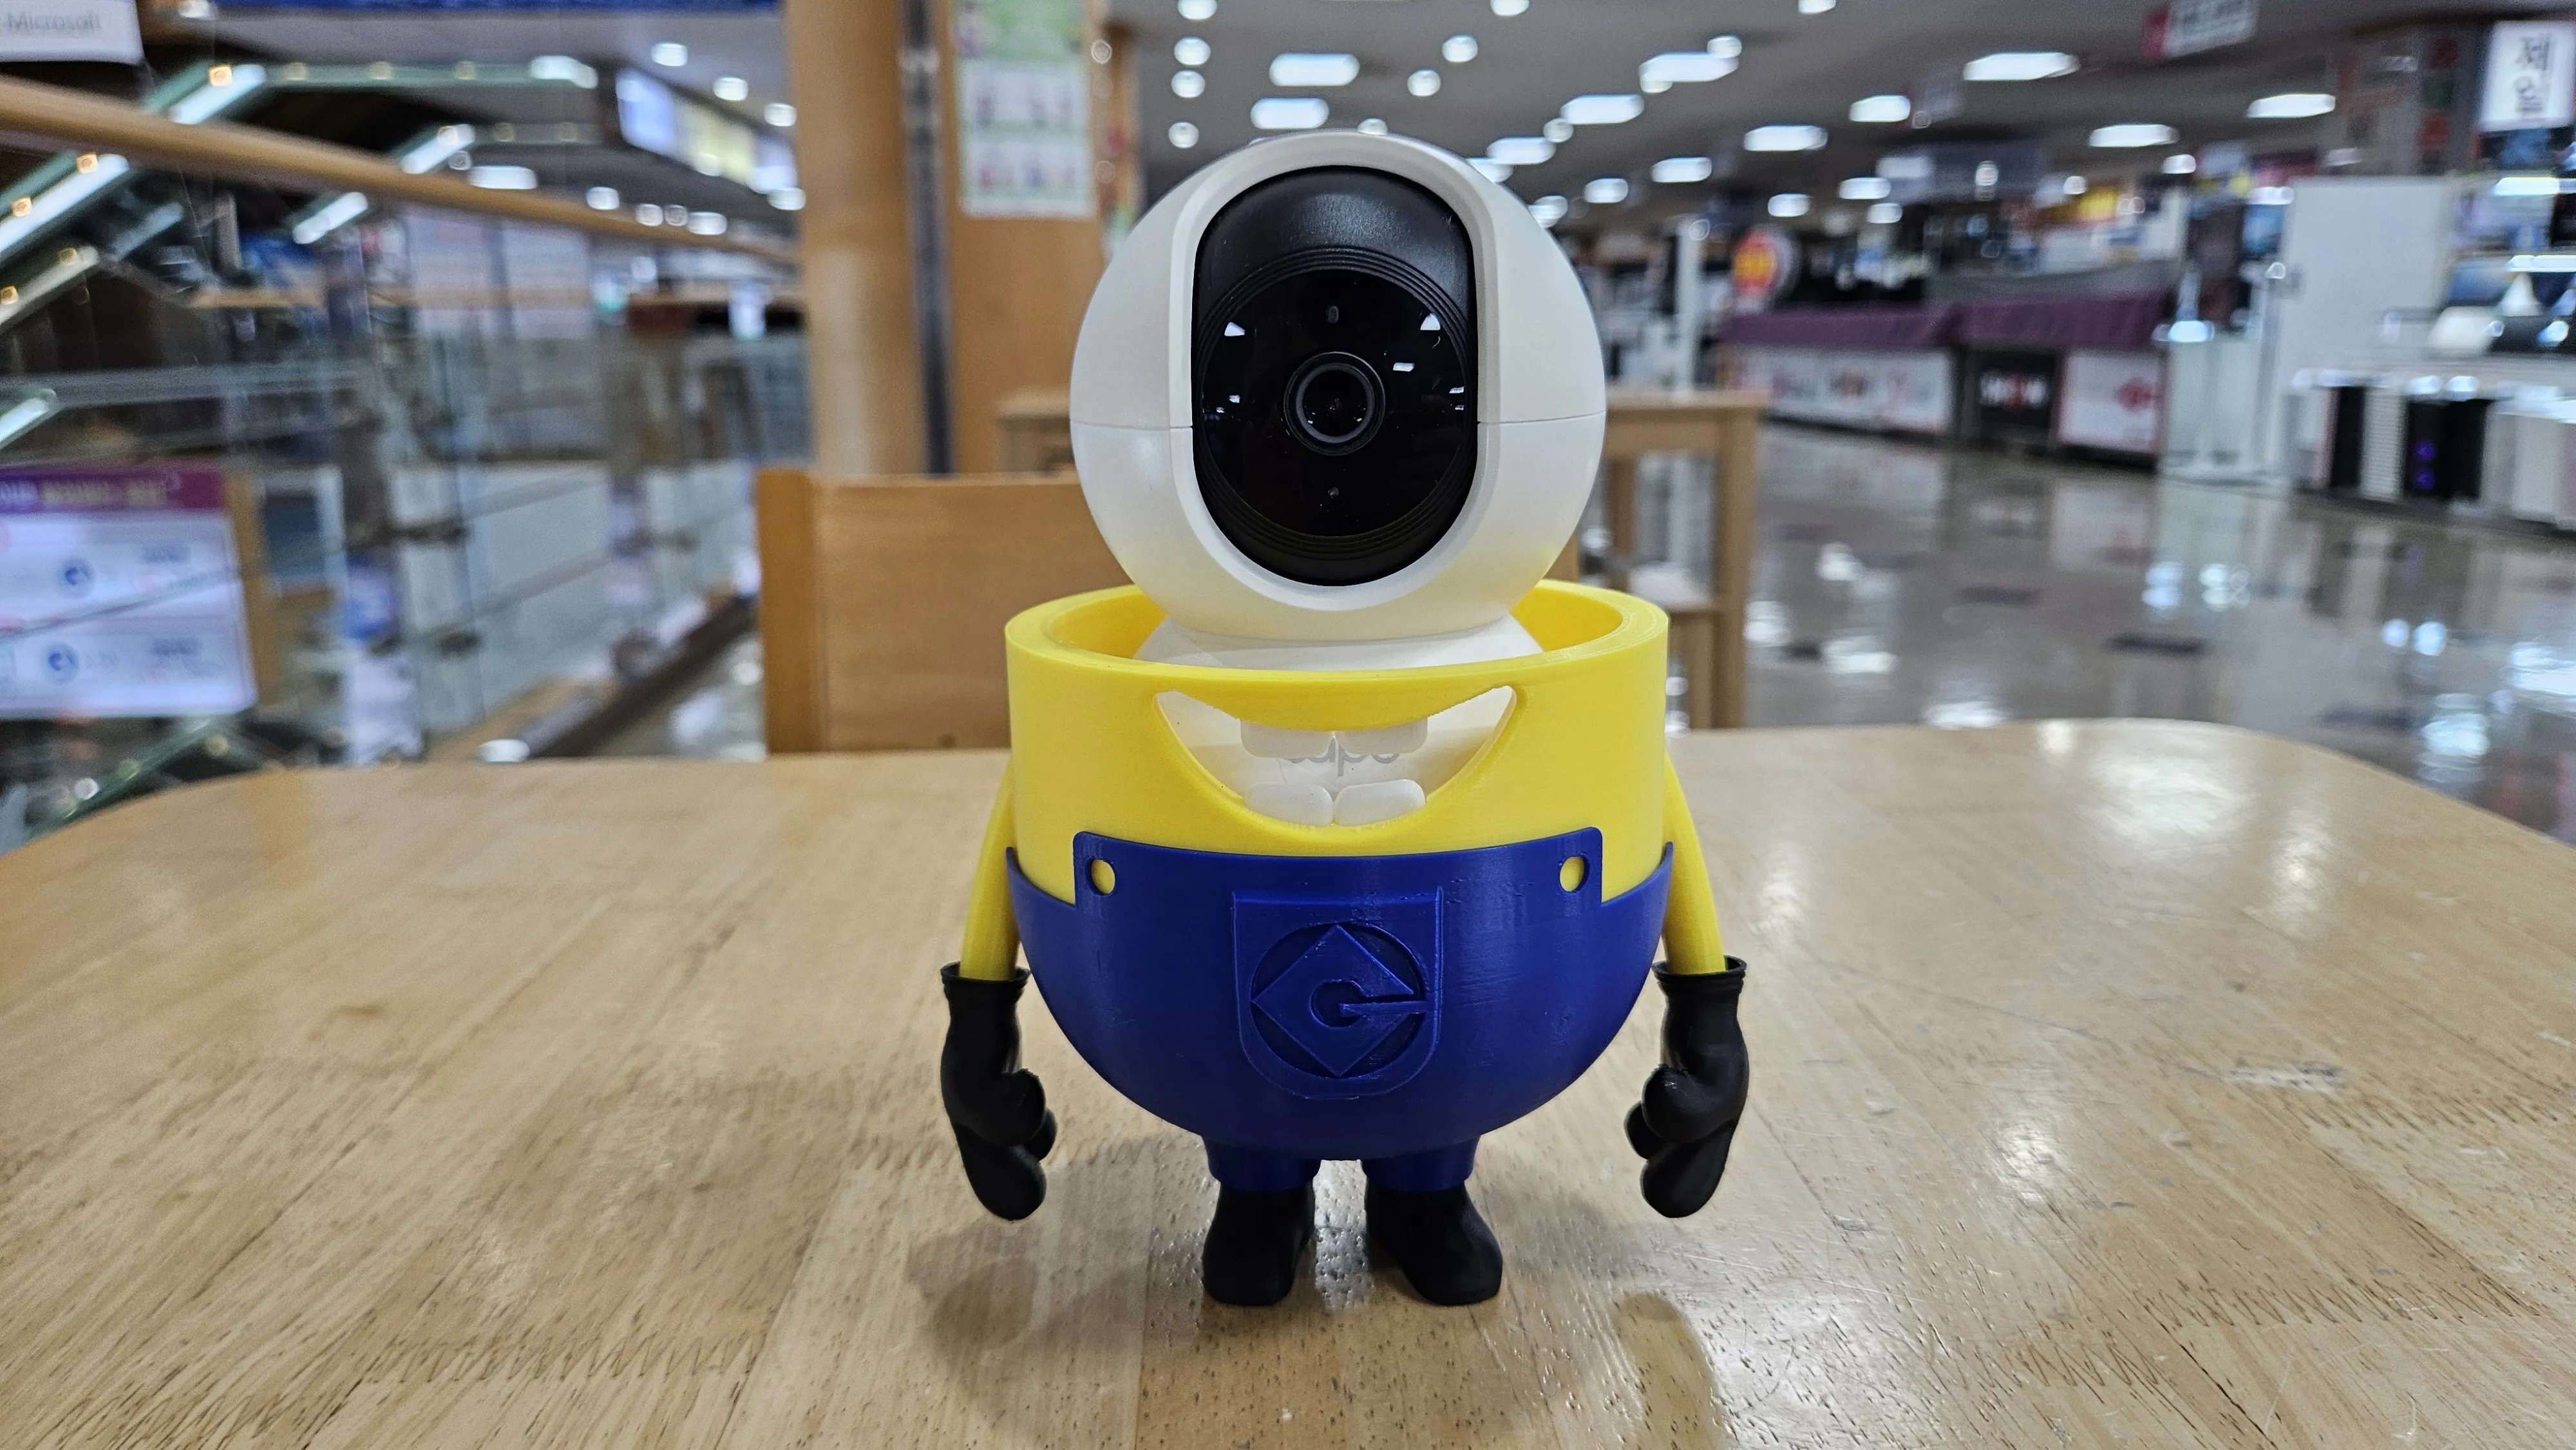
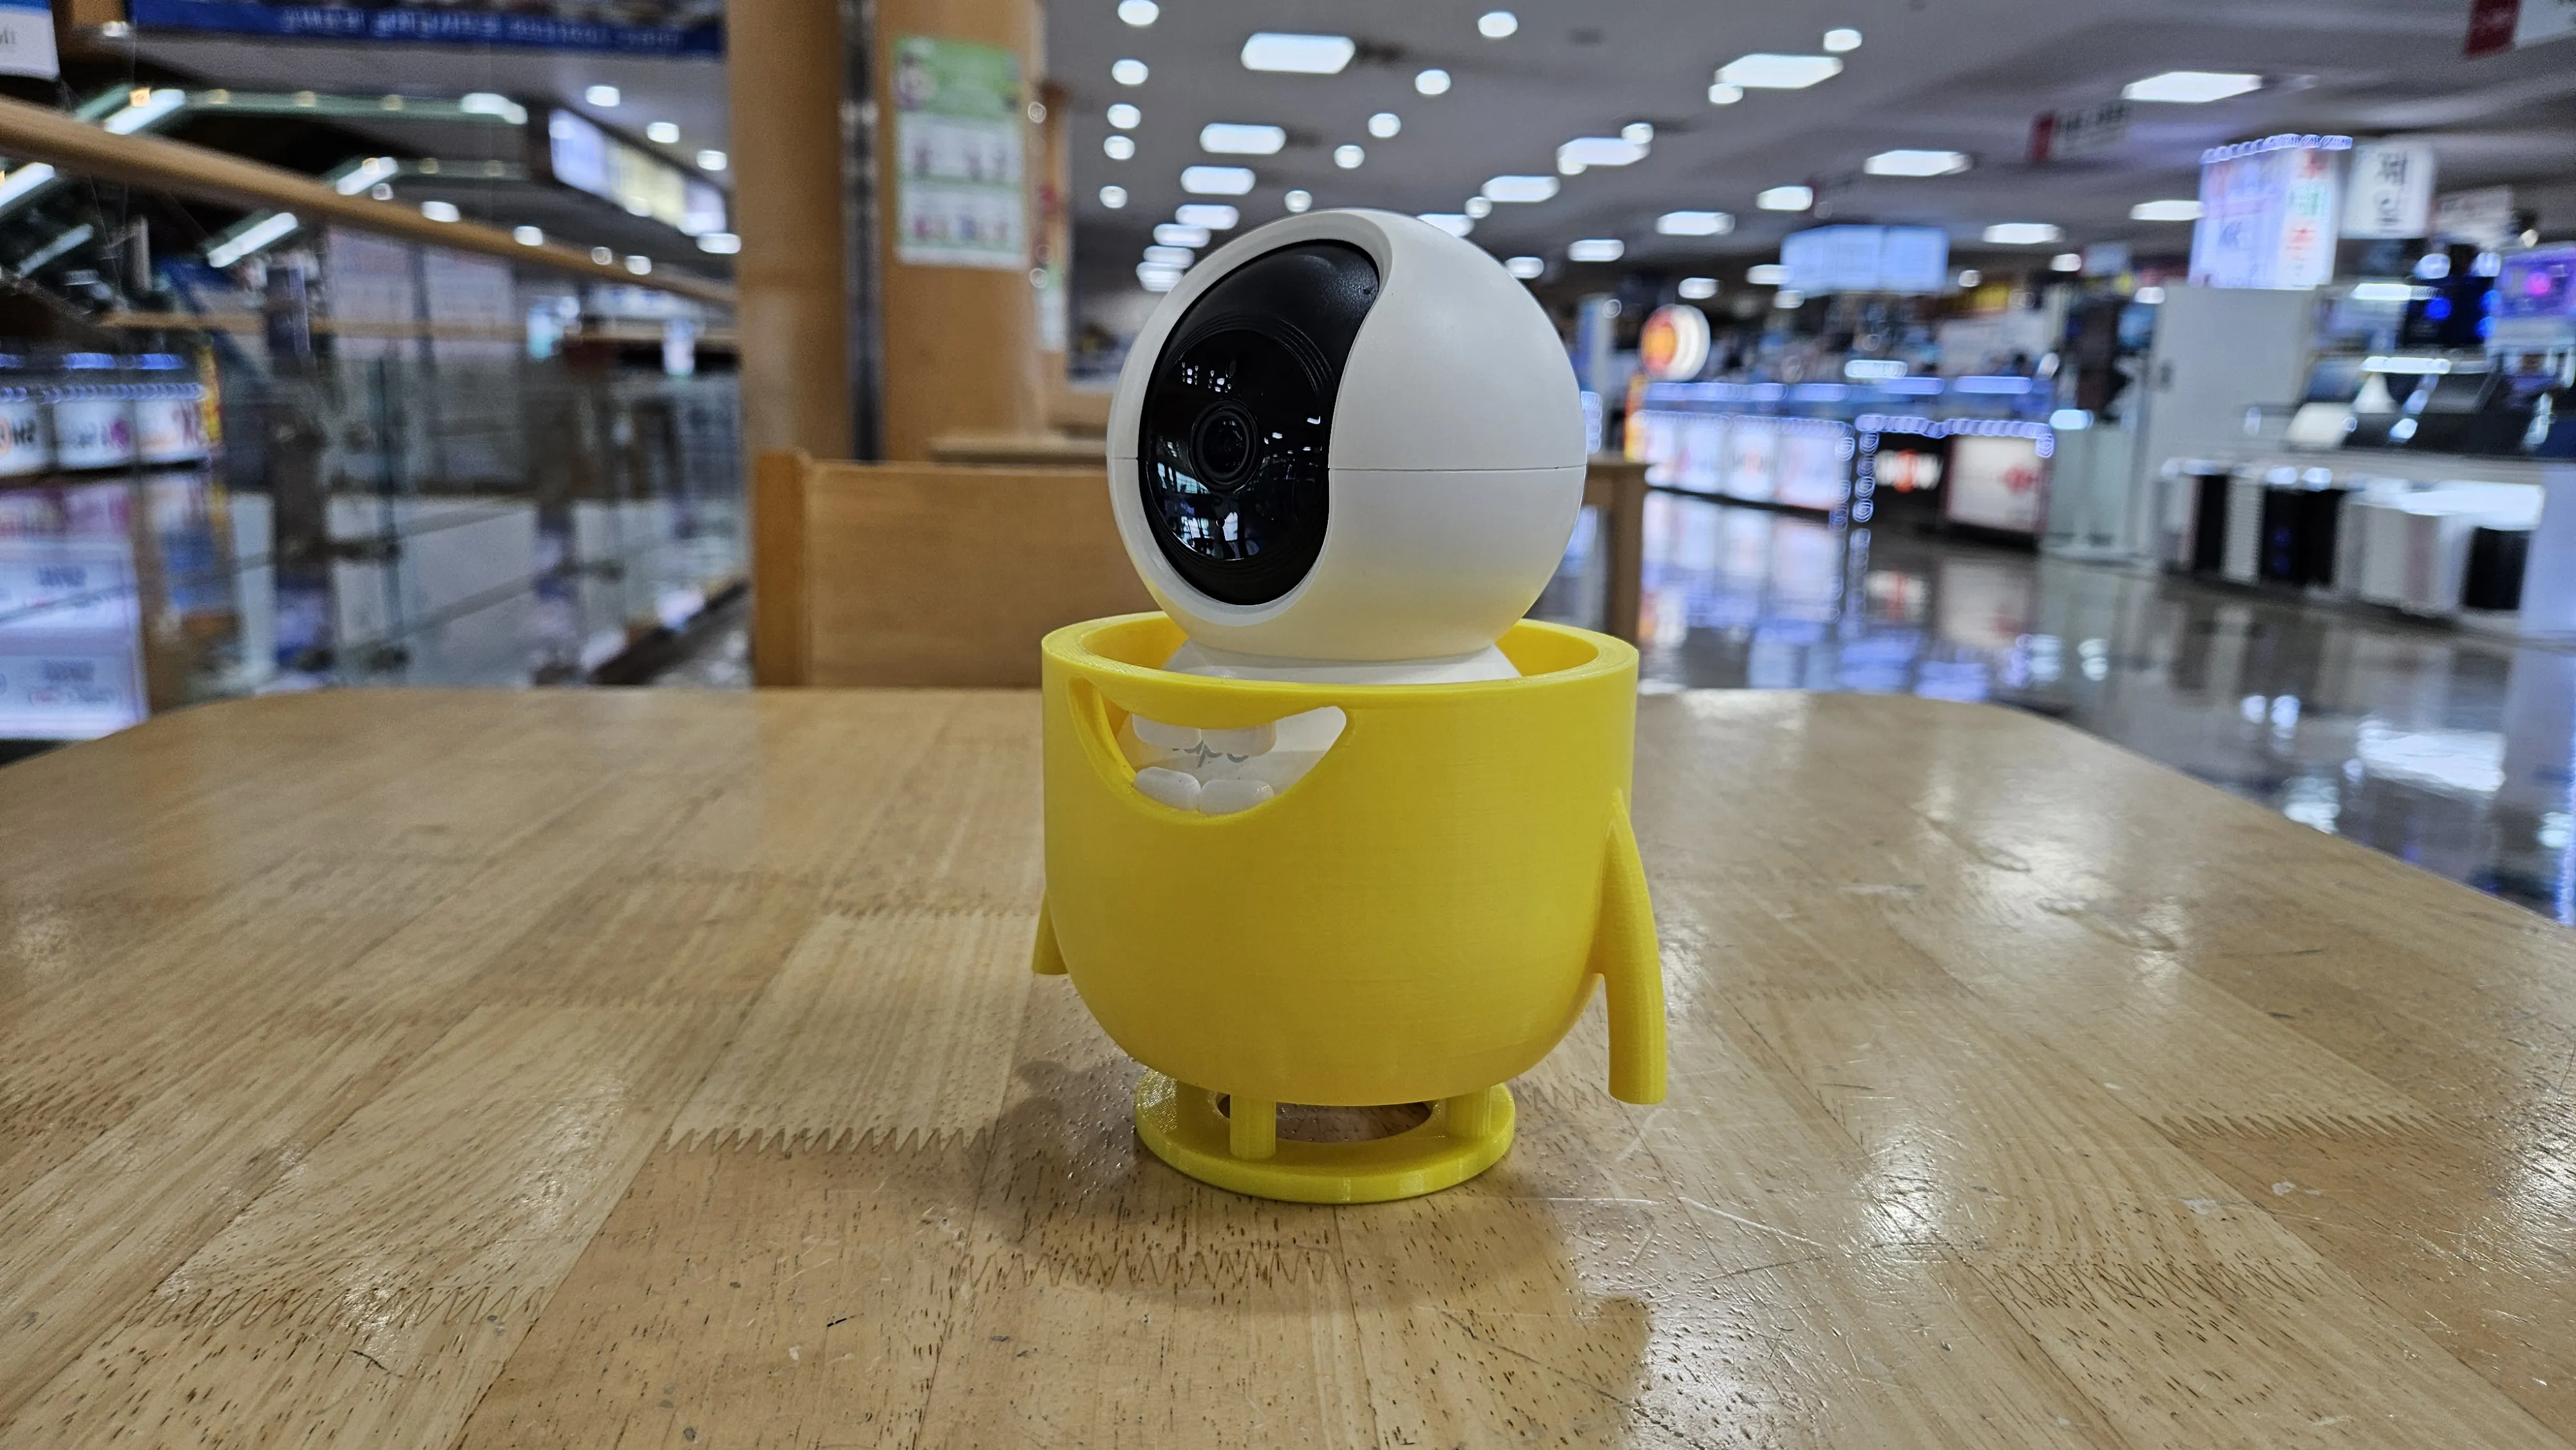
- Assemble the camera and lower body.
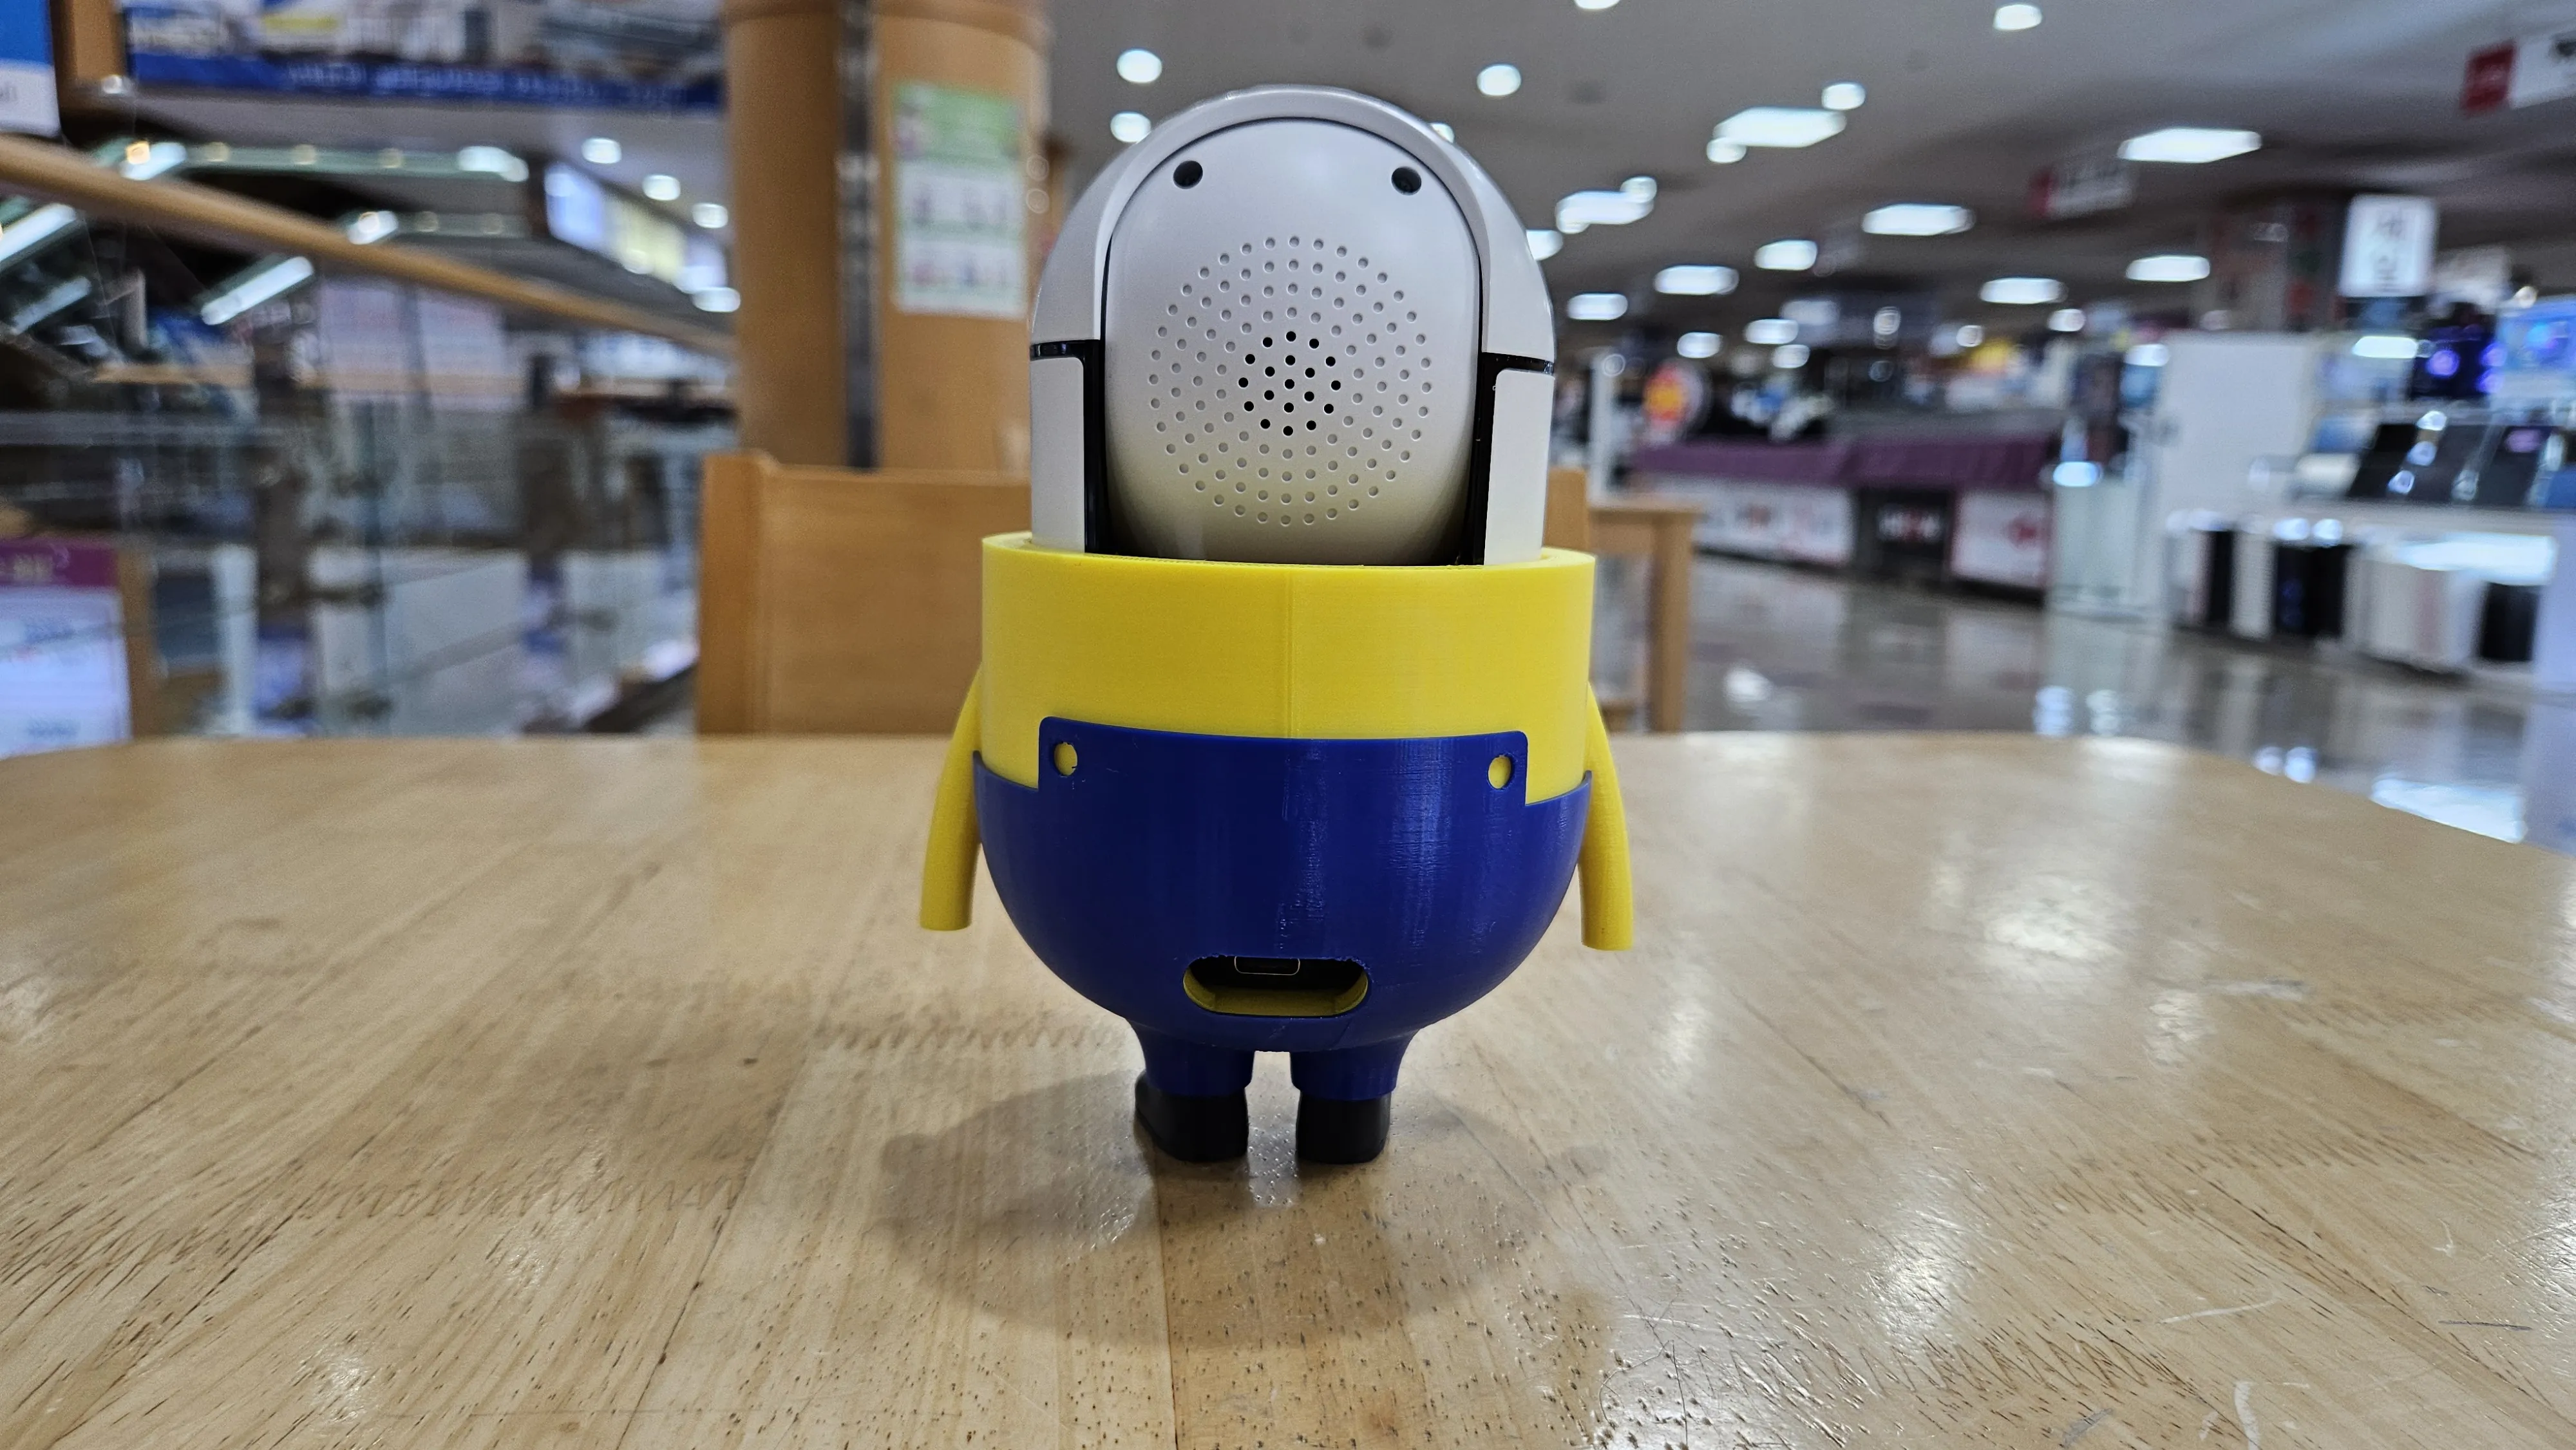
- Assemble the head and lens.
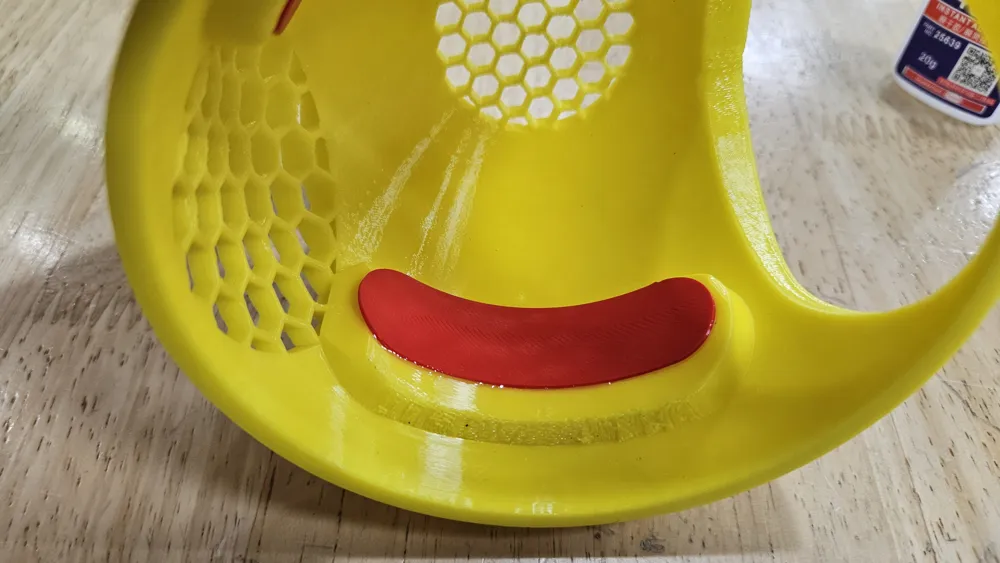
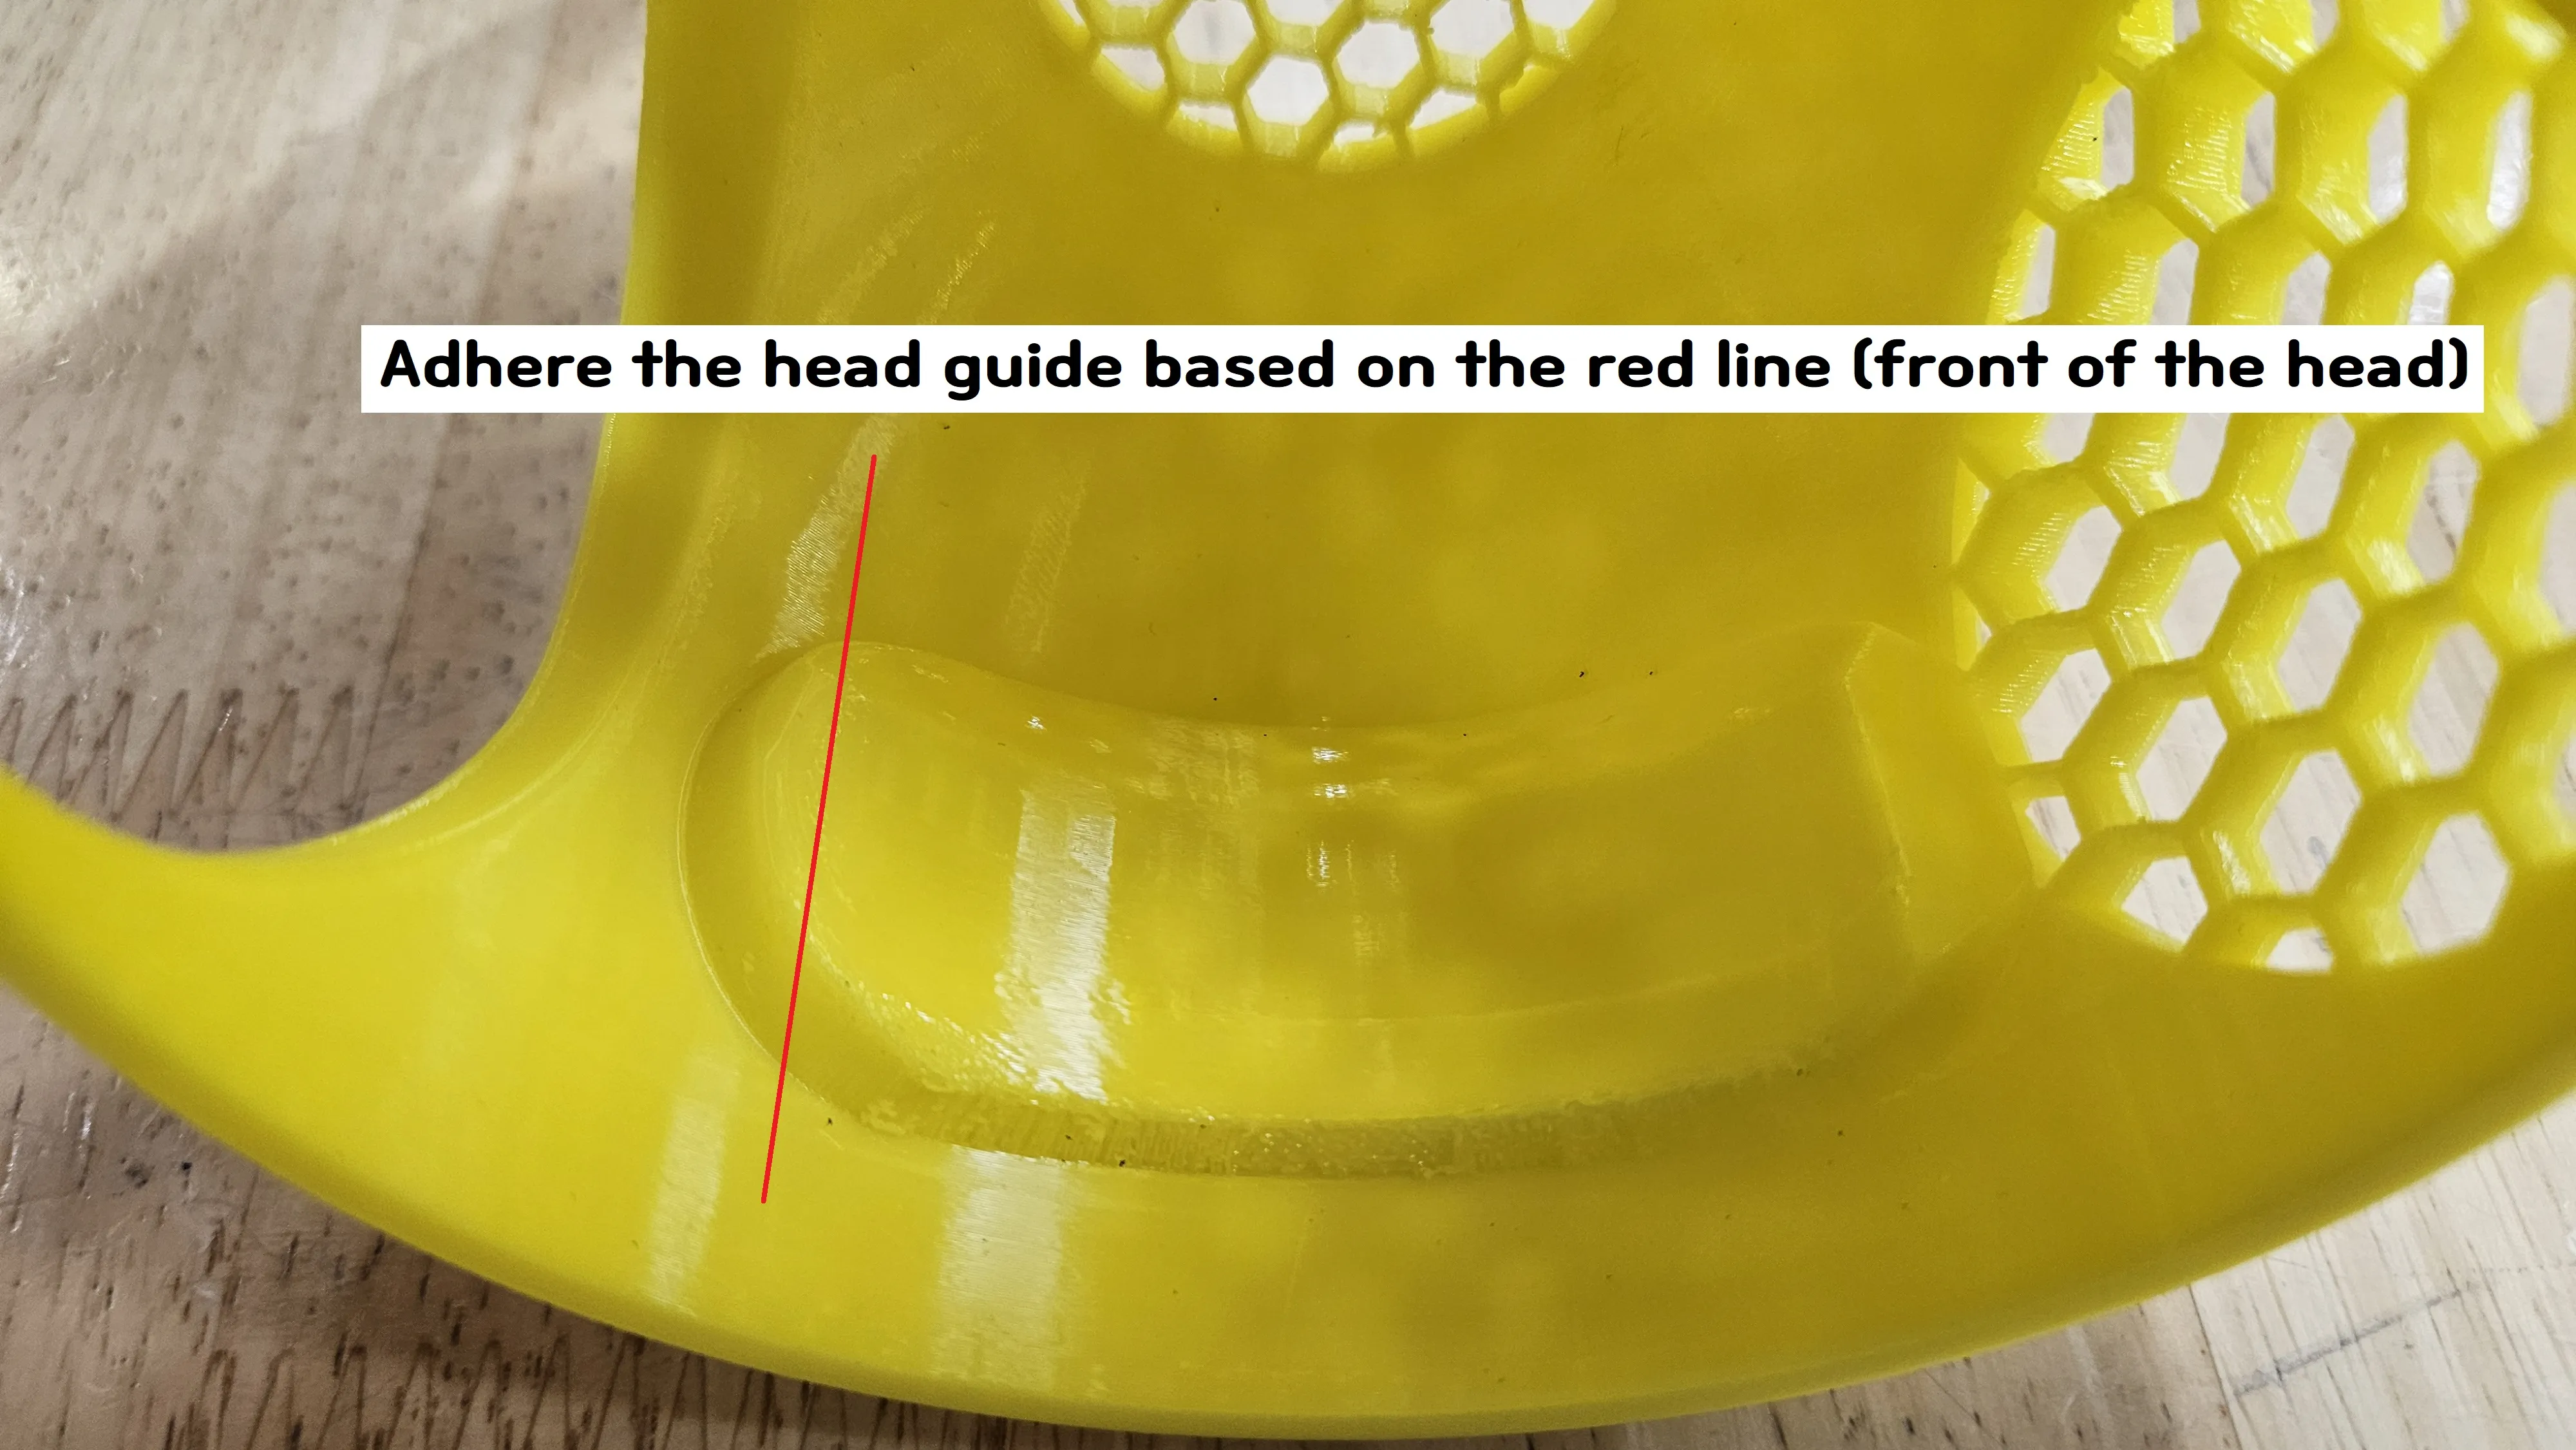
Bond the TPU output to the head.
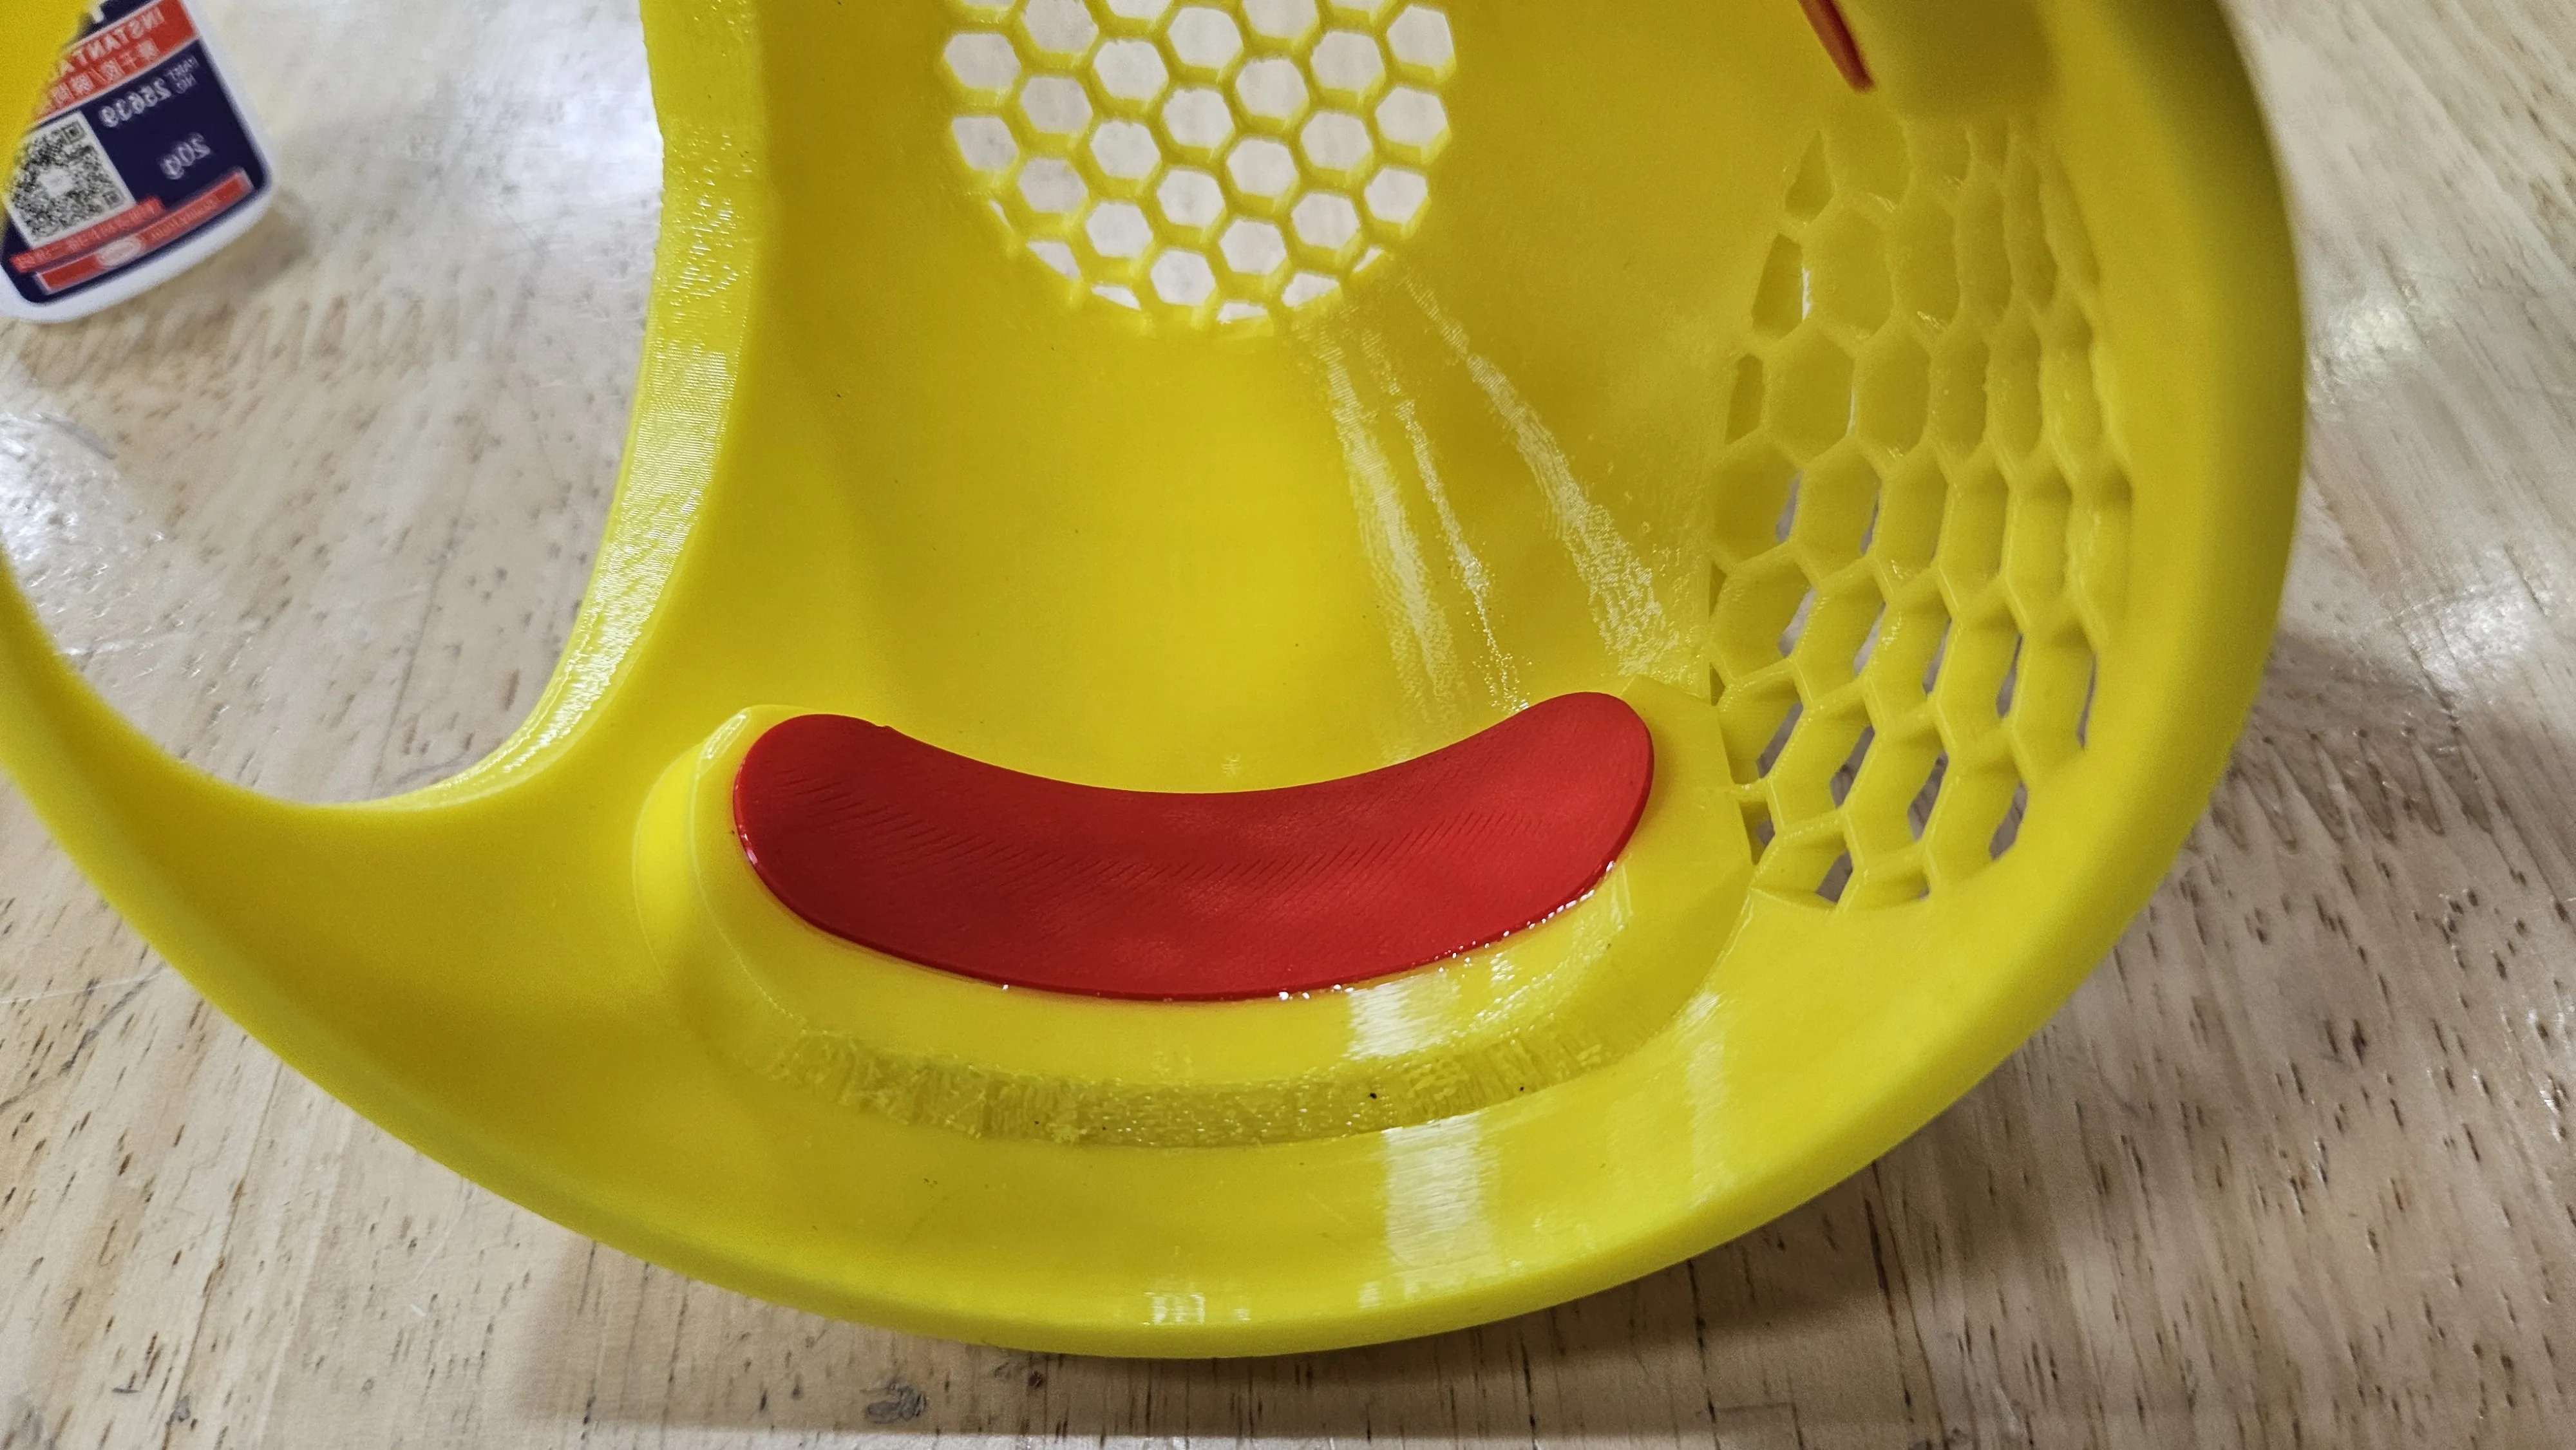
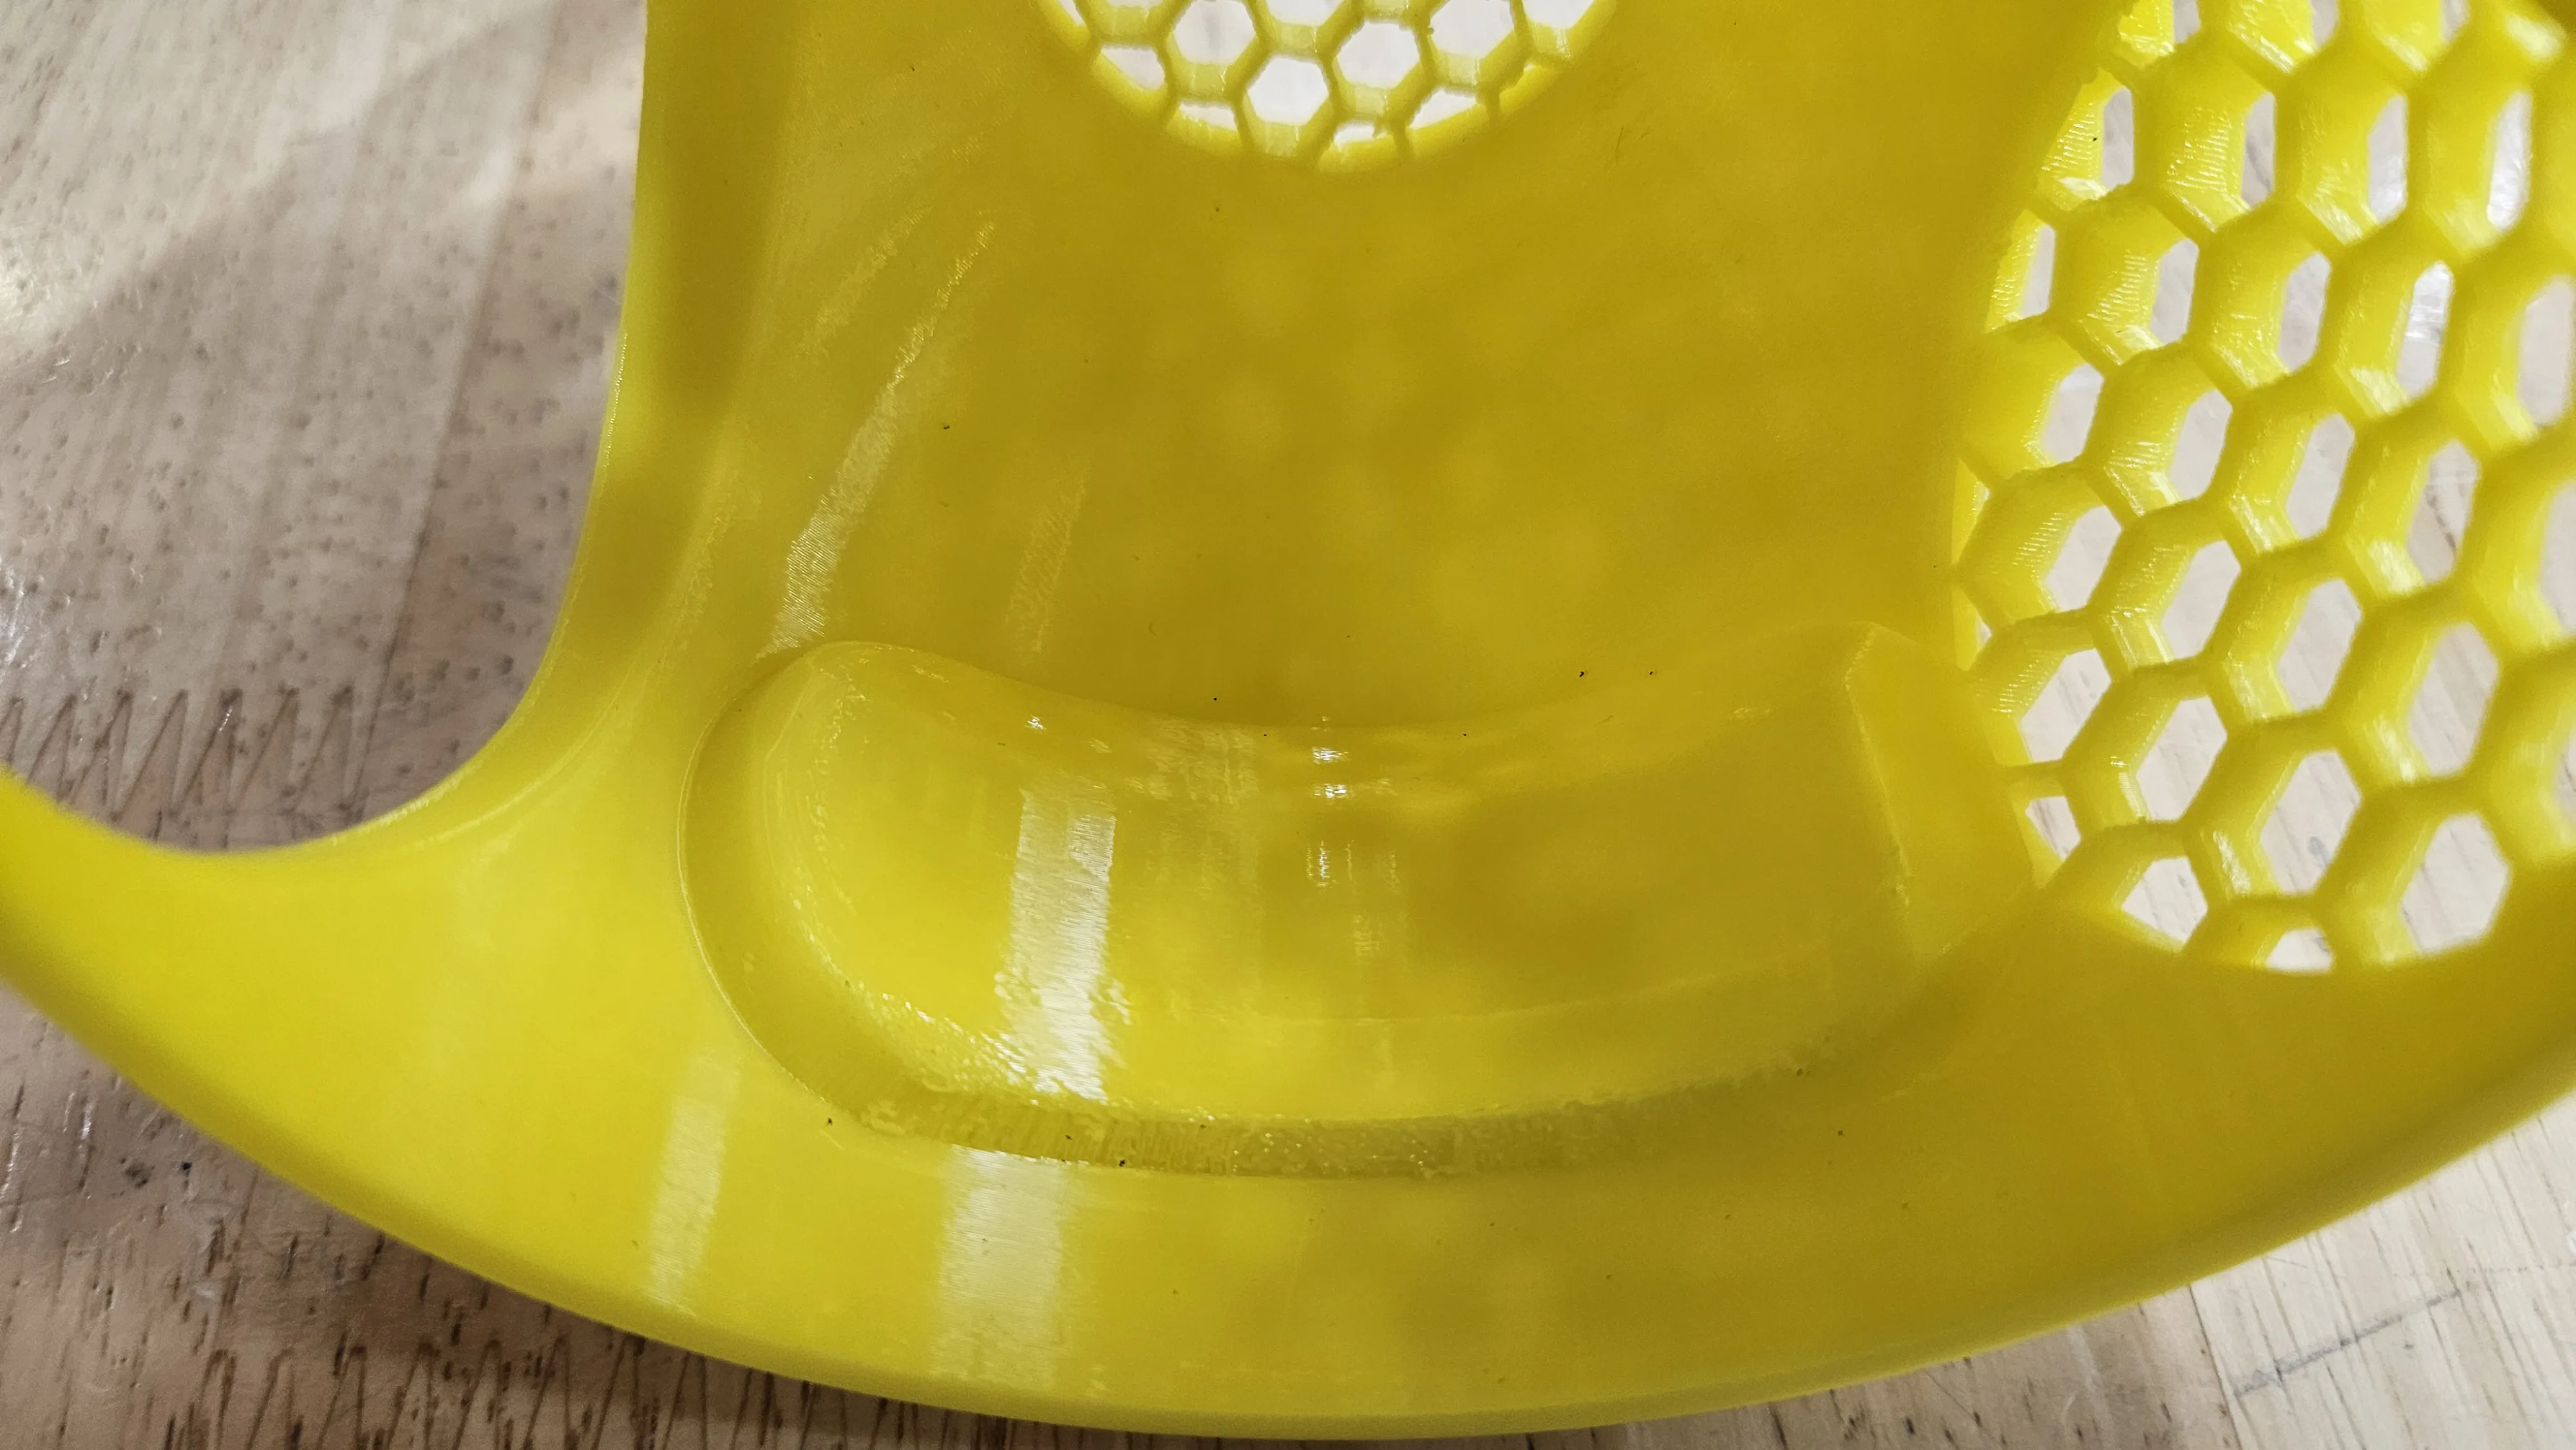
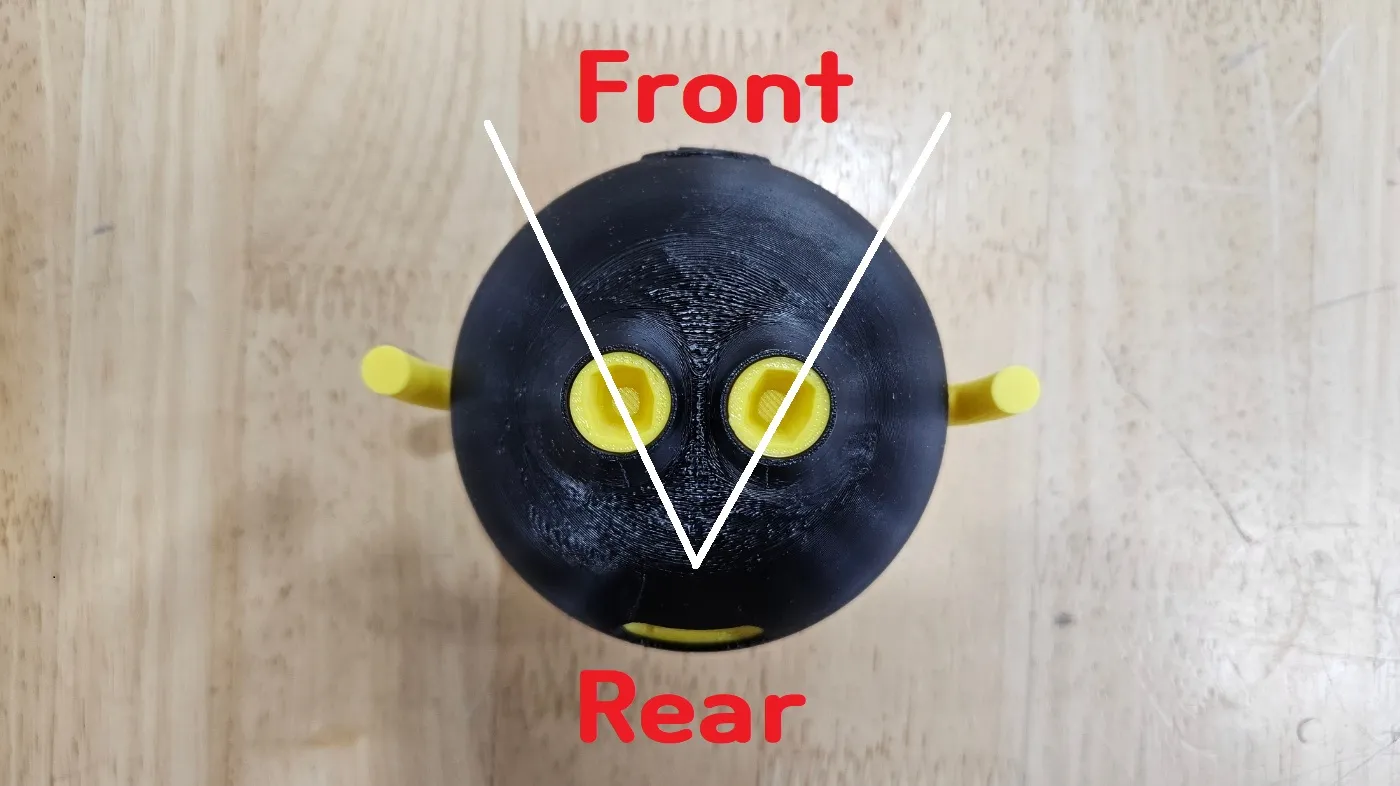
*** Adhere the head guide based on the red line (front of the head) ***
- Mount the lens on the head and secure the lens bend with the filament.
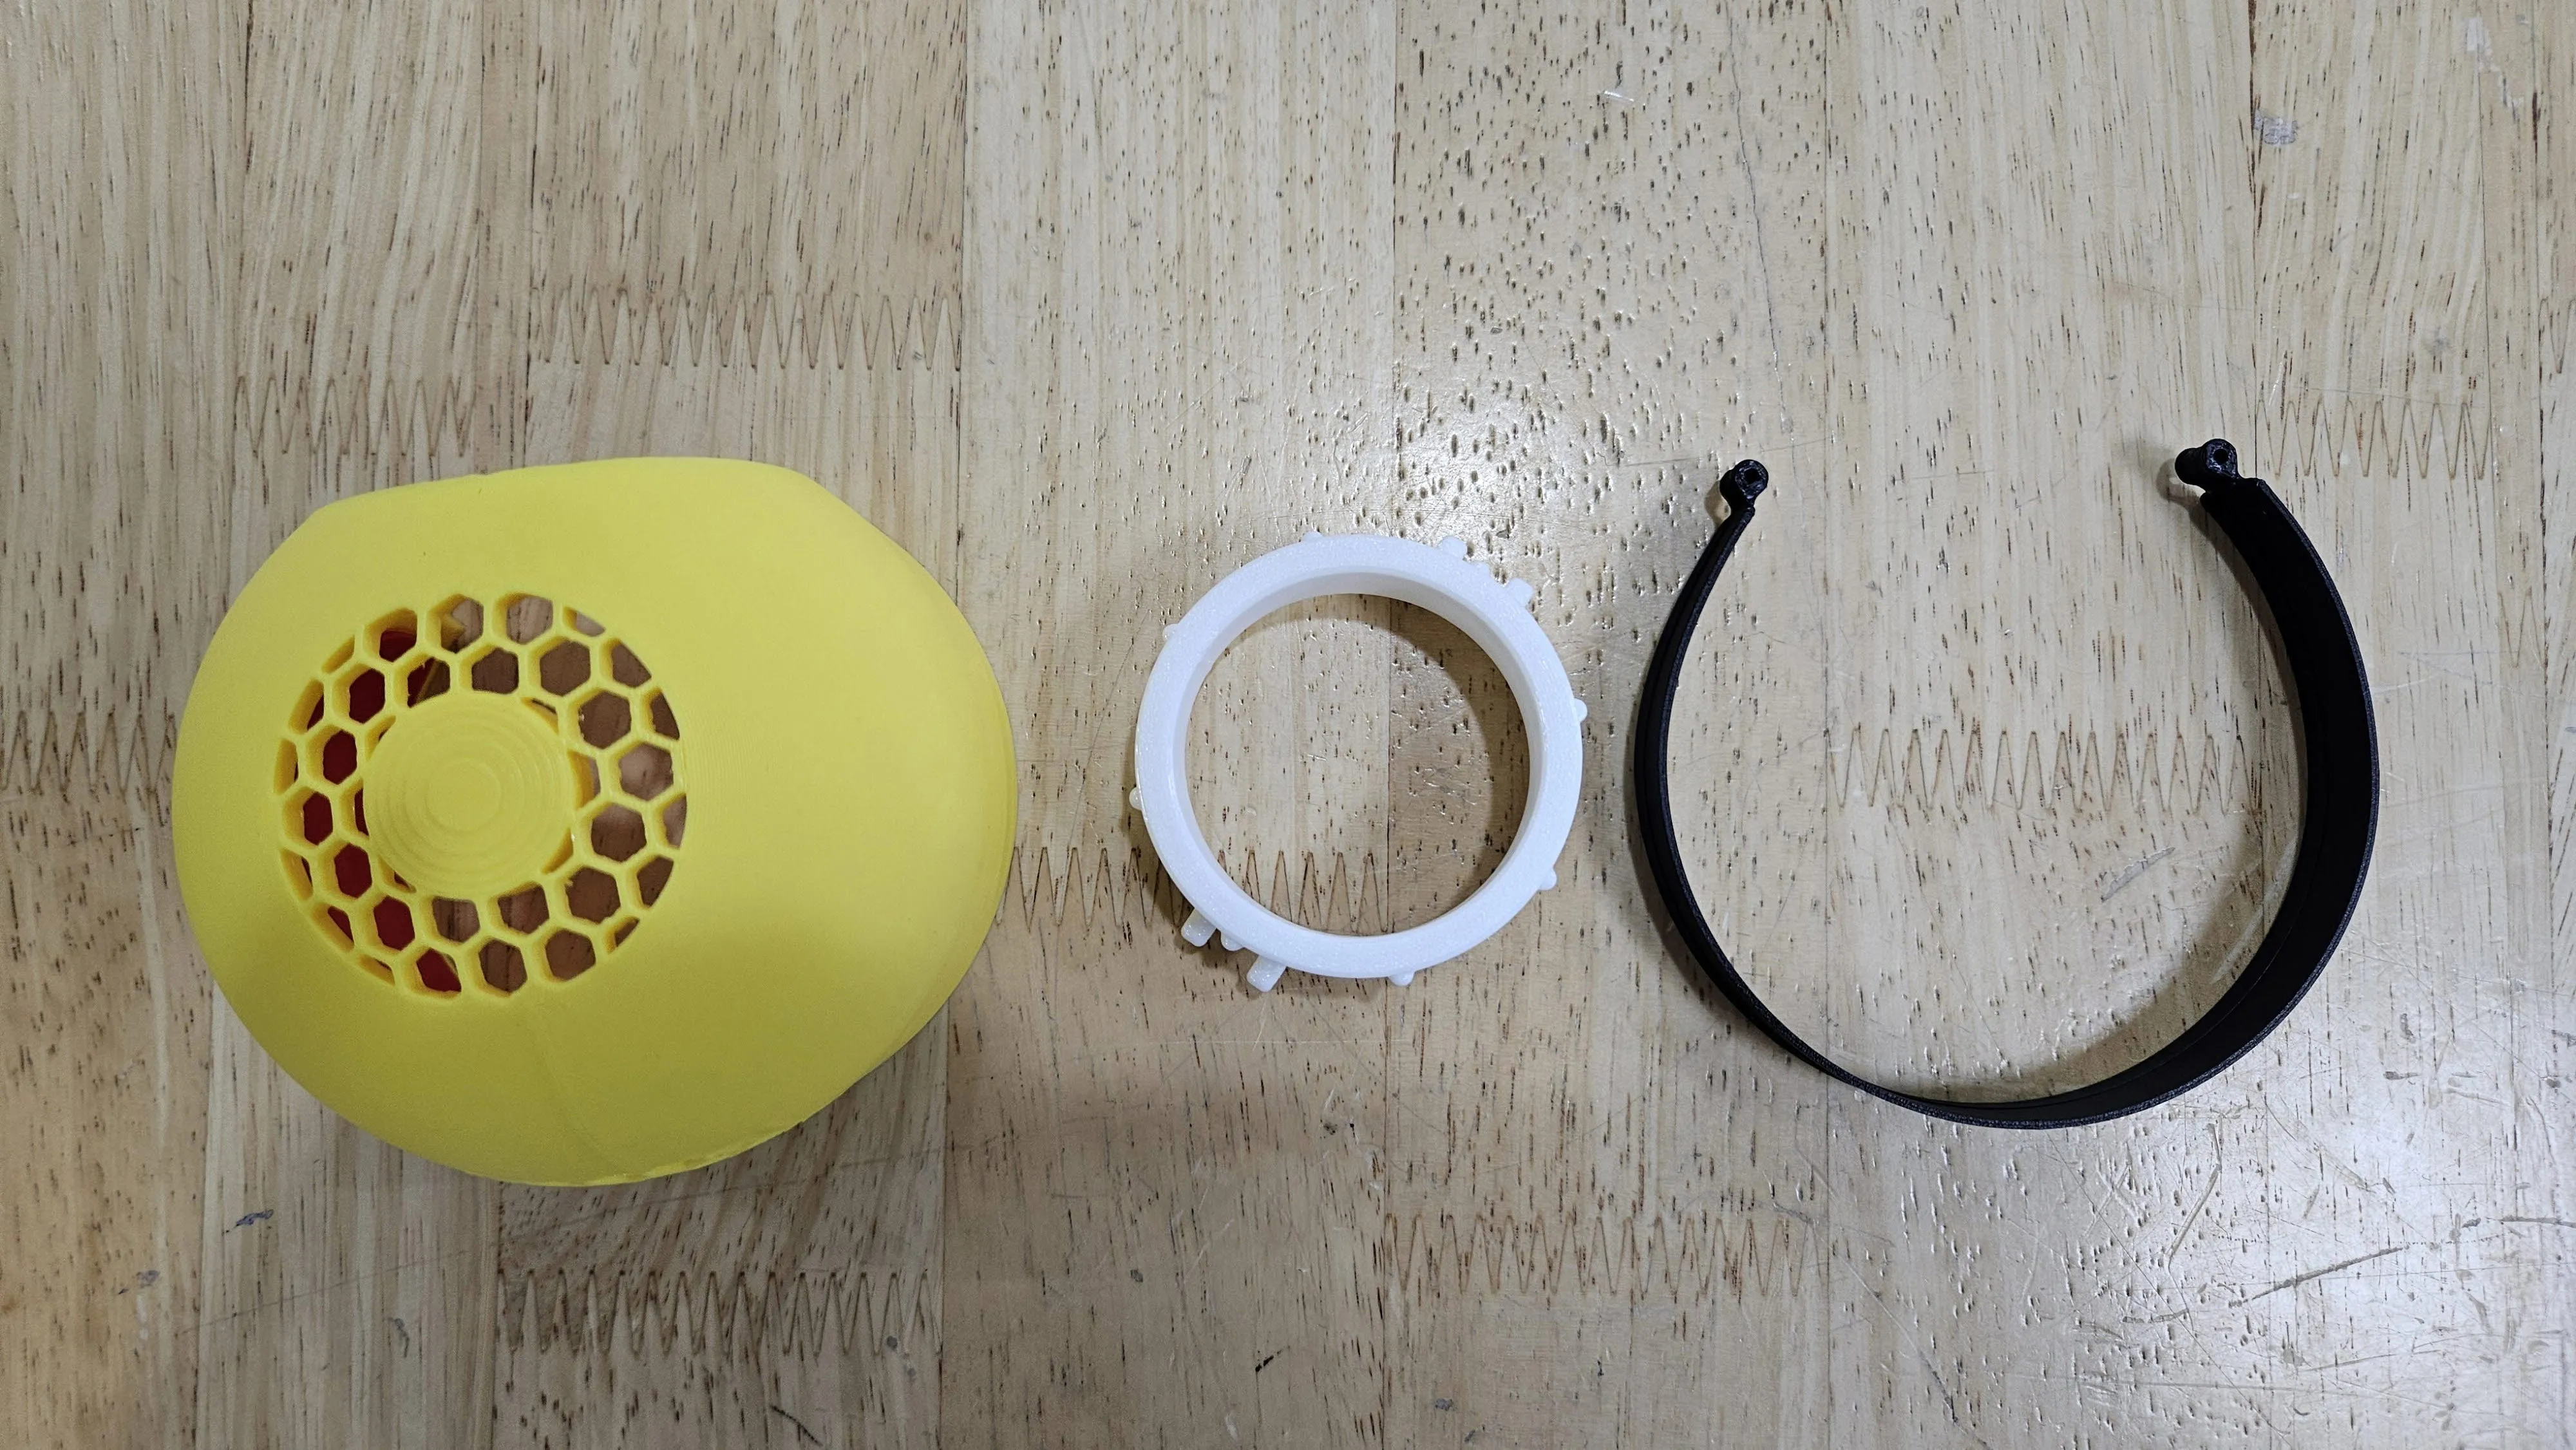
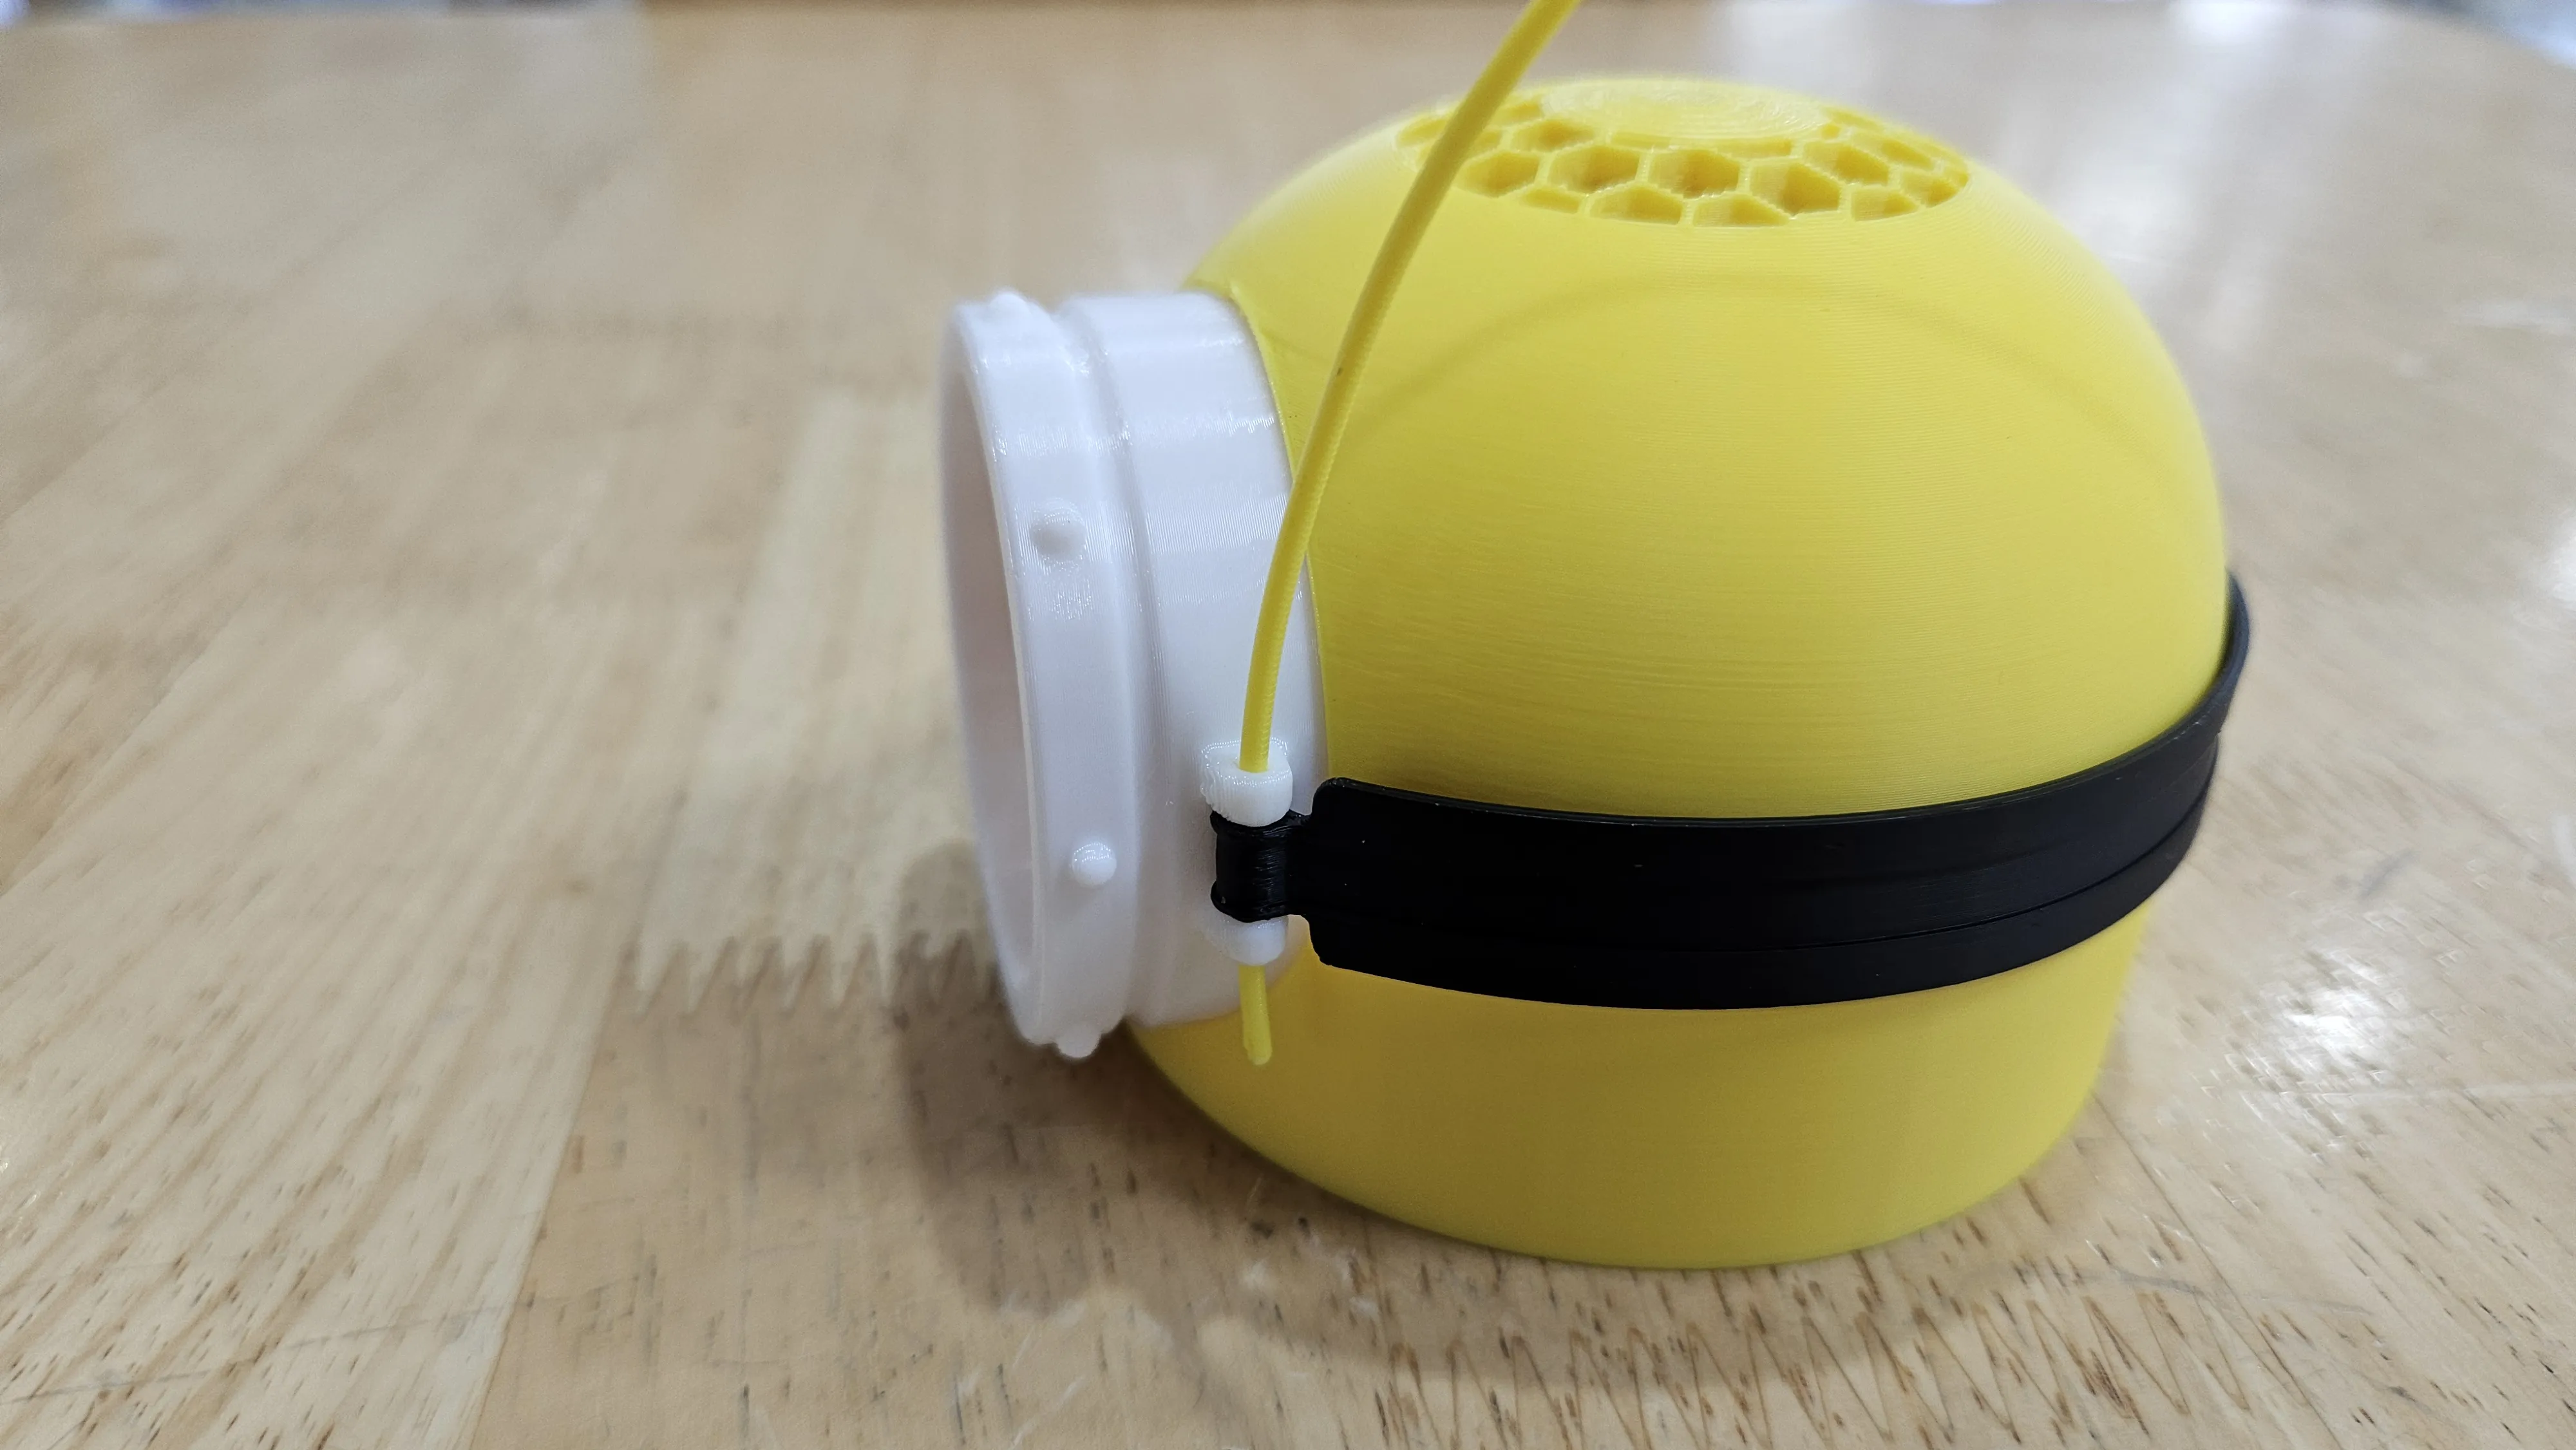
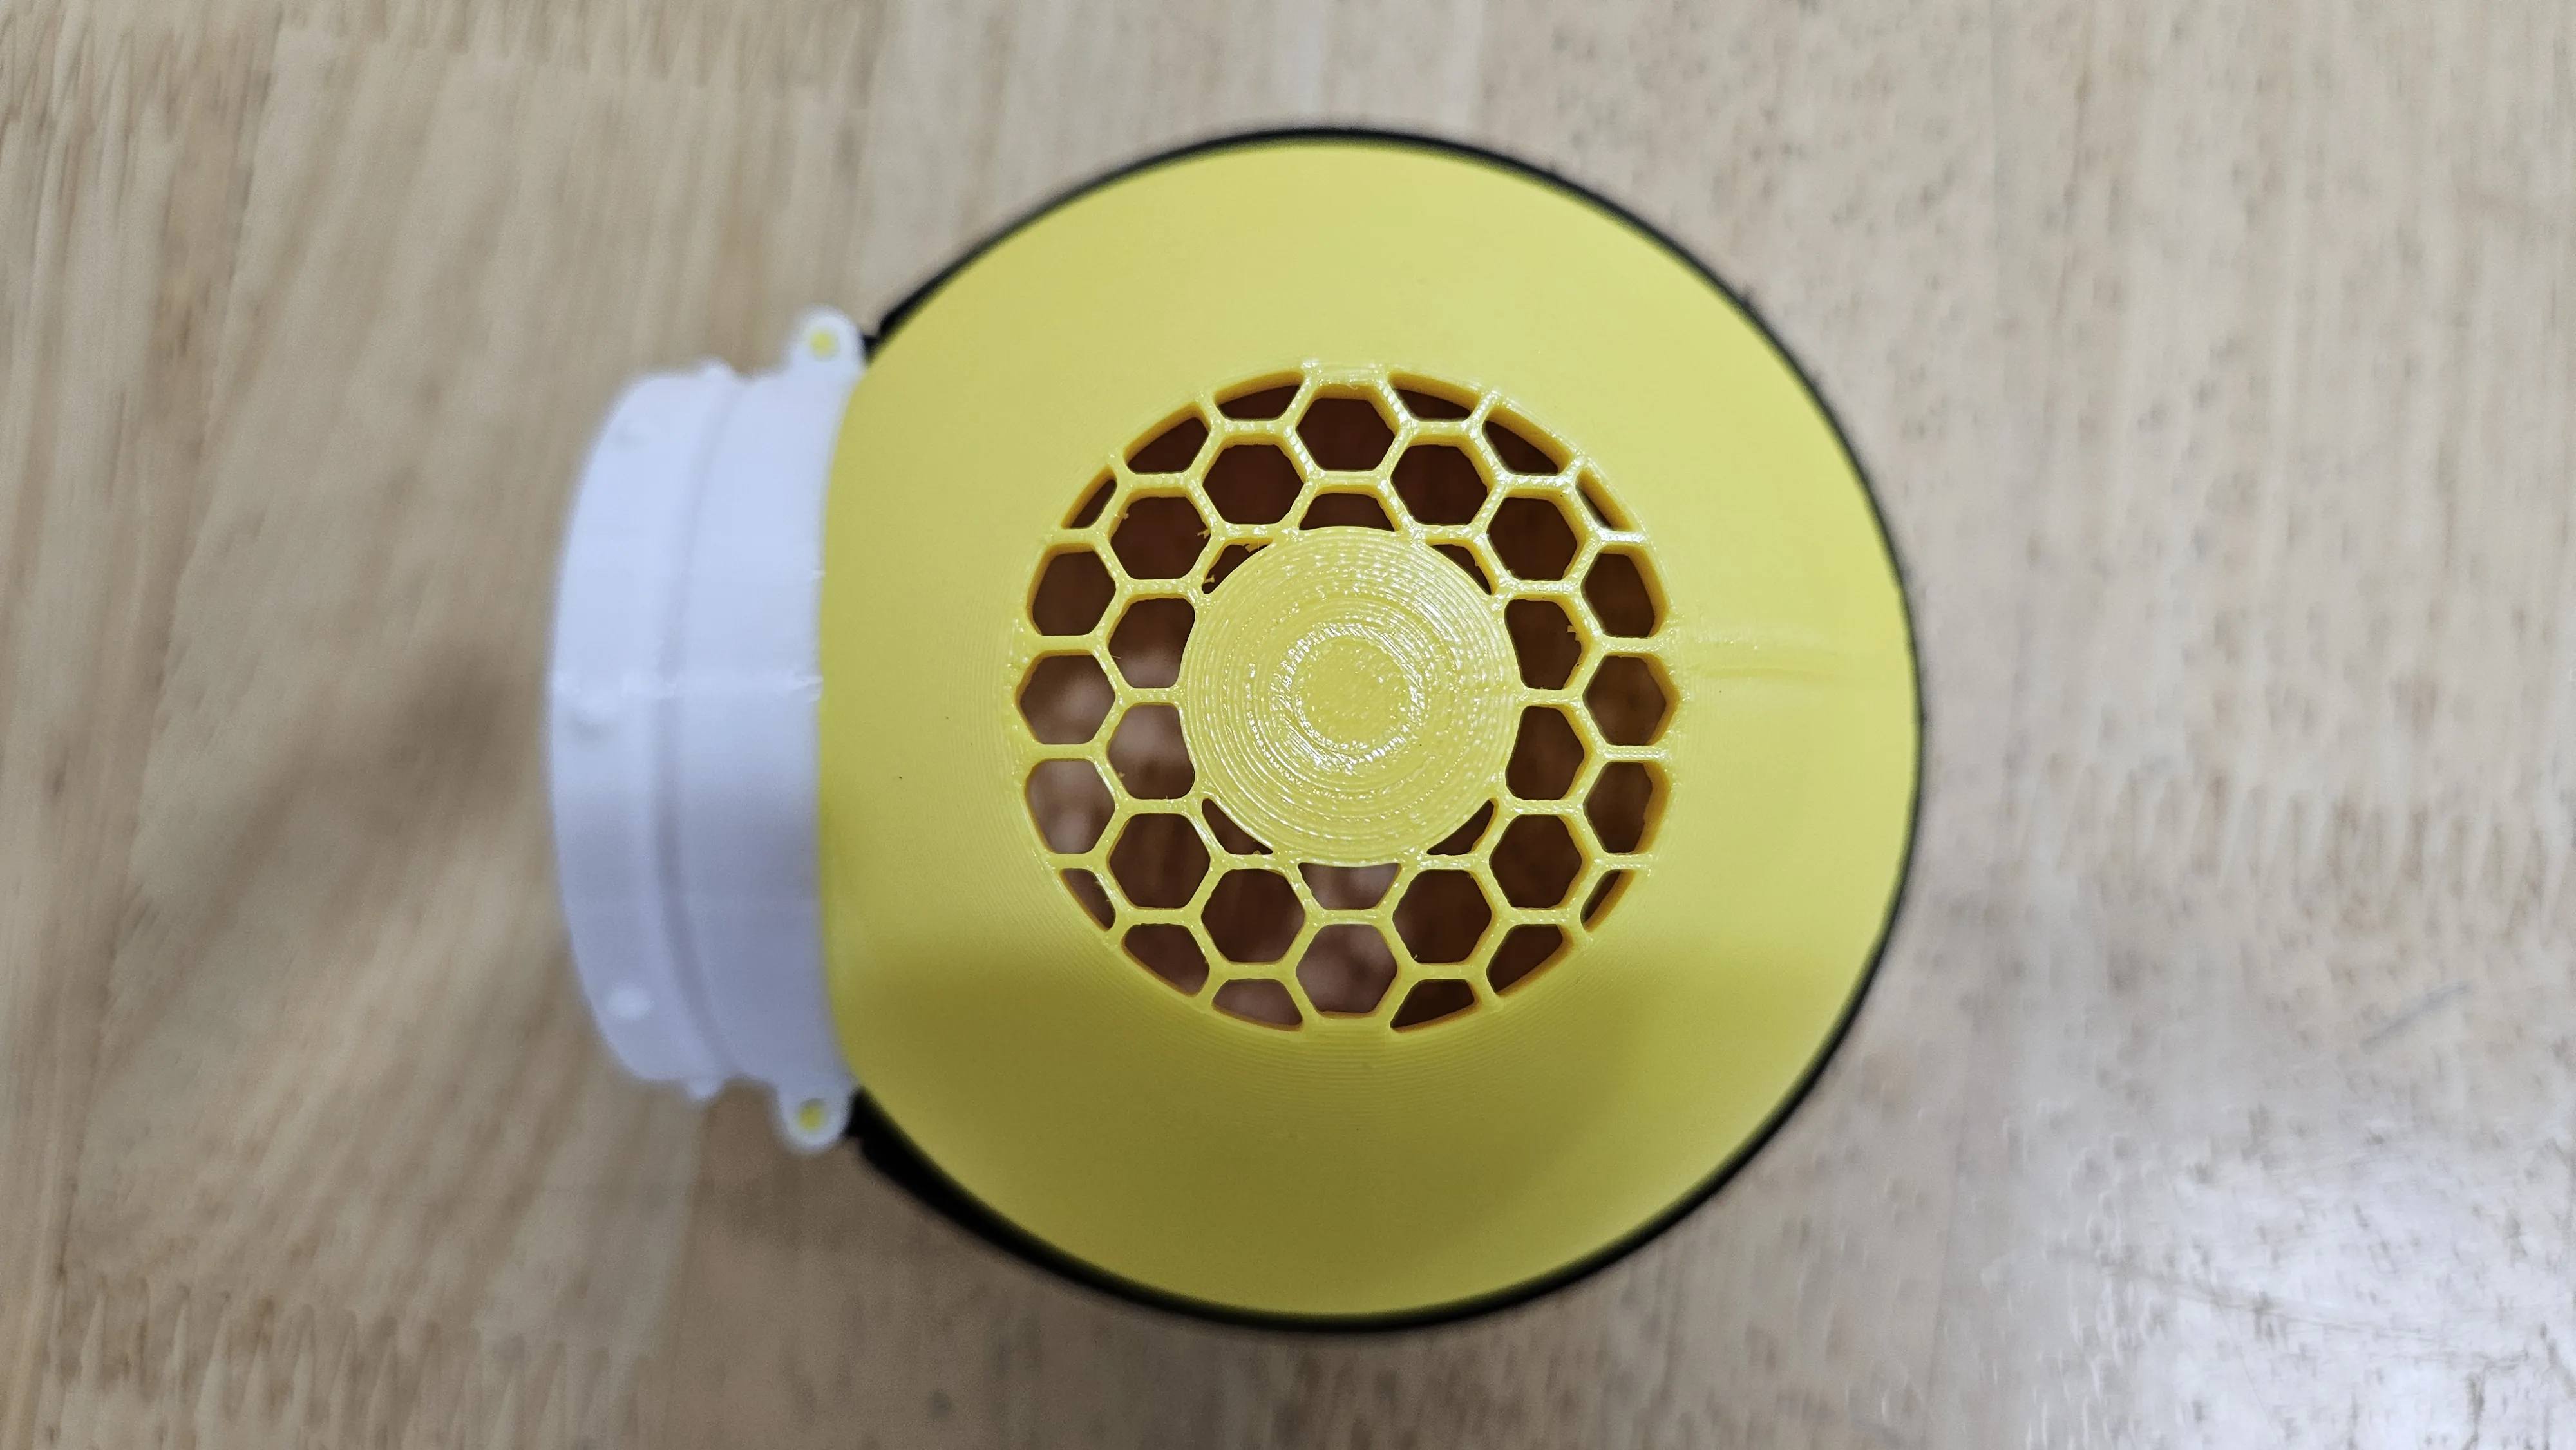
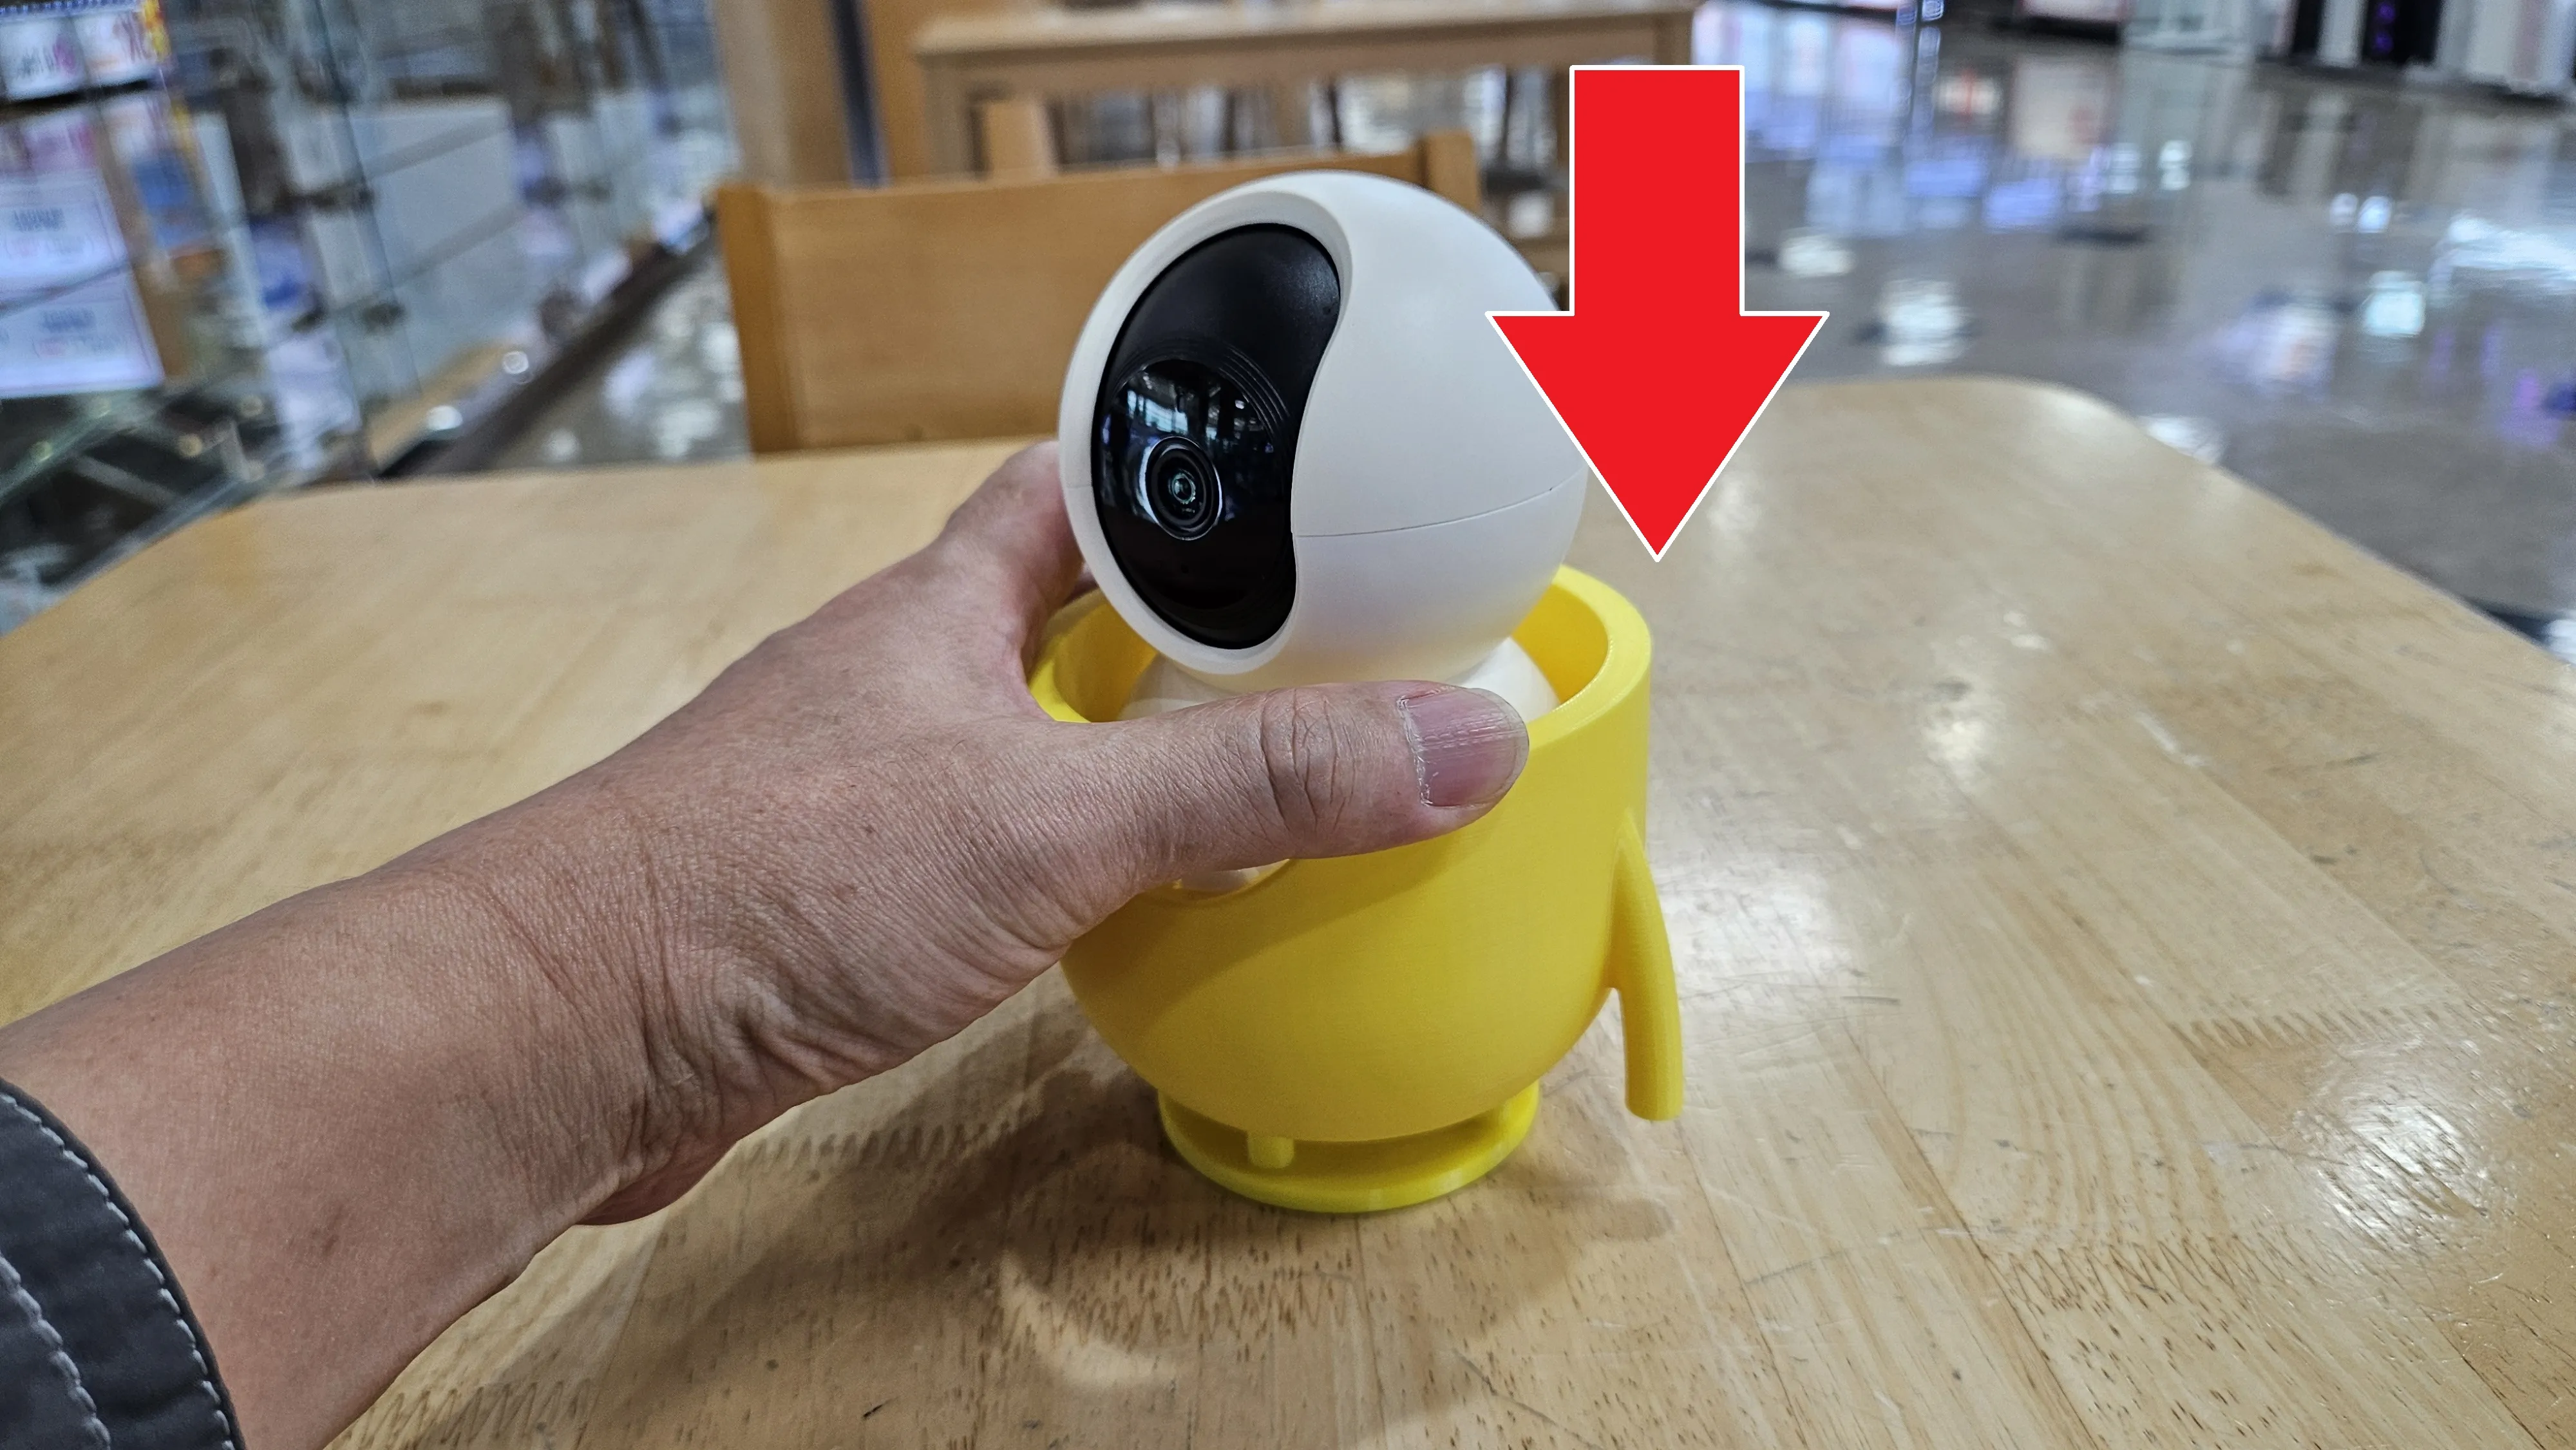
- Assemble the head (press down firmly)
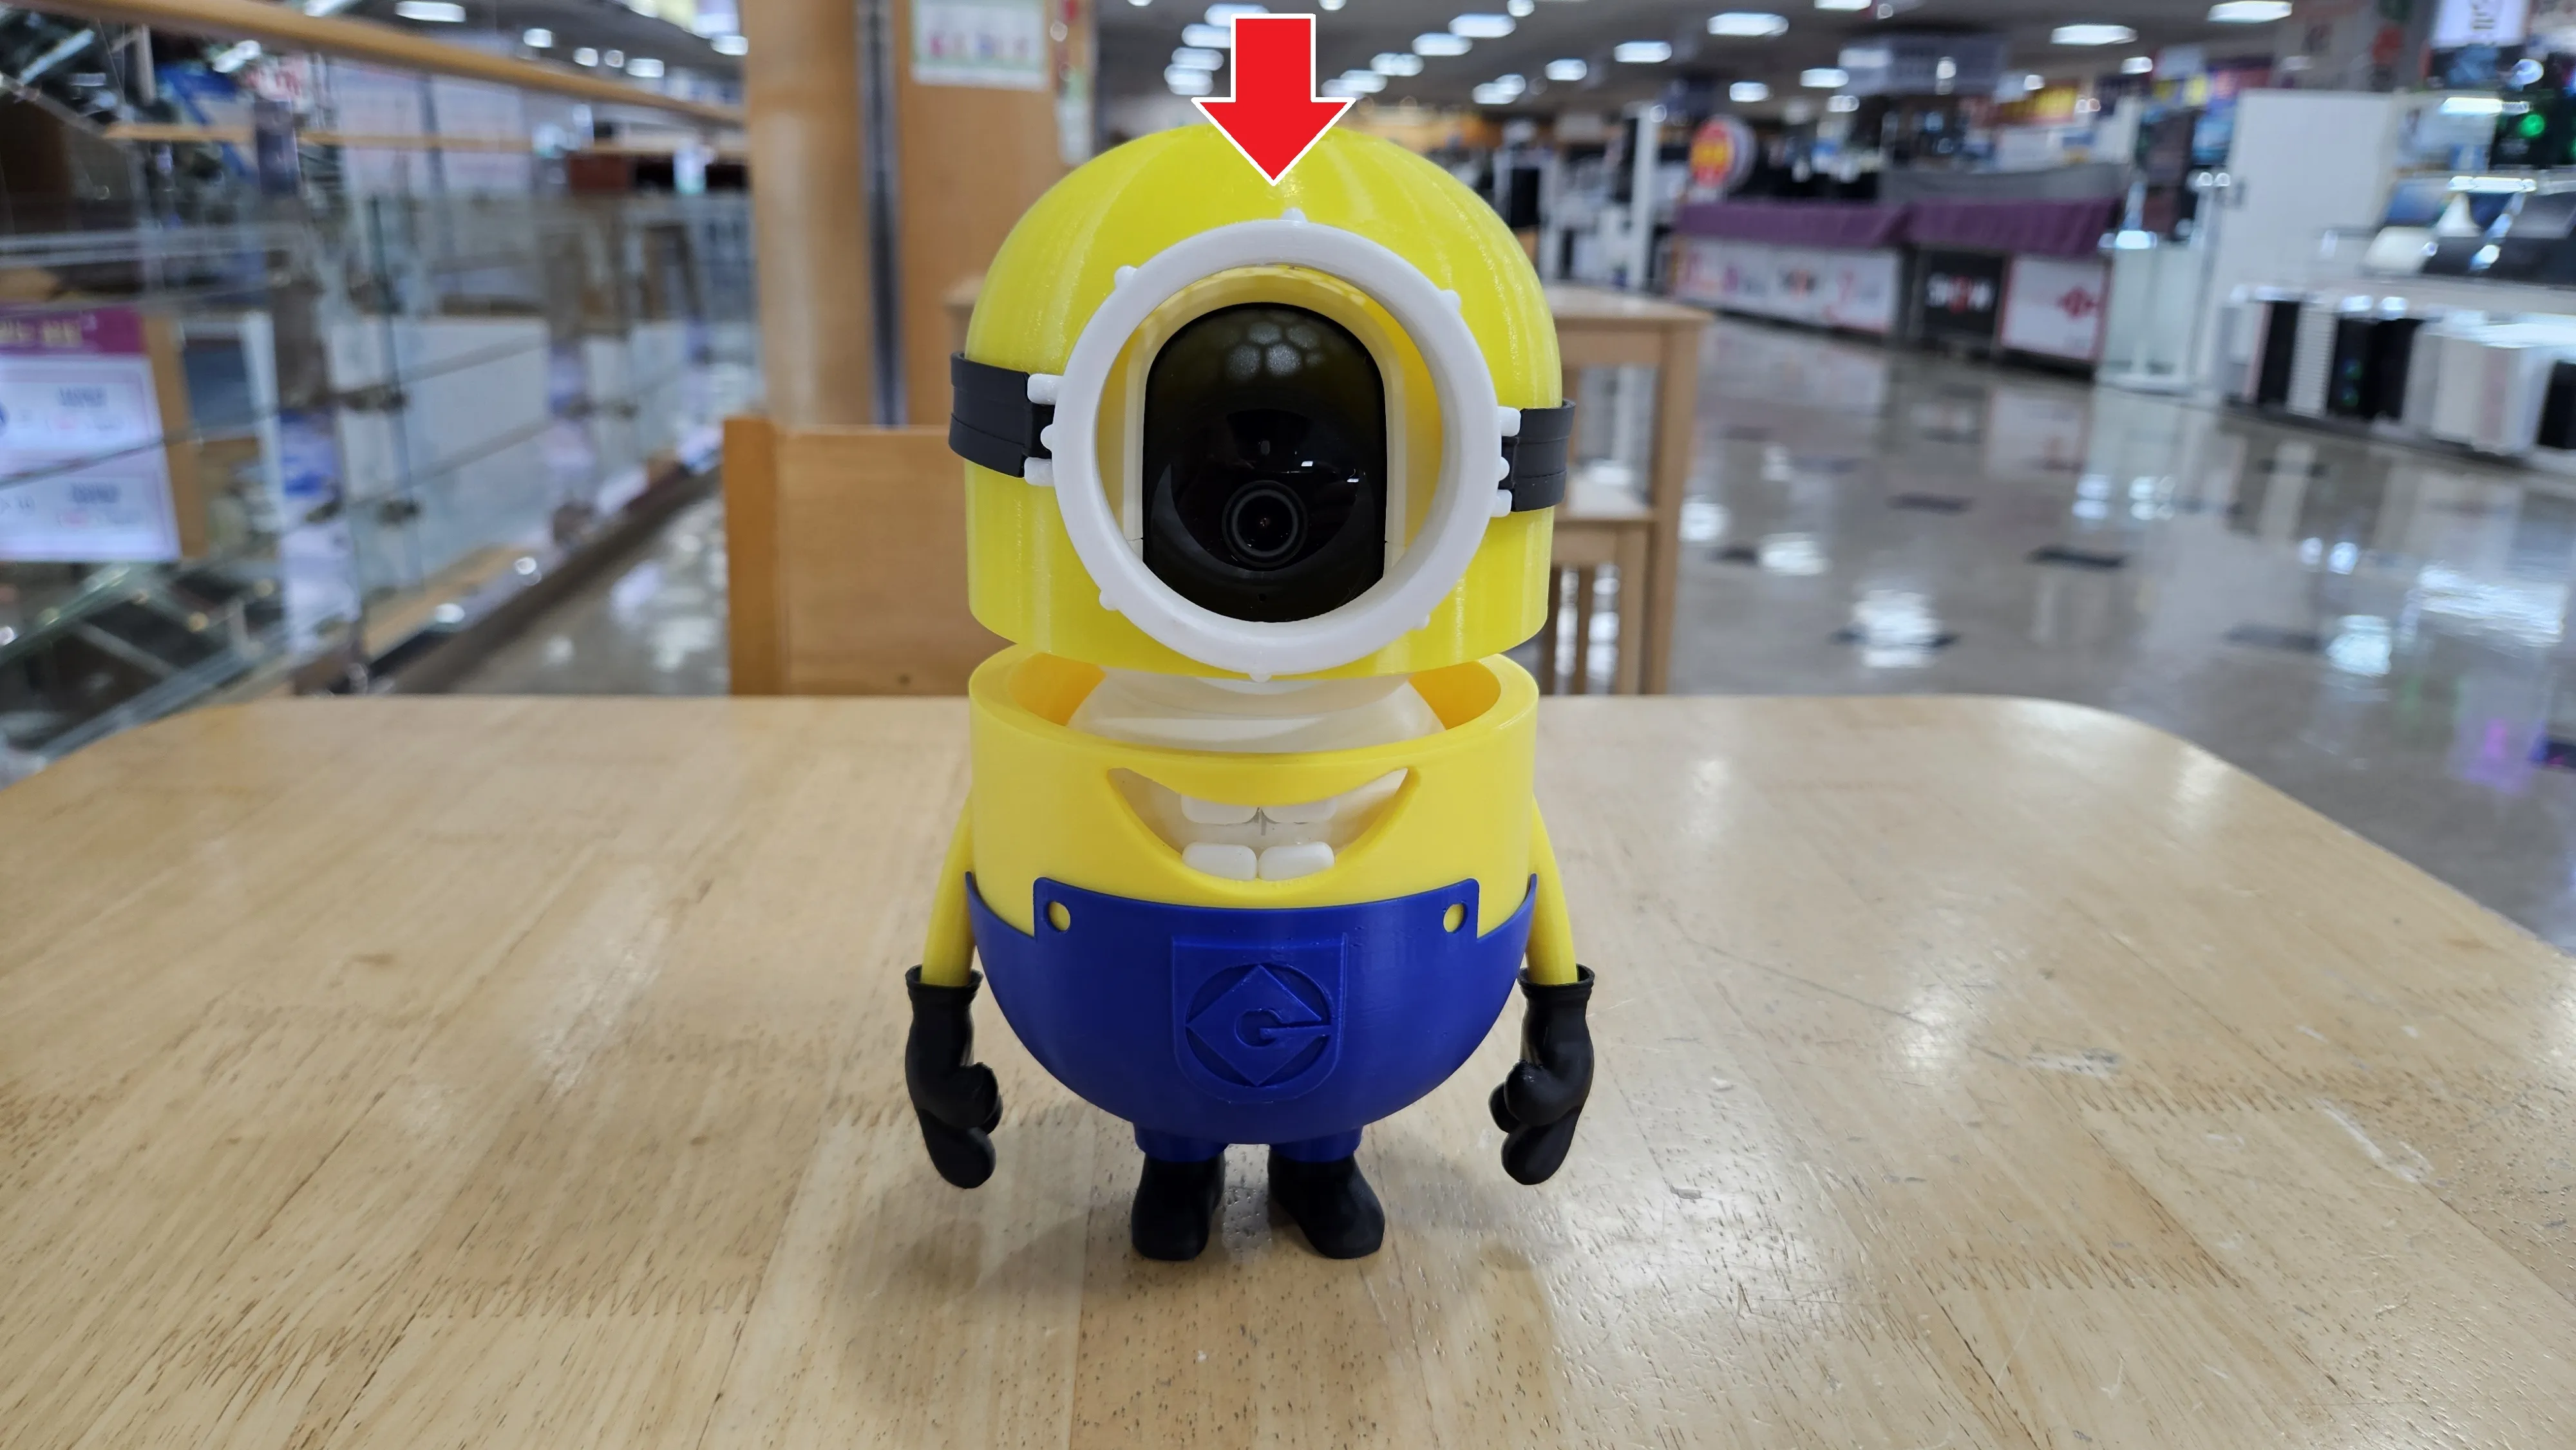
- Assembling the trouser straps
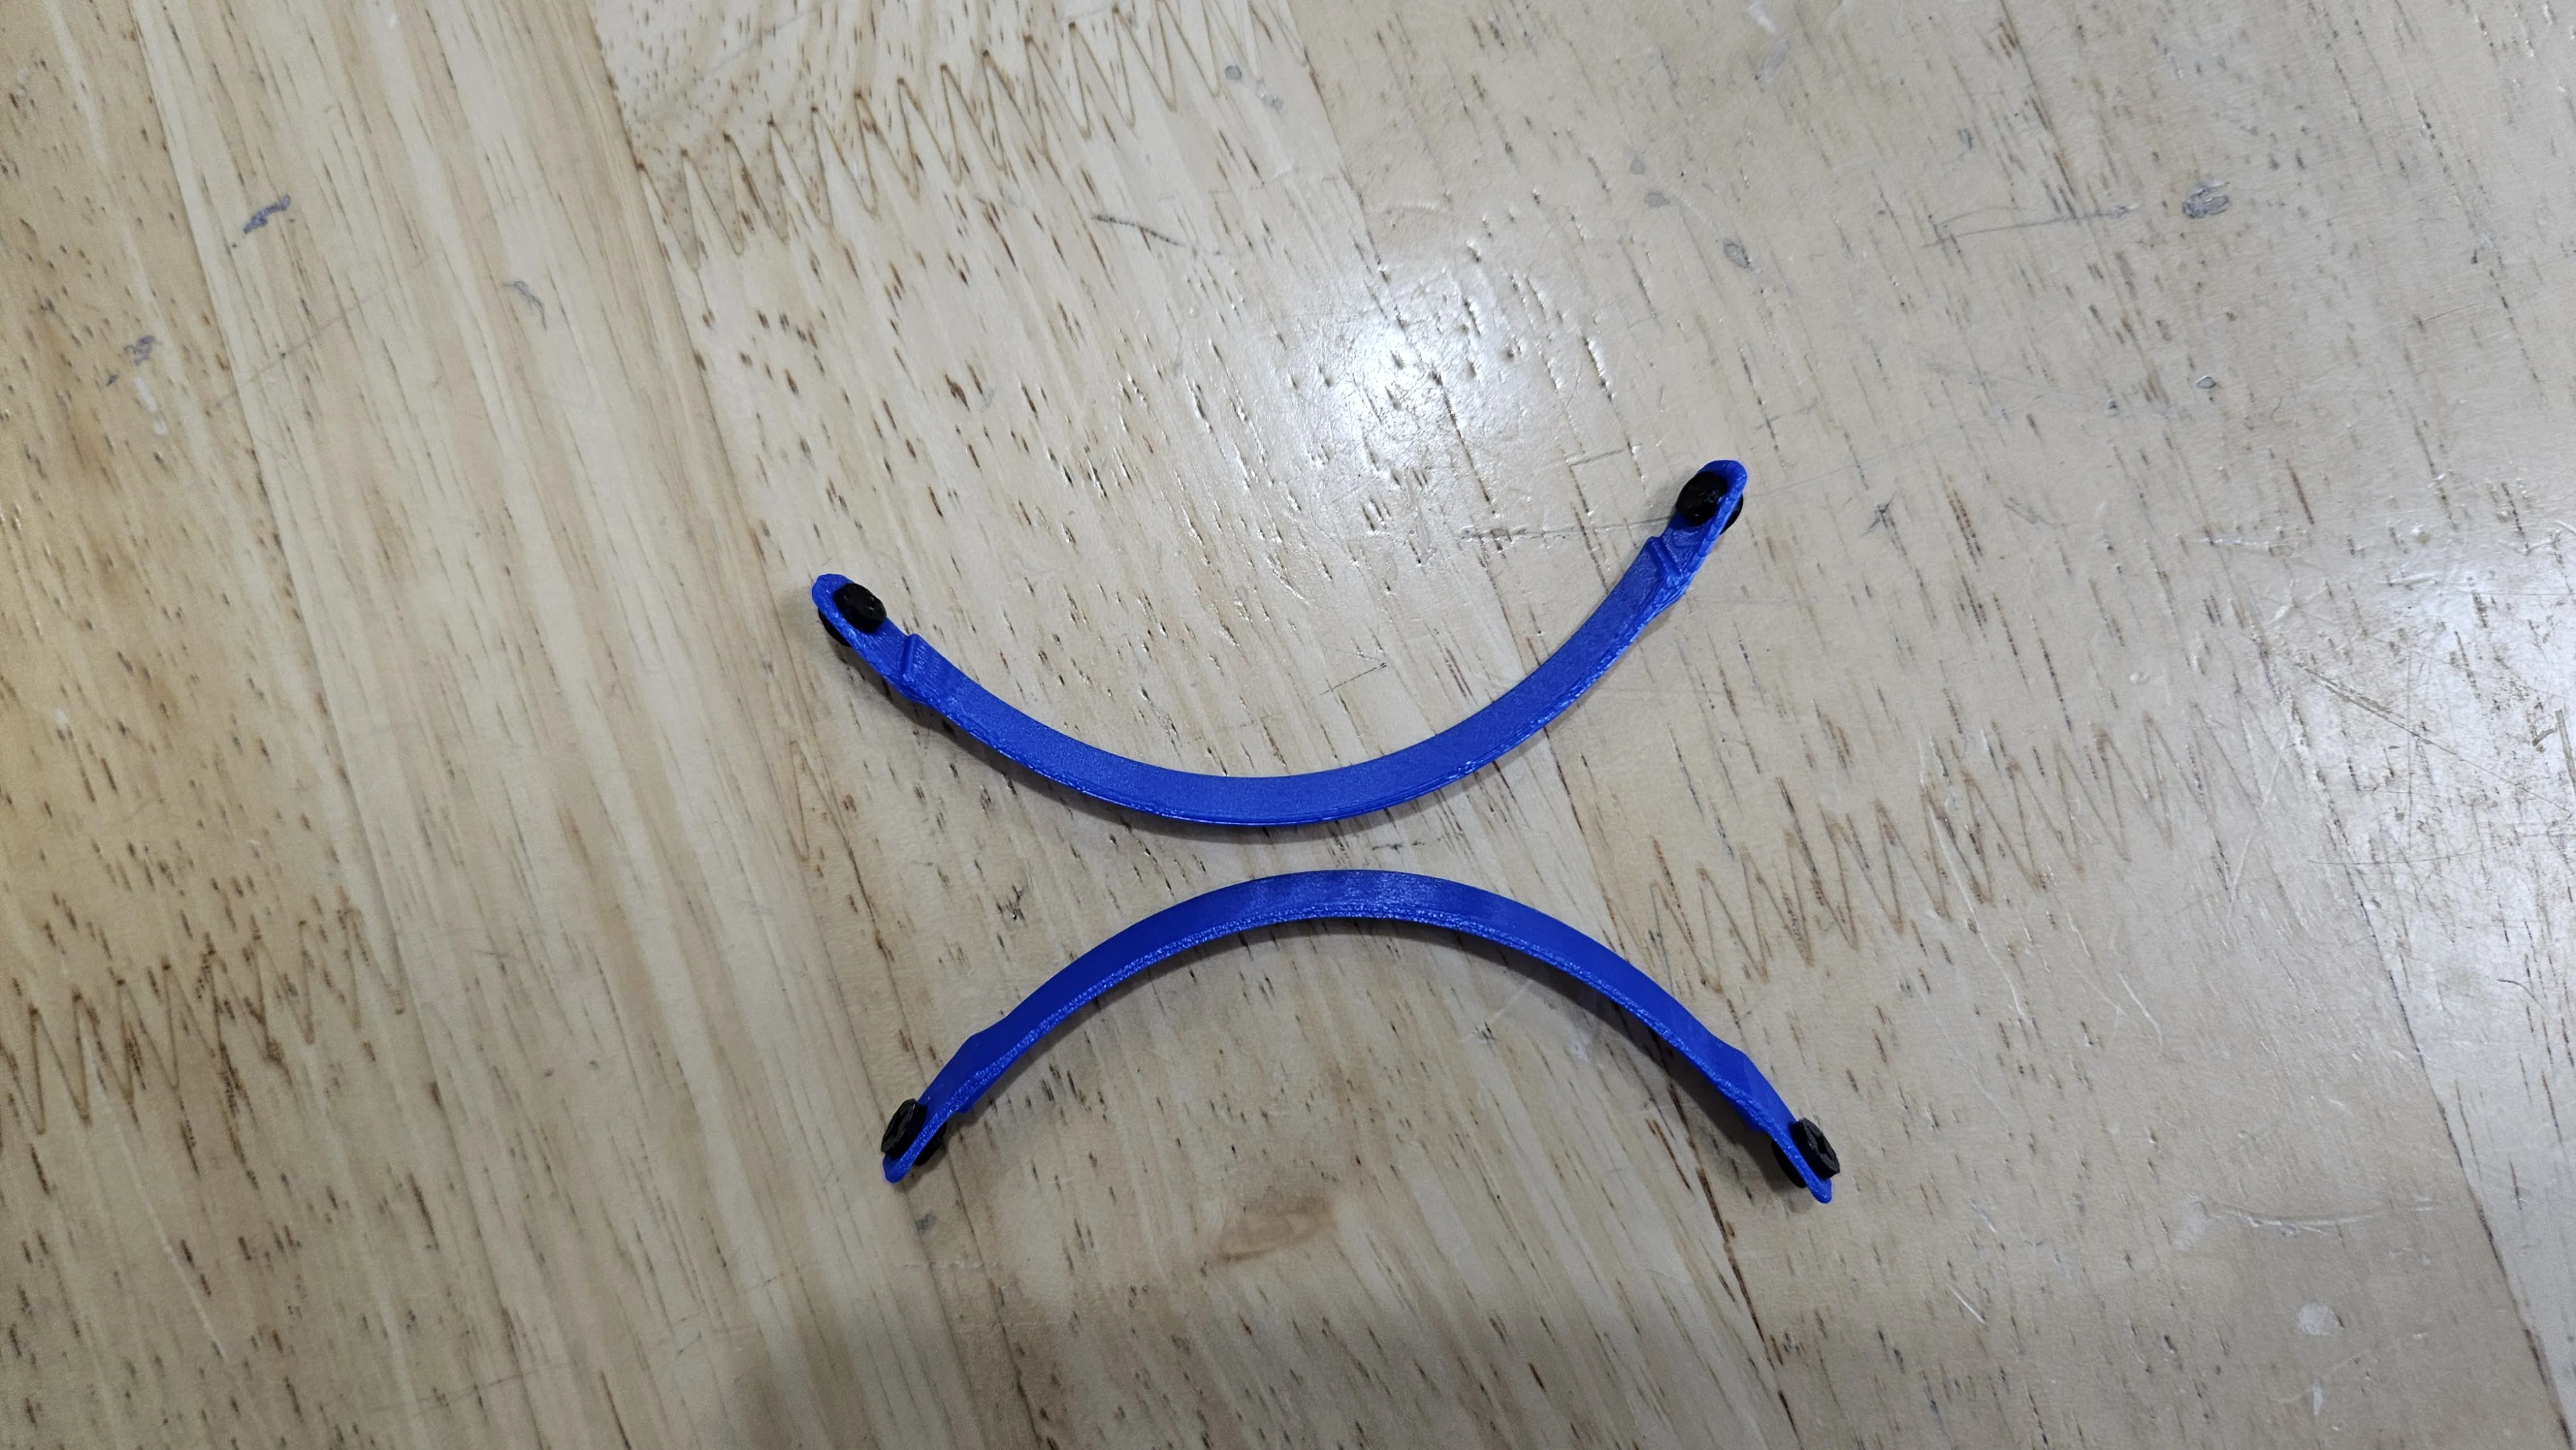
- Assembled camera and body disassembly order
License

This user content is licensed under a
Creative Commons Attribution-Noncommercial


Comment & Rating (218)