
DnD Travelling Dice Tray (Wood Effect)
Print Profile(5)


Description
Boost Me (for free)
✨ Like this design? Give it a free Boost to help more makers discover it! ✨

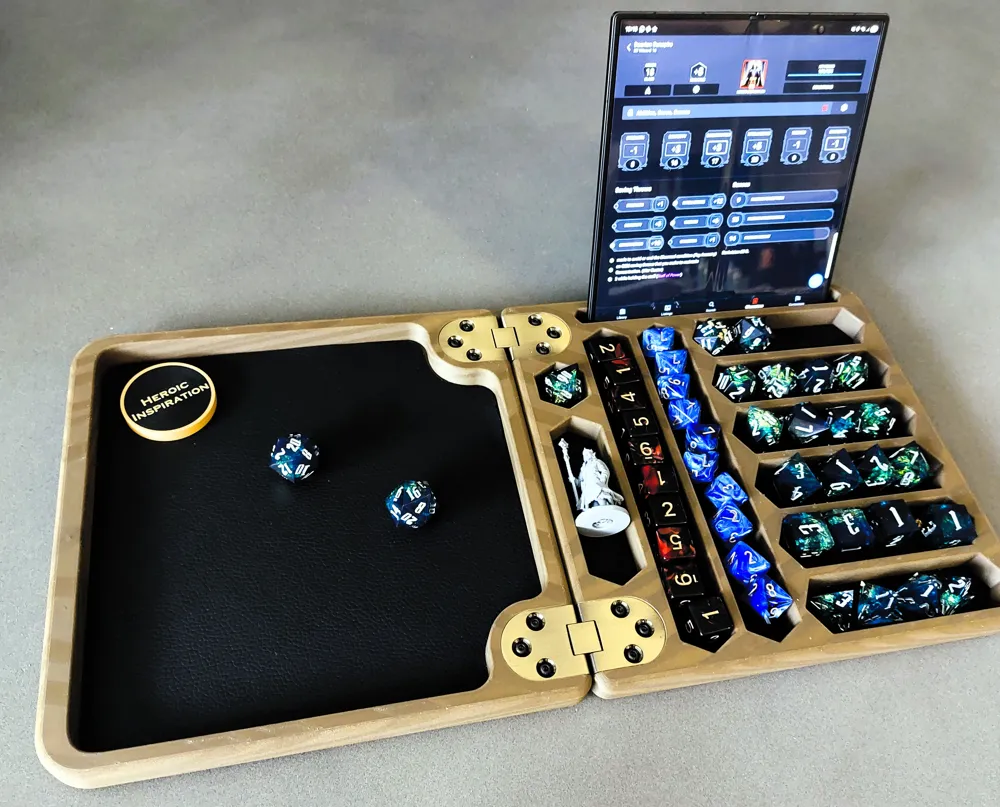
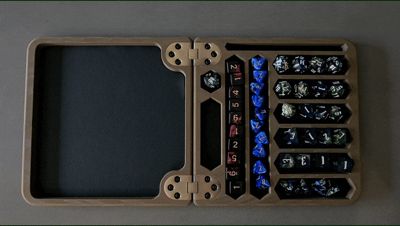
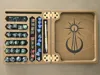
DnD Travelling Dice Vault
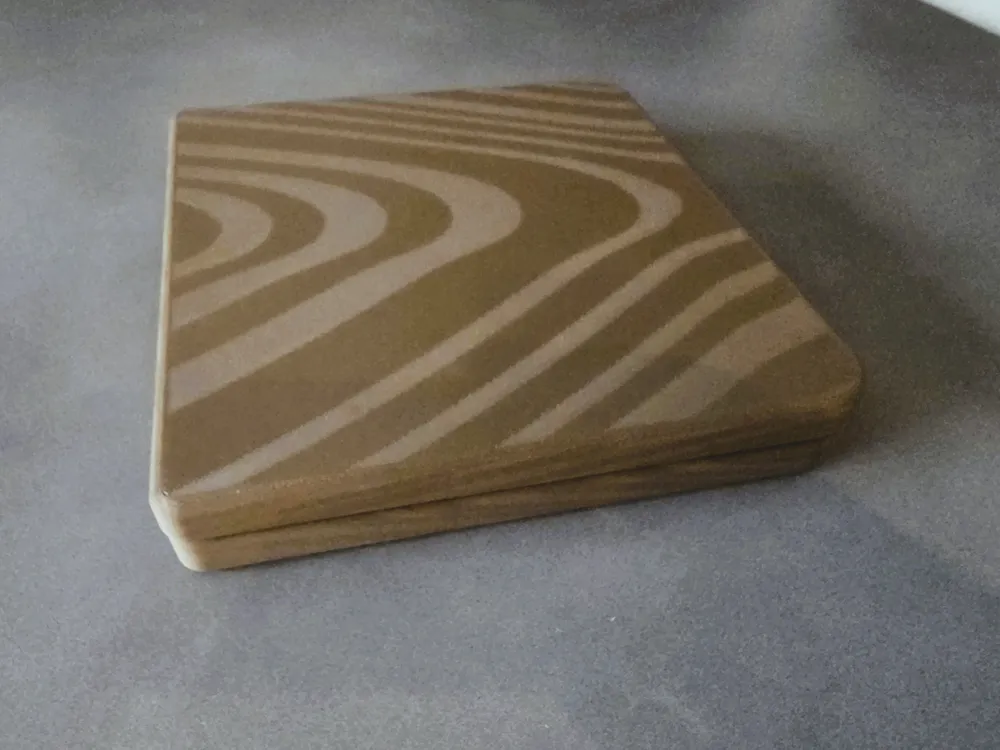
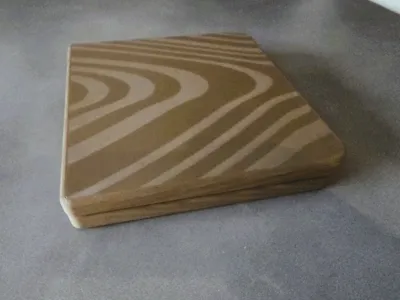
As a forewarning, this is a long, fairly self-indulgent print — it takes time, care, and a bit of extra hardware, but the end result is a genuinely special piece. A practical, display-worthy dice vault that feels closer to a crafted wooden box than a 3D print.
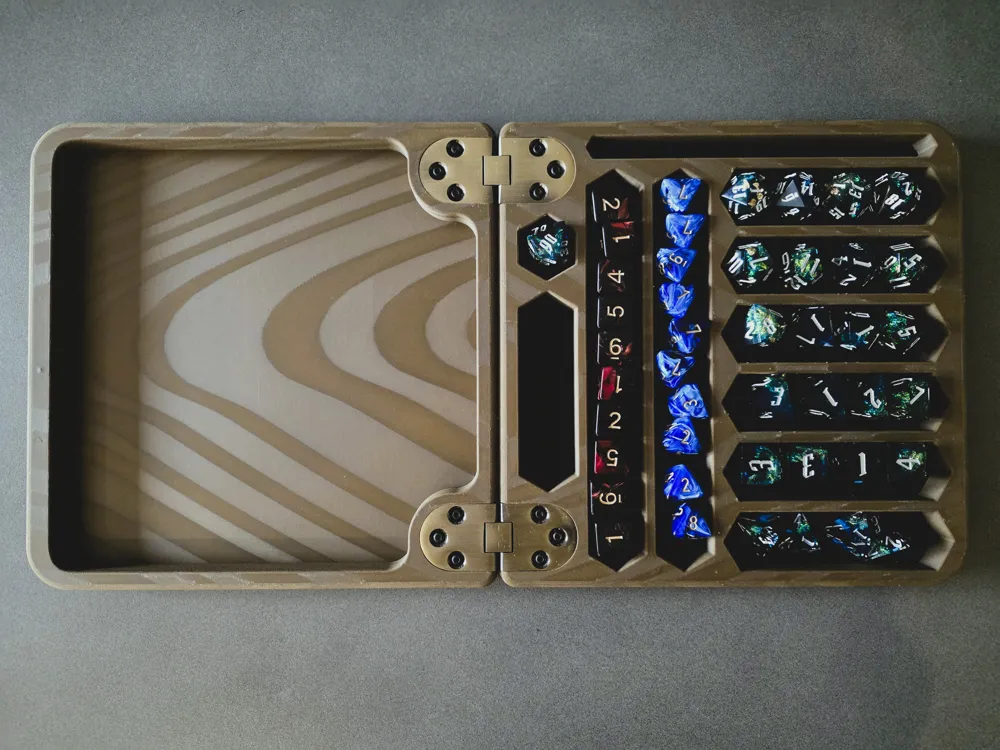

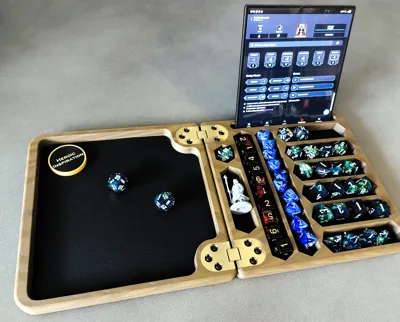
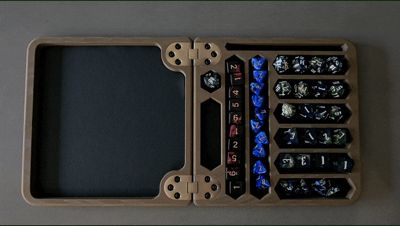
Designed for Dungeons & Dragons, Pathfinder, and other tabletop RPGs, the vault measures 212 mm × 212 mm and holds:
- Four full 6-piece dice sets
- One percentile die
- Two medium miniatures
- Storage for spell-specific dice (e.g. Fireball, Cone of Cold)
- Alternatively, a pen or pencil or even extra miniatures depending on your loadout.
The lid and base connect with 10 hidden 5×5 mm magnets, fully enclosed for a clean appearance and a satisfying snap-fit closure.
A small test print plate is included for checking magnet tolerances — a quick two-magnet section you can print first to ensure your magnets fit correctly before committing to the full build.
The built-in tablet holder fits an iPad mini or Fold 7 (as pictured) and measures 10 mm wide, accommodating most phones without a case.
Design Notes
Important: The print will pause automatically at layer 204 of 211. This pause allows you to insert the magnets, which are then printed over to conceal them:
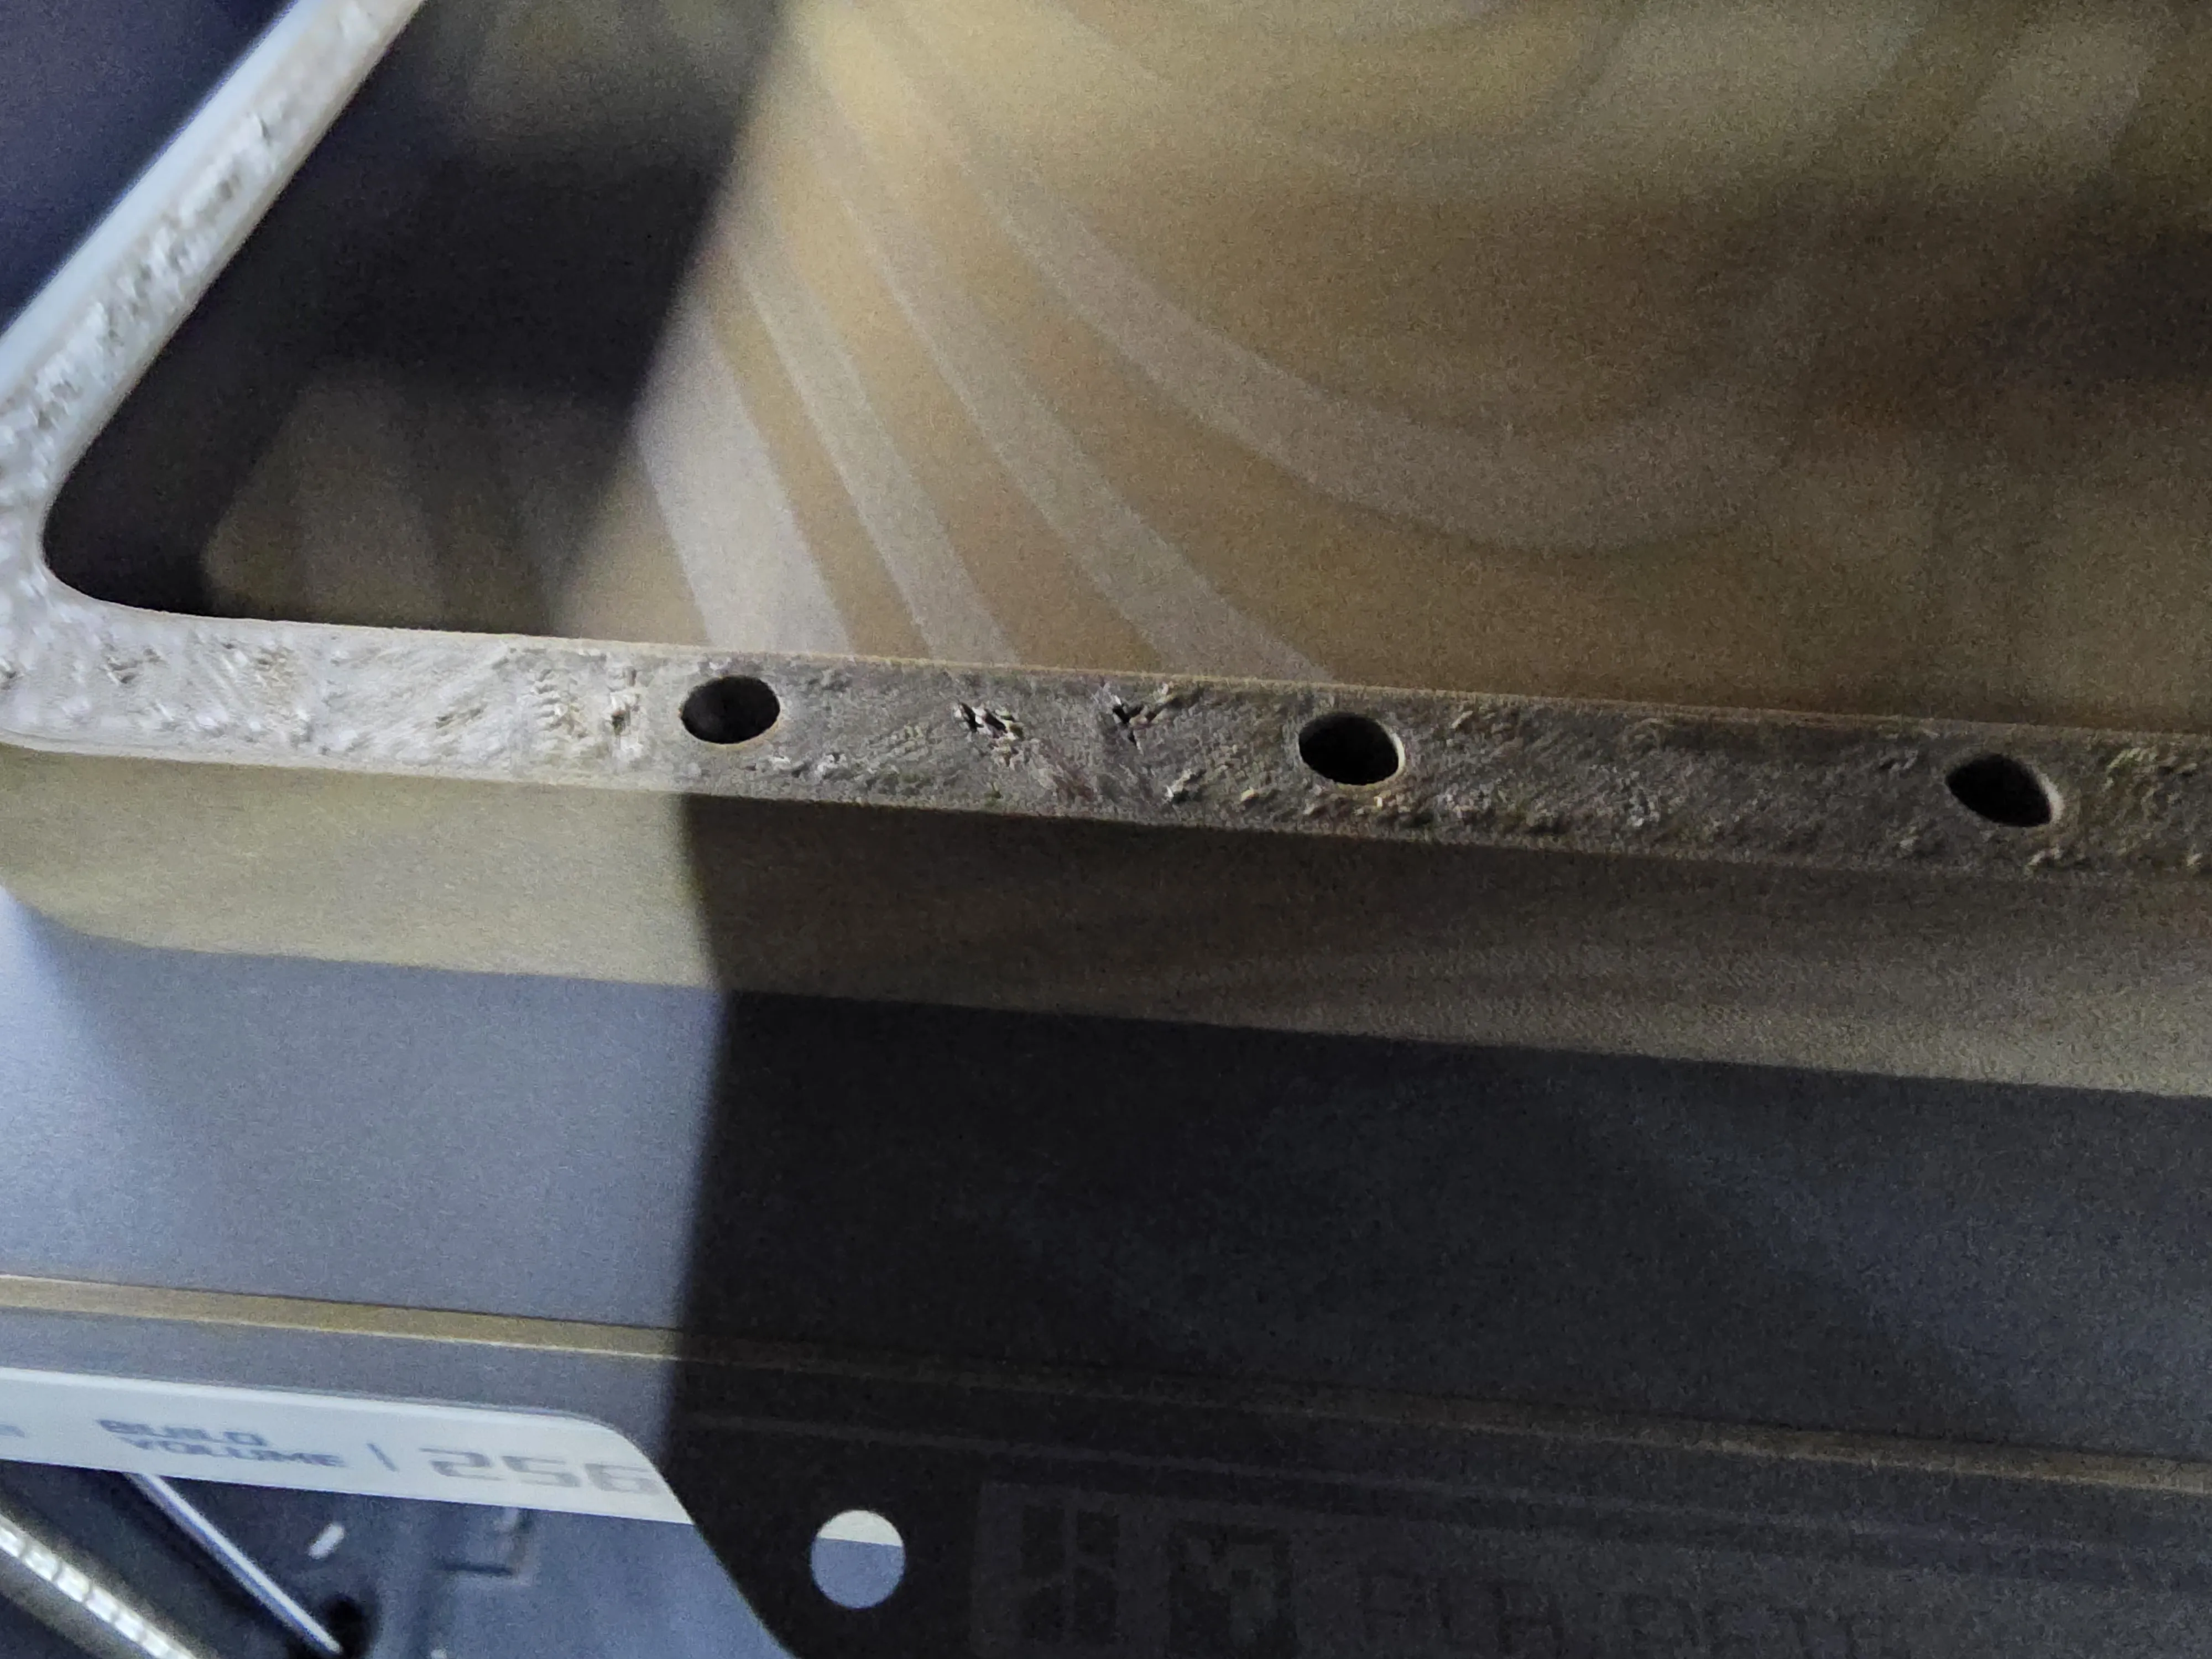
Double-check magnet polarity when printing the second part so the lid and base attract rather than repel.
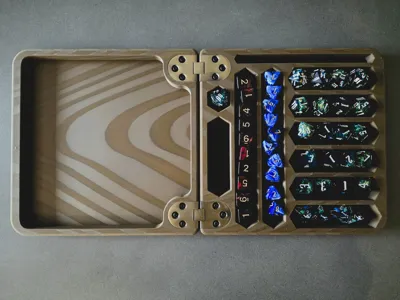
The surface texture mimics carved wood, and pictured is using BambuLabs Wood PLA to give each print its own grain and tone variations.
This model makes use of ironing — set to 45 mm/s at 30 % flow for the best results.
You can leave the vault as-printed to show off the wood-grain finish, or line it with felt or leather for a quieter, smoother roll and a more premium look. (Personally, I prefer the lined version — it reduces rattle and gives dice a softer landing).
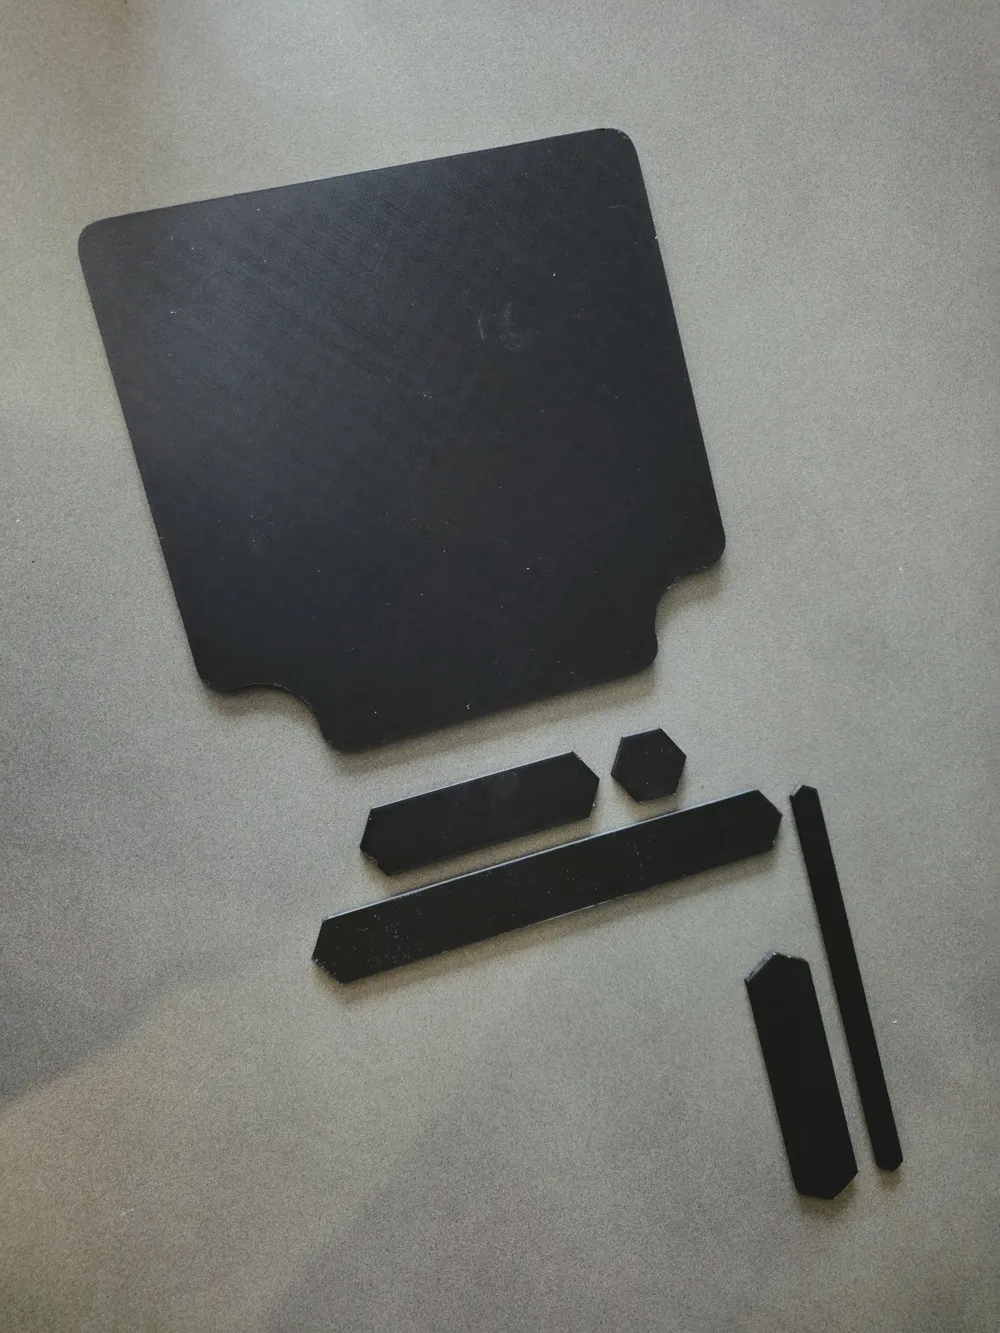
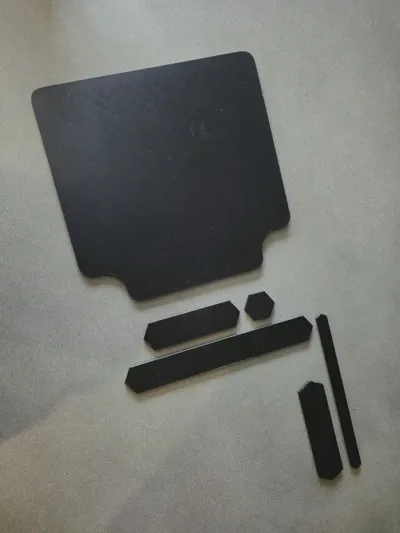
A separate print profile provides stencils for every compartment, making it easy to cut custom liners from your chosen material.
This model makes use of a wood log modifier, which acts as a separate tool to shape the grain pattern on the base model. You can move or rotate the log within your slicer to alter the wood texture and create a different grain style if you prefer a custom look.
Printing Tips
- Material: Wood PLA (recommended) or standard PLA
- Dry filament thoroughly before use — Wood PLA absorbs moisture easily.
- Build plate: Smooth PEI for the best first-layer adhesion, also Supertack works well.
- Expect minor natural inclusions or texture inconsistencies, which add to the wood-like realism.
Hardware Notes
- 5×5 mm magnets — 10 pcs required
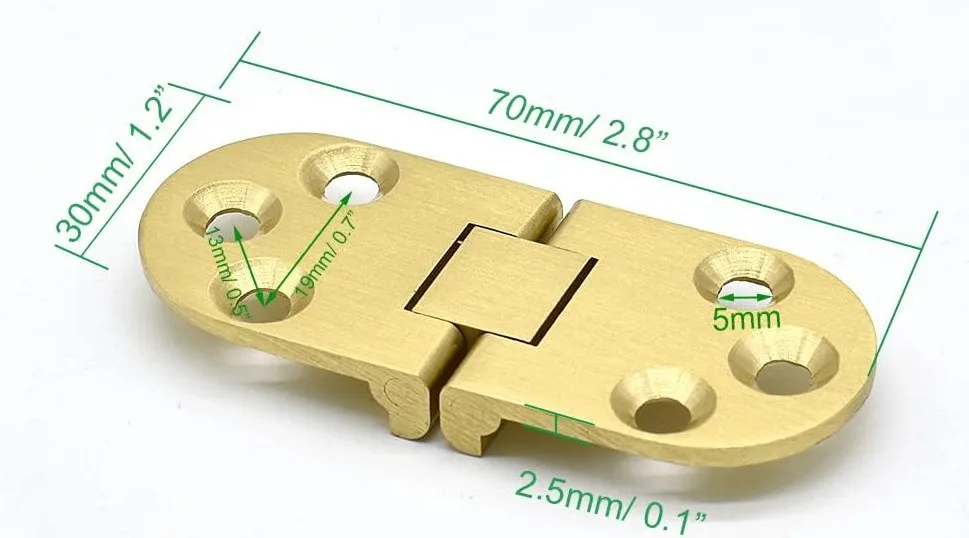
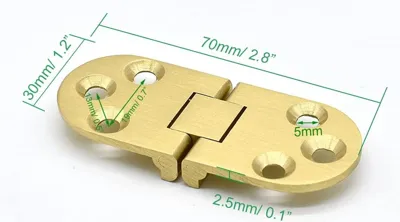
🔗 https://www.amazon.co.uk/dp/B00TACGMJW?th=1 - Brass round-edge fold-flat hinges - 2 pcs required
🔗 https://www.amazon.co.uk/dp/B09KCDNJ9Q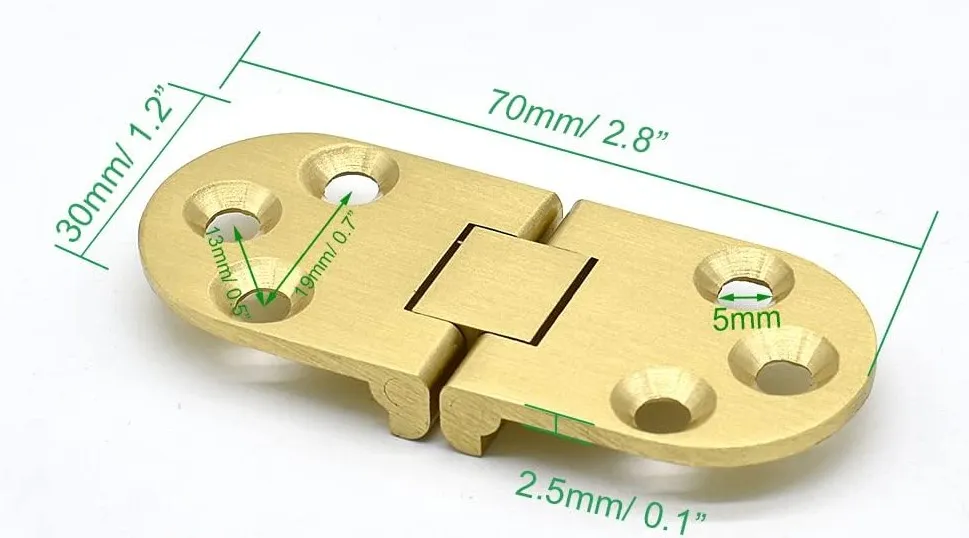
- Note, if the hinge come with screws, do not use them.
- M3x10mm Machine Screws - 12 pcs required
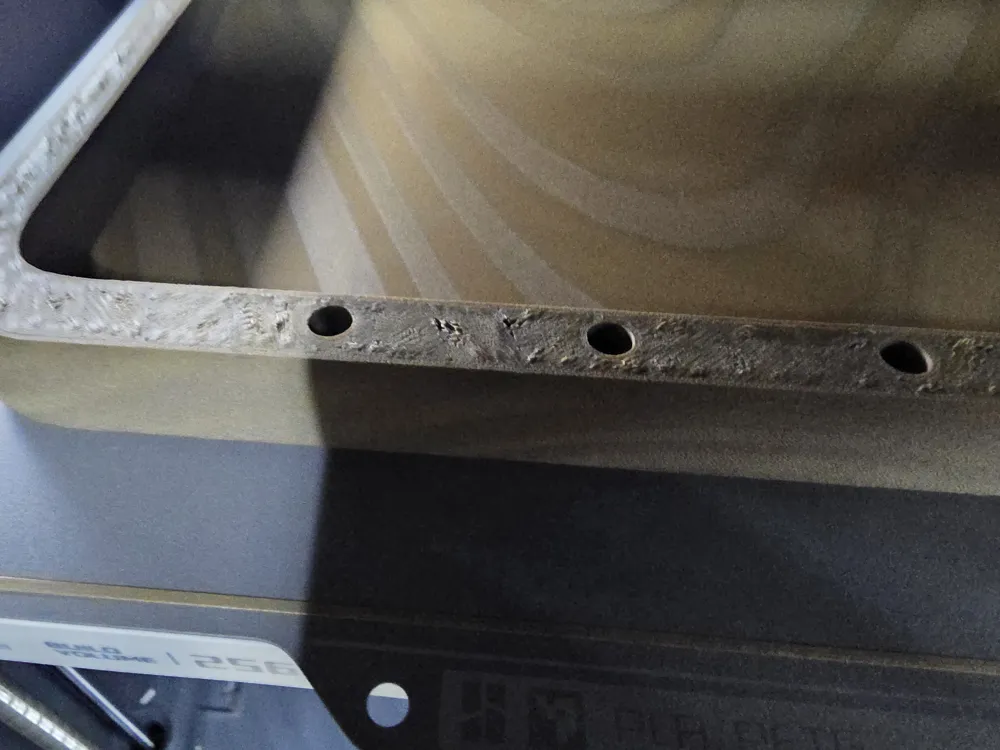
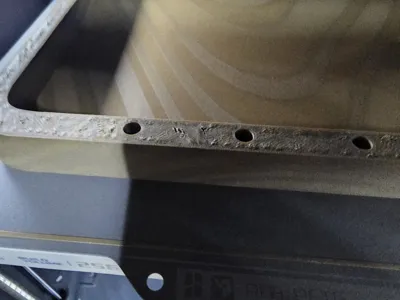
- Note, it is highly recommended/required to use an M3 tapping set to create a thread in the pre-printed holes
This is not a quick print — it’s a slow, detail-focused build intended to feel satisfying to complete. Once finished, it’s sturdy, tactile, and looks great both in play and on display.
Step-by-Step Assembly Guide
1️⃣ Print the Test Plate (Recommended)
Start with the small magnet test plate to confirm your magnet tolerances before printing the full model.
Ensure a snug but not forced fit for your 5×5 mm magnets.
2️⃣ Main Print – Base and Lid
- Recommended layer height: 0.08mm / 0.4mm nozzle
- Ironing: 45 mm/s at 30% flow
- Bed adhesion: Smooth PEI or Supertack plate
- Material: Wood PLA (dry thoroughly before printing)
Expect a long print time — this is a slow, precise build meant for quality over speed.
3️⃣ Pause and Insert Magnets
At layer 204 of 211, your printer will pause automatically.
- Insert 5 magnets per half into the provided recesses, insuring they are fully inserted
- Check polarity carefully so that the lid and base attract.
- Resume the print — the remaining layers will seal the magnets completely for a clean finish.
4️⃣ Dry Fit and Alignment Check
Once both halves are complete, fit the lid and base together.
- Ensure the magnets engage correctly.
- The lip should seat evenly all around the edge.
5️⃣ Install the Hinges
Two brass fold-flat hinges attach via the recessed areas.
- Align them with the pre-modelled recesses (sliding them in often works better than pressing them into place)
- Secure using 12 × M3×10 mm machine screws (6 per hinge).
- Use an M3 tap set to create threads in the printed holes before inserting the screws — this ensures a firm, clean fit and prevents cracking.
- Tighten evenly so the lid opens and closes smoothly.
6️⃣ Optional Finishing Touches
You can finish the vault in one of two ways:
- As-printed woodgrain – keep the natural look of the Wood PLA and sand lightly to bring out the texture.
- Lined interior – use the included stencil files to cut felt or leather inserts for each compartment. Apply using double-sided adhesive or spray glue.
- Lining improves dice roll performance and reduces rattle.
7️⃣ Final Assembly & Use
Place your dice sets, percentile die, and miniatures into their compartments. The flexible section can also hold pens, pencils, or extra dice.
The built-in tablet/phone slot fits an iPad mini, Fold 7, or most modern phones (10 mm width clearance).
Close the lid, feel the magnetic snap, and enjoy!
License

You shall not share, sub-license, sell, rent, host, transfer, or distribute in any way the digital or 3D printed versions of this object, nor any other derivative work of this object in its digital or physical format (including - but not limited to - remixes of this object, and hosting on other digital platforms). The objects may not be used without permission in any way whatsoever in which you charge money, or collect fees.


Comment & Rating (60)