
Make Your Own Custom Hitch Cover 2" Step by Step
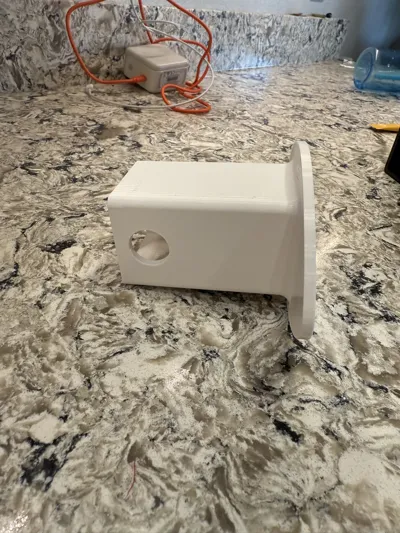
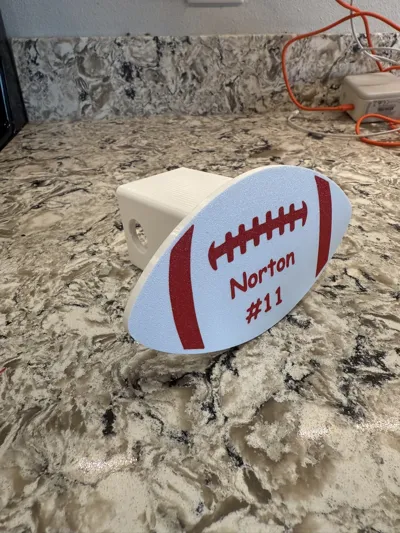
Print Profile(1)

Description
Boost Me (for free)
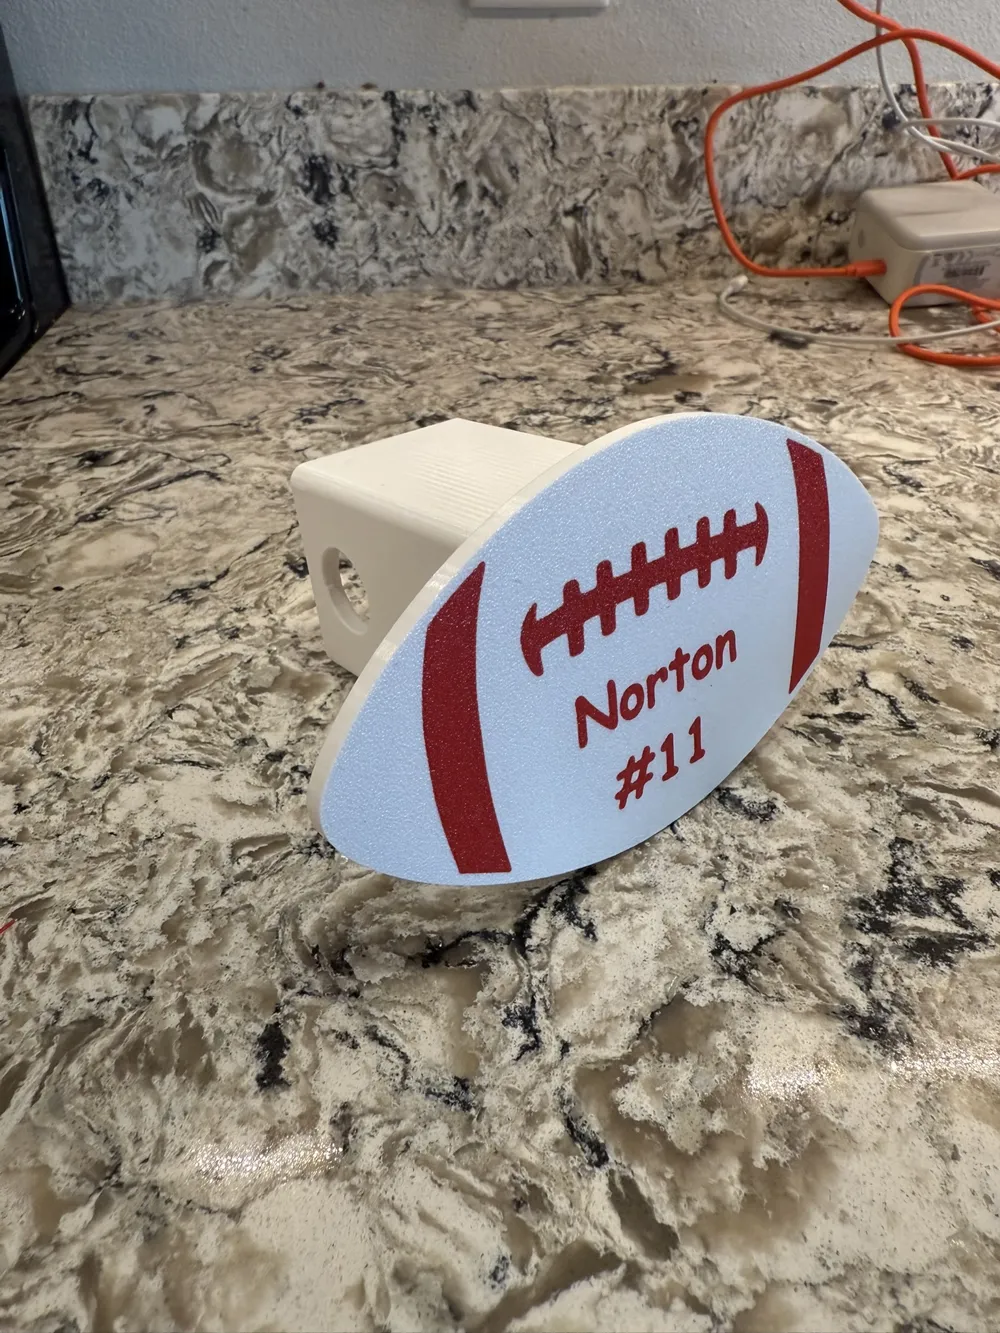
Please enjoy this model that I've made super easy to customize for your own custom hitch cover. See the link below for a quick tutorial. If you enjoyed this model or found the instructions helpful, please give me a follow, like this model, and share a boost token!
Step 1: Download the Hitch Insert
- Click the dropdown arrow to the right of “Open in Bambu Studio”
- Click “Download STL/CAD Files”:
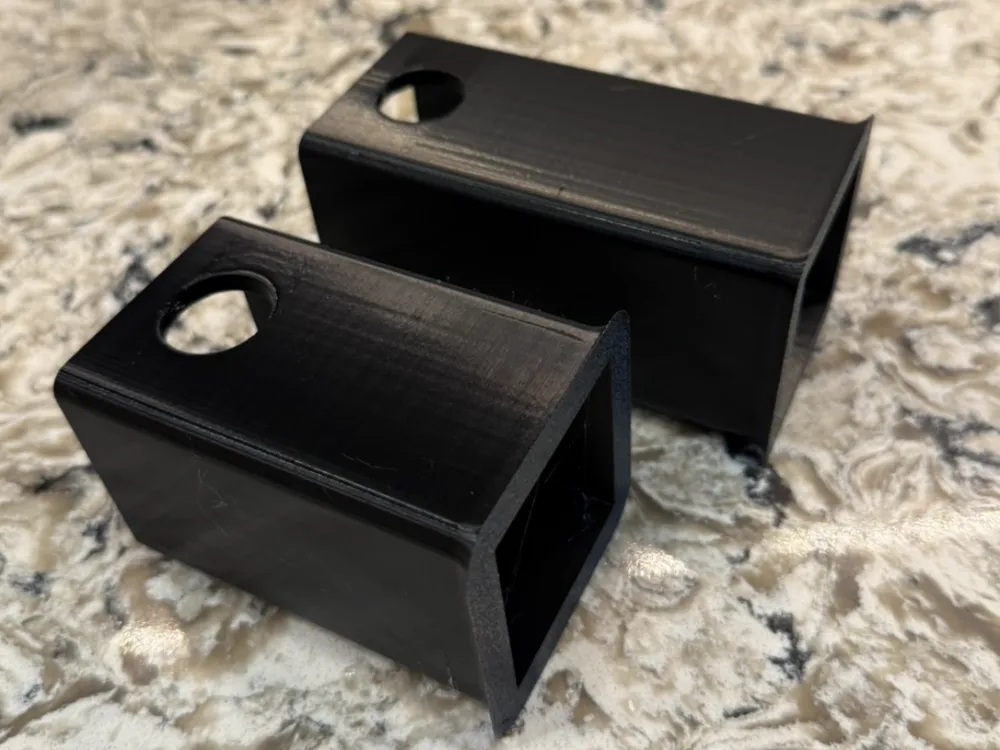
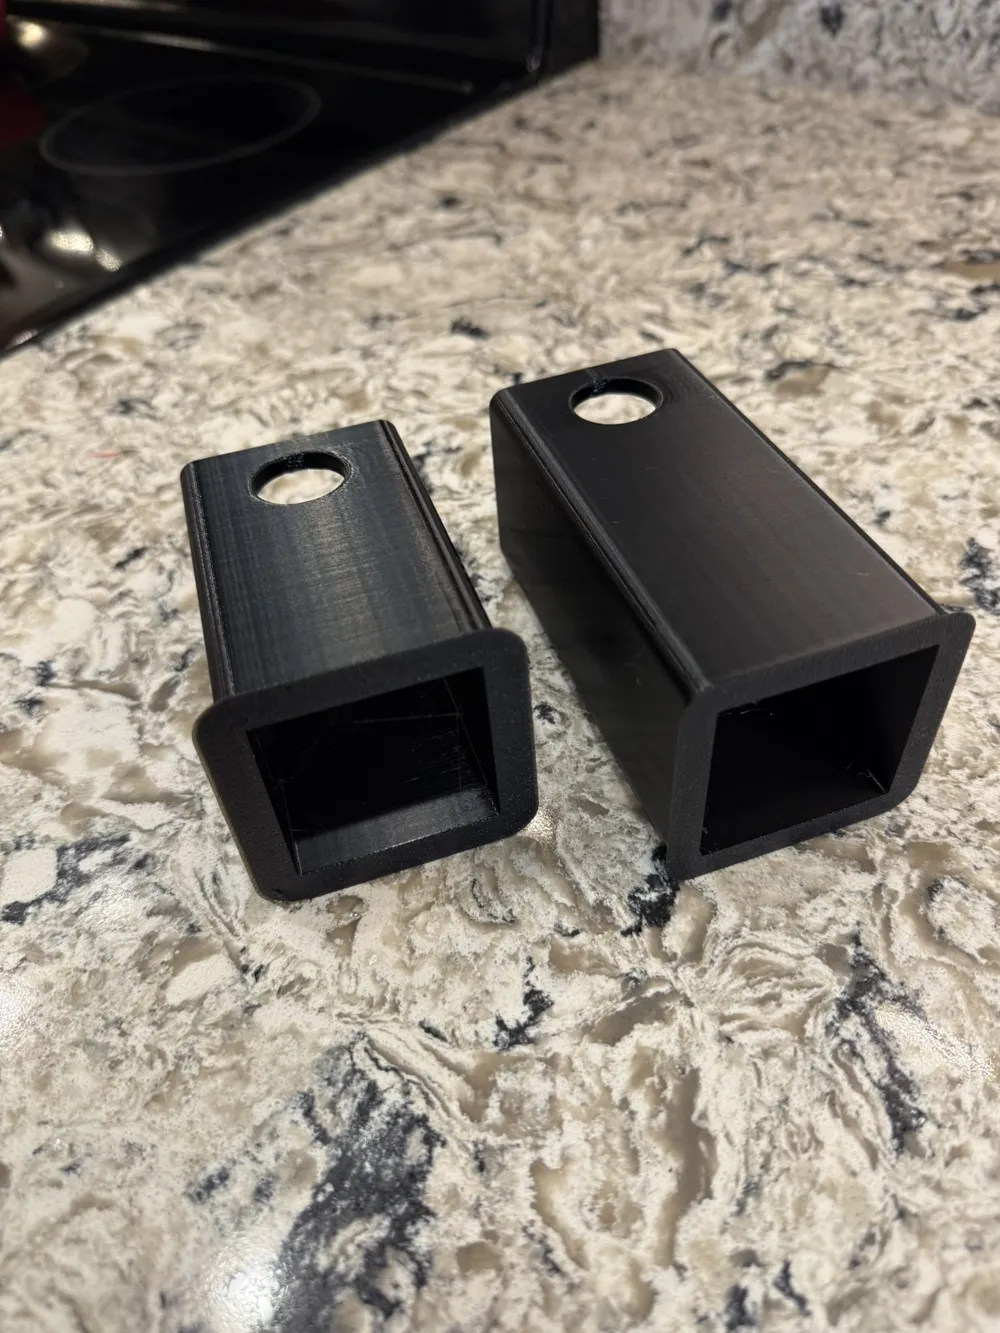
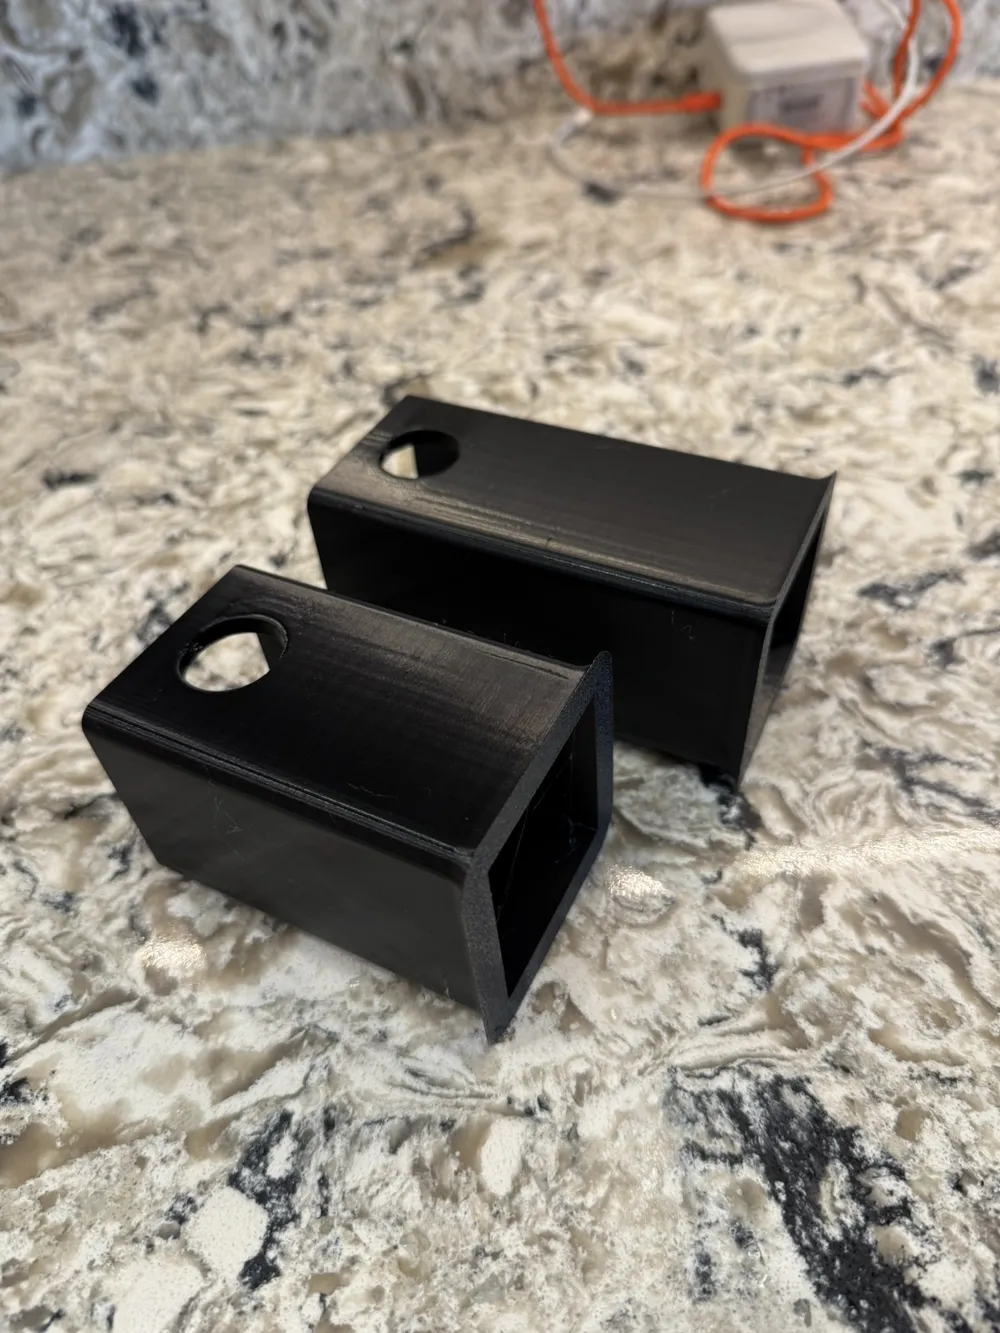
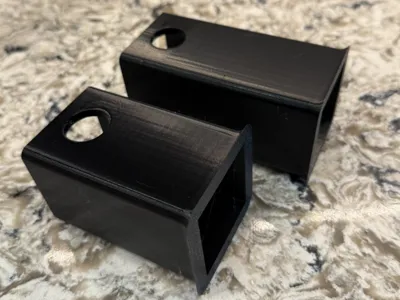
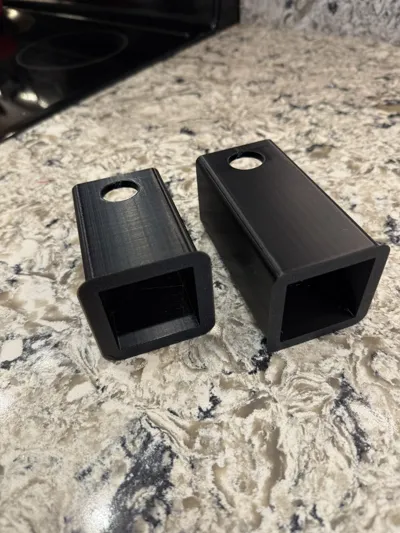
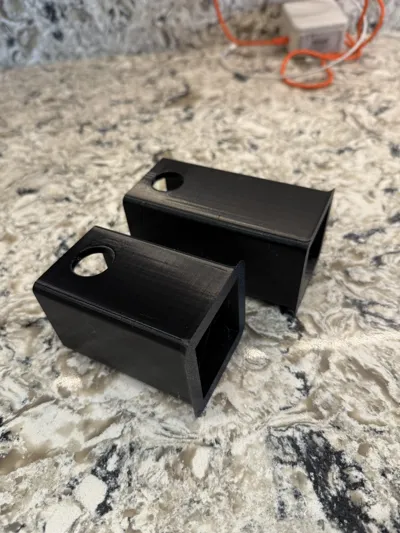
- The standard hitch insert (recommended for most vehicles)
- The longer version (use if you want the cover to stick out farther)
- If you already have something to attach to my design you can simply click “Open in Bambu Studio” and skip to step 4
Step 2: Customize a Design Linked Below or Create Your Own
- Use the online designer to:
- Enter personalized text (e.g., your name, team, slogan)
- Adjust fonts, graphics, or additional icons
- I set base plate = 4mm
- I set Text/Sticker, SVG, & Shapes = 0.6mm
- Preview the final look in real-time by toggling between the 2D & 3D button
- Go to one of my customizable designs below and then select “Make Your Model” or “Customize” on the page
- Football: https://makerworld.com/en/models/1929021-football#profileId-2070607
- Baseball: https://makerworld.com/en/models/1928087-baseball-sign-customizable-personalized#profileId-2069496
- Gymnast: https://makerworld.com/en/models/1932563-gymnastic-sign-gymnast-sign#profileId-2074748
- Vintage Camper: https://makerworld.com/en/models/1918514-camping-hitch-cover-i-hate-pulling-out-2#profileId-2058361
- Make your own: go to https://makerworld.com/en/makerlab/makeMySign?from=makerlab and make one from scratch
- Either way when finished, press “Download”, then “Download 3mf”
Step 3: Open the .3mf File You Create & Downloaded
- Print Settings:
- Under Quality tab I set change Ironing to No Ironing
- I increase the walls to at least 3
- I increase the infill to 25%
- I use PETG since these will be outside
- Make edits as needed (e.g., scaling, color assignments with AMS)
- Be sure to scale your model to the correct size at this point before moving to the next step
Step 4: Import Part (Follow precisely|DO NOT JUST IMPORT)
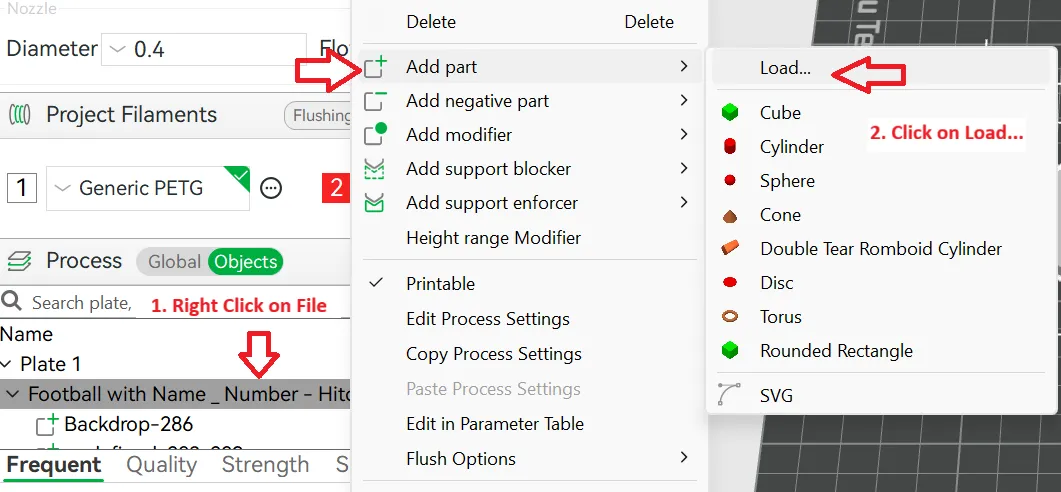
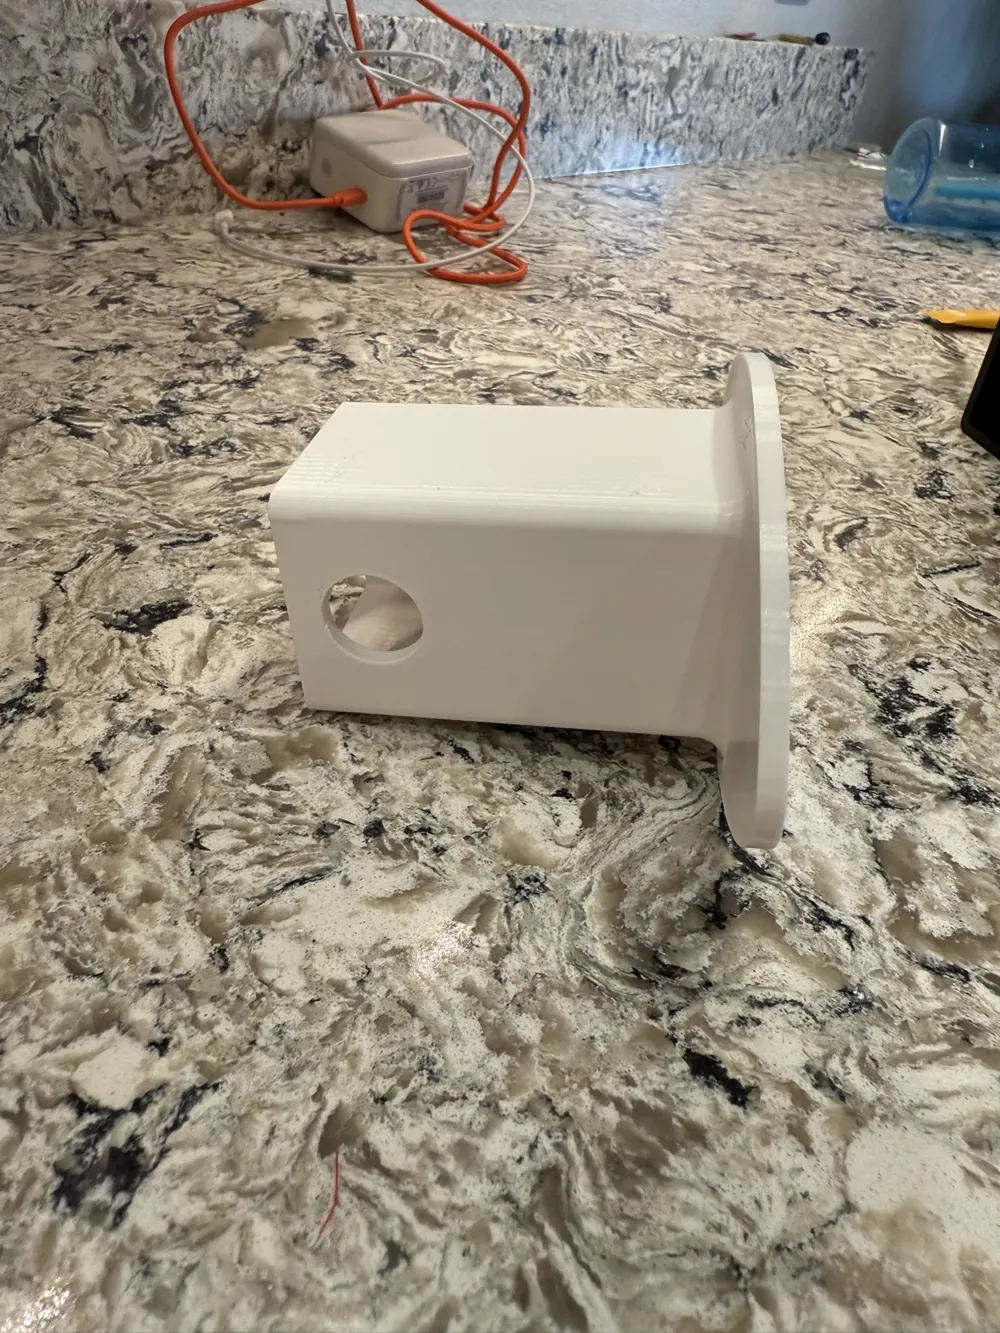
- Select the desired receiver .stl file you downloaded from Step 1 and double click to import
Step 5: Assemble Parts
Click on the model to select and you should see both parts selected
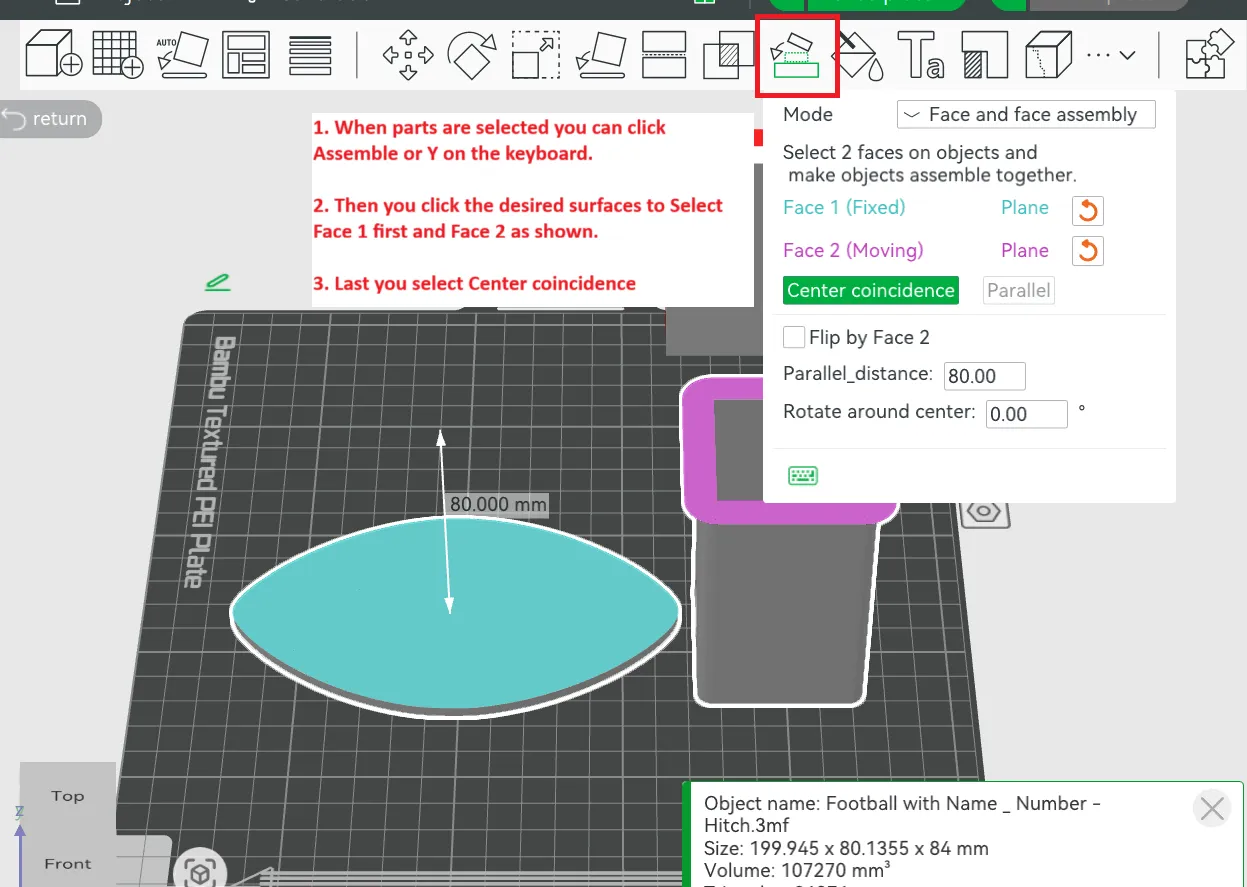
Step 5: Slice & Print
- No explaination required
Step 6: Crucial
- Like this model
- Follow me
- Boost
- Support me on Buy Me a Coffee! If this model saved you time or helped you out, consider supporting my work through Buy Me a Coffee https://buymeacoffee.com/bobbyz
- Need a pin to install it? I got a perfect print right here(< 30 minutes) https://makerworld.com/en/models/1871893-5-8-hitch-pin-for-decorative-cover-2-receiver#profileId-2003692
Boost Me (for free)
I'll add this button here so you don't have to scroll back up :)
Happy Printing!
License

You shall not share, sub-license, sell, rent, host, transfer, or distribute in any way the digital or 3D printed versions of this object, nor any other derivative work of this object in its digital or physical format (including - but not limited to - remixes of this object, and hosting on other digital platforms). The objects may not be used without permission in any way whatsoever in which you charge money, or collect fees.


Comment & Rating (30)