
JRC - Modular Pet Tunnel V3
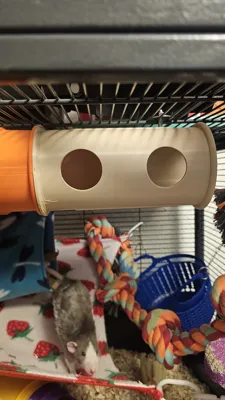
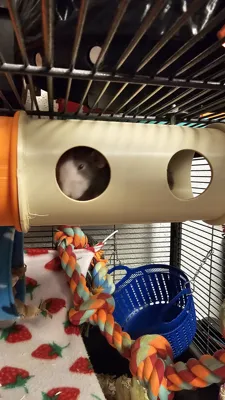
Print Profile(2)


Description
Hello and first of all I'd like to thank everyone that has supported my project since the beginning! We have come a long way, and this was actually my first actual 3d design project I made. These little critters were actually a huge part as to why I even started 3d printing in the first place!
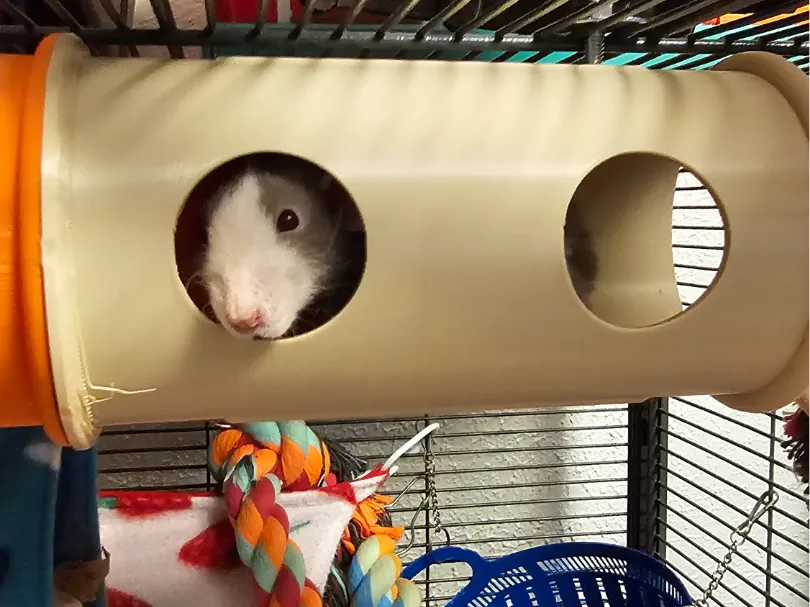
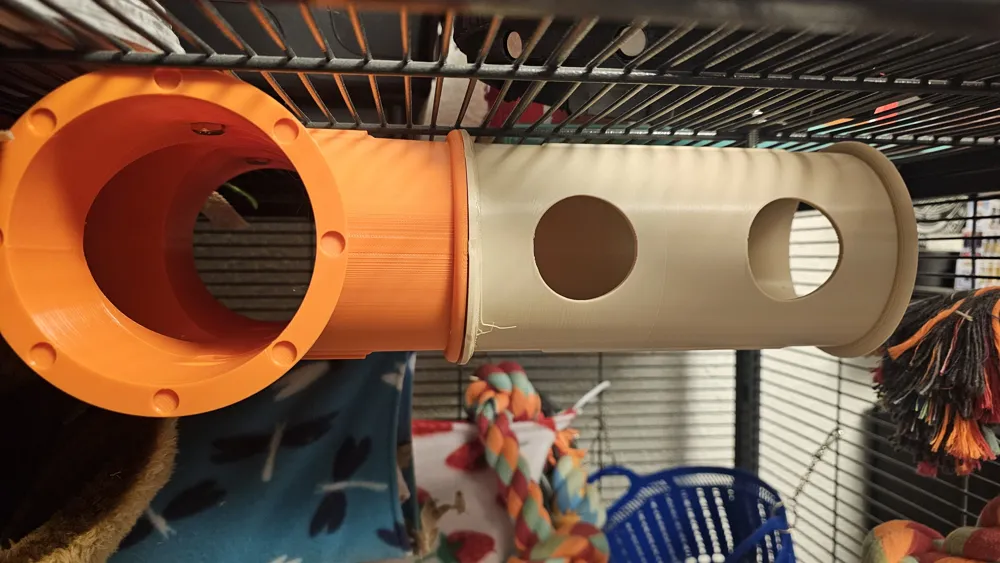
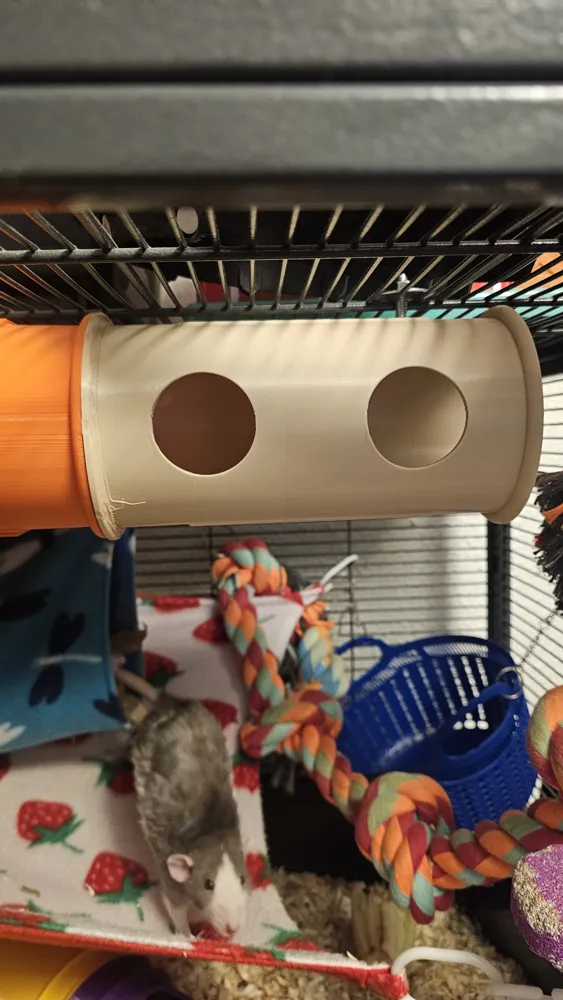
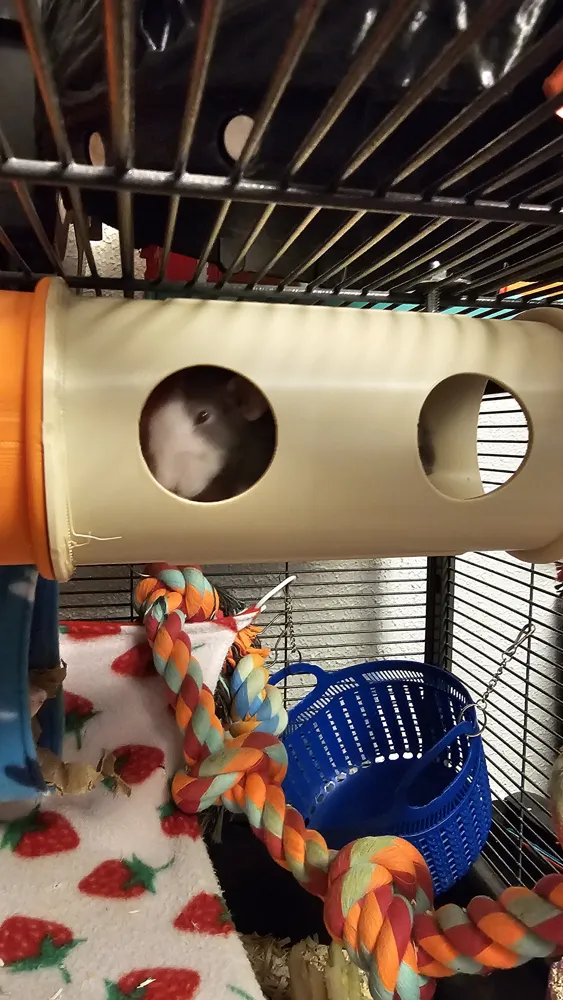
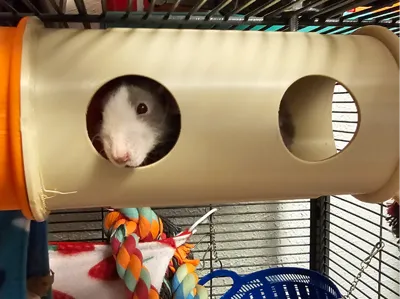
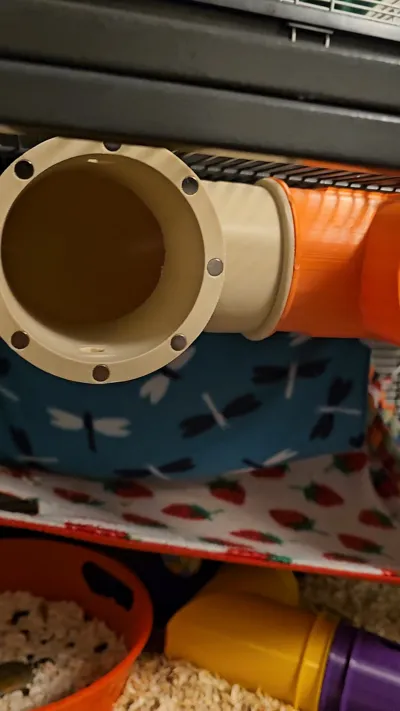
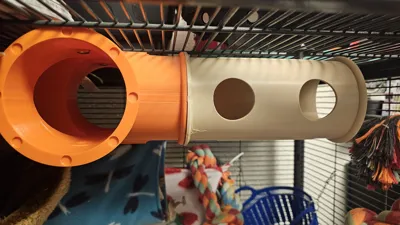
Anyways, this modular tunnel system is super helpful for any rodent or small animal that enjoys climbing and hiding out in small spaces. The tunnels are designed in a way to minimize supports and the print profile by my(designer) has them oriented in the most efficient way possible.
Design specs below:
inner tube diameter: 92mm
Tube length: 200mm (for straight, four-way junction, and the three-way from end to end)
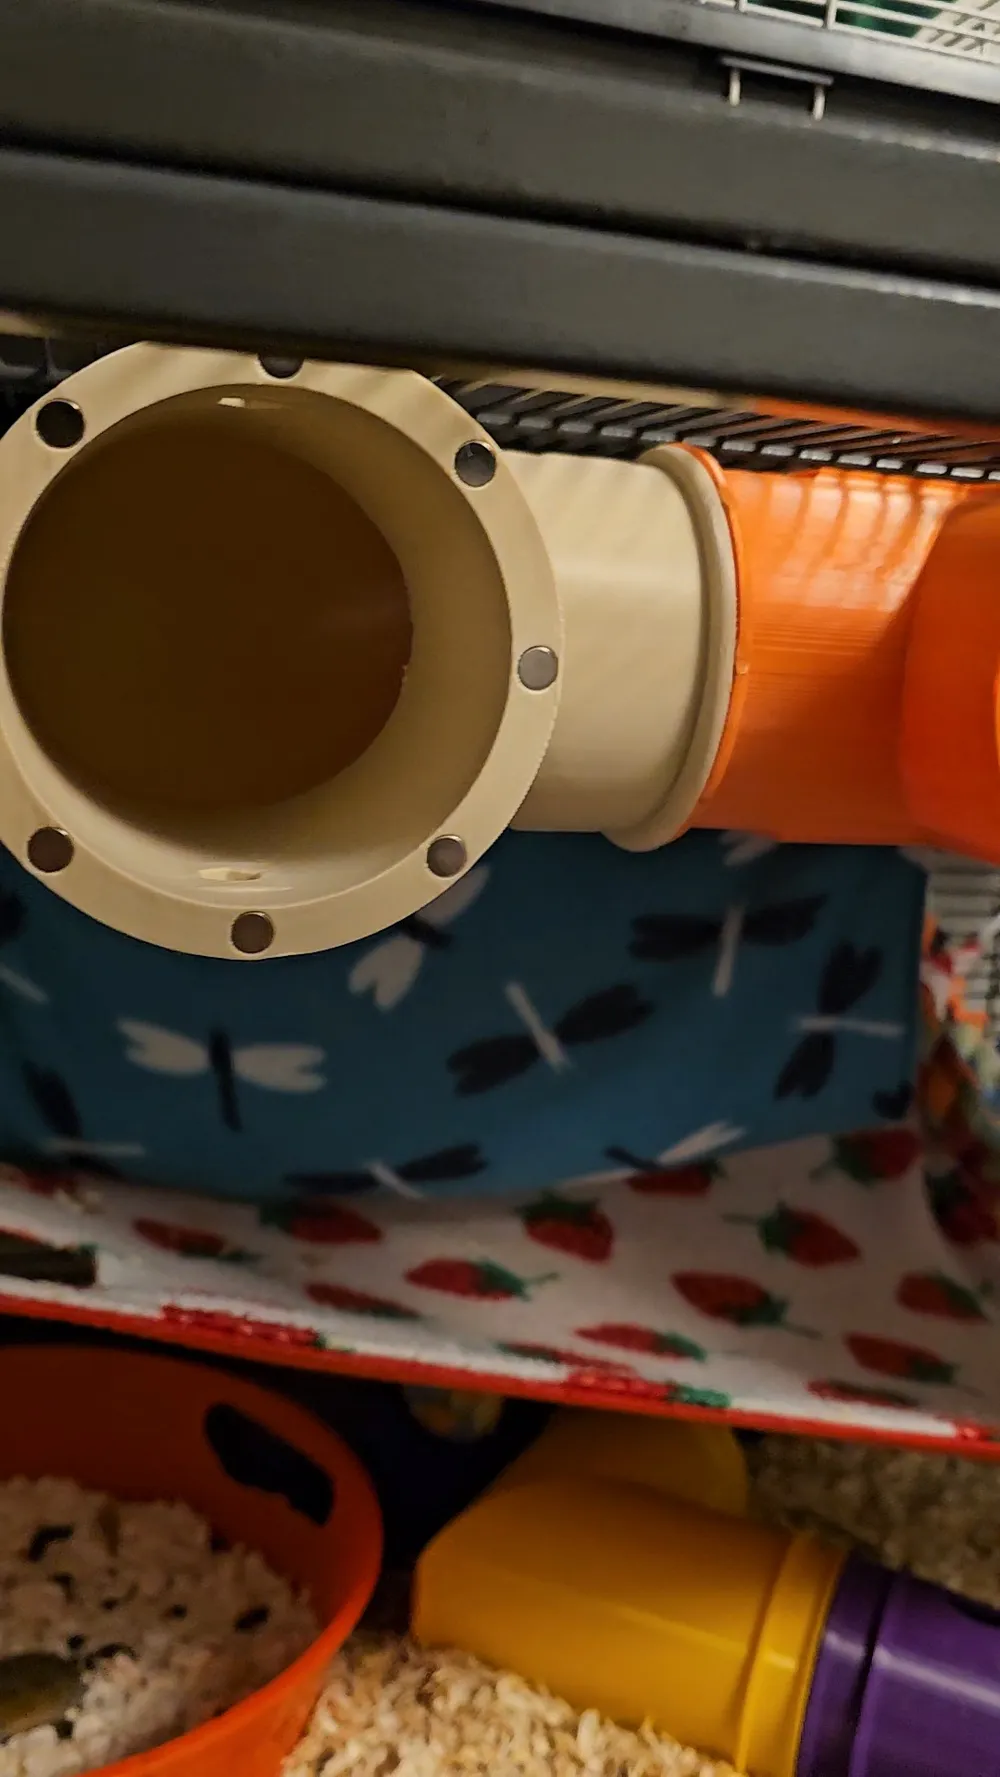
Magnet/connector holes: 8x2mm
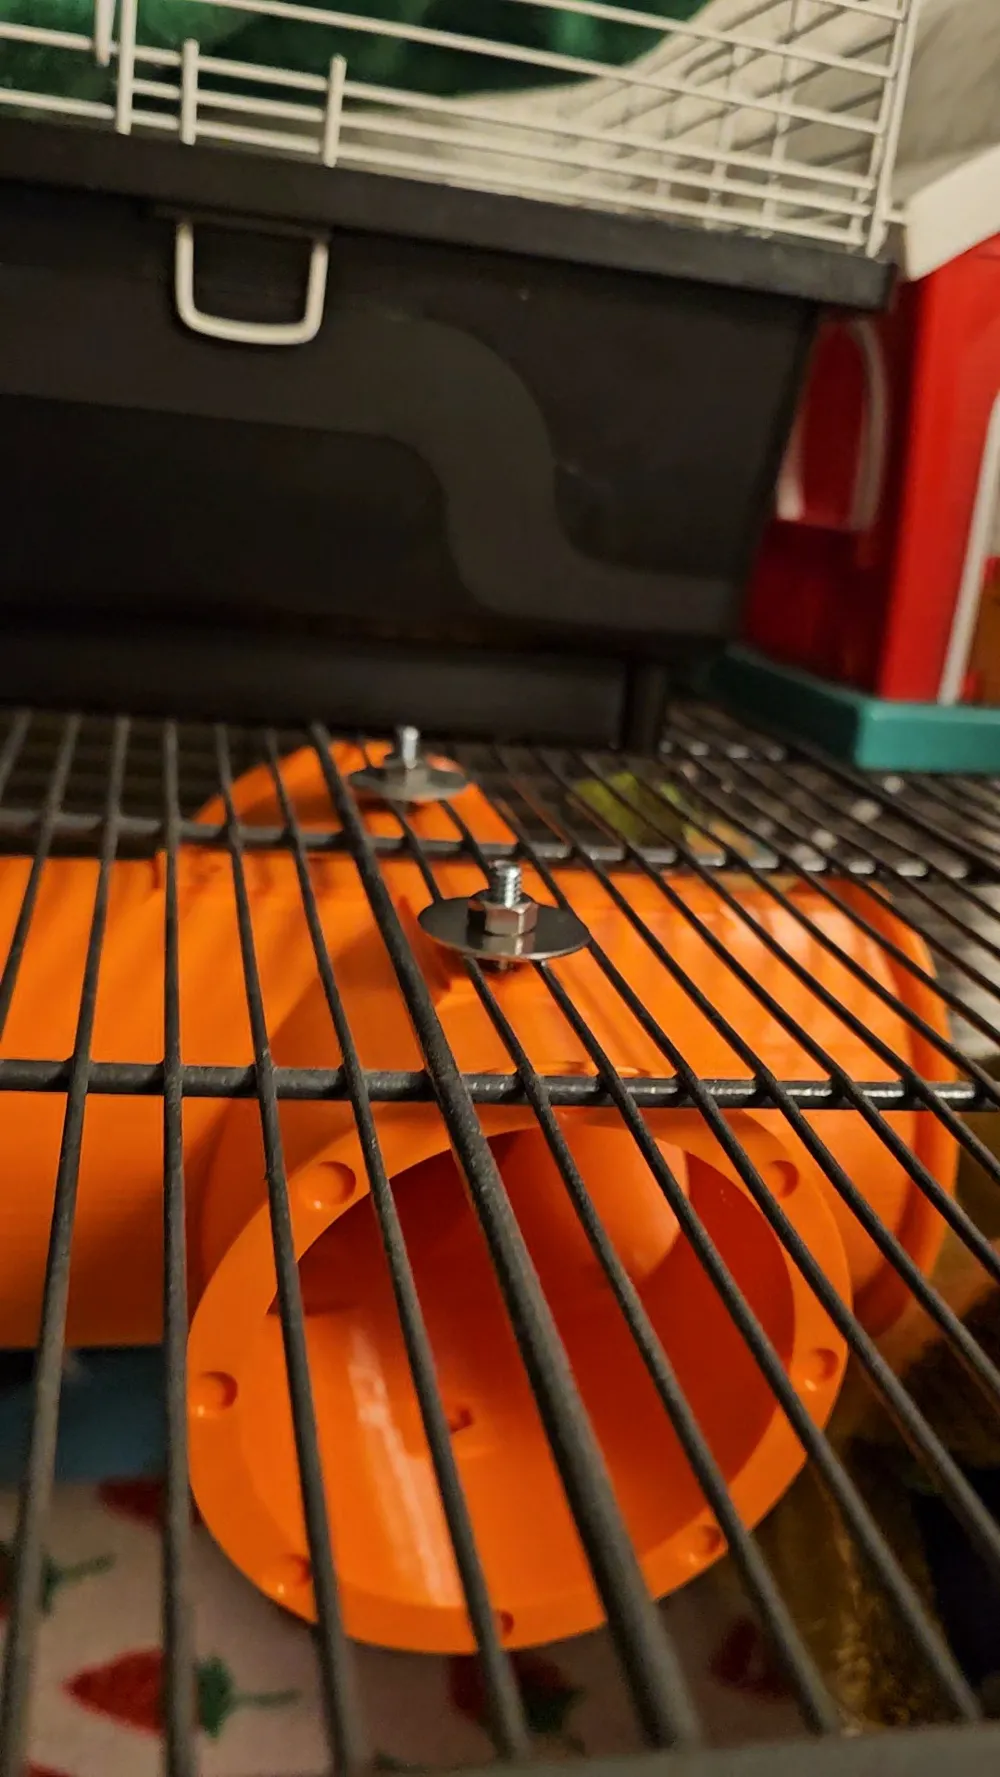
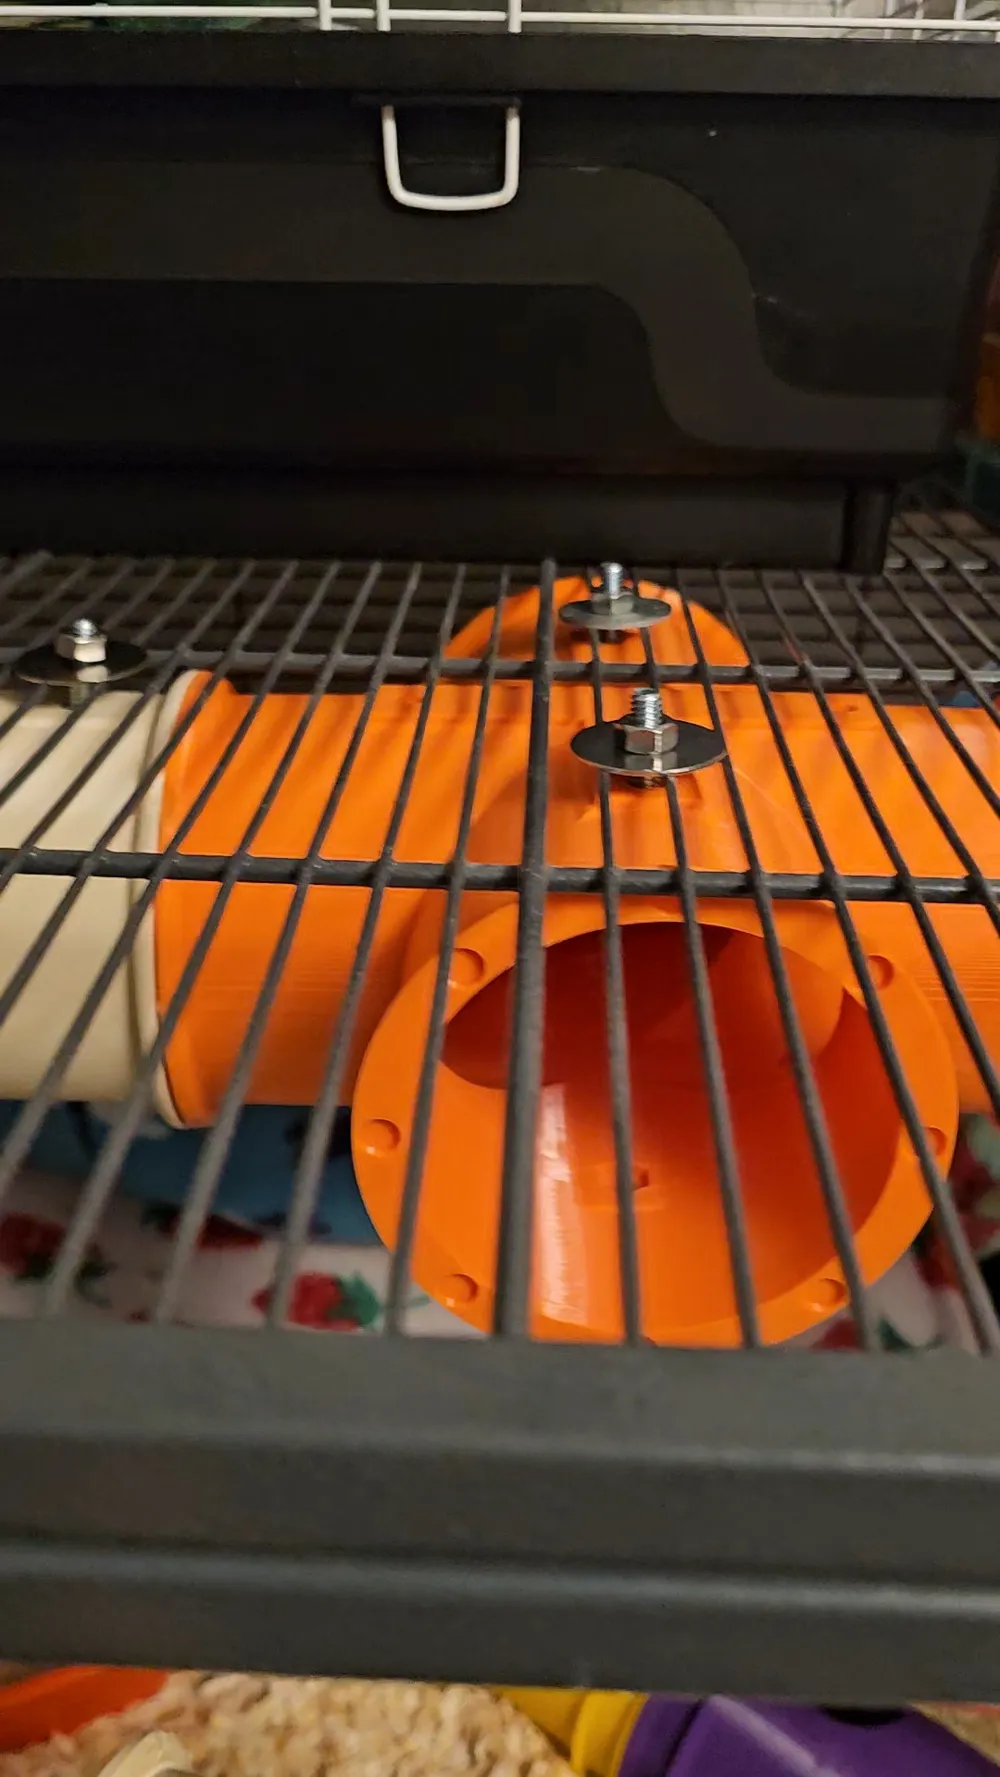
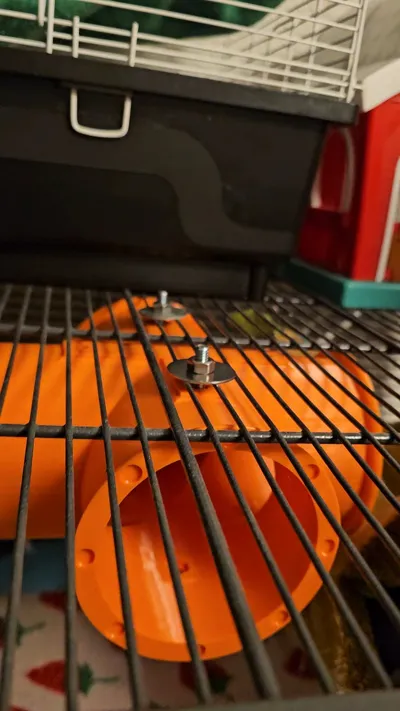
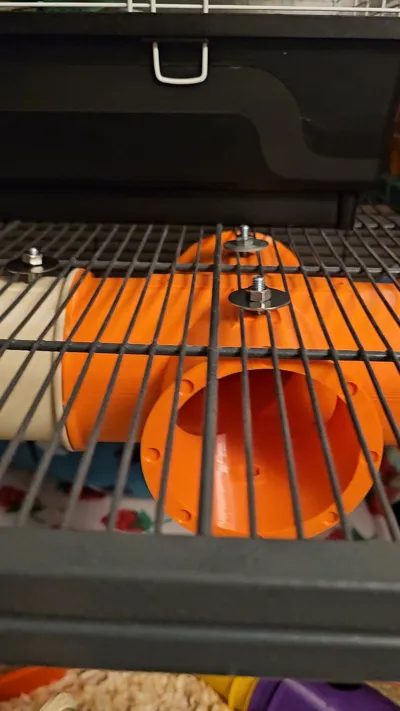
Bolt size: for a perfect snug fit I used ¼" x 1" hex bolts. Otherwise, any bolt or screw with a HEAD diameter LARGER than 8mm should be sufficient, while the actual screw diameter (the threaded part) should remain smaller than 7mm for a nice easy entry and removal.
This is the same size bold used in my rat ledge design.
I suggest using PETG for these whenever possible. in my experience PETG is more chemically resistant and many pets' urine contains ammonia which WILL break down PLA overtime. Along with this PLA tends to be more brittle and when cracked it will splinter. The PETG will resist gnawing.
For washing I suggest a deep soak in hot water with soap and then another washer with vinegar. Allow the parts to air dry and then they have dripped for a while, throwing them into a filament drier. The temperature of 60c for PETG is high enough to kill bacteria hiding out in any layer lines and any infill. Dry for 15-20 minutes in the drier. If your PLA is rated for this temperature, I recommend doing the same for it.
Some holes may not be small enough to accommodate your size of magnets so please use a non-toxic glue and do your own research.
Please do not rely on the magnets to do the heavy lifting, they are simply there to add assistance to the flush connection and to prevent any detachment from the tubes to each other.
PS These tubes have not been tested for sideways mounting, but I do not see why they would not work!
License

You shall not share, sub-license, sell, rent, host, transfer, or distribute in any way the digital or 3D printed versions of this object, nor any other derivative work of this object in its digital or physical format (including - but not limited to - remixes of this object, and hosting on other digital platforms). The objects may not be used without permission in any way whatsoever in which you charge money, or collect fees.


Comment & Rating (9)