
Caliper Hole Center Measuring Tool, Many Sizes!!
Print Profile(22)


Bill of Materials


- Calipers x 1: Any typical pair should do!
Description
Boost Me (for free)
Hey! I hope that you LOVED my model. I spent a lot of my own time putting this together, and truly hope it made your life easier. If you really enjoy what I've put out, please consider giving the model a boost and a review with 5 stars, a story, and a picture! It's free, doesn't take much time, and helps me out a lot! I want to keep making these models as they come to me, and I need your help to do so. Thanks a lot!!
All printers should work with all profiles so long as the parts fit on your bed size; sometimes Makerworld doesn't play nice. Try downloading them regardless and edit as needed.
The Makerworld time estimate will vary based on which printer you use.
---------------------------------------------------------------
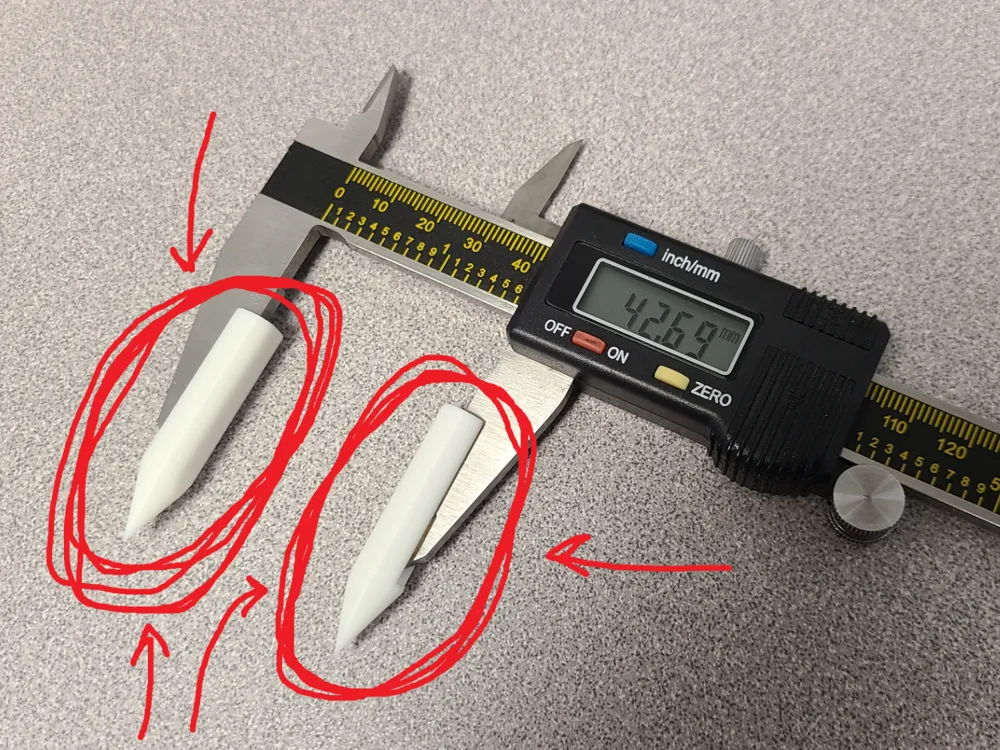
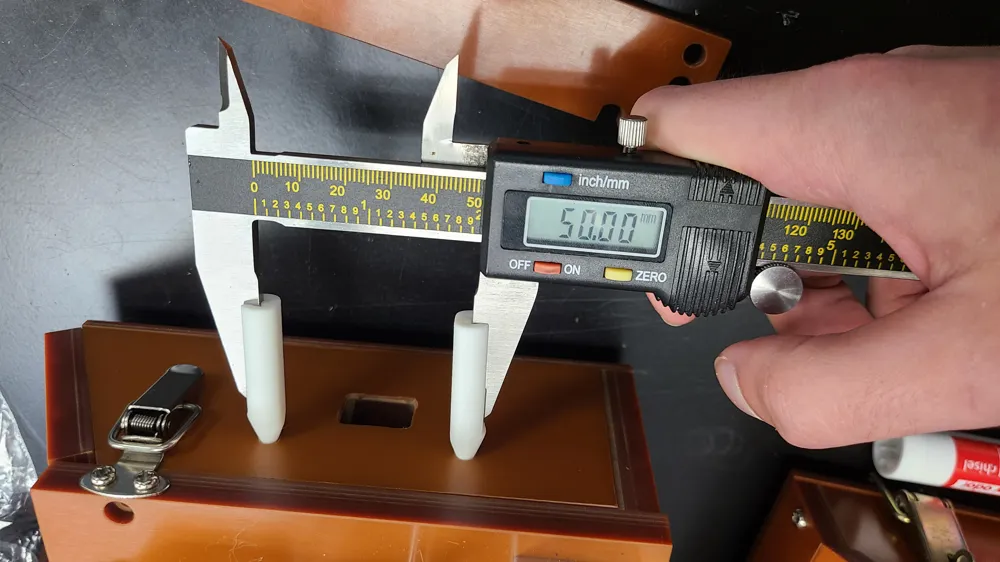
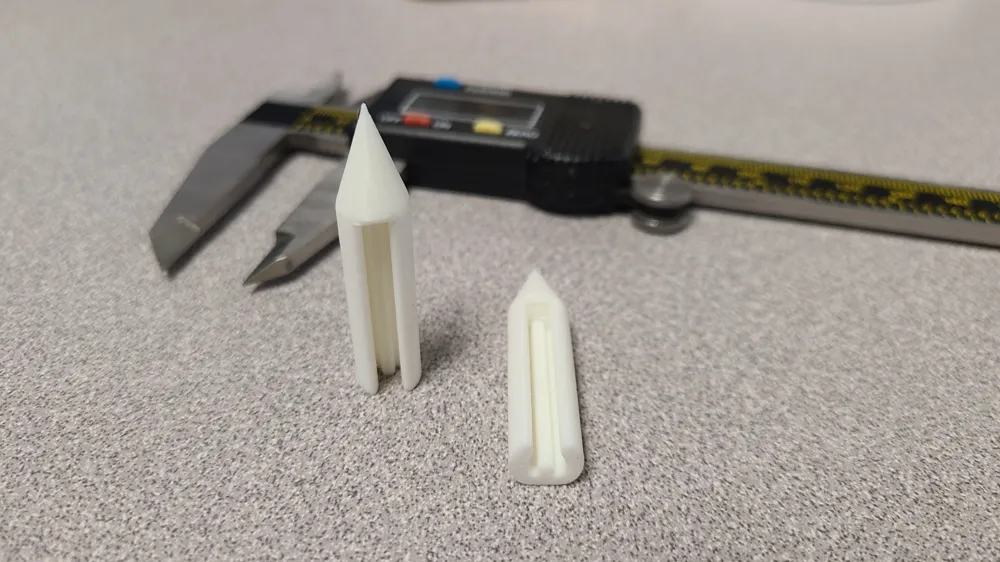
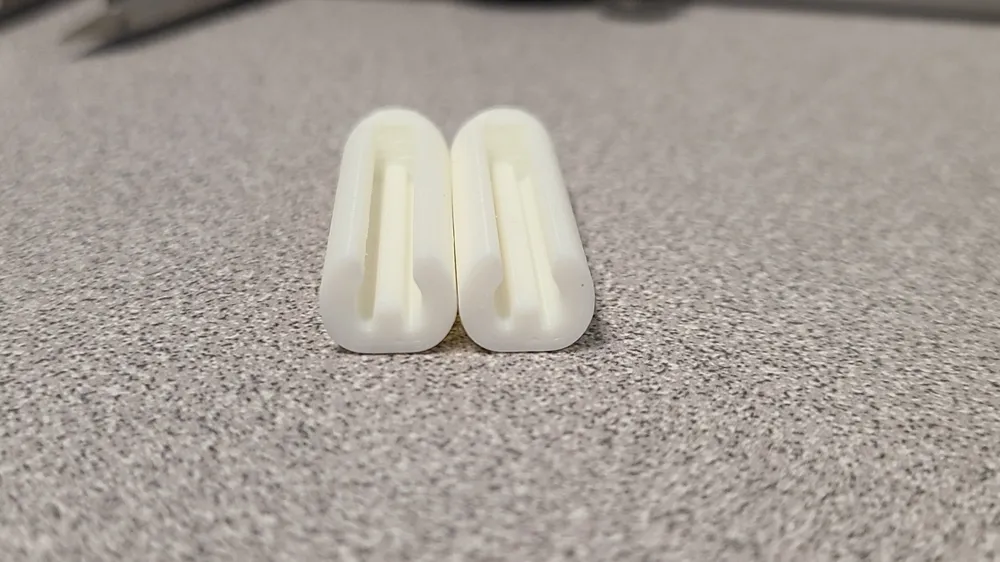
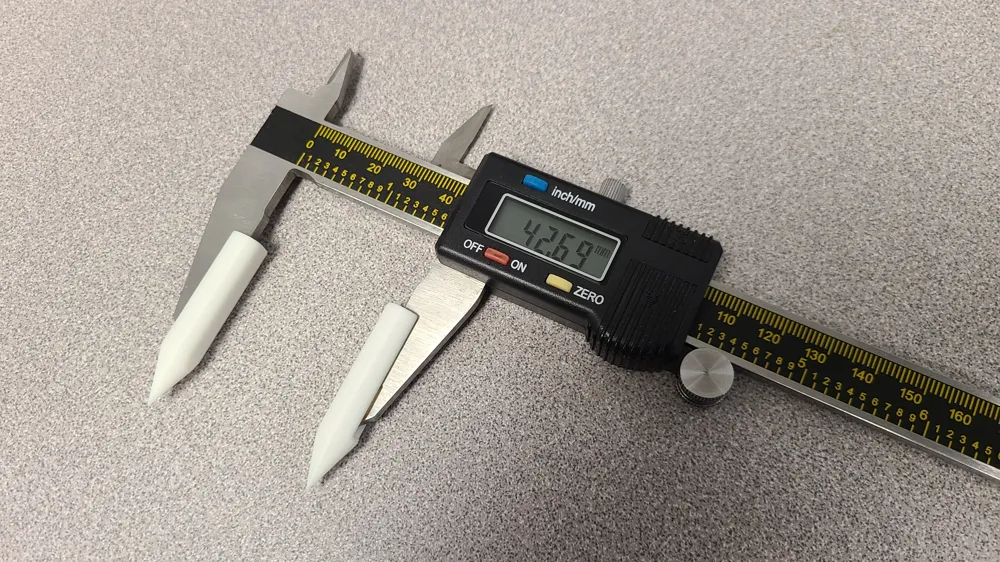
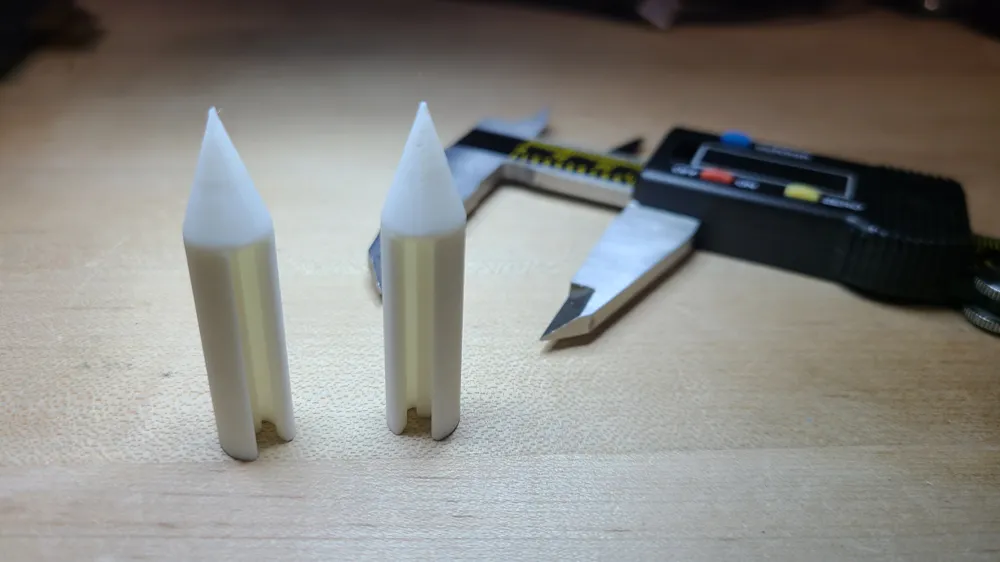
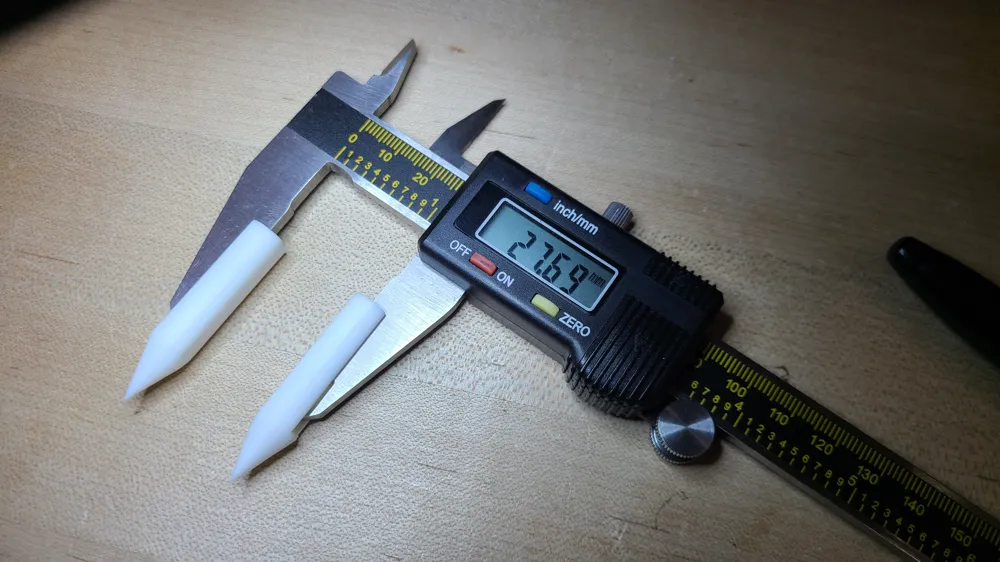
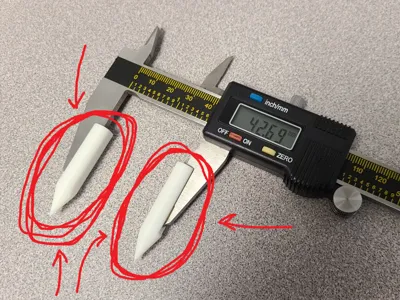
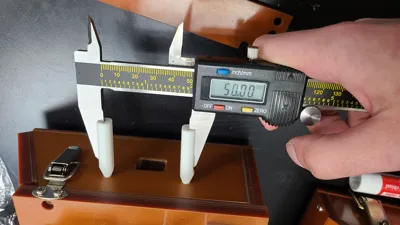
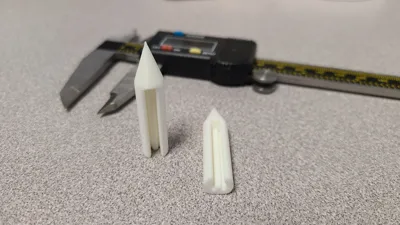
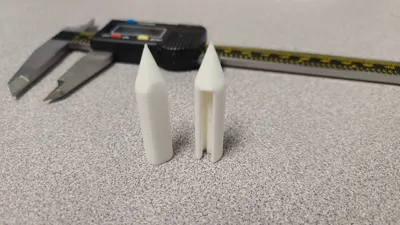
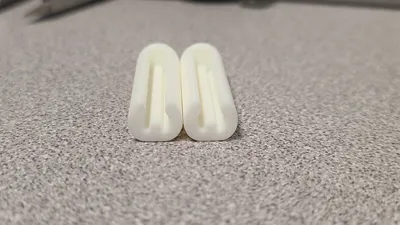
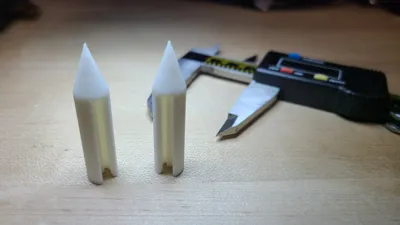
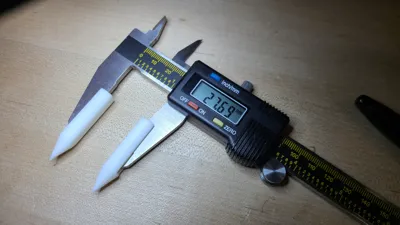
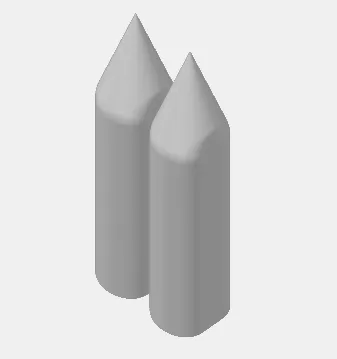
This is for measuring the centers of two holes over 8mm apart. Snaps right on and aligns the point to the caliper mark perfectly, thanks to iteration and its internal cutouts!
- No glue, magnets, screws, or even print supports needed, and no more center alignment uncertainty!
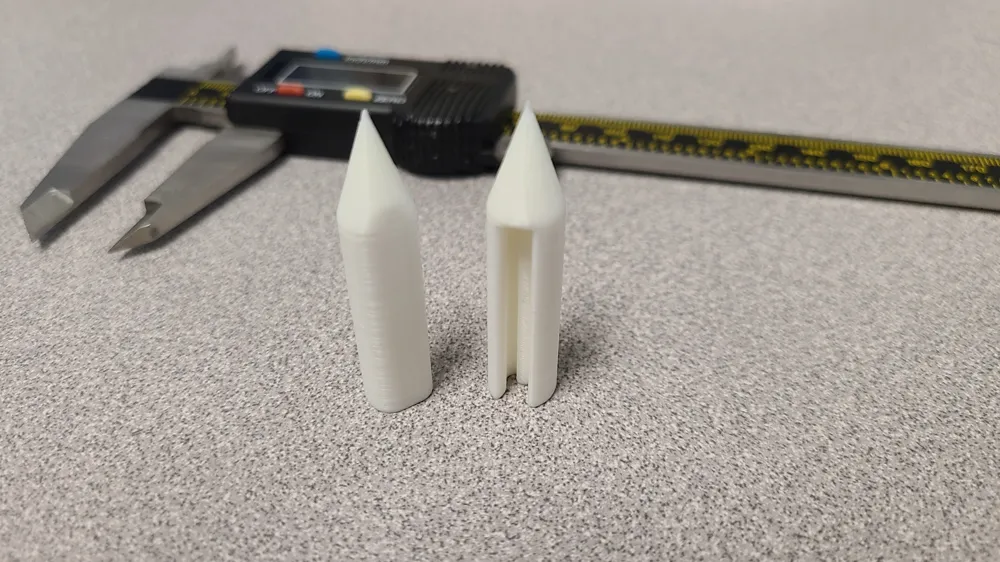
- Fits any size calipers from 3.0 to 4.0mm in jaw thickness, just pick your profile.
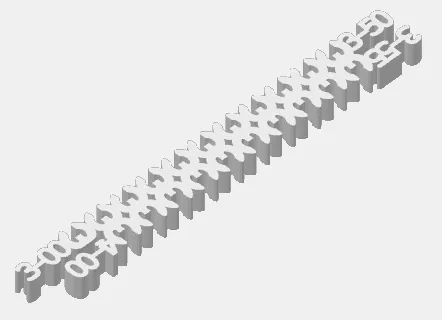
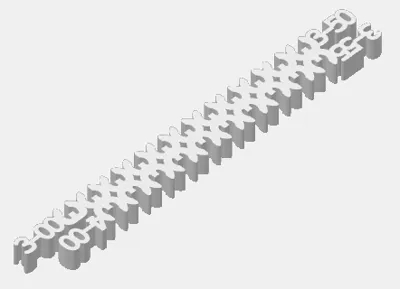
- If you aren't sure on your size, start with the “SIZE SELECTION TOOL” profile, or just print a few out to test.
- Print as designed without any support. If it's too long for your jaws, use the “Cut” feature in Bambu Studio to cut the length shorter.
- I wouldn't recommend sanding as it could throw off the cone, but you could use a smaller layer height if you want a smoother finish.
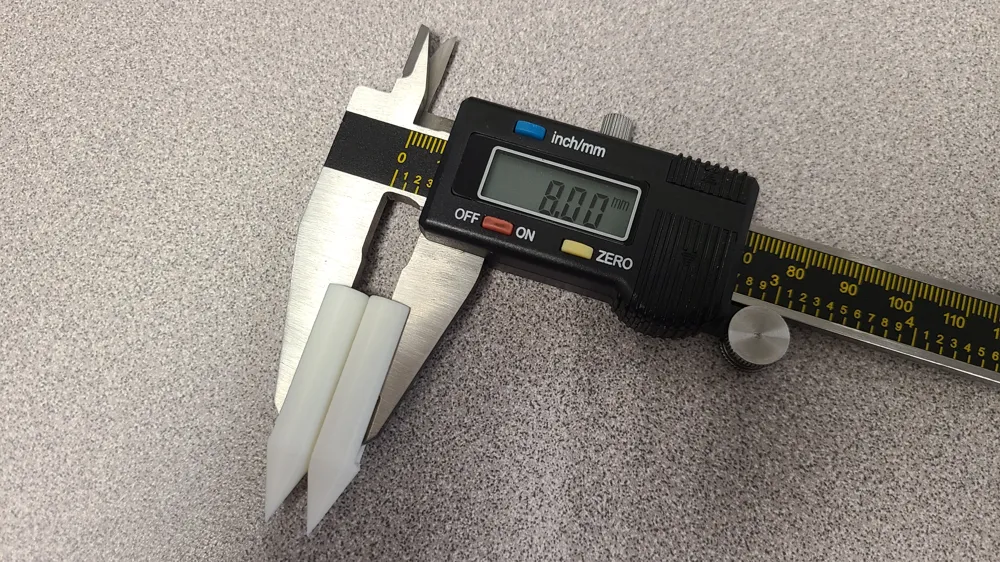
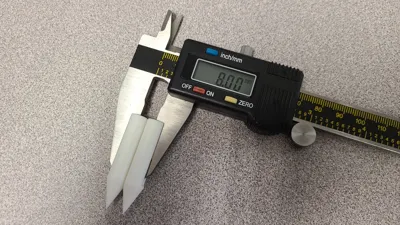
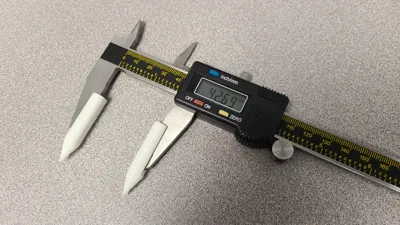
To assemble, zero out your calipers first, then snap these on. That's it! To remove, rotate them off.
- A good fit will give you a nice little click or snap sound without much effort, and will have its inner rib perfectly against the flat side of your caliper's jaw. If it easily falls off, it's too loose, and if it's difficult to press on and/or doesn't line up straight, it's too tight. A click or snap may not always happen, but…it did for me.
- I happen to have two pairs of calipers, so I was able to measure my calipers' jaw thickness, but you may not have that luxury. I have thus created a “SIZE SELECTION TOOL” profile to determine which size is best for you. If you'd rather just take a few guesses, the print is only around 24min and 4g of filament, so you can print each one until you get that nice fit.
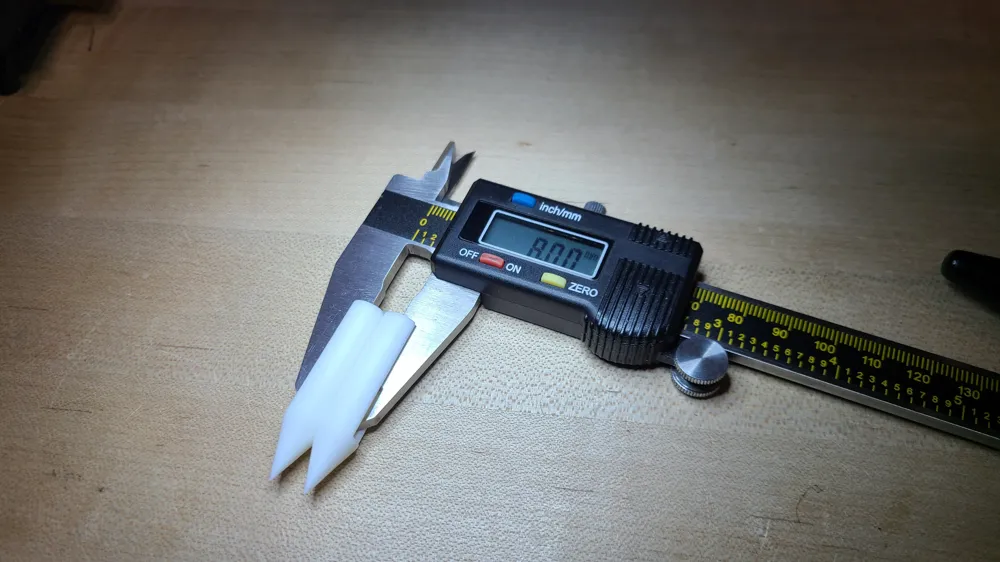
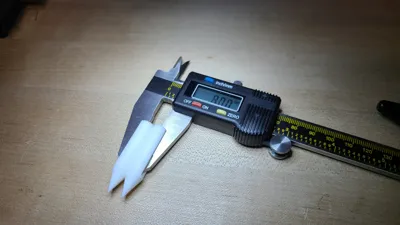
- Each piece has a flat side, and when pressed together, your calipers should read “8.00mm” or “0.315in.” That being said, this tool can only measure holes over 8mm apart (center-to-center). An easy way to check how straight they are is to assemble both and press them together, or assemble just one and press it against the other jaw.
To use, simply slide the points into the holes (duh).
- The print should be tight on your caliper jaws, so you won't have to be very careful.
- If you want to be super sure of your measurement, intentionally make the jaws just a little off-center with your part's holes, then slide them down in using the slope of the cones. Take them out and push back in a couple of times, and it should be an accurate read.
In addition, remember that this is a 3D print, not a calibrated, machined tool.
- Please keep that in mind if using this in a professional setting, and hide them away if you ever get audited, lol.
- I did my best to design this to align perfectly and have tested it as much as I can, but your mileage may vary.
Why'd I make this, and why should you choose it over other models?
- I needed a hole center measuring tool that fits my calipers at work.
- All the other models were too thin for my thick calipers or didn't align perfectly due to filament rounding in corners that needed to be sharp.
- I designed a new model that can fit my size, and then made a few more for additional sizes for most products to work.
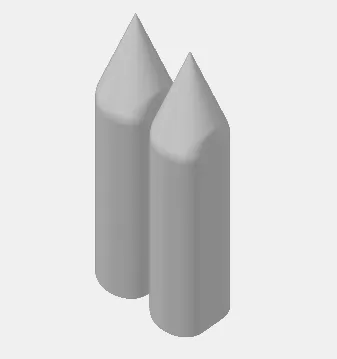
- In my design, I incorporated cutouts around the inner corners (those Mickey Mouse ear-looking cutouts) as other designs were missing this. These other models' internal corners print out rounded due to the nature of 3D printing, which seems to interfere with the sharp corners of the caliper jaws and prevent a solid alignment.
- I did try to design a stepped channel that could be an all-in-one design, but it wasn't working out. Maybe you can do that and make a billion dollars?
---------------------------------------------------------------
I hand-made this design 100% on my own, from scratch, using Solidworks. Any similarities to products offered by others are a coincidence and are not affiliated with anyone other than me. My work may be considered transformative, which is protected under fair use. All of my models are for personal use only and may not be sold or distributed by anyone other than myself or the sites I post them on.
License

You shall not share, sub-license, sell, rent, host, transfer, or distribute in any way the digital or 3D printed versions of this object, nor any other derivative work of this object in its digital or physical format (including - but not limited to - remixes of this object, and hosting on other digital platforms). The objects may not be used without permission in any way whatsoever in which you charge money, or collect fees.


Comment & Rating (255)