
AMS PRIME (AMS Lite Mod)
Print Profile(2)




Description
Boost Me (for free)
Boost me, if you like my design!
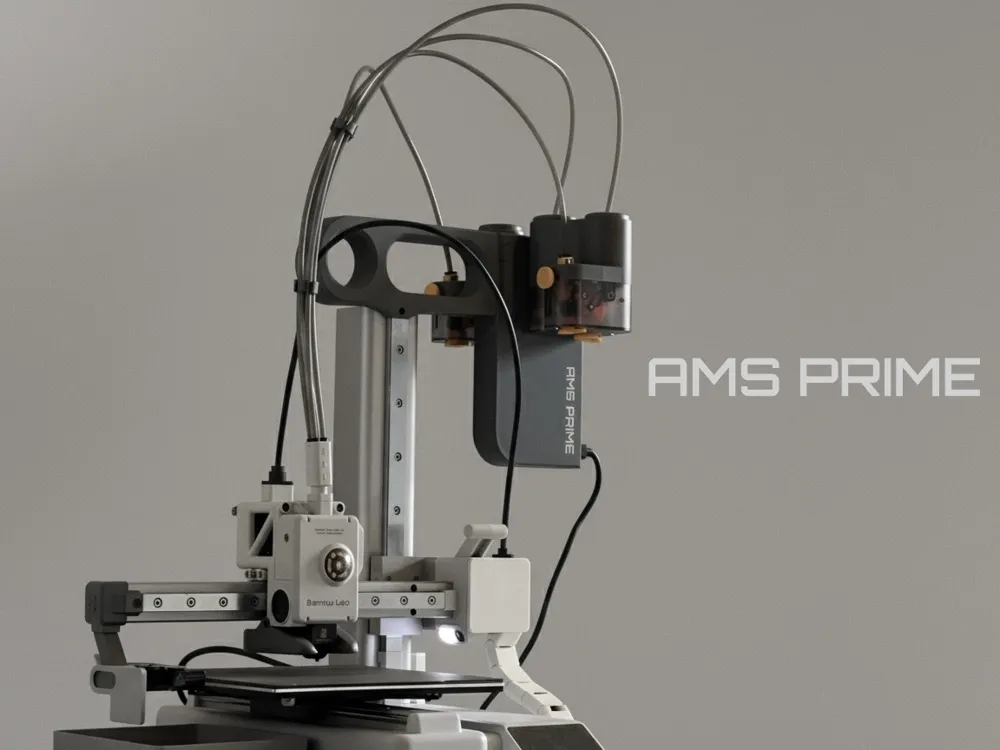
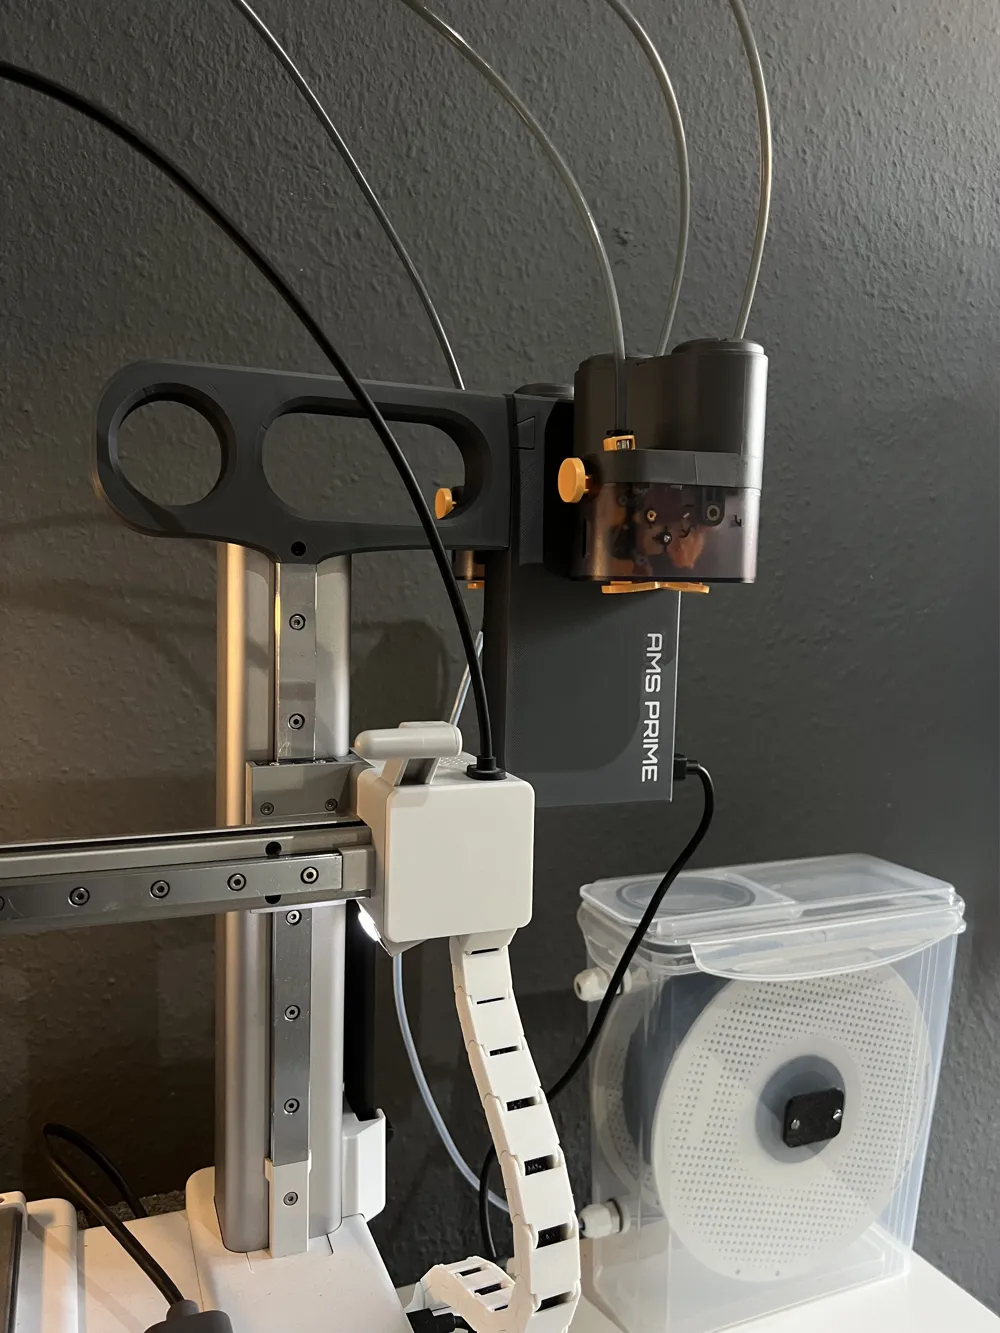
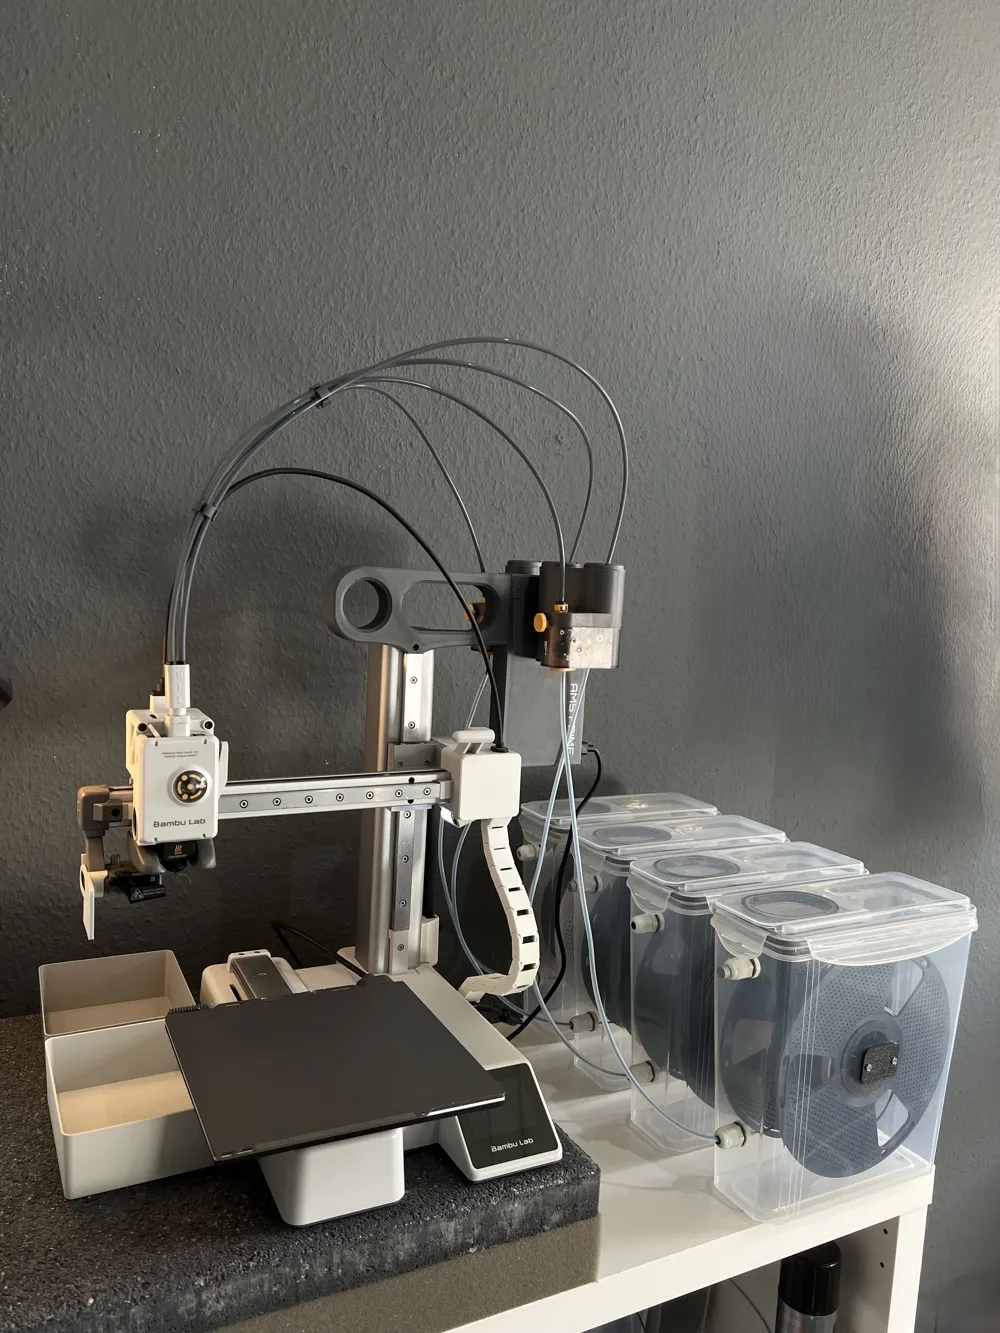
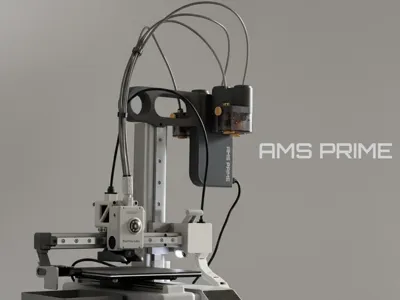
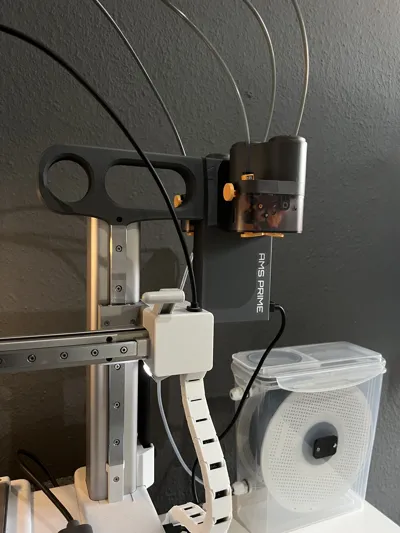
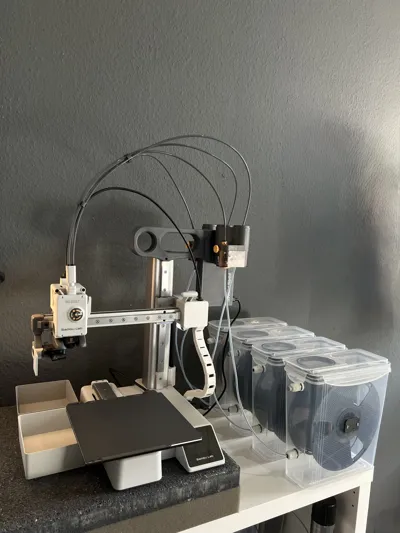
AMS PRIME
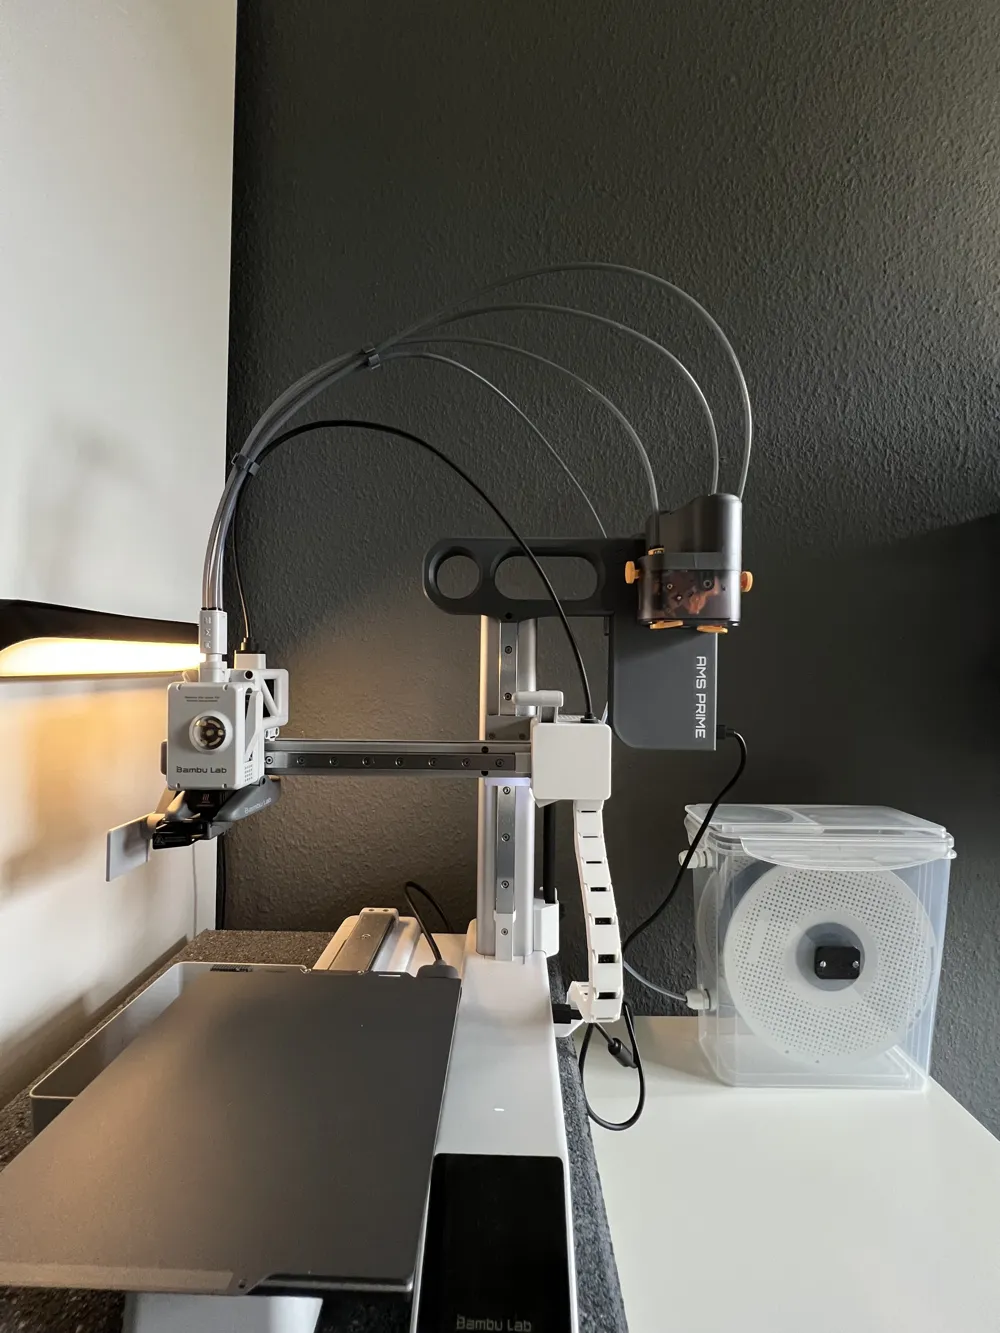
I had a problem with my AMS Lite. I live in a humid area and had issues printing from the AMS Lite because my filament constantly absorbed moisture, which caused ugly prints.
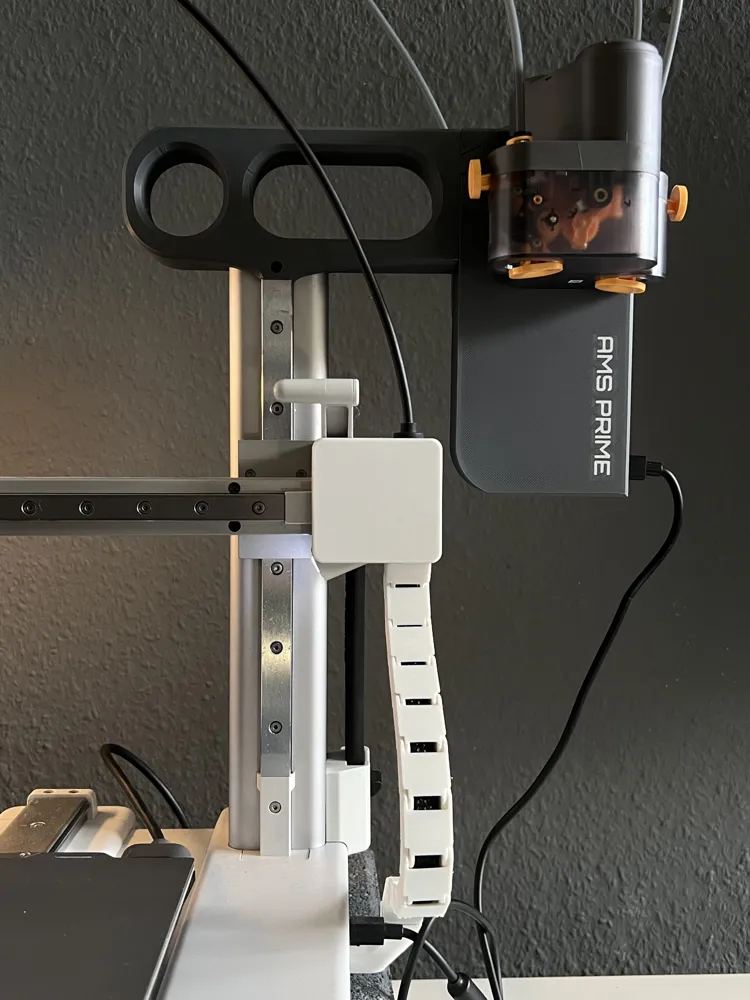
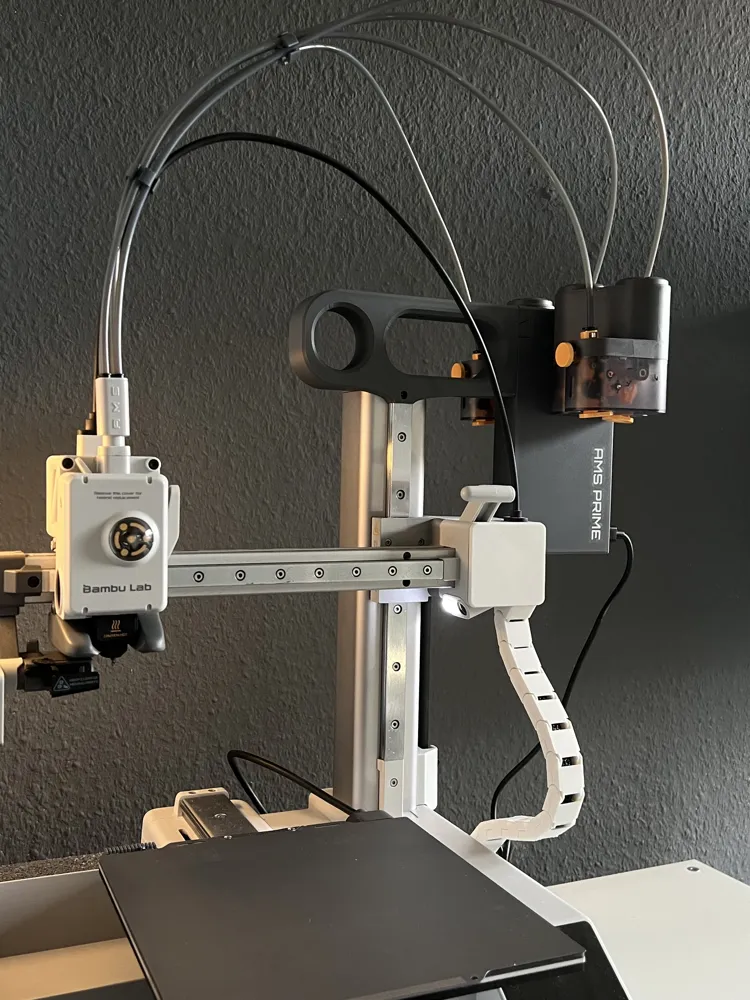
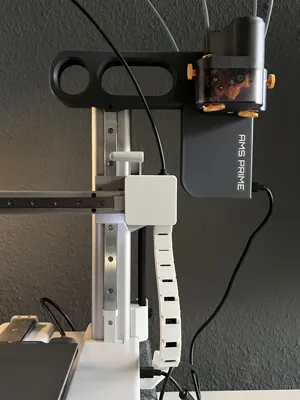
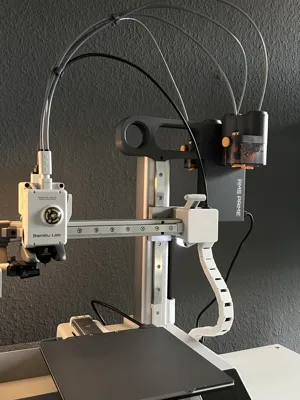
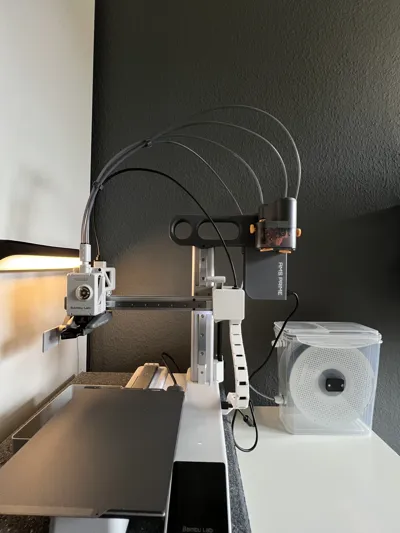
That’s why I created AMS PRIME. There are already several AMS Lite mods that work well with external spool holders or dry boxes, but I wanted something compatible with a handle since I move my A1 Mini around quite often.
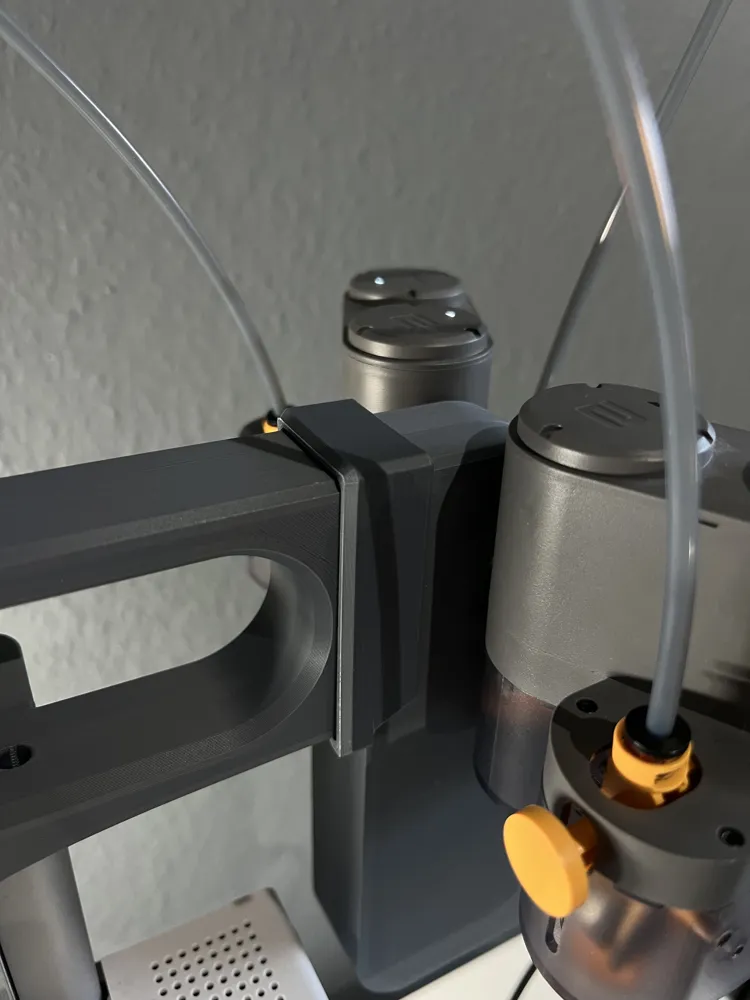
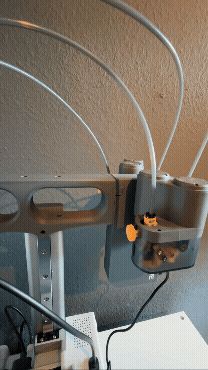
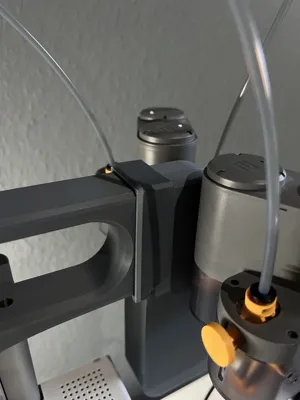
The feeders are located on the side, making it easy to load filament from dry boxes or spool holders. AMS PRIME is also easily removable form the handle if not needed but doesn't fall off while printing.
RFID with Bambu Filament won't work anymore.
Before printing
What do you need for AMS PRIME?
- The screwdrivers that come with the A1 Mini
- The screws used in the AMS Lite
- Both AMS Lite feeders, the mainboard, and the cable to connect it to the printer (It’s also possible to buy the feeders and mainboard separately and just use the printed parts.)
Print Settings
- Please use my shared print profiles
- Dry your filament and clean your print bed carefully (use warm water and dish soap)
- Calibrate your filament: flow rate and flow dynamics (pressure advance)
- I used a smooth plate with supertack for a smooth, matte finish, but textured PEI works as well
- Total print time: ca. 10h
- Total filament: ca. 250g
After printing
Assembly (DO NOT OVERTIGHTEN THE SCREWS!)
- Disassemble your AMS Lite – see the AMS Lite Body Disassembly Guide / AMS Lite Installation Guide.
- Install the motherboard in the case using three screws.
- Feed the feeder cables through the holes in the case and press the feeders into place.
- Tighten the small feeder screw to secure the feeders.
- Connect both cables to the motherboard (make sure they are connected correctly).
- Route the cables so that they do not get damaged.
Tighten all four body screws to connect both case panels.
The Retainer Clip is an optional extra and not necessarily needed.
Recalibrate your printer after you mounted AMS PRIME
Work in progress
- Retainer clip so AMS PRIME cannot taken off - RELEASED
- Improved Retainer Clip: works like it should, but could pontentially come lose due to creeping
- Cover for AMS Lite Feeders to make it look cleaner
- Better cable management
- Assembly guide with photos
- Version with tighter tolerances at the connection for tighter fit
Endnotes
I put a lot of work into this design and used a lot of filament for prototyping. I’ve been using AMS PRIME for over 100 print hours without any issues so far. Please share your feedback to help me improve it further:)
For info: I used ChatGPT to impove my english.
Release History/Bugfixes
v1 AMS PRIME - Release 30.10.2025
v1.0.1 AMS PRIME - Release 31.10.2025: Added modifier for increased strength and changed to 5 walls for the handle
v1 Retainer Clip - Release 31.10.2025
v1.0.2 AMS Prime - Release 06.11.2025: Added tightfit handle for stronger connection between handle and body unit.
License

You shall not share, sub-license, sell, rent, host, transfer, or distribute in any way the digital or 3D printed versions of this object, nor any other derivative work of this object in its digital or physical format (including - but not limited to - remixes of this object, and hosting on other digital platforms). The objects may not be used without permission in any way whatsoever in which you charge money, or collect fees.


Comment & Rating (46)