
3d Benchy Generic PETG, Best Quality Settings
Print Profile(1)



Description
Boost Me (for free)
If this profile saved you time or improved your print quality, a Boost 🚀 would mean a lot.
I dedicate many hours researching, testing, and refining these settings so others can benefit from reliable results.
Thank you for supporting the project and helping me continue creating content for the community 🙌
📦 Description Template (Refined Version)
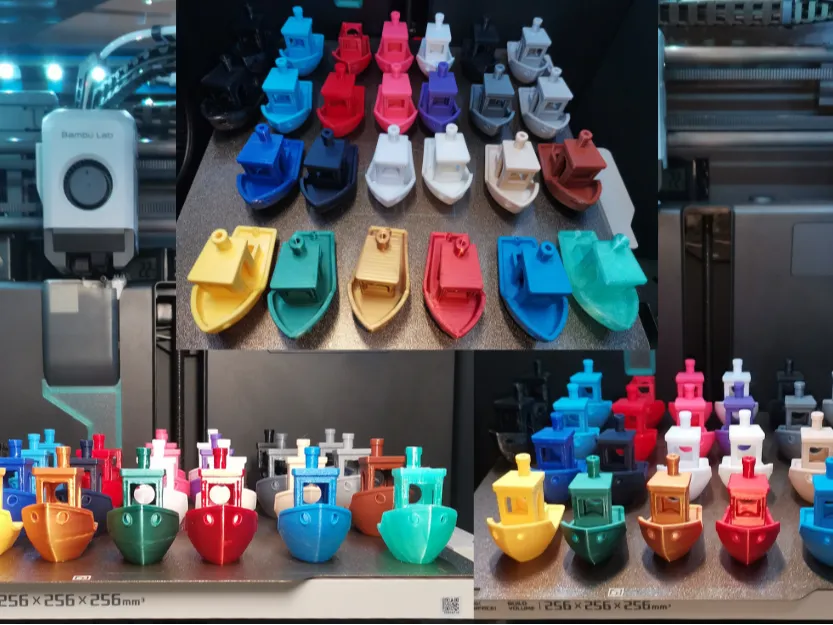
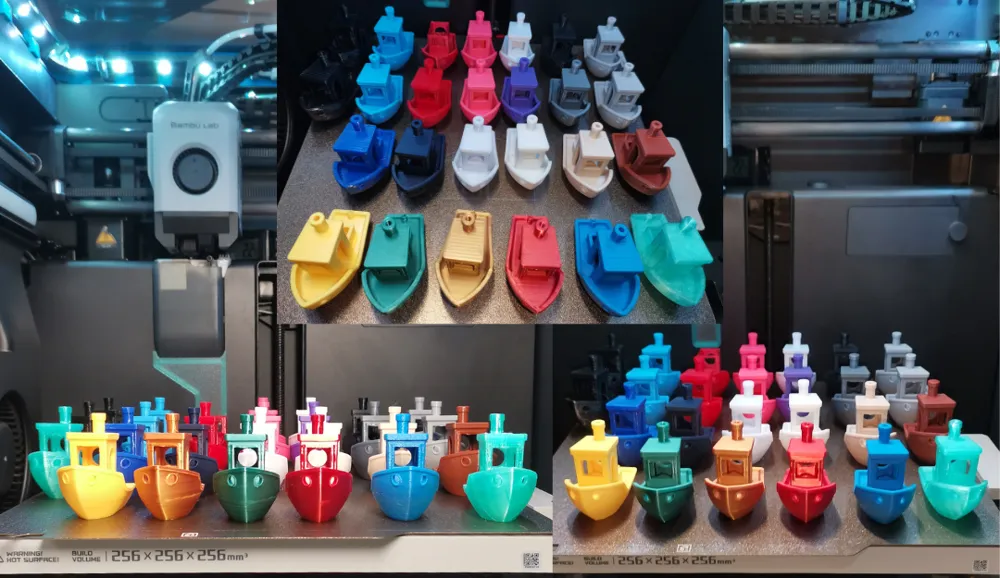
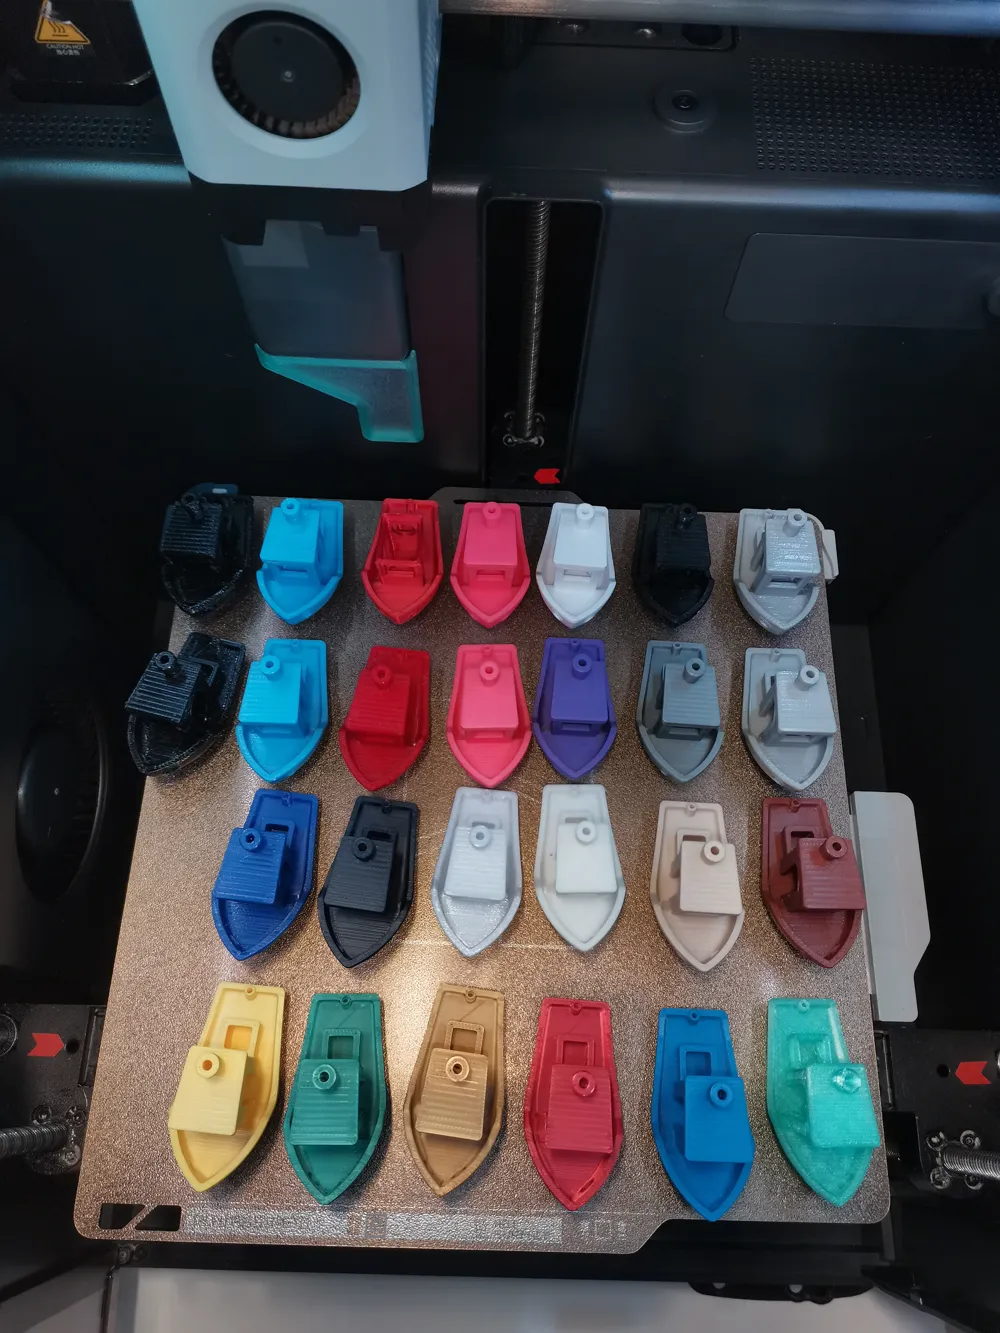
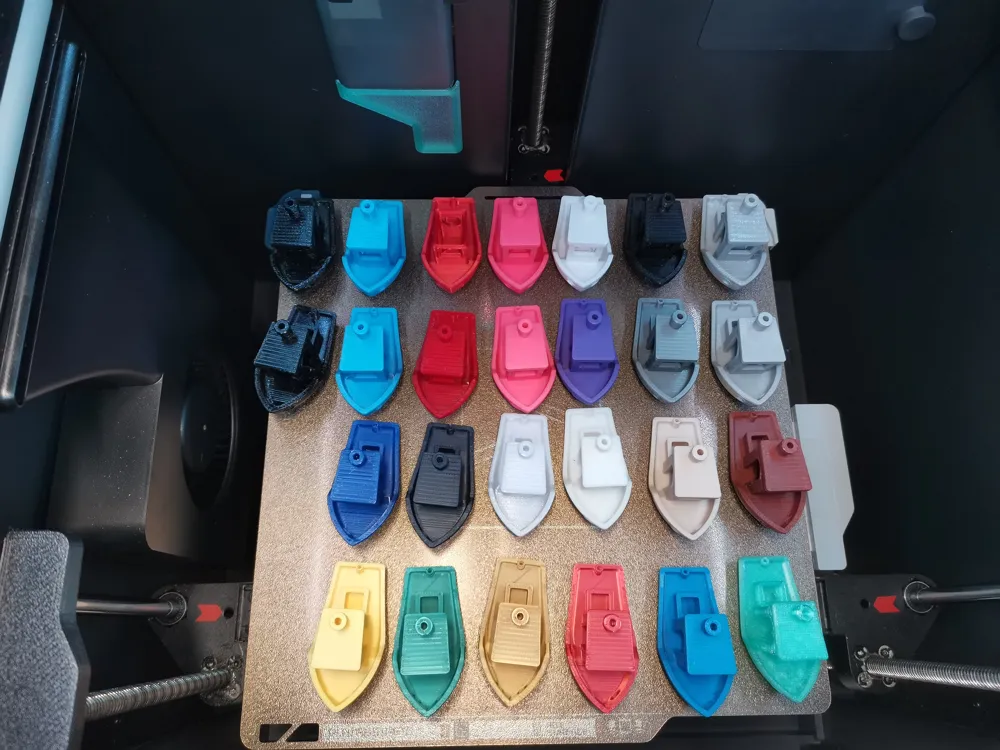
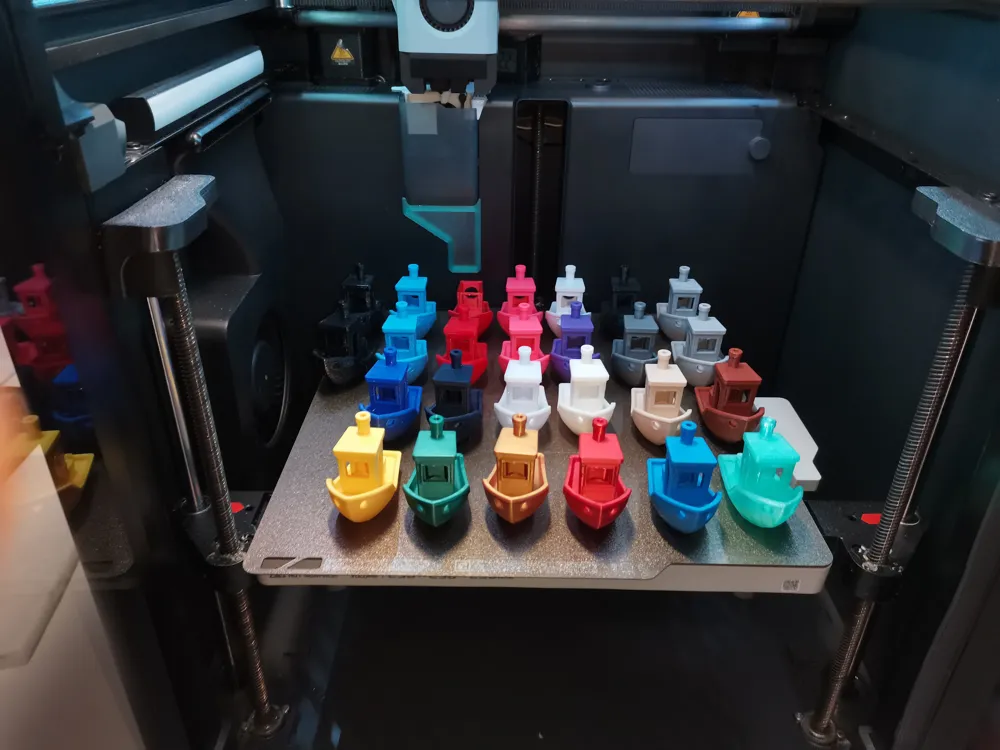
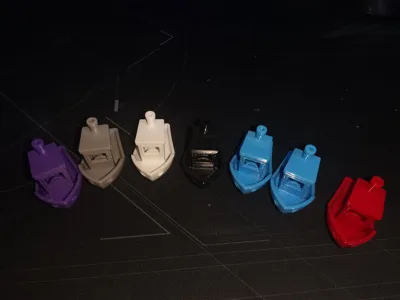
This model is a remix of the original 3D Benchy by CreativeTools, created to evaluate and compare filament performance before and after full calibration.
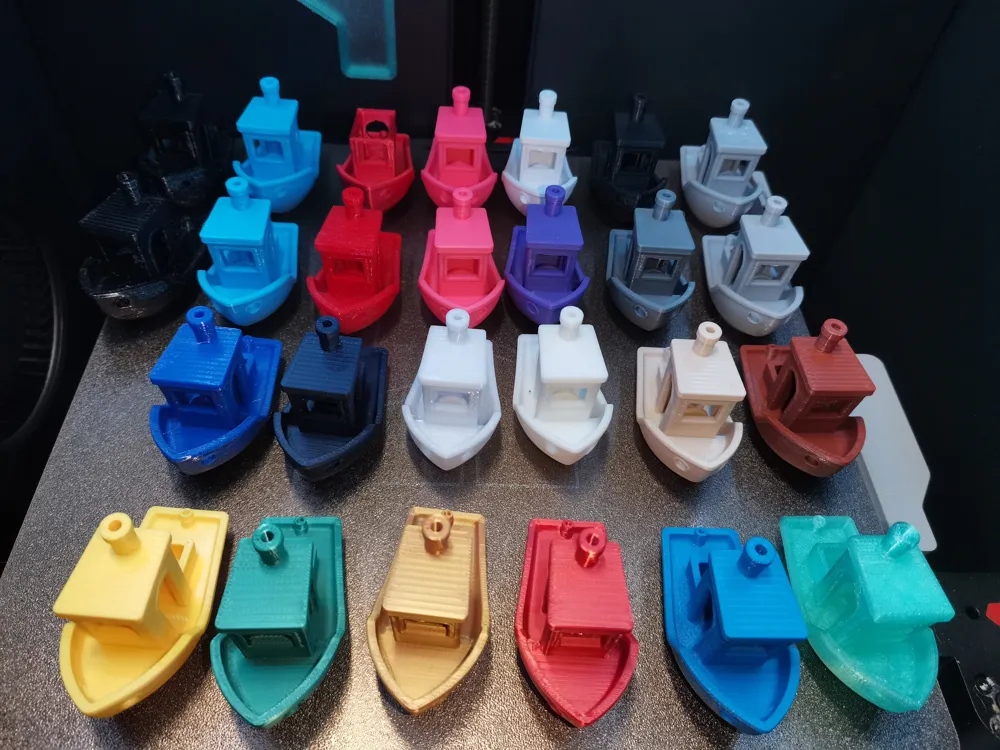
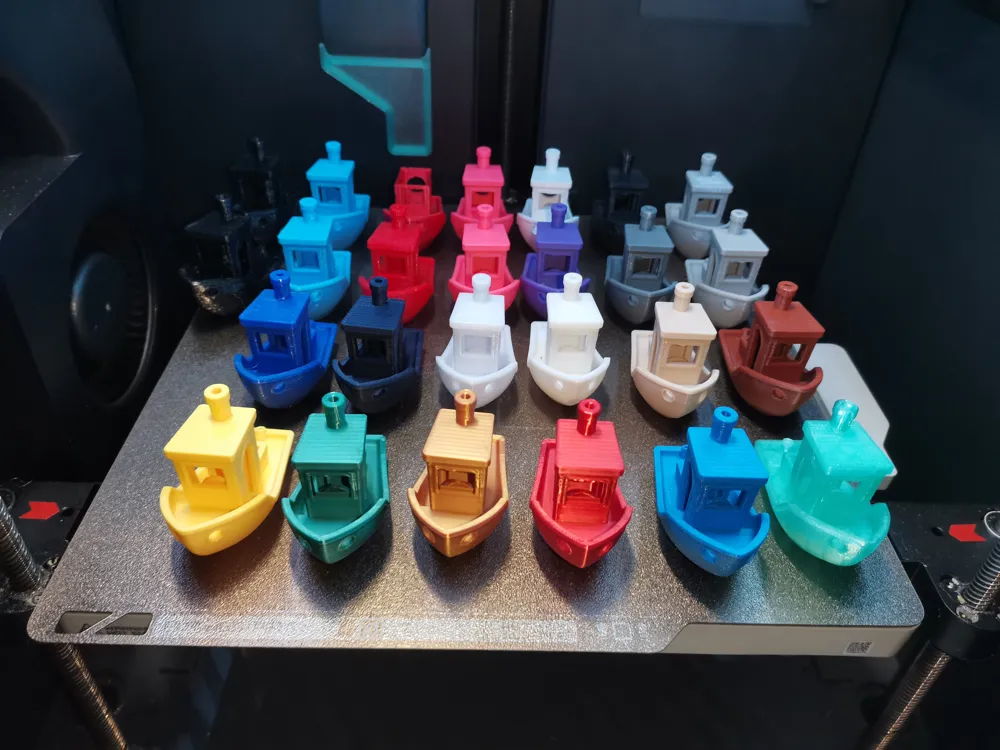
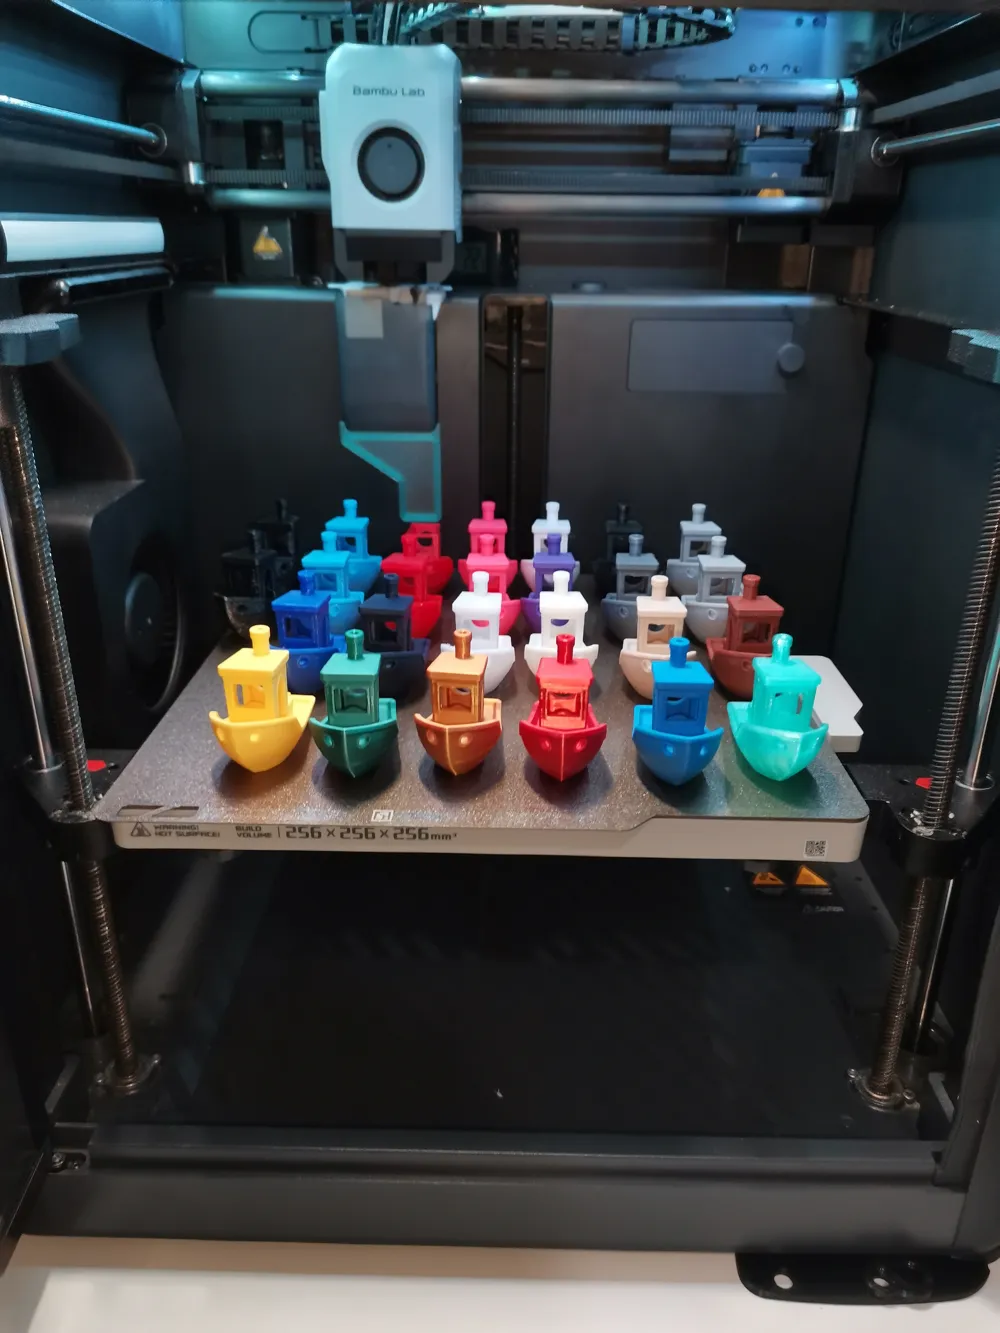
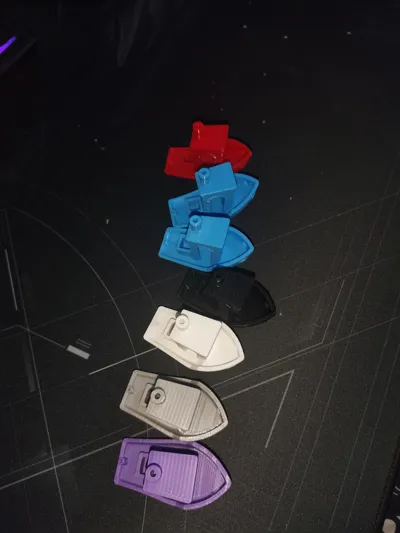
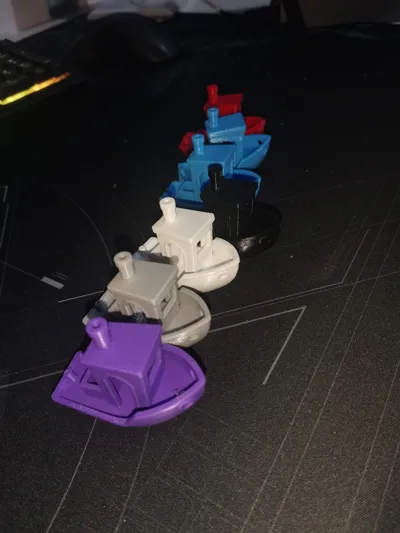
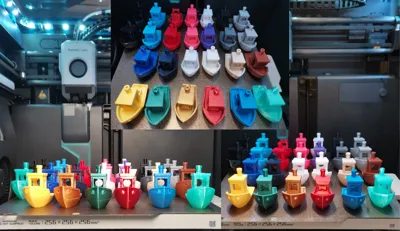
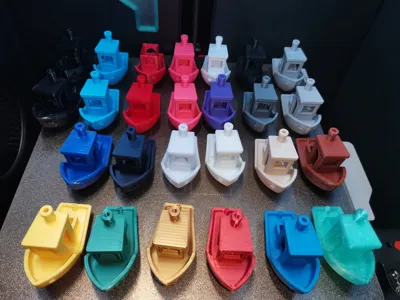
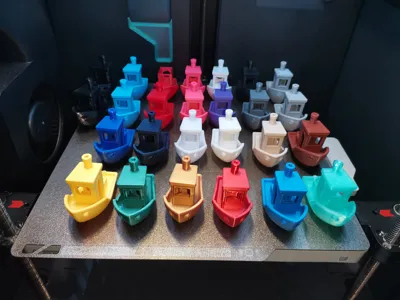
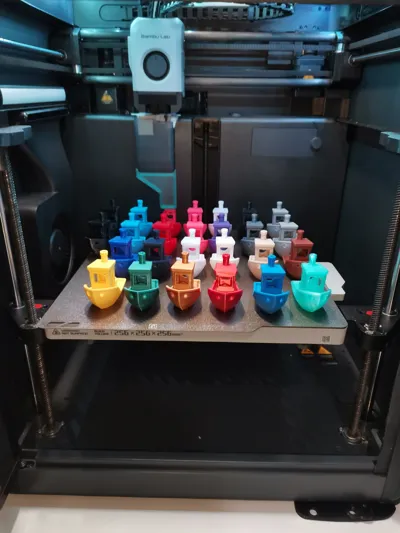
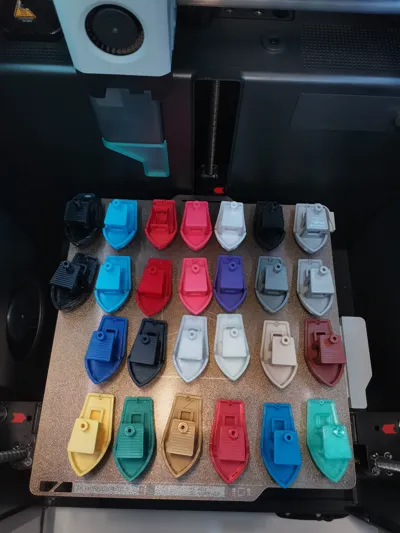
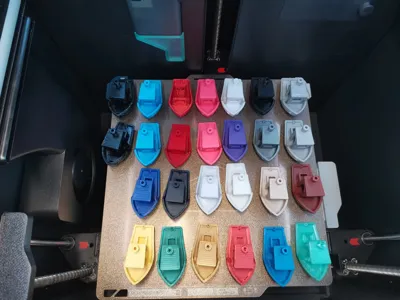
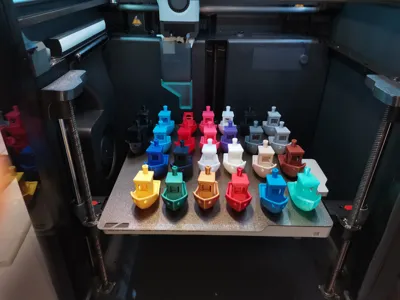
The goal is to analyze how planar surfaces, overhangs, bridges, arches and fine details improve once a filament is properly tuned. As you can see below i have tested a bunch of diferent filaments.
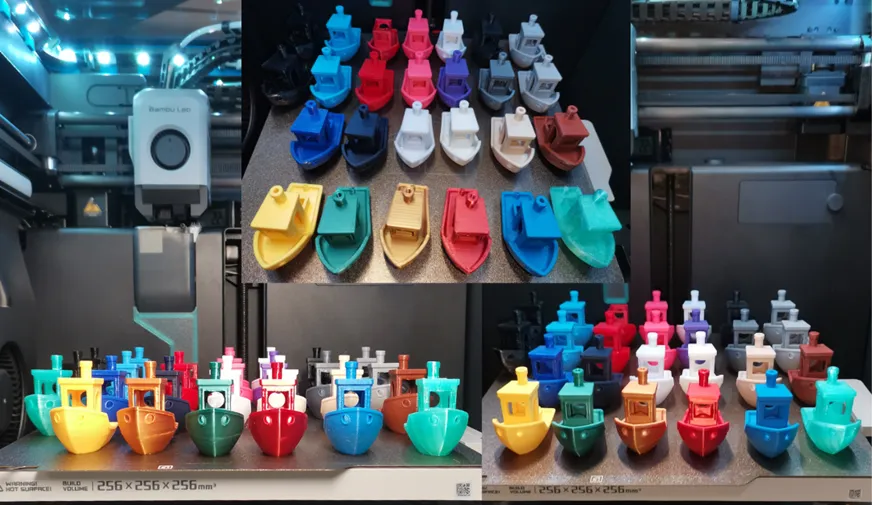
This profile reflects my complete calibration workflow using a Bambu Lab P1P (now upgraded to a P1S) with a 0.4mm nozzle.
🛠 My Calibration Workflow
1️⃣ Manufacturer Baseline Review
I always begin by checking the manufacturer's website and packaging for recommended:
- Print temperature
- Bed temperature
- Cooling settings
- Speed recommendations
(Manufacturer websites are usually the most up-to-date and reliable source.)
2️⃣ Initial Benchy Print
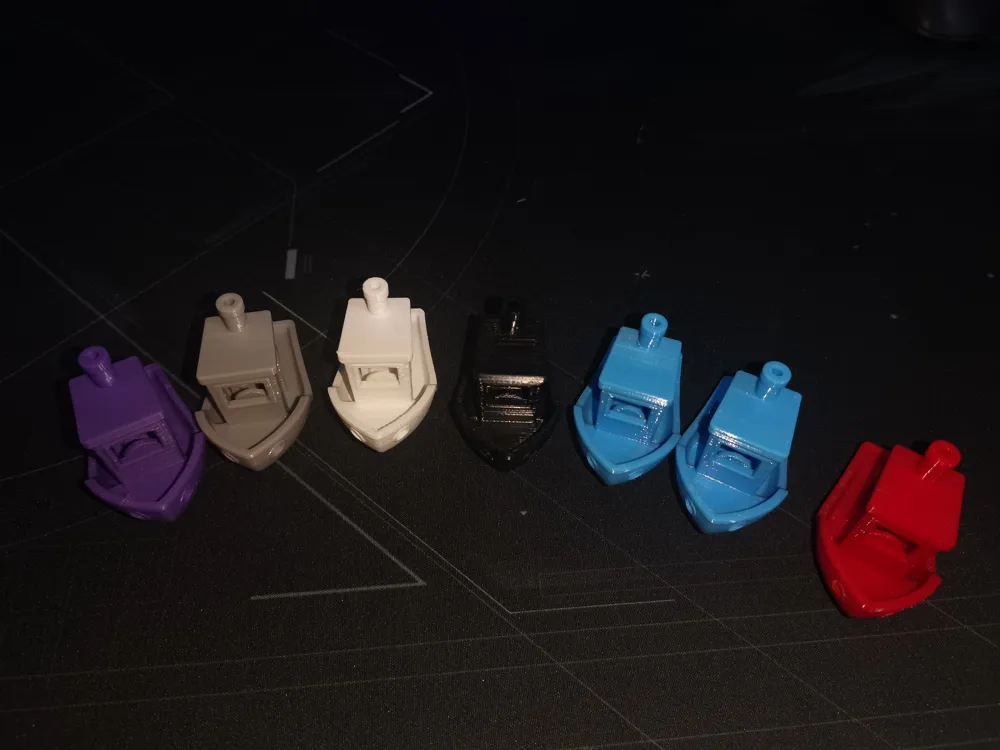
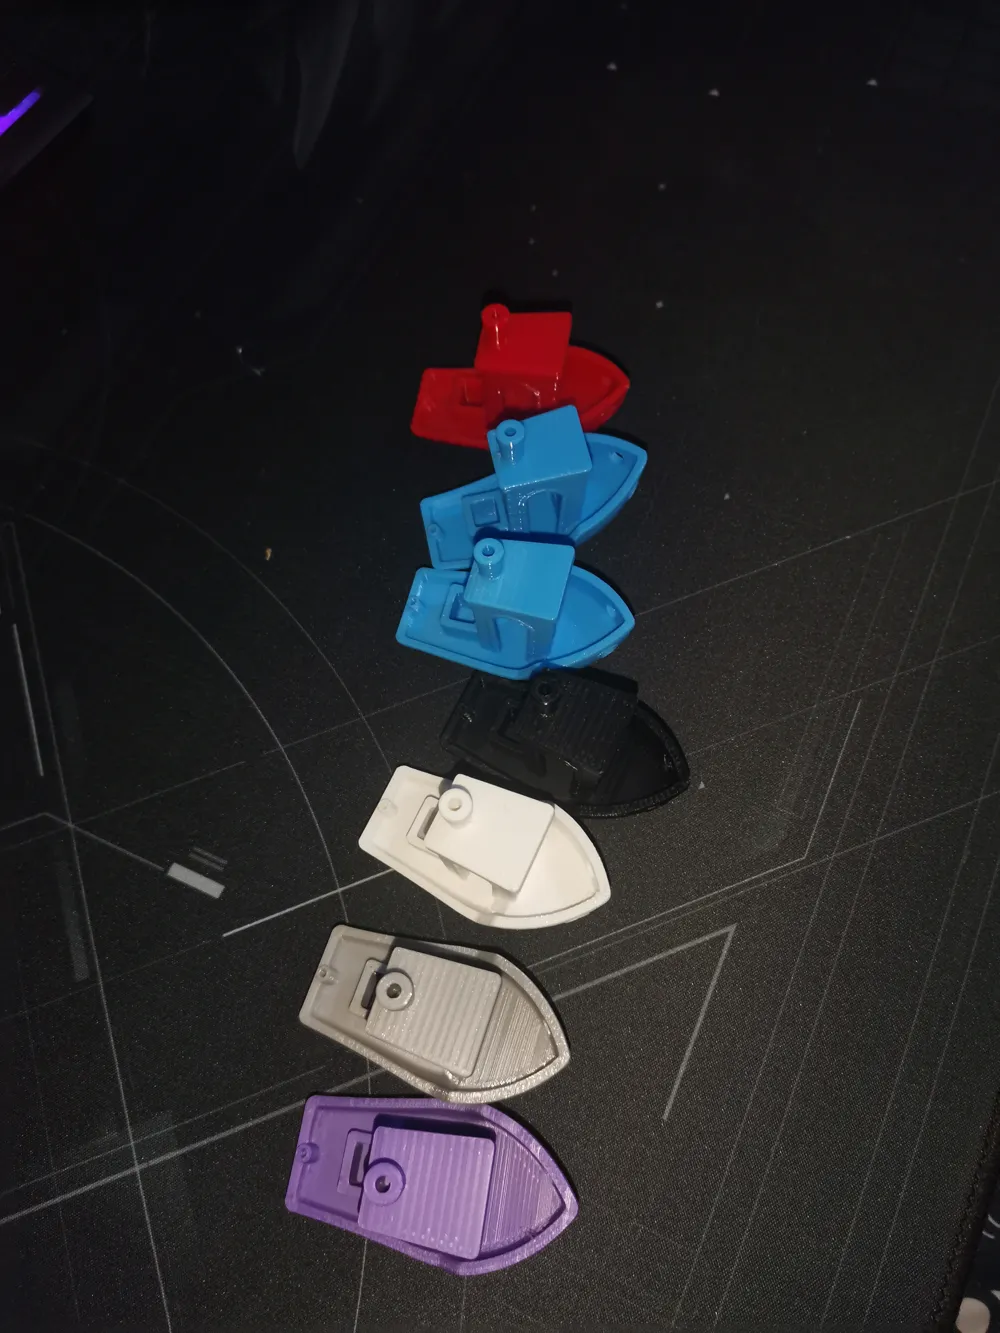
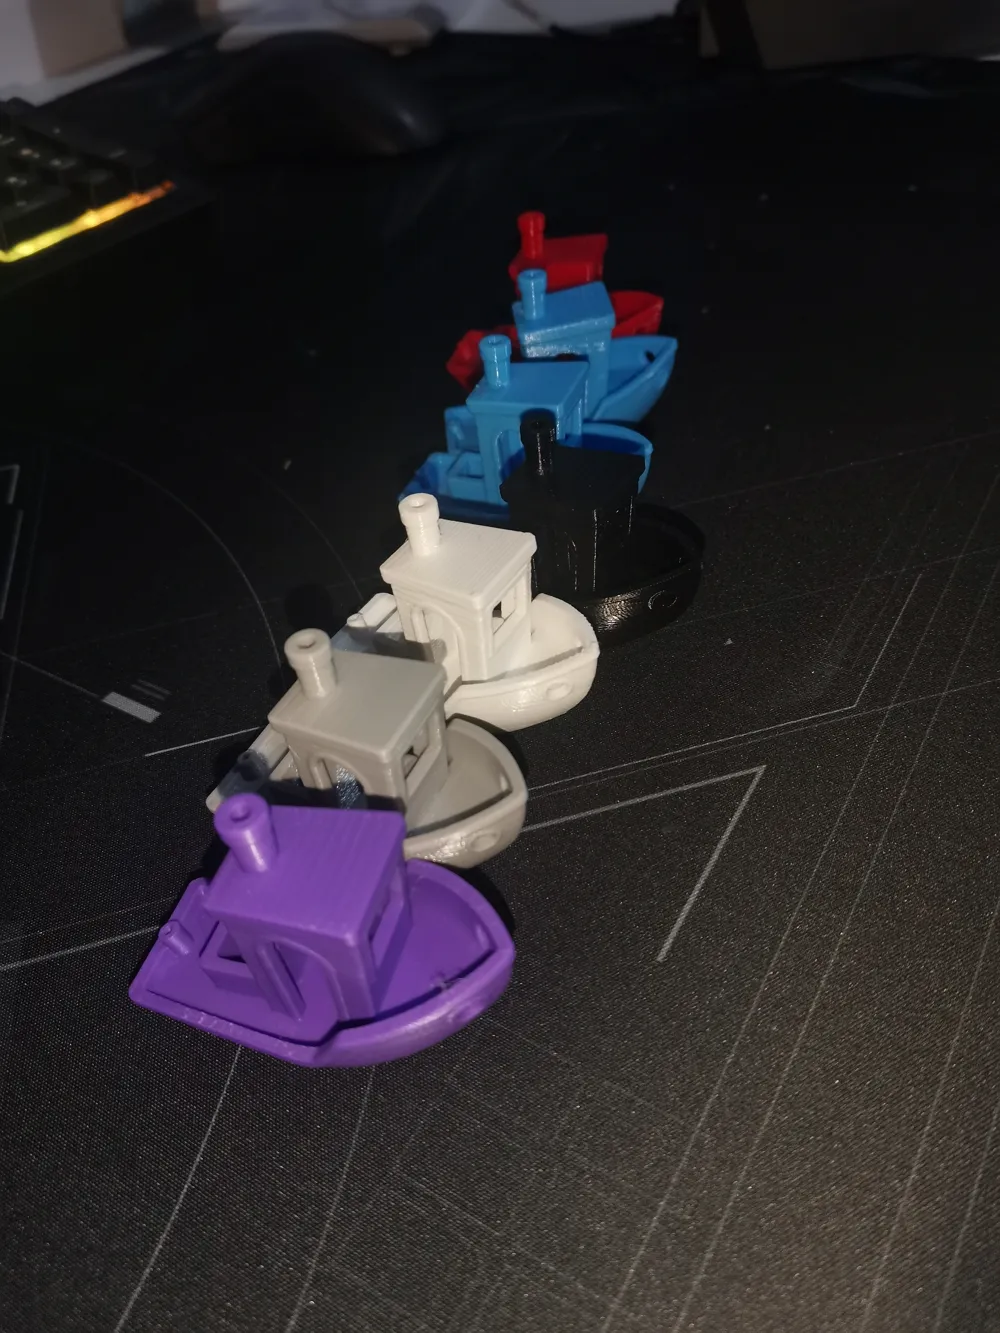
I print this Benchy using the base profile provided here to establish a performance reference.
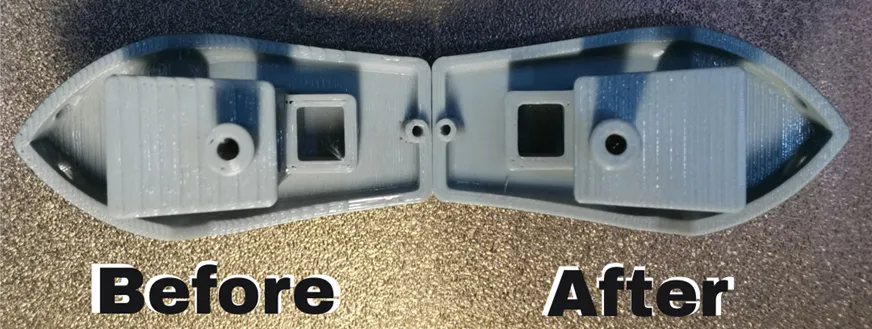
From the photos you can visually see clear under extrusion in the Before and it is also possible to see the smooth surface of the rear deck of the boat in the After.
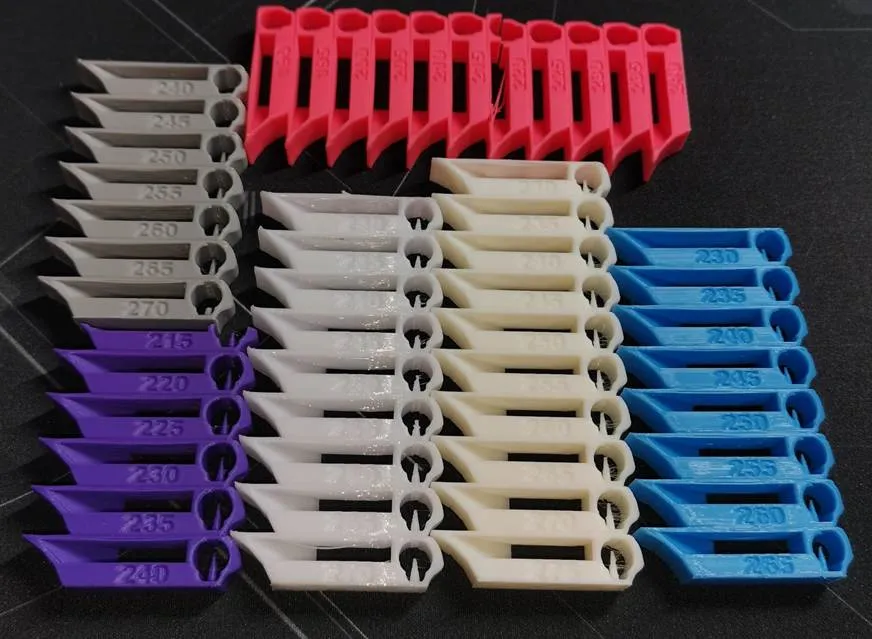
3️⃣ Temperature Tower Test 🌡
I print a temperature tower specific to the material.
From this test, I select the temperature that provides the best balance between overhangs, stringiness and surface quality.
4️⃣ Maximum Volumetric Flow Test 🚀
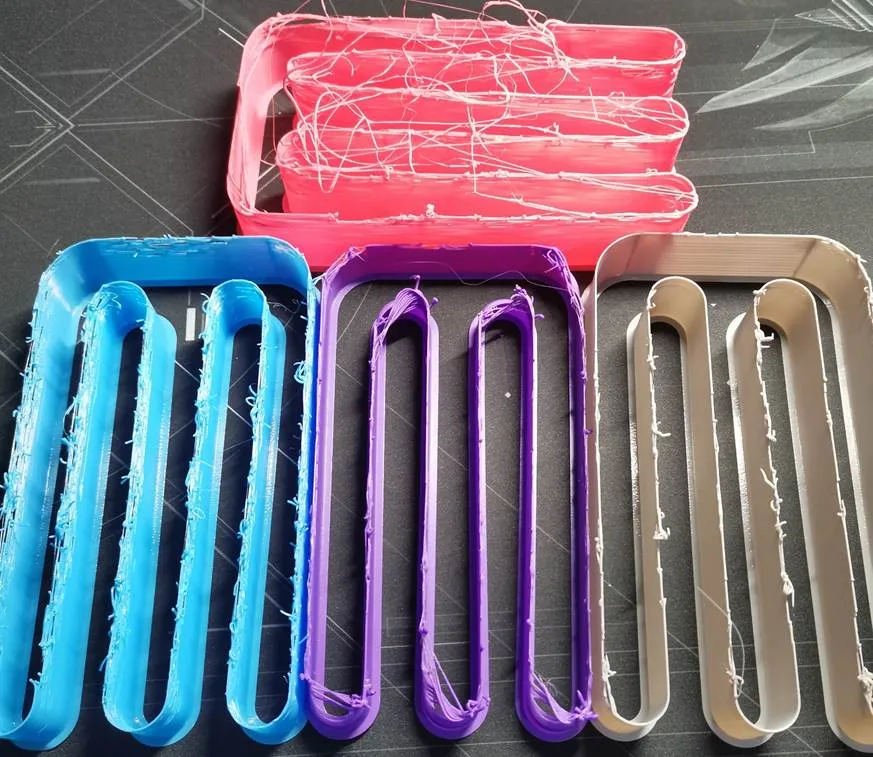
For high-speed materials (for example PETG Rapid), I run a maximum volumetric flow test and adjust the value accordingly.
⚠ If the manufacturer does NOT advertise high-speed capability, I recommend keeping the default value — even if tests suggest an increase of +5–6 mm³/s.
That margin usually represents the safety buffer designed to ensure consistent and reliable printing.
5️⃣ Flow Dynamics Calibration ⚙
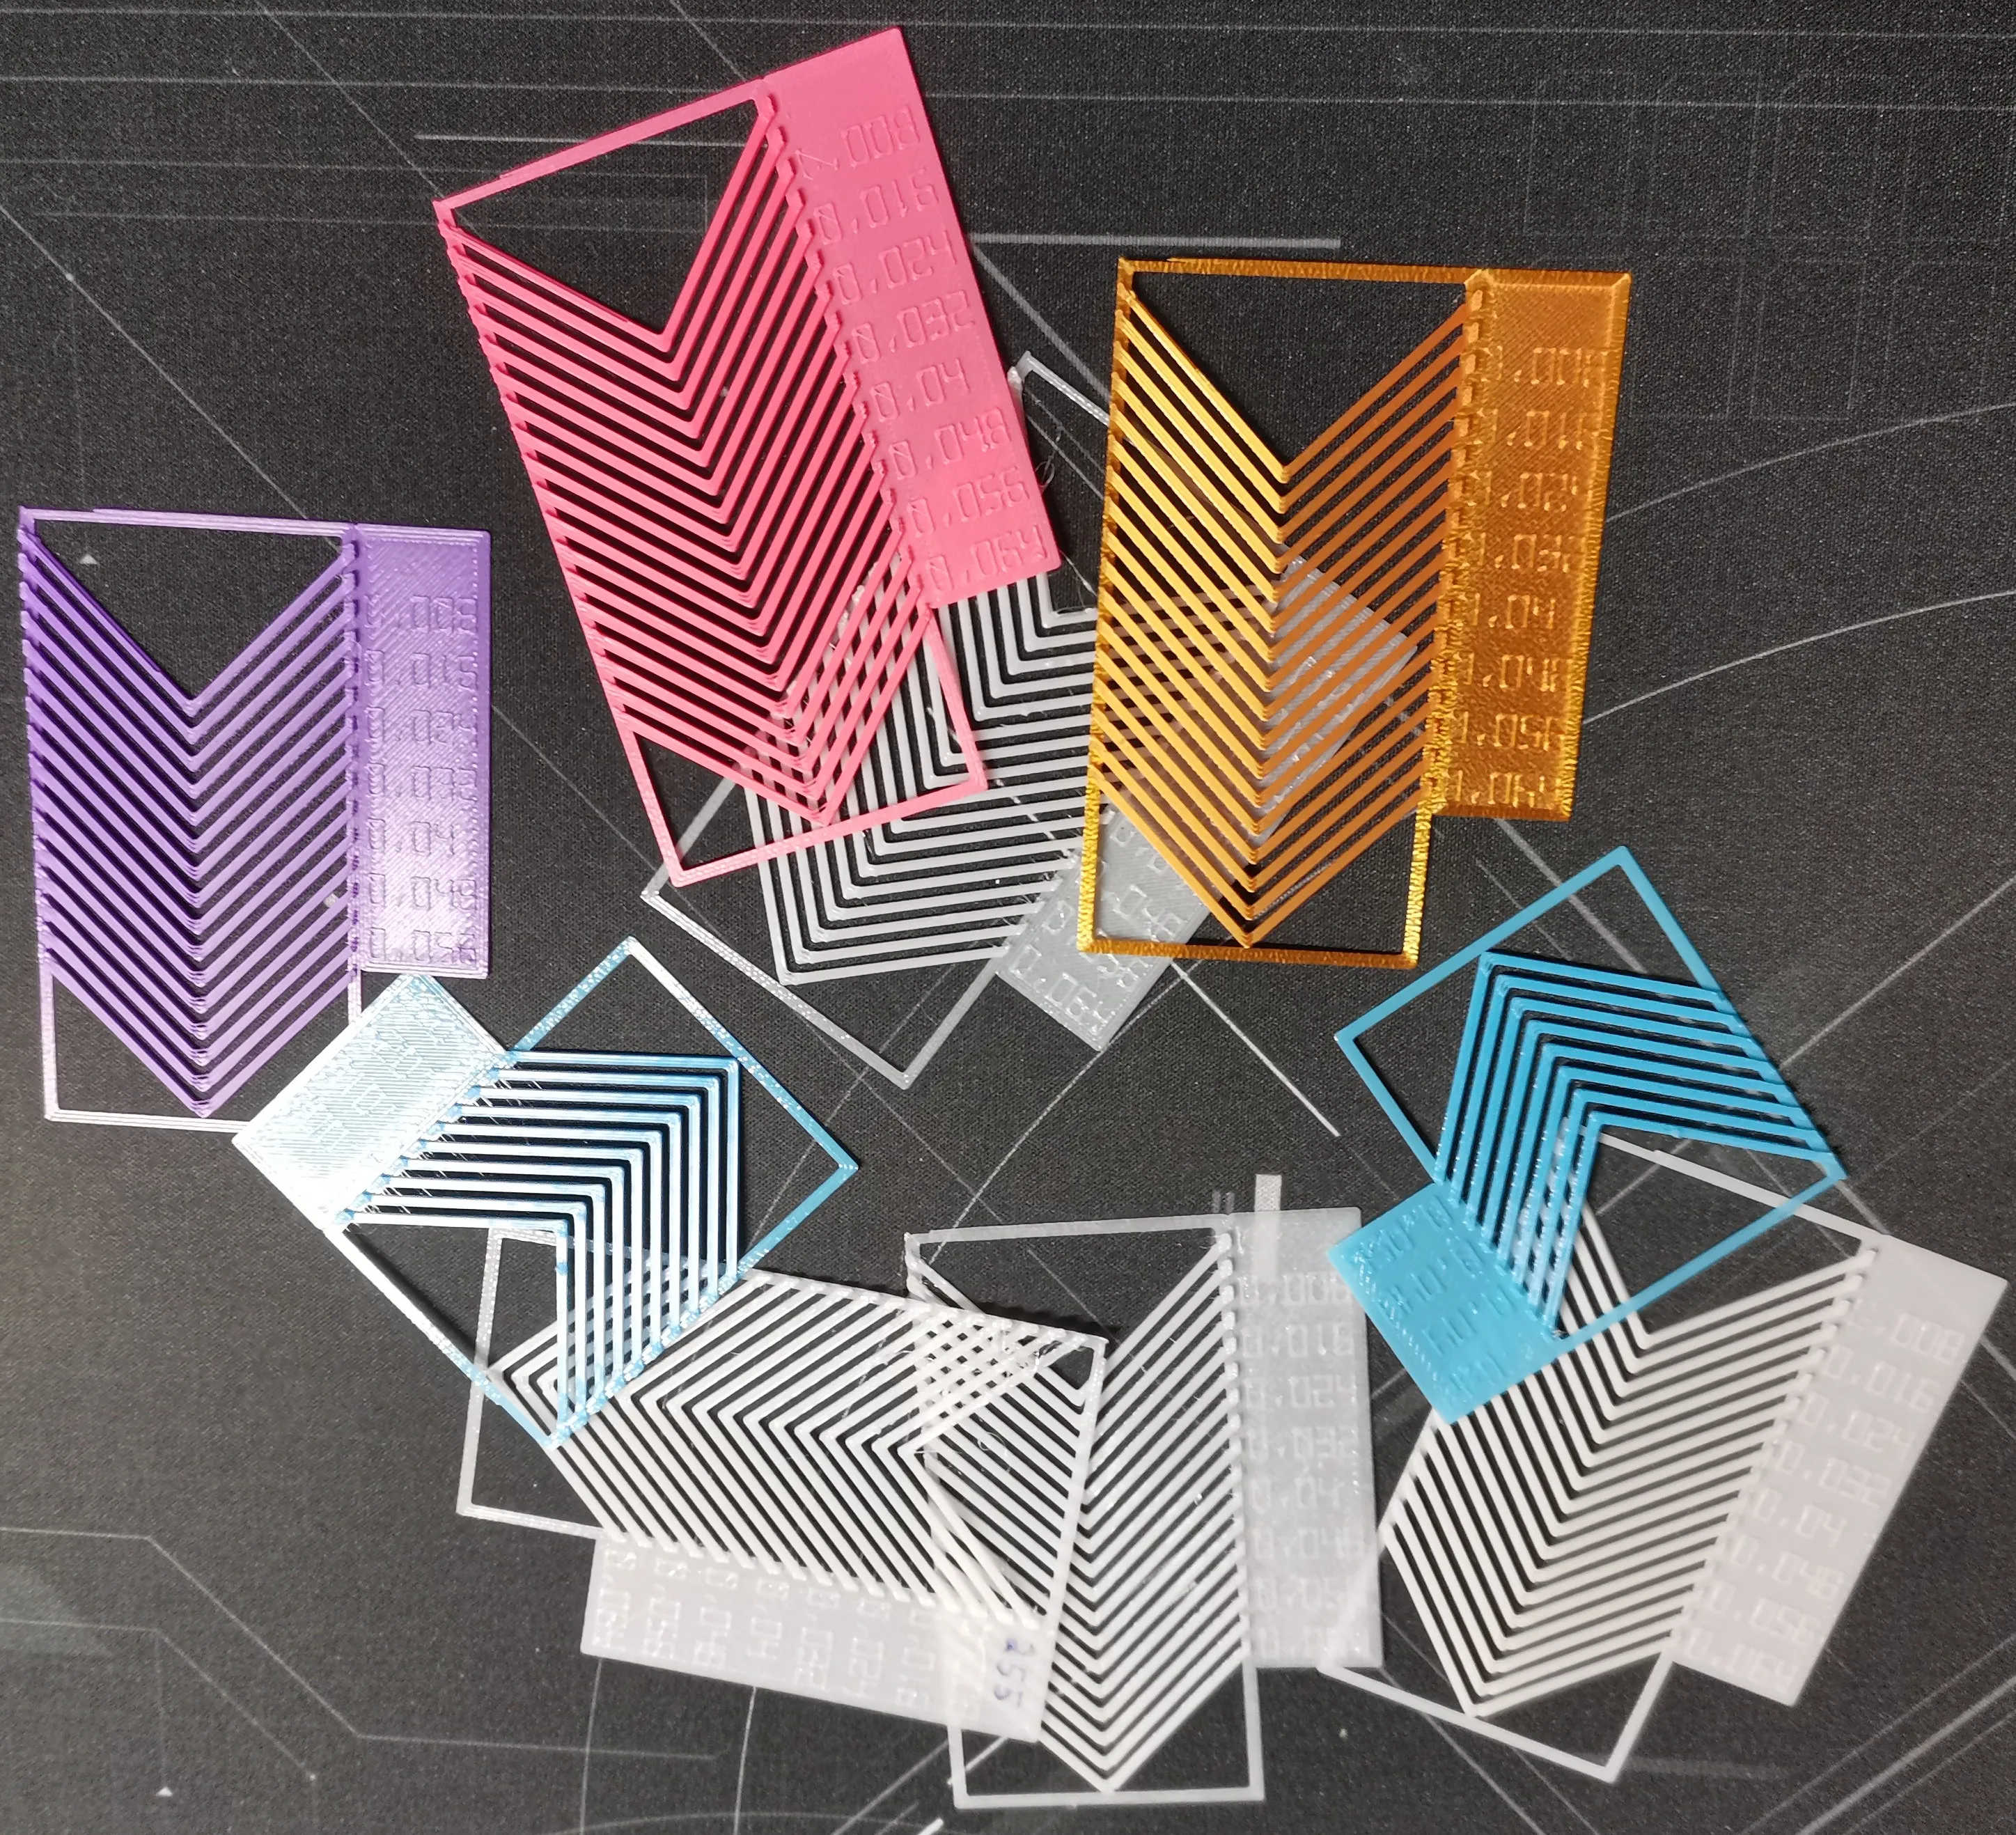
Using the built-in calibration tools in Bambu Studio, I fine-tune flow dynamics to improve extrusion consistency and corner behavior.
6️⃣ Flow Rate Calibration 🎯
Finally, I perform a flow rate calibration using the Bambu Studio calibration menu to achieve optimal extrusion accuracy.
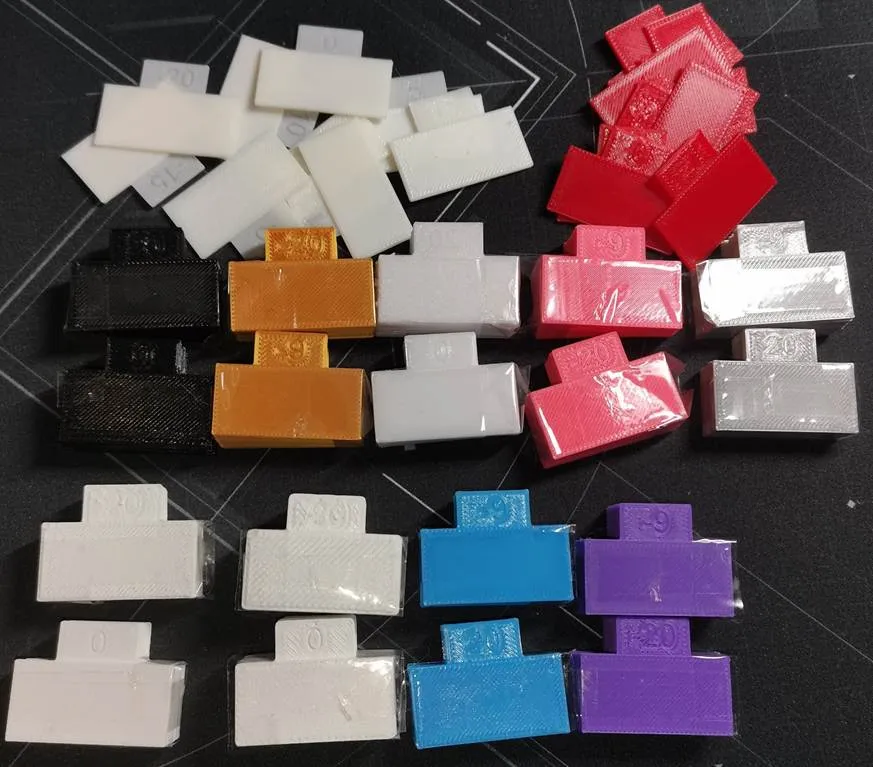
Bambu provides an excellent guide explaining how to properly analyze calibration results here:
👉[Bambu official calibration guide link]
📸 Additional Calibrated Profiles
On my profile, you can find other calibrated Benchy models where I share:
• Tested print settings
• Optimized temperatures
• Flow adjustments
• Volumetric limits
• Real print photos
• Final recommendations for that filament
All profiles are tested and calibrated on my machine. They are optimized for Bambu Lab printers, and in many cases may also work well on other printers with similar hardware and setup.
🙌 Support & Feedback
If you find this profile useful, please consider leaving a like 👍
And if possible, a Boost 🚀 — it helps me continue developing high-quality calibrated profiles and testing new materials to share with the community.
Thank you for your support!
Documentation (1)
This remix is based on

License



Comment & Rating (19)