
Modular Drawer System for IKEA KALLAX
Print Profile(7)


Description
Update 18/03/26:
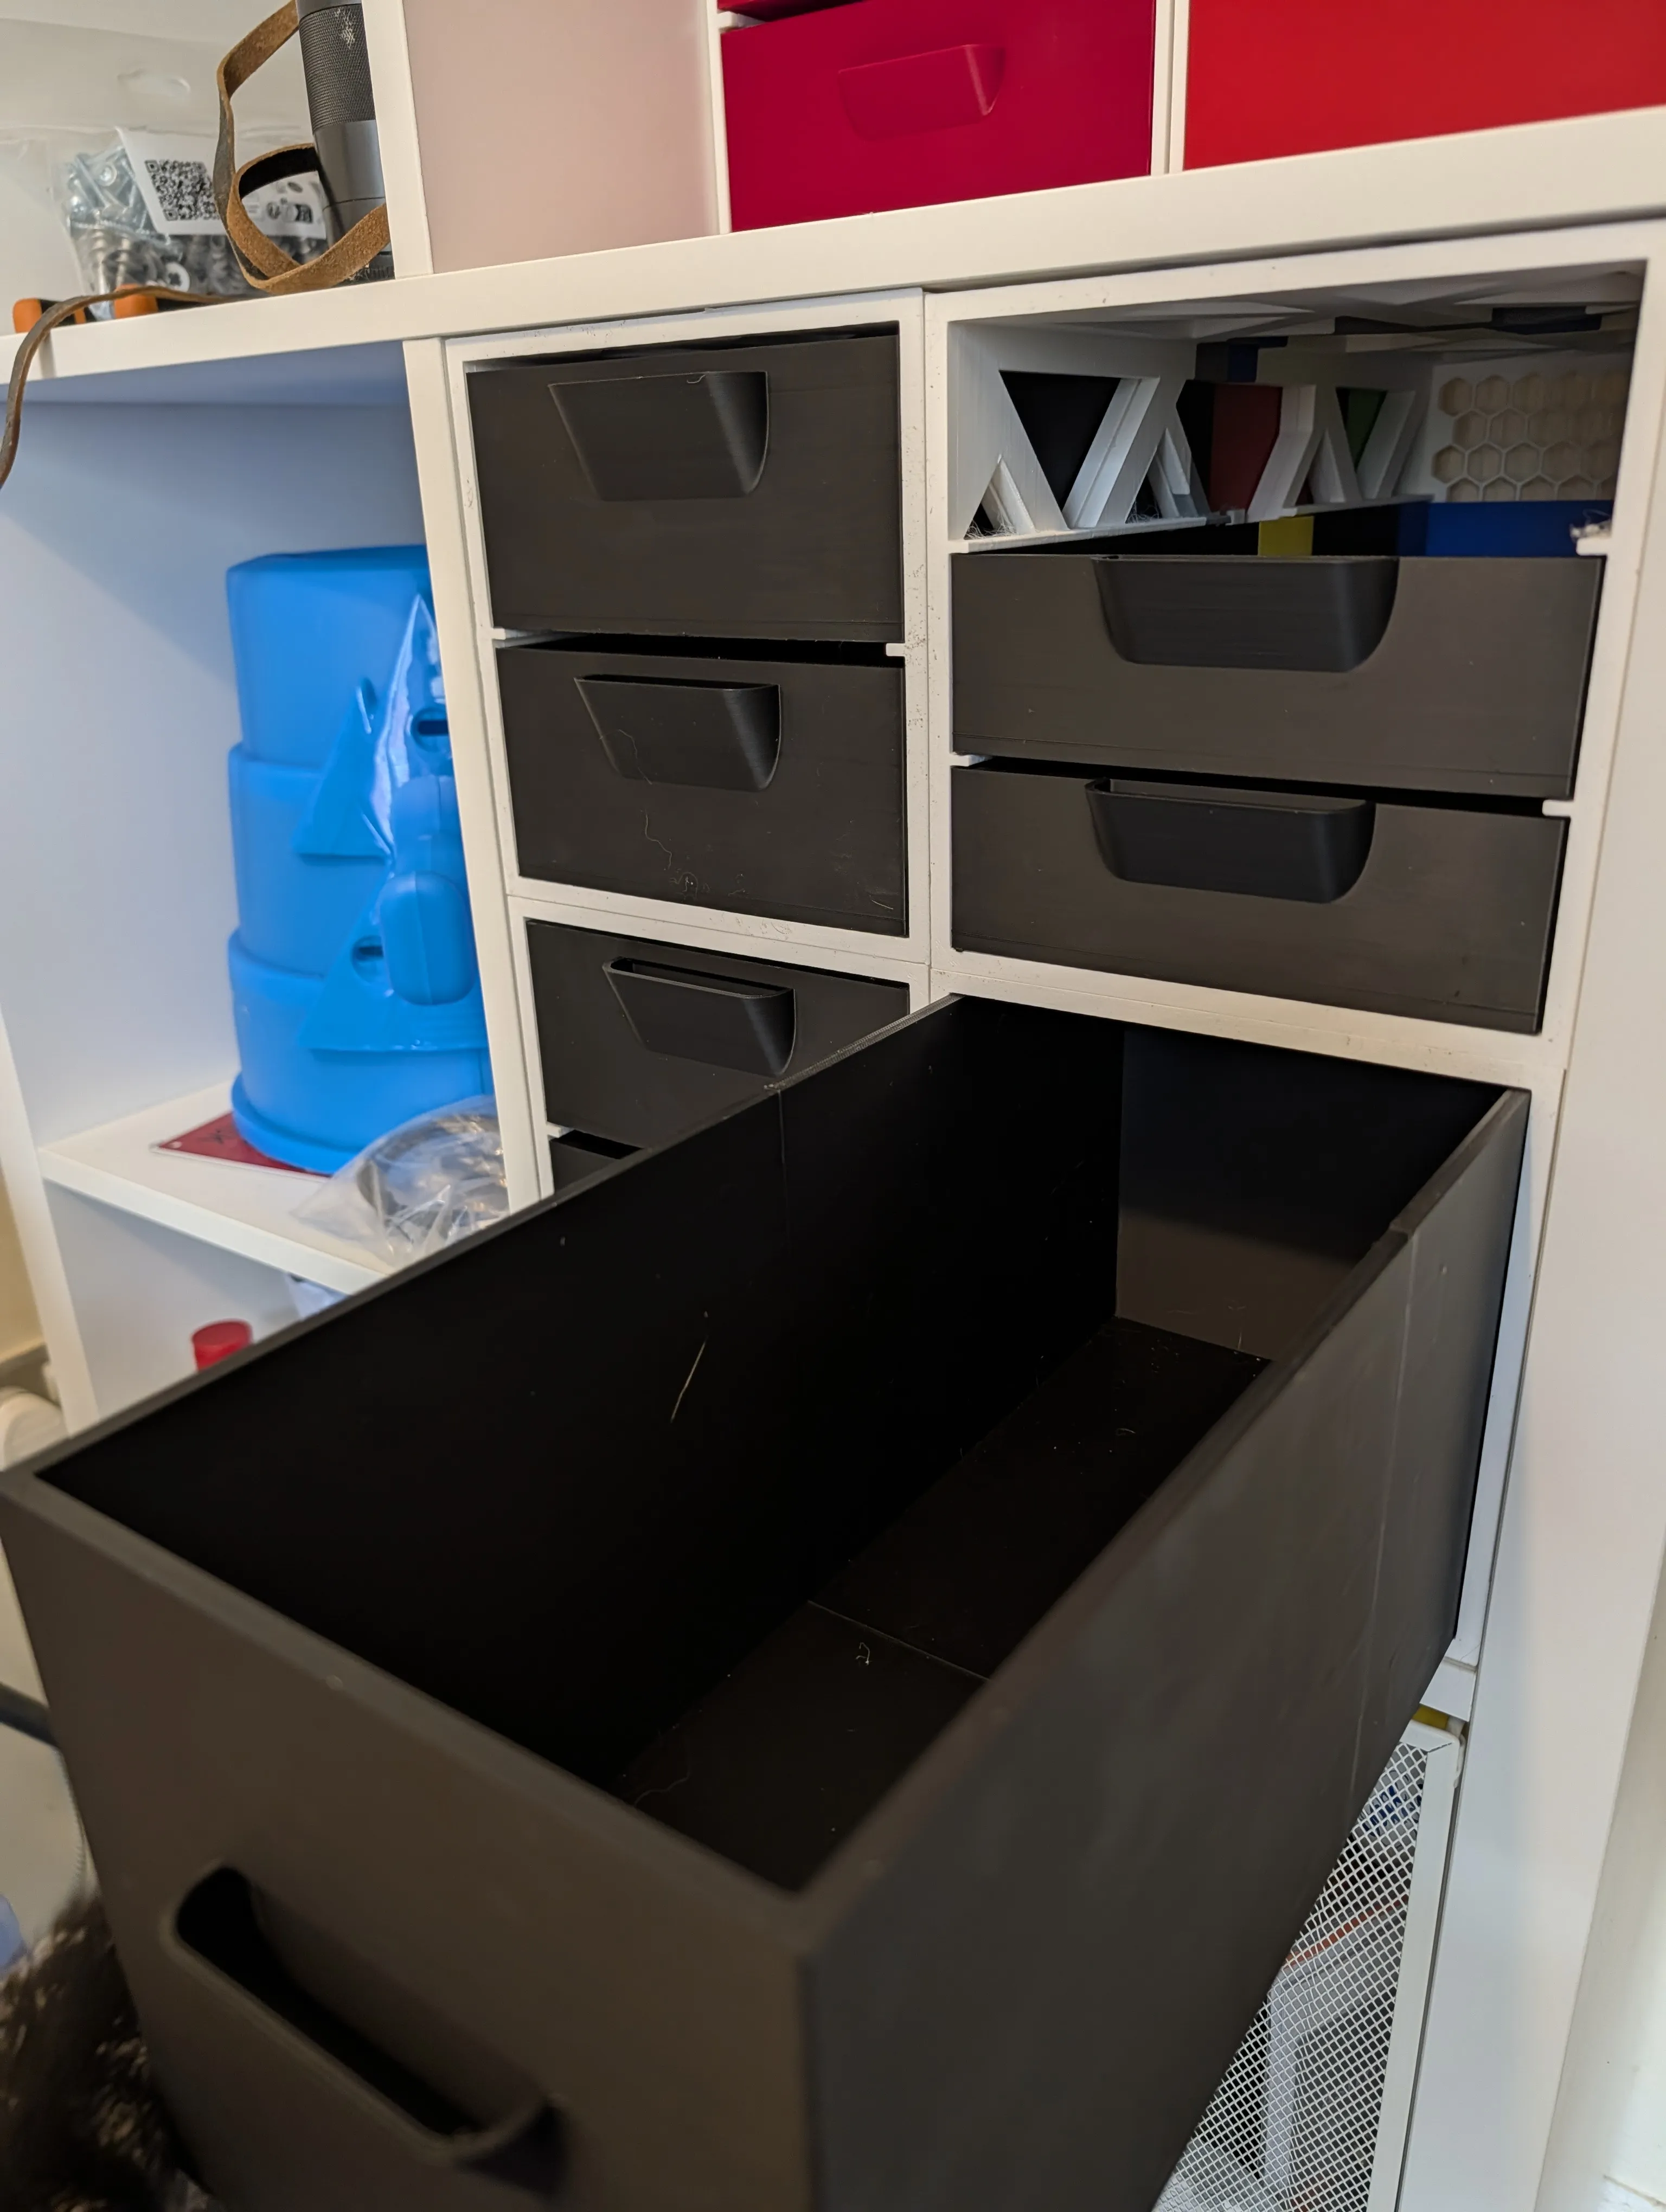
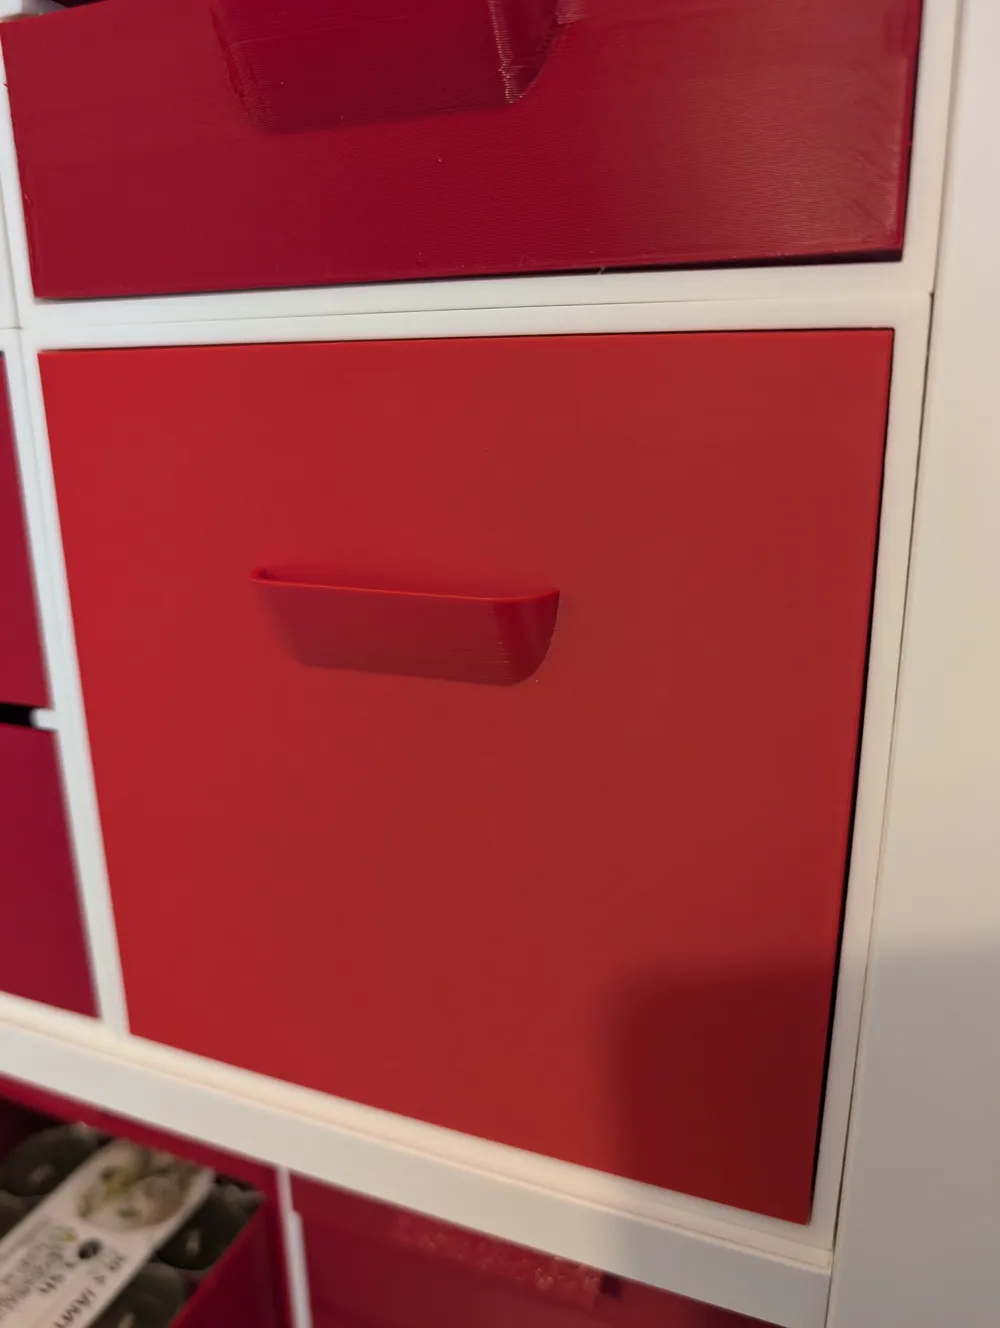
Full depth (390mm) Kallax drawers are now available! I had a lot of requests for these, and I made a version that uses only 3D printed parts but gives a very secure fit. The frame prints in two halves with 8 locking clips securing the two halves together (these are not designed to come out once inserted, so make sure you have the two halves oriented correctly, if it's 90 degrees offset when you clip it together you're going to have a bad time), the drawers also lock together using some sturdy locking clips. As before, bed adhesion is very important, particularly with the drawers, as anything large and flat will have a tendency to want to warp off the bed. Make sure your print surface is clean, and/or use glue.
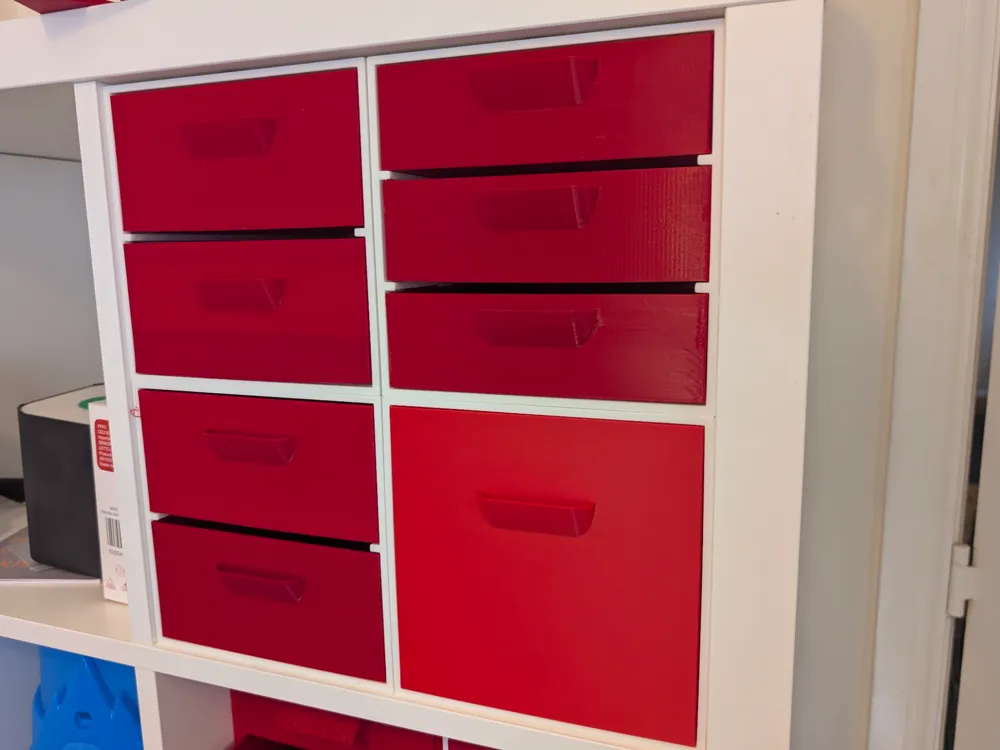
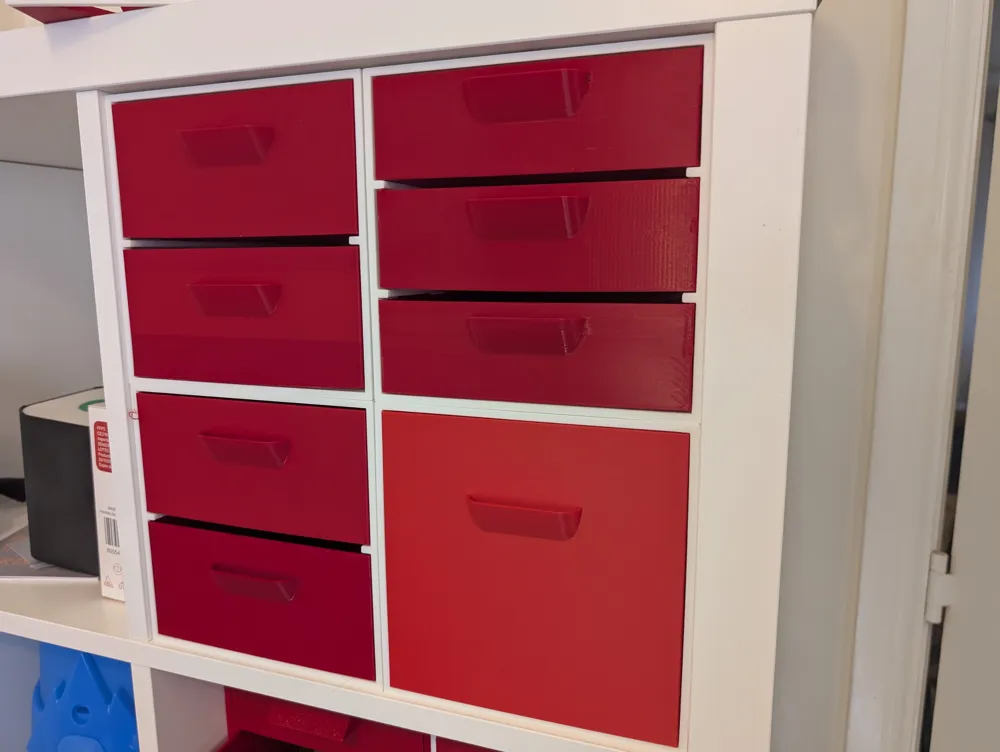
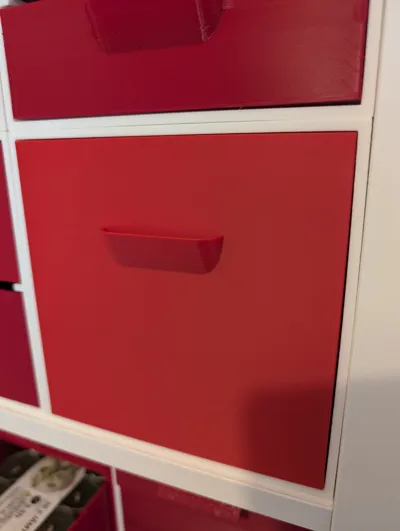
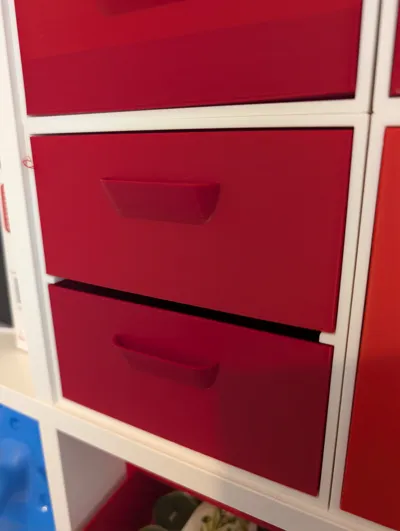
After printing another set of Kallax drawers from here and not being very happy with the design, I decided to just make some of my own.
Prints with no supports, if you're using a smooth print bed I suggest using glue on the bed when printing the drawers as the corners are prone to lifting if bed adhesion isn't ideal, so definitely clean your print bed first or use glue!
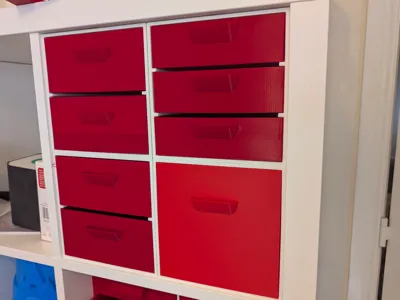
The couplers slot into the notches on the back of the frames, with tolerances of 0.05, 0.075 and 0.1 provided, if you want a more permanent fix and you're happy with the layout I suggest printing the looser tolerance couplers and applying some glue to the notches.
There is a separate profile provided for the frames for the A1 and other bed-slinger type printers, this uses slower accelerations above 60mm, adds a brim and changes the part orientation and infill type in order to reduce the appearance of visual artefacts higher on the model due to the tall and thin model flexing due to rapid bed movement. For CoreXY printers just use the standard profiles, although again do ensure that your bed is clean as bed adhesion on the corners is important to ensure that the couplers fit properly.
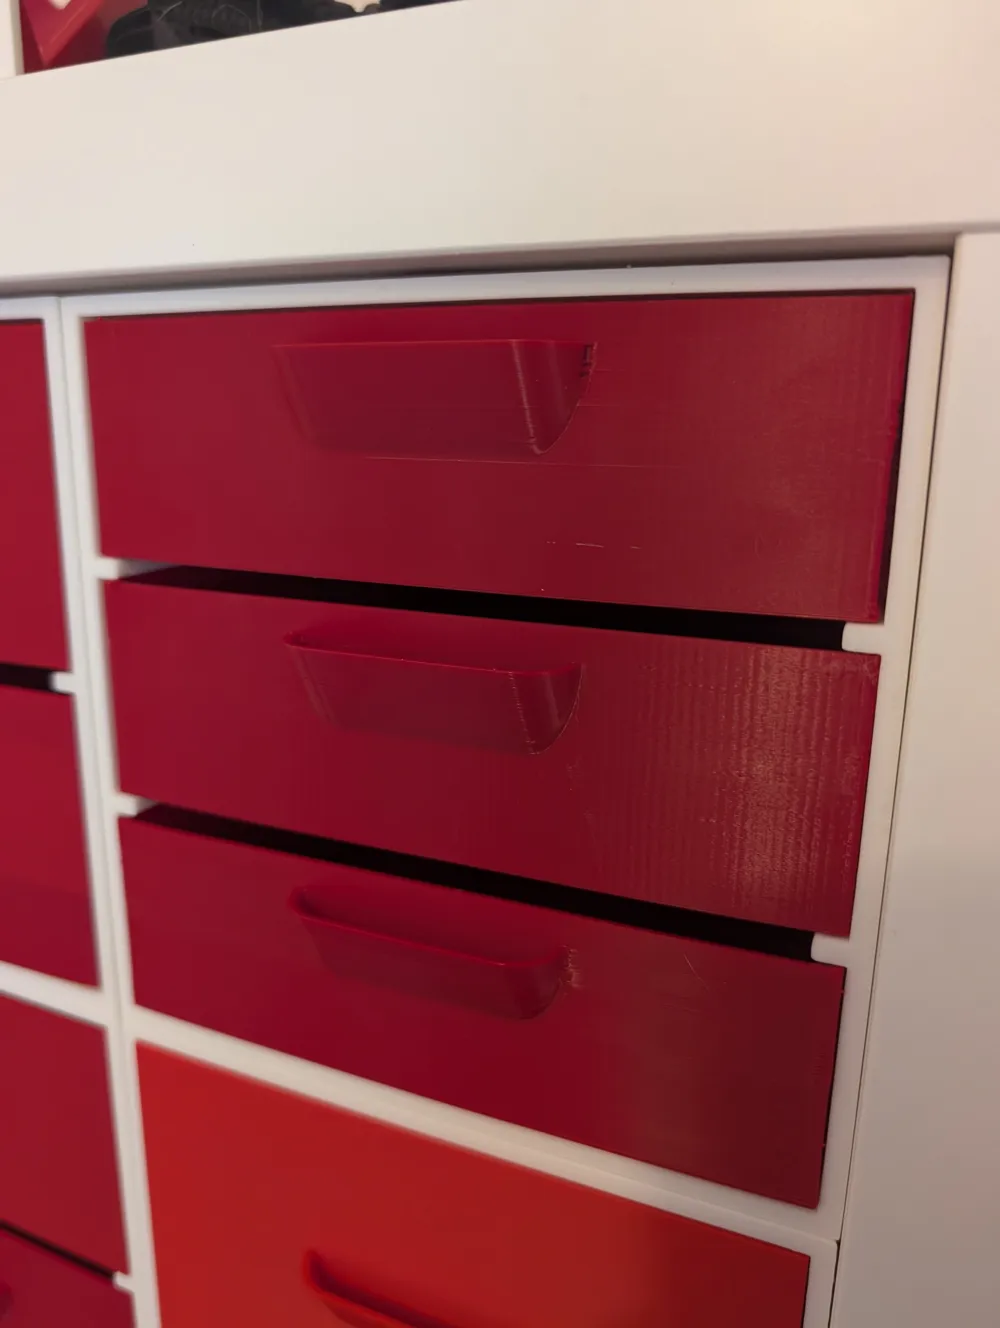
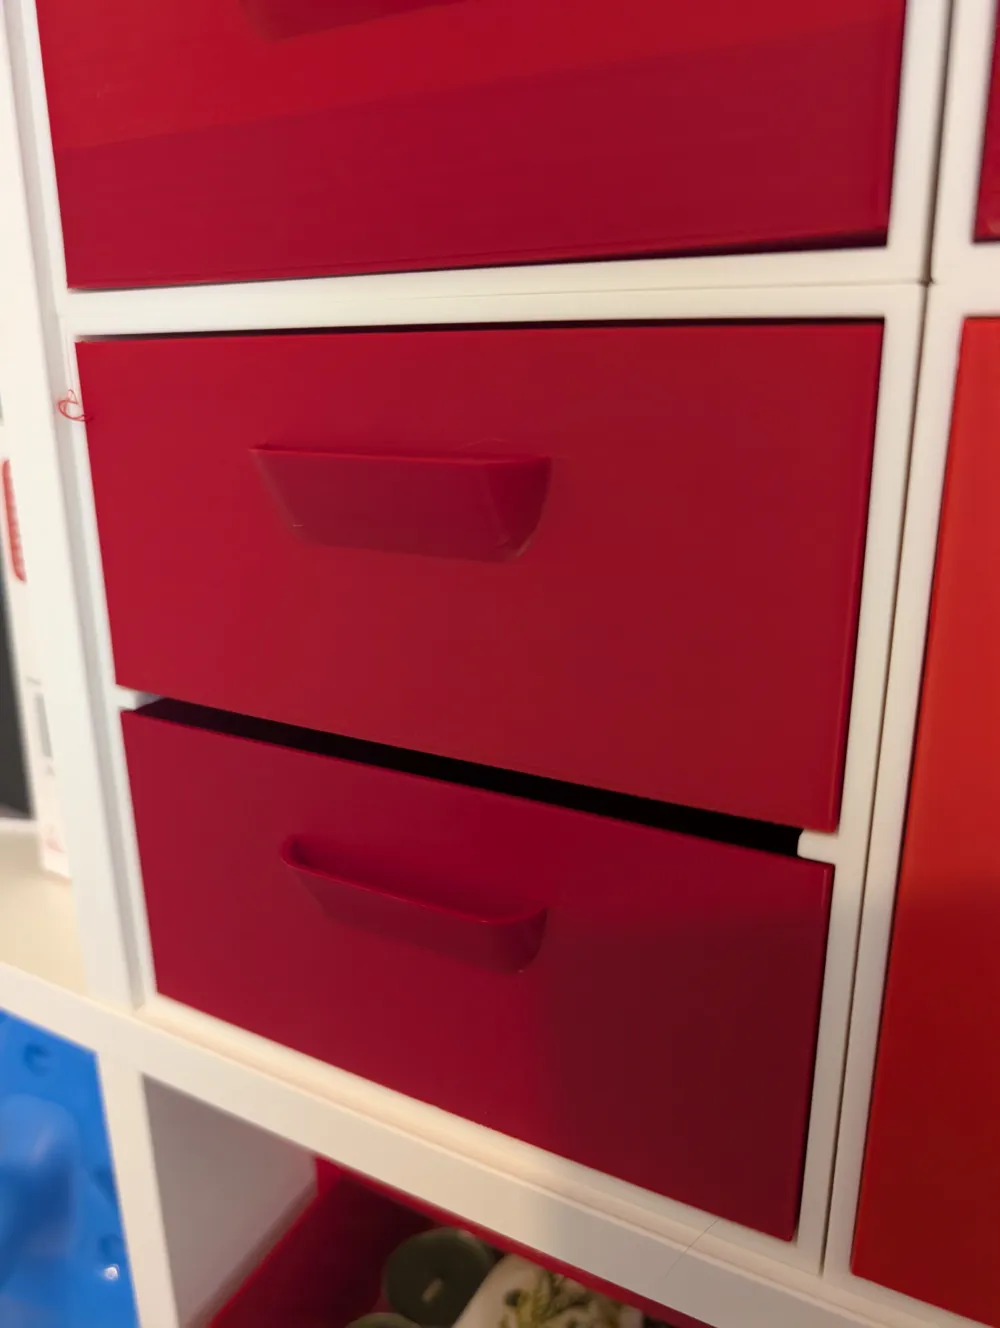
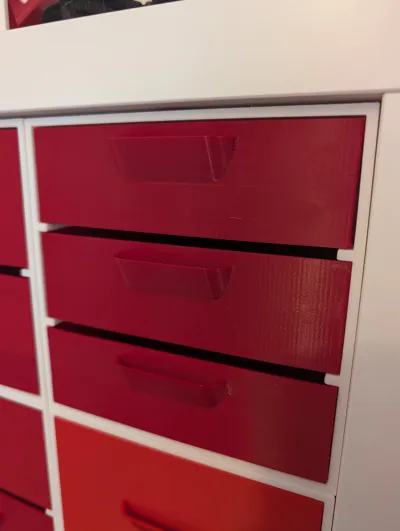
Please note that a couple of the drawers in the photo were printed much too fast on a 0.8 CHT nozzle and have some artefacts on the corners - the drawers printed as per the attached profile don't have any issues.
Any questions/requests just ask! If you would like a different drawer configuration drop me a message and I'll make it up for you.
Boost Me (for free)
Boosts always appreciated if I've made something you found useful - it helps to keep me in filament for doing these little projects!
License

You shall not share, sub-license, sell, rent, host, transfer, or distribute in any way the digital or 3D printed versions of this object, nor any other derivative work of this object in its digital or physical format (including - but not limited to - remixes of this object, and hosting on other digital platforms). The objects may not be used without permission in any way whatsoever in which you charge money, or collect fees.


Comment & Rating (141)