


Print Profile(1)

Bill of Materials


- LED Stripe Warm White x 1: 12V (approx. 1,20m)
- LED Stripe Cold White x 1: 12V (approx. 1,20m)
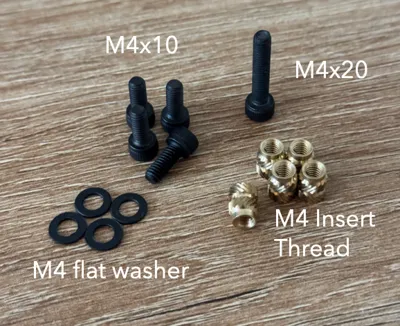
- Insert Thread M4 x 5:
- M4x20 Screw x 1:
- M4x10 Screw x 4:
- M4 flat washer x 4:
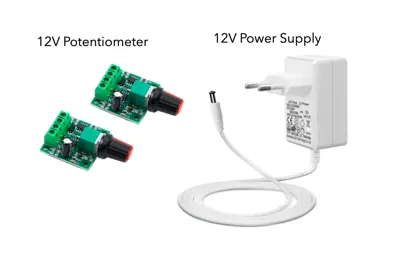
- DC Potentiometer 12V x 2:
- Wires x 1: 1mm^2 or similar
- 12V power supply x 1:
Description
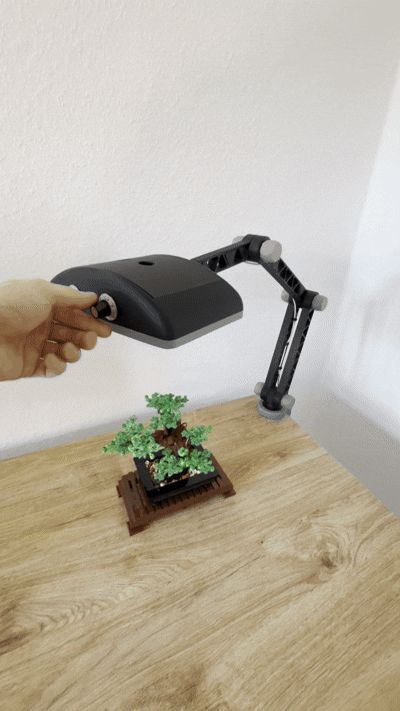
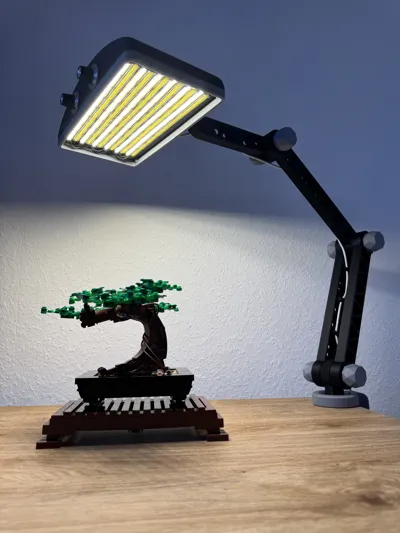
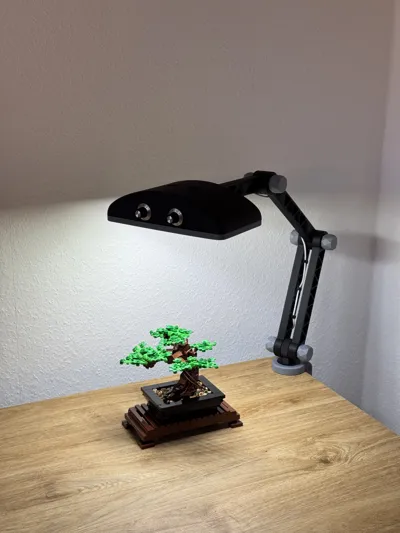
CYBER DESK LAMP (12V)
In this project, you can build your own dimmable desk lamp with warm and/or cool white light to create the perfect working environment for your desk. To reach this goal, it'd be best if you had some experience with soldering. If not, you can learn the skill. The material list shows what else you'll need for this project. I built the lamp for my own workspace, and now I'm excited to share my experience with you!
Important Information
You'll need a soldering iron and some patience for the assembly. Depending on your filament and printer, the parts may vary in result. The first version only works with printers that have a minimum print bed size of 256 x 256 mm. This includes the Bambulab P1S, P1P, H2S, H2C, P2S, X1C and A1. There might be a version in the future that also includes the A1 mini.
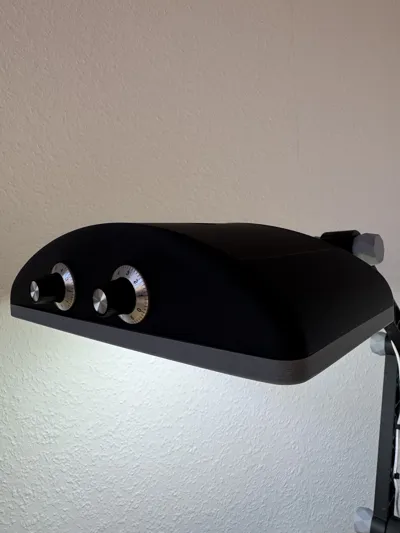
Functions
The lamp has two control knobs so you can adjust the brightness, one for warm white and one for cool white light. You can combine them to get the full brightness.
Assemble of the LED's
First, follow the assembly guide to build the lamp. Then attach the LED's to the lamp body in an alternating pattern of warm-white and cool-white. Leave clearance at both edges for the wiring. Solder the positive (+) and negative (–) pads in series as shown in the wiring example image. Do this separately for the warm-white chain and for the cool-white chain. Leave longer leads on the first LED of each chain and feed them through the opening into the lamp body. You should end up with four wires in total: Warm + / Warm – and Cool + / Cool –. Connect these to the potentiometers as specified.


For a more detailed description you can watch this video:
Material Links
- Potentiometers
- LEDs
This only should give you an idea, you can use similar products as well.
Appreciation
Boost Me (for free)
If you want to appreciate the Project and support the Designer you can boost here !
Documentation (1)
License
You shall not share, sub-license, sell, rent, host, transfer, or distribute in any way the digital or 3D printed versions of this object, nor any other derivative work of this object in its digital or physical format (including - but not limited to - remixes of this object, and hosting on other digital platforms). The objects may not be used without permission in any way whatsoever in which you charge money, or collect fees.
Comment & Rating (0)