


Print Profile(9)


Description
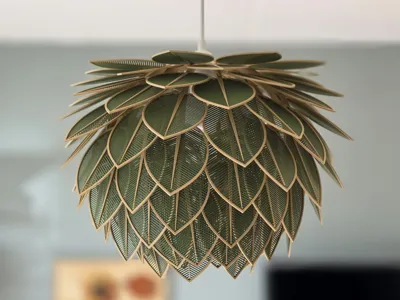
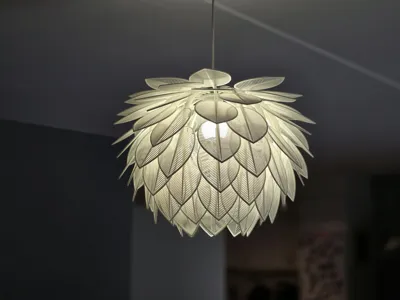
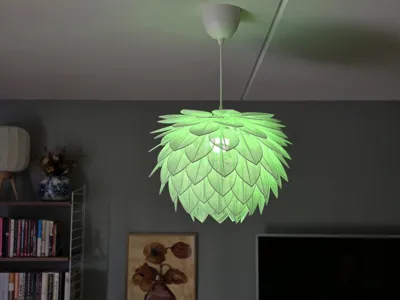
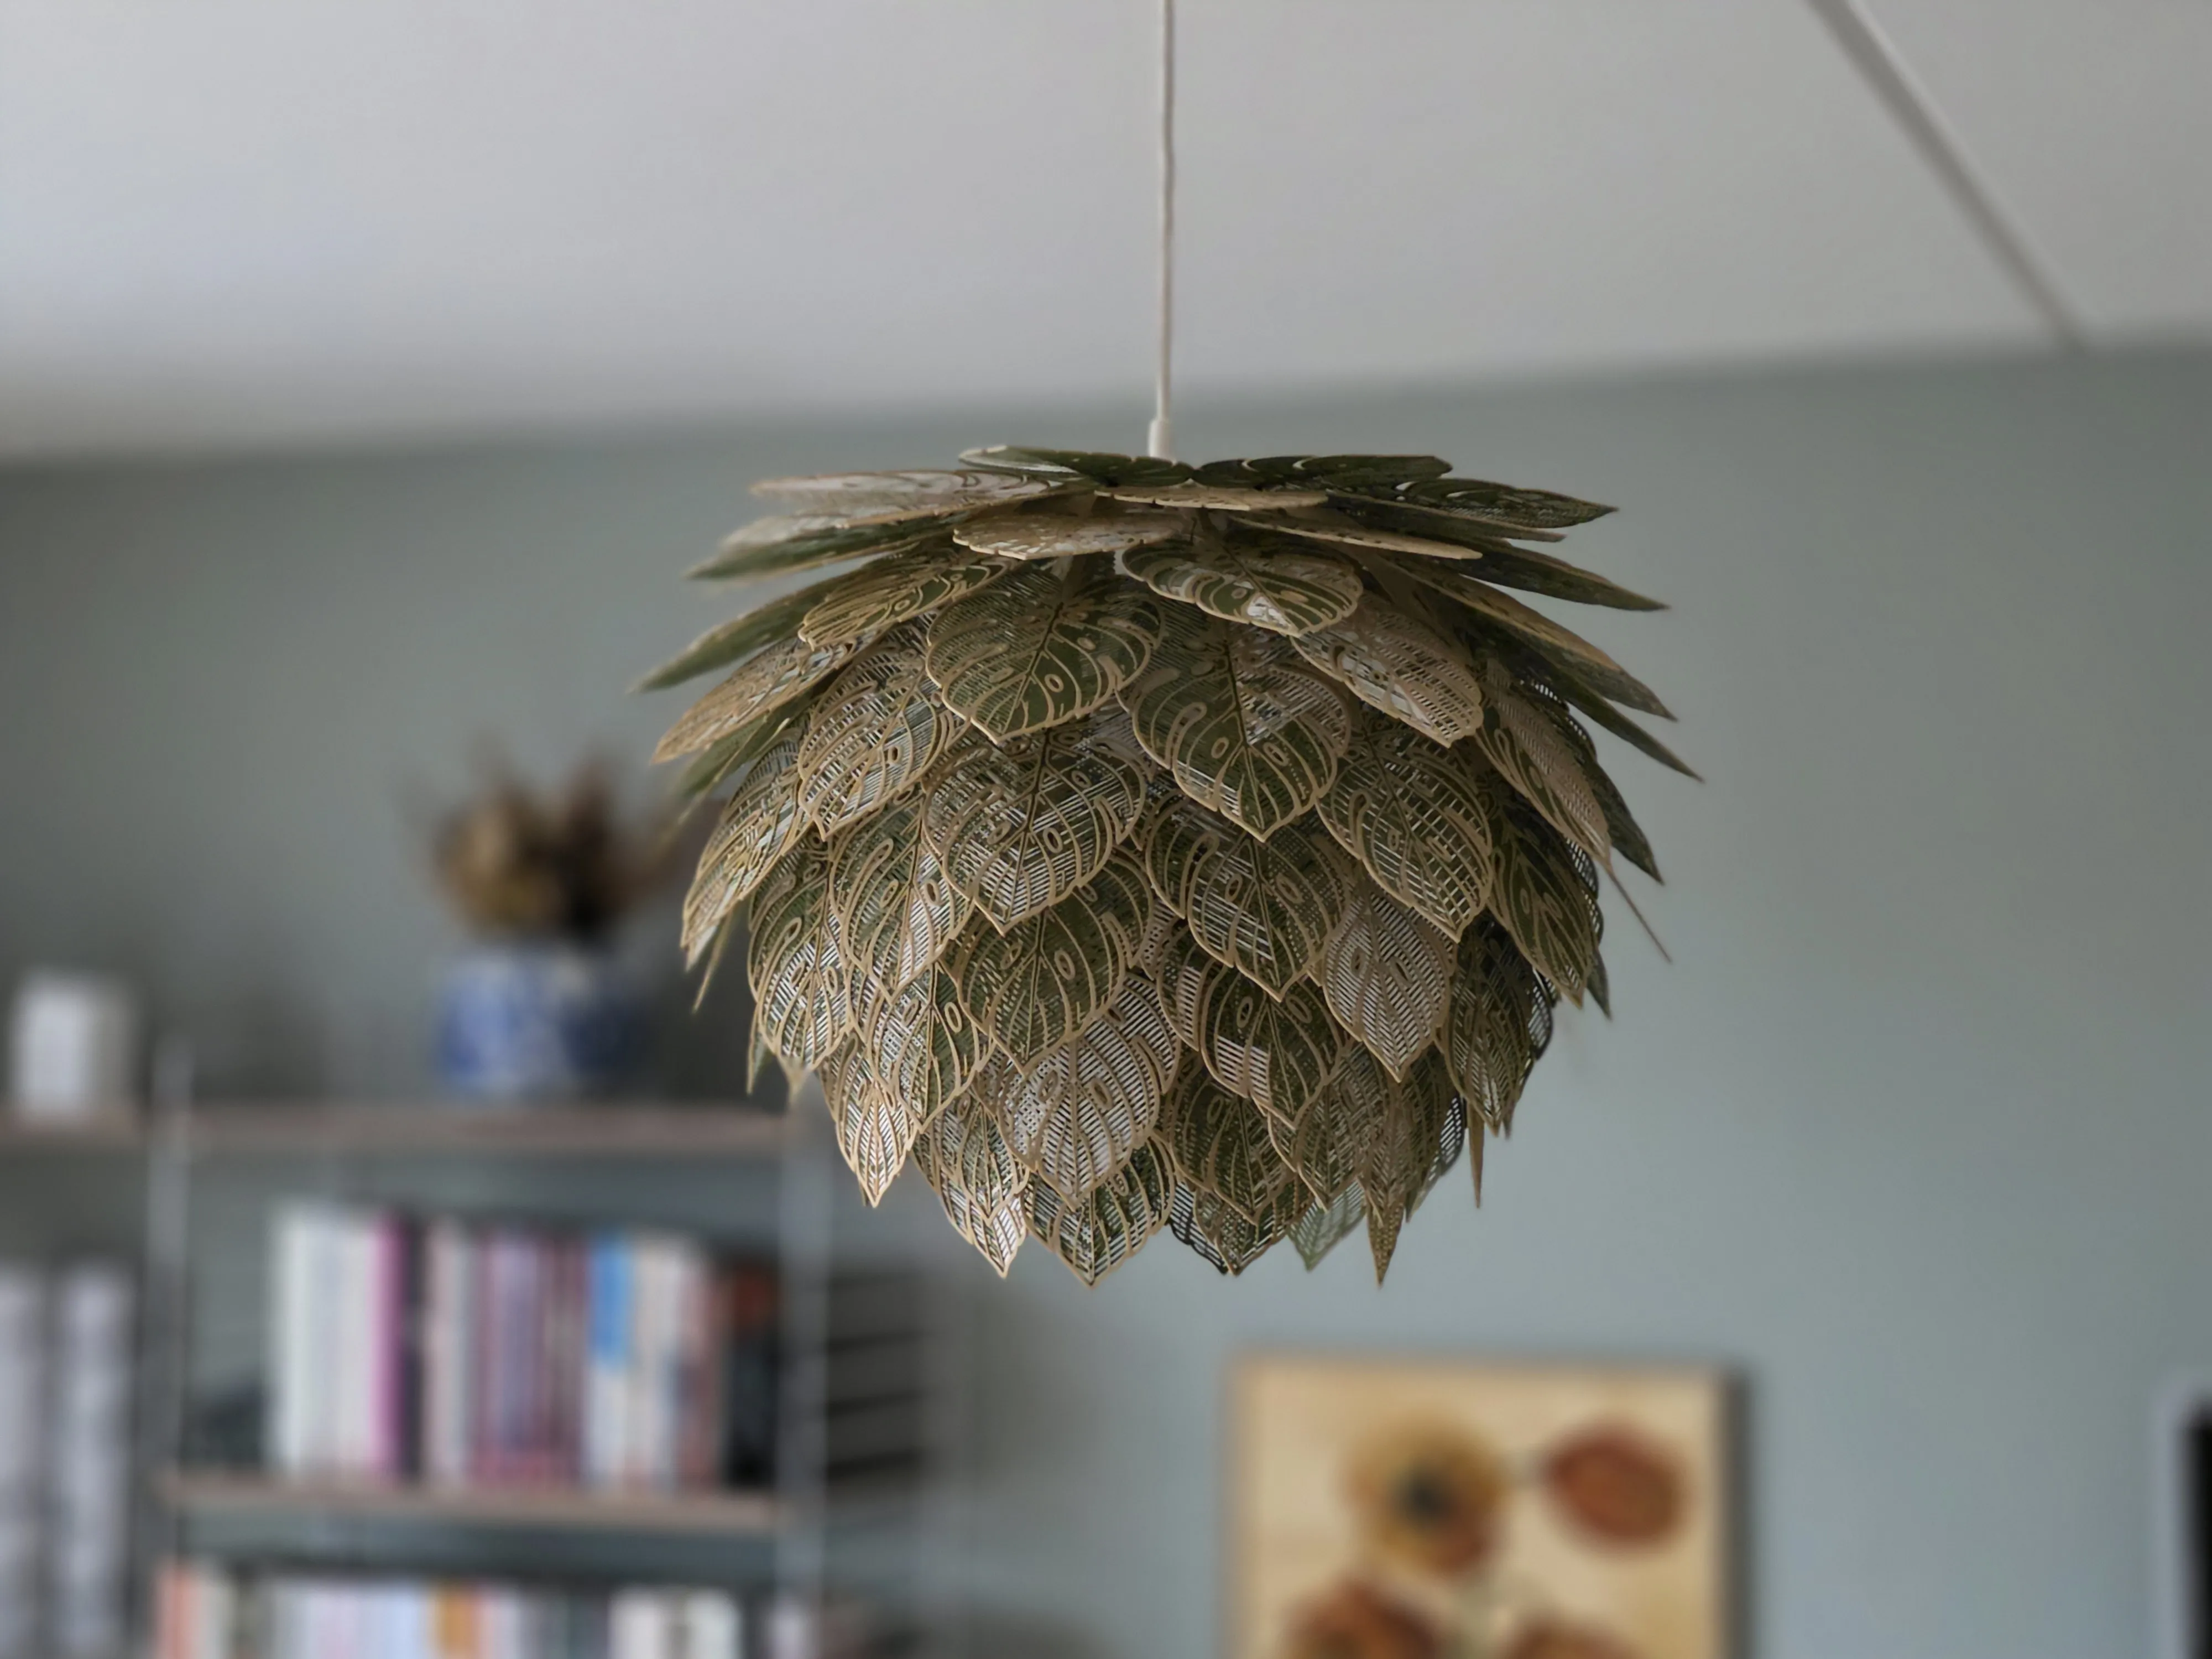
This is my Lush Leaf Lamp, a complete redesign and evolution of my original Leaf Lamp
It keeps the same organic feeling but comes in a completely new and larger form – more lush, more expressive, yet just as print-friendly.
You can choose to use it as a hanging pendant or with a lamp base.
The base included in this model was designed specifically for the Leaf Lamp, but it also fits other lamp projects if you want to mix things up.
Membership
To sell this design, please join my commercial membership
The measurements of this once assembled is roughly:
Width: 455mm at the broadest point
Length: 333mm
@Snoopy_Relax did the calculation of total filament usage:
Brown/beige: 699,34g
Green: 367,80g
last plates of leafs only need 4 leafs. (104 total)
Both the top ring and lamp base have a negative modifier set to 40 mm (E27), but you can easily scale this in your slicer to match your preferred socket size.

No screws, no glue – everything is fully push-fit.
Assembly
⚠️ Some fits can be tight – be careful with your hands and avoid slips while pressing the pieces together!
1️⃣ Frame setup – Start by attaching the bottom ring. Insert the frame sticks carefully into place, alternating between 6-slot and 7-slot sticks. Take your time and avoid bending them too hard.
2️⃣ Top connection – Once all sticks are secured at the bottom, connect the smaller ends to the top ring.

3️⃣ Adding leaves – Begin from the bottom layer and work your way up. Complete one full circle before moving to the next. Depending on your printer’s tolerances, some parts may need a gentle push.
4️⃣ Final step – Mount the finished shade on your lamp holder or use it with the matching base for a standing version.
All parts are designed for easy printing without supports and can be scaled freely to match your setup.
 | 
|
Check out my original Leaf Lamp!: Leafs does NOT fit this model
Only use LED bulbs. 💡
Boost Me (for free)
If you like this design, a boost would be greatly appreciated! It helps me continue creating and prototyping new projects. 🚀😊
License
You shall not share, sub-license, sell, rent, host, transfer, or distribute in any way the digital or 3D printed versions of this object, nor any other derivative work of this object in its digital or physical format (including - but not limited to - remixes of this object, and hosting on other digital platforms). The objects may not be used without permission in any way whatsoever in which you charge money, or collect fees.
Comment & Rating (961)