
CNC Side/Toe Clamp
Print Profile(1)

Bill of Materials
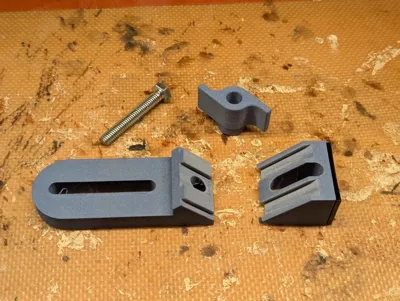
- M6 hex head bolt x 1: 40-50mm
- M6 nut x 1:
Description
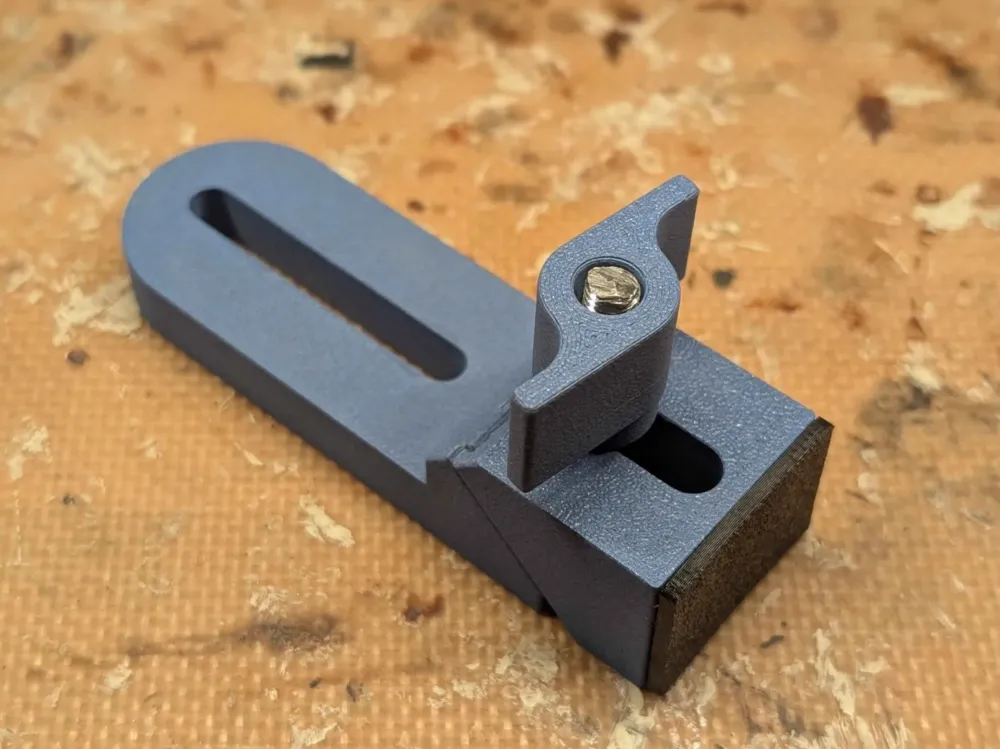
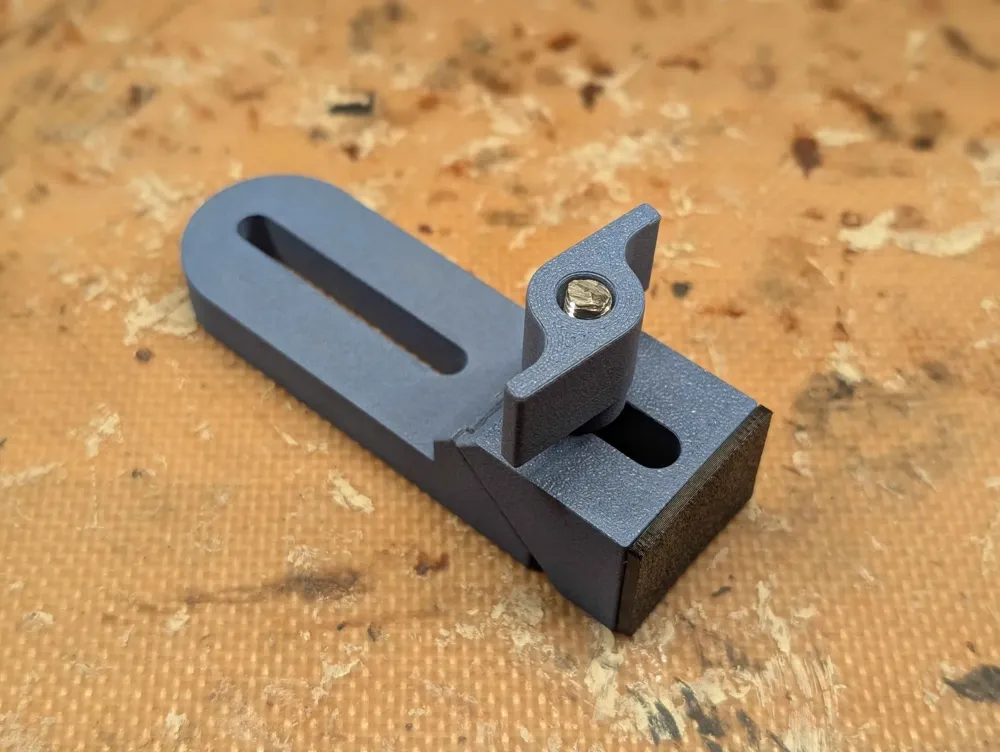
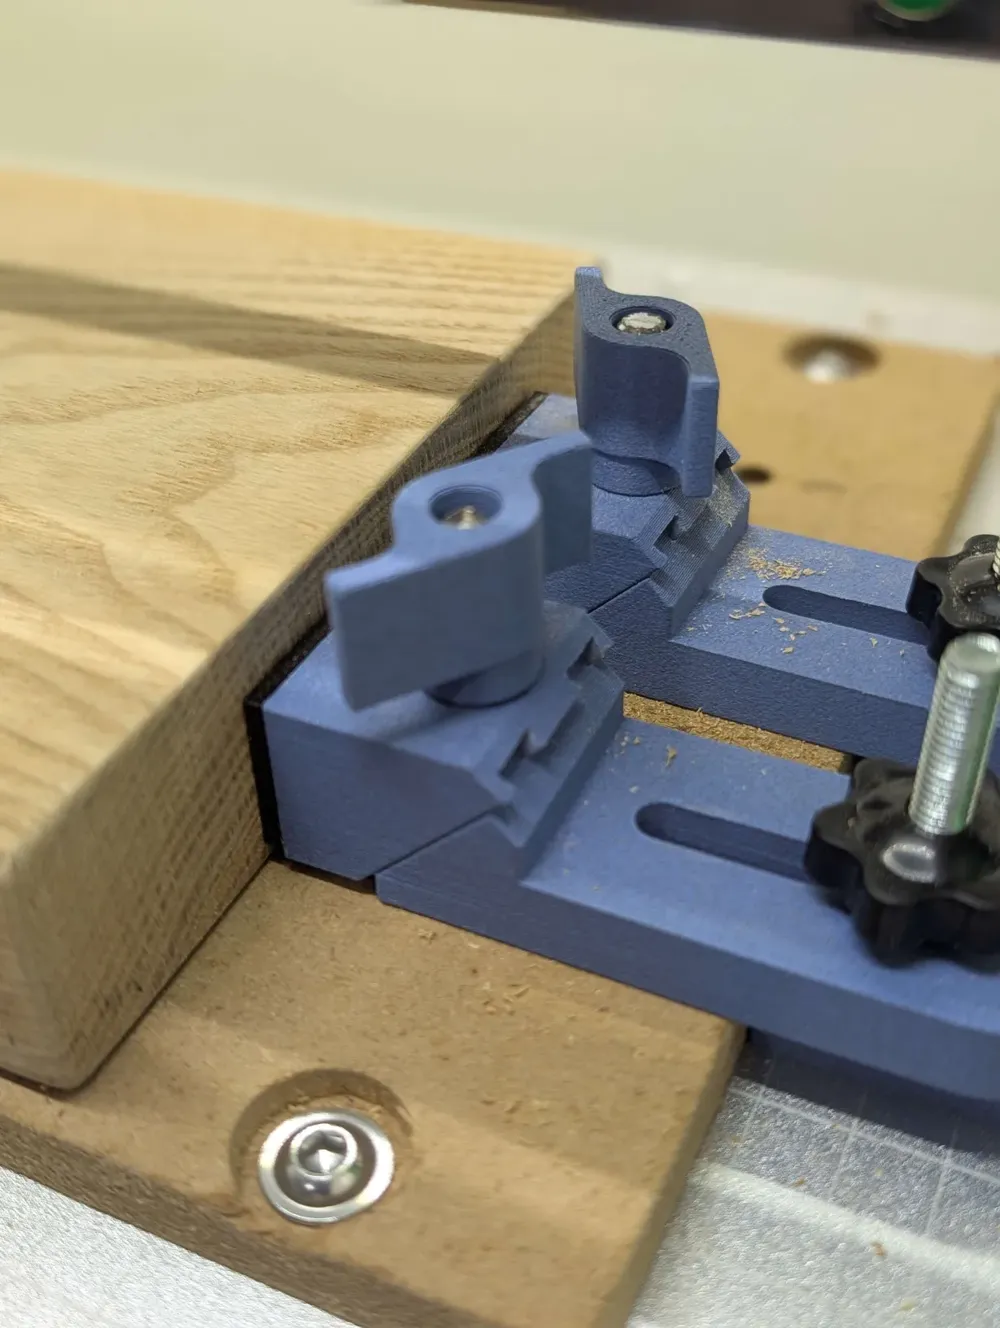
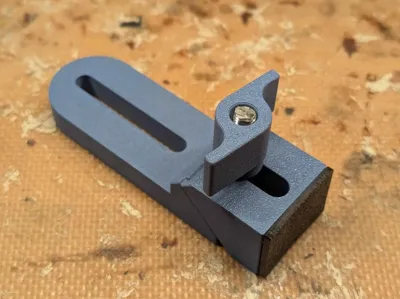
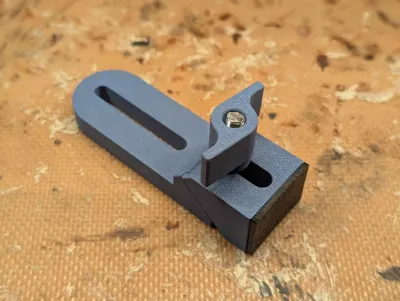
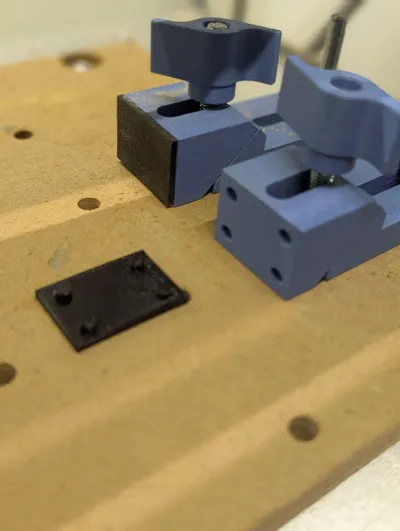
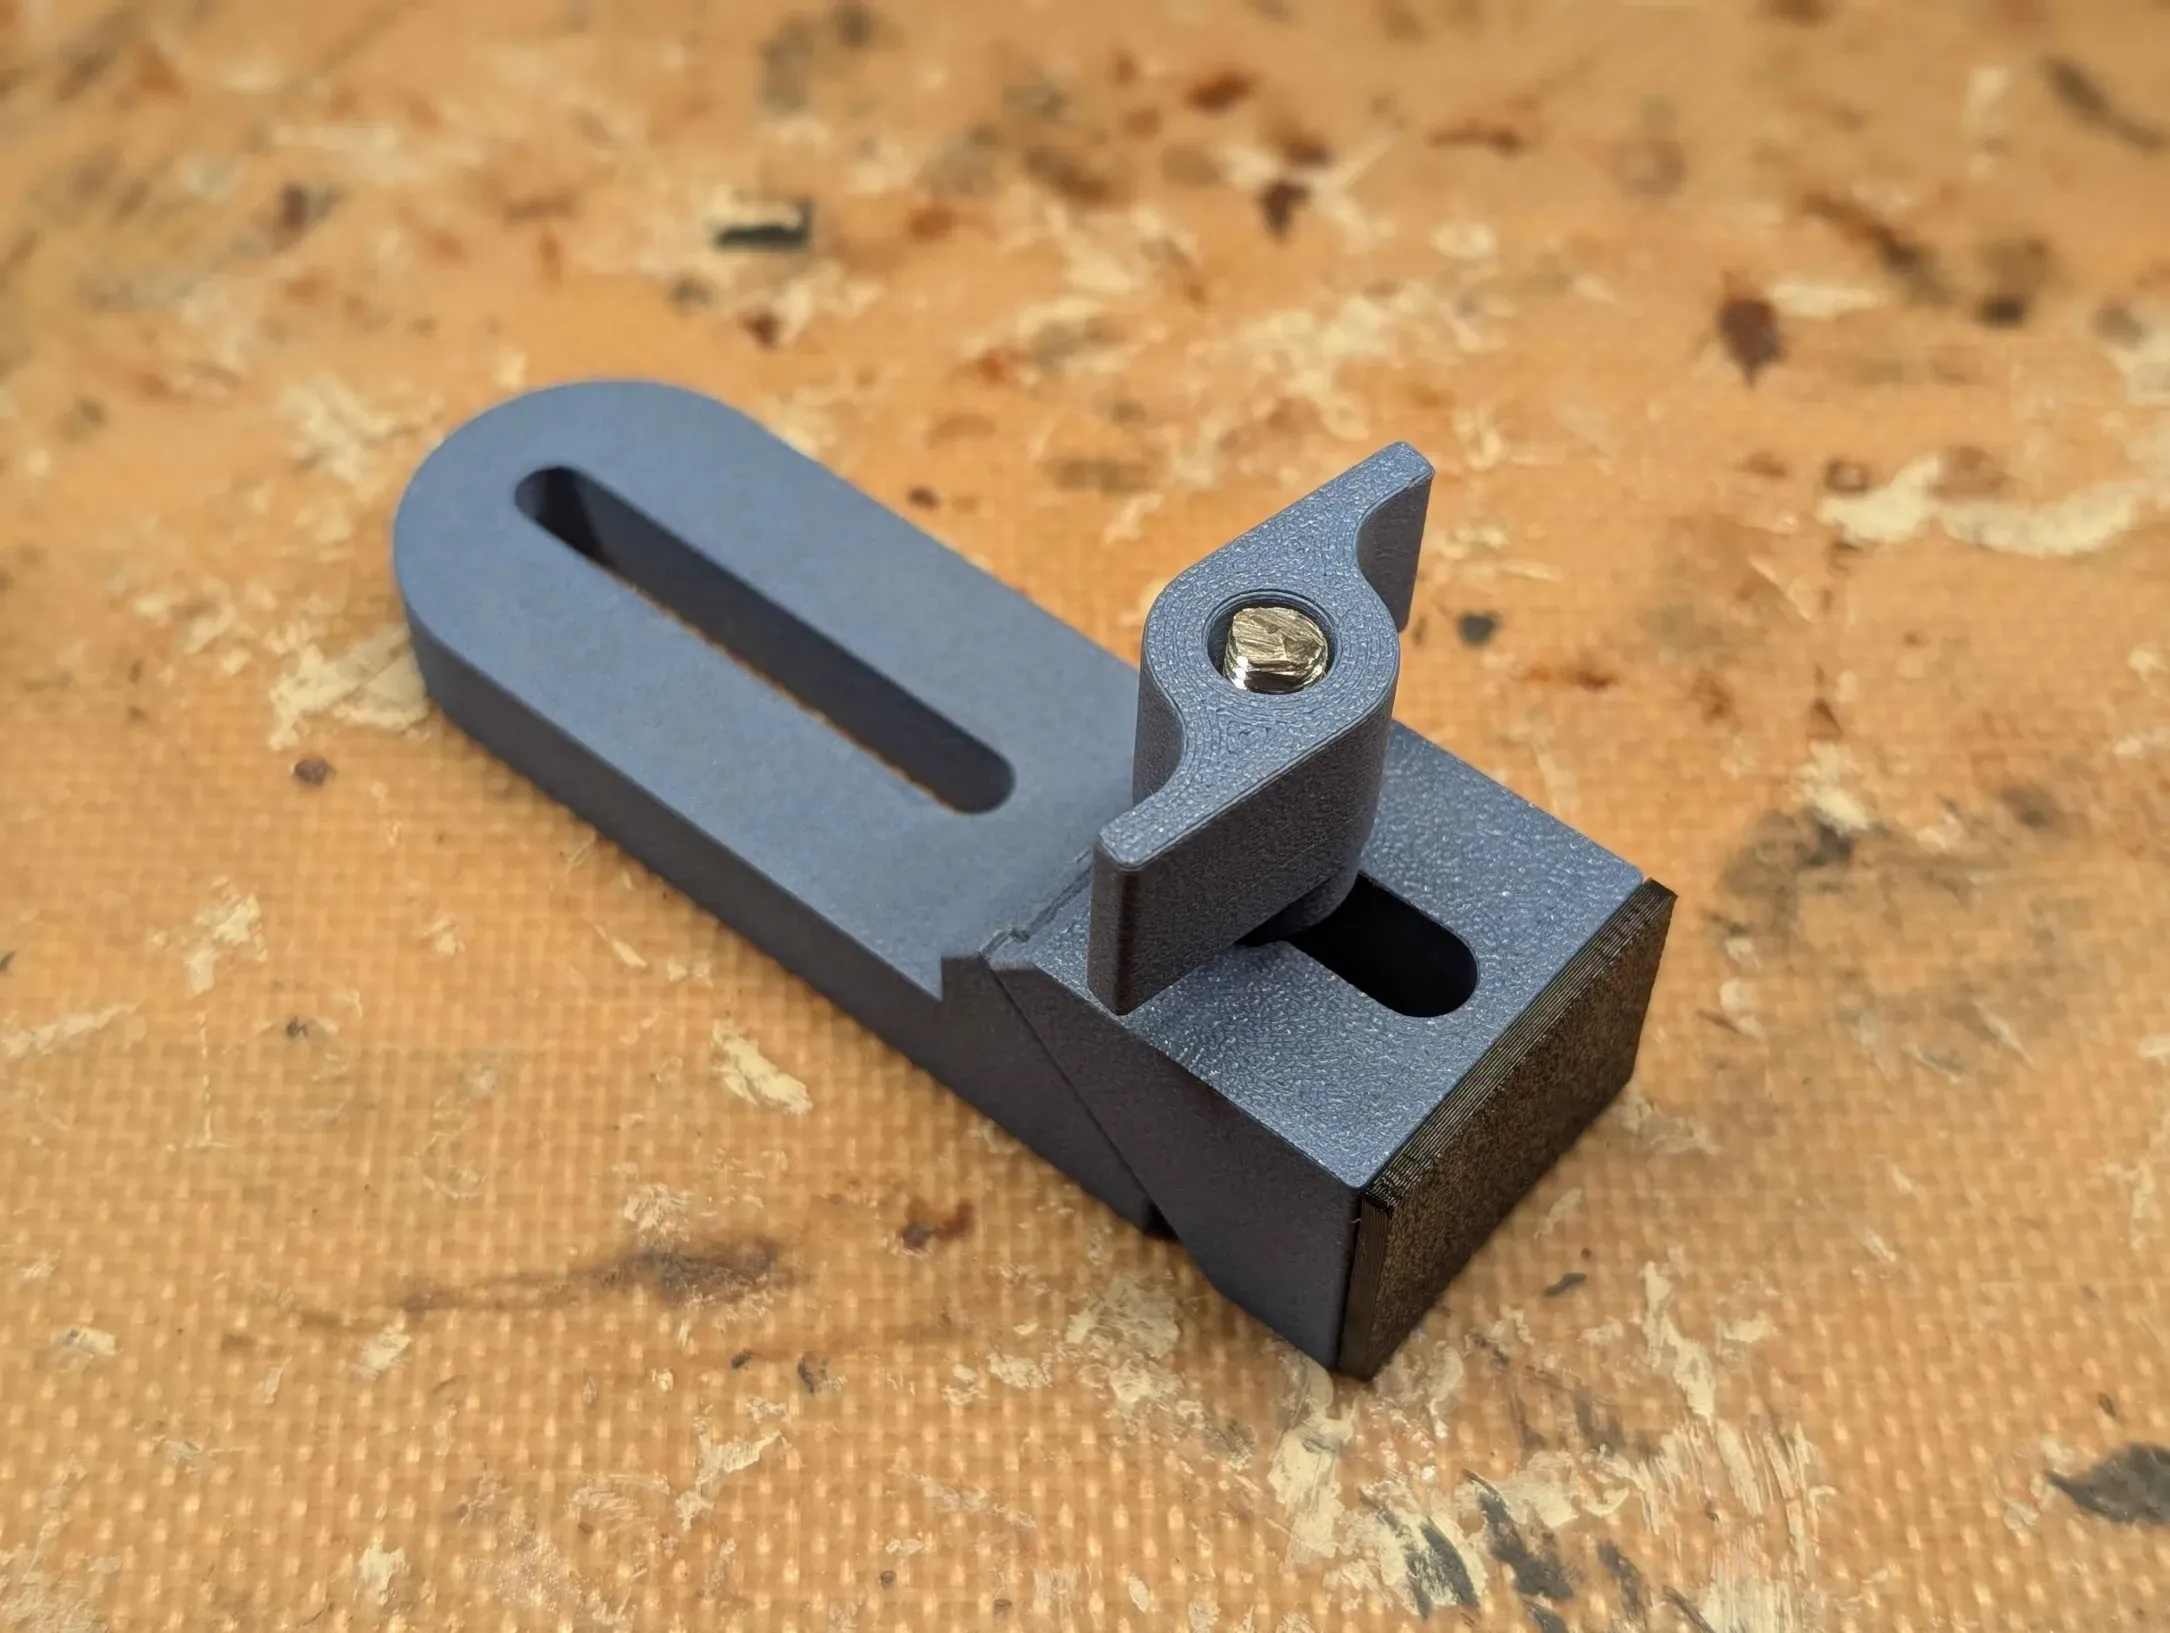
Allows a workpiece to be clamped in place from the sides, which is ideal for thicker stock. The clamp is designed for M6 bolts (although M5 would also work).
The way these clamps work is to transfer the compression force of a bolt into a sideways force. The range of this movement is around 5-10mm. The clamp can additionally be adjusted up to 40mm where it is held down to the bed. Take care not to tighten it beyond the range of the jaw's movement.
Printing
I printed this part in PLA-CF which is ideal as it is extremely rigid, although any somewhat rigid filament should work.
The tollerance between the parts is quite tight and sanding down the surfaces can help it slide more easily.
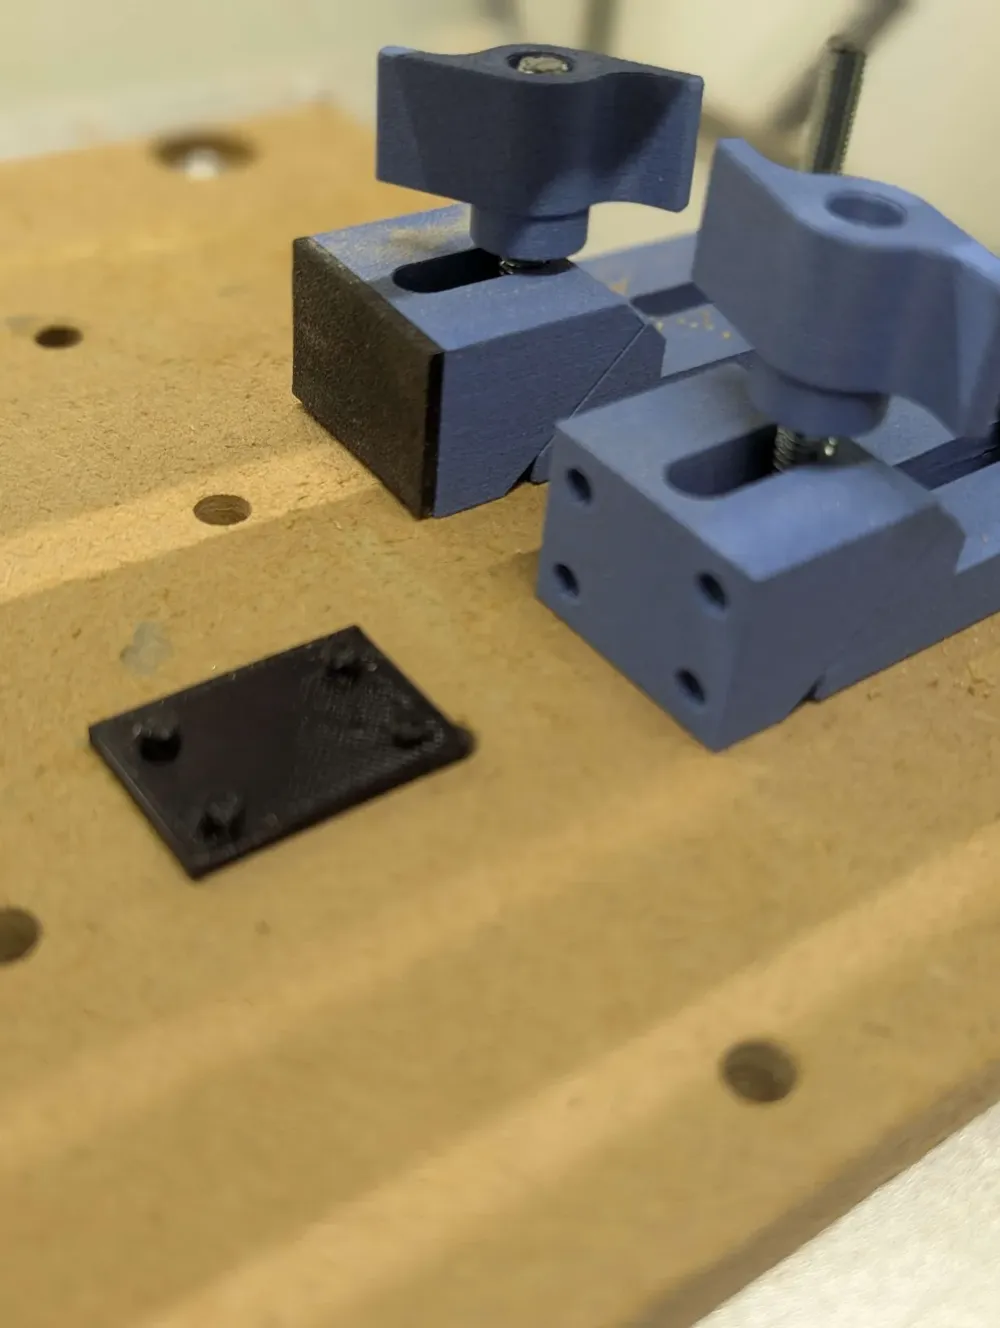
There is an optional “soft jaw” cover included although it's not strictly needed (printable in TPU).
Assembly
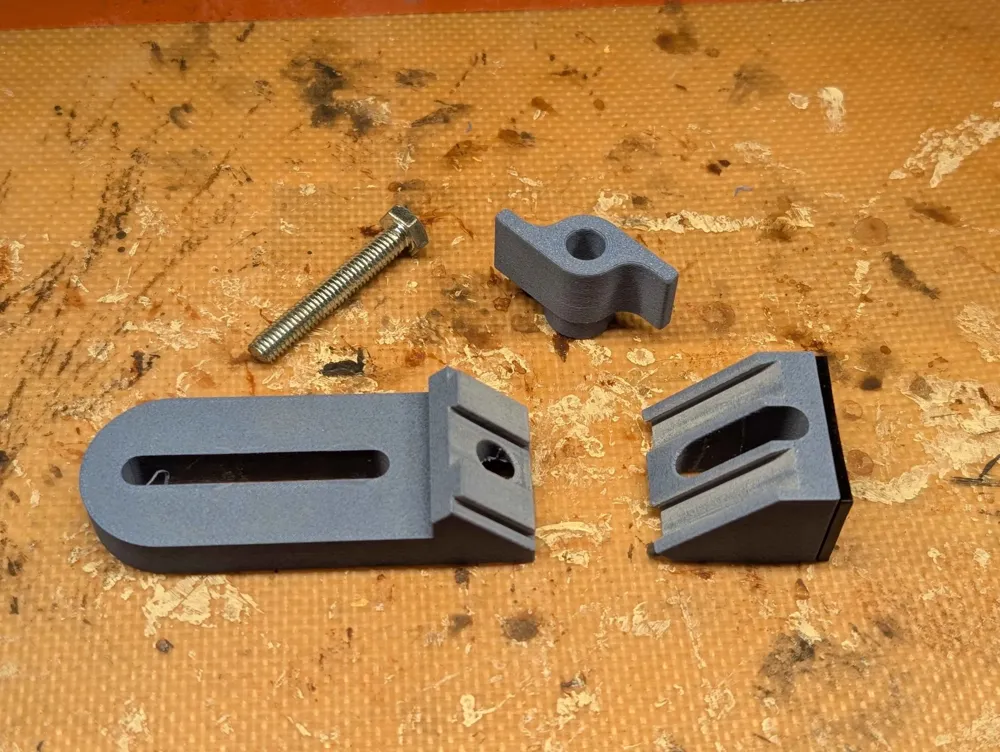
Firstly slide the jaw onto the body of the clamp.
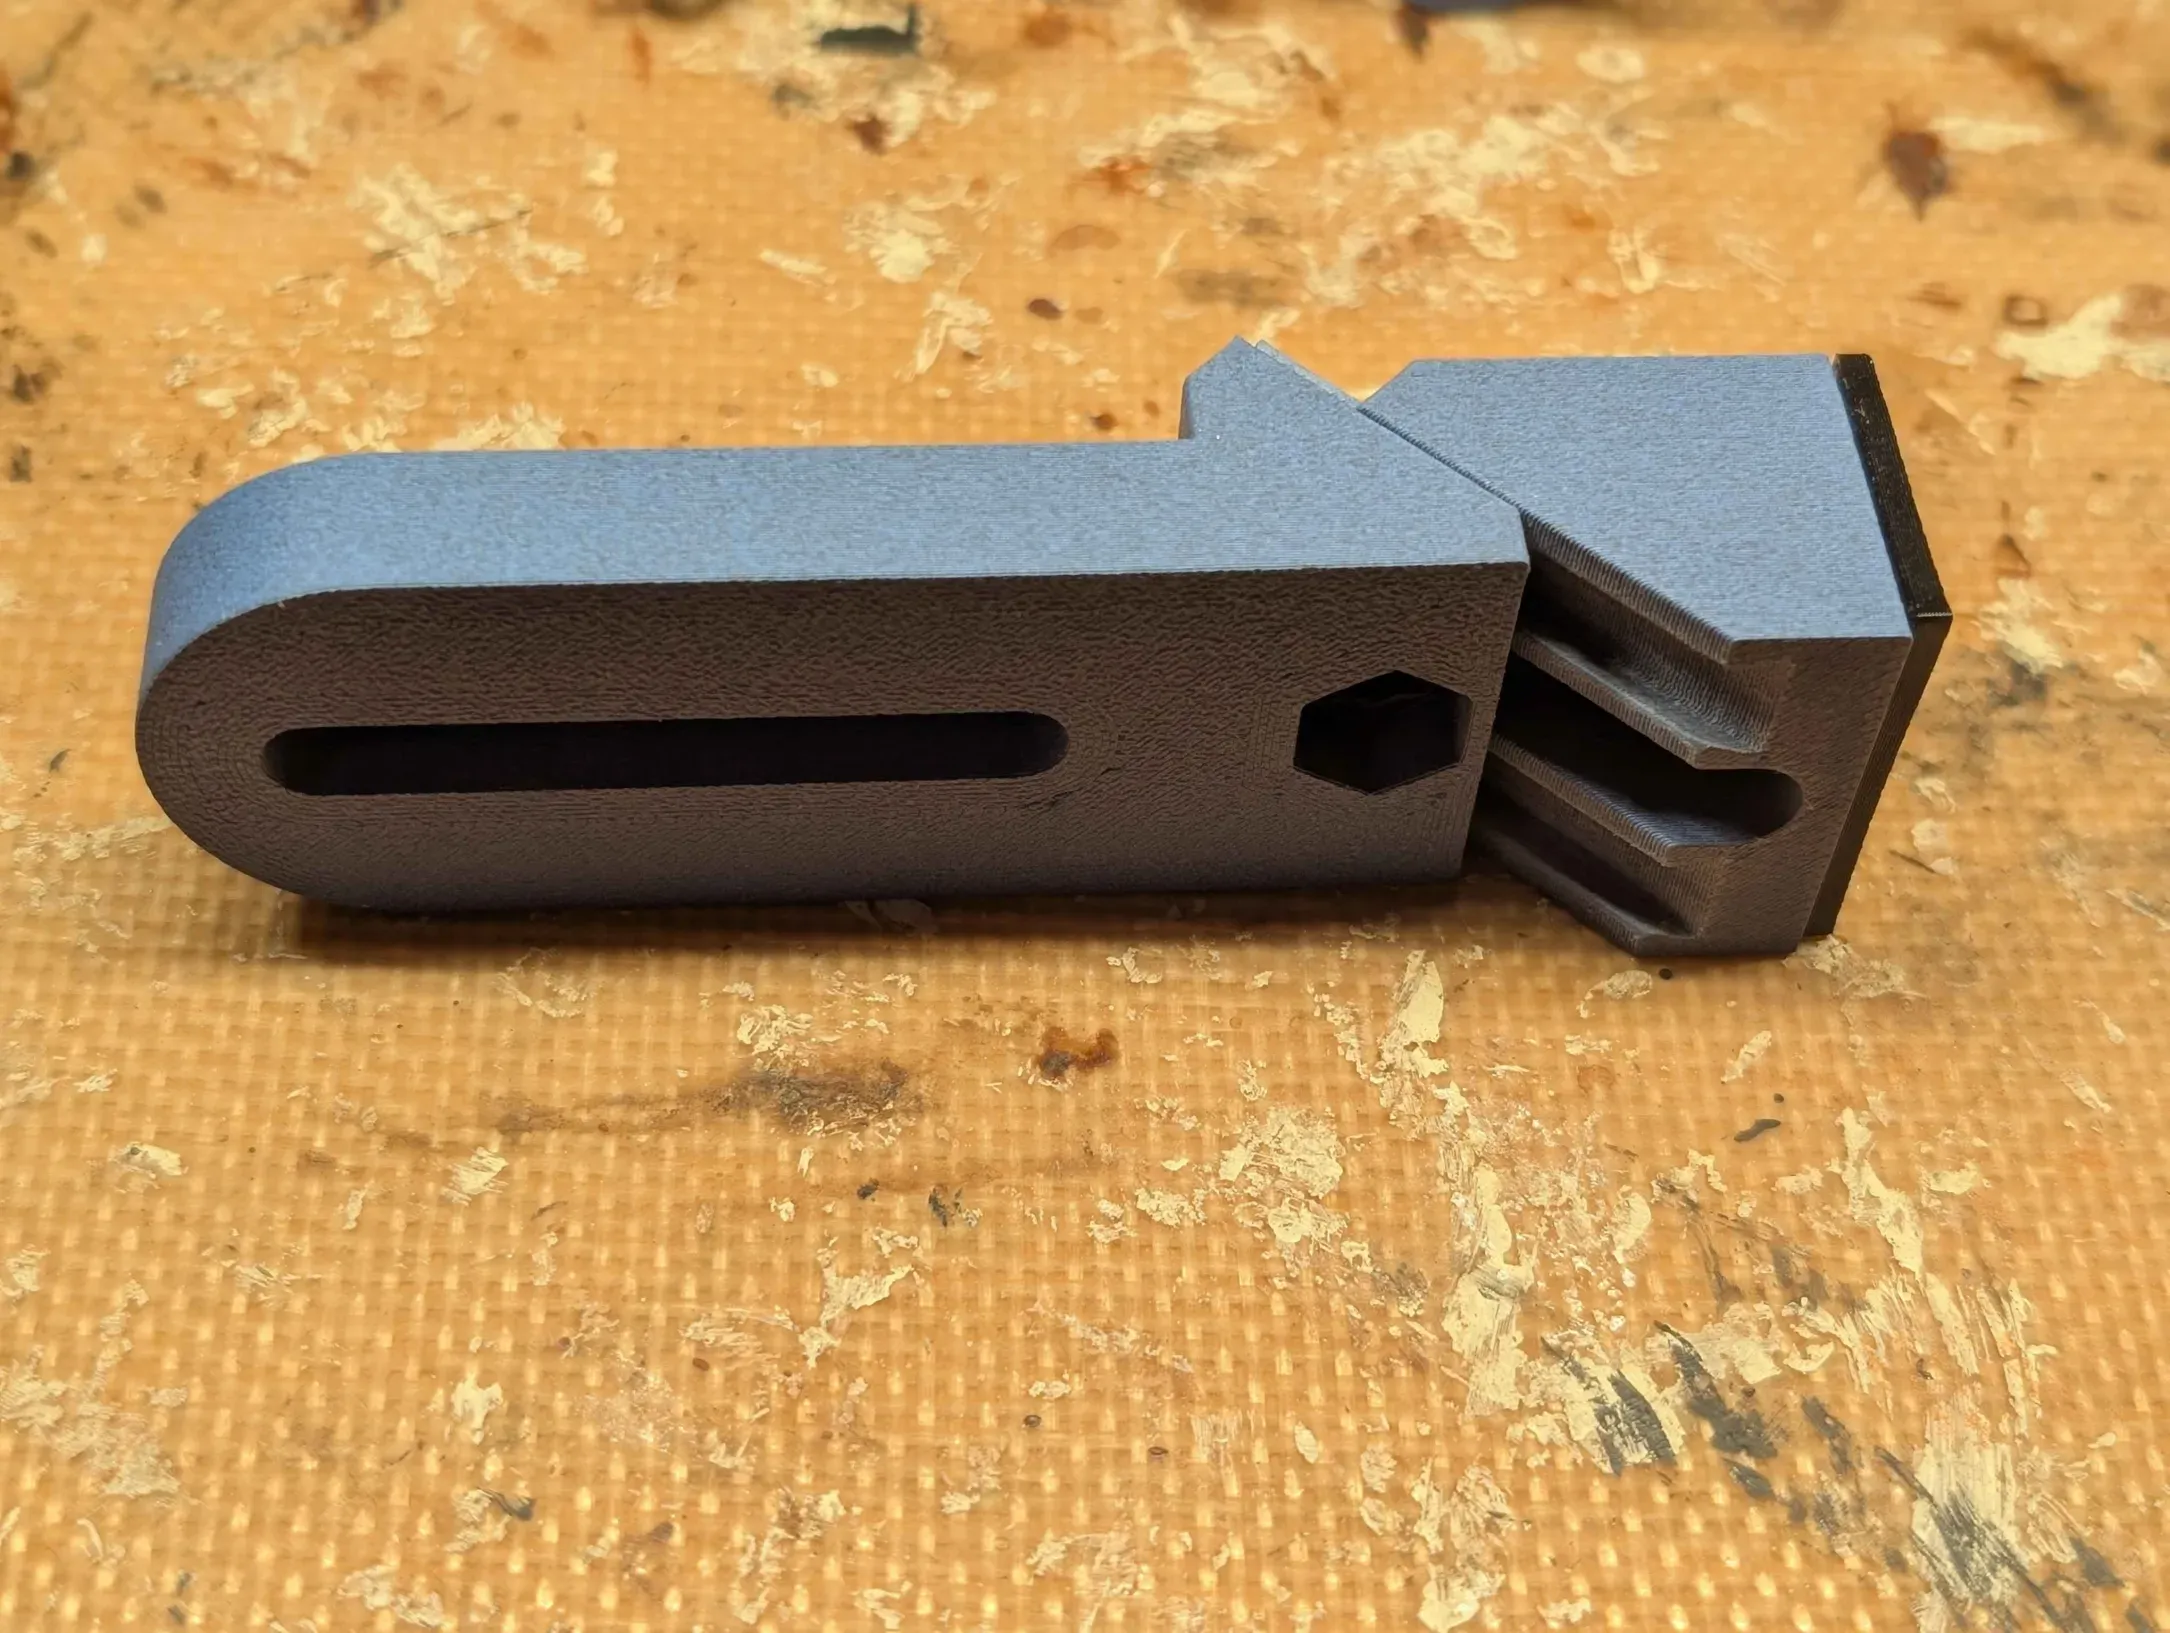
Insert a 40mm M6 bolt into the bottom
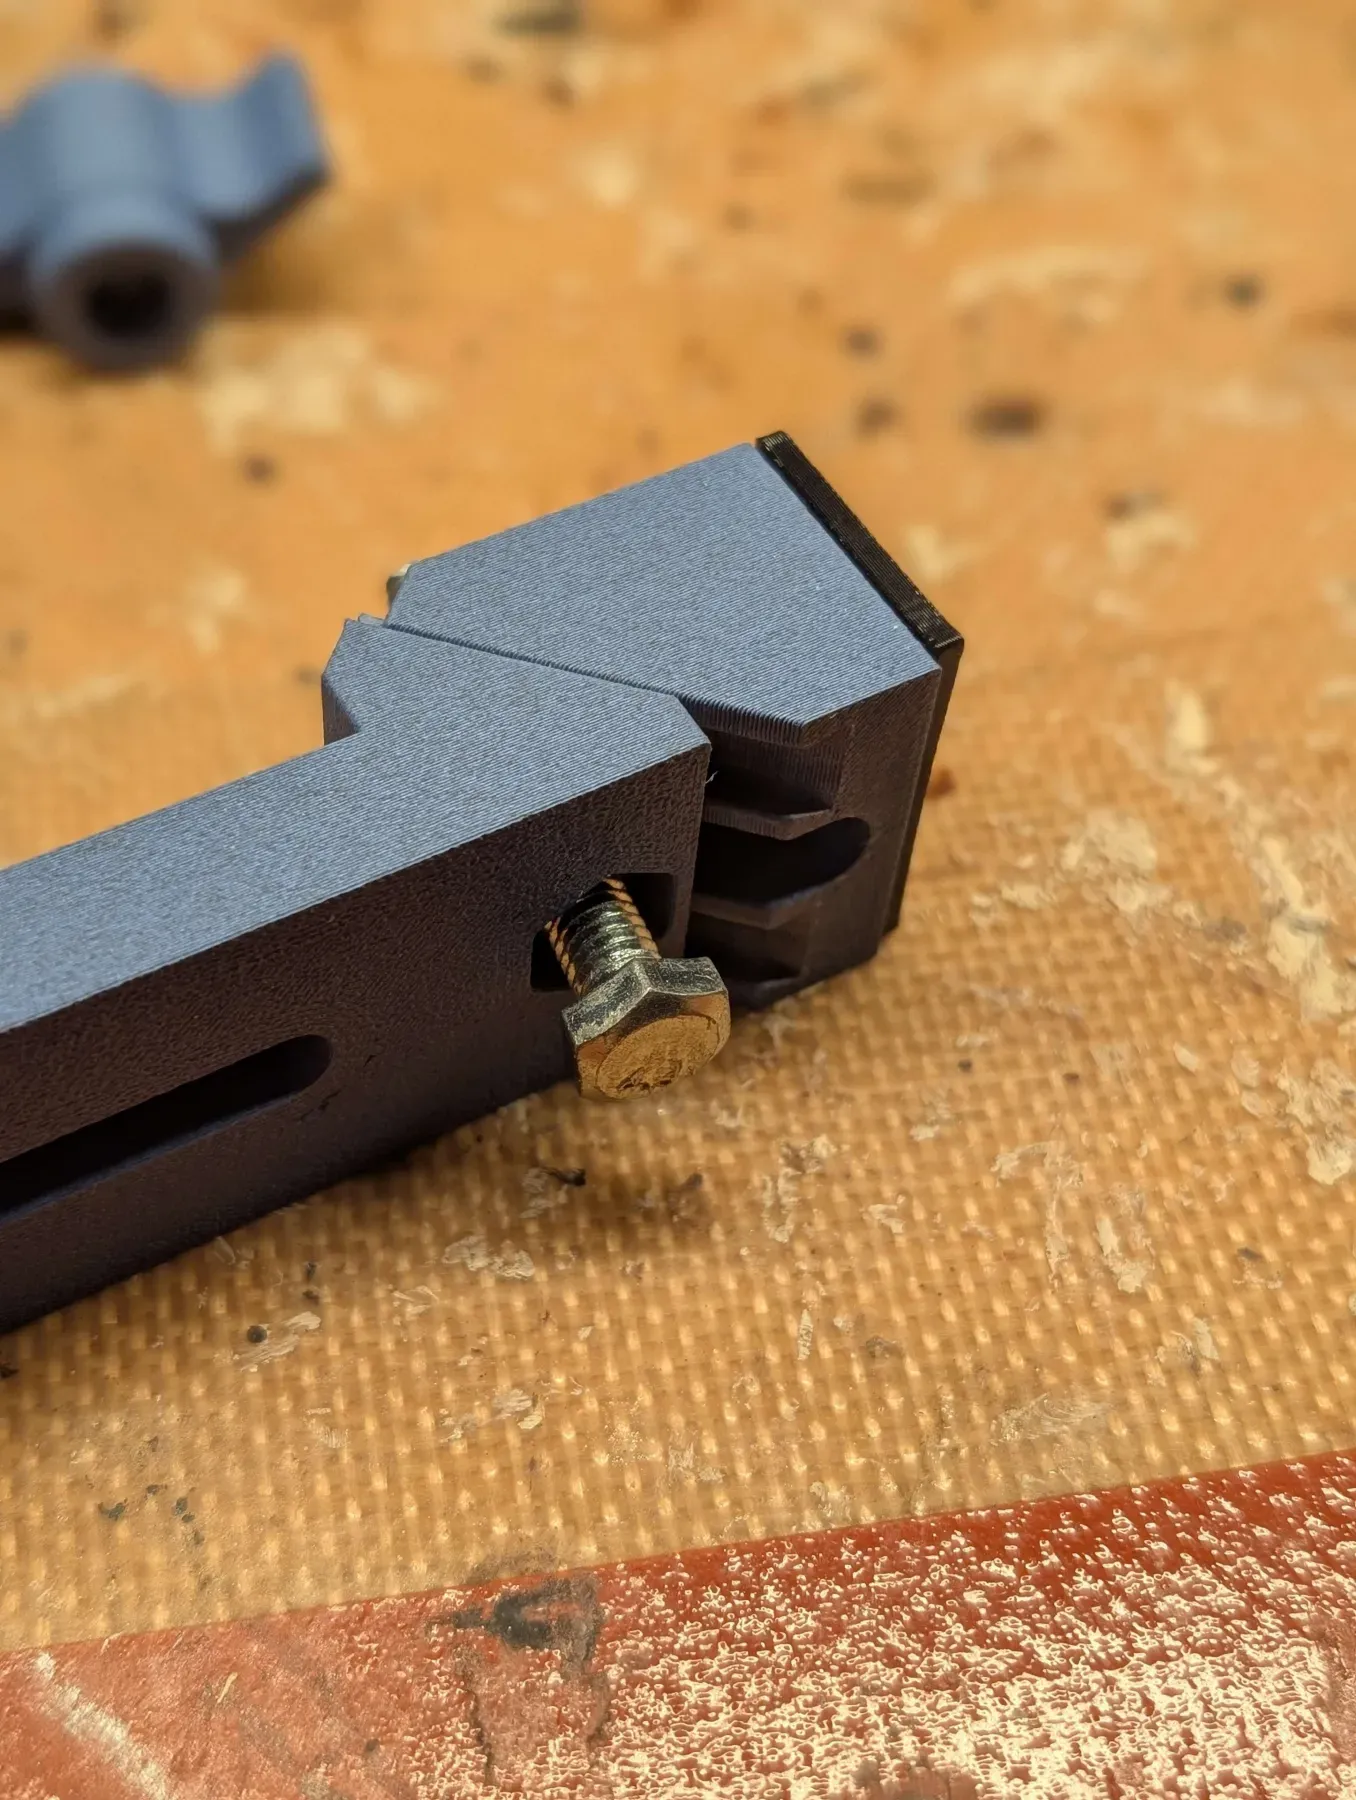
Screw a bolt/thumbscrew down from the top.
A regular bolt with washer could be used but It's better to use a thumb-screw. I like this one: https://makerworld.com/en/models/766813-wing-nut-with-integrated-m6-nut#profileId-702131
Use
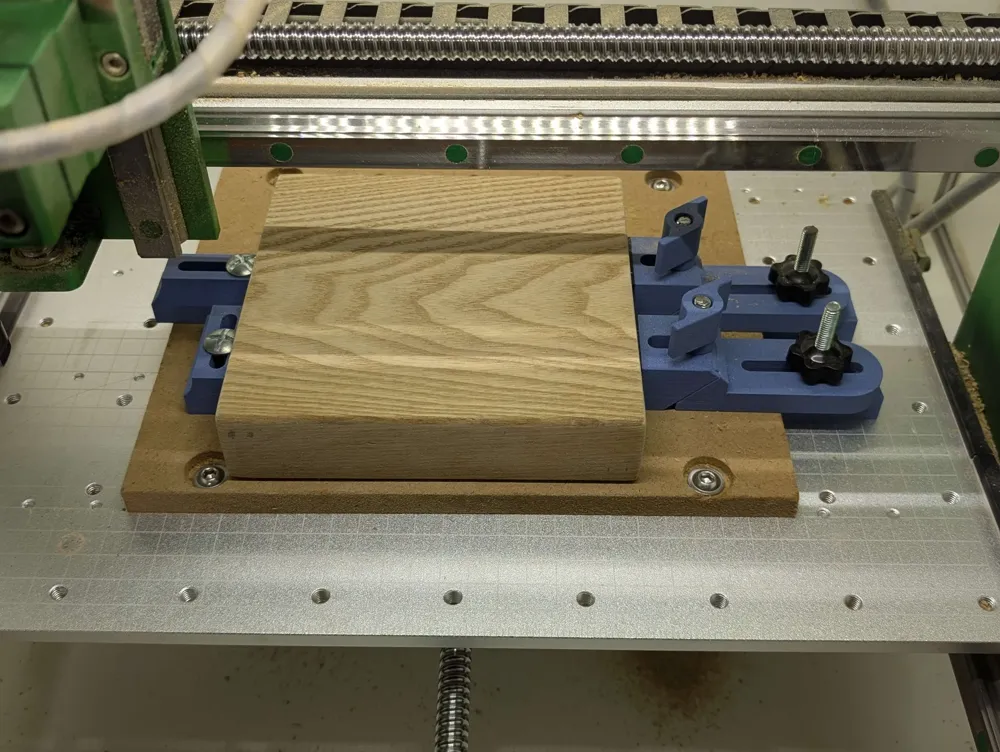
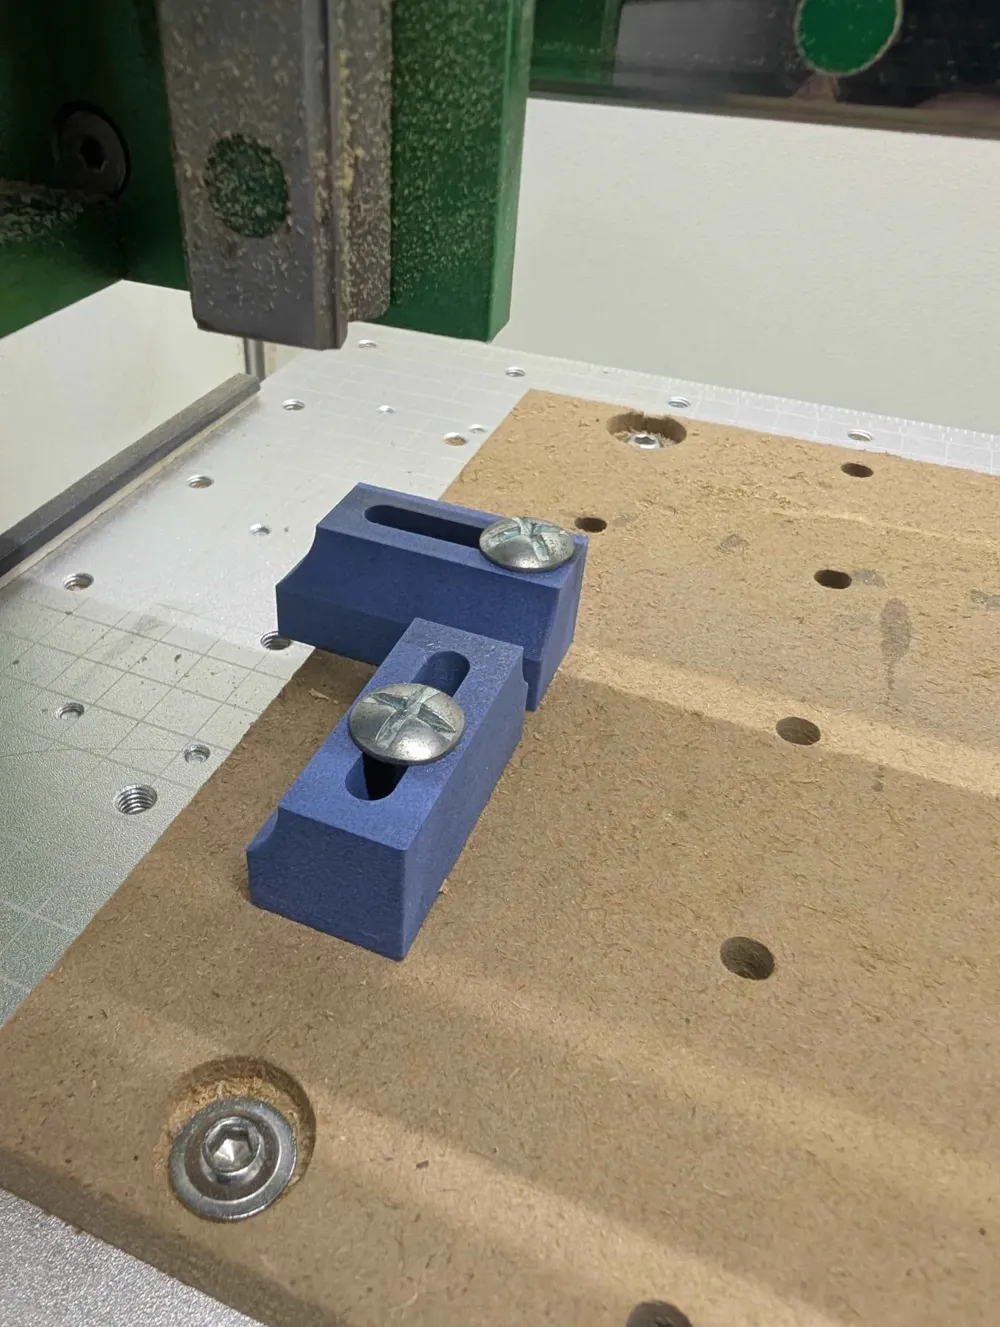
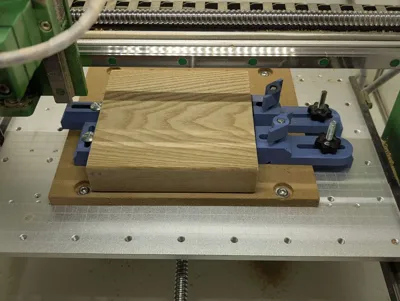
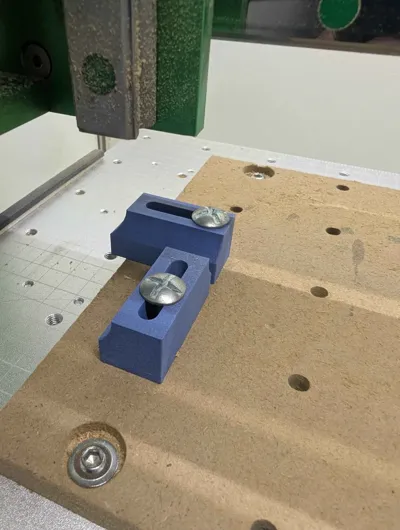
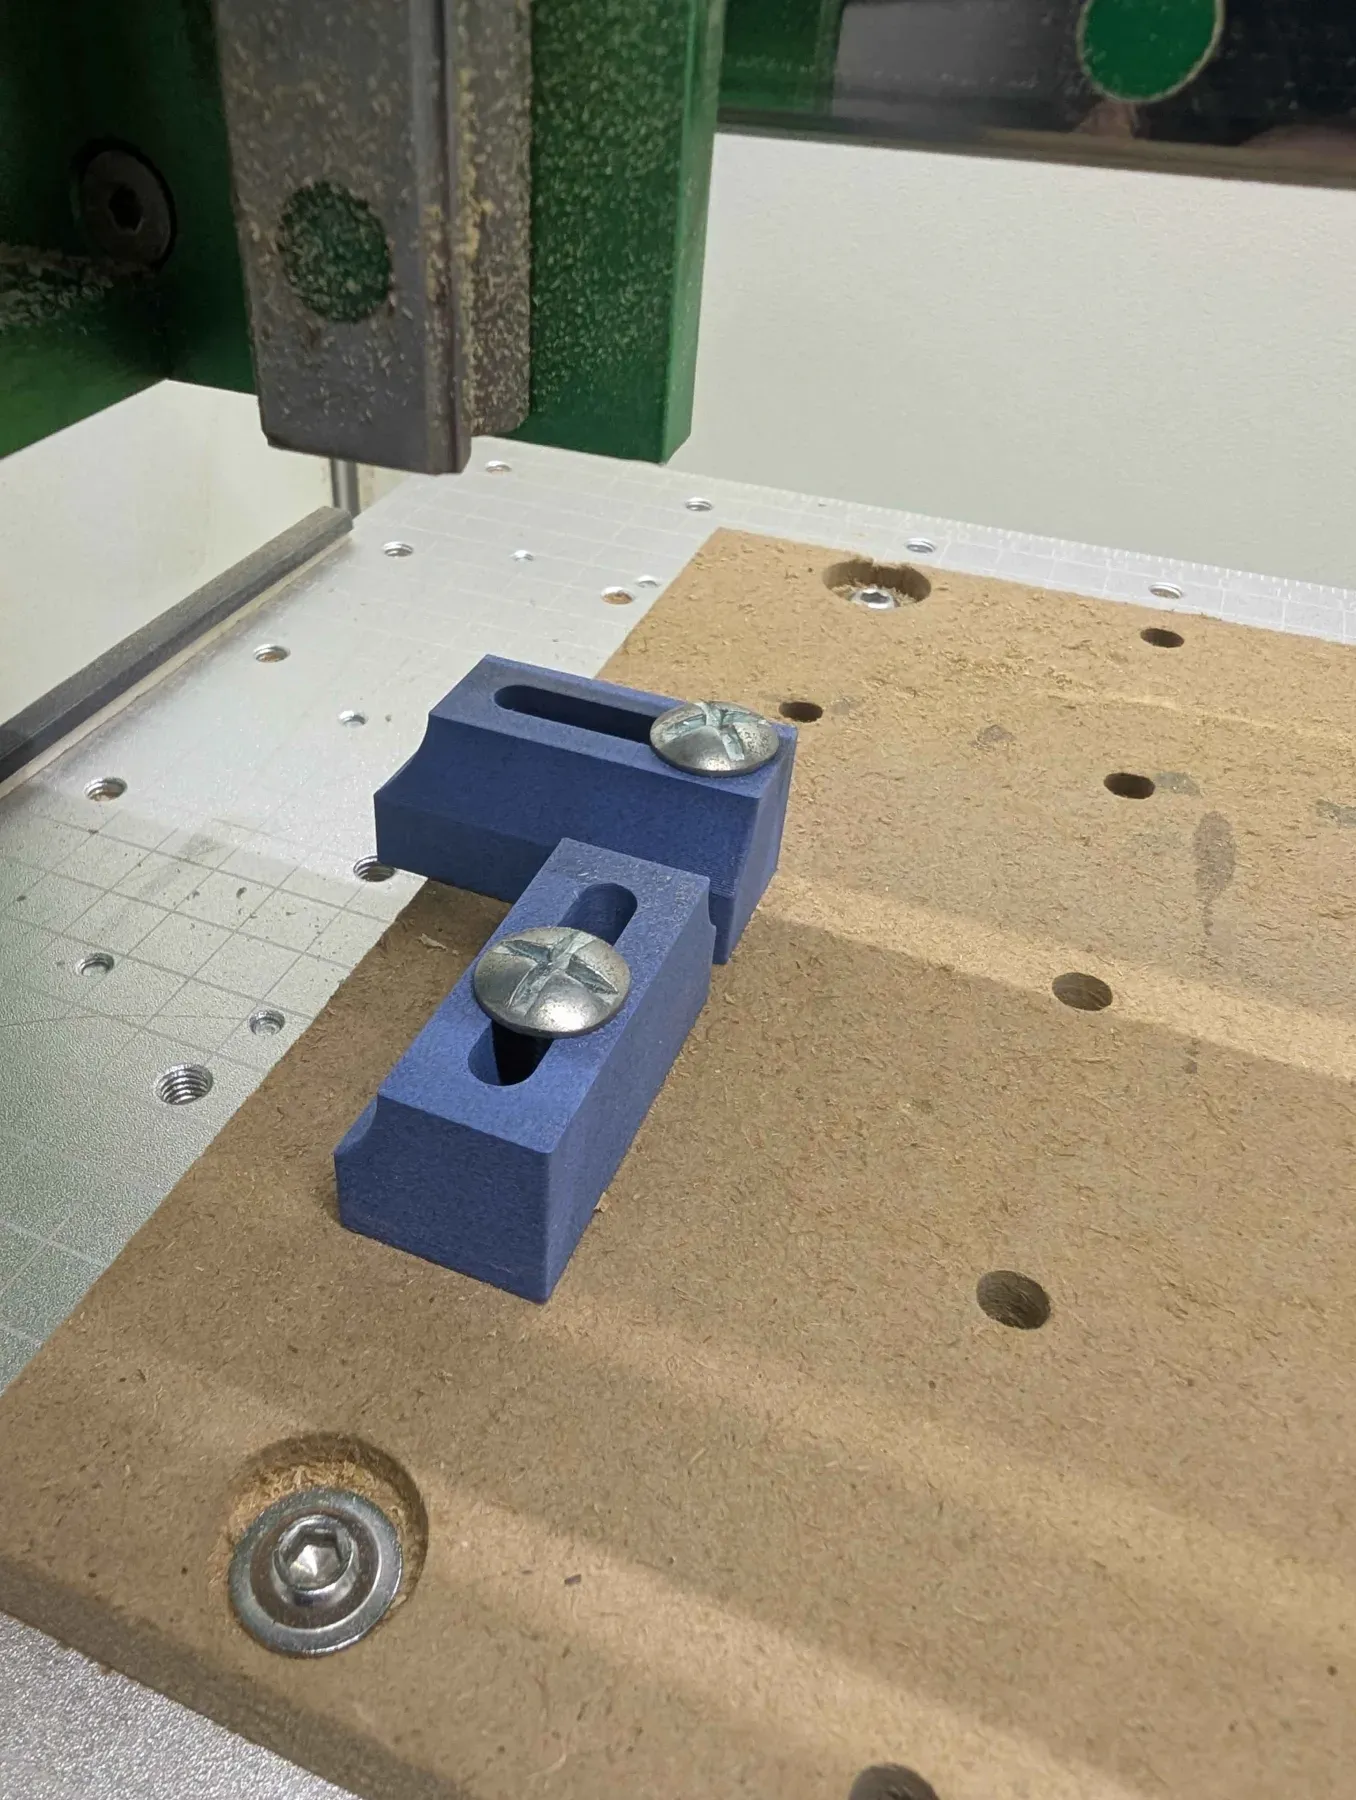
Bolt down some static blocks. These have a low-profile and taller side.
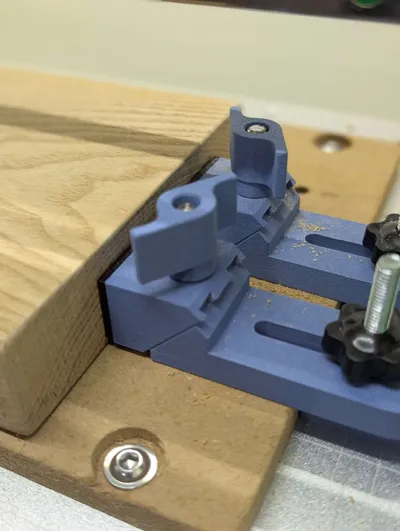
Add the stock and move a clamp to the work piece, so that there is still some movement possible in the clamp, and secure it down to the bed/spoilboard.
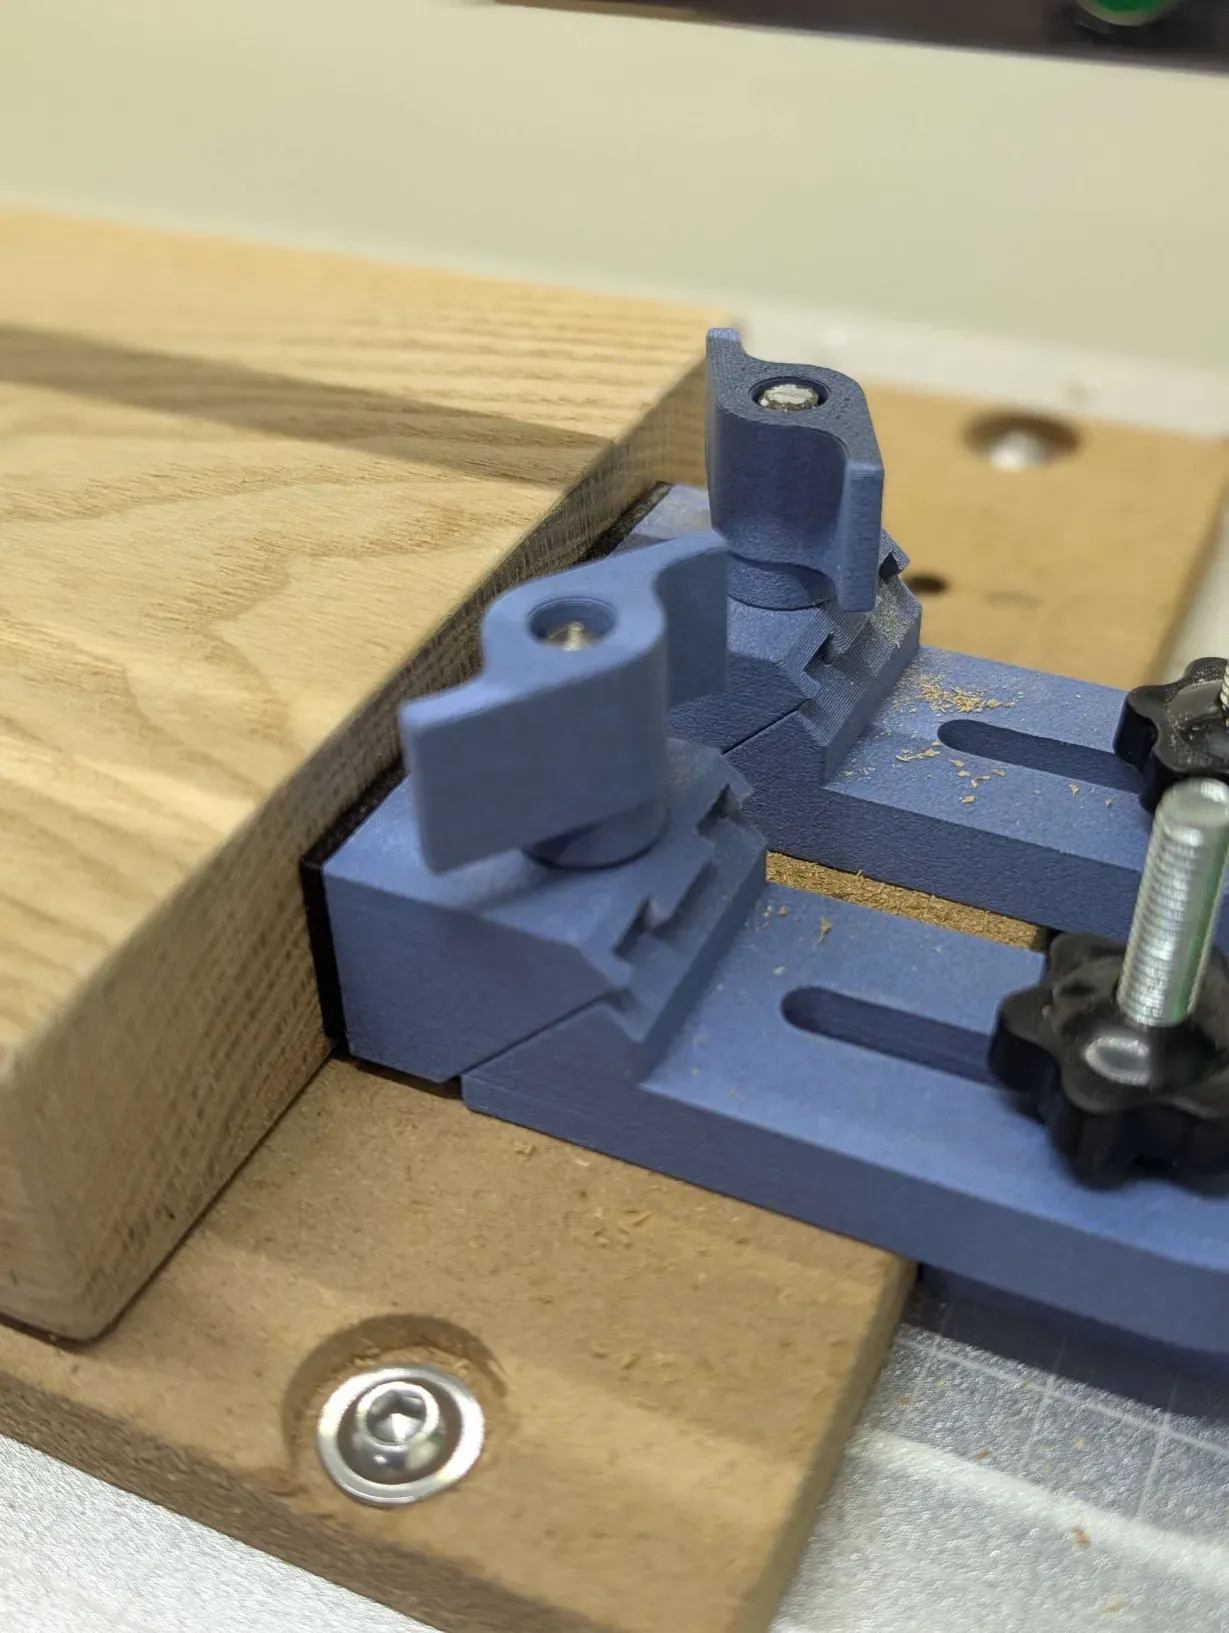
Finally tighten down the clamp with the thumbscrew and check the stock is not movable.
If it can still move, the clamp may need to be loosened and moved closer to the stock.
License



Comment & Rating (15)