Optics Bench for Vernier Track


Print Profile(0)
Description
This is a project I have been working on for a while. I want to first extend my thanks for the original model, which can be found here: https://www.thingiverse.com/thing:2336754
This kit is designed to work on the Vernier Physics Track. You will need to print the following parts:
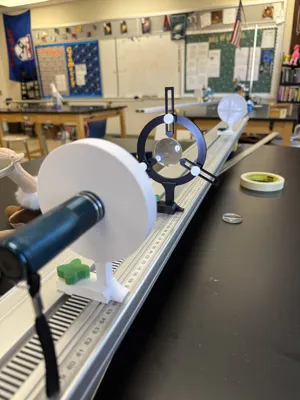
- Flash light stand
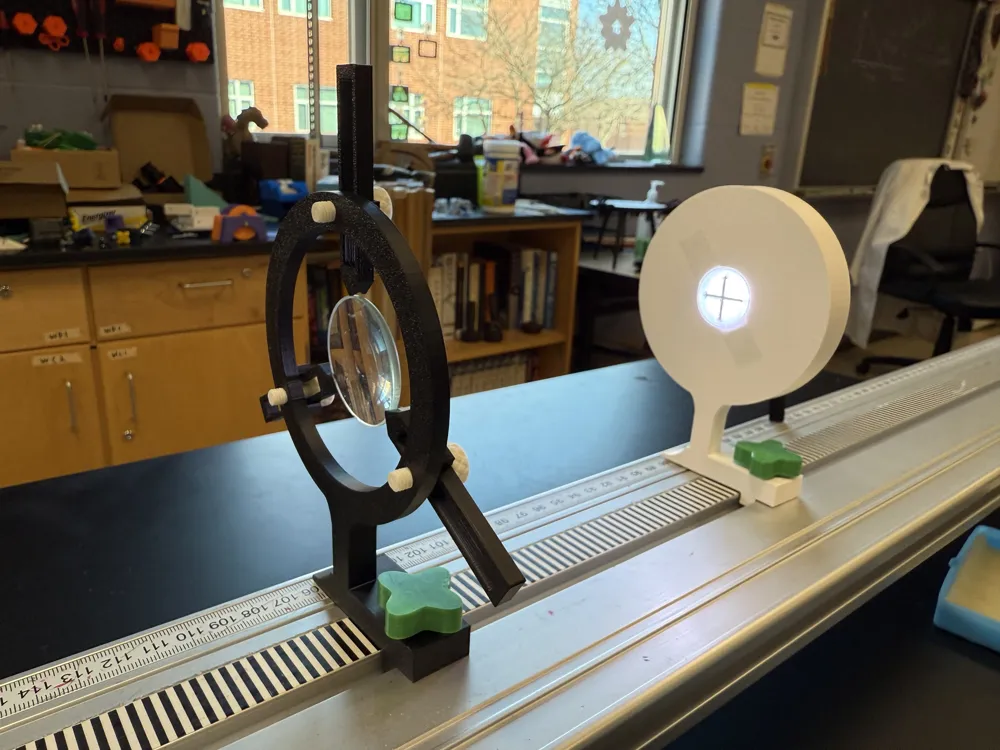
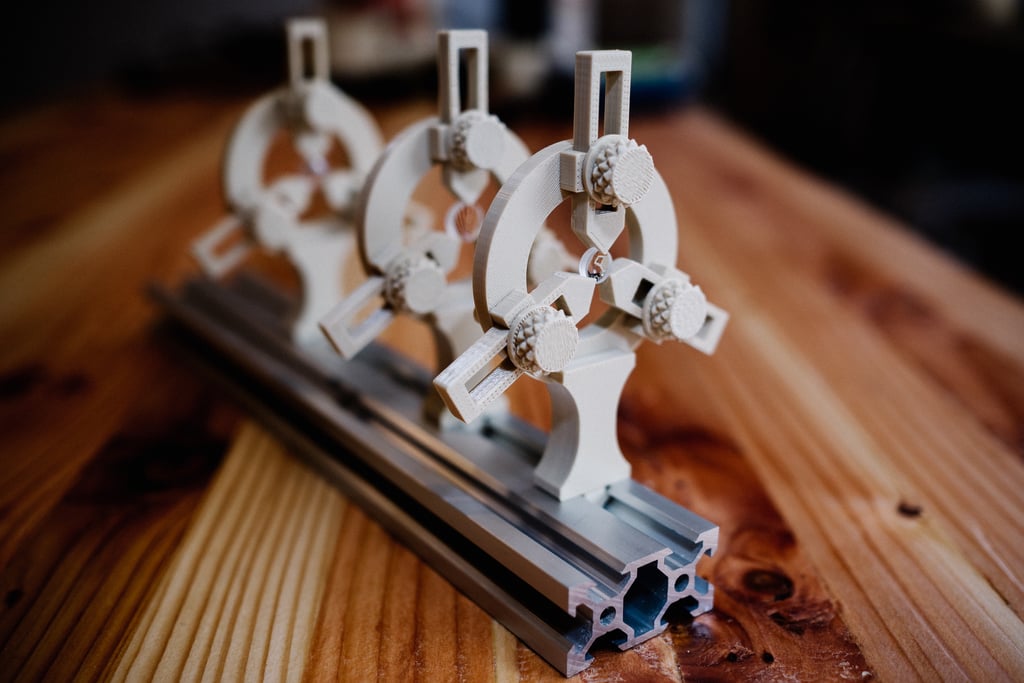
- Lens Holder (x2)
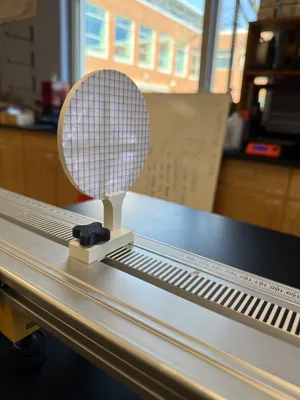
- Screen
There are options for some of these, and the OpenSCAD files are provided in order for you to modify them if you wish. If you need to make them bigger, you will have to adjust each file. Each item has a cutout for students to accurately measure the position of each object.
This optics bench was designed to work with these flashlights: https://www.homedepot.com/p/Defiant-60-Lumens-Aluminum-Flashlight-8-Pack-90652/320076174
You get 8 flashlights, with batteries, so it is a good deal! All of the hardware to attach the pieces to the track are ¼" by ¾" long bolts with ¼" square nuts holding them on. I printed a washer in order to adjust the spacing. If you need a quarter inch bolt handle for your bolts, check out my design here: https://www.printables.com/model/923748-quarter-inch-bolt-handle
For the flashlight stand: I printed them in PETG, with low infill. These should be WHITE, if you want to have students use the autocollimation method for determining the focal length of a lens. The white color will allow them to see a reflected image back onto the light source. I also designed an insert for the flashlights, which has two arrows, 2 cm in length. This way, students can see the image being flipped, and measure the height of the image. I printed these in clear PETG, with Black PETG for the arrows. Natural PLA would also work well. The arrows are thinner to speed up print time. There are two models, you will most likely want the mirrored file, so students can reference the face of the light source on the cutout at the base. If the arrows do not stay in the the flashlight, a little scotch tape will hold it in place.
For the lens holder: The threads will print best if printed with a low layer height. A layer height of 0.1 mm is suggested, I used 0.08 mm on my Bambu labs printer. For the screws, you will want to use PLA with a high infill. Low infill with PETG all broke as I tried to thread them. You may also want to print some washer for the screws. These are kind of finicky, and at some point it might be nice to get rid of the threads and just use metal screws.
For the Screens: You have options, and these will be based on your preference and printing capabilities. There is a blank screen if you just want to print them in white. I also provided a few options based on nozzle size. If you have a 0.2mm nozzle, you can print finer lines on the screen, but if you have a 0.4mm nozzle, I provided files with thicker lines. I am not sure the 0.2mm lines are that much better, but there are there for you. The first number in the screen file is the thickness of the lines.
- Choose 22 for lines 0.22mm thick → If you have a 0.2mm nozzle
- Choose 44 for lines 0.44mm thick → If you have a 0.4mm nozzle
The second number is for the spacing of the lines.
- Choose 10 for lines 1 mm apart
- Choose 5 for lines 0.5 mm apart
- Choose 25 for lines 0.25mm apart
That might not be the best file name convention, but oh well. In my picture, I am using the screen_22_5.
I hope you enjoy this kit! Please post a make!
Comment & Rating (0)