
Snaply - Push-Button Filament Spool Clip
Print Profile(8)



Bill of Materials
Description
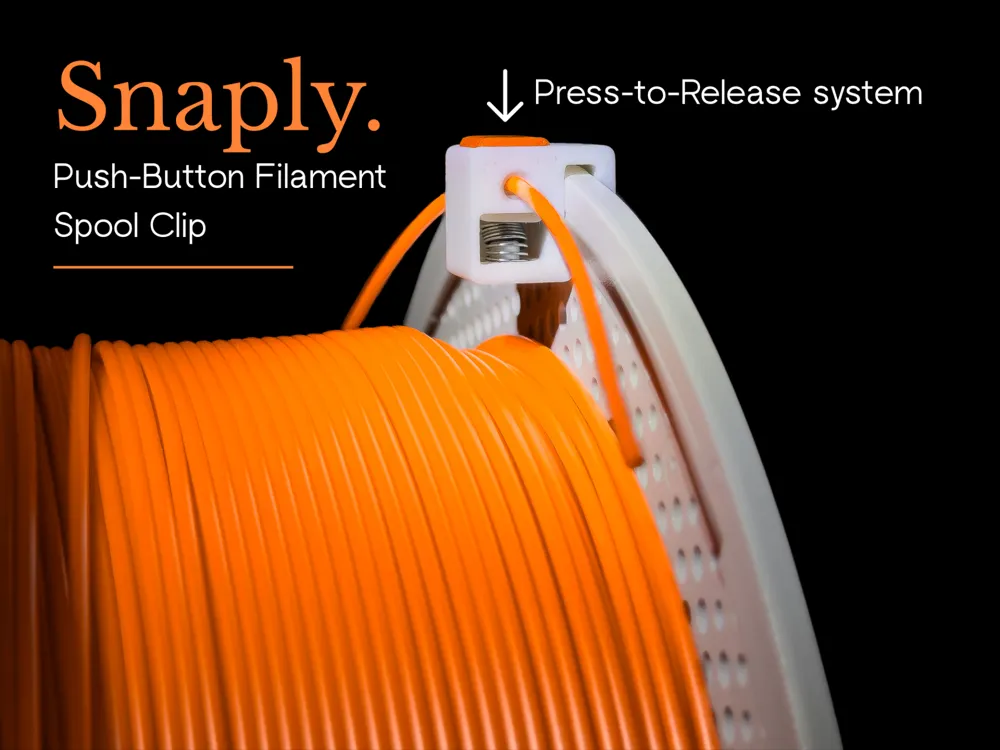
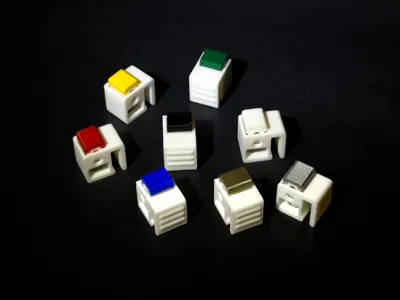
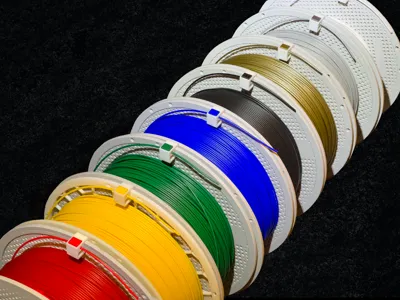
Introducing SNAPLY – The Push-Button Filament Spool Clip!
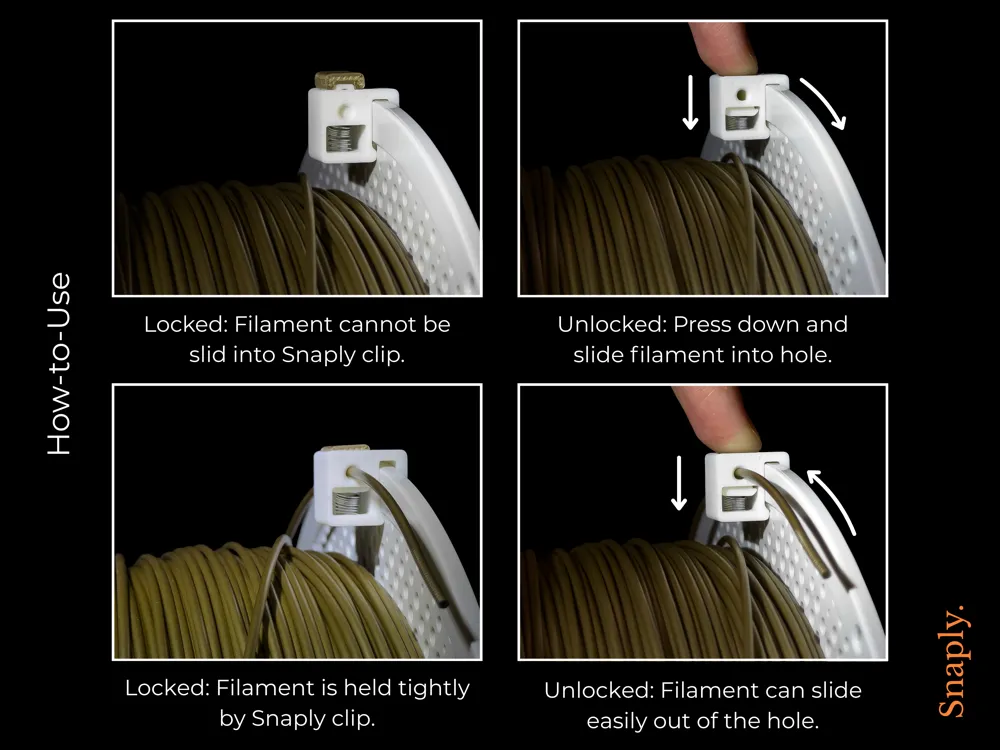
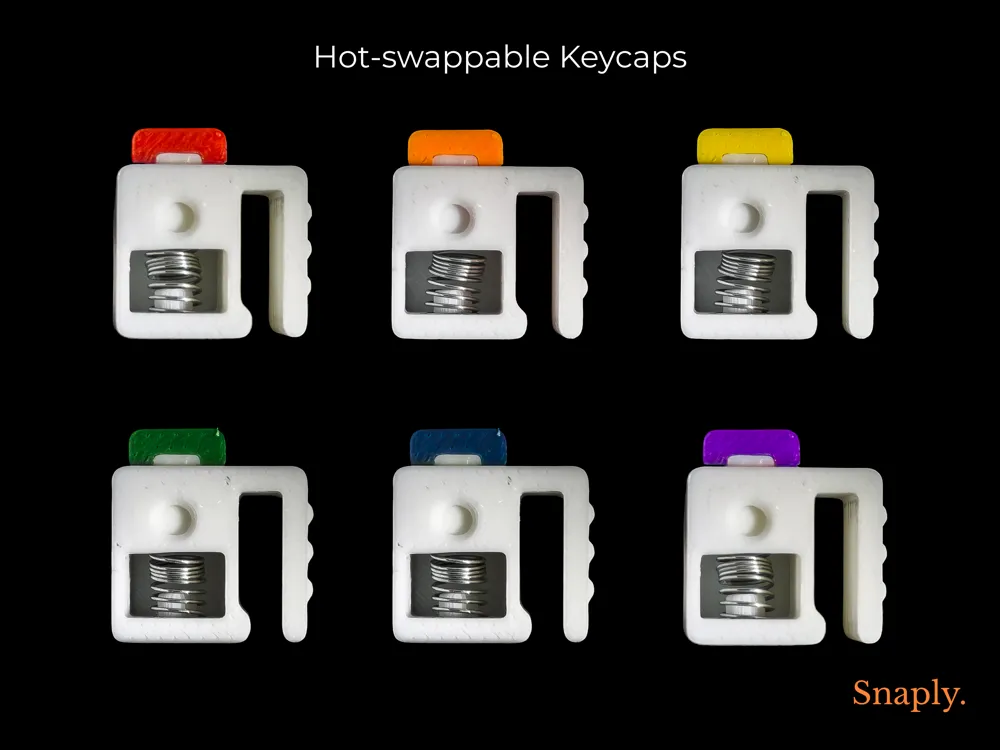
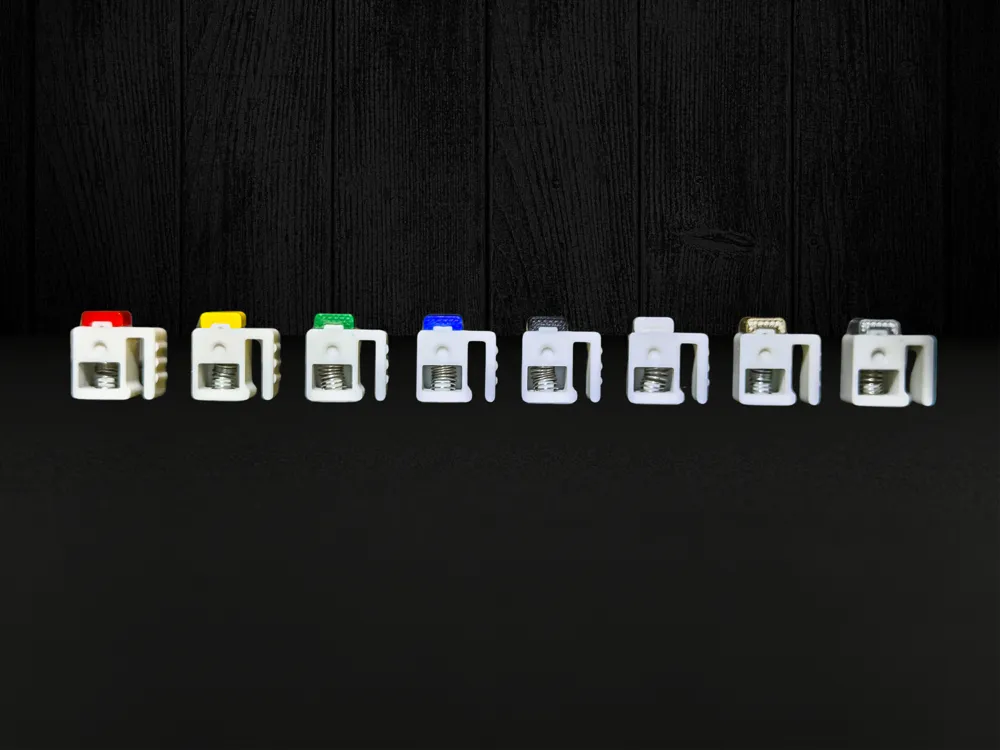
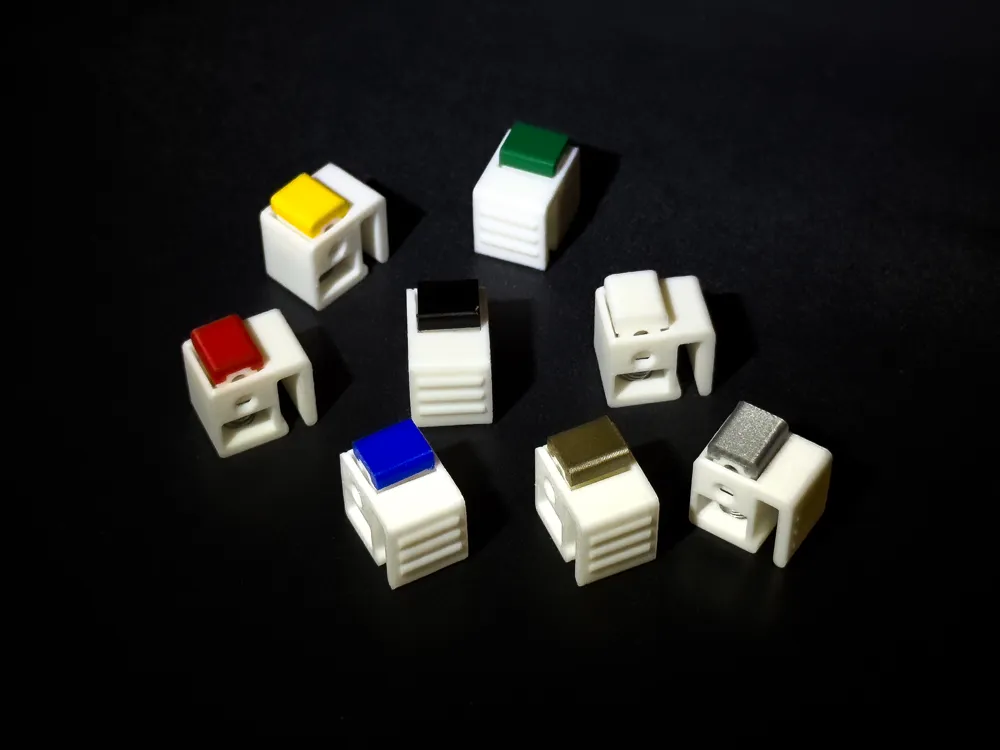
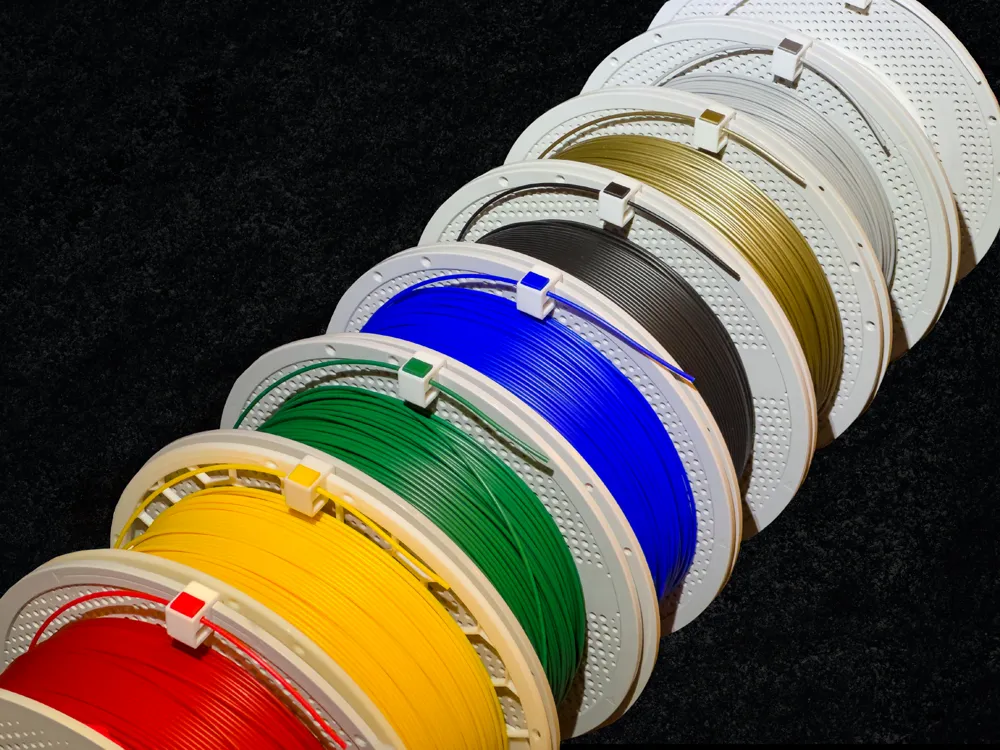
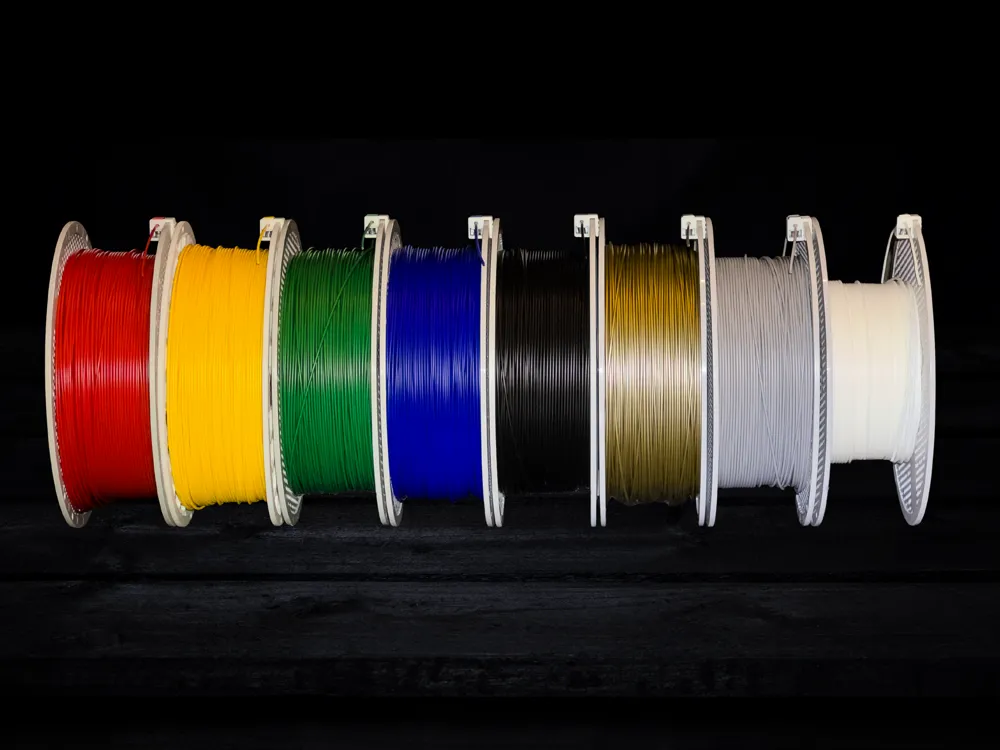
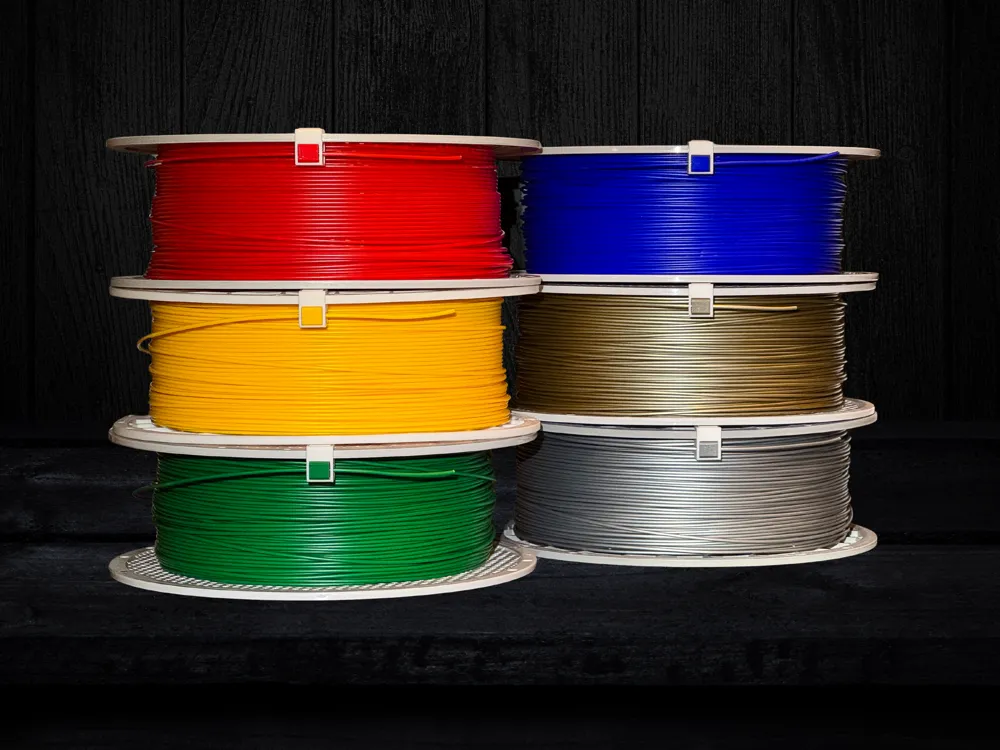
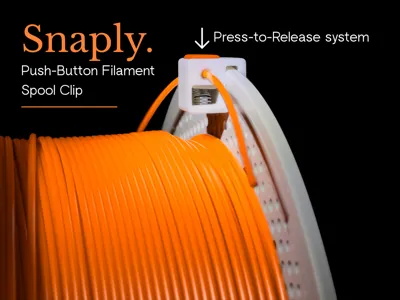
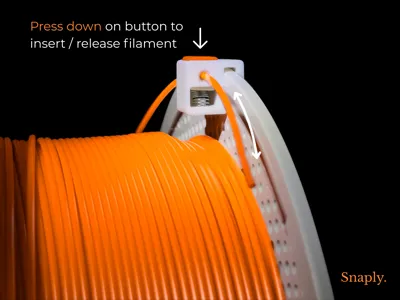
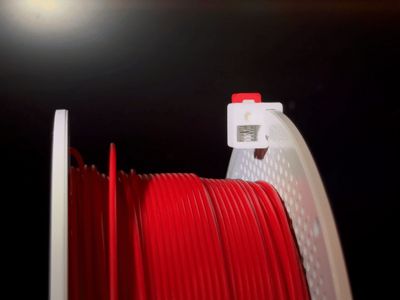
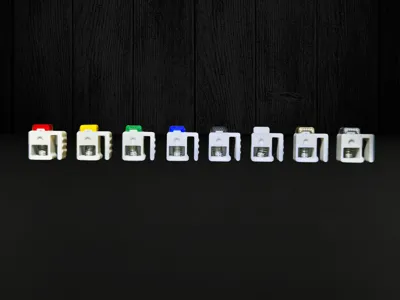
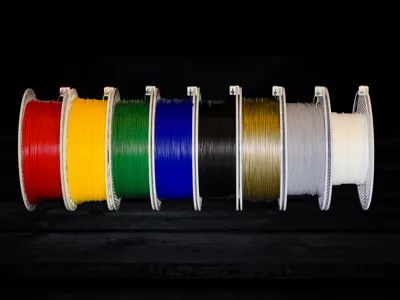
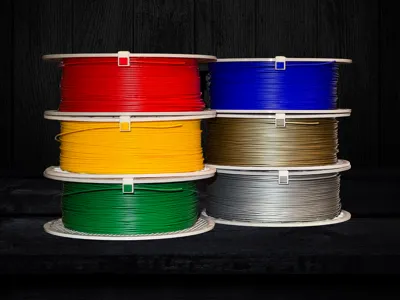
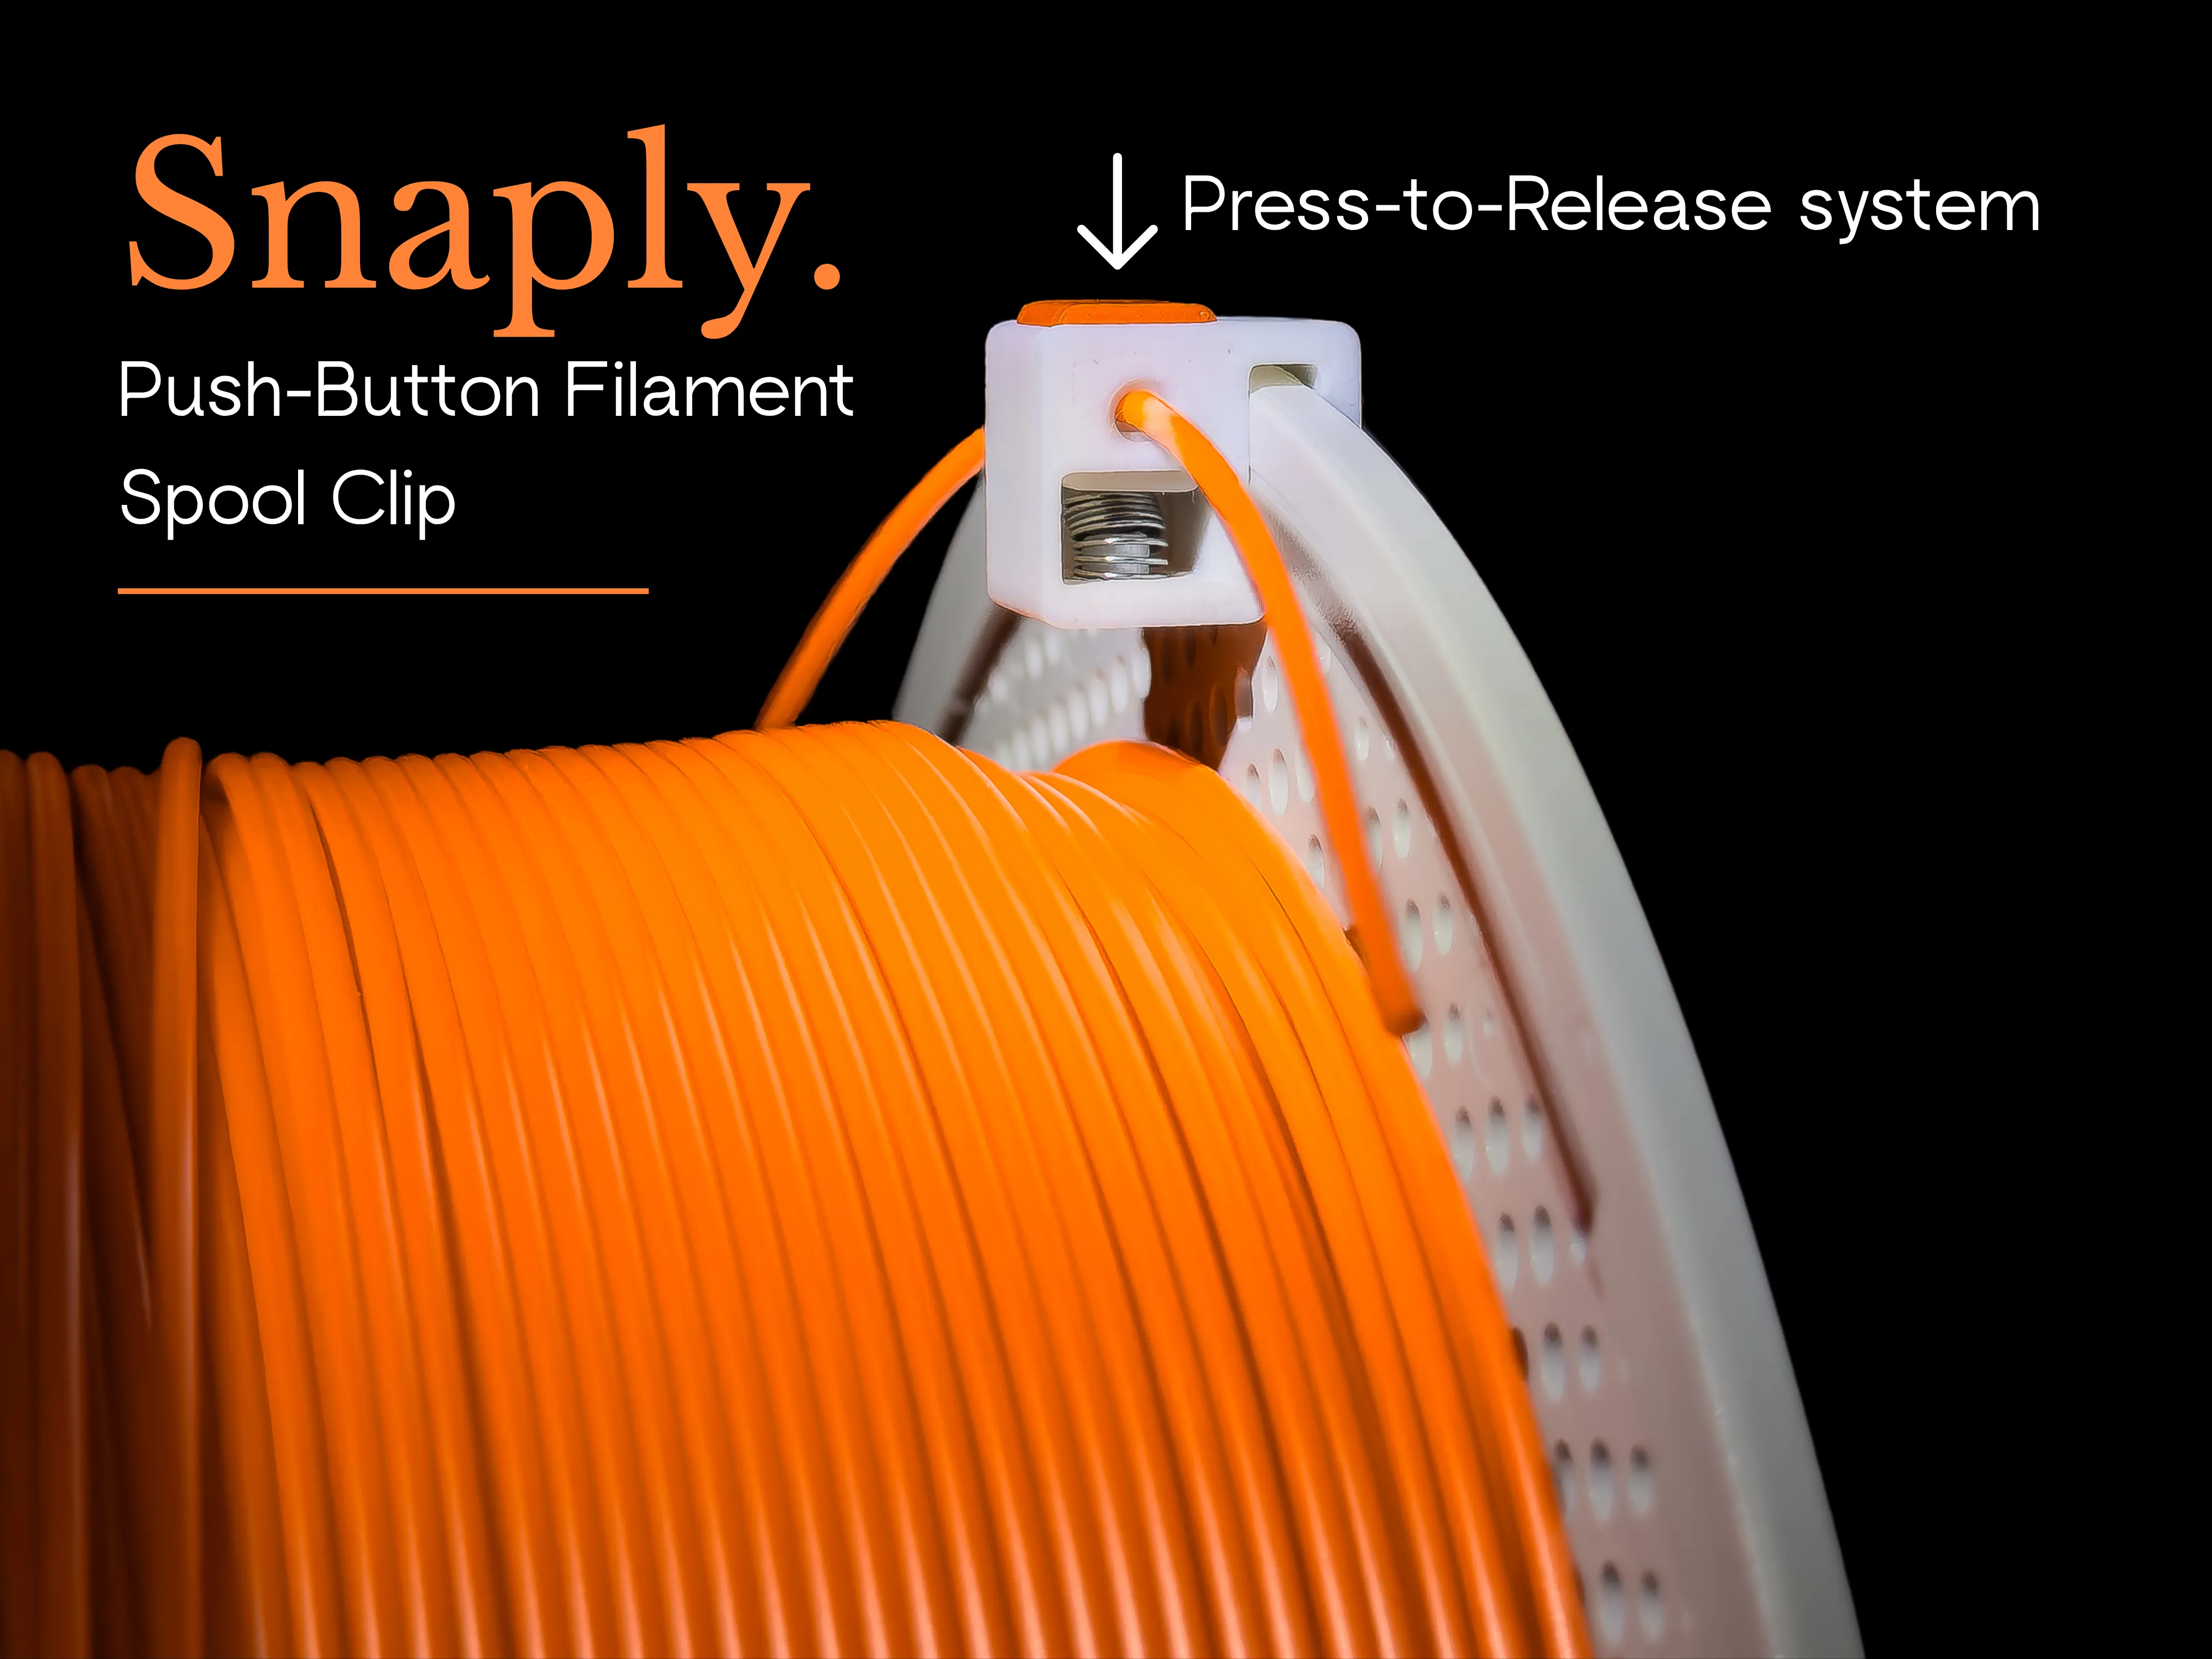
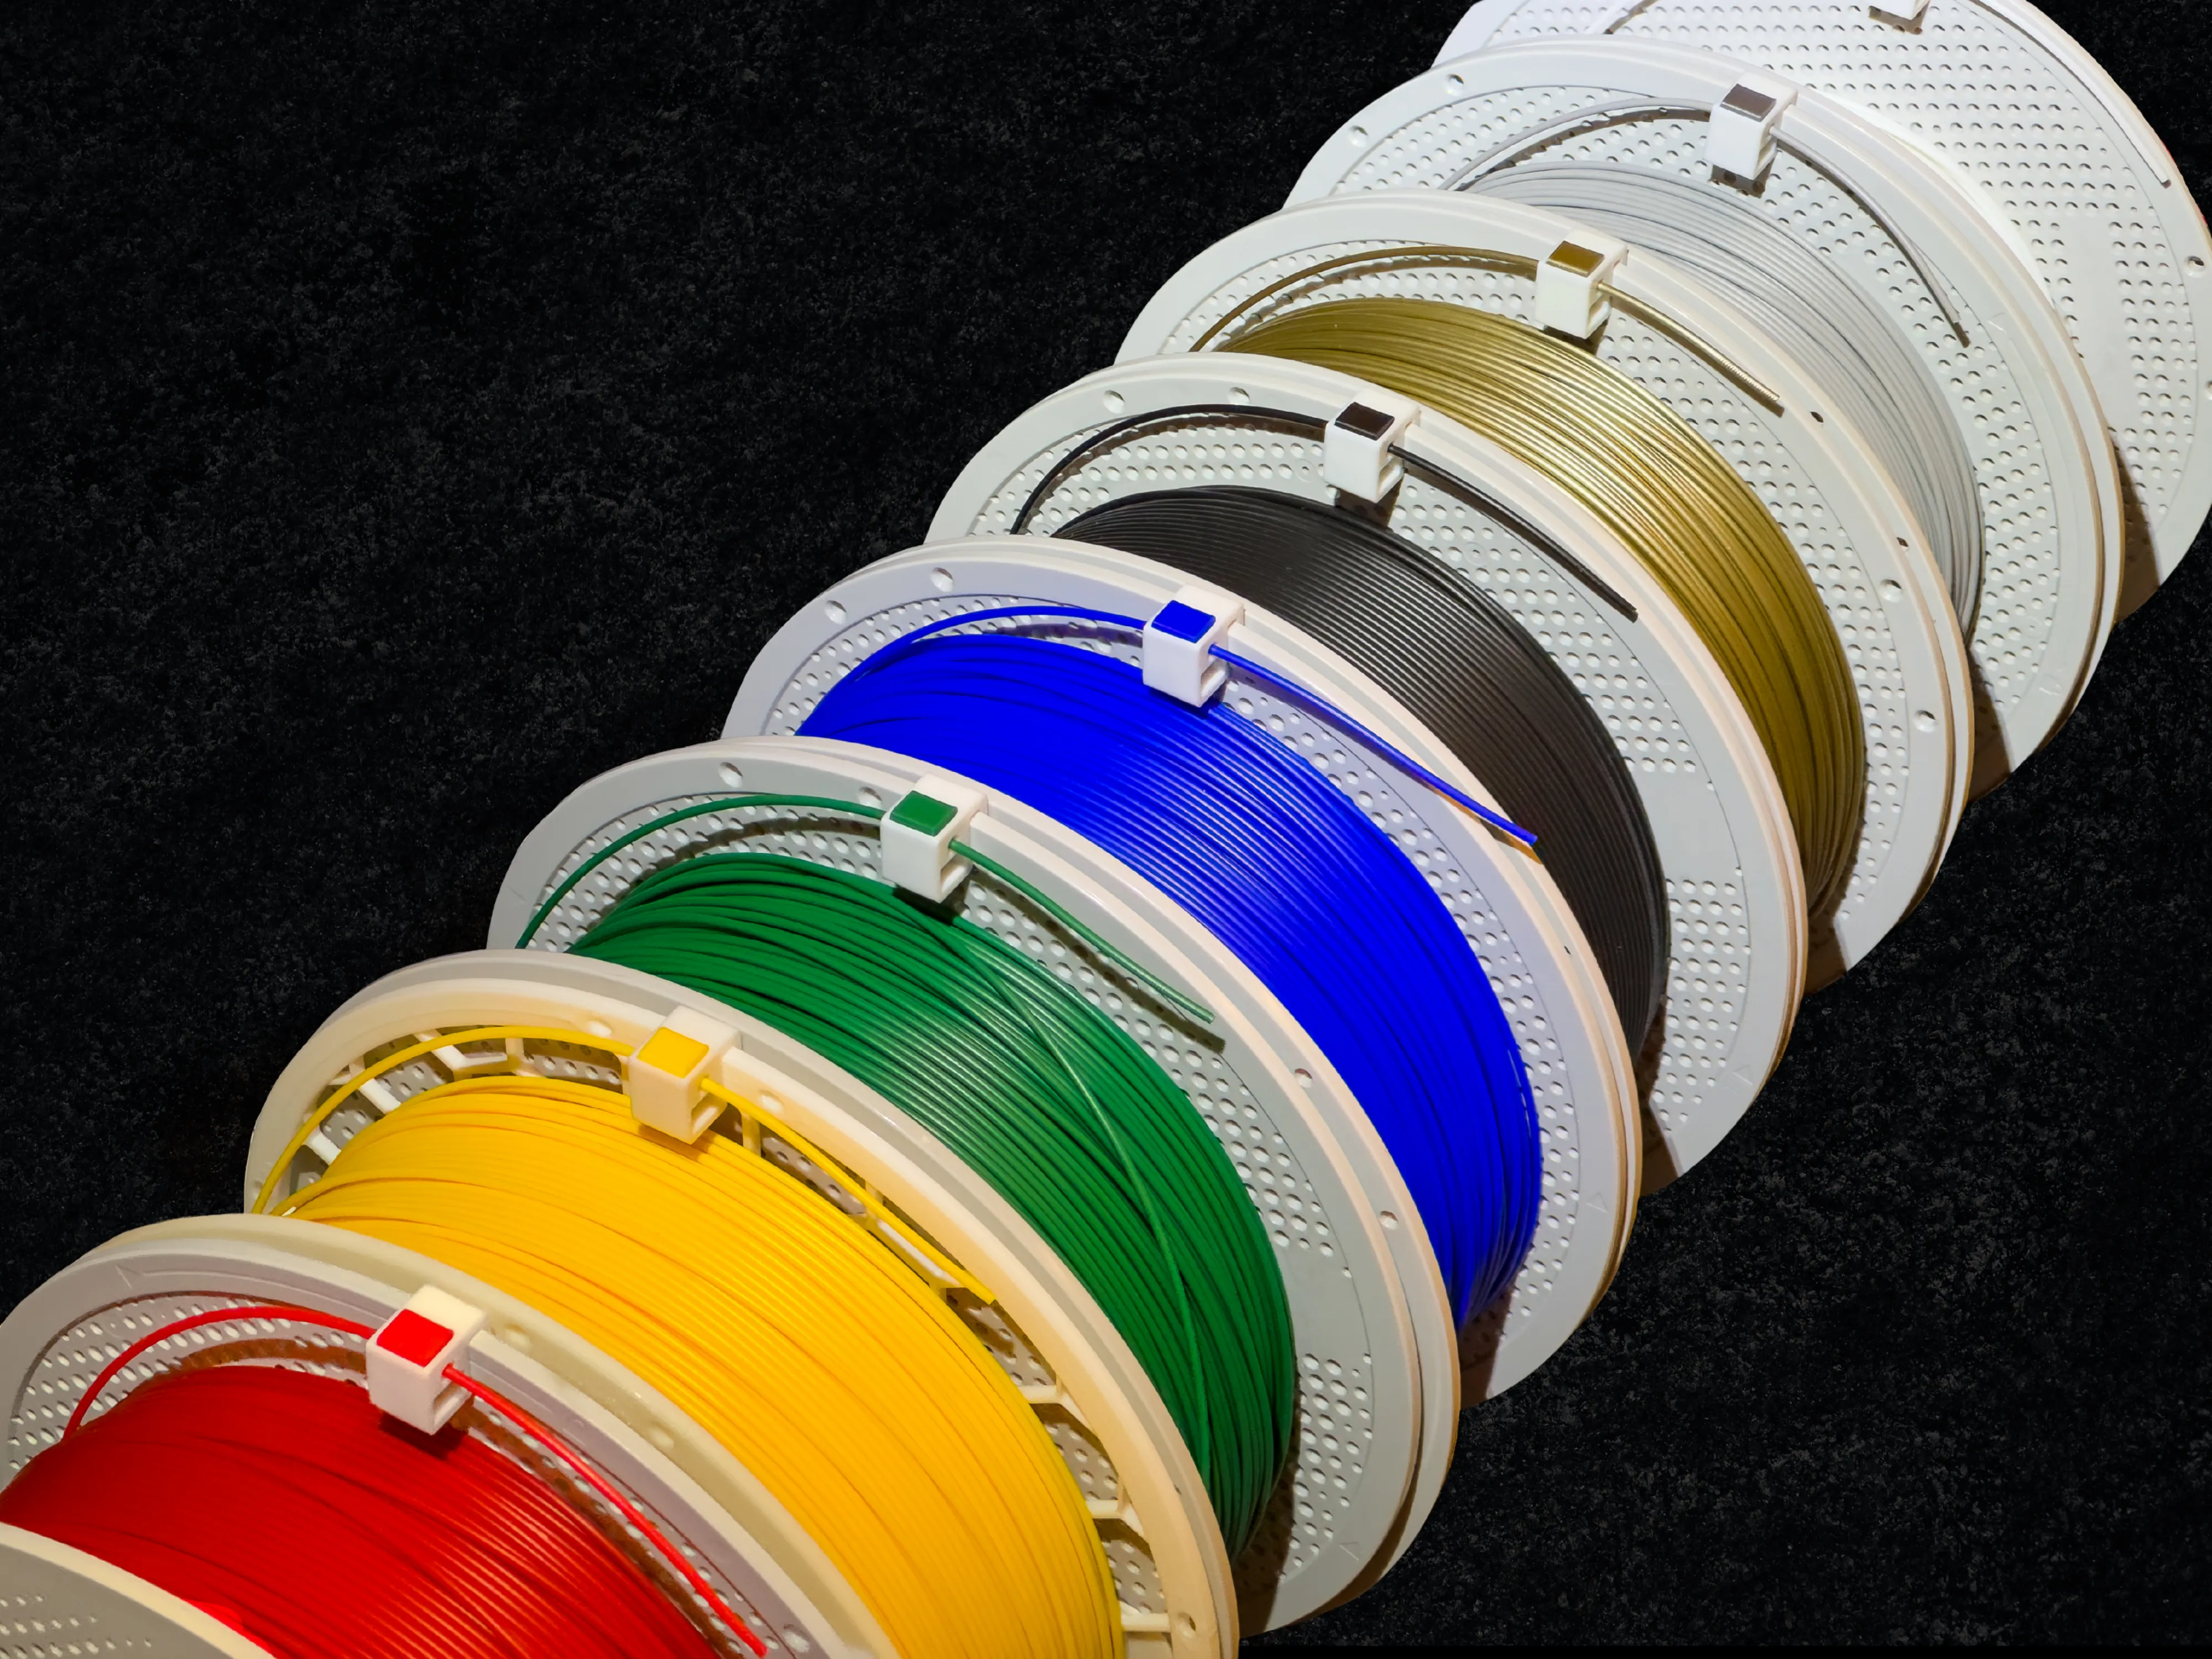
There is certainly a wide range of filament clips available on Makerworld. In this area, SNAPLY stands out with its one-of-a-kind Press-to-Release technology. With the push of a button, Snaply allows you to secure your filament on unused spools securely and easily.
⠀
⠀
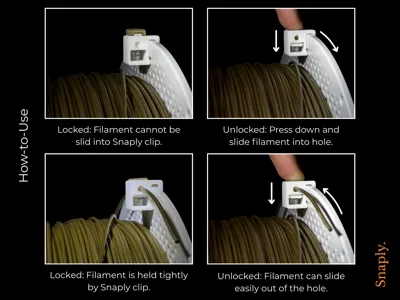
Press-to-Release System
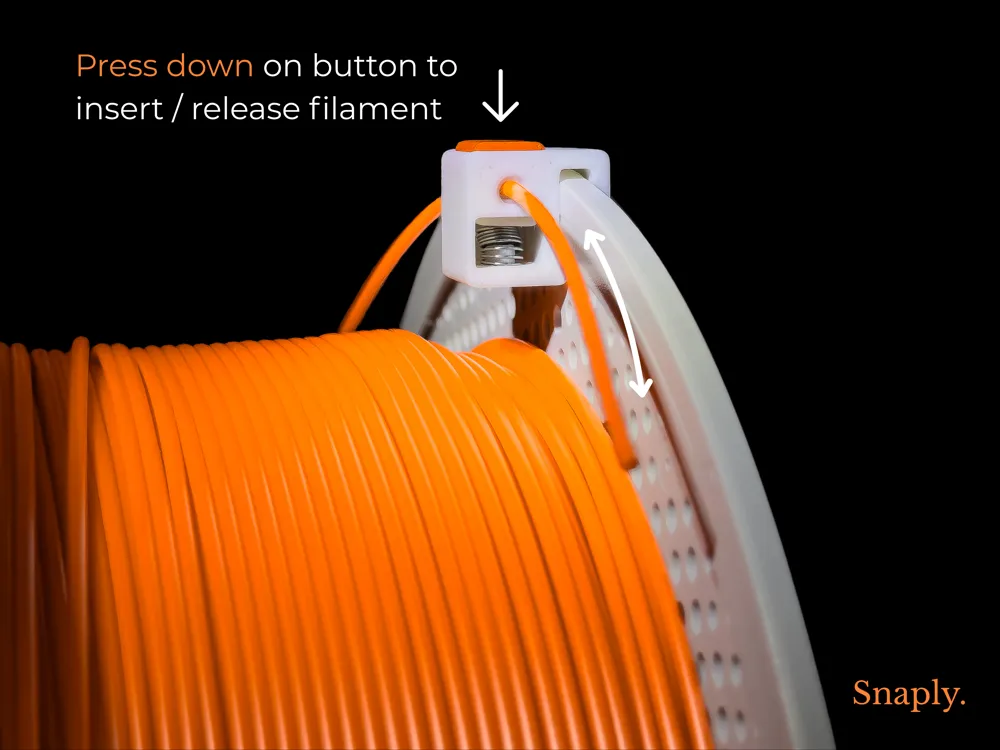


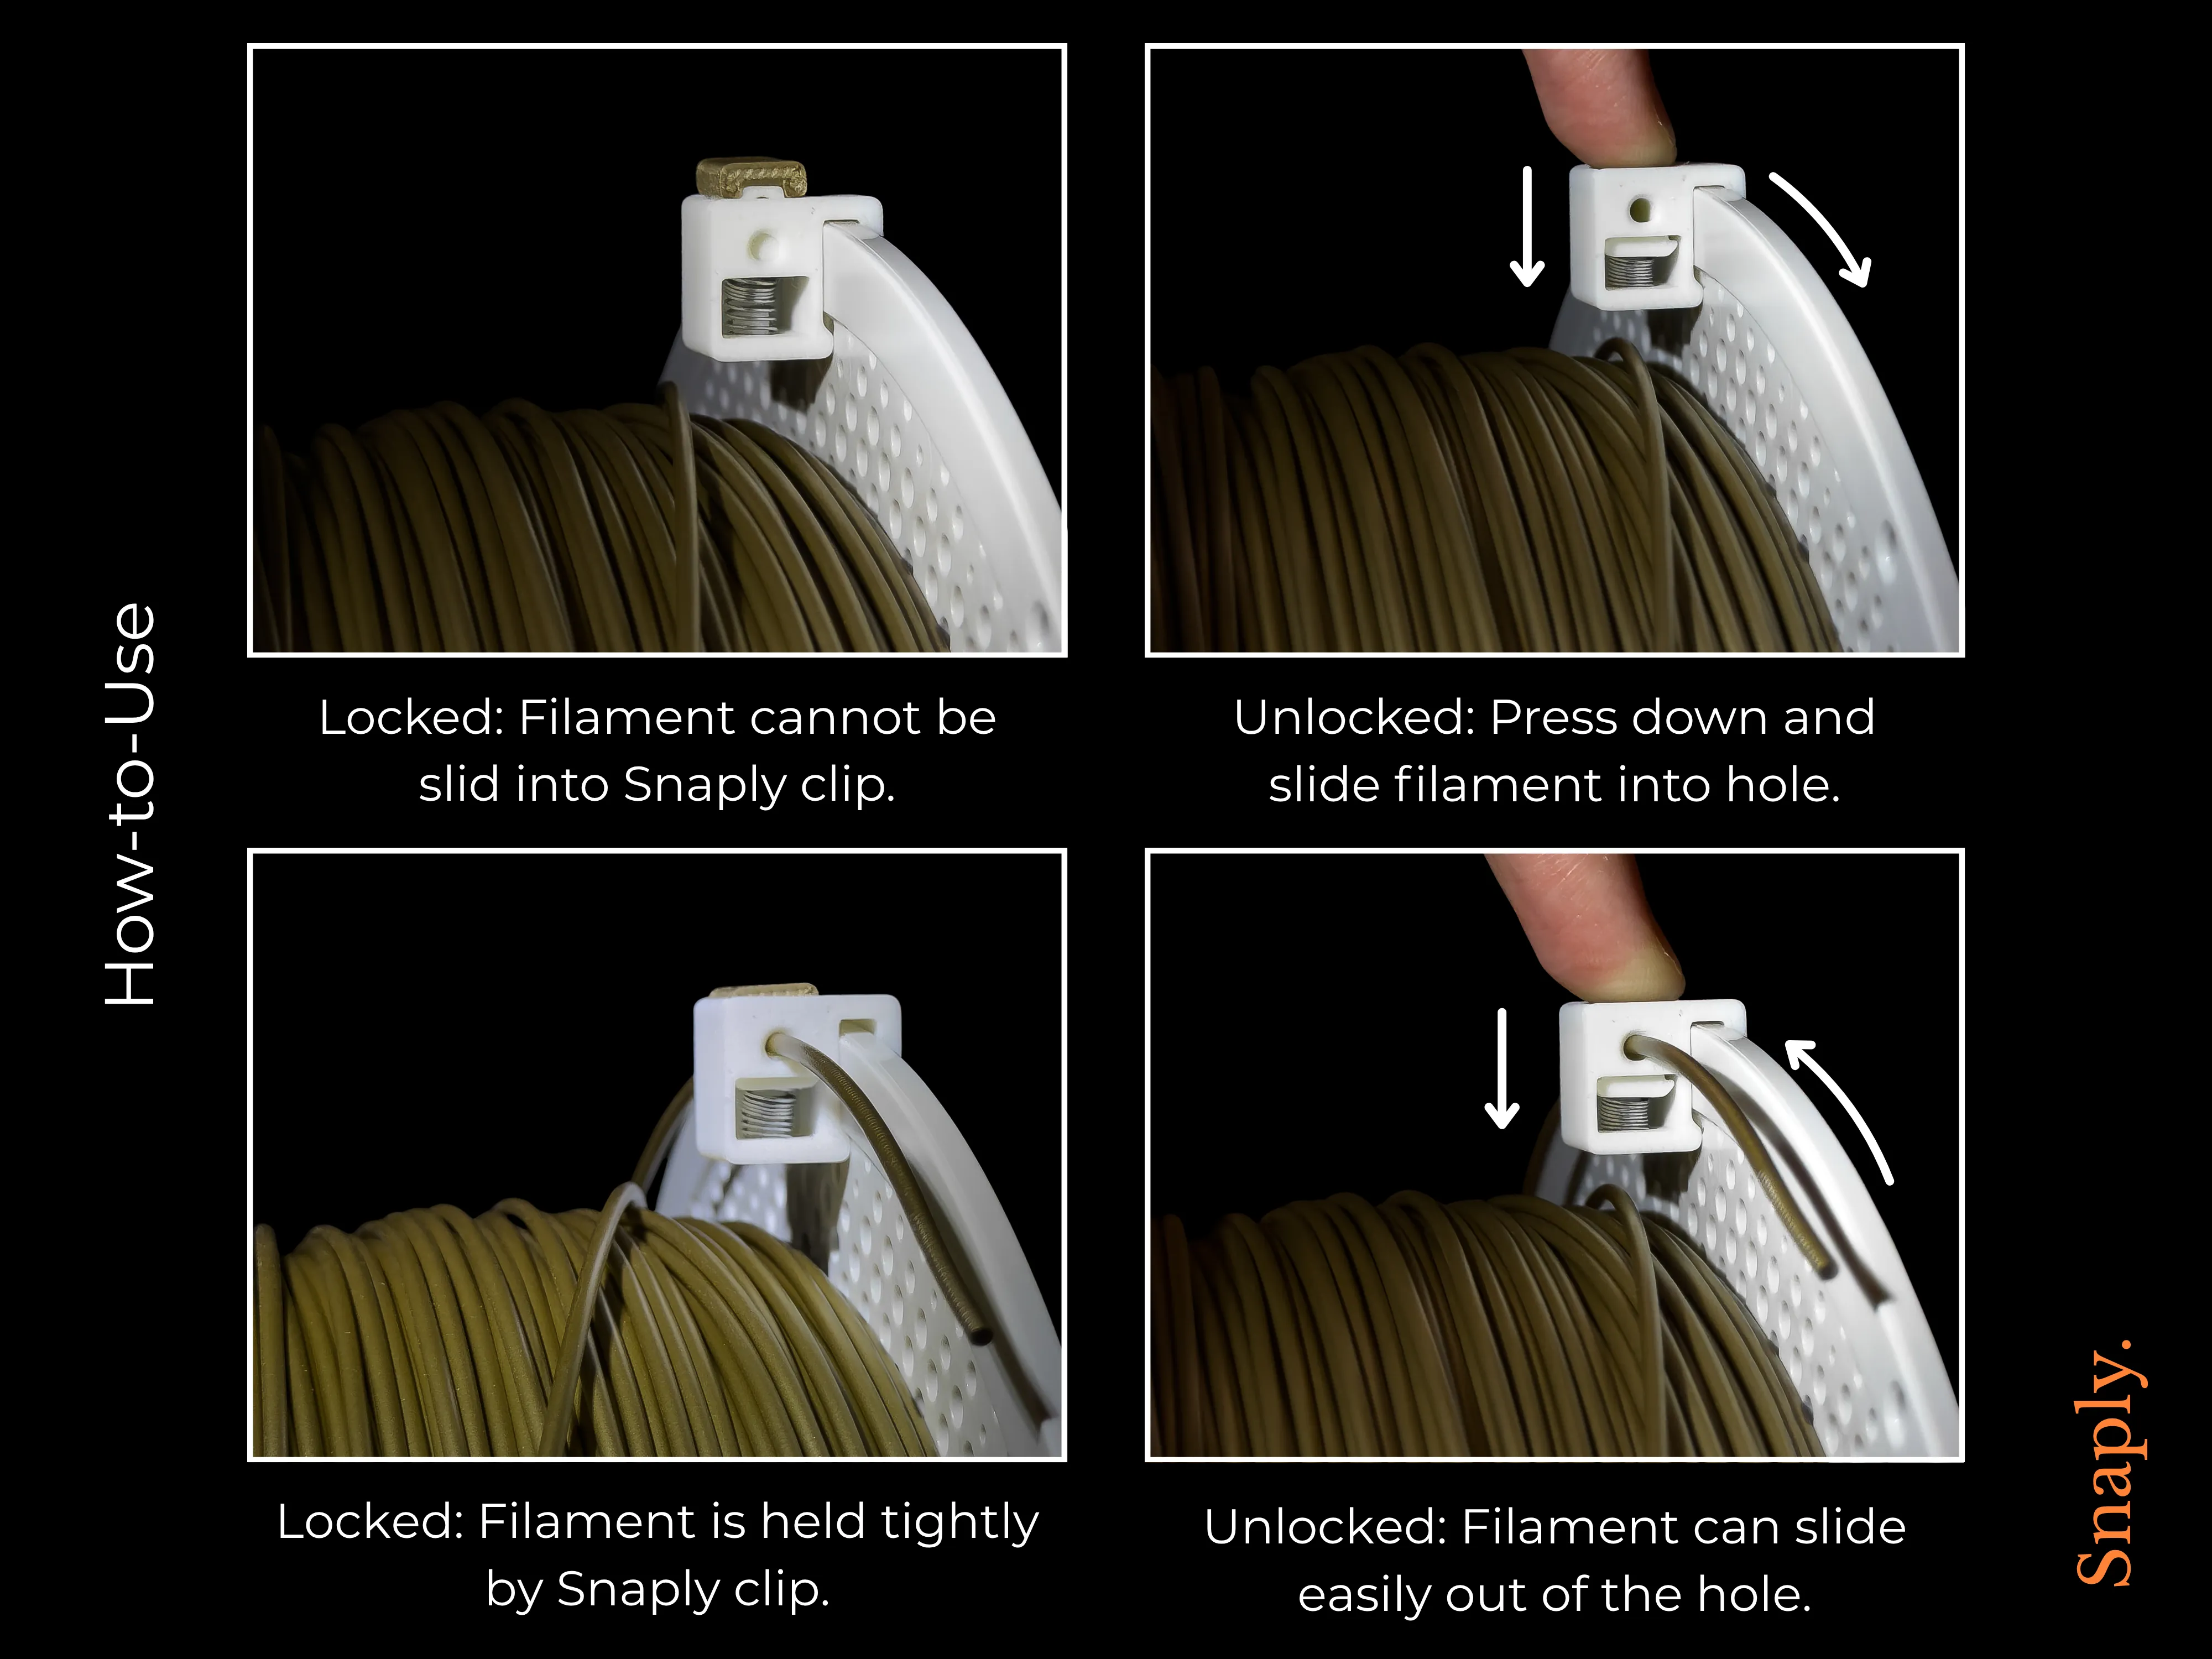
Pressing down on the spring-loaded button causes the Snaply clip to lock and unlock. When the button is pressed, the filament experiences no resistance and can slide in and out of the tunnel easily. When the button is released, the filament is clamped tightly by the Snaply clip.
⠀
⠀
⠀
Assembly
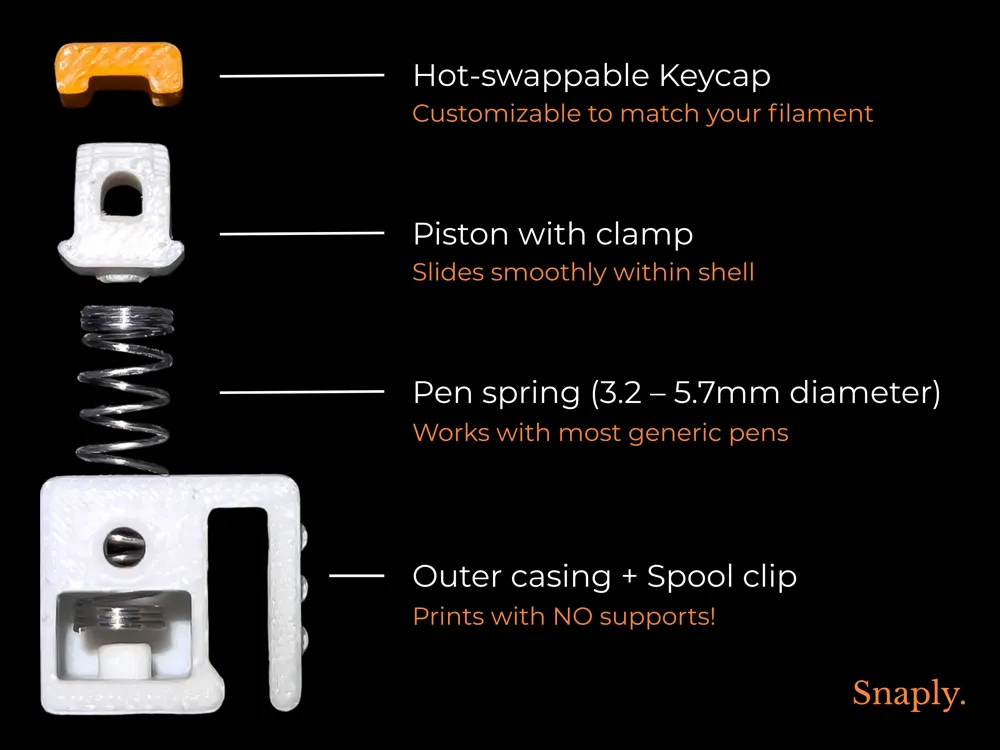
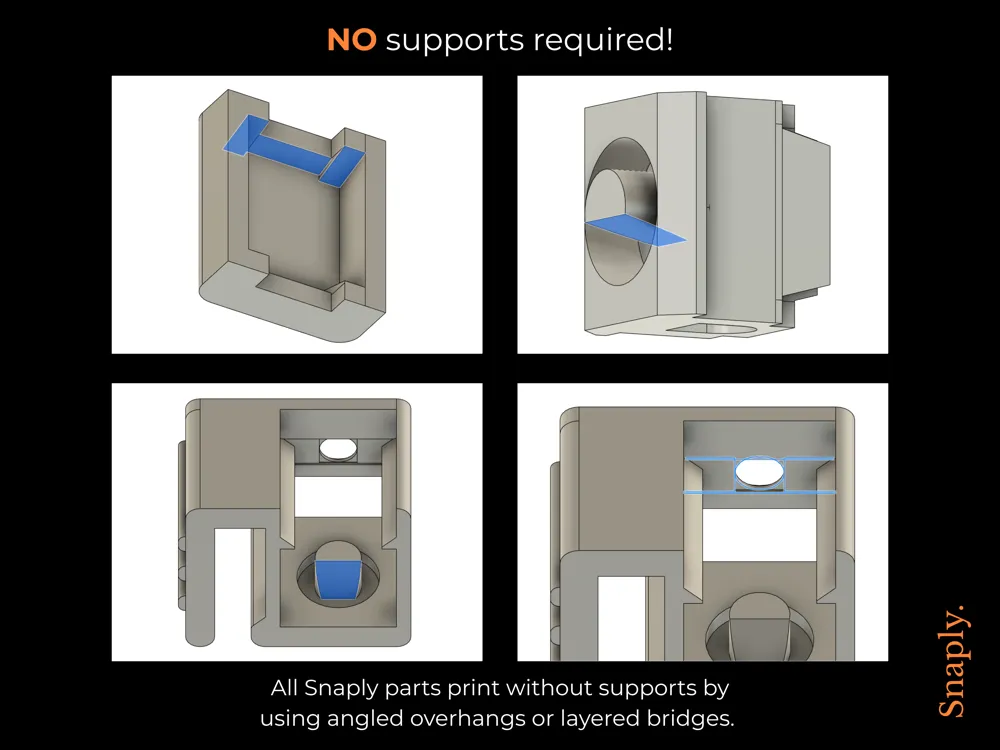
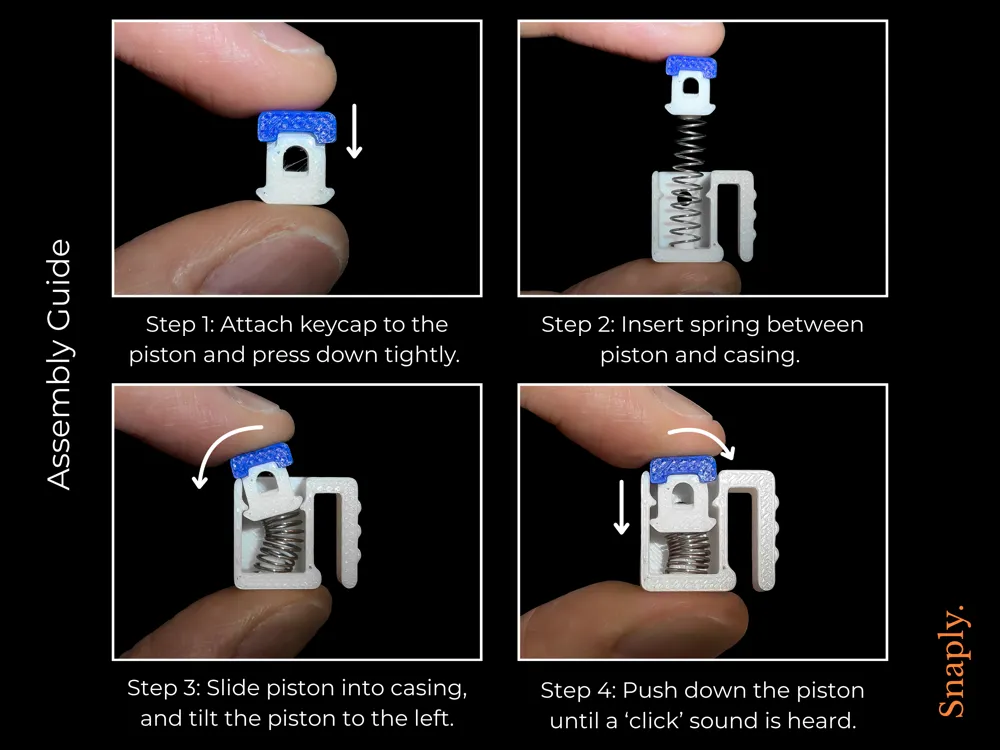
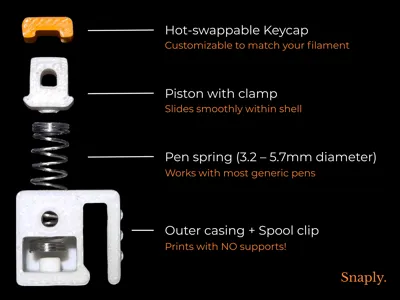
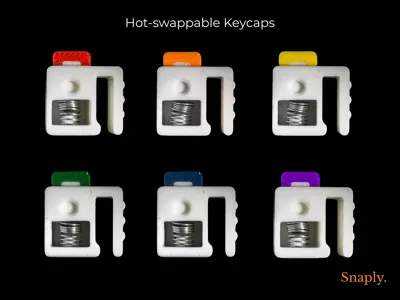
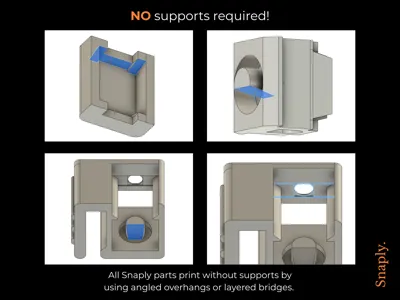
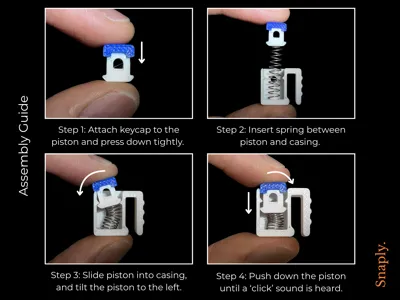
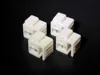
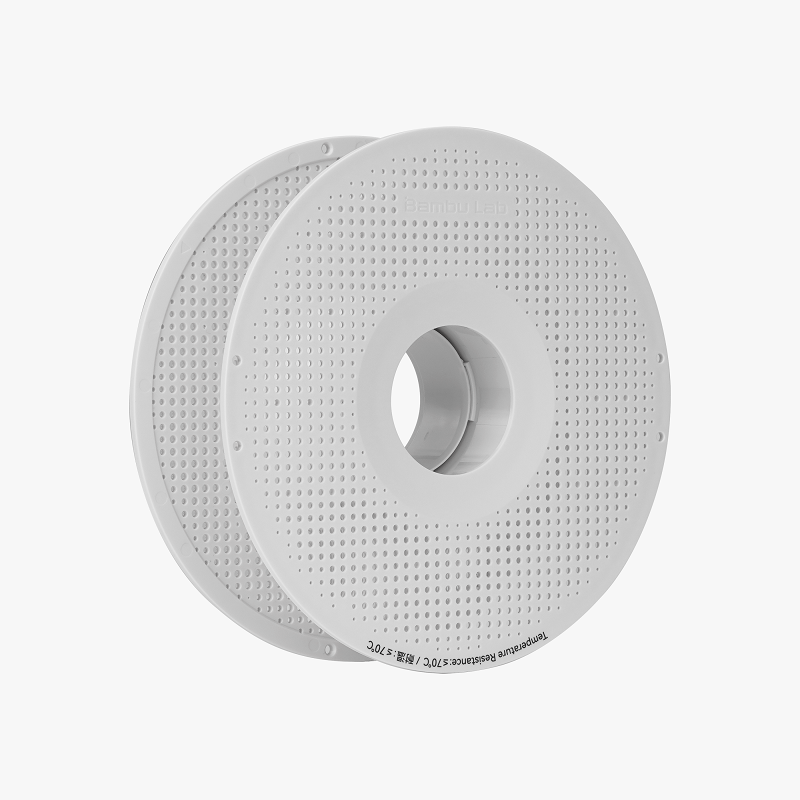
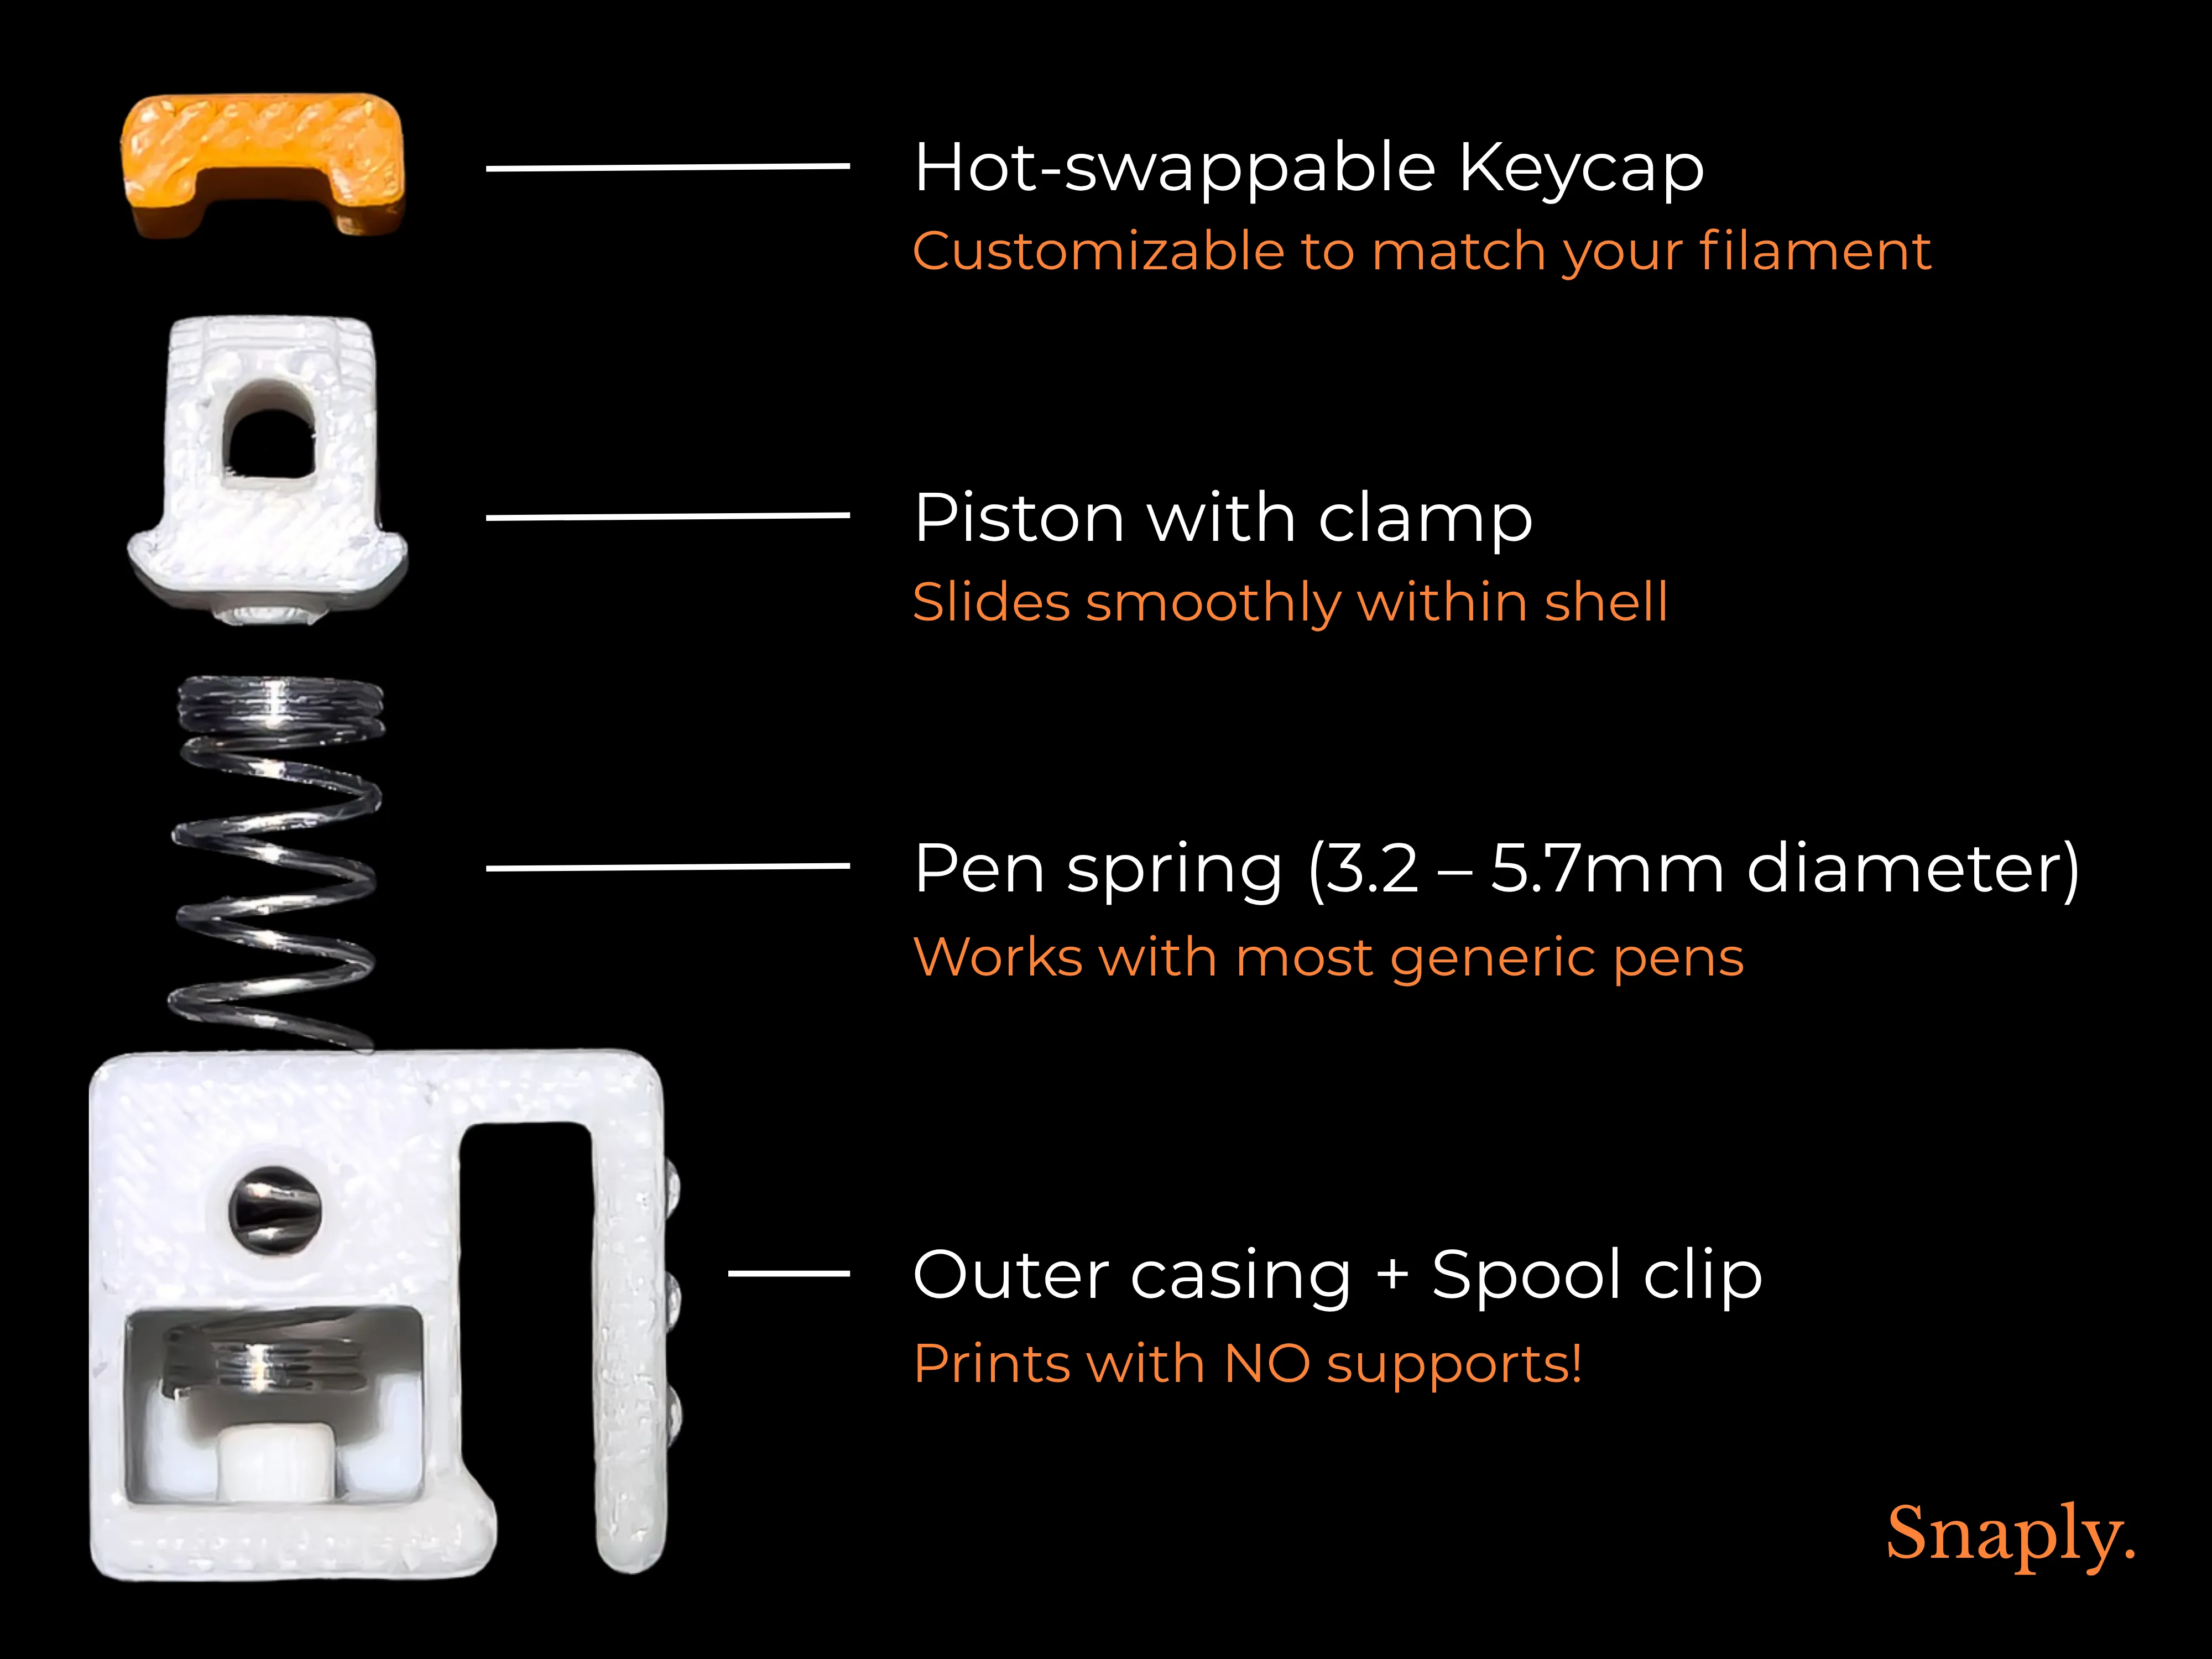
The Snaply Clip is compatible with most pen springs between 3.2mm - 5.7mm in diameter and about 10mm - 30mm in length. It prints in three parts with no supports, and can be easily assembled by pressing the piston into the casing.
⠀
⠀
⠀
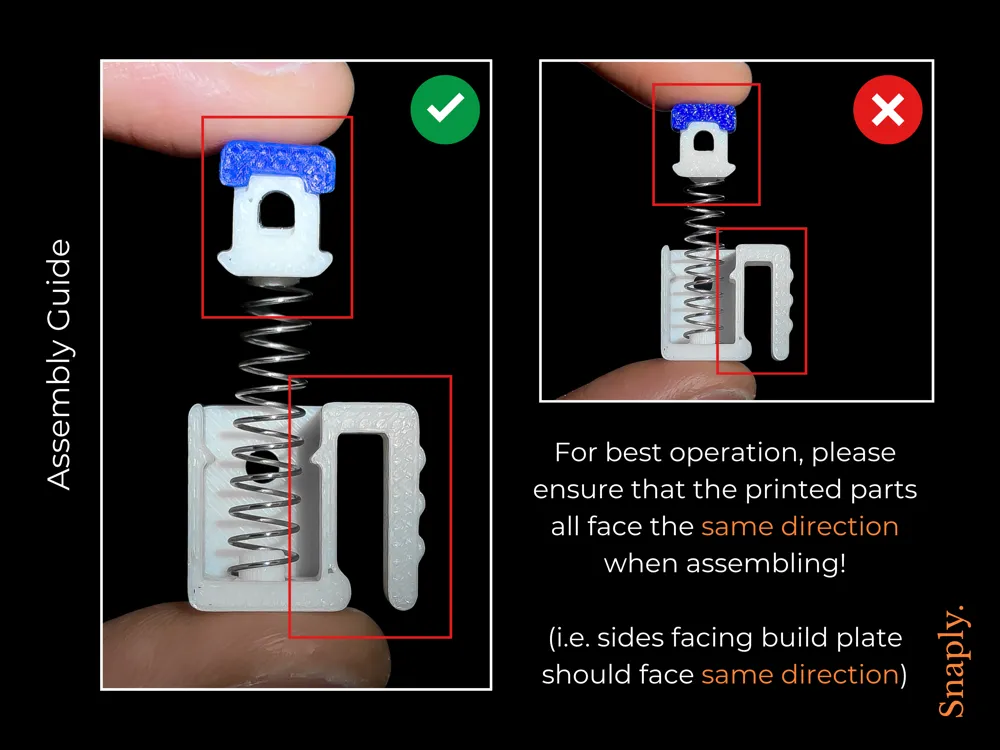
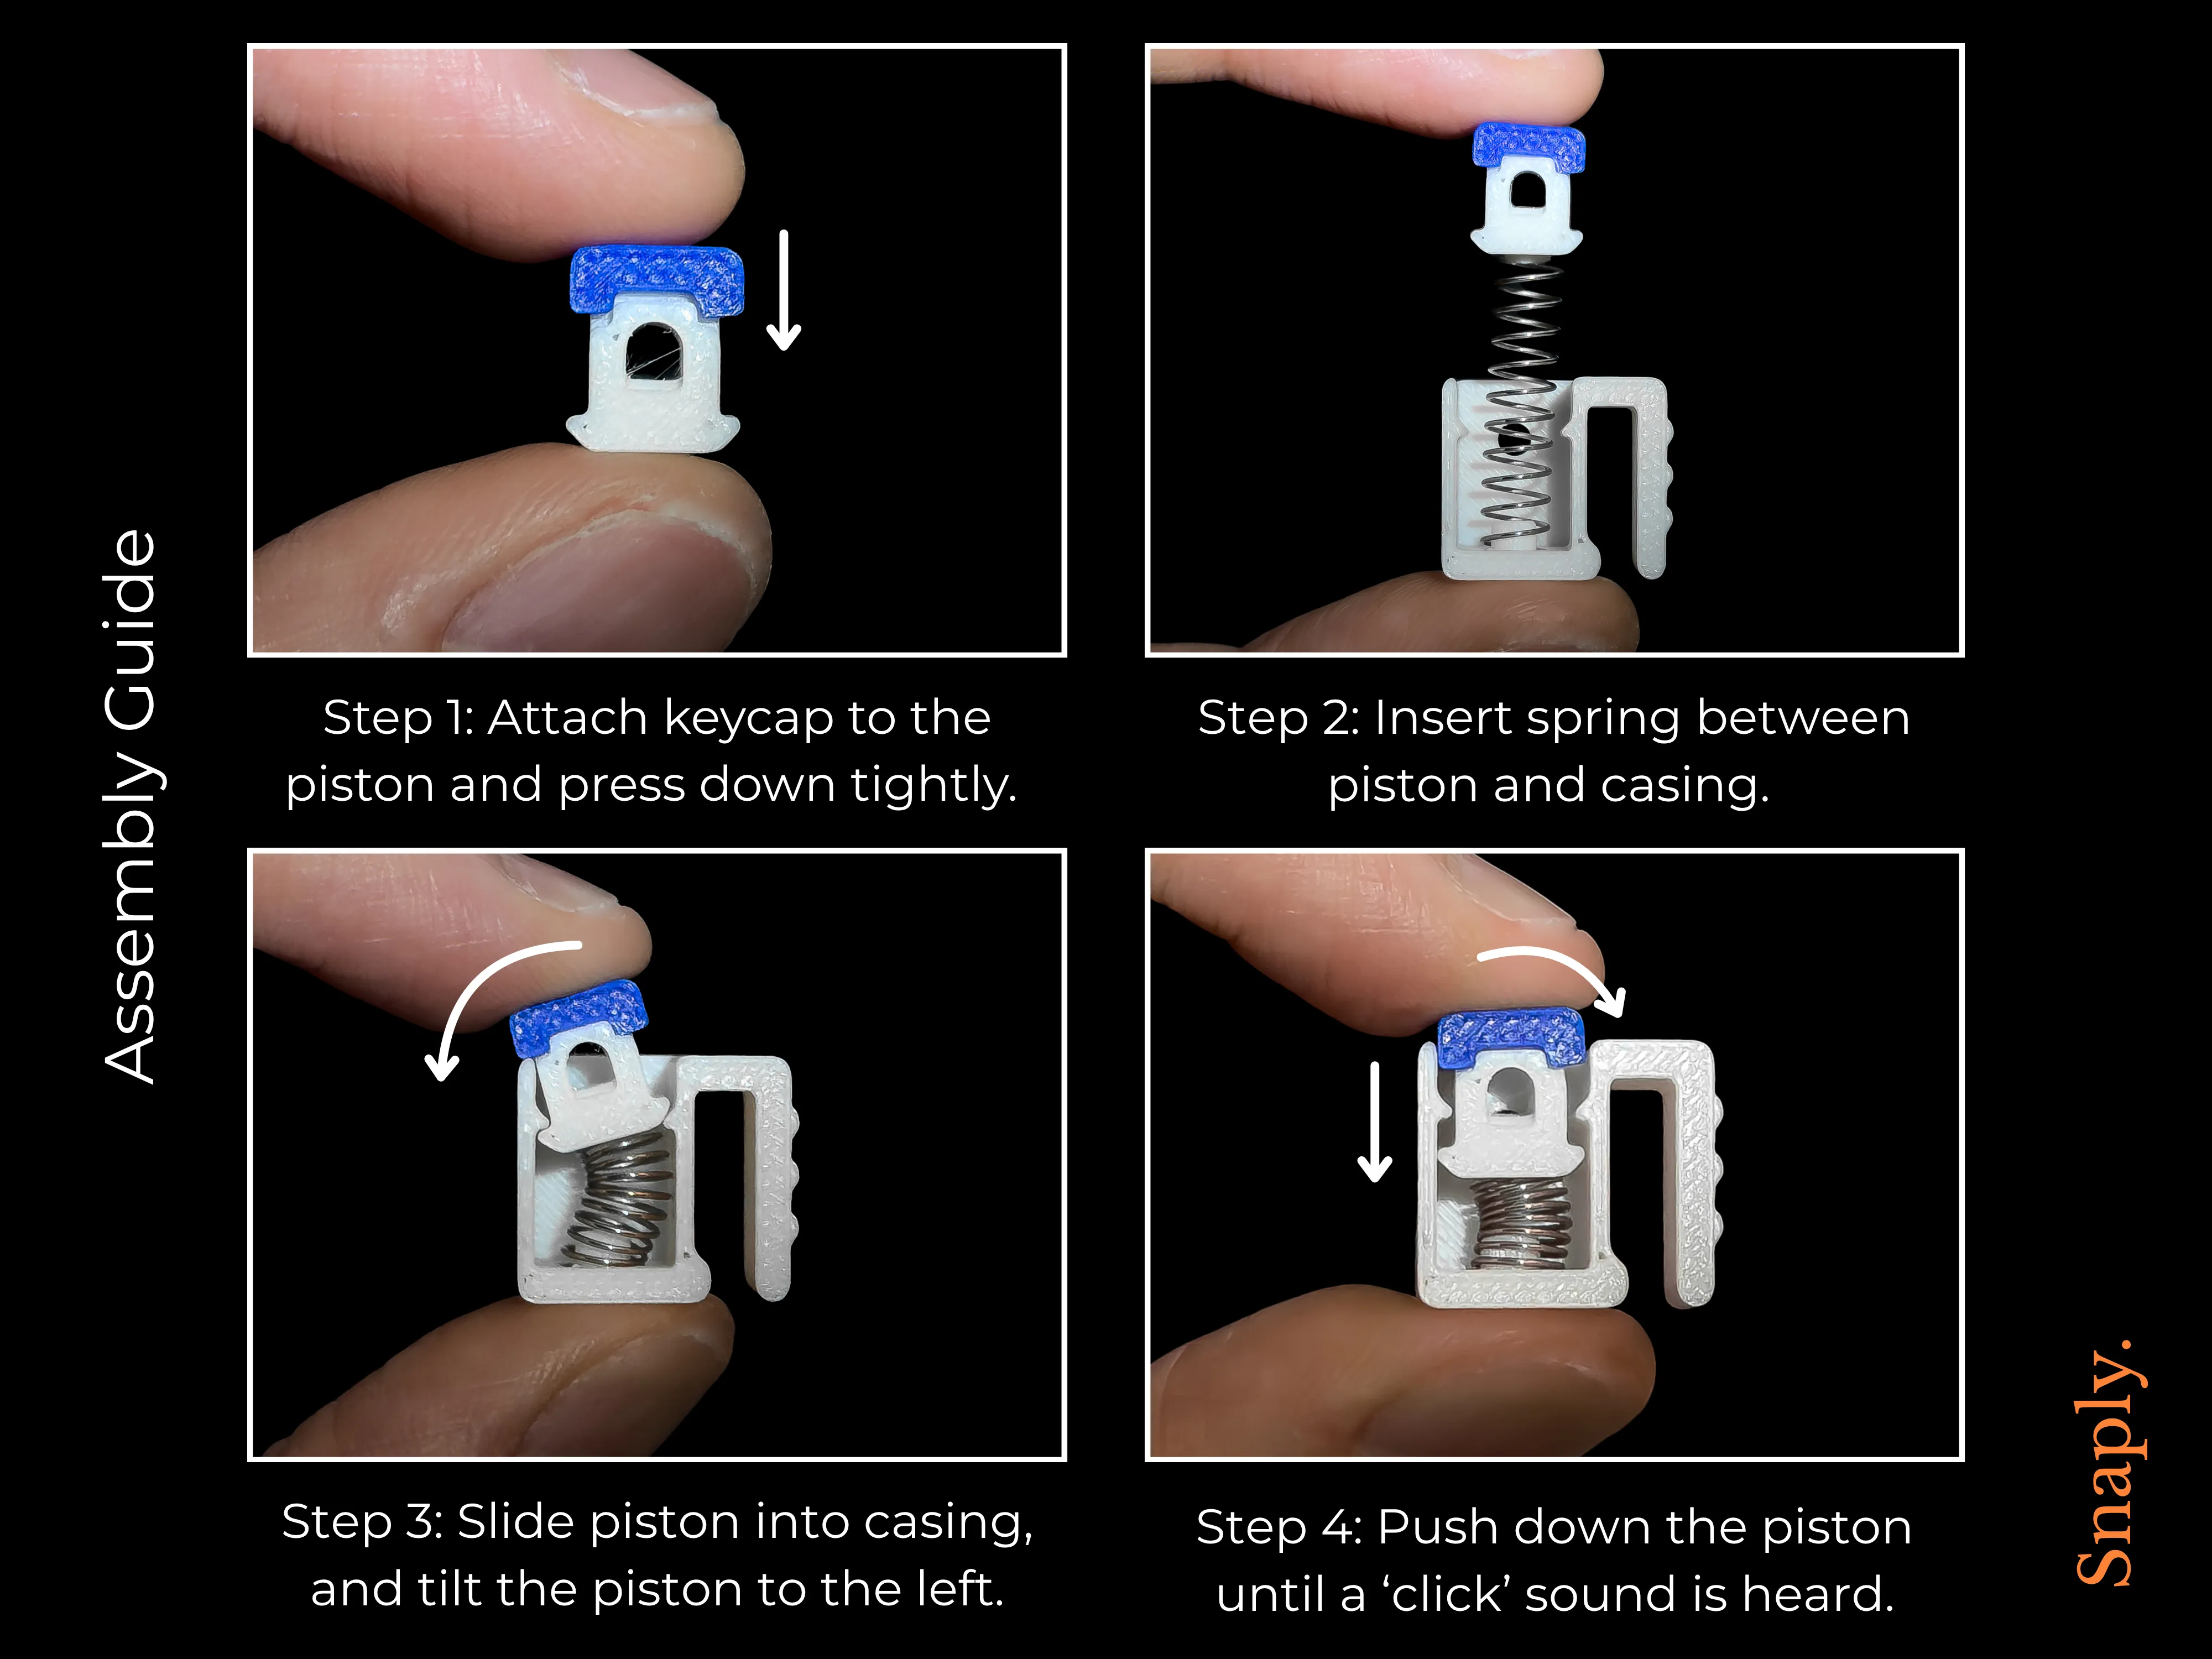
To assemble the Snaply clip, first insert the spring between the piston and casing. Press down on the piston to the left, then push it downwards until a ‘click’ sound is heard. When assembling, you might need to apply some force to push the piston in. If needed, I recommend pressing the clip onto a flat surface for increased leverage.
⠀
Tips for Usage
⠀
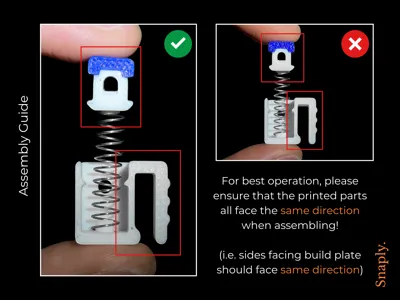
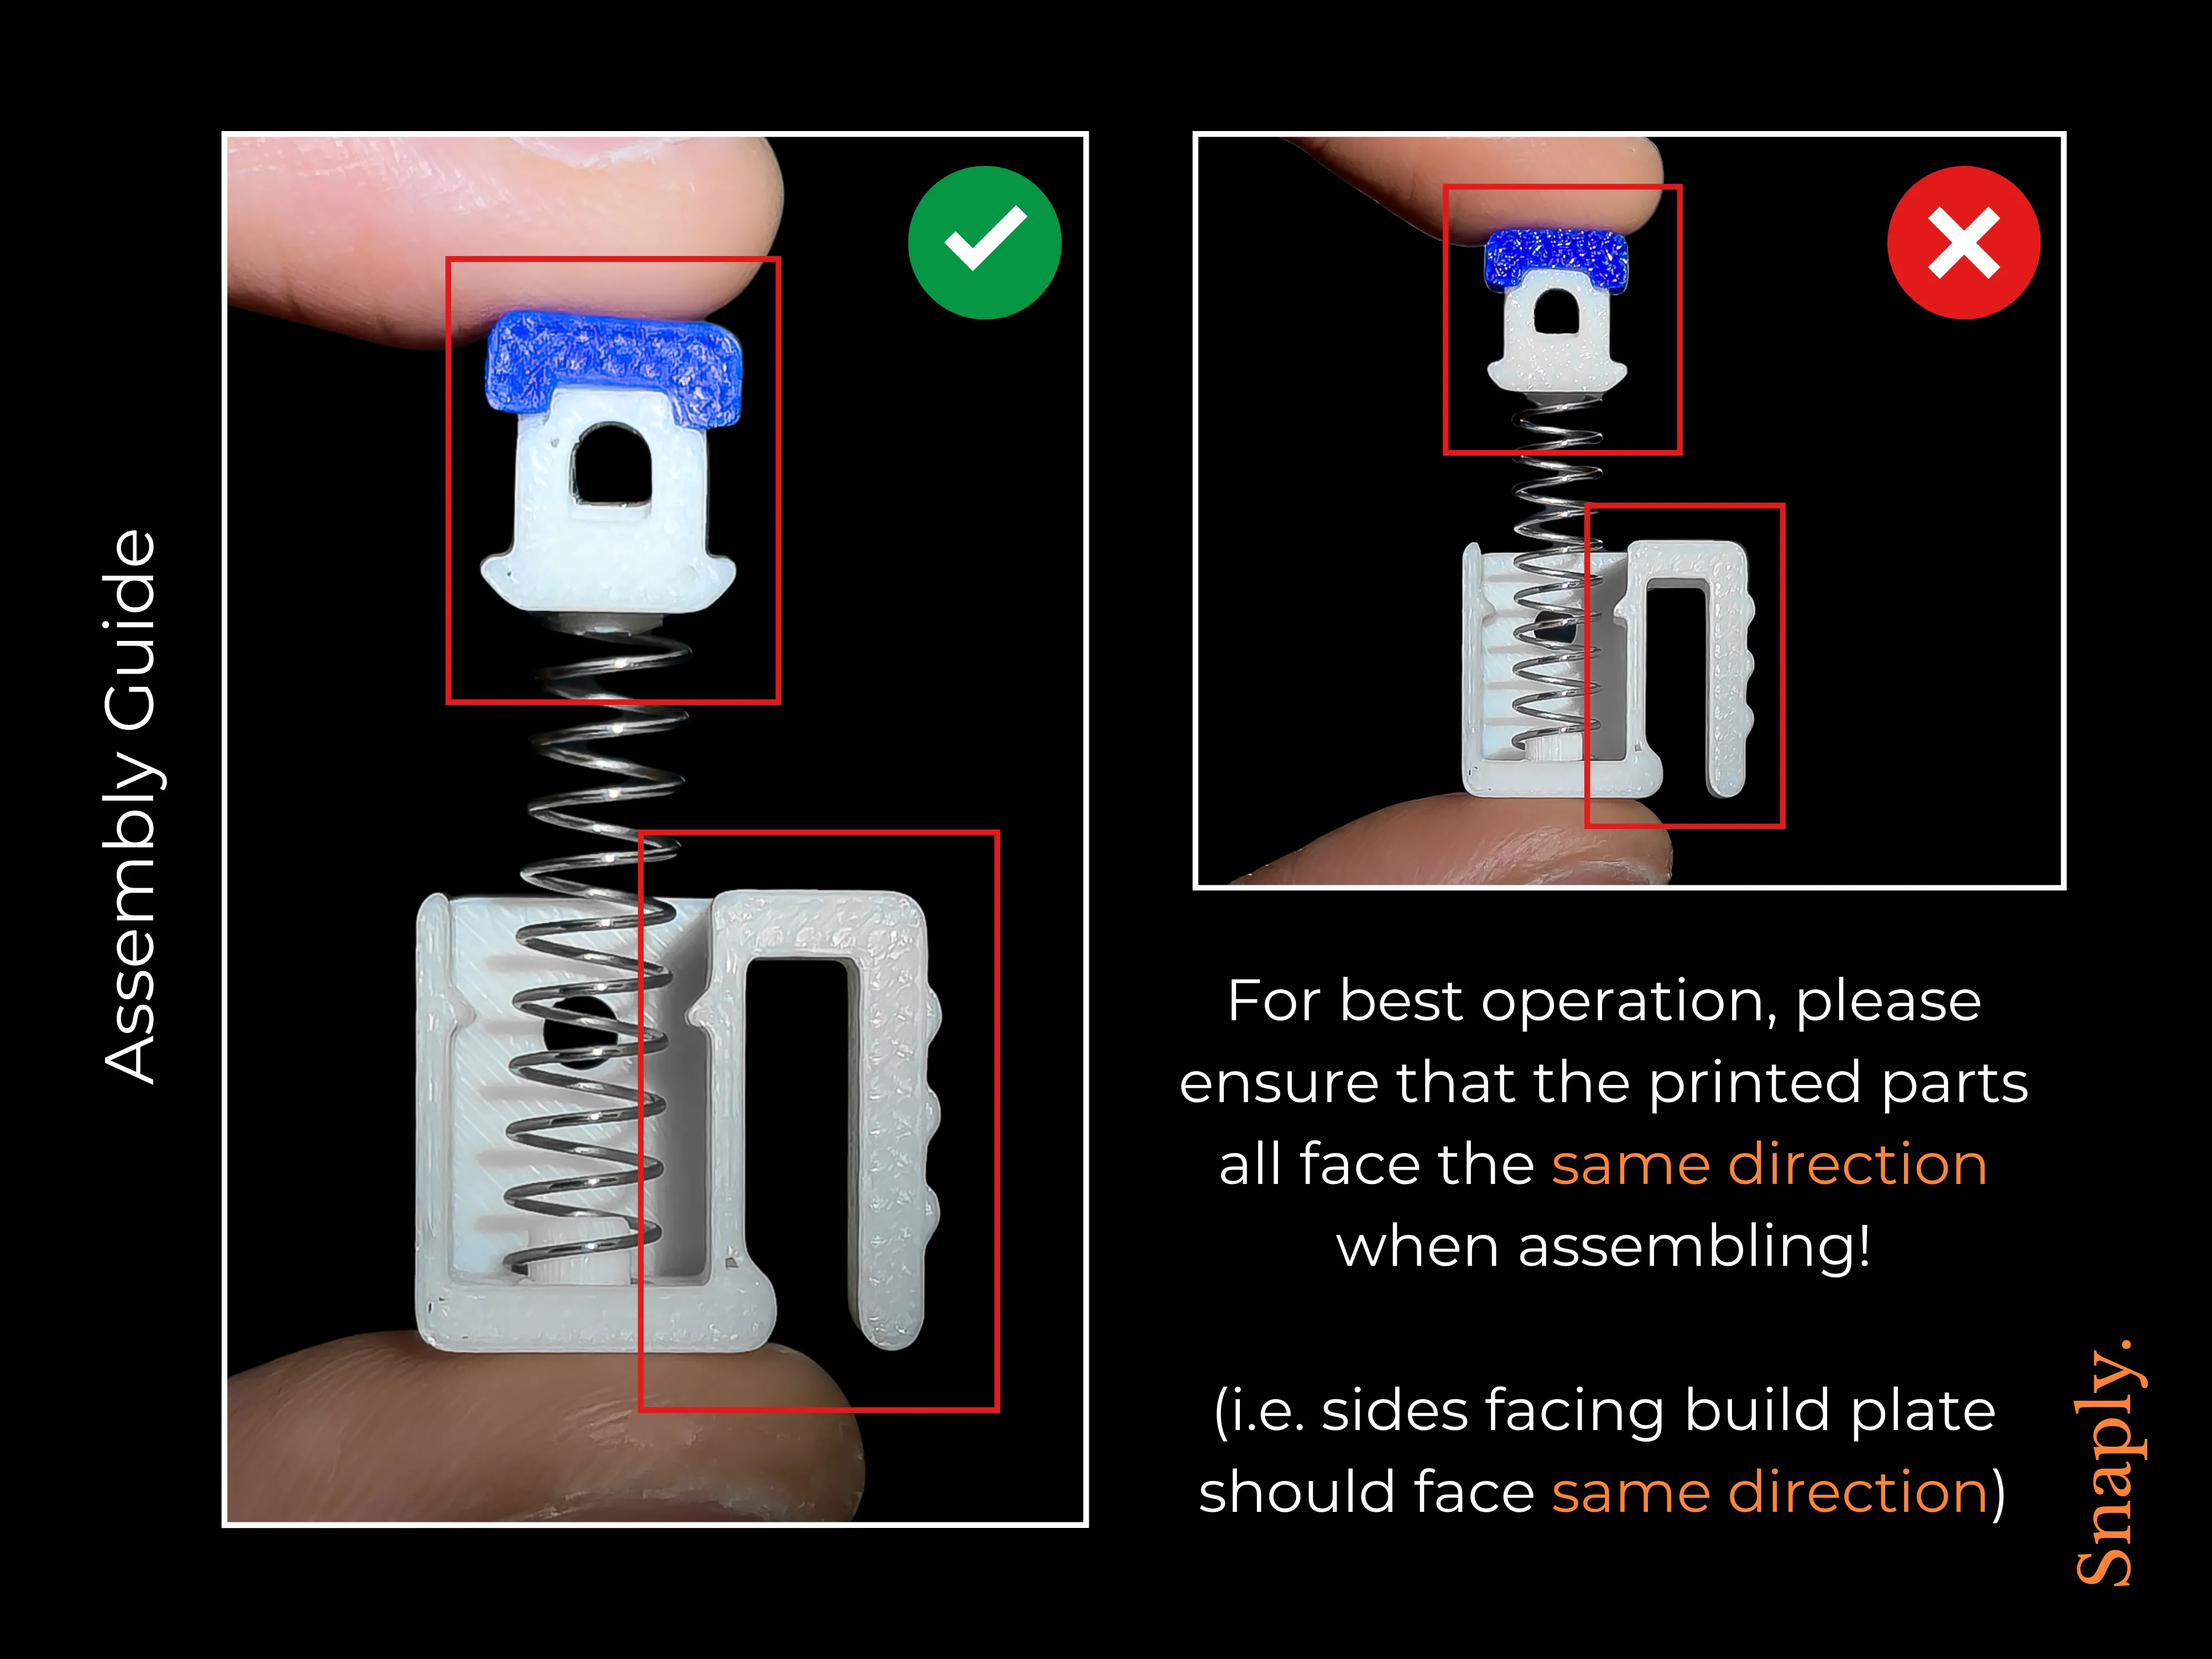
When assembling the clip, please ensure that the printed parts all face in the same direction. The sides that faced the build plate while printing should all face in the same direction. The sides that faced away from the build plate during printing should all face in the same direction.
⠀
Printing Details
The following are a few important specifications used in the default print profile:
Layer Height: 0.12 mm
Wall loops: 2
Infill: 15% Grid
Print Sequence: Print-by-Object
Supports: Disabled
Bridge speed: 8 mm/s
Bridge flow: 0.8
A 0.12mm layer height has been used to enable a rather high overhang angle on parts to prevent the need for supports. The bridge speed and bridge flow have also been modified from default settings to improve bridge quality.
⠀
⠀
Thank you for using Snaply!
Thank you for choosing to use Snaply! I hope that your Snaply clips will serve you well.
Boost Me (for free)
Your support really encourages me to keep designing!
Documentation (1)
License



Comment & Rating (1)