
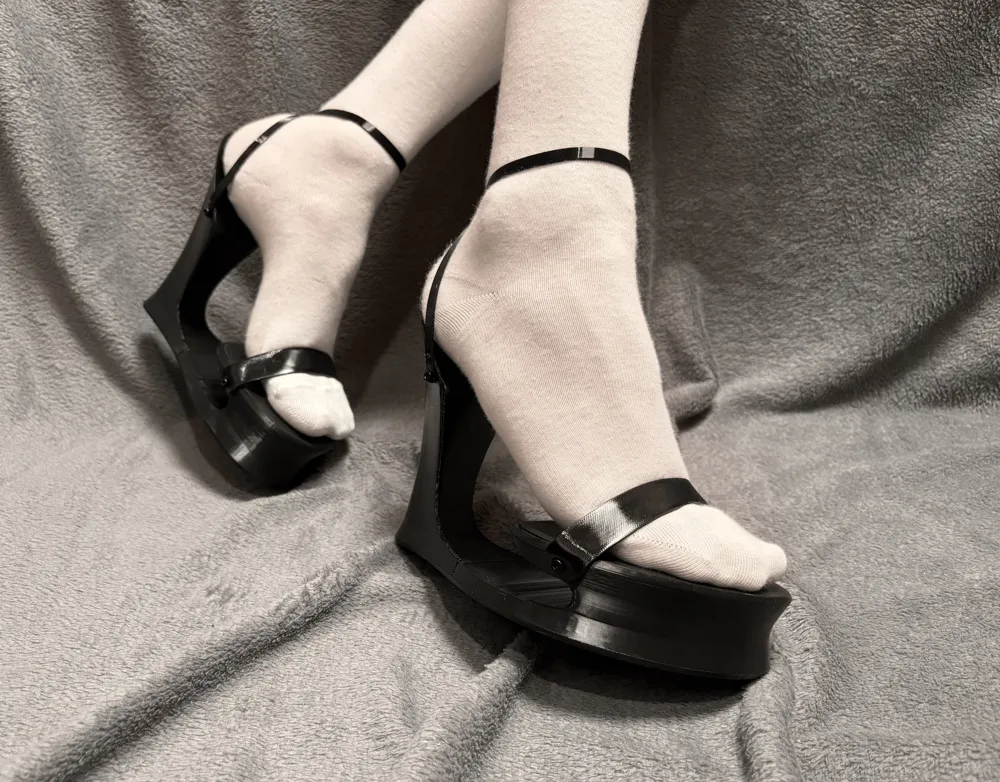
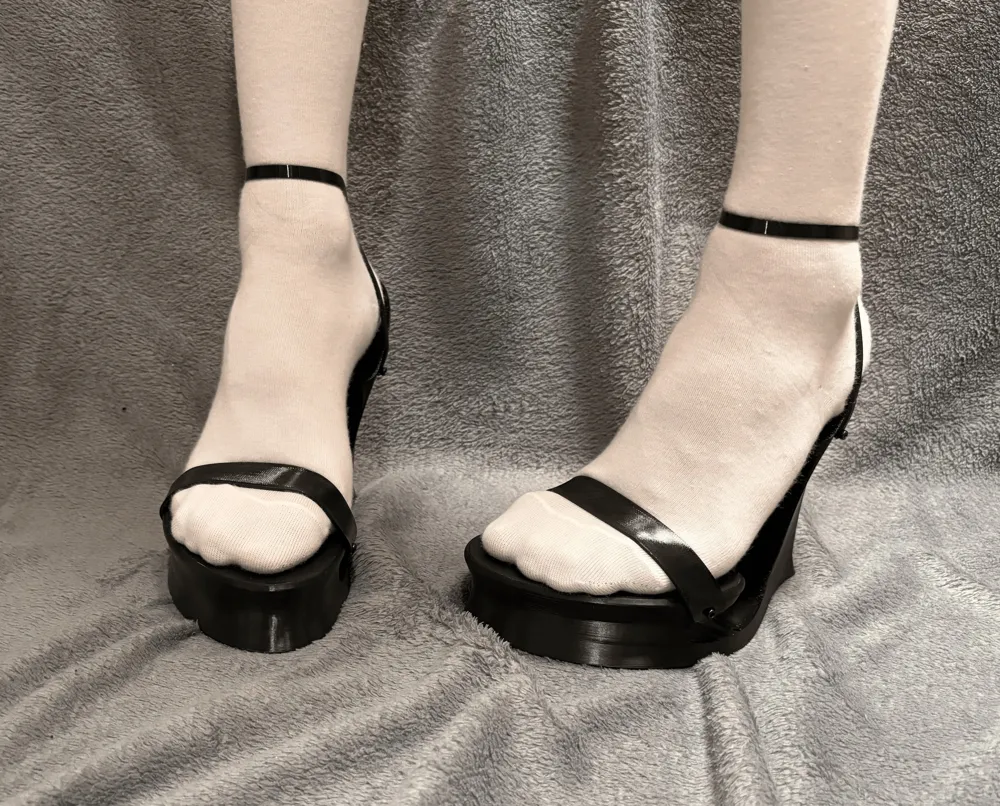
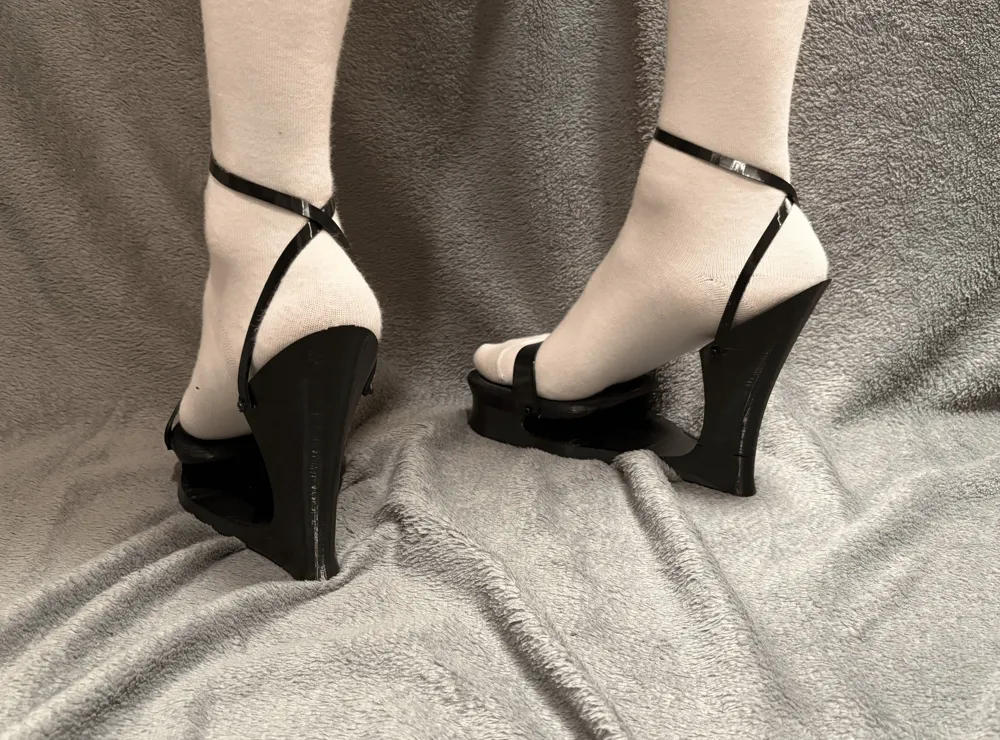
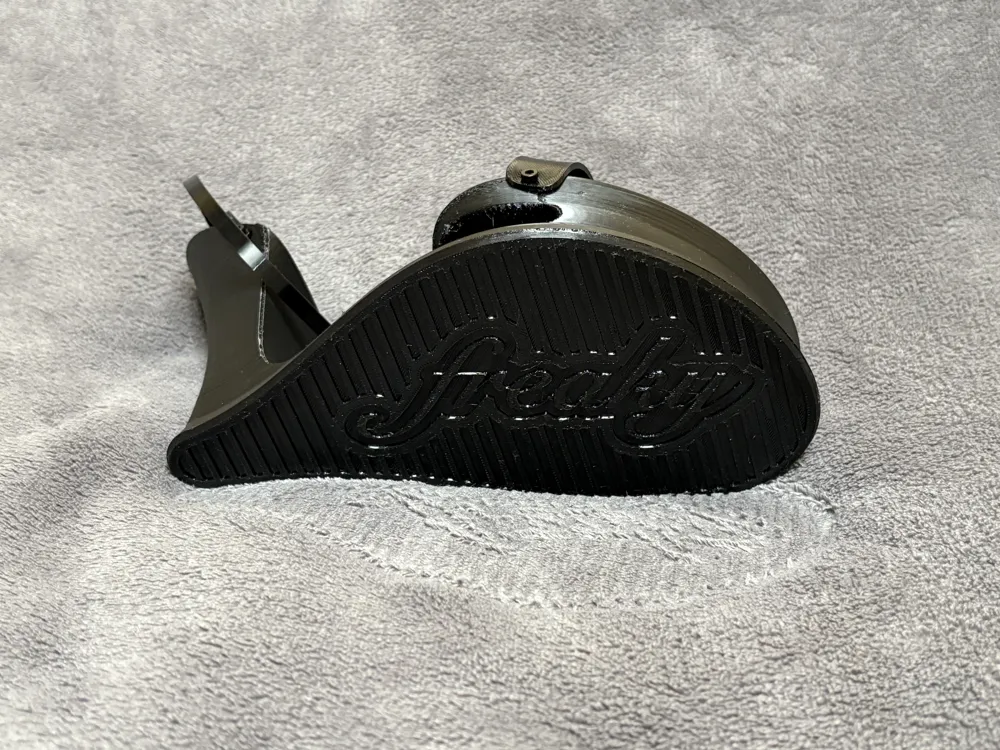
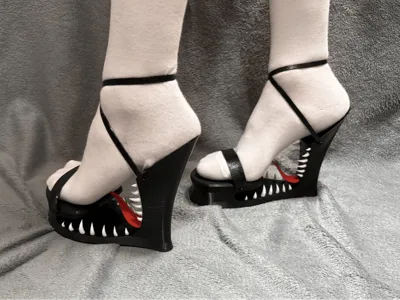
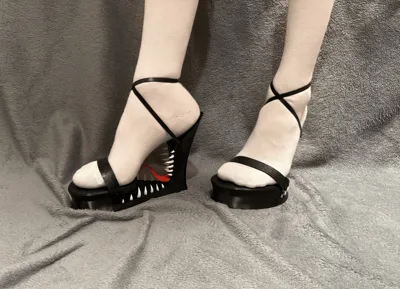
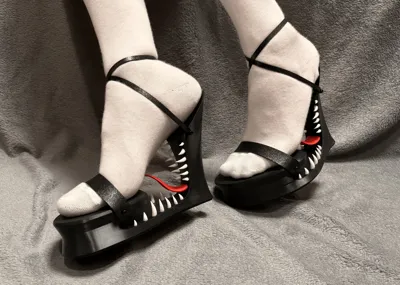
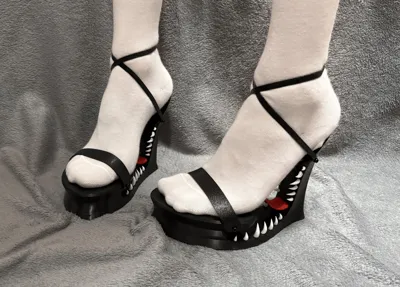
Freaky Heels - Goth / Cosplay / Halloween Heels
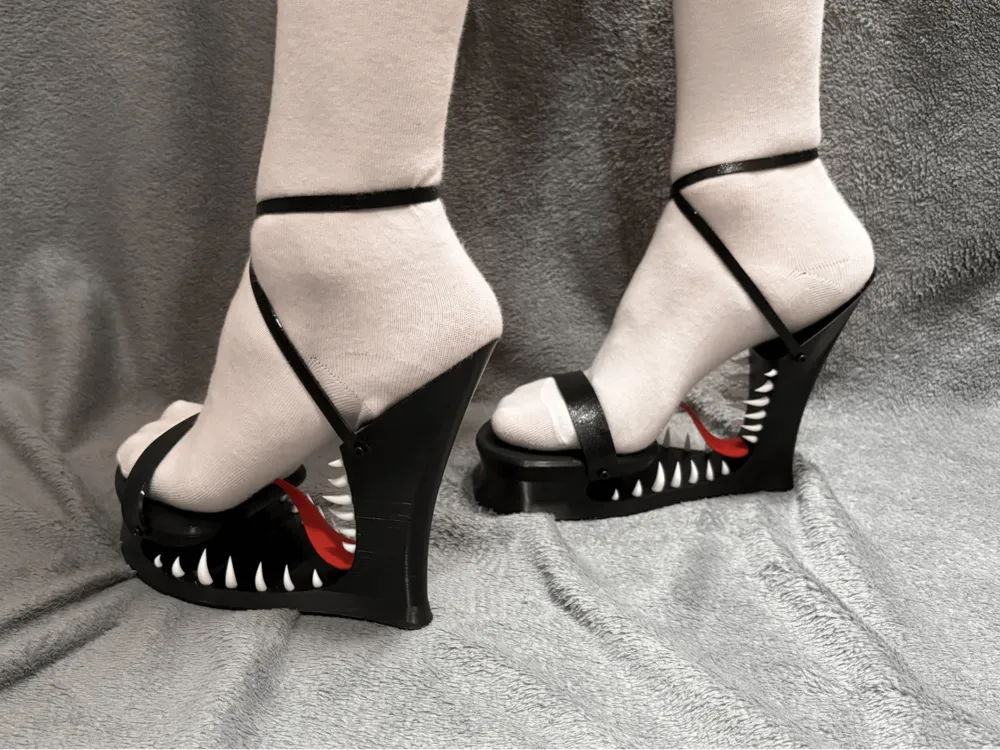
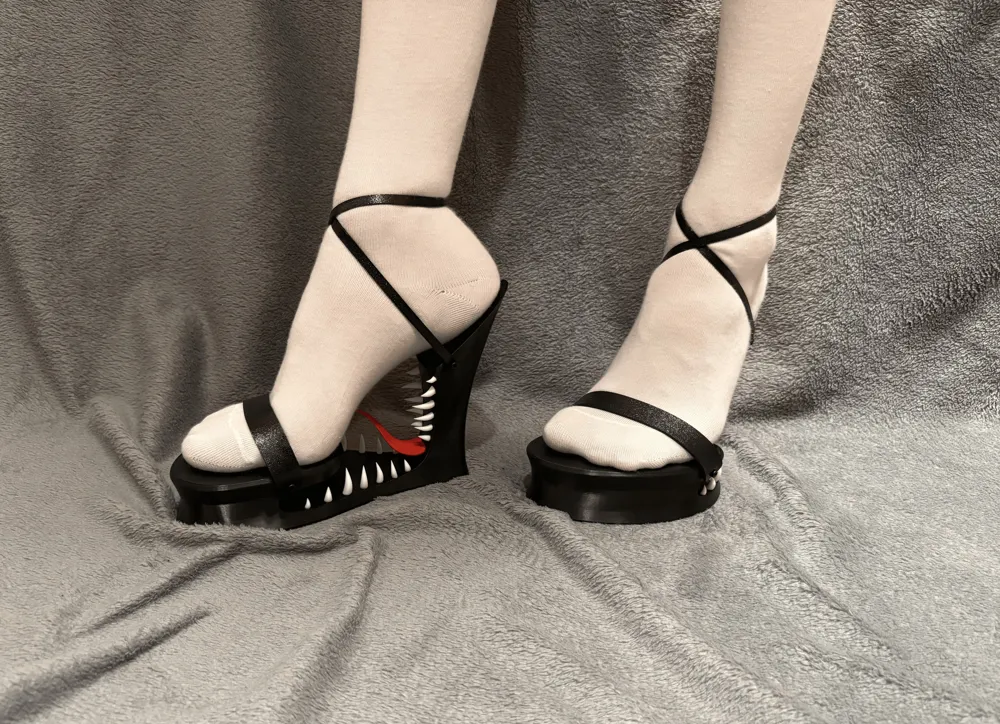
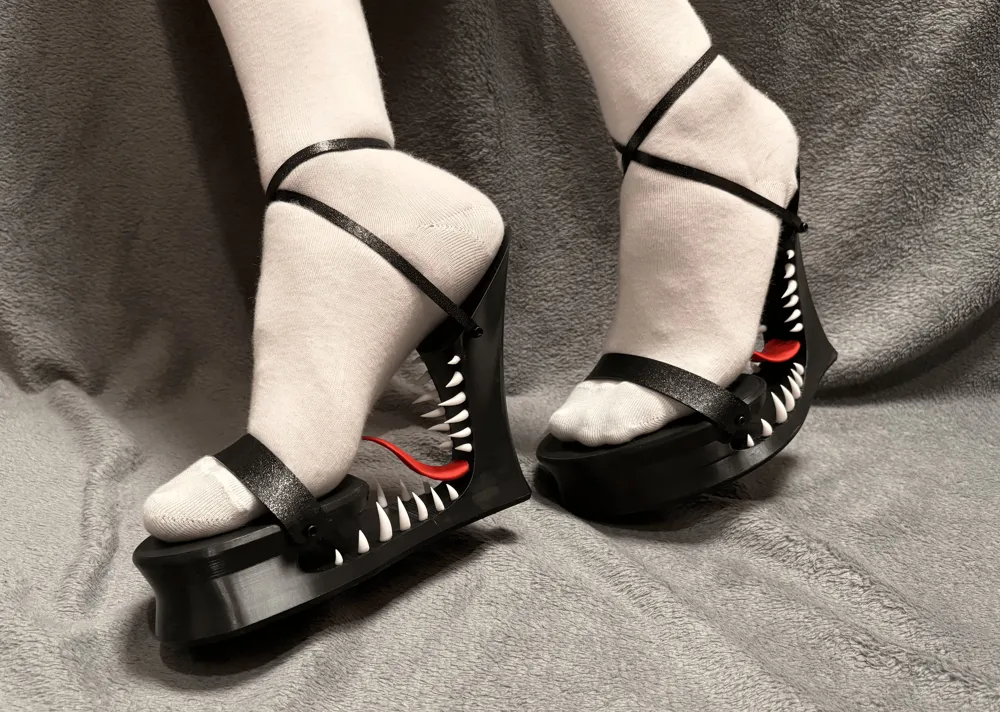
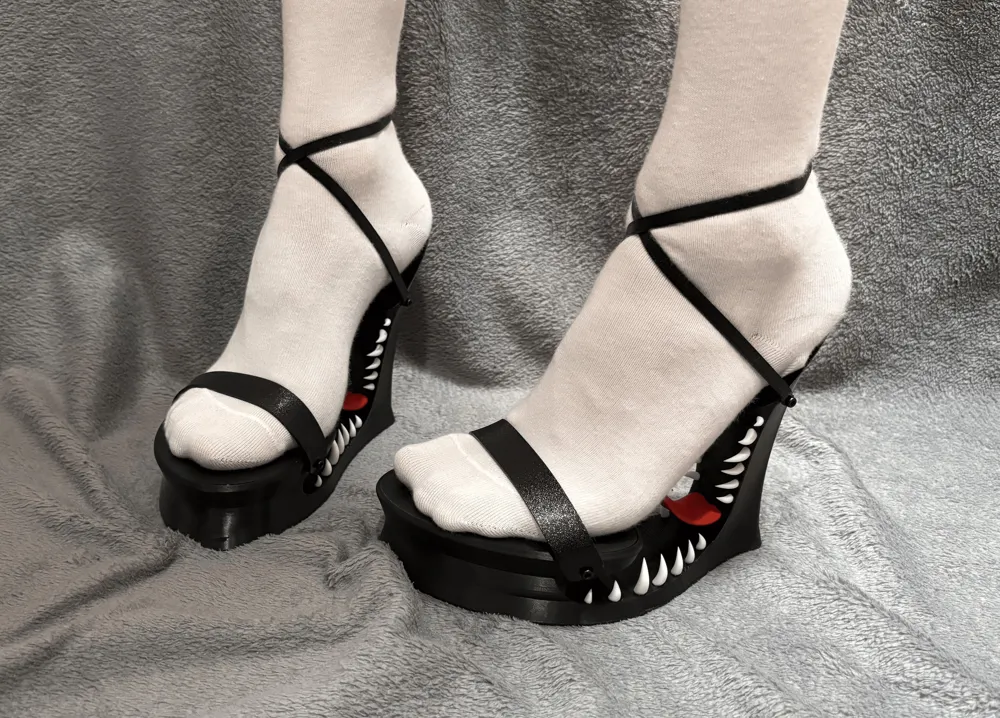
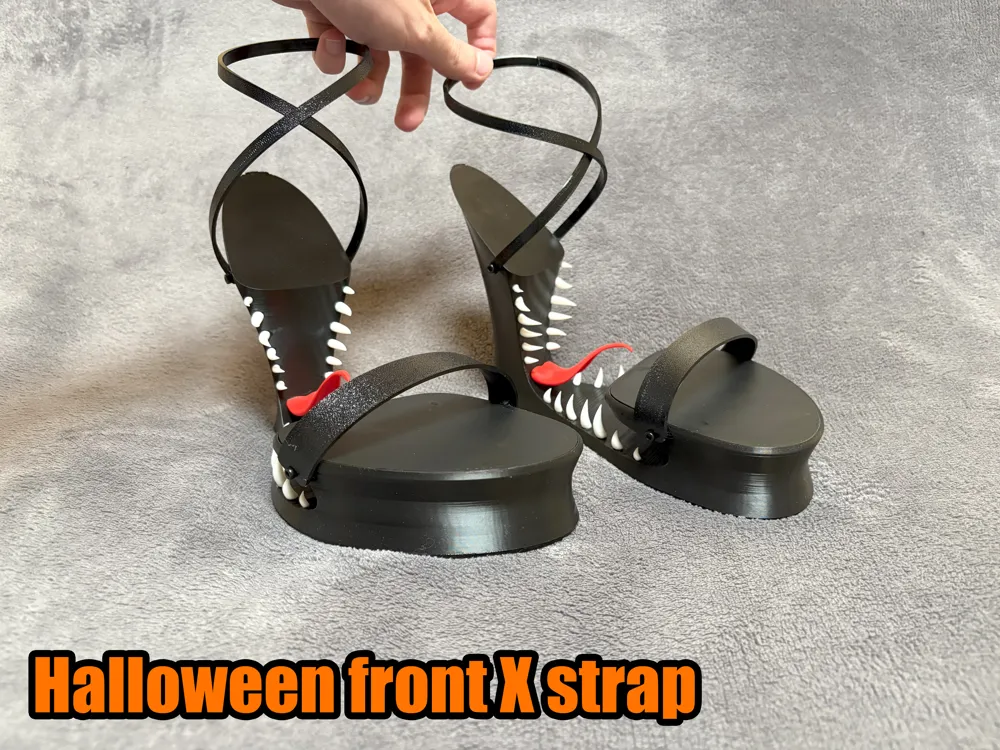
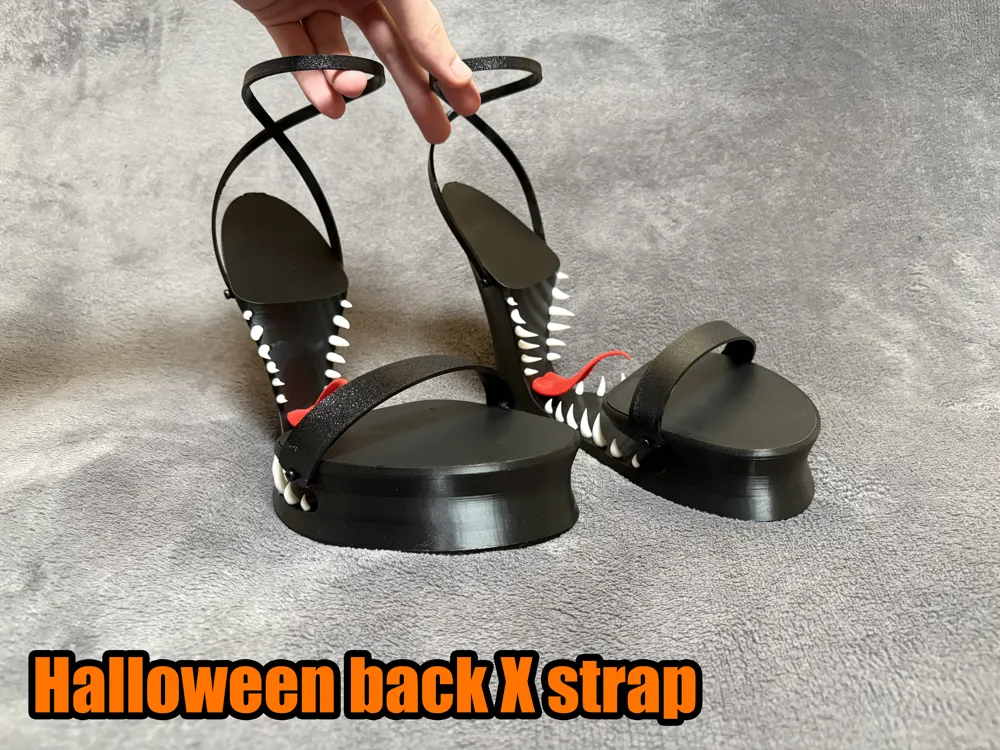
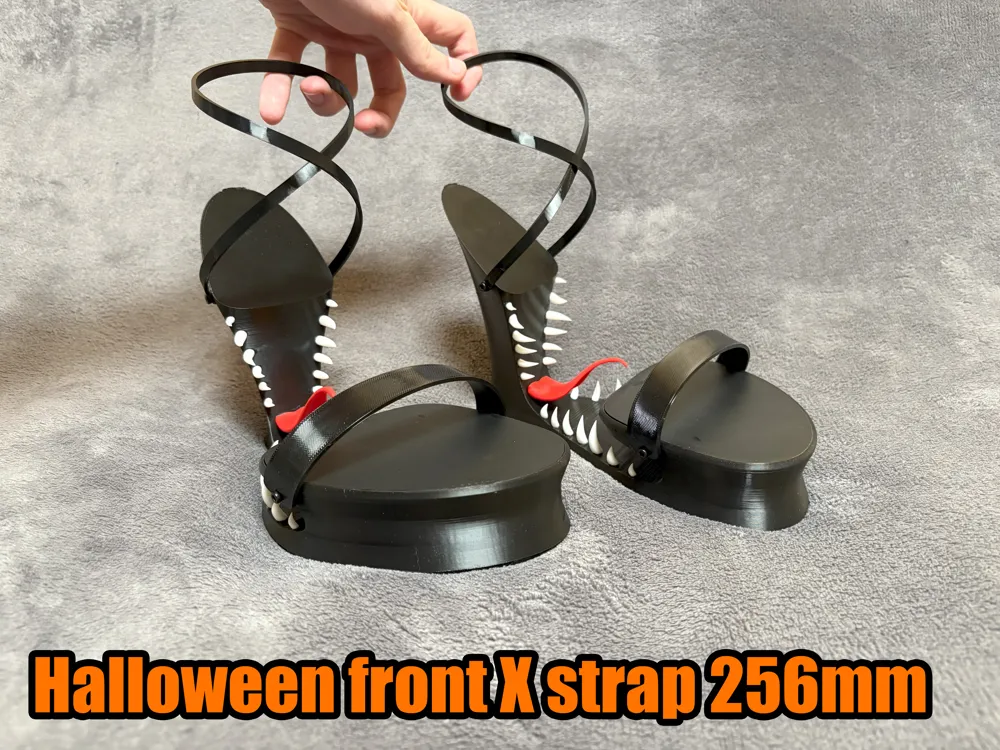
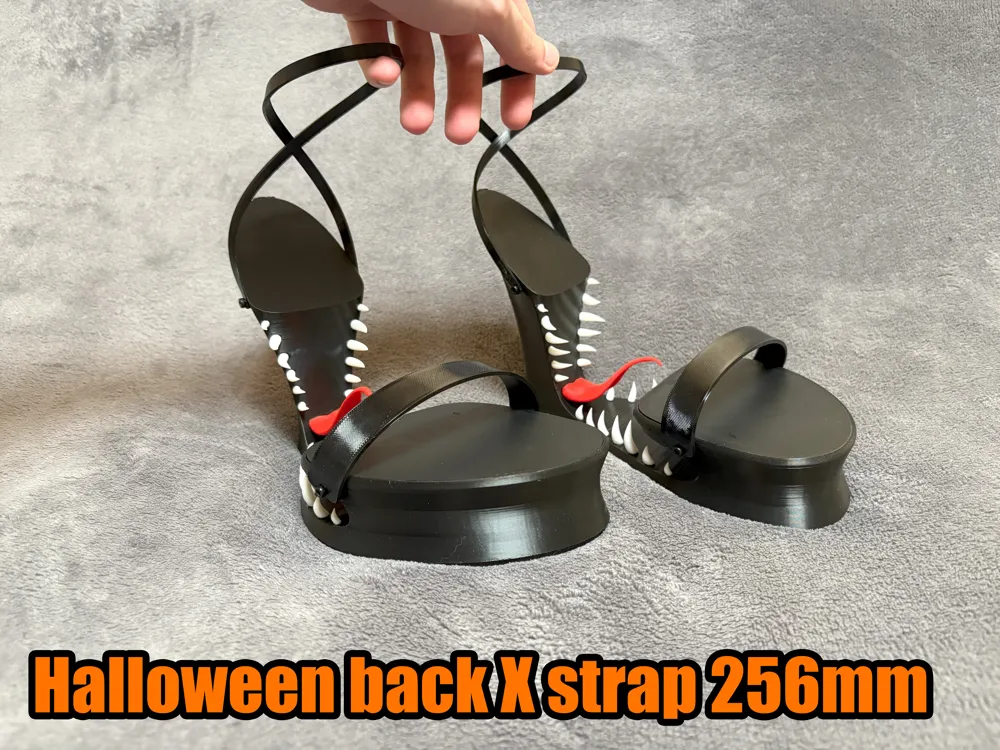
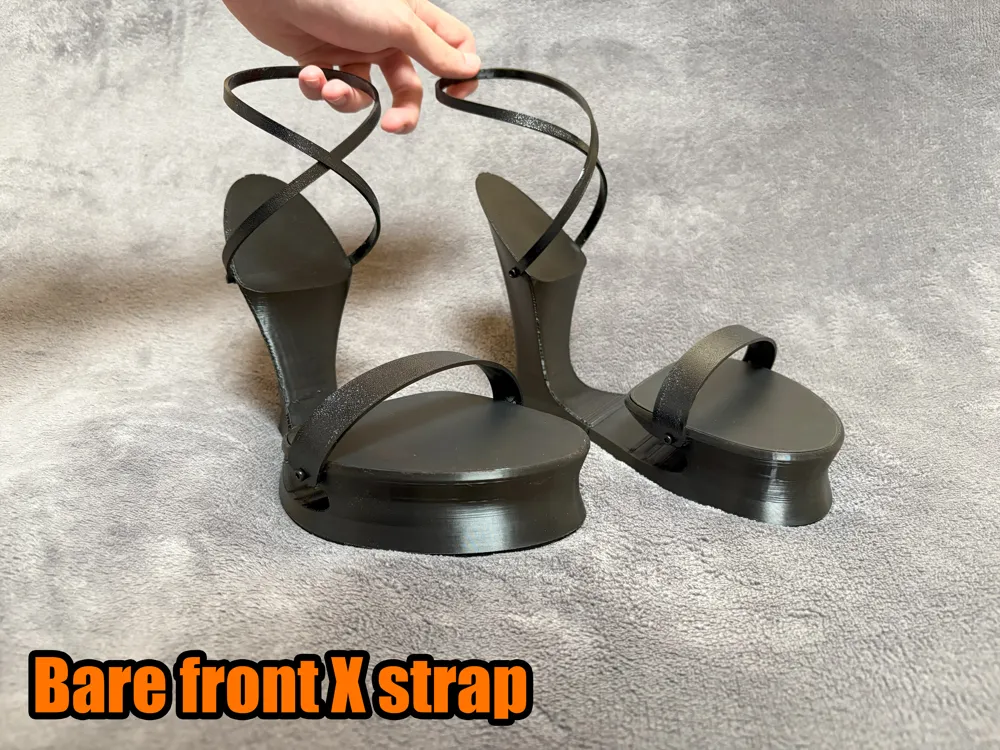
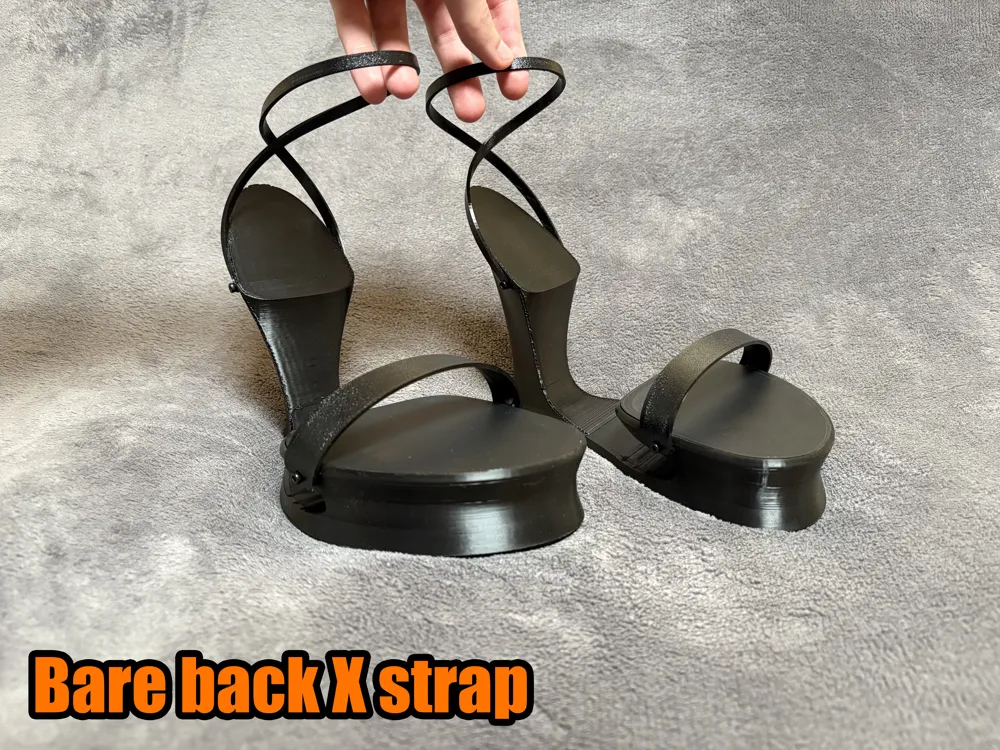
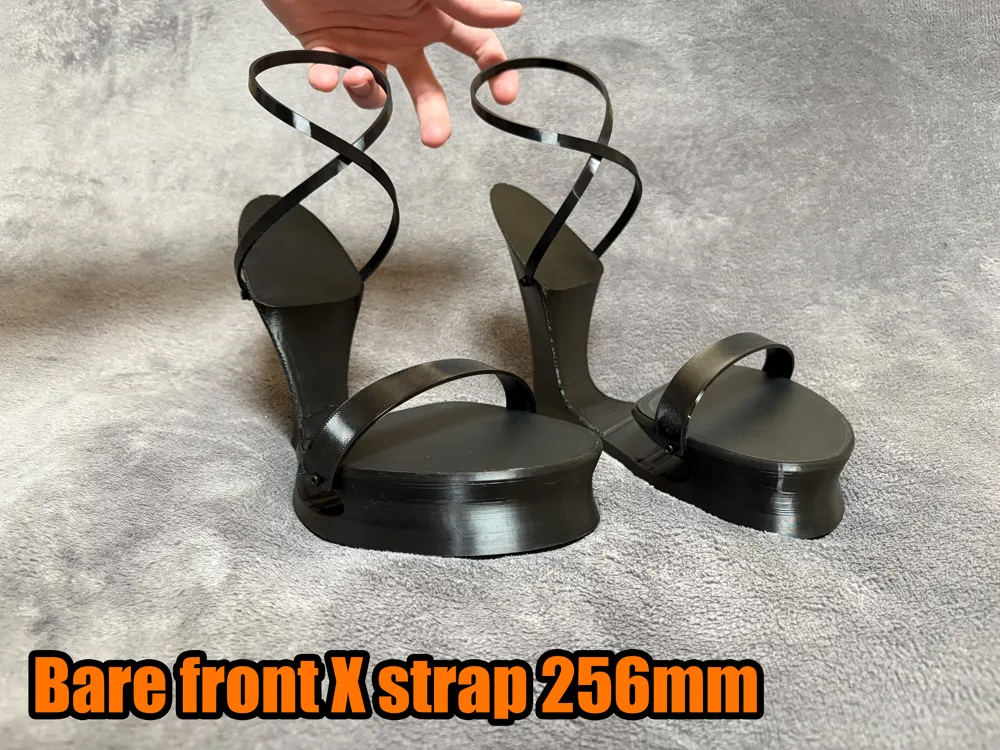
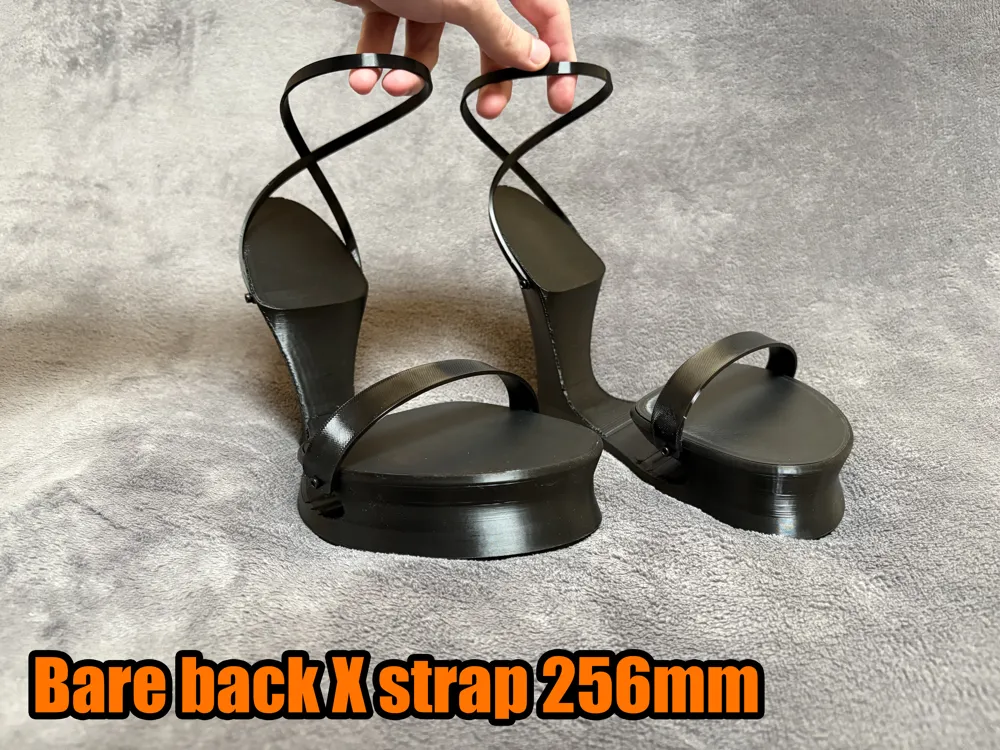
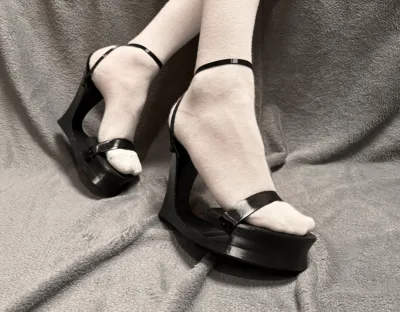
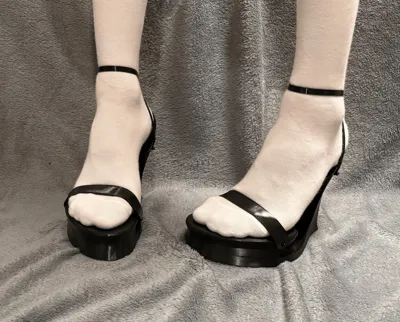
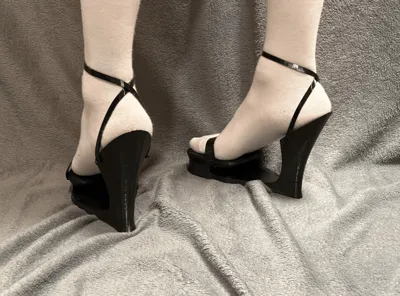
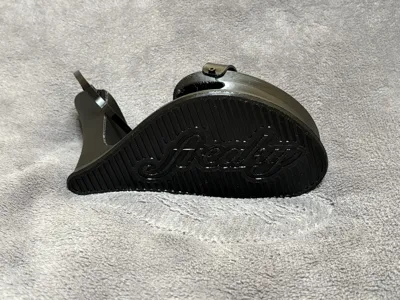
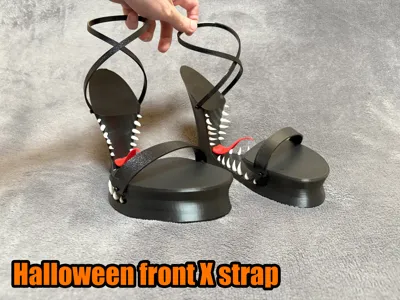
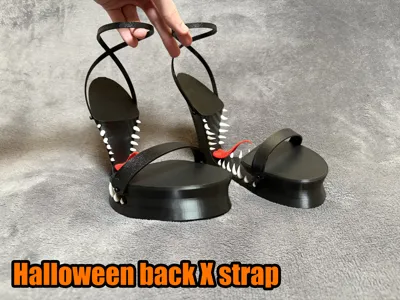
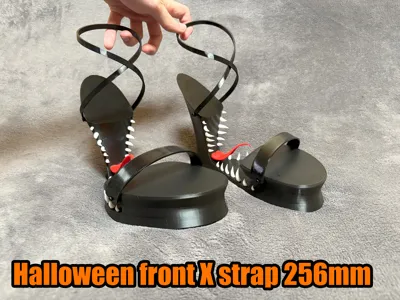
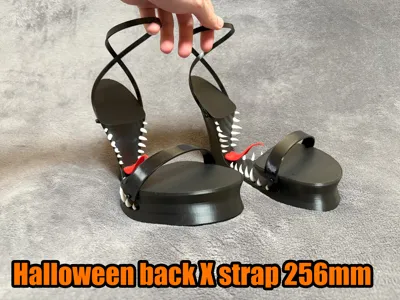
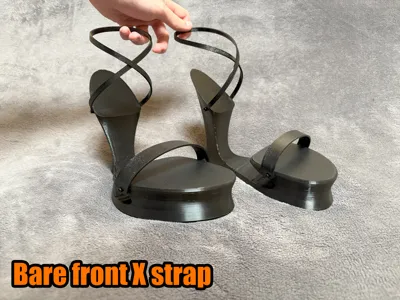
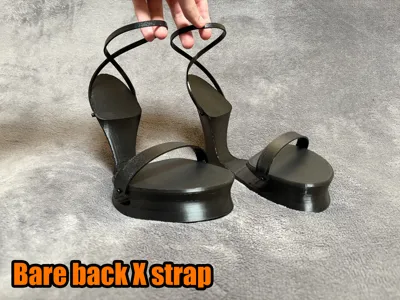
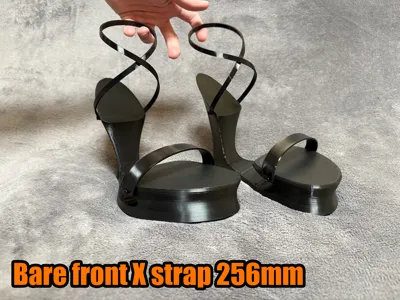
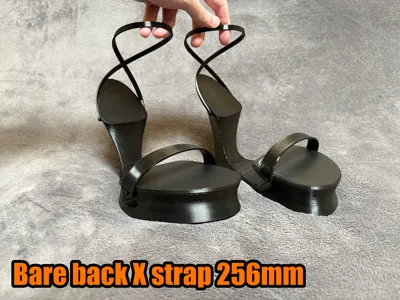
Print Profile(4)


Bill of Materials






- Bambu Lab 0.2mm nozzle x 1:
- Bambu Lab Smooth PEI plate x 1:
- Liquid super glue (quite a bit of it) x 1: Took me like 6 of the small packets
- M3x6x5mm Brass Heat Insert x 8:
- M3x6mm Anodized Socket Head Cap Screw x 8: Full thing on my set says: M3*6 4#*1/4
Description
!! MAKE SURE TO CAREFULLY READ THE ENTIRE DESCRIPTION TO MAKE SURE YOU KNOW THE RISKS, REQUIREMENTS AND HOW TO PUT THE MODEL TOGETHER !!
This project started in a pretty funny manner. I was scrolling Instagram and I saw a meme that said something along the lines of "what you do after 1500 hours in Blender" and showed a similar concept. That combined with the MakerWorld Halloween contest inspired me to bring this vision to reality. It was a lot of work and in many ways you can tell it's a V1 but I'm proud of it as it's my first go at designing something fashion related and in my humble opinion it came out pretty nicely. Hope you'll enjoy it!
1. Read before you proceed
a) Keep in mind that even though I've tried to make this print as strong, comfortable and functional as possible there are limits and they're not 'real' heels. They will look good in pictures but I can't guarantee they'll last or that they won't snap under you (as of now they've been untested with weight over 105 pounds / 47.6 kg). Keep in mind that they CAN snap at ANY moment and with the sharp teeth and jagged plastic the result will not be good. I am not responsible for any harm or injury that happens to you (be mindful and careful).
b) This is a technically advanced print, because of its complexity in terms of hardware, materials and assembly required - it's NOT for everyone.
c) Things you'll need (partially also in the BOM on the bottom of the page)
- Printer: A printer with a bed of at least 256mm³ (H2 series is preferable for nicer strap texture) - !! Keep in mind this project was designed and tested on a Bambu Lab H2S !!
- Nozzles: 0.4mm and 0.2mm (standard - haven't tested high flow)
- Plates: Textured PEI and Smooth
- Glue: Liquid super glue (beware not to wipe with paper tissues)
- Heat inserts: 8x M3x6x5 (metric) and soldering iron with insertion set for the straps
- Screws: 8x M3*6 anodized (metric) for the straps
- Filaments
- Bambu Lab's PLA (White & Red) - for fangs and tongues
- Bambu Lab's PETG (Black) - for the shoe's bodies
- Bambu Lab's TPU 95A HF (Black) - for the soles, pads and straps
d) DO NOT use different filaments than the ones suggested unless you're certain they are STRONGER (besides CF or GF as that'll stay in your skin). In addition, do NOT change the settings in the slicer besides your printer model.
e) Make sure all your filaments have been dried properly and recently. Wet filaments are much weaker and exhibit layer separation issues which would end horribly in this case (P.S. a dry box doesn't actually dry filament).
f) When printing with TPU 95A HF you need to do so through the external spool mount, you CANNOT use that filament in the AMS.
2. Warning about part removal (from plates)
When removing parts from plates (especially so with the Smooth plate but this applies to all of them), wait till the plate cools down completely, pour IPA to loosen the part and bend the plate to make it fall off (this is the safest way to not leave marks on your plate).
3. Warning about TPU part removal (from plates)
Use extreme caution as it's easy to hurt either the print or yourself! Pour IPA around the model to loosen it as TPU bonds extremely well (especially to Smooth plates). Slowly and methodically try to peel the part off the build plate by bending it and applying gradual force on the model (switch directions and keep repeating until it peels off).
Okay, if after reading all that you've decided to also print these for yourself, CONGRATS! I admire your dedication. Now, let's see how you can go about doing that:
4. Sizing
These shoes have been made based on a photogrammetry scan of a foot that fits comfortable in EU size 40 heels and with these dimensions (when standing on a flat piece of paper) of: 94mm wide and 262mm long . You WILL have to resize the models to make sure they fit you properly.
The strap's length is designed to NOT be adjustable for a better look. They're designed for a thin ankle and hold pretty tight to make sure the shoes are steady on the foot. You WILL have to adjust those to a proper fit yourself.
5. Picking a profile
a) Decide if you want to go for the Goth / Halloween version with the fangs and tongues or the 'bare' ones.
b) Depending on the size of your printer's bed, pick either the 256mm or bigger profile for the version you want.
c) Pick if you want to go with the strap that has the 'X' crossing on the front or back of the heel (the back version is called 'alt' - you'll have to print that plate instead of the default one).
6. Putting them together
a) Print the plates in pretty much whichever order you want, just make sure to use the correct plates and nozzles, also print all the TPU parts one after the other as that way the roll will be the driest.
b) Make sure you put away the parts in a way they don't get confused (you can check the names of them in the slicer - they're labeled and pictures of the prints as well).
c) Processing parts:
- It's advised to use a blowtorch or hot air station to treat the bottom surfaces of the heel bodies and the part of the soles that touch the ground.
- With the tongues, use tiny wire clippers, a deburring tool or even a red marker to cover the bottom imperfections.
- If you're using the 256mm strap profile, you'll see some stringing and artifacts on the rounded edges at the start and end. Remove them with wire clippers or something similar that can get flush with the print's surface.
d) Assembly
Put in the heat inserts into the body (try to put them as straight as possible - use a temp 10°C higher than the print temperature for the filament).
Refer to pictures and the names of the objects in the slicer to make sure you're using the correct side (left or right) and proper orientation of the parts.
Use a toothpick for more careful super glue application when securing the fangs, tongues, insert and sole (the order doesn't really matter).
When installing the inserts, make sure to glue them in the 'matte' side up.
When installing the 256mm profile straps, make sure you install them so the 'matte' side (the one that was touching the plate) points up.
If you went with the 256mm profile straps, to match the look of the back straps, you'll have to print the front straps on a Smooth plate and install them the 'matte' part down.
And one last tip, when screwing the straps on, make sure to first drive the screw up to the head into the strap, keep the angle straight and make sure there isn't too much pulling force, you don't want to grind down the heat inserts!!!
Boost Me (for free)
License

You shall not share, sub-license, sell, rent, host, transfer, or distribute in any way the digital or 3D printed versions of this object, nor any other derivative work of this object in its digital or physical format (including - but not limited to - remixes of this object, and hosting on other digital platforms). The objects may not be used without permission in any way whatsoever in which you charge money, or collect fees.


Comment & Rating (11)