
Modular Mini Conveyor Belt System
Print Profile(3)


Description
UPDATE
2025-10-20: I added print in place chains! no more filament inserting and no tolerance test needed. BUT you still need to snap the hinge from every chain link free, so it can rotate.
2025-11-16: I added closed chains just like in the real airport baggage conveyor.
Description (Manual Below)
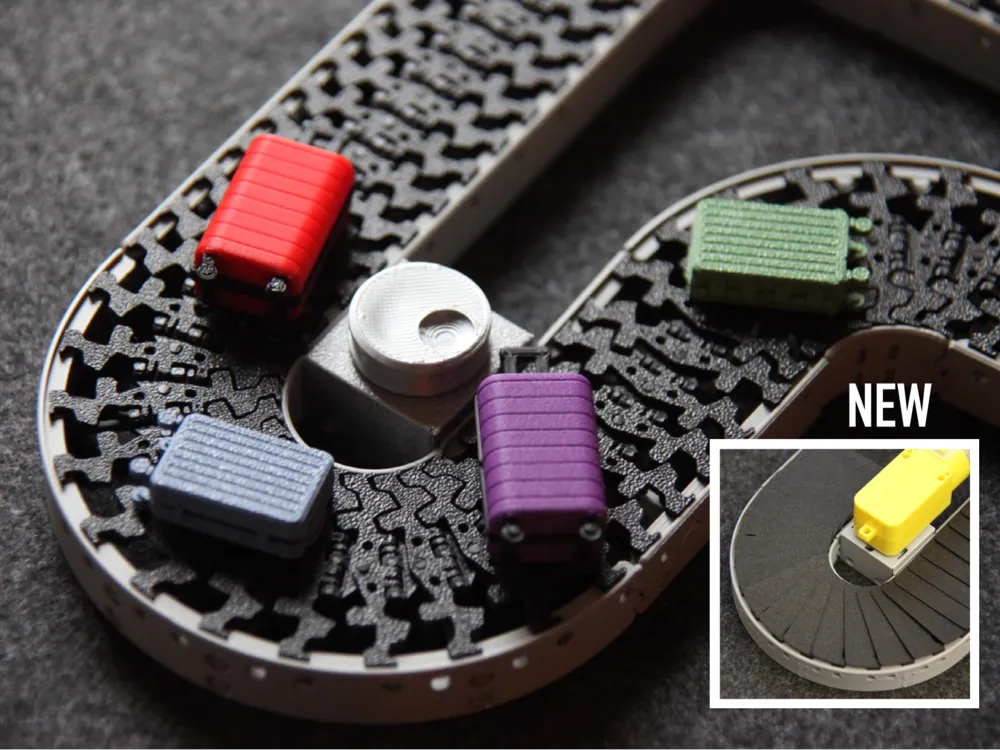
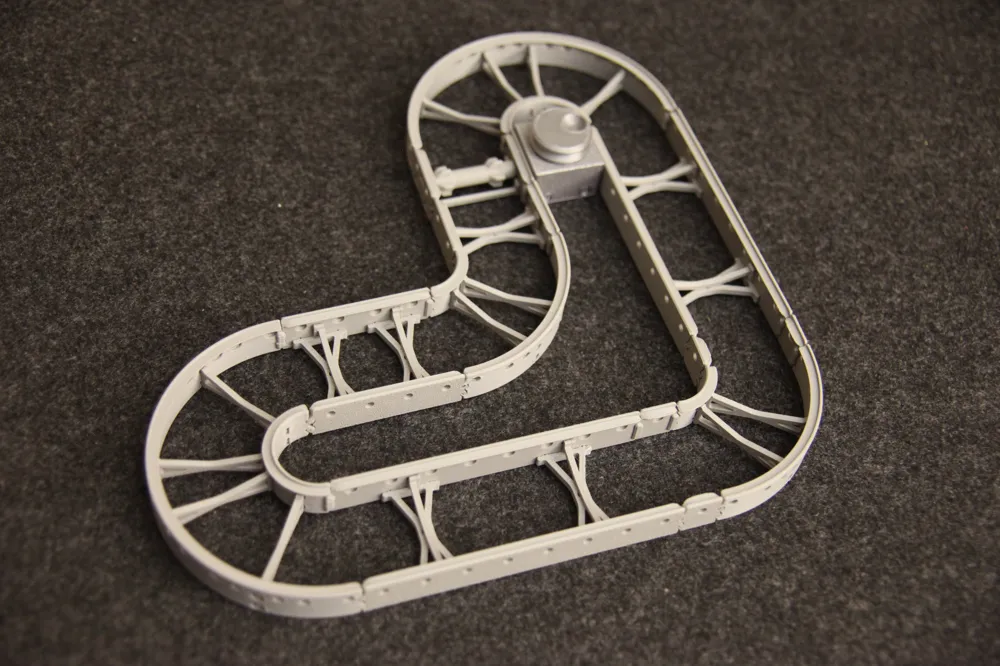
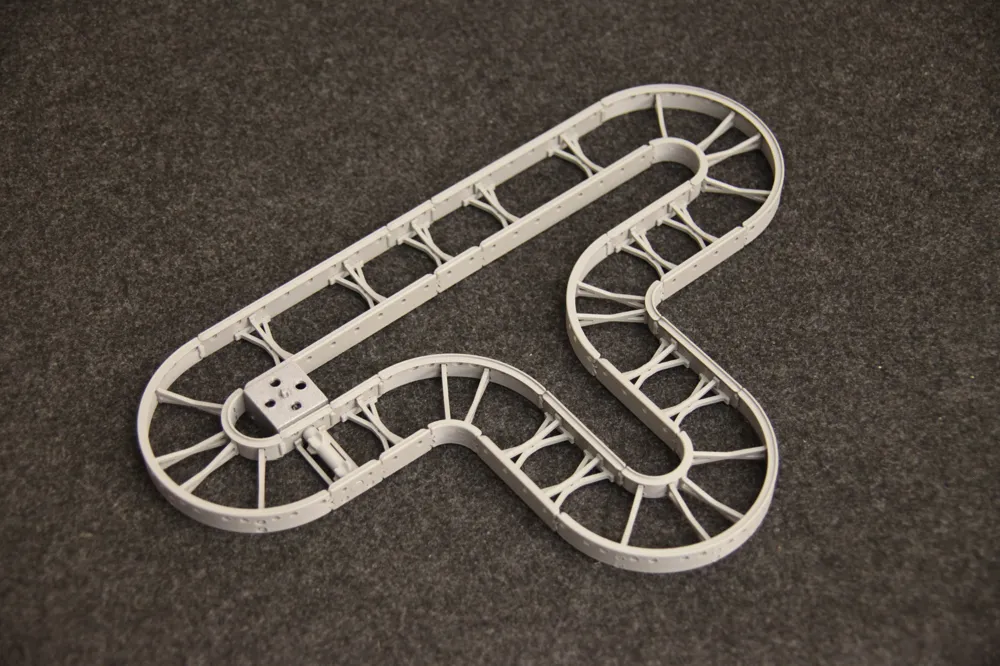
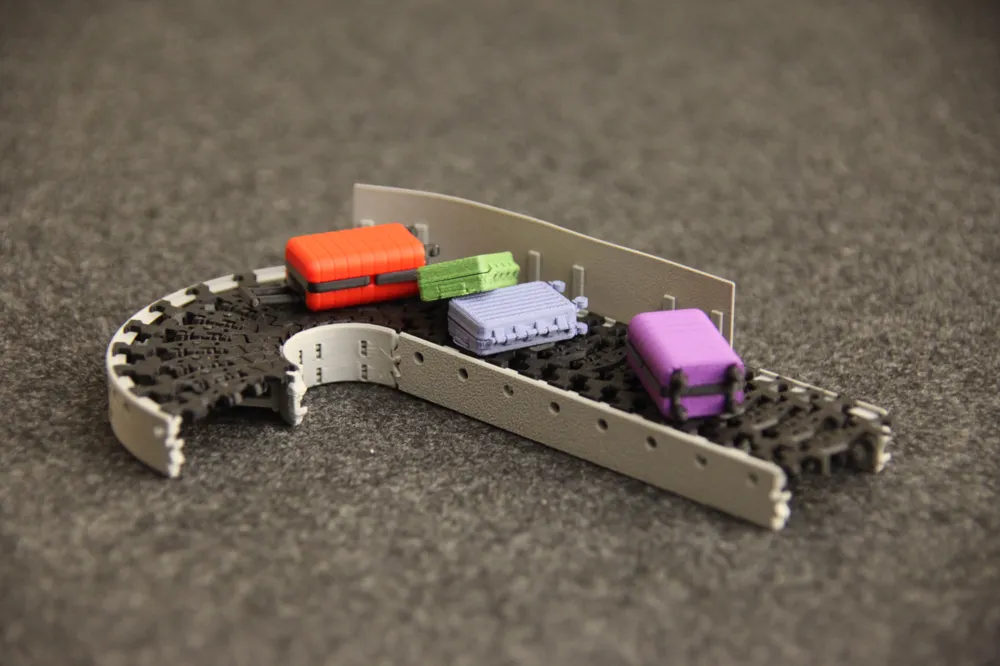
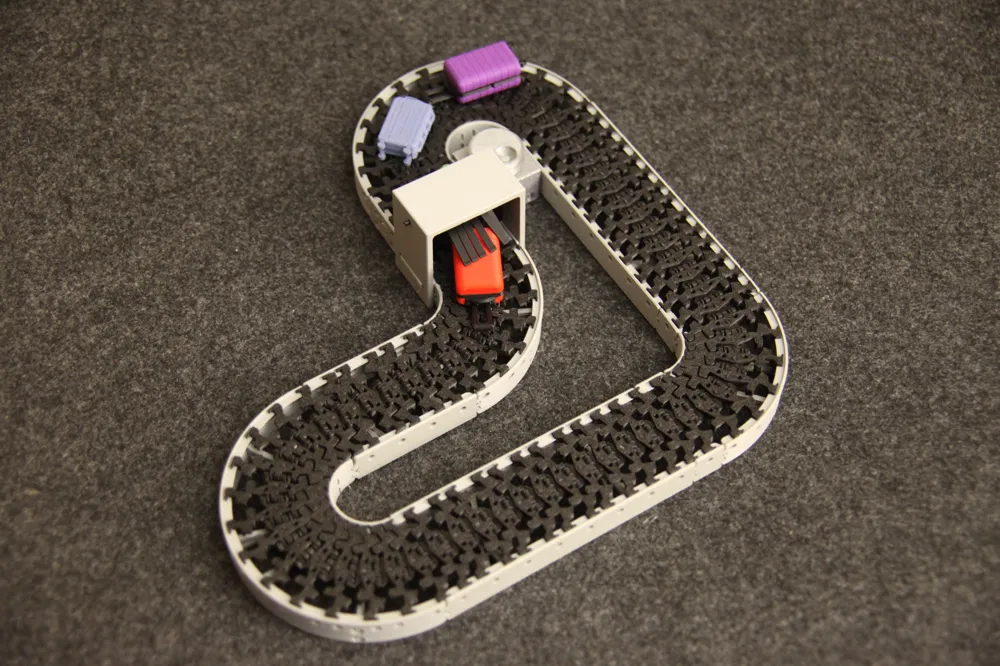
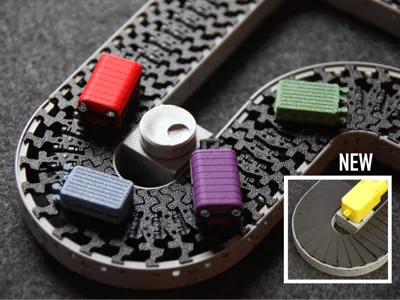
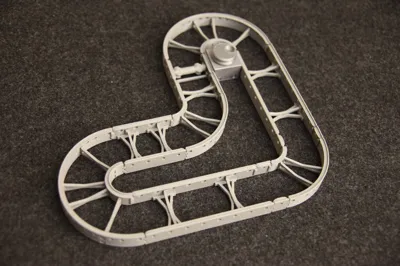
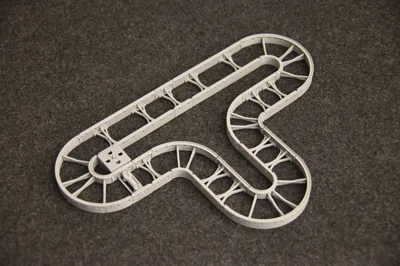
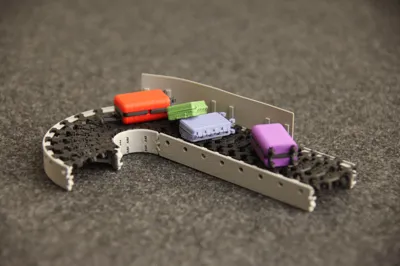
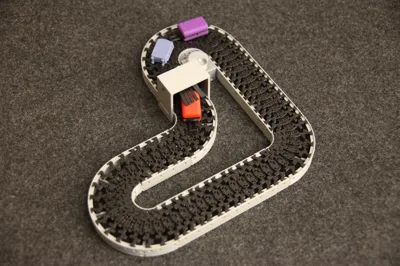
This is my interpretation of a modular conveyor belt system. It is a mini modular plug-and-play closed-loop conveyor belt system with a track width of 37mm.
This system includes tracks and attachments, allowing allowing flexible layouts for baggage handling, security checks and passenger flow, and also fitting industrial transport uses. .
Tracks:
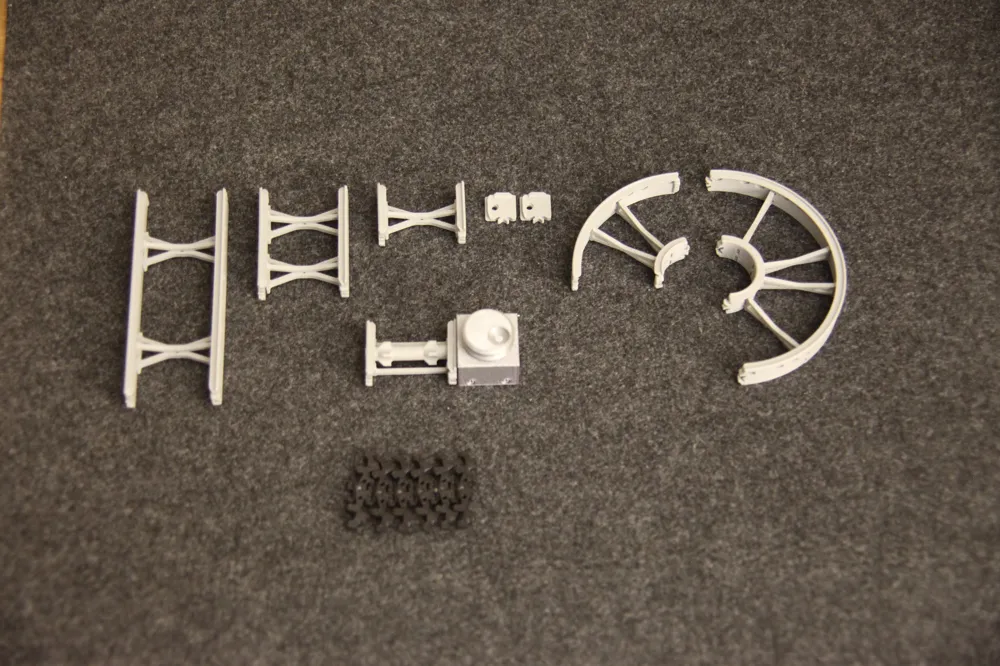
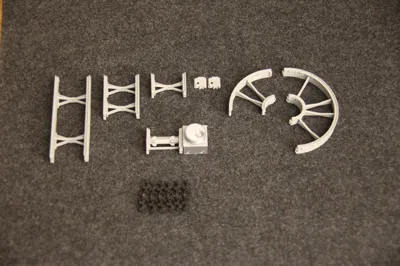
- Straight Tracks: there are tracks available at 12.5%, 25%, 50%, and 100% of 105mm.
- 100% = 12 chain links
- 50% = 6 chain links
- and so on
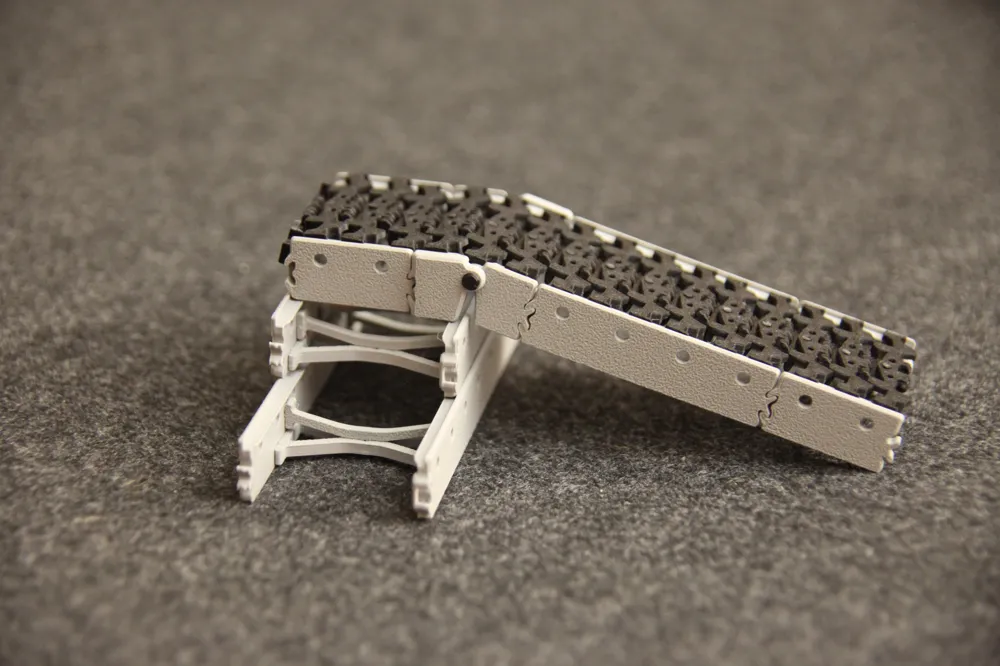
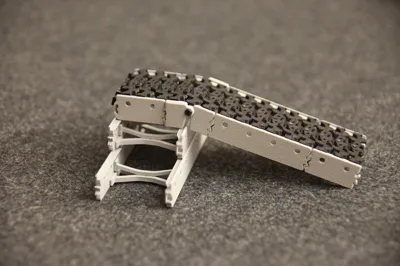
- Slope element: this is a module used to angle the straights and go to different height levels.
- Curves: there are curves available at 90° and 180°.
- 180° = 12 chain links
- 90° = 6 chain links
Attachments:

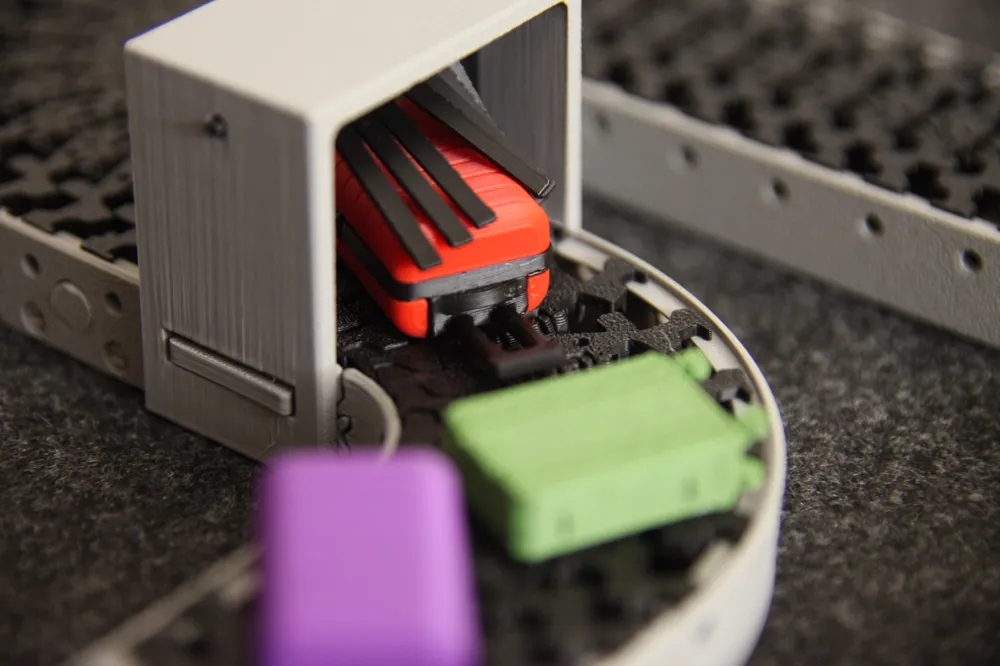
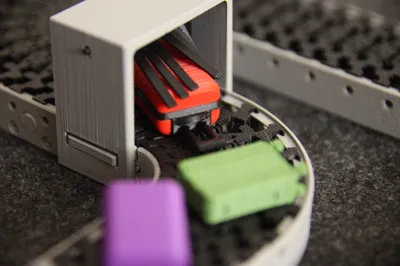
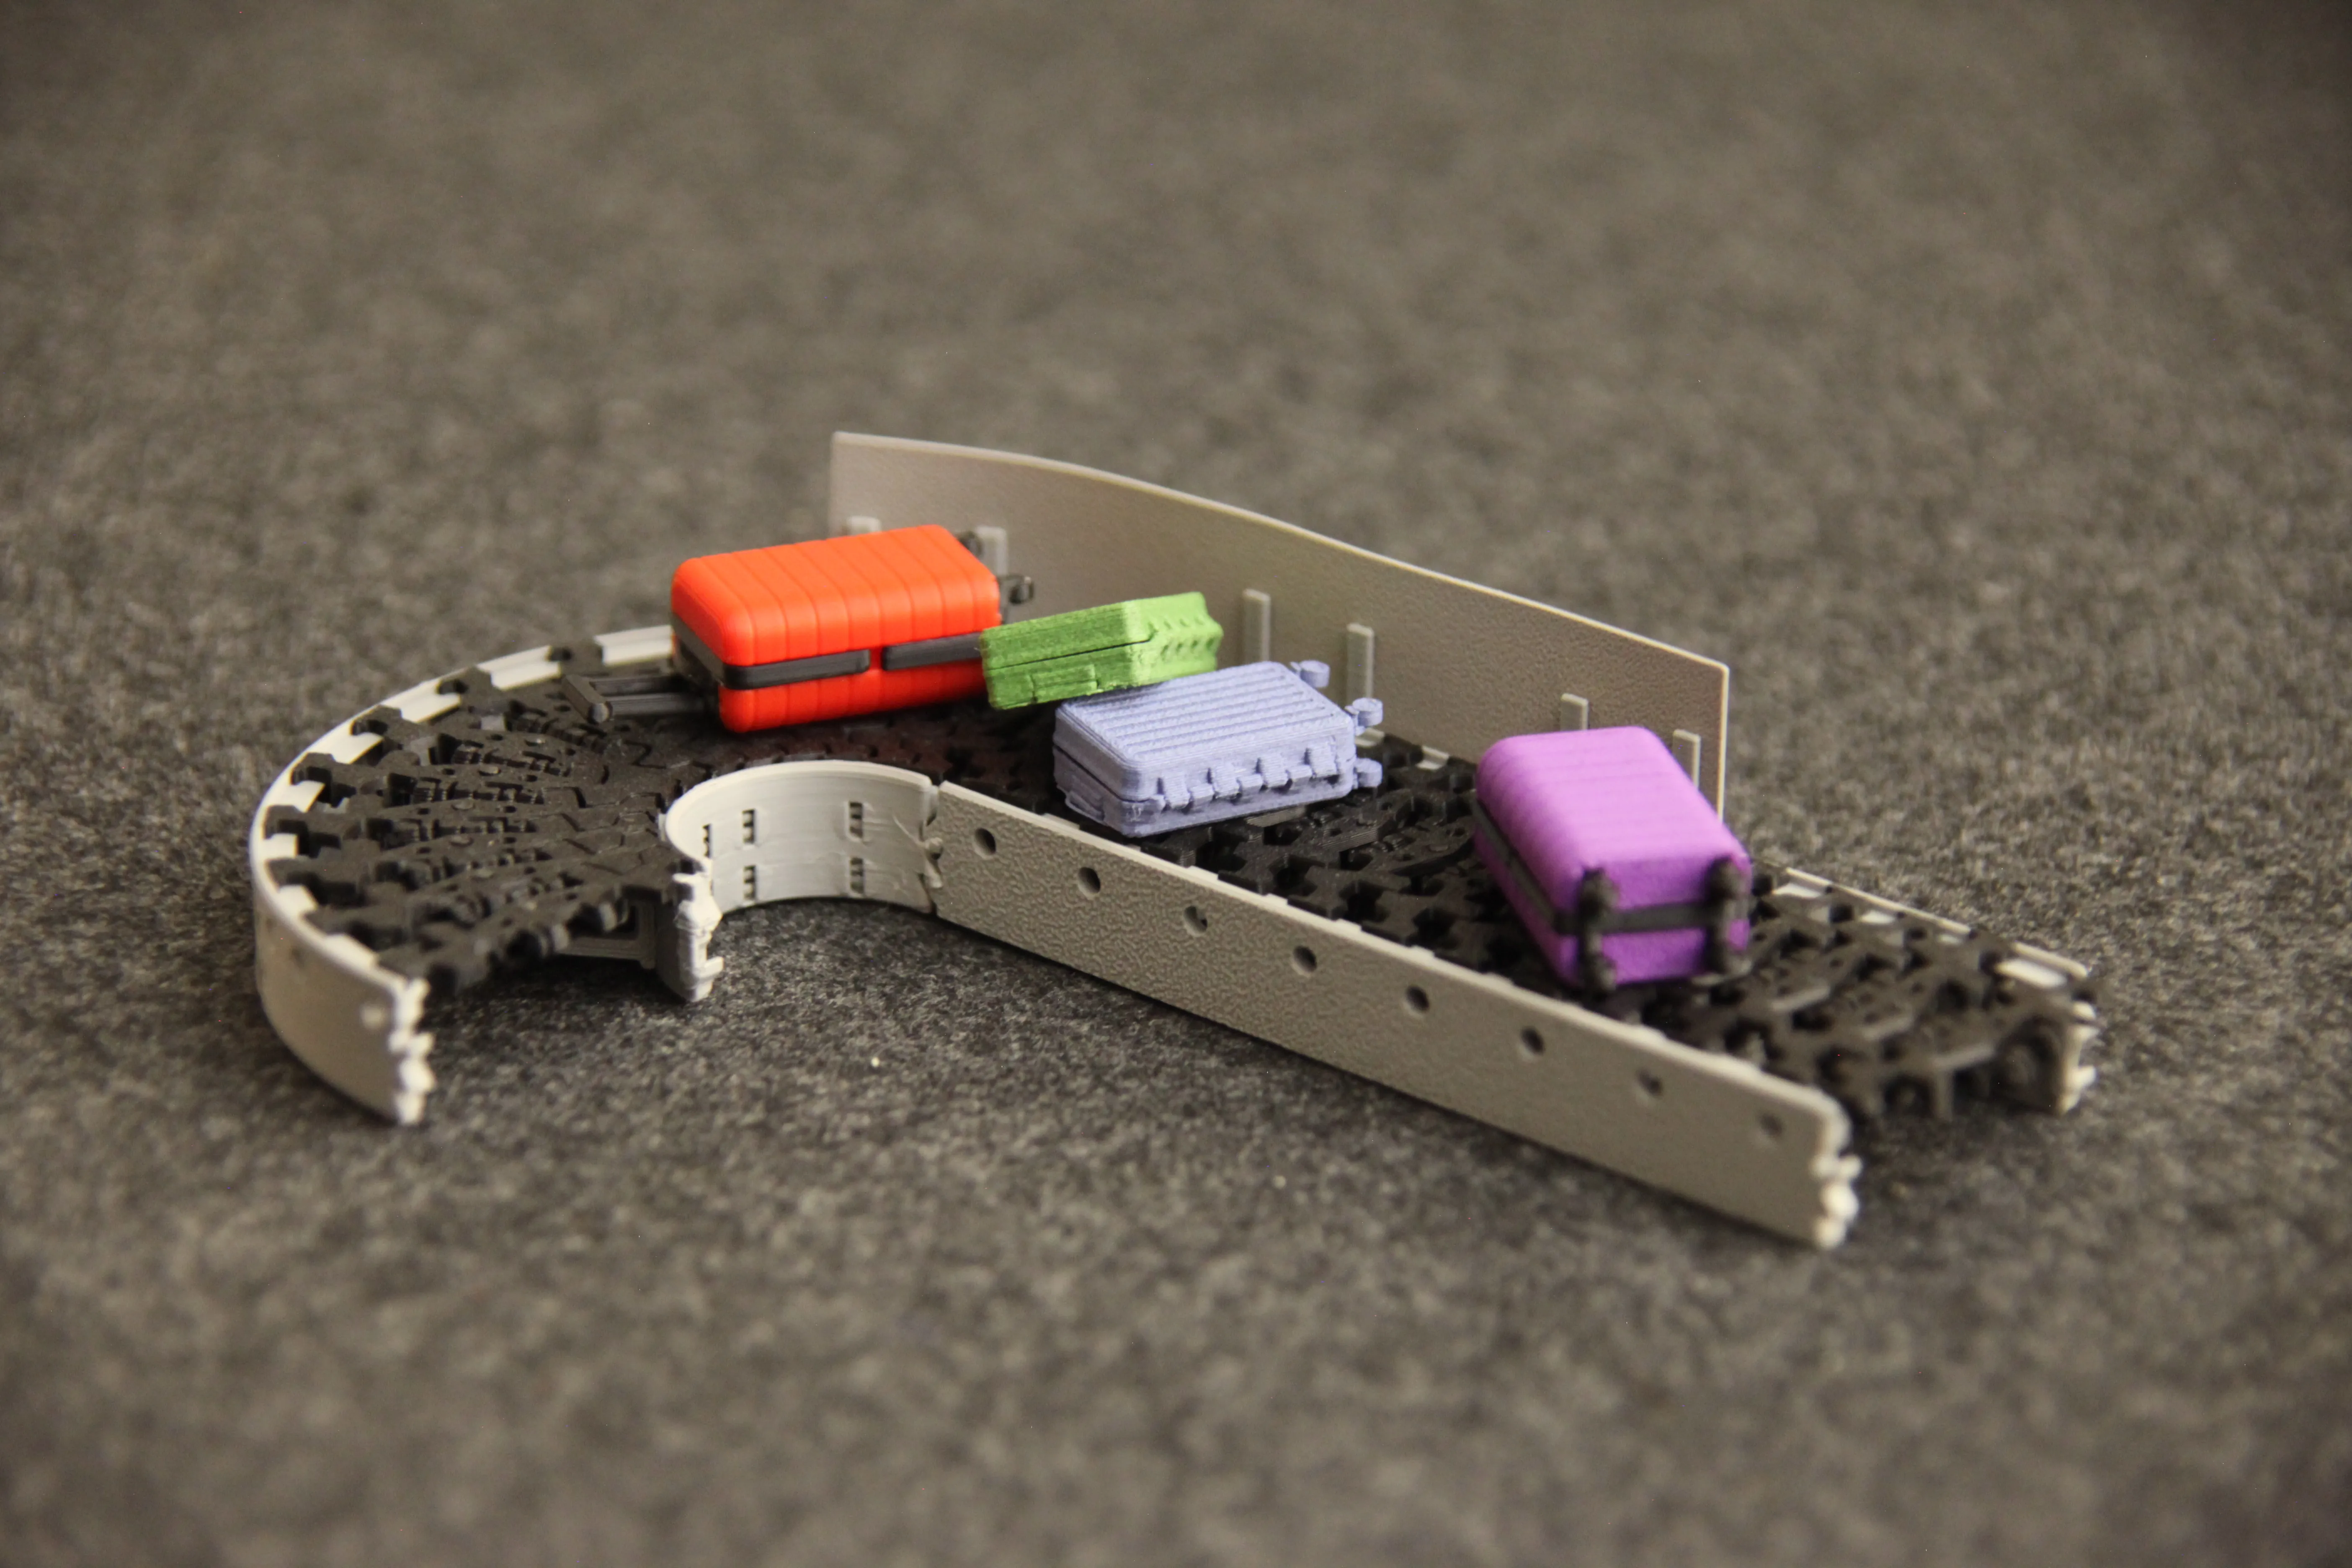
- airport wall
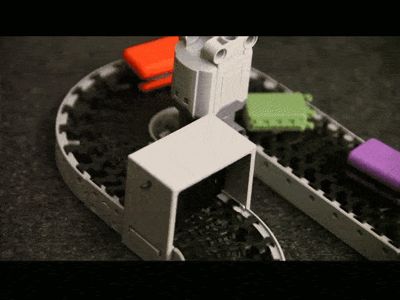
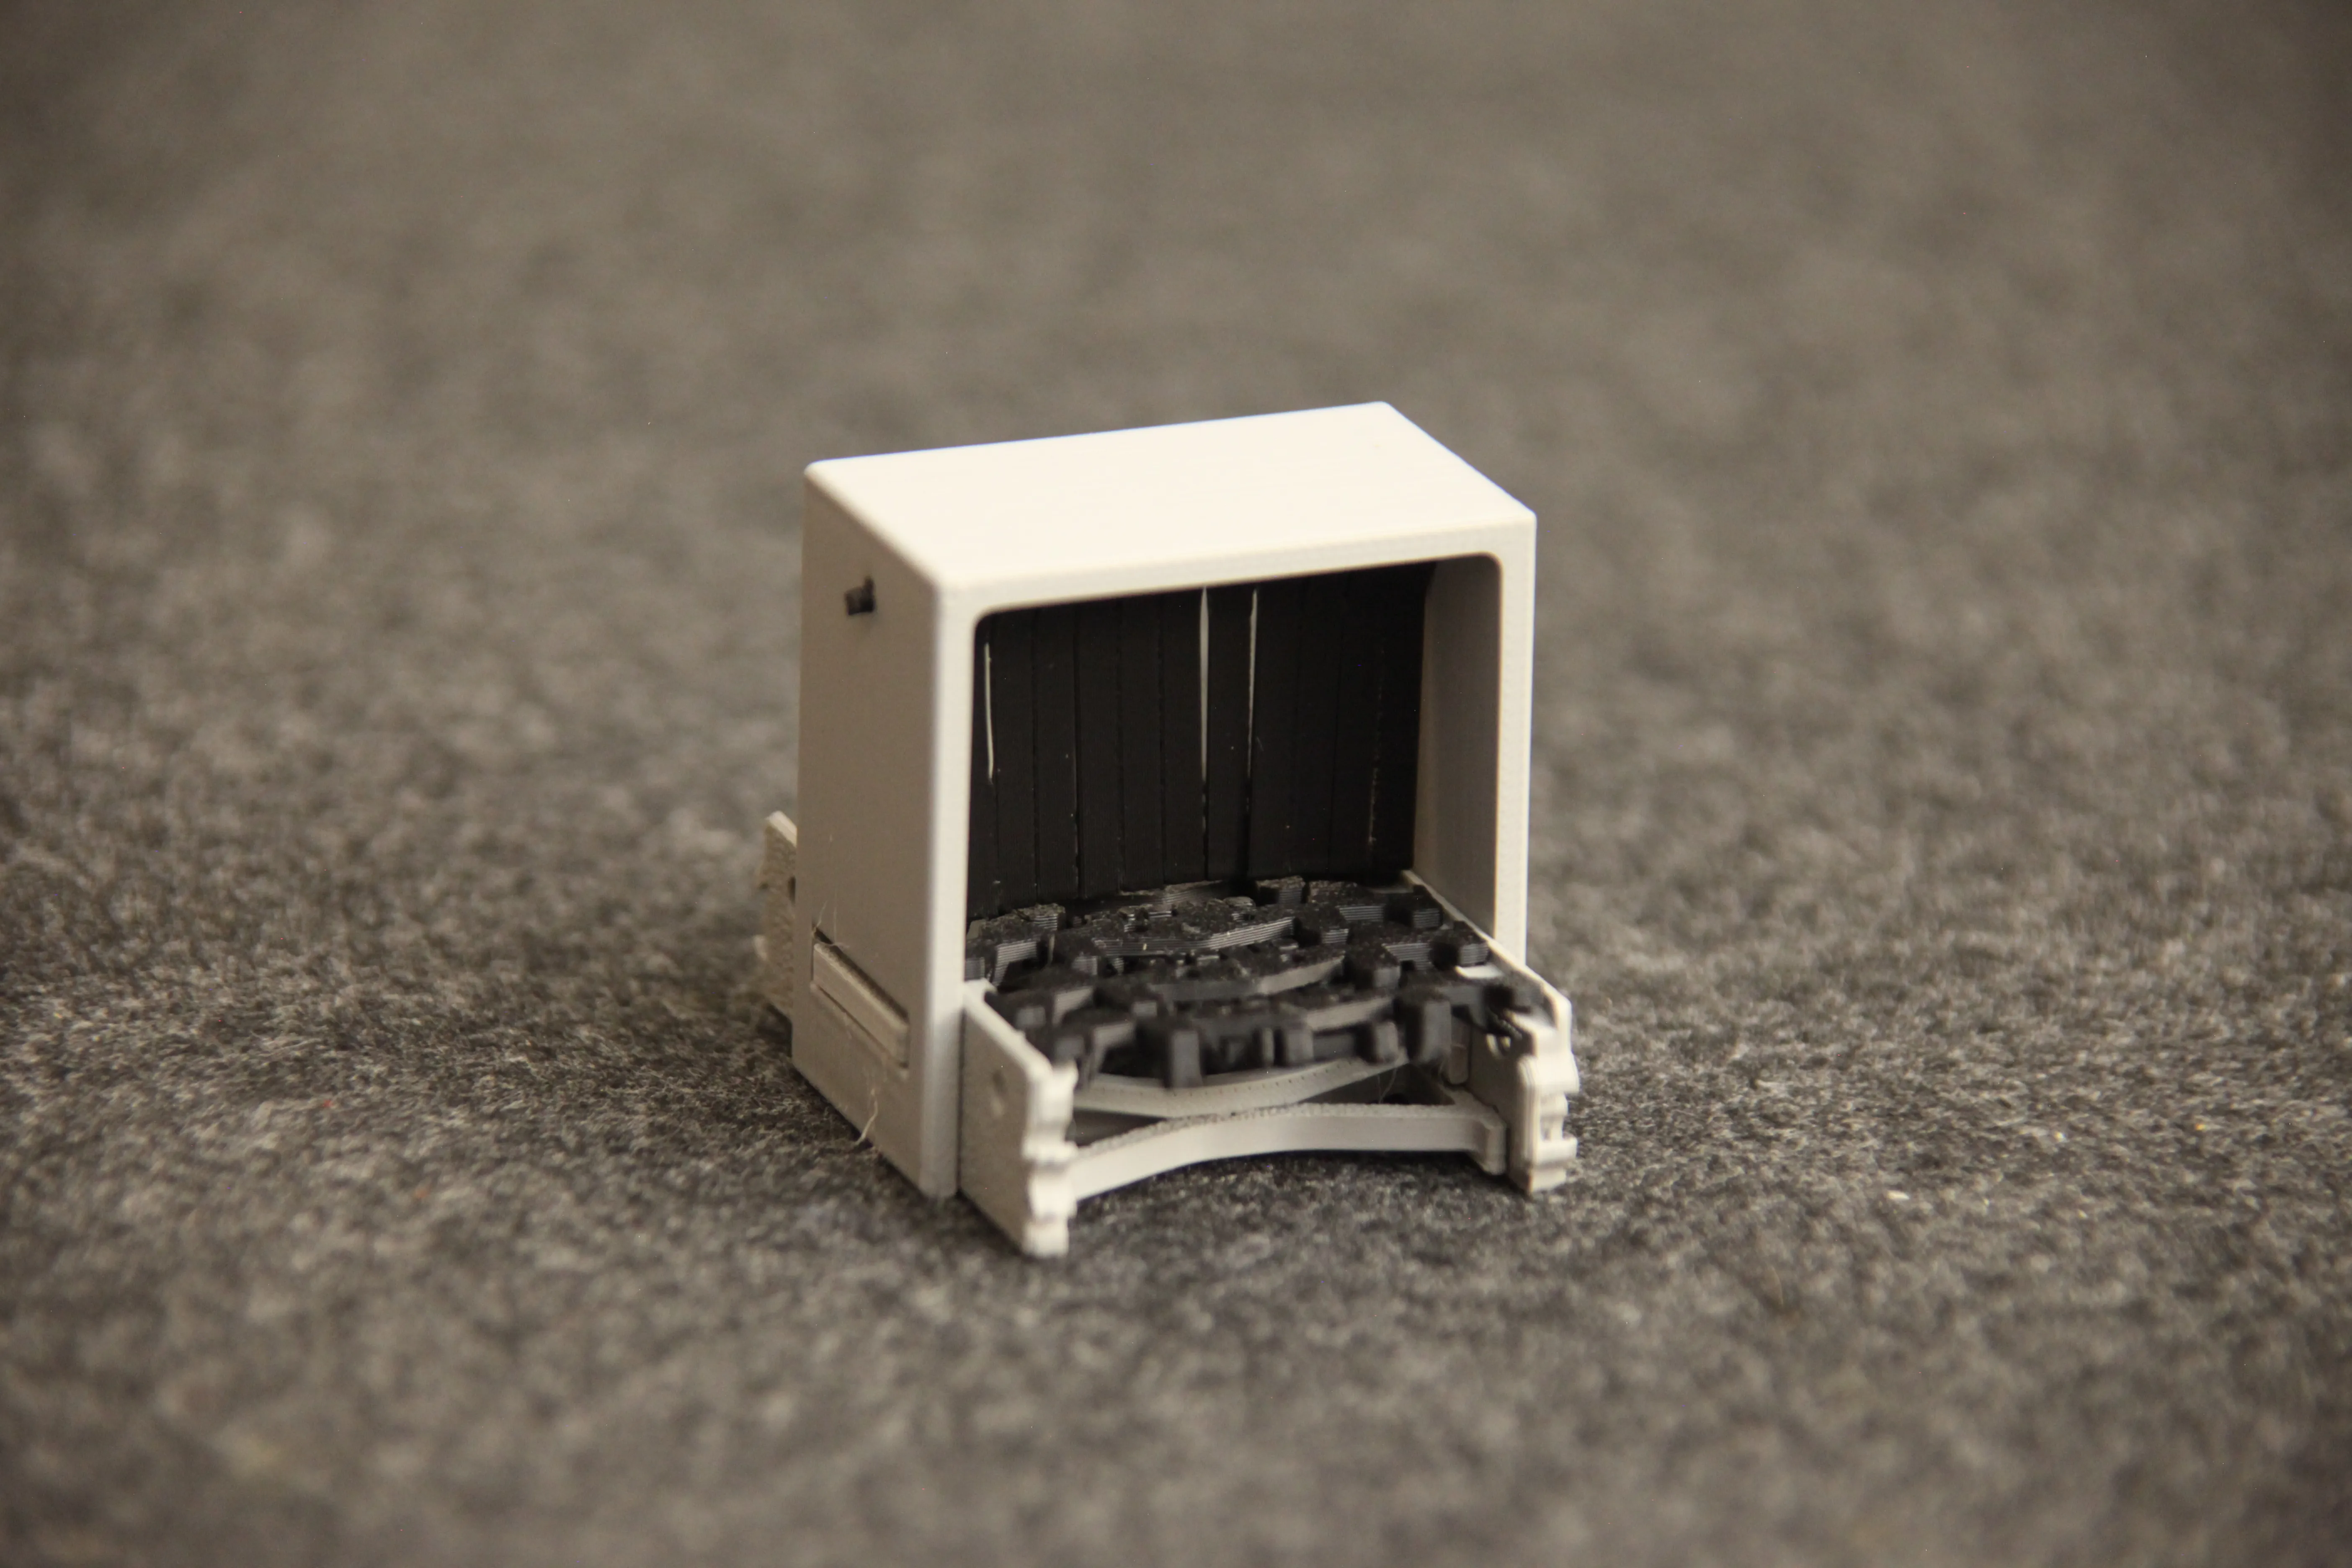
- baggage separator
- barrier
- guardrail

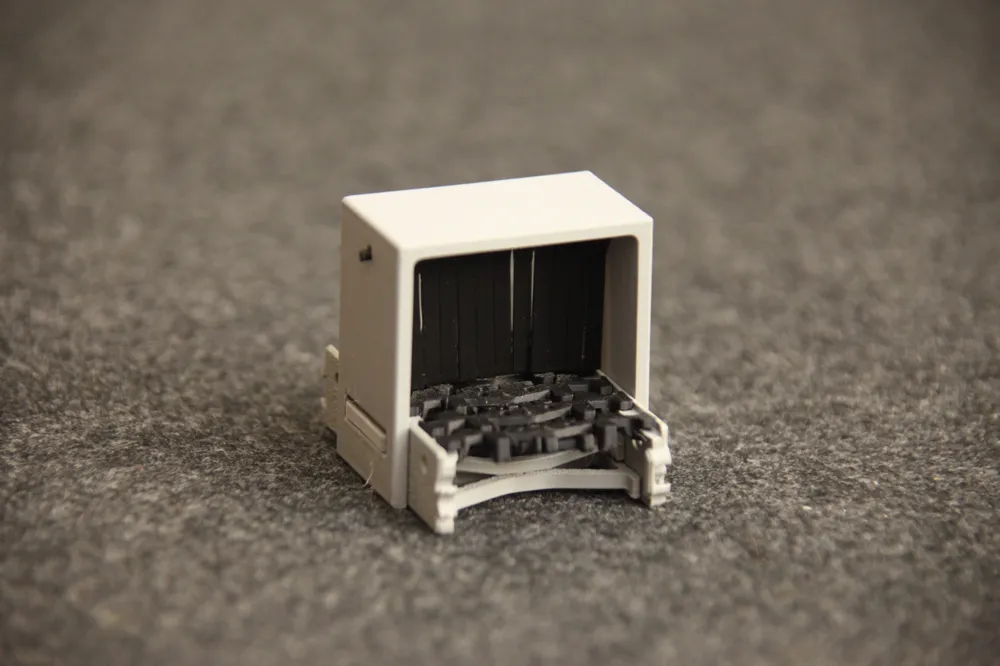
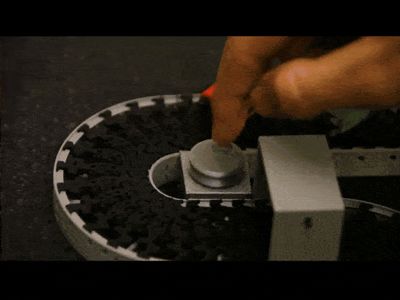
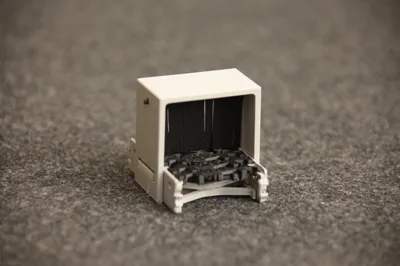
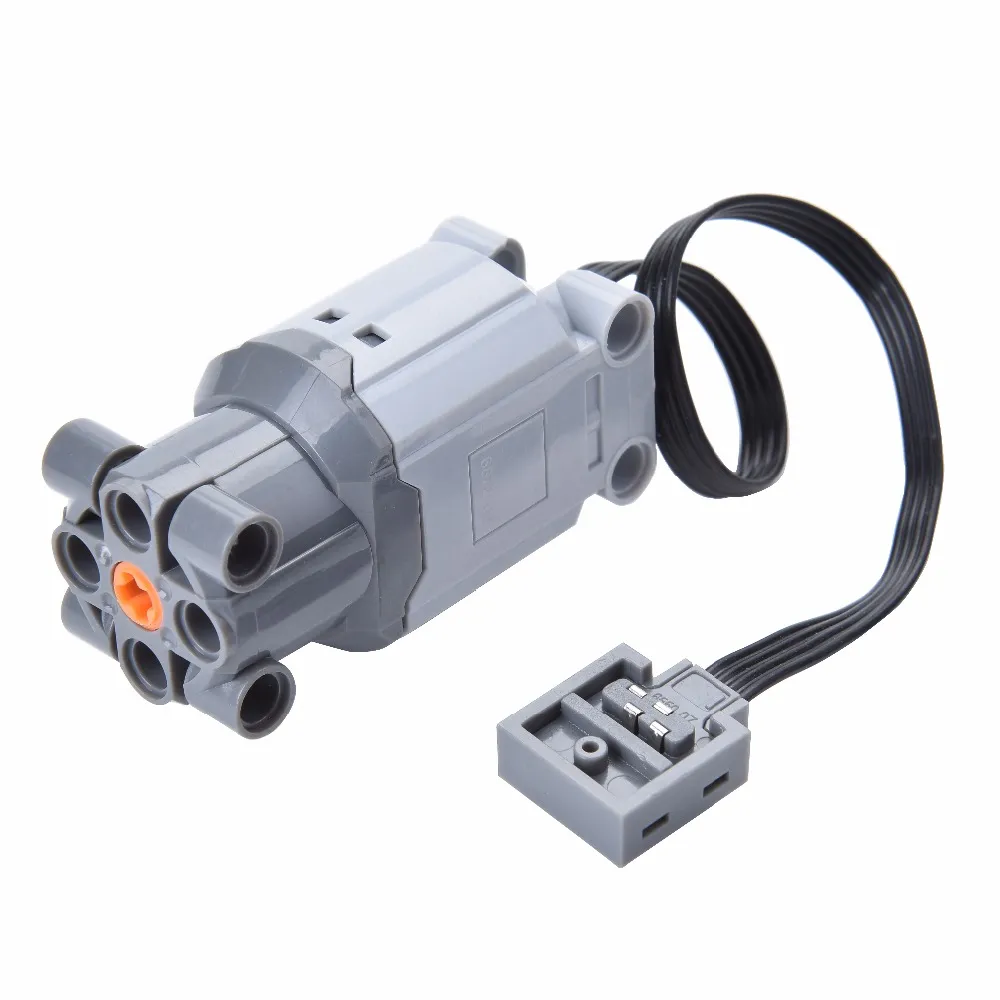
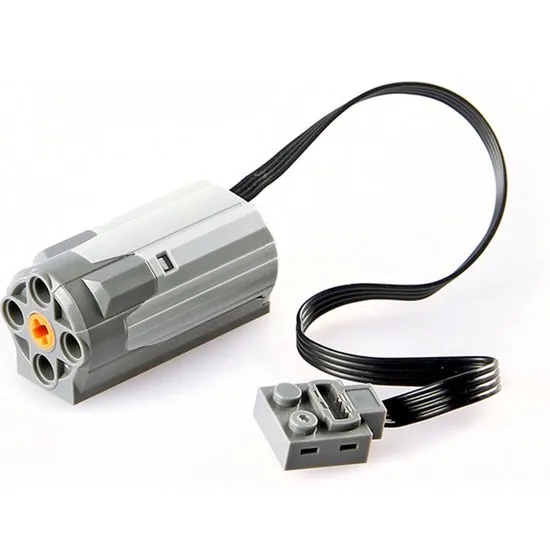
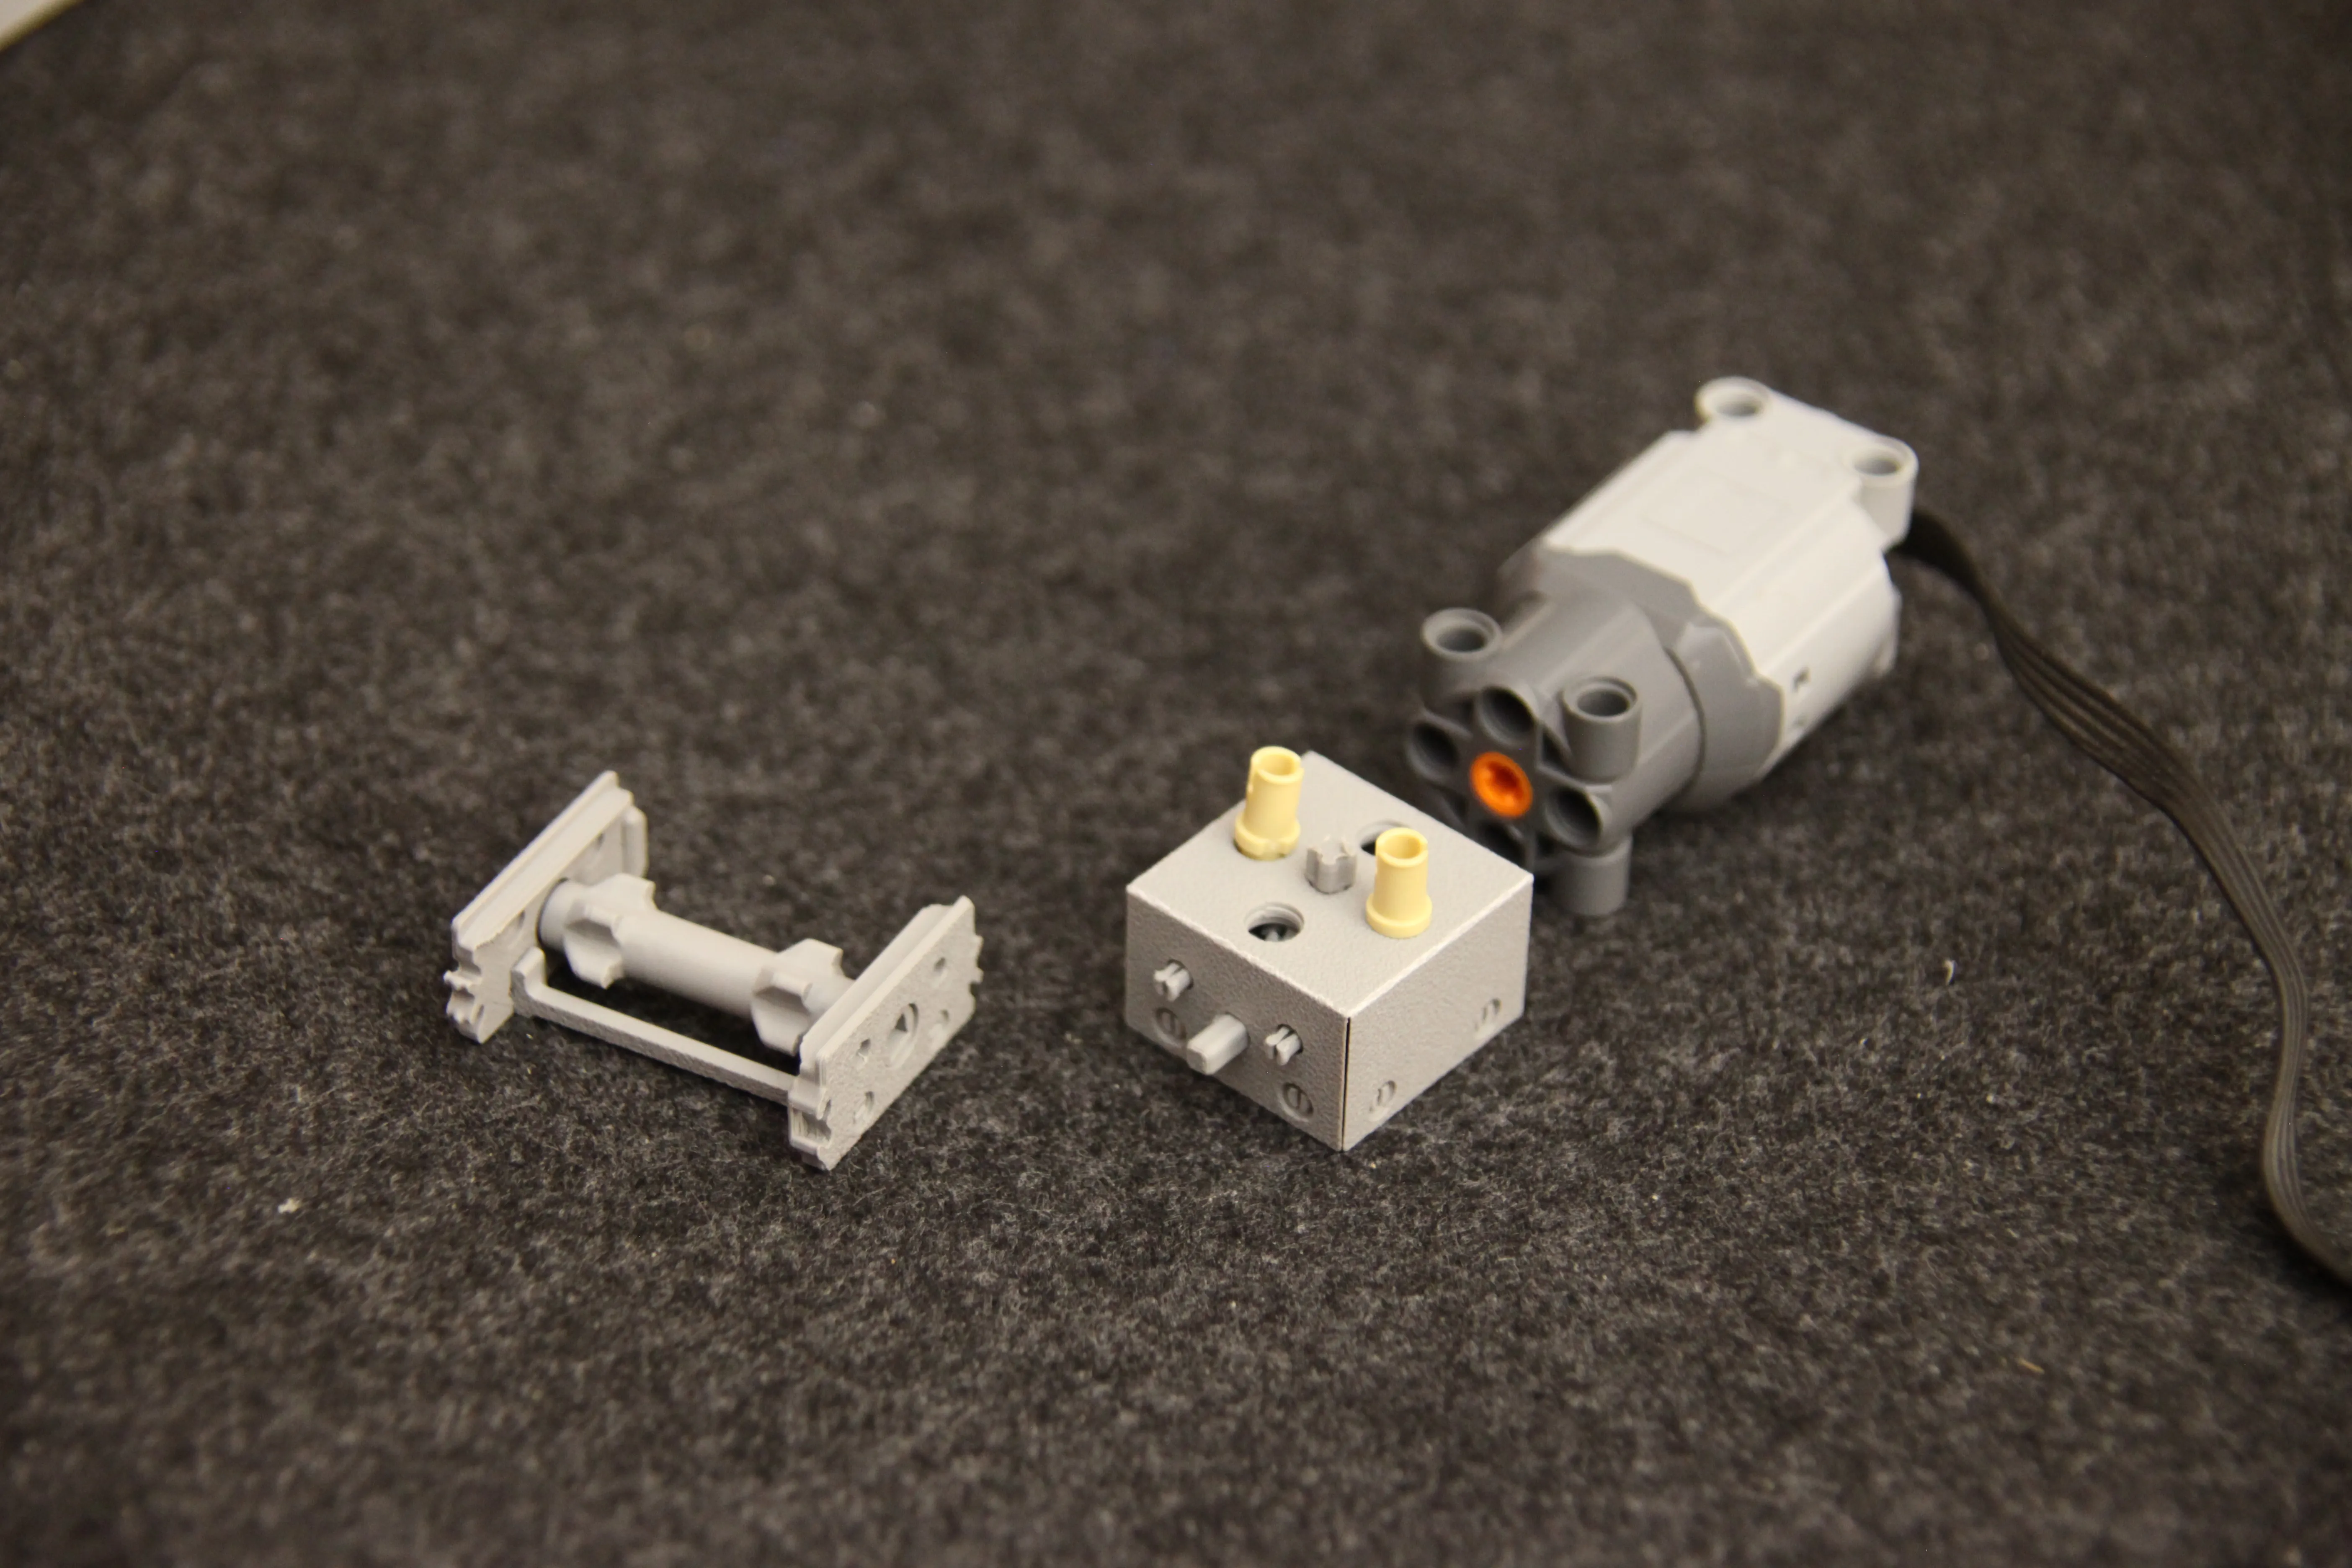
- drive unit (also compatible with LEGOs medium and large technic motor)
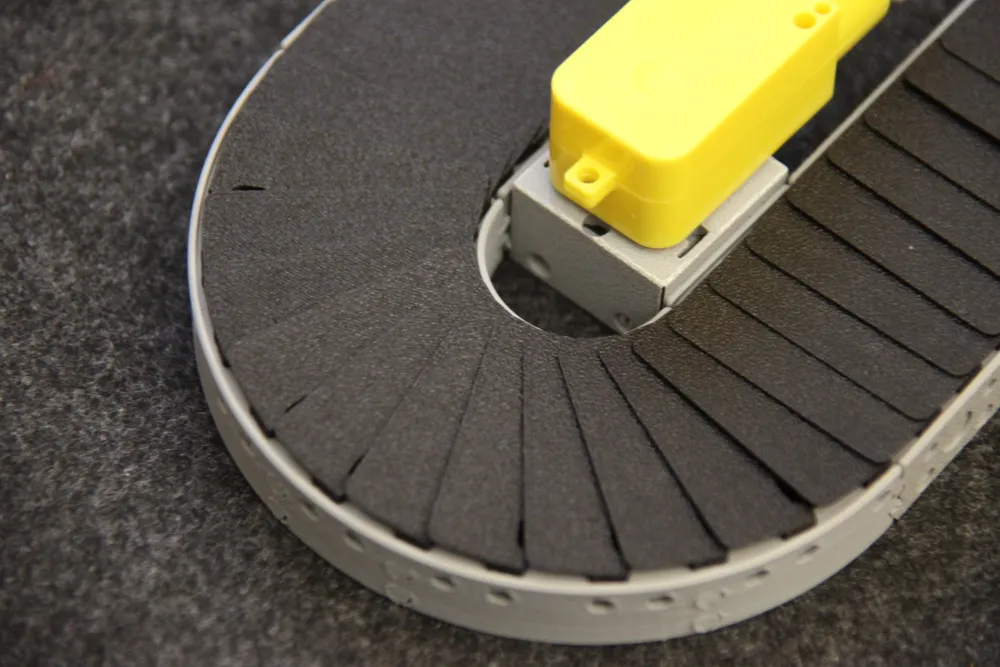
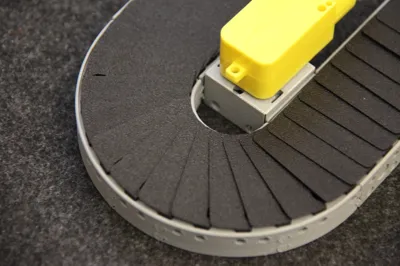
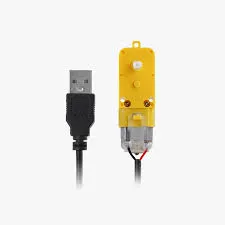
- NEW: drive unit compatible with tt-motos (yellow motors eg. the one in the marble run kit)
- …
- If you have any ideas, please let me know in the comments!
If you have an attachment idea to design, you can use the attachment_idea_pins.step in the files (in this stl there are two pins with the exact dimensions a distance for a boolean operation on your 3D model).
All parts connect tool-free using connectors, which makes it possible to build any structure. The conveyor belt is powered by hand, with the option of using LEGOs motors.
Boost Me (for free)
I dont usually ask for boosts, but I really put a lot of effort into this model. The positive feedback helps me to keep making these models. So if you feel like supporting me, just hit the boost button. Thank you so much :)
Design Thoughts
My goal was to design a modular mini conveyor belt system.
I started with straight segments, each defined by a specific number of chain links. The 100% straight section contains n chain links (in my case, 12). The 50% straight has half as many, the 25% straight a quarter, and so on — down to 12.5%.
I wanted the 180° curve to use the same number of chain links as the 100% straight (so both have 12 links). The 90° curve should then naturally use half that amount.
An important design goal was that the outer diameter of the 180° curve should match the length of the 100% straight section. That way, when connecting multiple parts, there would be no offset between the start and end of the belt.
At the same time, the inner diameter of the curve should equal 25% of the 100% straight.
Unfortunately, this wasn’t perfectly achievable — the outer and inner diameters ended up about 1 mm larger than planned. This small deviation comes from the discrete number of chain links and their fixed pivot spacing.
The final result:
- 100% straight section: 12 chain links → 105 mm total length
- 180° curve: 12 chain links
- Outer diameter: 106 mm
- Inner diameter: 27.5 mm
- Chain link length (pivot to pivot): 8.75 mm
Despite the small tolerance, the system works very well and looks balanced when assembled.
Please read the description before printing the model to minimize problems.
Conveyor System Manual
Example Setup
Let’s say I want to build a closed loop with two straight sections and two 180° turns.
Step 1 – Choose Your Conveyor Type
Decide whether you want a conveyor with a drive unit or without one.
The drive unit lets you move the belt manually (with your finger) or by using LEGOs L/M motor or a TT motor.
⚠️ Note:
The drive unit uses a 25% straight segment, so you’ll need to plan its position in your layout.
For example, if you include the drive unit, you might have to shorten another straight to make everything fit correctly.
Step 2 – Prepare Your Printer and Filament
Before printing, make sure your filament is properly calibrated and dry.
Here’s a helpful video on how to calibrate your filament:
Step 3 – Make the Tracks
Analyze Your Layout
Determine how many tracks and what types you need.
Example layout (with drive unit):
- 1× 50% straight
- 1× 25% straight (the other 25% is part of the drive unit)
- 2× 180° curves
How to Print
You can print using the Bambu Handy App or Bambu Studio.
Bambu Handy App
- Go to the “Track” print profile
- Choose the right plate (e.g. Straight 50%, Curve 90°, or Slope)
- Select your filament
- Choose the number of copies (e.g. 2×)
- Hit Print
Bambu Studio
- Open the desired 3MF and choose the right plate (e.g. Straight 50%)
- Select all plate-parts (hold Ctrl) and duplicate them if needed
- Slice and print
=> Repeat the same process for straights, curves, and slopes.
Assembly – Tracks
Straights:
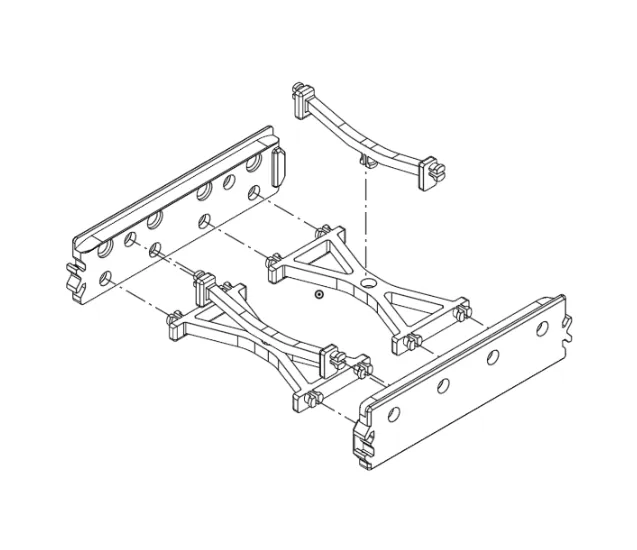
Curves:
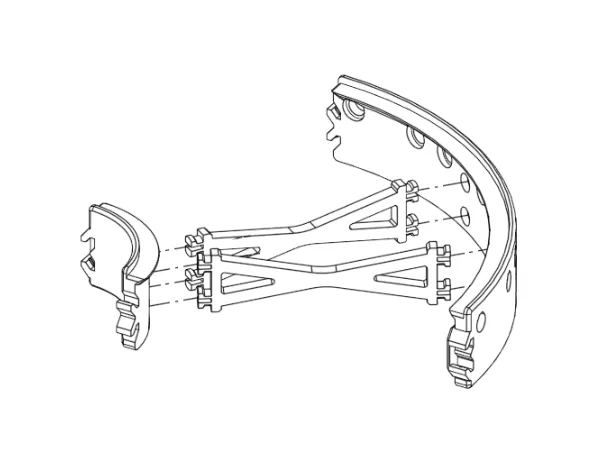
Slopes:
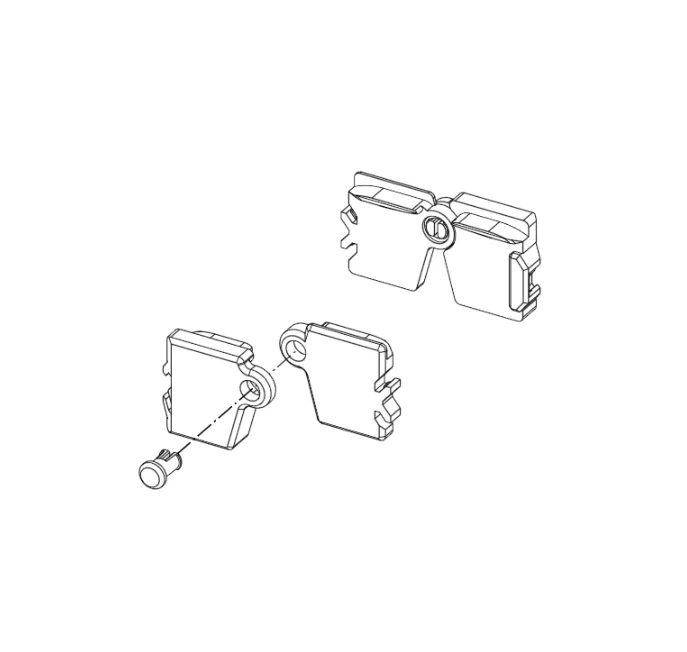
Step 4 – Make the Chain
Analyze
How many chain links do you need?
| Track Type | Links per Segment |
|---|---|
| Straight 100% | 12 |
| Straight 50% | 6 |
| Straight 25% | 3 |
| Straight 12.5% | 1.5 |
| Curve 180° | 12 |
| Curve 90° | 6 |
| Slope | 3 |
Example:
If you have 2× Straight 100%, that’s 2 × 12 = 24 chain links.
After summing all your track types, you’ll know the total number of links to print (e.g. 84 links).
Version 1 – Print-in-Place Chain (open version)
(Recommended for most users)
Clean your build plate before printing! A bit of glue or adhesive can help with bed adhesion.
Bambu Handy App
- Go to the print profile “Chain”
- Select the right plate → 12x Chain Print-in-Place
- Choose filament and number of copies
- Hit Print
Bambu Studio
- Download and open the chain.3mf file
- Select the plate you want to print
- Duplicate parts (Ctrl+C / Ctrl+V) to increase quantity
- Slice and print
Repeat until you’ve printed enough chain links.
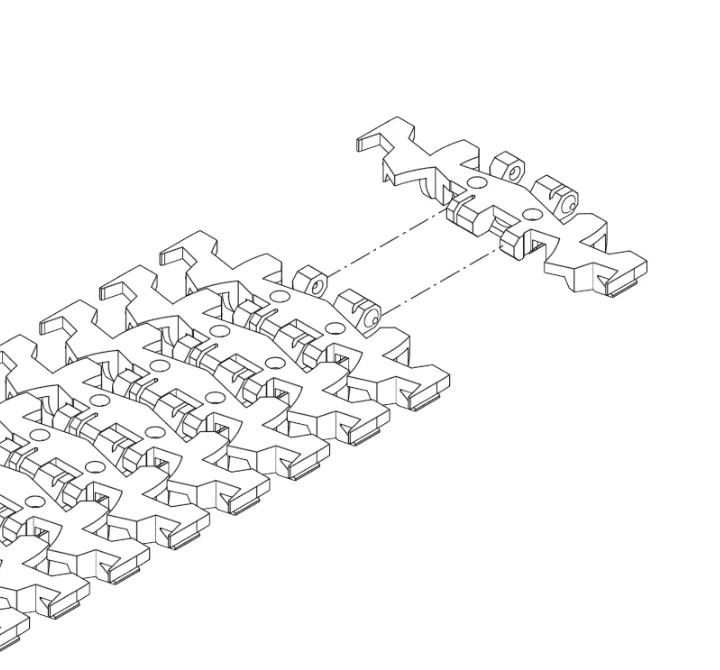
Assembly:
Remove the printed chain from the plate and loosen the hinge by twisting it to the side — it should move freely right after.
Version 2 – Print-in-Place Chain (closed version)
(Recommended for most users)
Clean your build plate before printing! A bit of glue or adhesive can help with bed adhesion.
Bambu Handy App
- Go to the print profile “Chain”
- Select the right plate → 12x print in place chain closed
- Choose filament and number of copies
- Hit Print
Bambu Studio
- Download and open the chain.3mf file
- Select the plate you want to print
- Duplicate parts (Ctrl+C / Ctrl+V) to increase quantity
- Slice and print
Repeat until you’ve printed enough chain links.
Assembly:
Remove the printed chain from the plate and loosen the hinge by twisting it to the side — it should move freely right after.
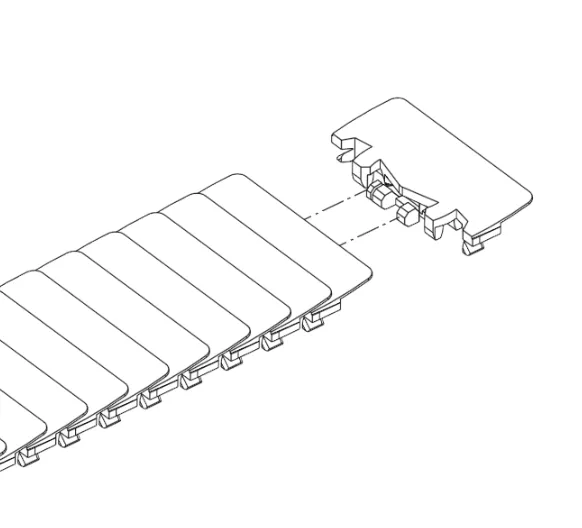
Version 3 – “Tinkering Version” (open version)
(More work, but useful if print-in-place doesn’t work well)
First, print the chain tolerance test and follow its instructions — this step is crucial so the links don’t fall apart when inserting the filament.
Printing
- Bambu Handy App: Go to Chain → 12x Chain Tolerance No. 2
- Bambu Studio: Open the 3MF, duplicate as needed, then slice and print
After printing:
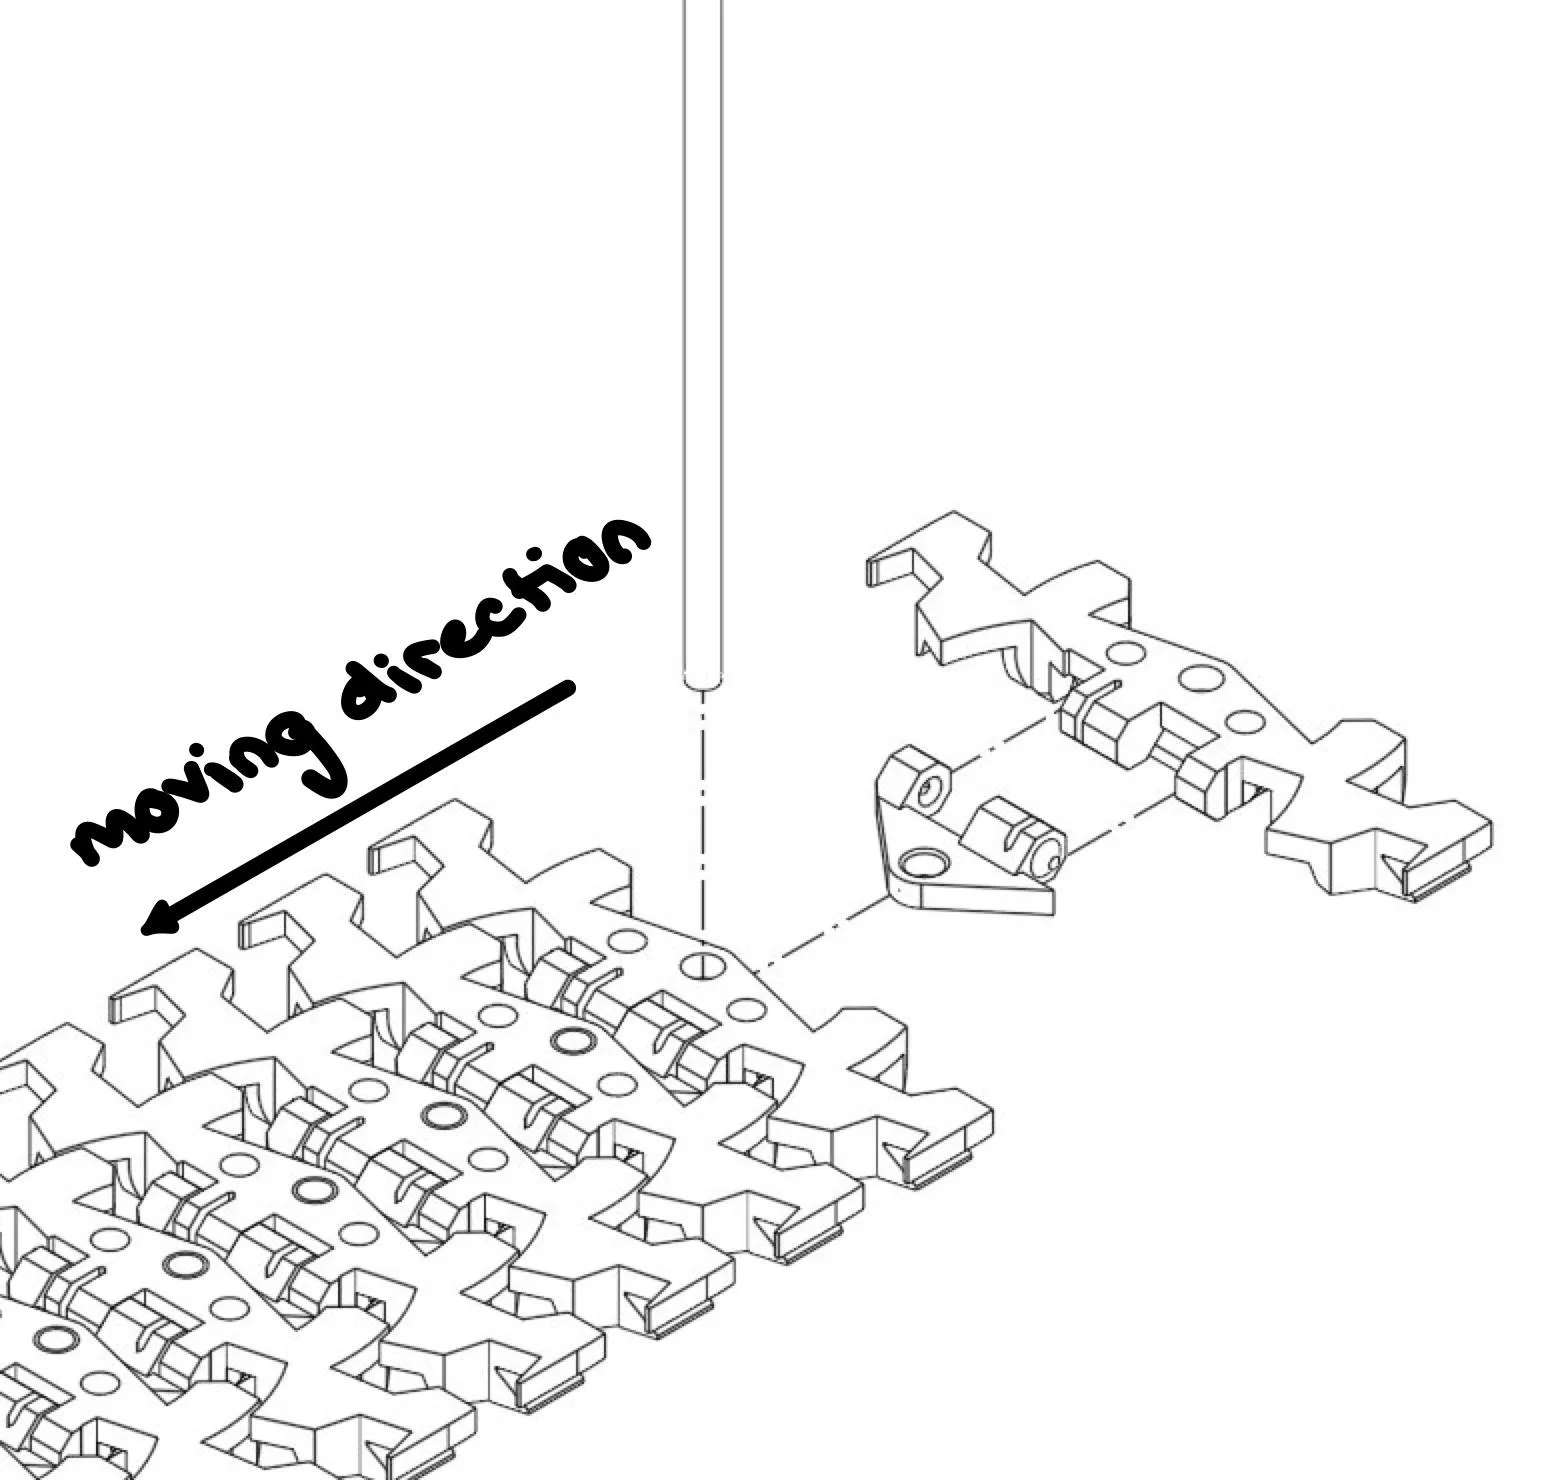
Insert the long filament through the chain links, then cut it cleanly with a cutter knife.
⚠️ Safety Tip: Place a sturdy base underneath while cutting.
Step 5 – Attachments
Available Attachments
Drive unit (for LEGOs L/M motor)
Drive unit (for yellow TT motor)
Airport wall
Baggage separator
Barrier
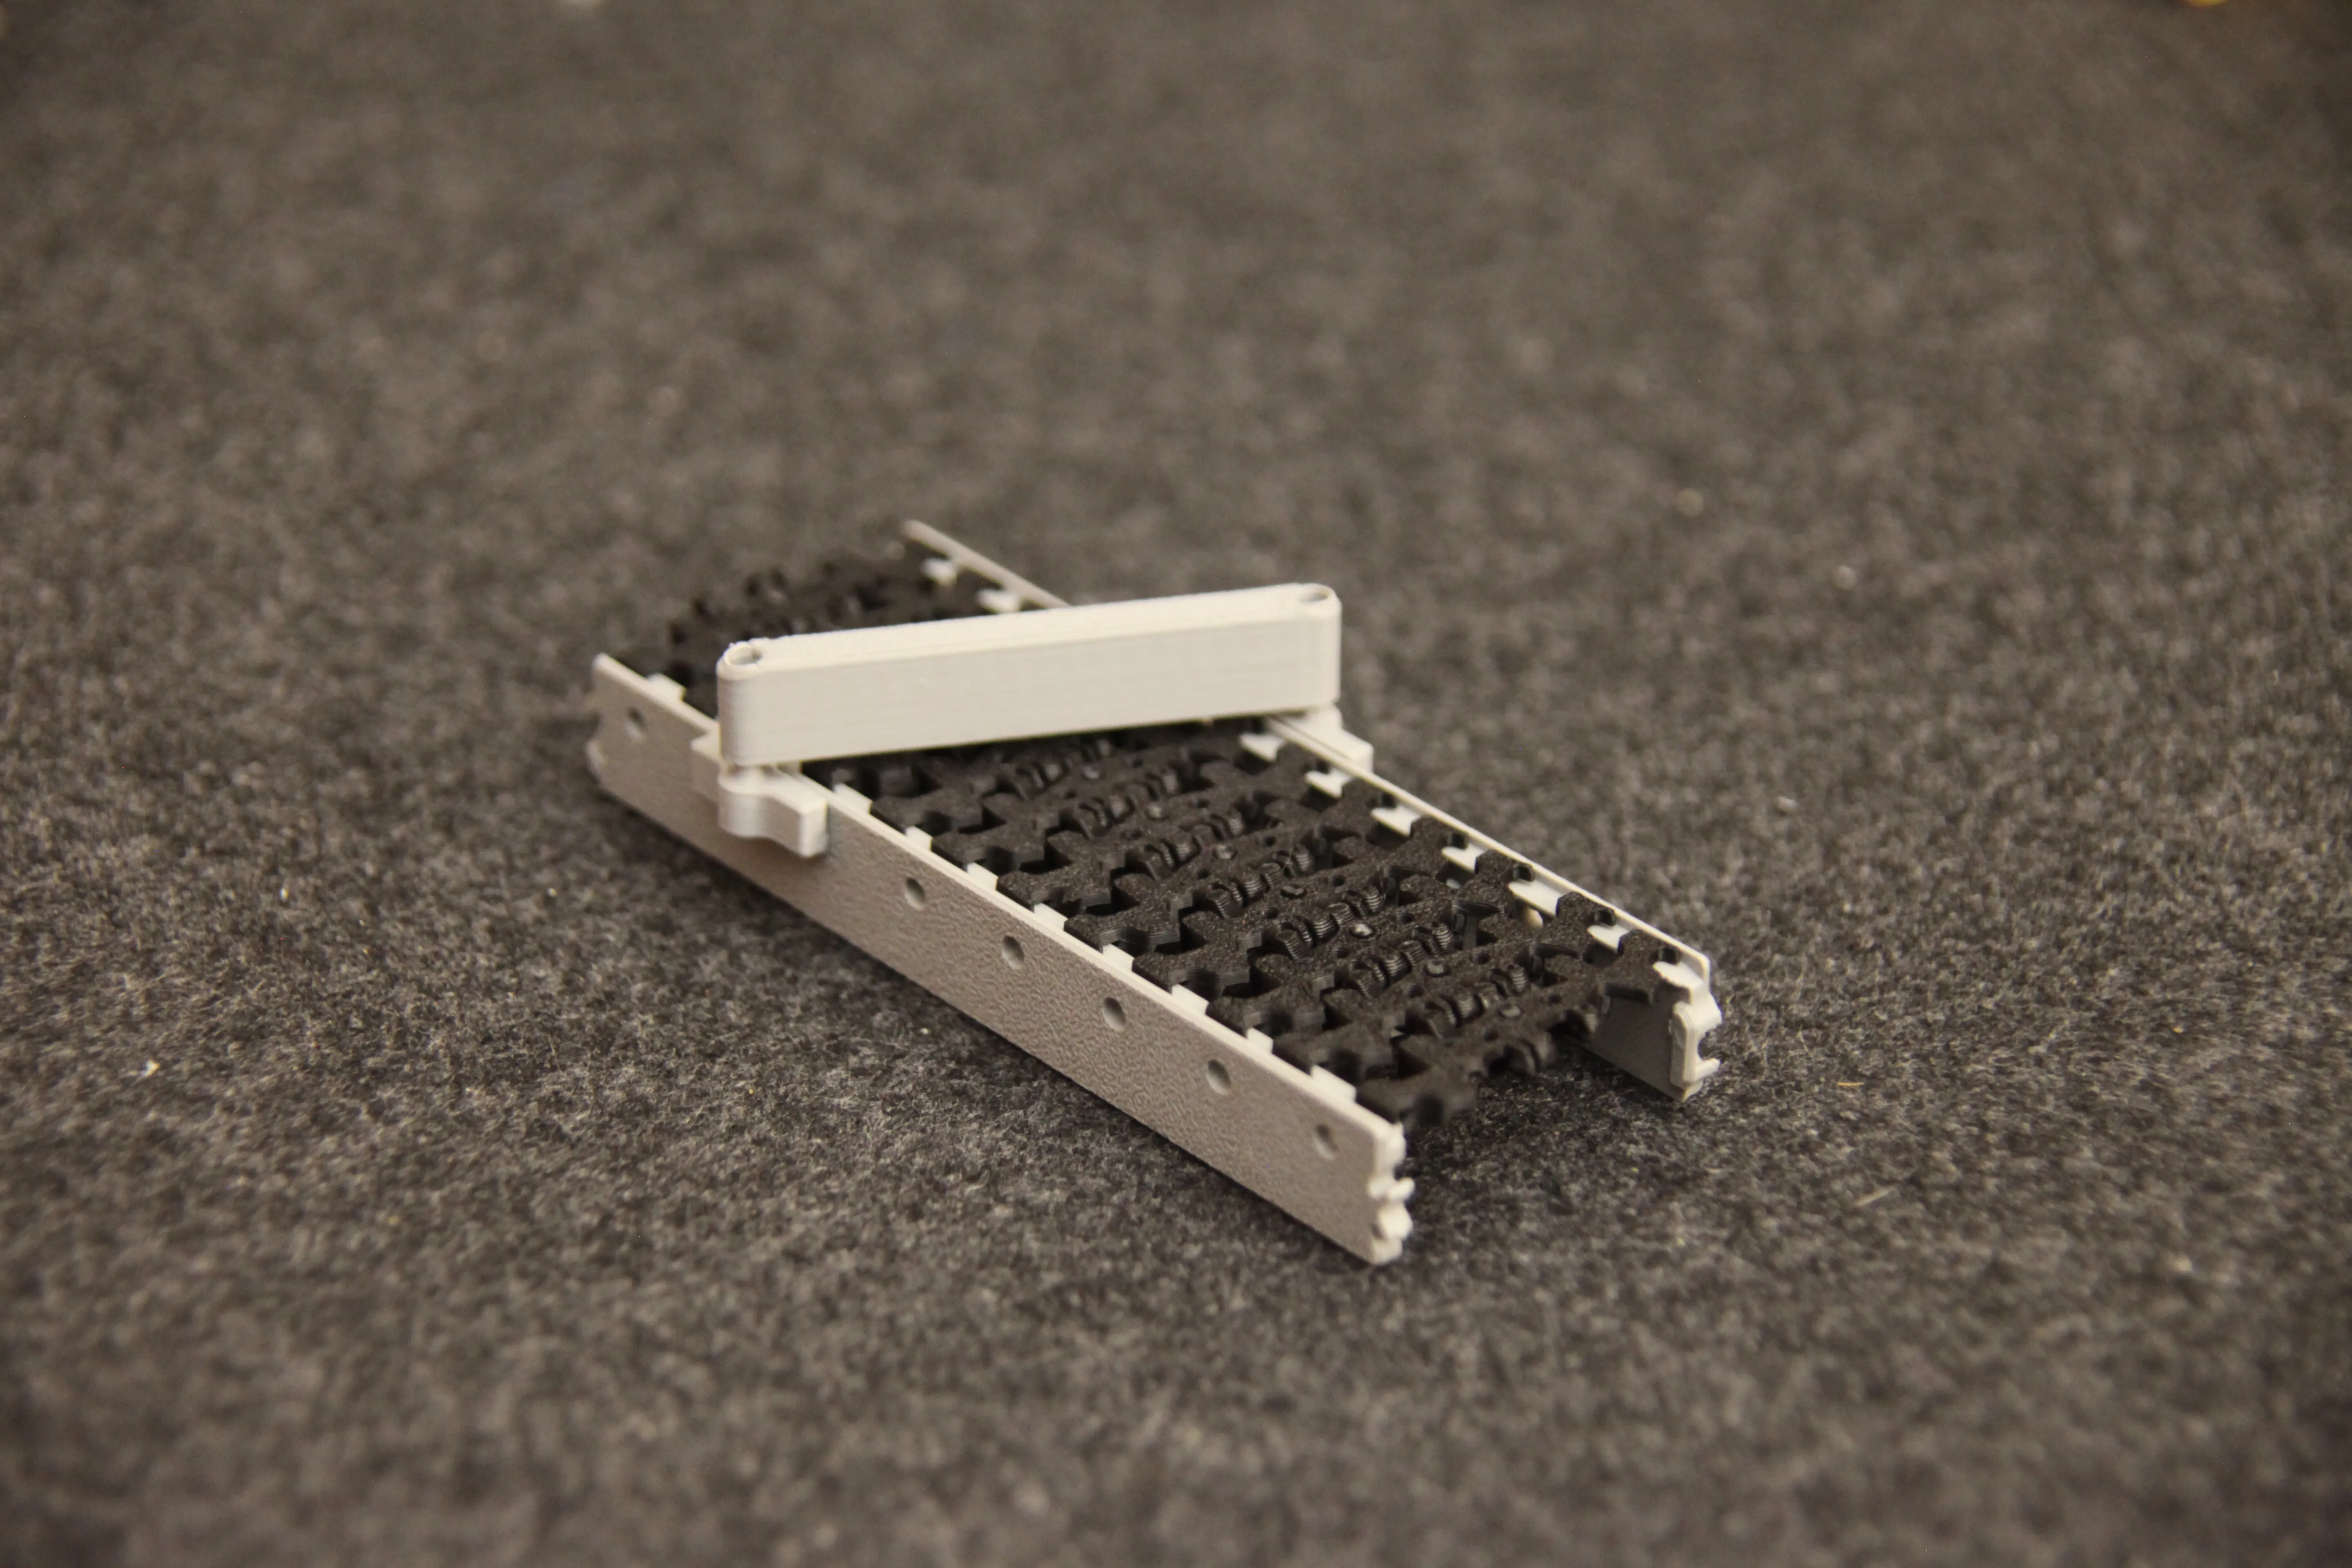
Decide which ones you want to include in your build.
Printing Attachments
Bambu Handy App:
Go to “Attachment” → choose the desired attachment plate → select filament and print.
⚠️ Note:
The baggage separator has two separate plates that both need to be printed (due to color changes).
Assembly – Attachments
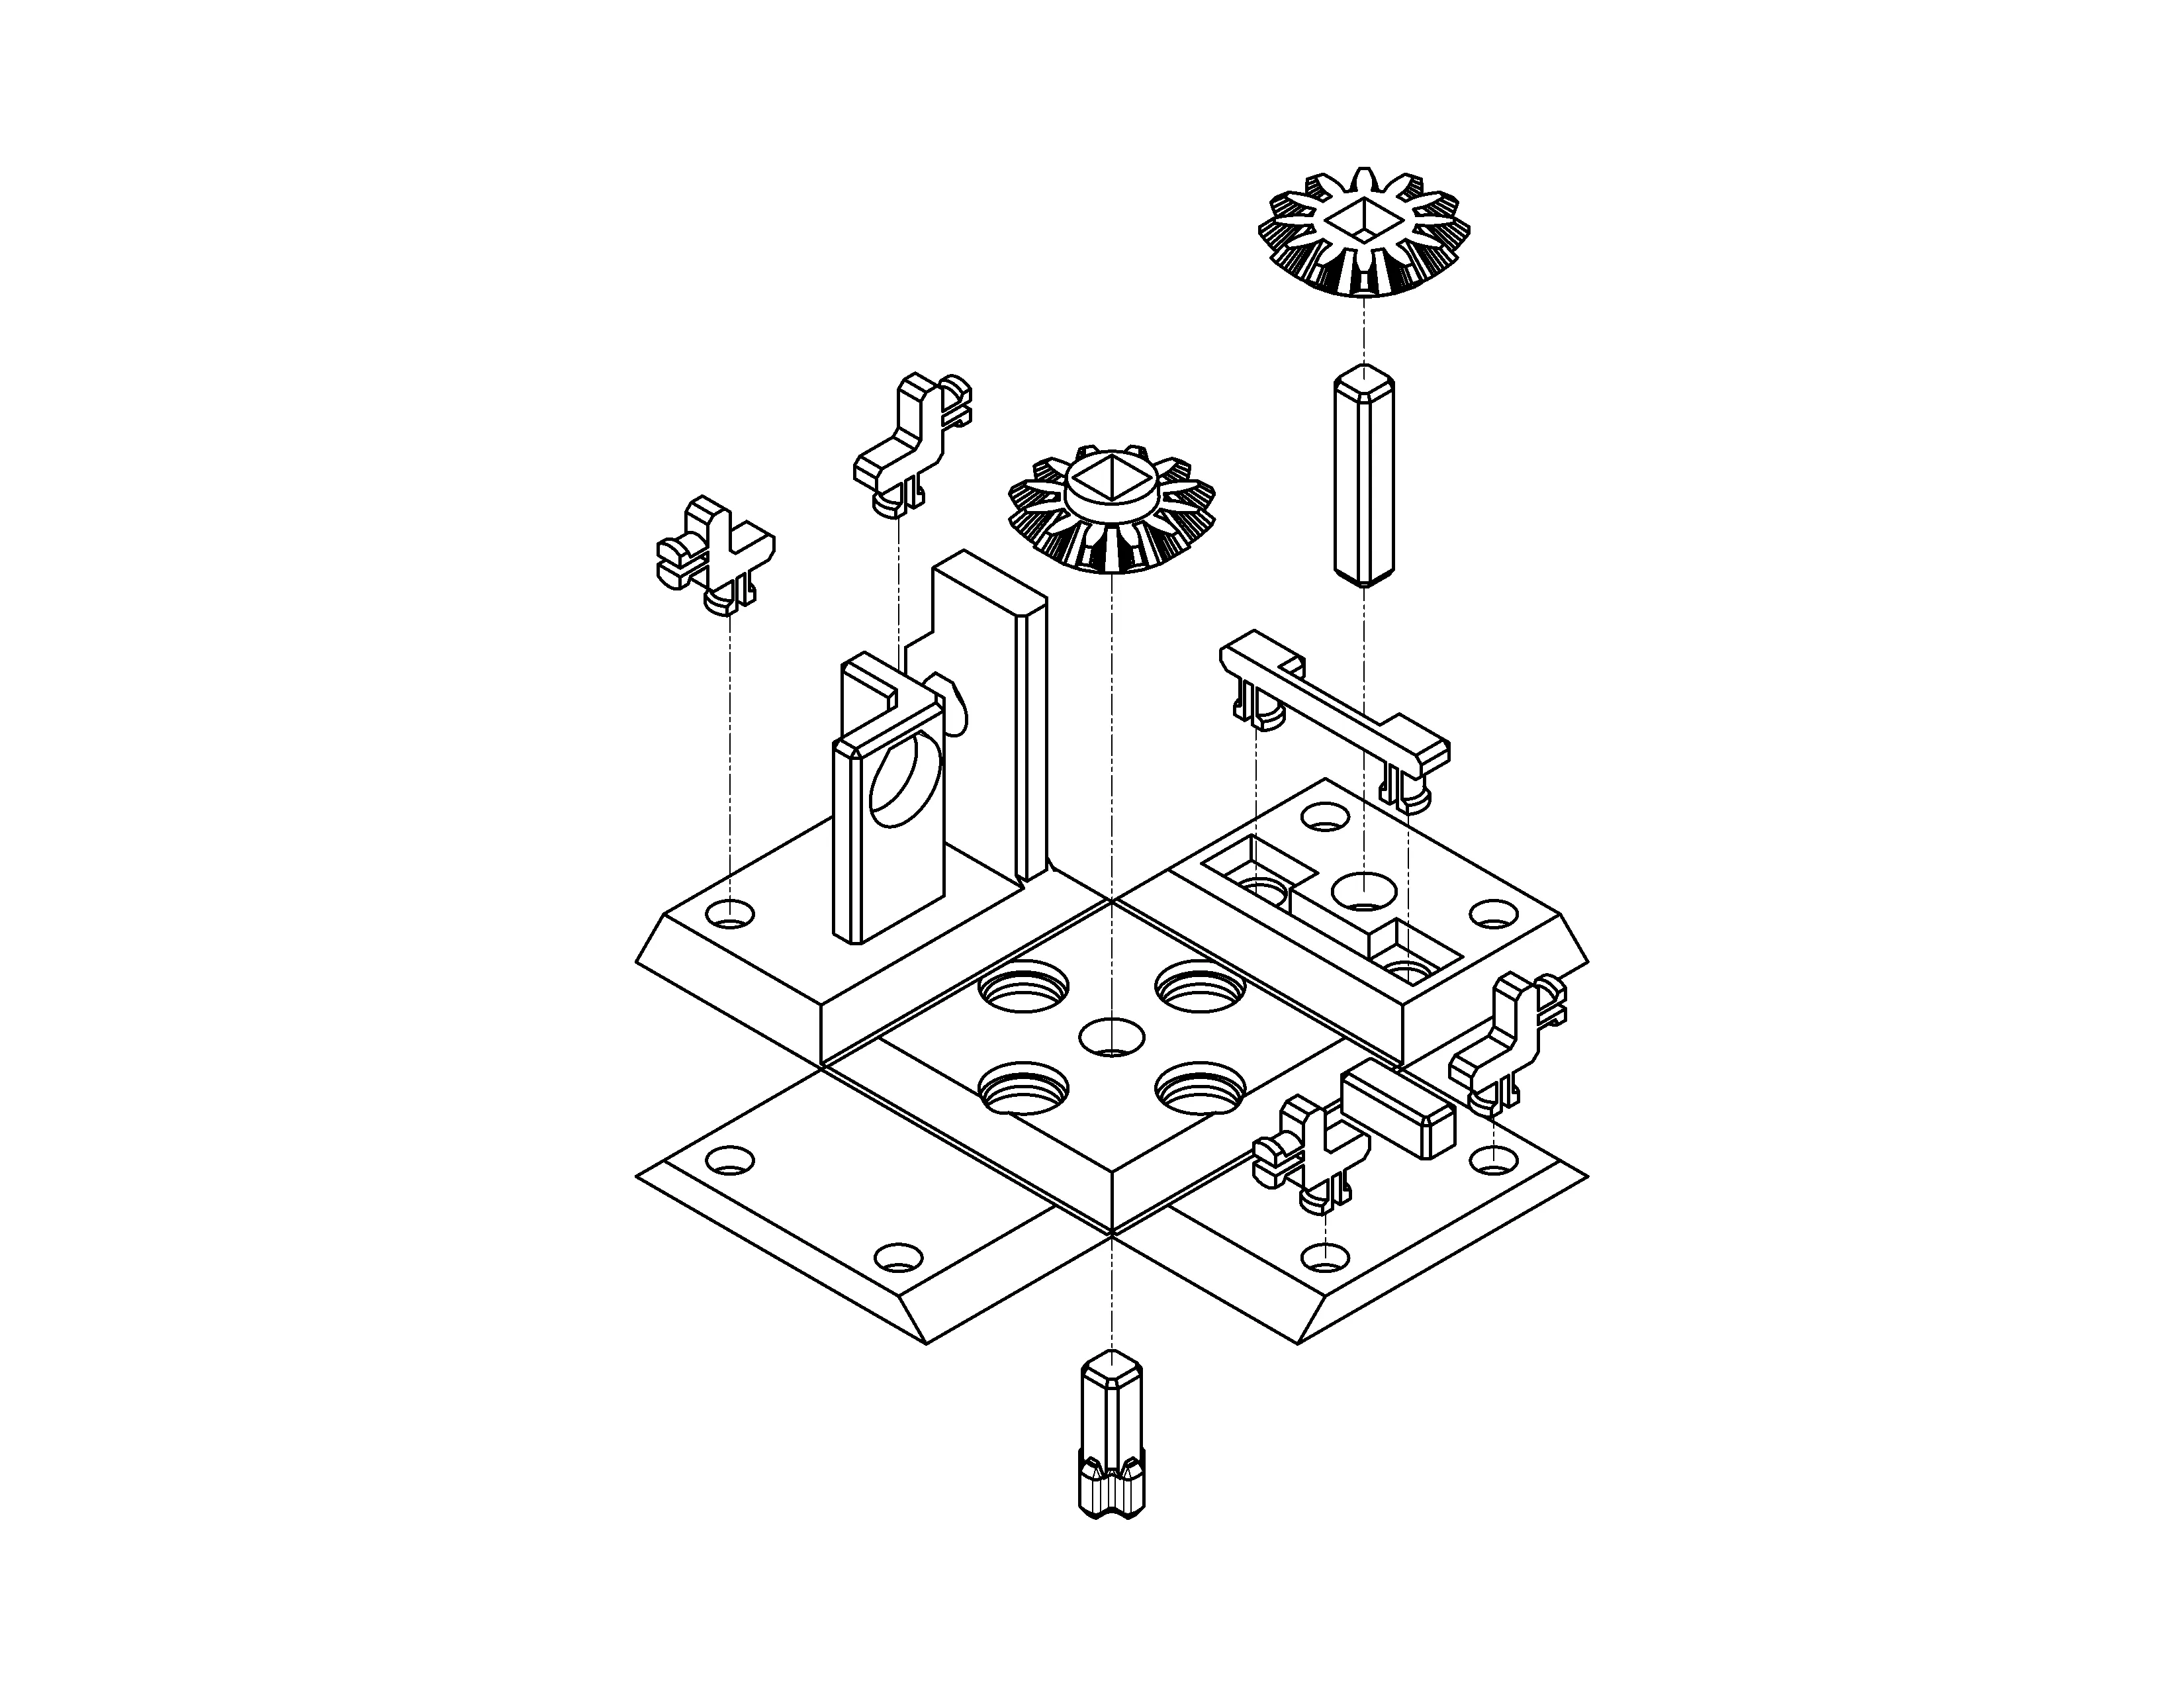
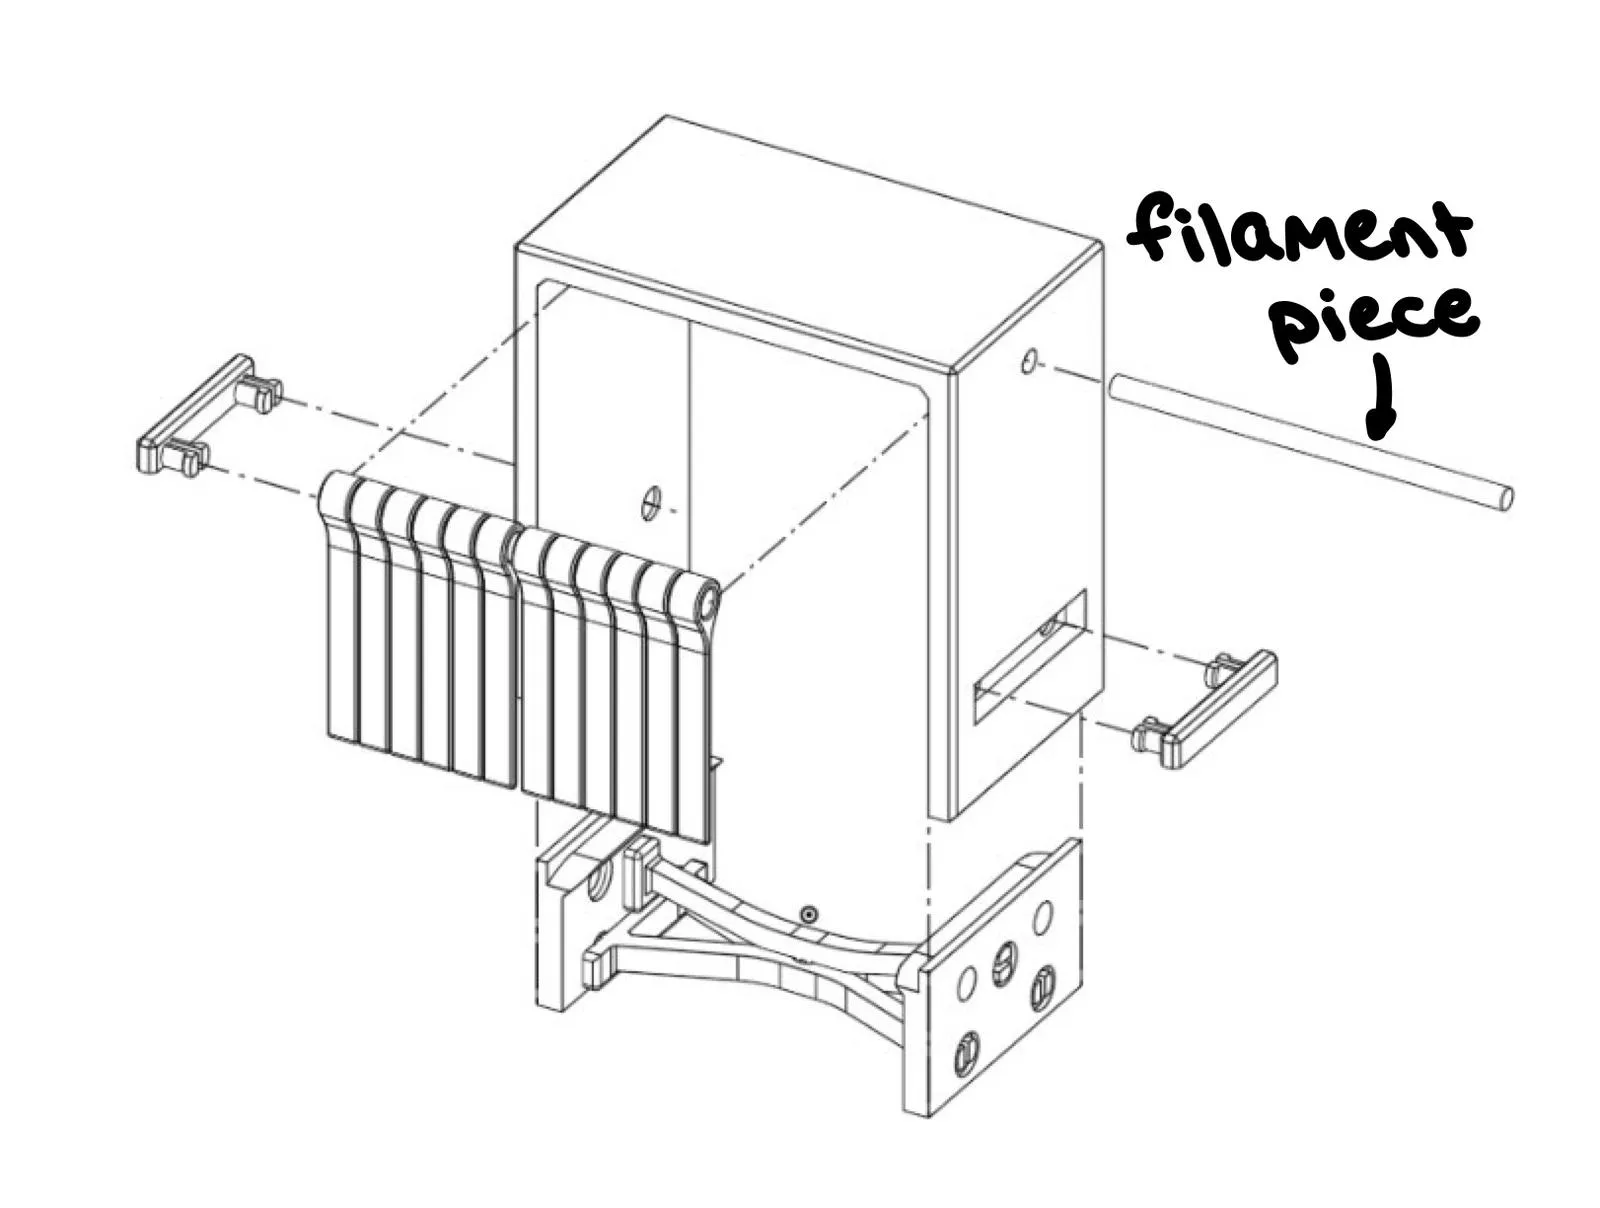
Drive unit (LEGOs L/M motor): Attach motor with compatible axle adapter.
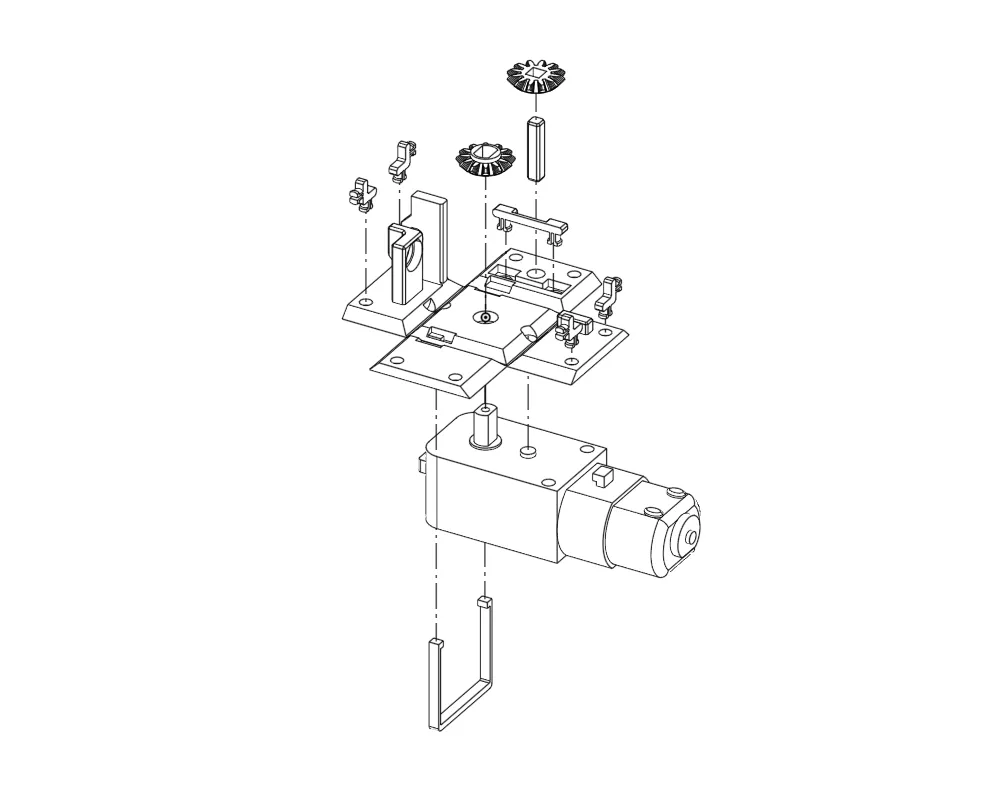
Drive unit (TT motor): Mount motor base and secure the coupling.
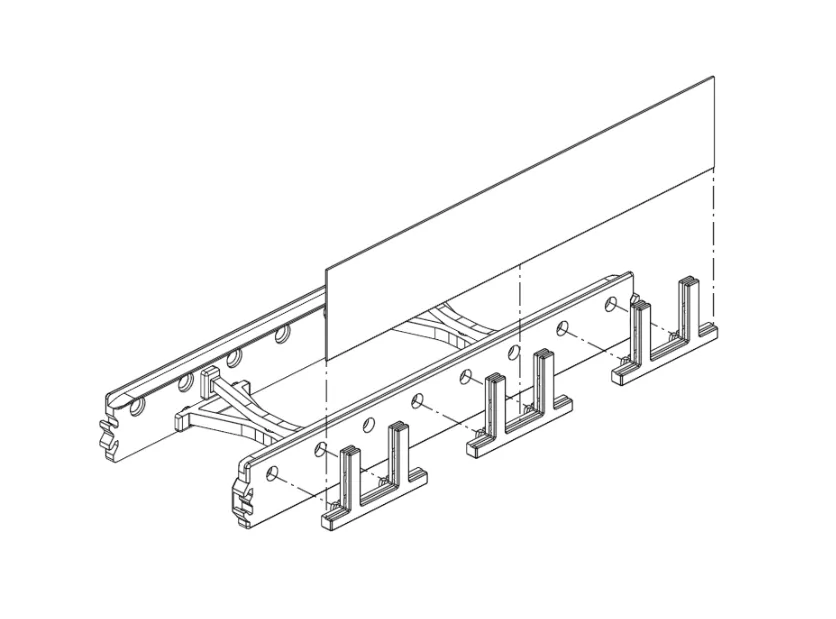
Airport wall: Connect directly to the track edge.
Baggage separator: Assemble both color parts together.
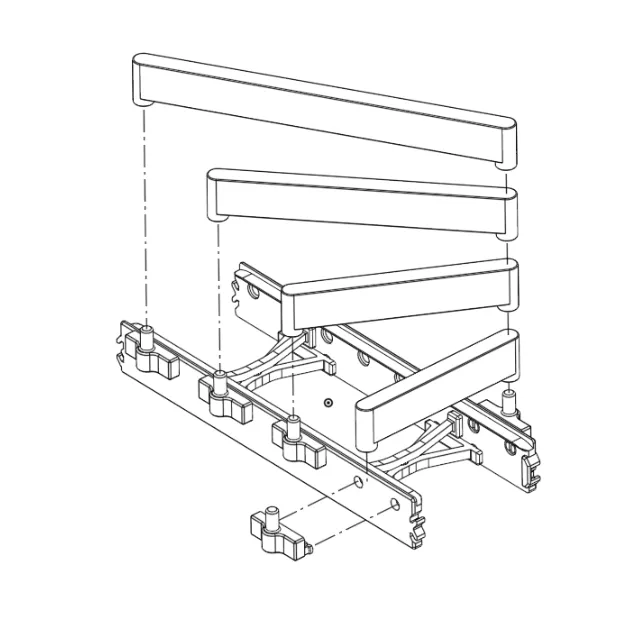
Barrier: Four designs available — choose your favorite!
Step 6 – Final Assembly
Track Assembly
Connect all straights, curves, and slopes according to your layout.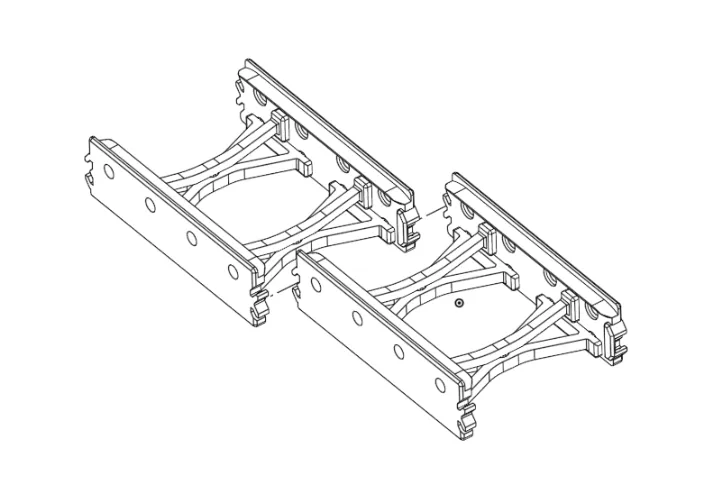
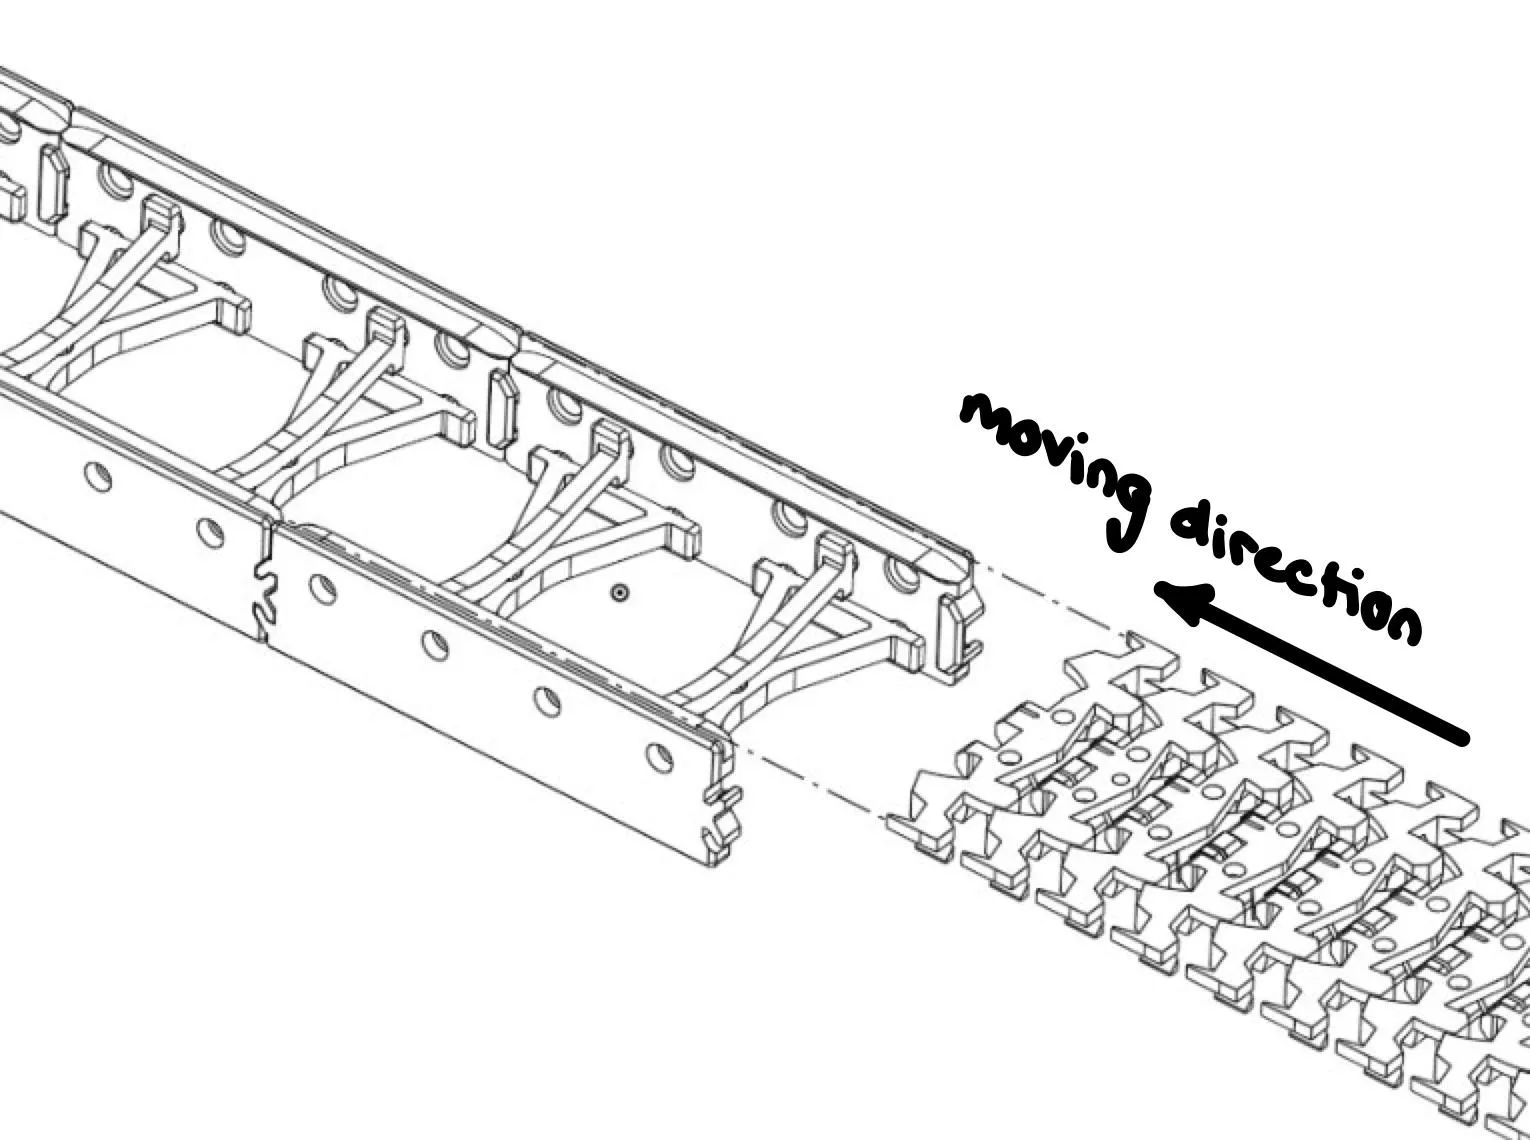
Insert the Chain
Feed the chain through the full track loop.⚠️ The chain moves in one direction only — moving it the other way will cause it to jam.
Attach the Drive Unit
Mount the drive unit to the straight section as shown in the reference drawings.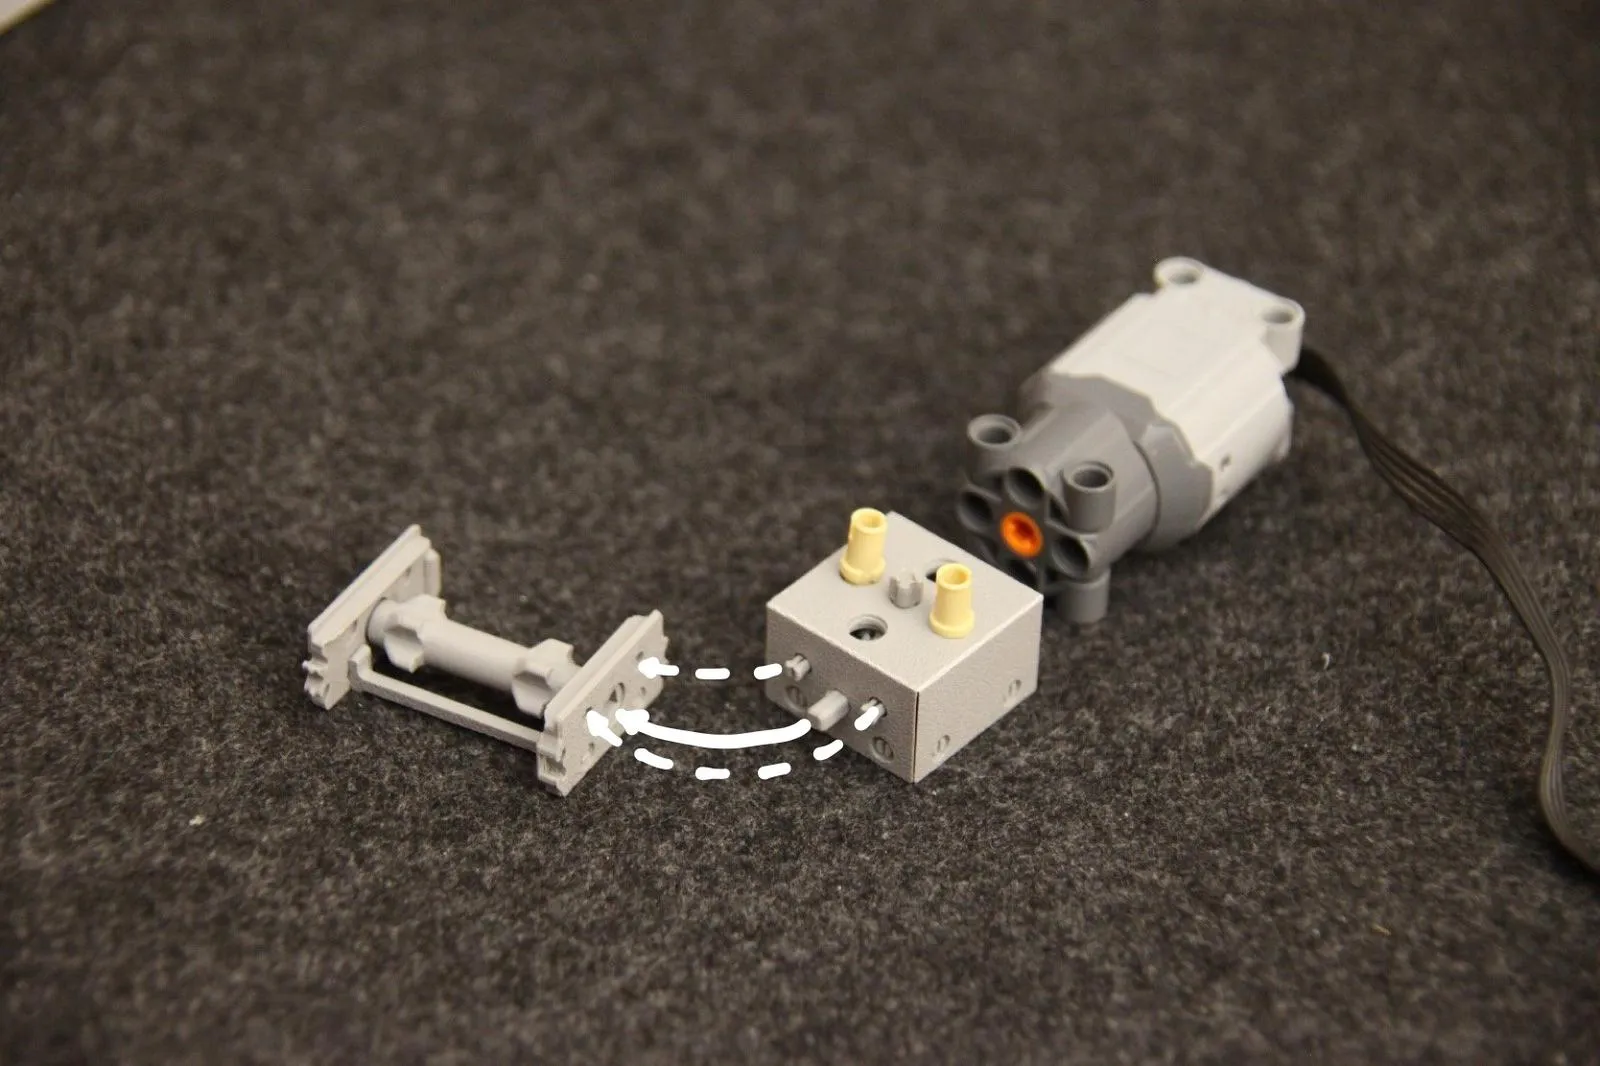
- Add Attachments
Mount any extra elements like walls, separators, or barriers like shown in the drawings.
Bonus – Baggage Models
The baggage pieces come from these models (scaled down):
Final Note
If you encounter any issues or have ideas for improvement, feel free to leave a comment.
I’m always happy to hear feedback and see your own creative builds! 😄
License

You may create derivative works based on this object, provided that all such derivative works are published exclusively on the MakerWorld platform and include proper attribution to the original creator. You may not share, upload, host, distribute, or publish this object—or any derivative work of this object—on any other digital platform, marketplace, or distribution channel. Commercial use of this object and any derivative works is strictly prohibited. This includes, but is not limited to, selling, renting, sublicensing, or using the object in any context in which you receive monetary compensation or other financial benefits.


Comment & Rating (337)