
Print Profile(2)


Description

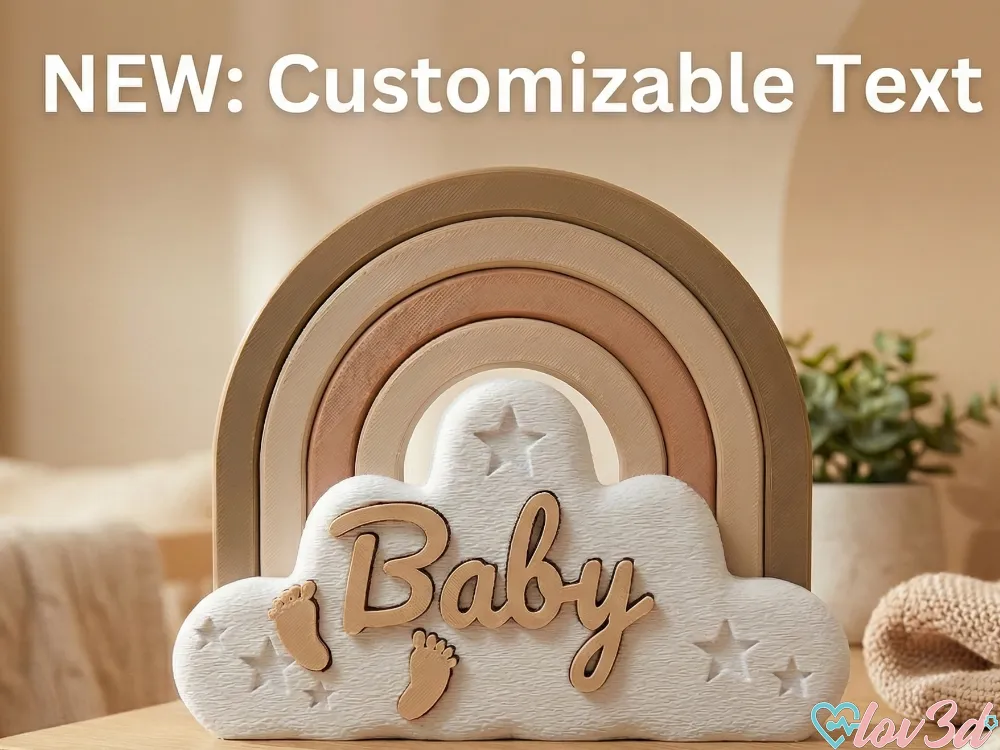
📢 NEW UPDATE: Customizable Text Version Available! There is a new print profile available that allows you to change the text directly inside Bambu Studio to any name you like! (See instructions at the bottom).
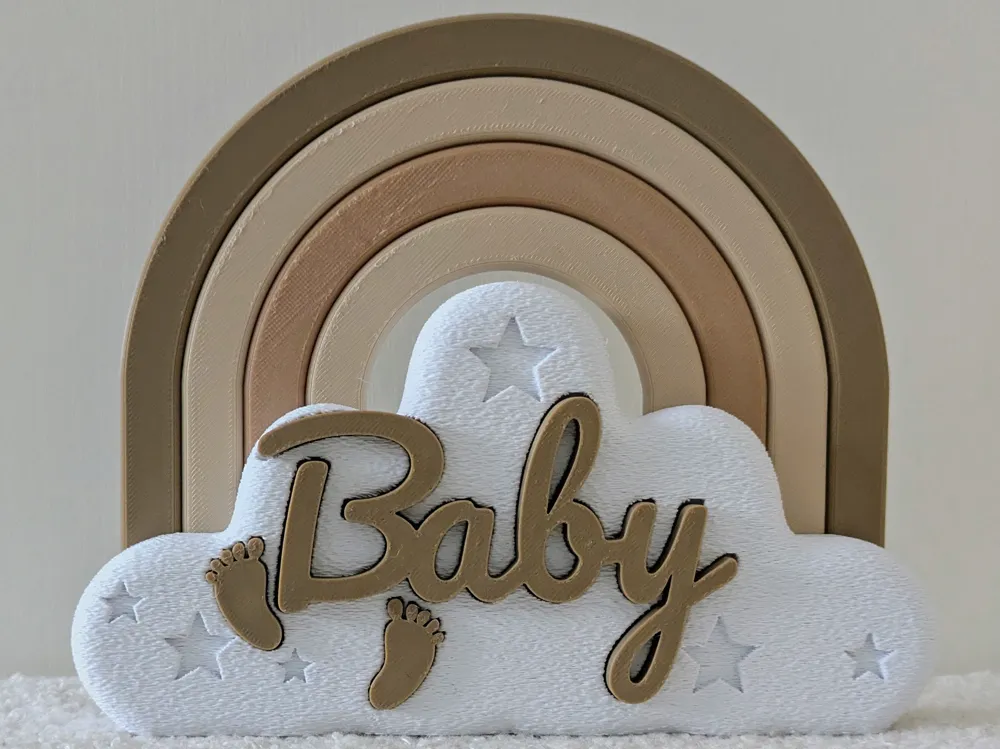
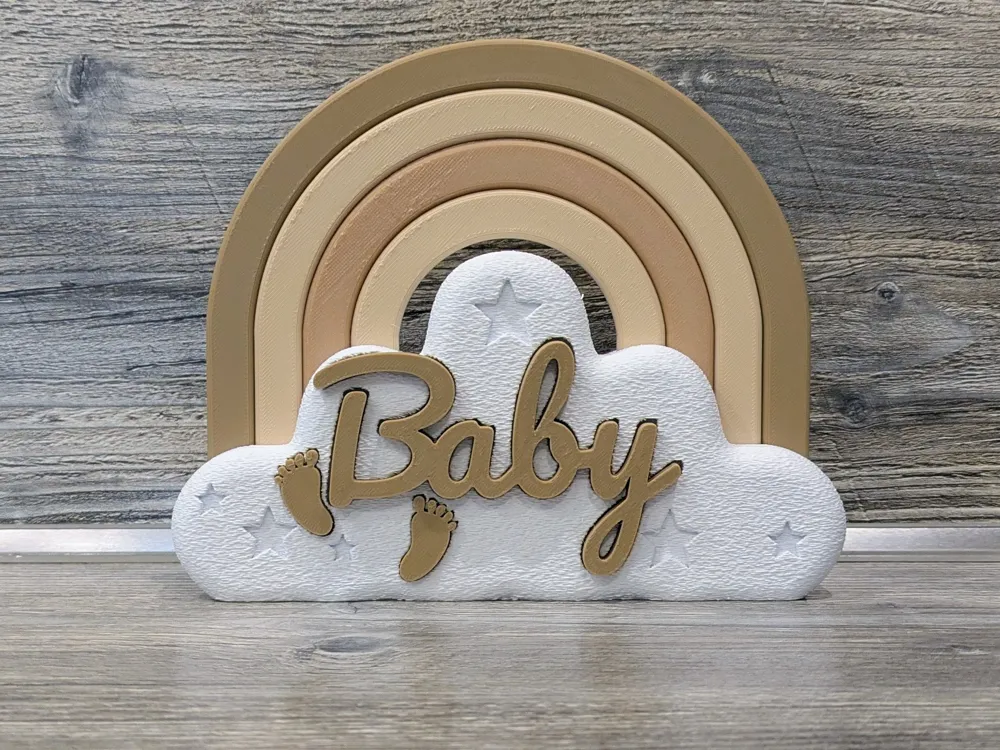
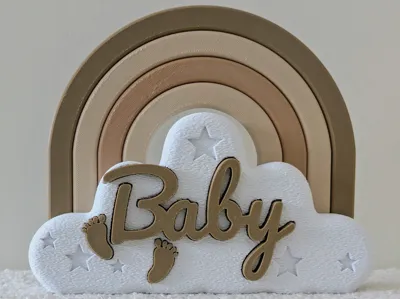
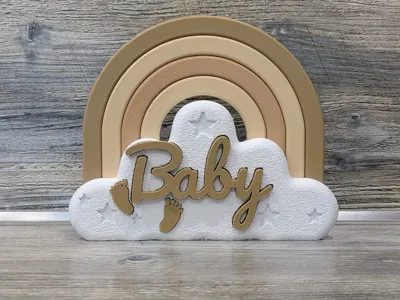
Celebrate a new arrival with this beautiful and heartwarming "Baby" Rainbow & Cloud Decorative Set. This multi-layered piece is full of charming details, making it the perfect centerpiece for a nursery or a thoughtful baby shower gift.
A Complete 8-Part Set: This is a comprehensive, multi-part model that allows for complete color customization without needing an AMS. The download includes all 8 separate pieces:
- A textured cloud with star cutouts
- 4 individual rainbow arches to create a layered effect
- The elegant "Baby" script text
- 2 adorable tiny baby feet
Print each part in your favorite nursery color palette—soft neutrals and pastels look especially lovely—to create a truly personalized keepsake.
Important Assembly Instructions: This model is designed with a very tight tolerance to ensure the pieces fit securely. As a result, inserting the "Baby" text and the two feet into the cloud can be difficult and requires some force.
Recommended Assembly Method:
- Place the cloud on a flat, sturdy surface.
- Position the text or a foot over its designated slot.
- Place a protective layer (like a piece of cardboard or a folded cloth) over the part to prevent damage.
- Gently but firmly tap the part into place using a small hammer or a rubber mallet until it is flush.
🛠️ How to Customize the Text (Bambu Studio)
To use the custom text feature, please download the specific "Customizable Text" Print Profile and follow these steps carefully:
- Download the Font: We used the Pacifico font for this design. If you want to match the original style, please download and install it first: Google Fonts - Pacifico.
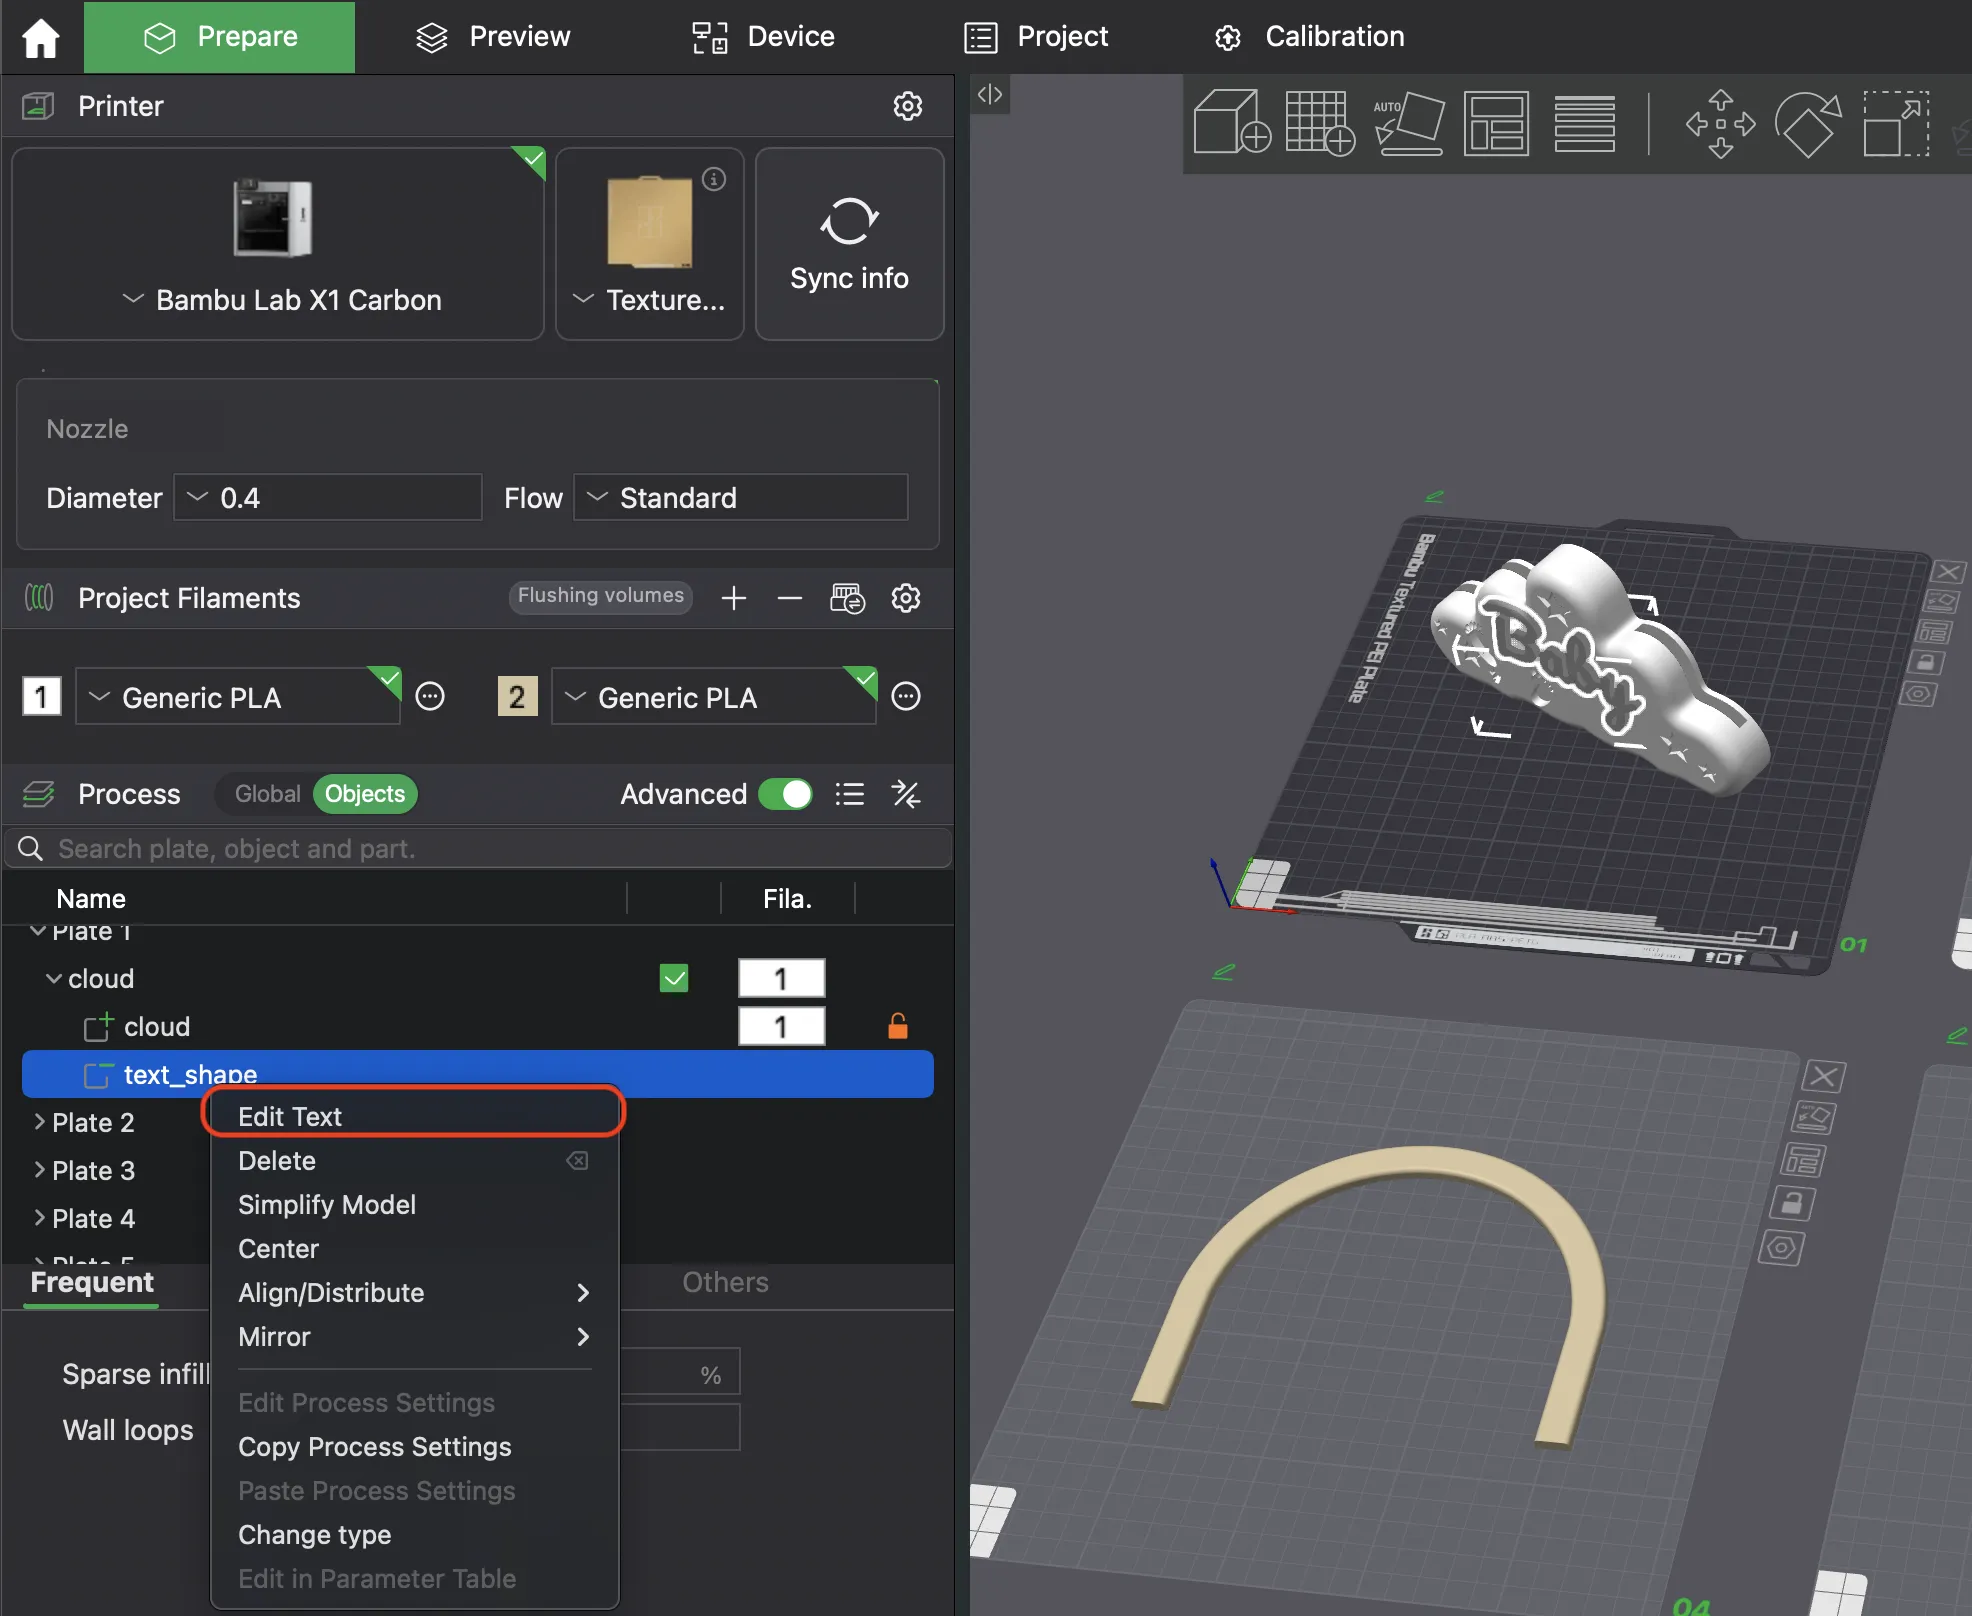
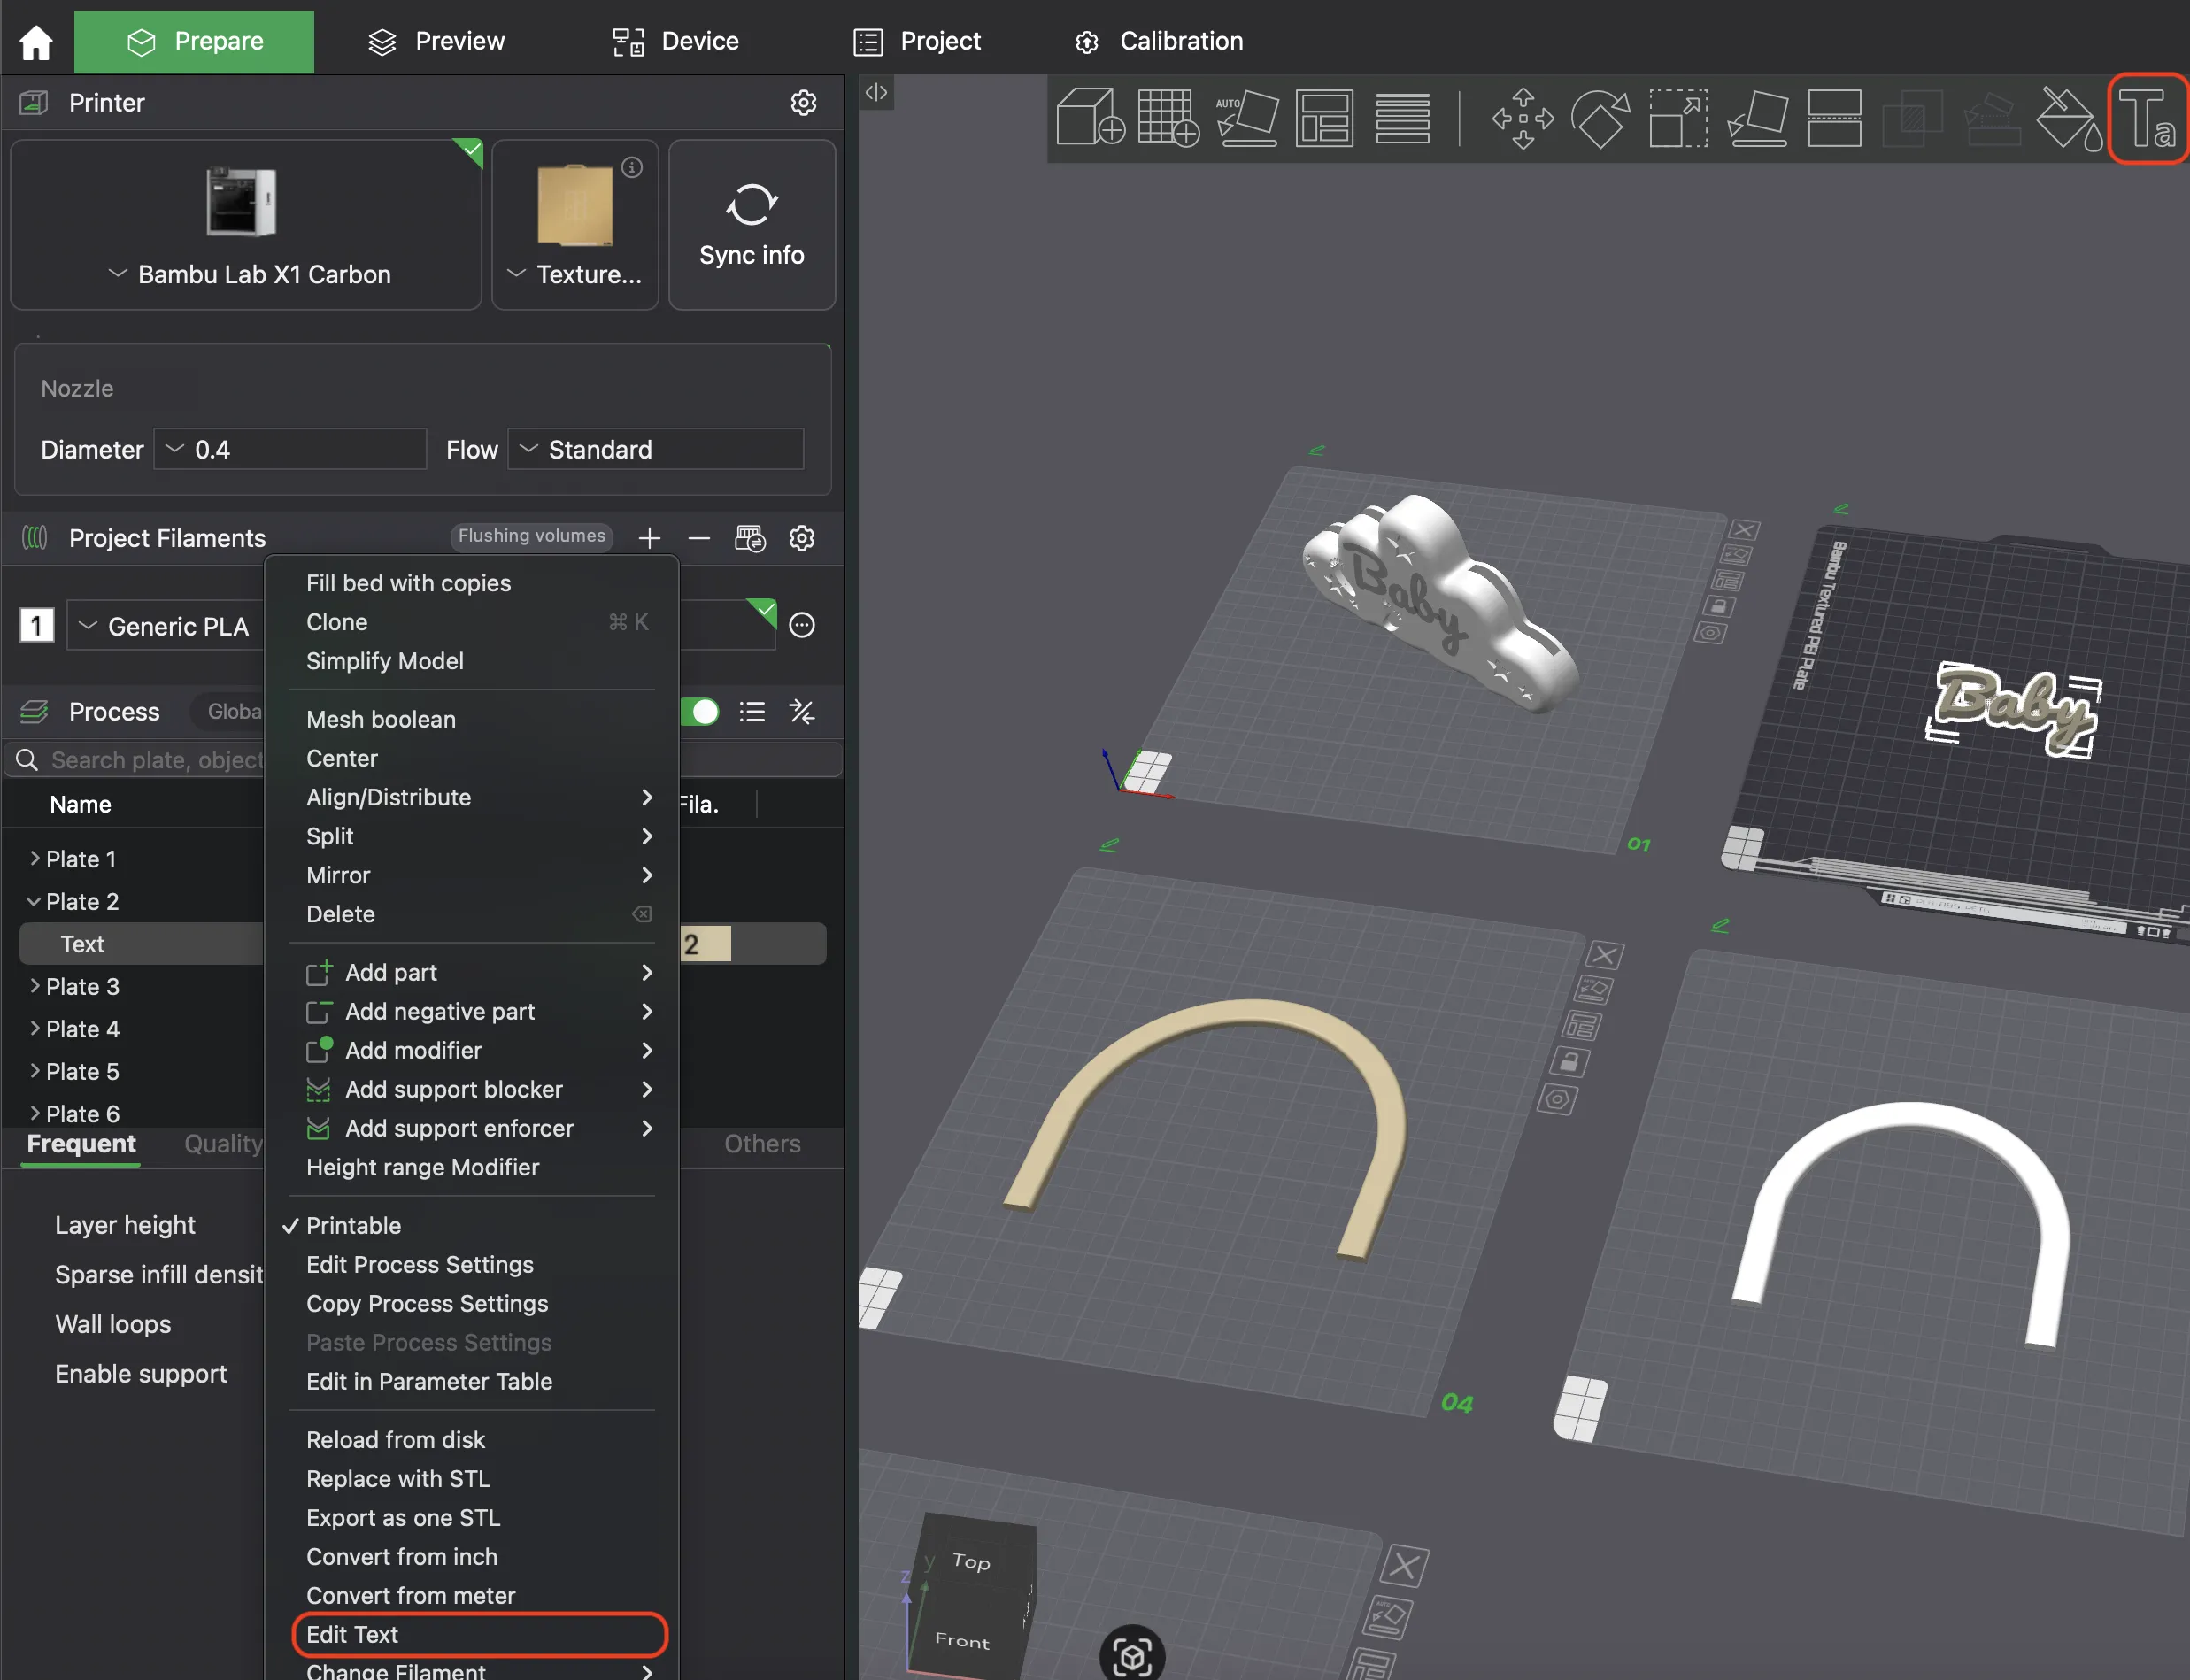
- Edit Both Plates: You will find text objects on Plate 1 (Cloud) and Plate 2 (Letters). You must edit BOTH of them.
- Apply Settings:
- Right-click the text object and select "Edit Text".
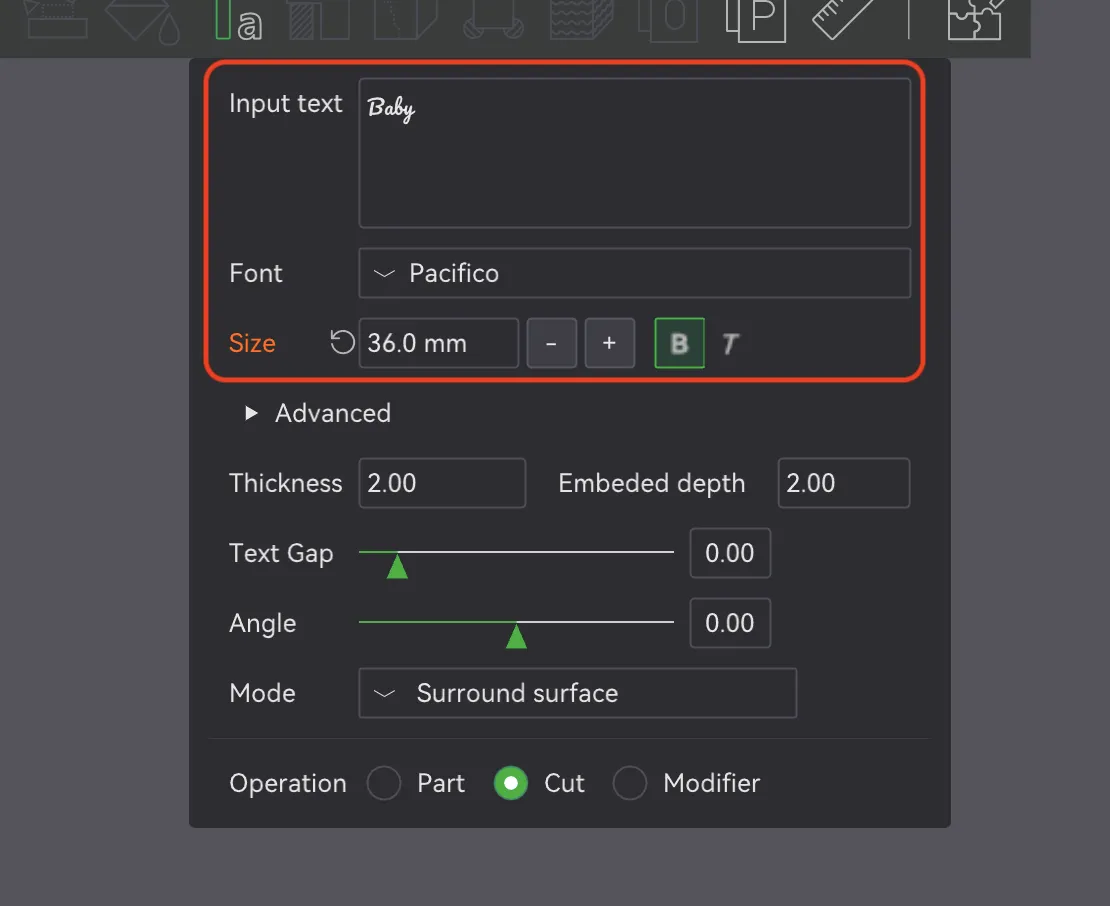
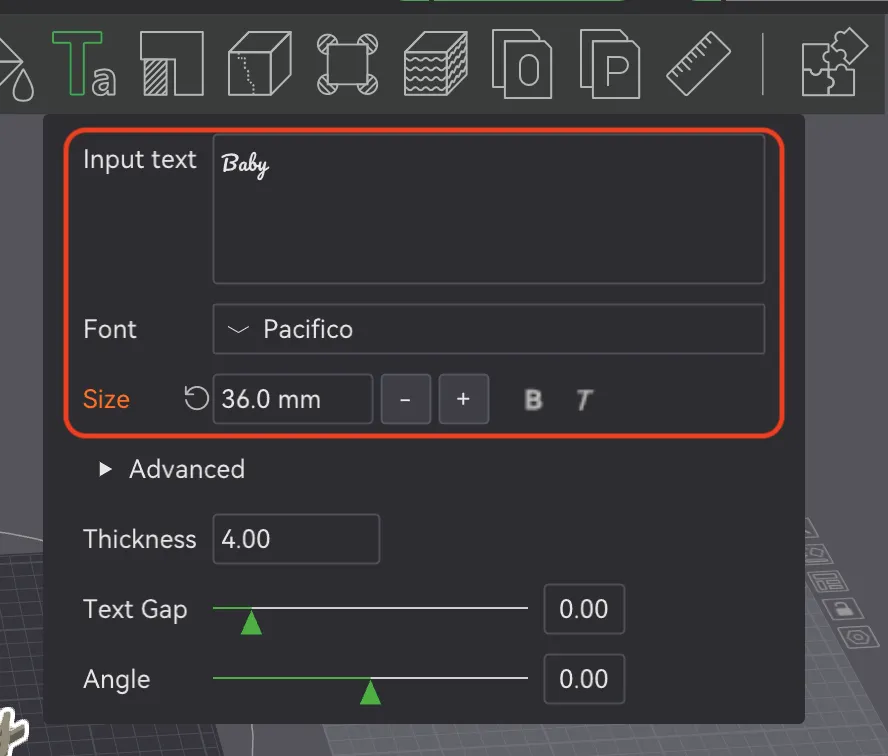
- Enter the exact same name and choose the same font and font size for both plates.
- ⚠️ Crucial "Bold" Setting:
- On Plate 1 (the Cloud), you MUST set the text style to Bold (B).
- This is required to ensure the correct fit.
Boost Me (for free)
If you like this model, please like, comment and consider donating a boost! 🚀 Thank you for your support!💕
If you'd like to support my work or gain access to commercial licenses, feel free to join my Patreon:
Membership
Get a Maker World commercial license here
For one-time support, you can also treat me to a coffee here: https://buymeacoffee.com/lov3d

Check out more of my designs on my profile


License

You shall not share, sub-license, sell, rent, host, transfer, or distribute in any way the digital or 3D printed versions of this object, nor any other derivative work of this object in its digital or physical format (including - but not limited to - remixes of this object, and hosting on other digital platforms). The objects may not be used without permission in any way whatsoever in which you charge money, or collect fees.


Comment & Rating (35)