
Vento Air-Filter for Bambu Lab H2 printers
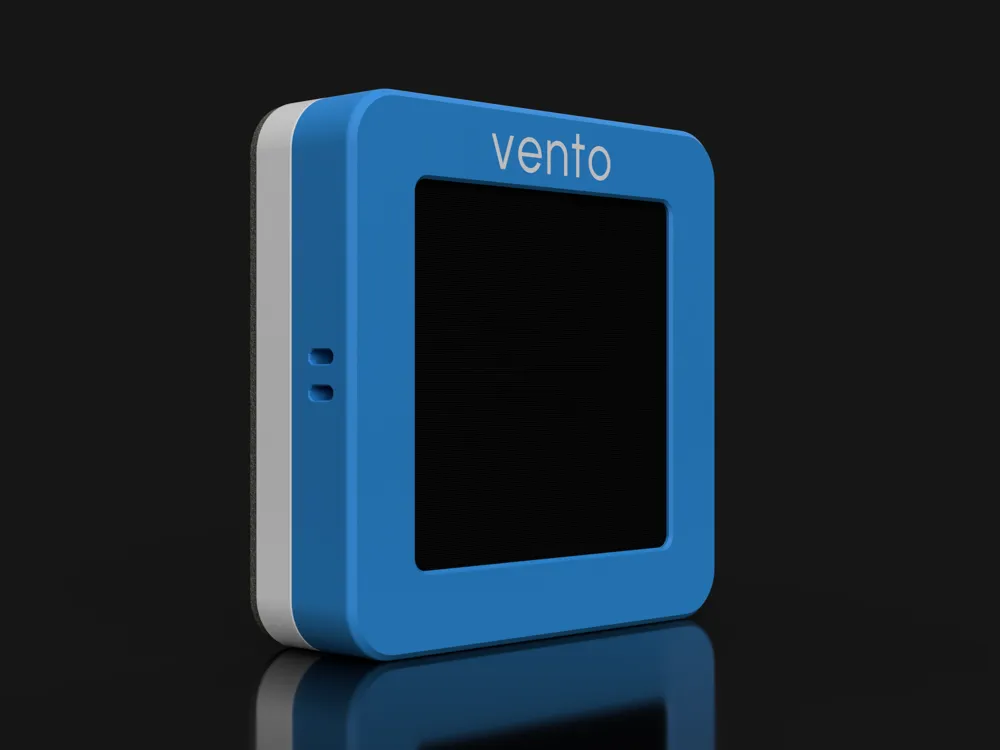
Print Profile(1)

Bill of Materials





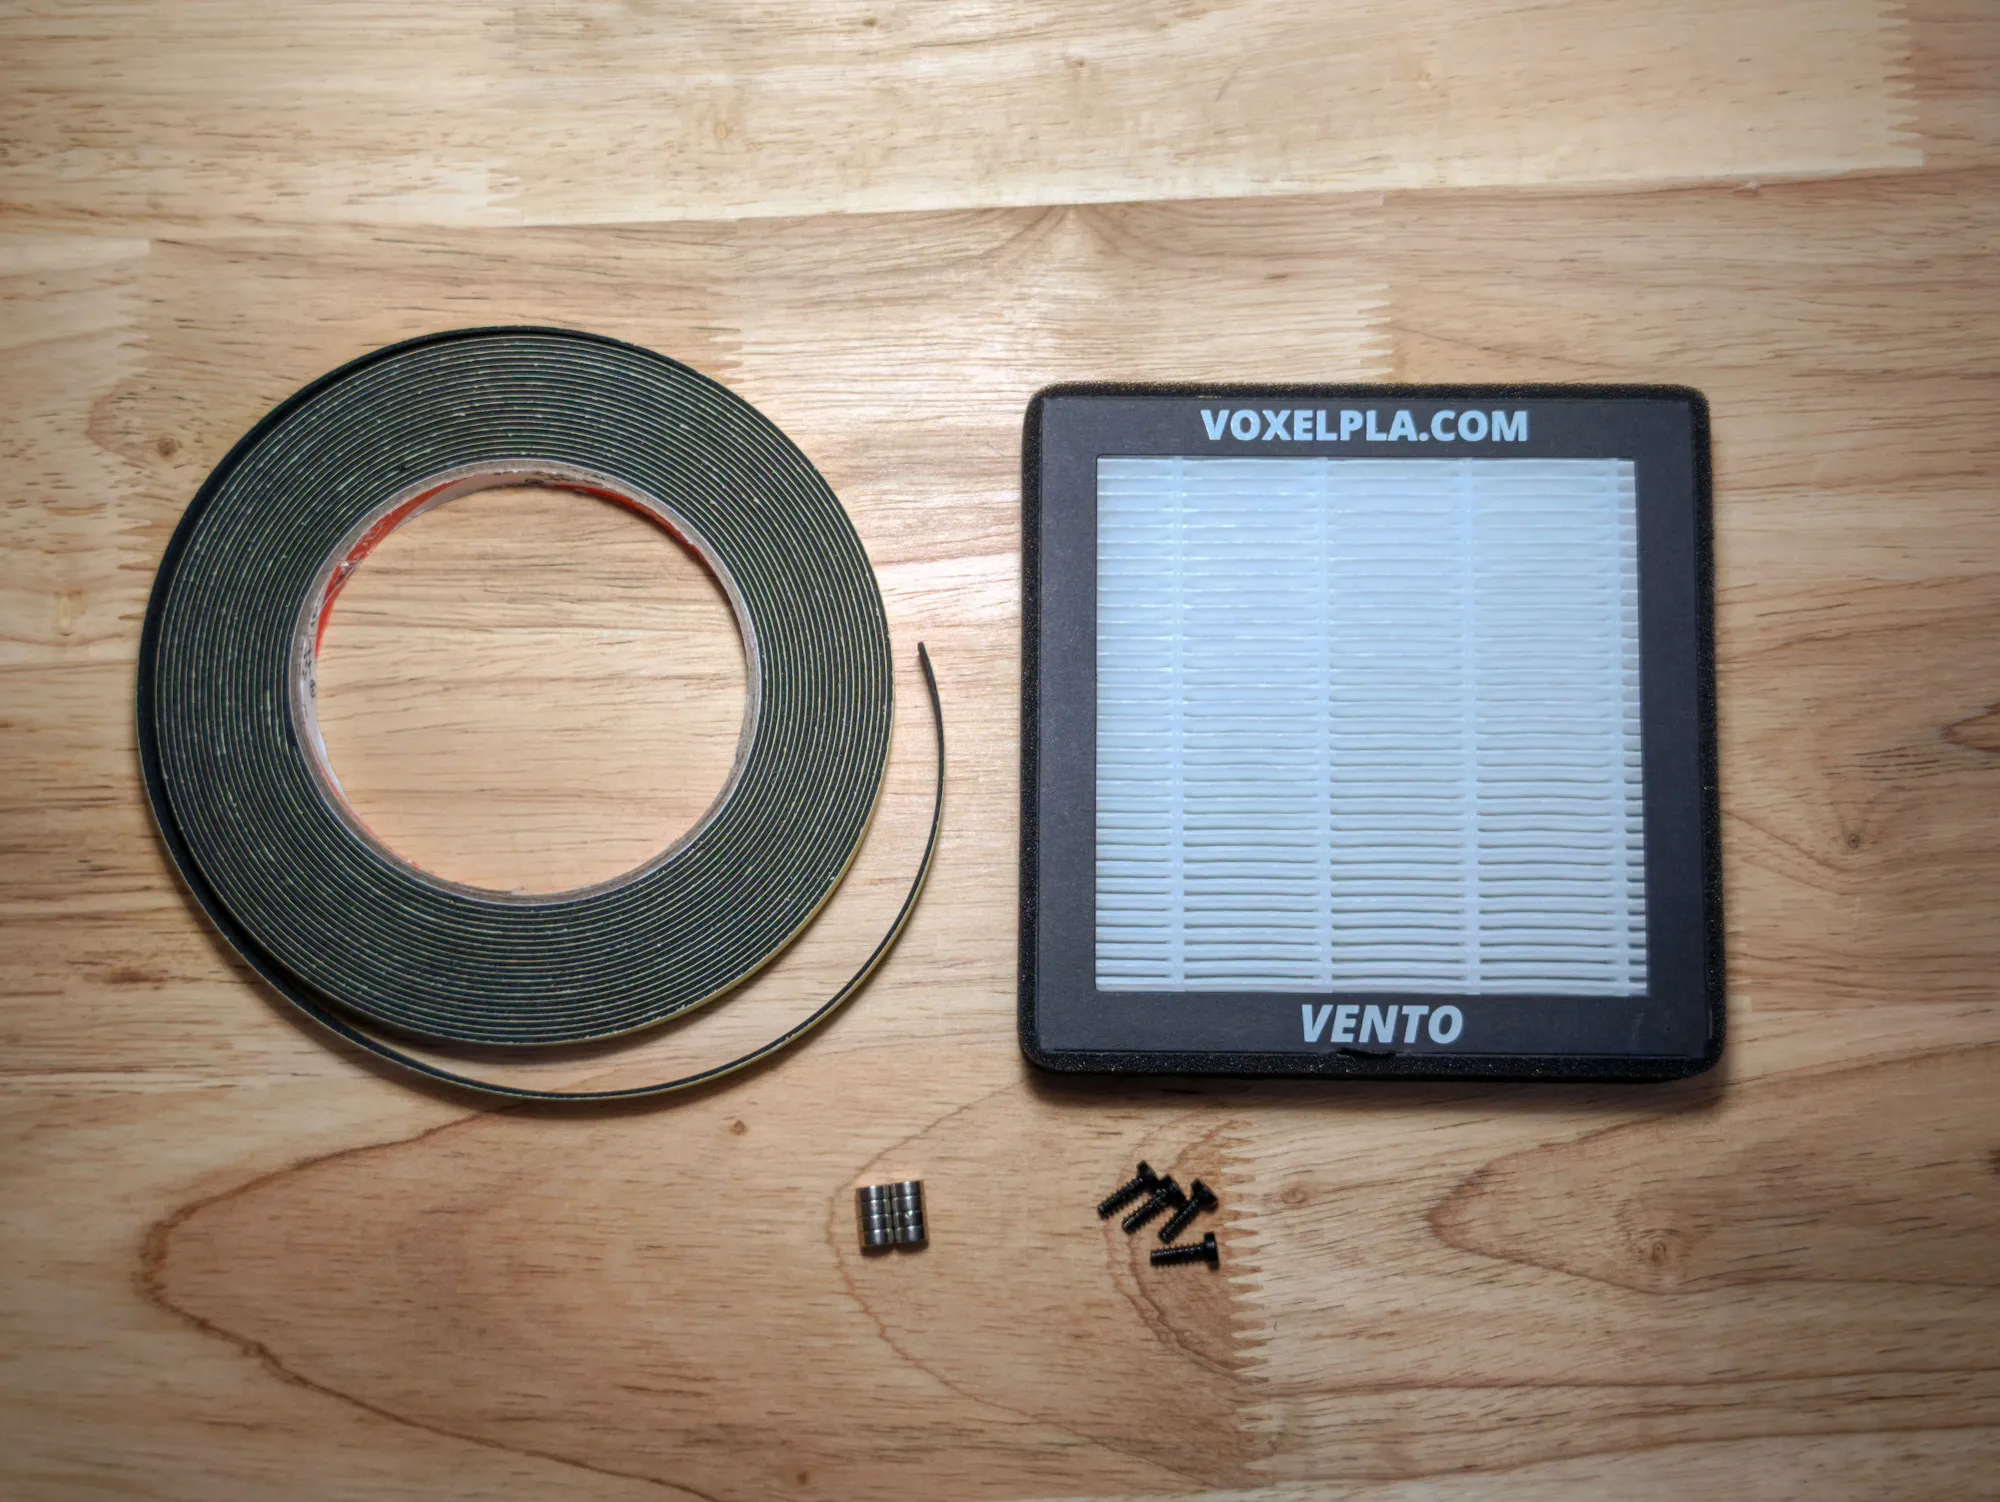
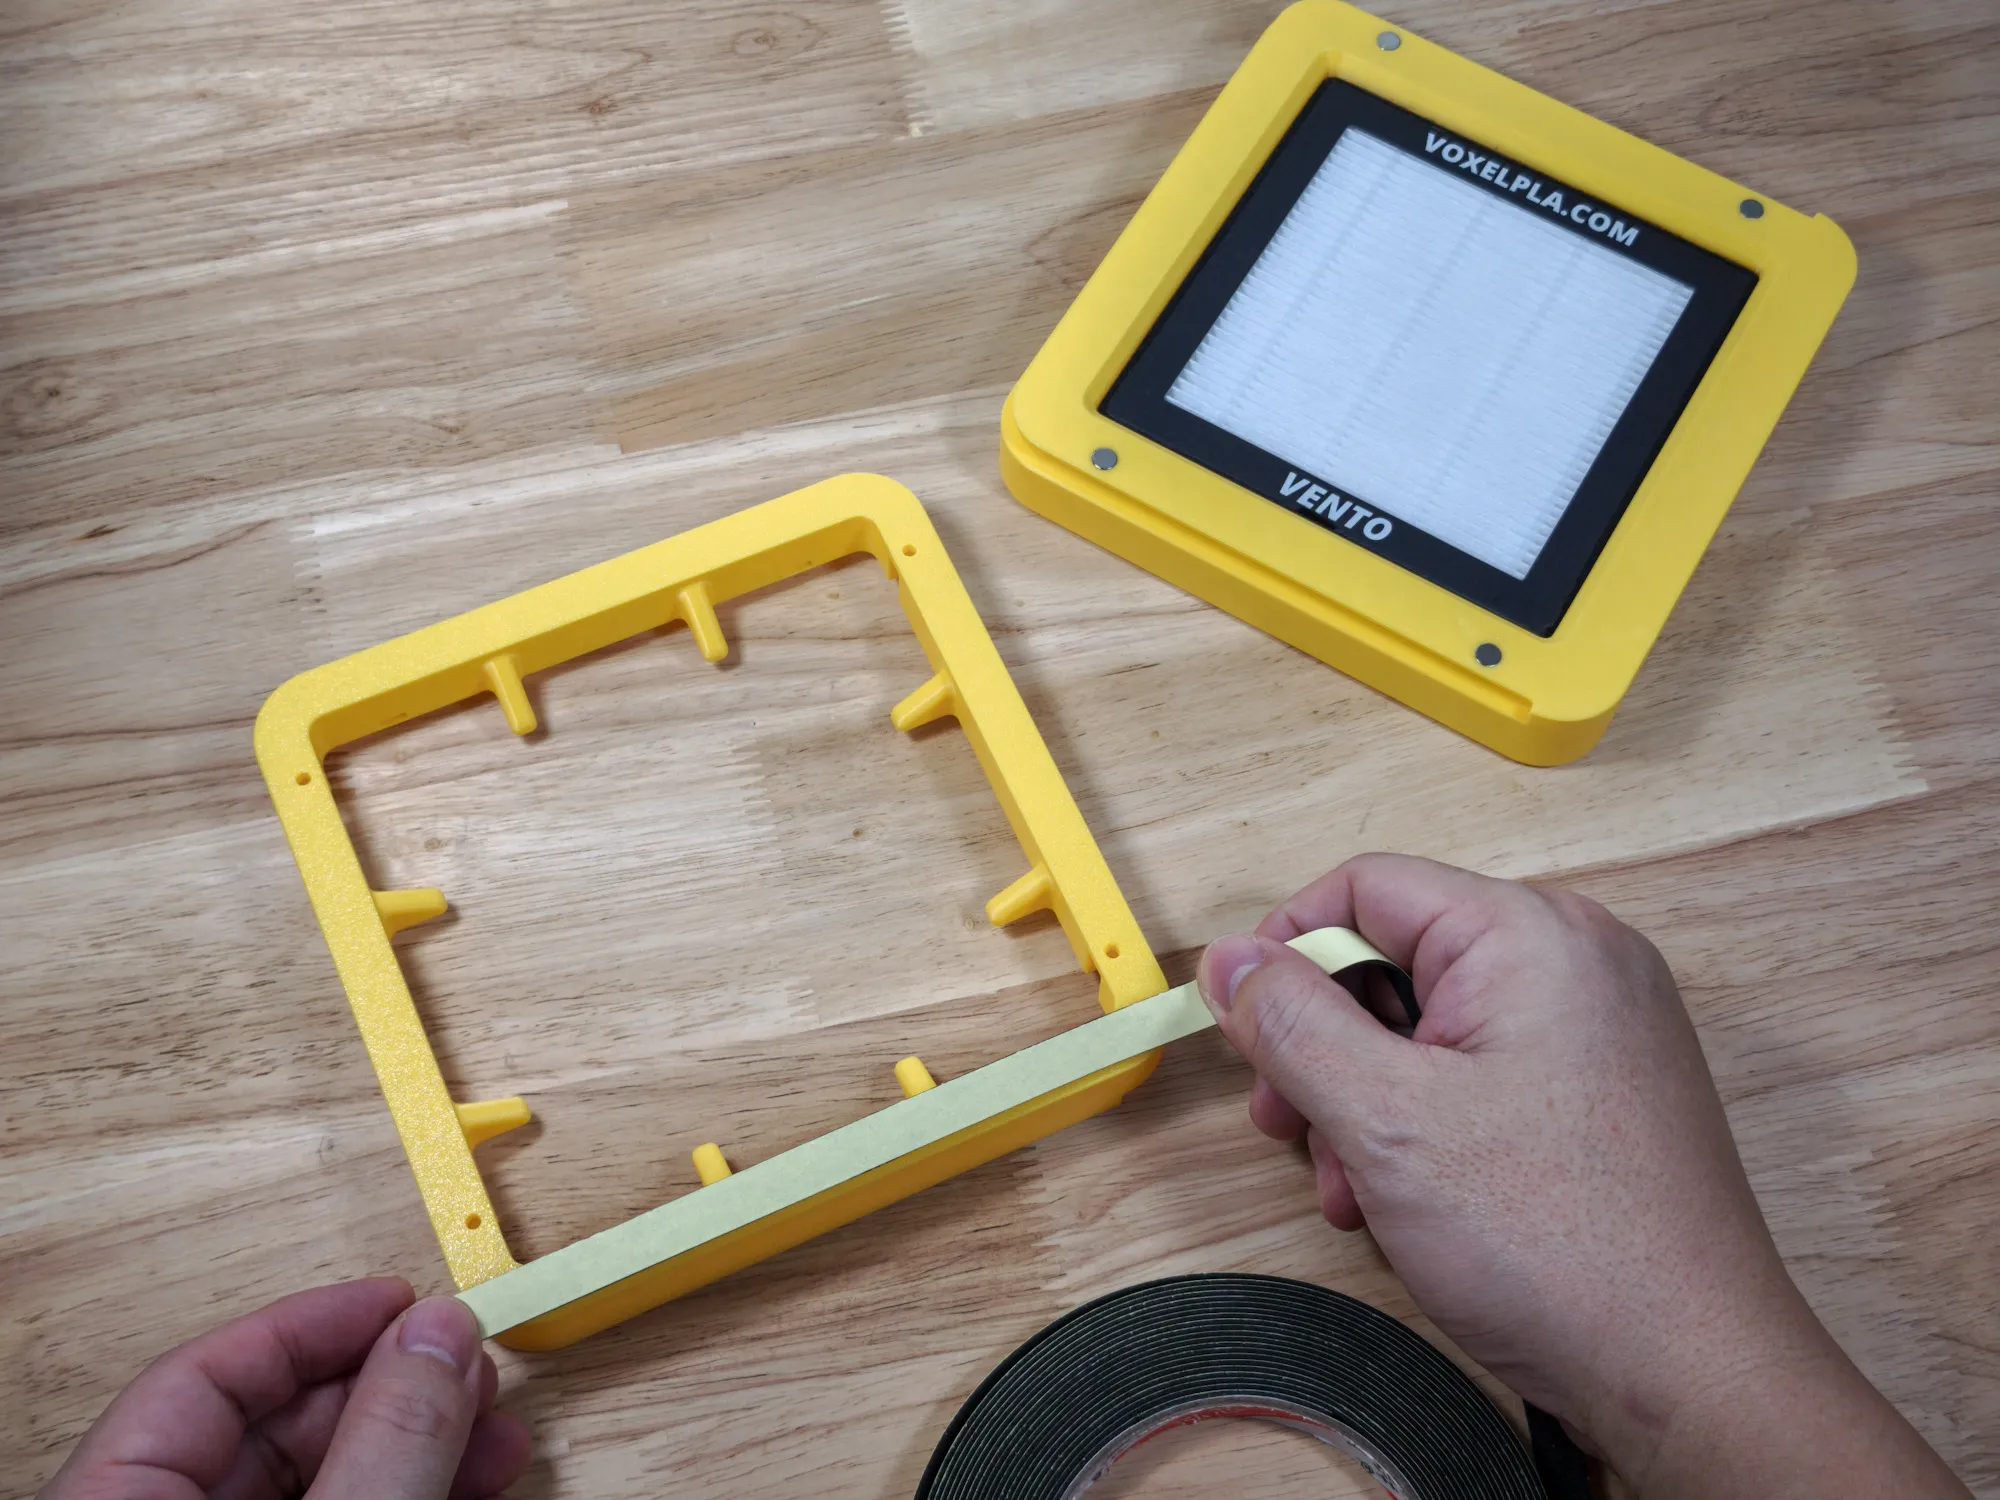
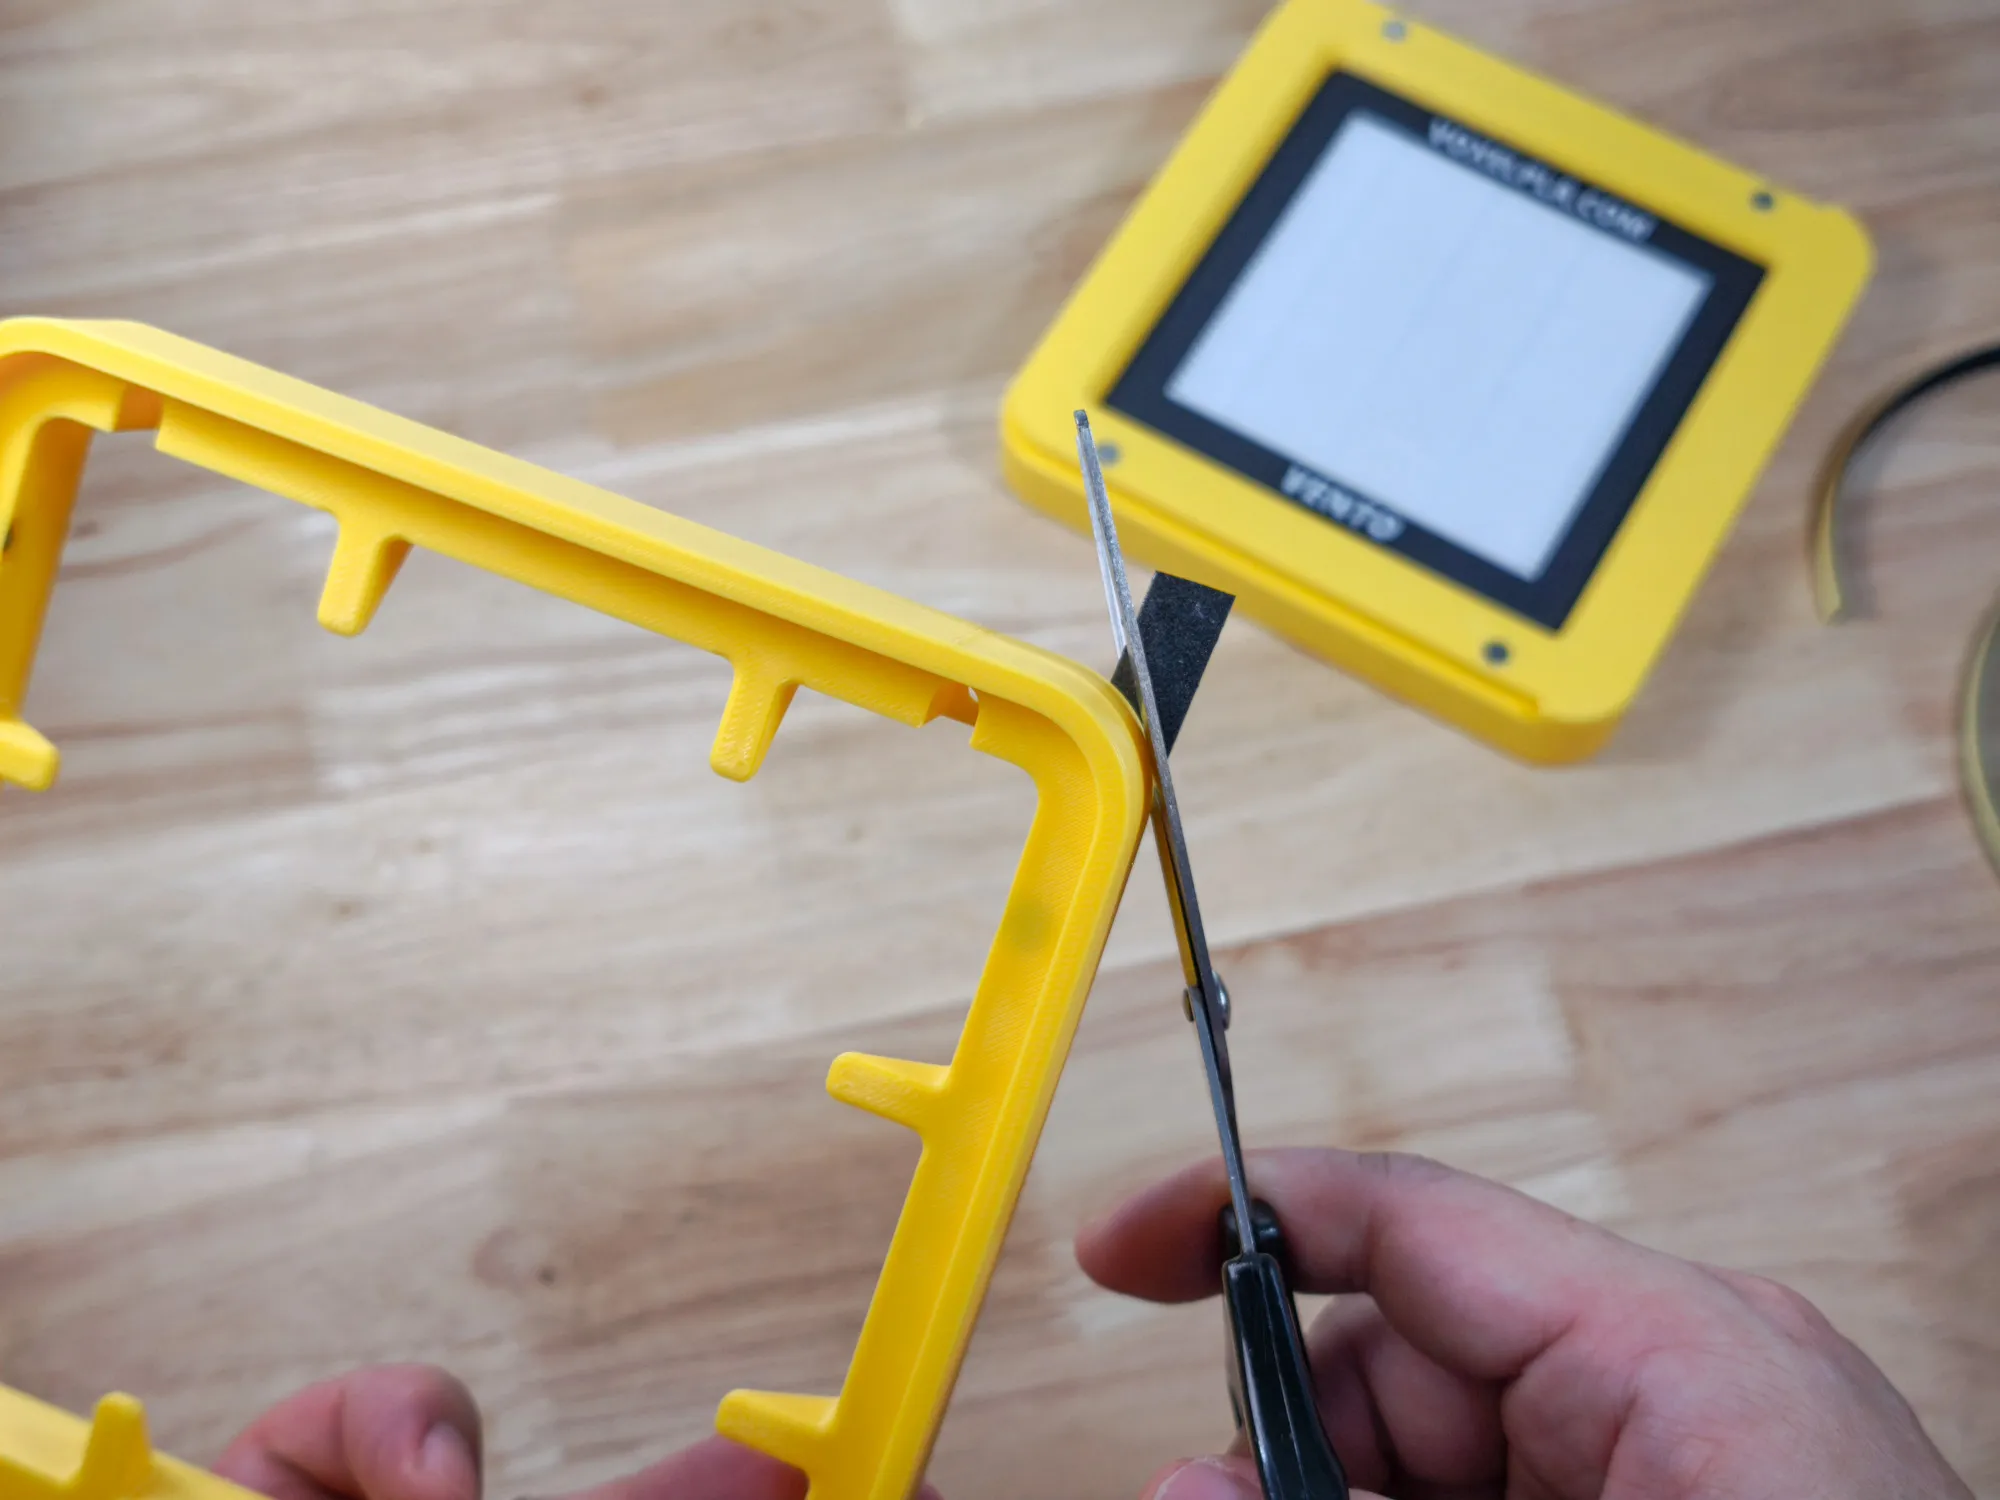
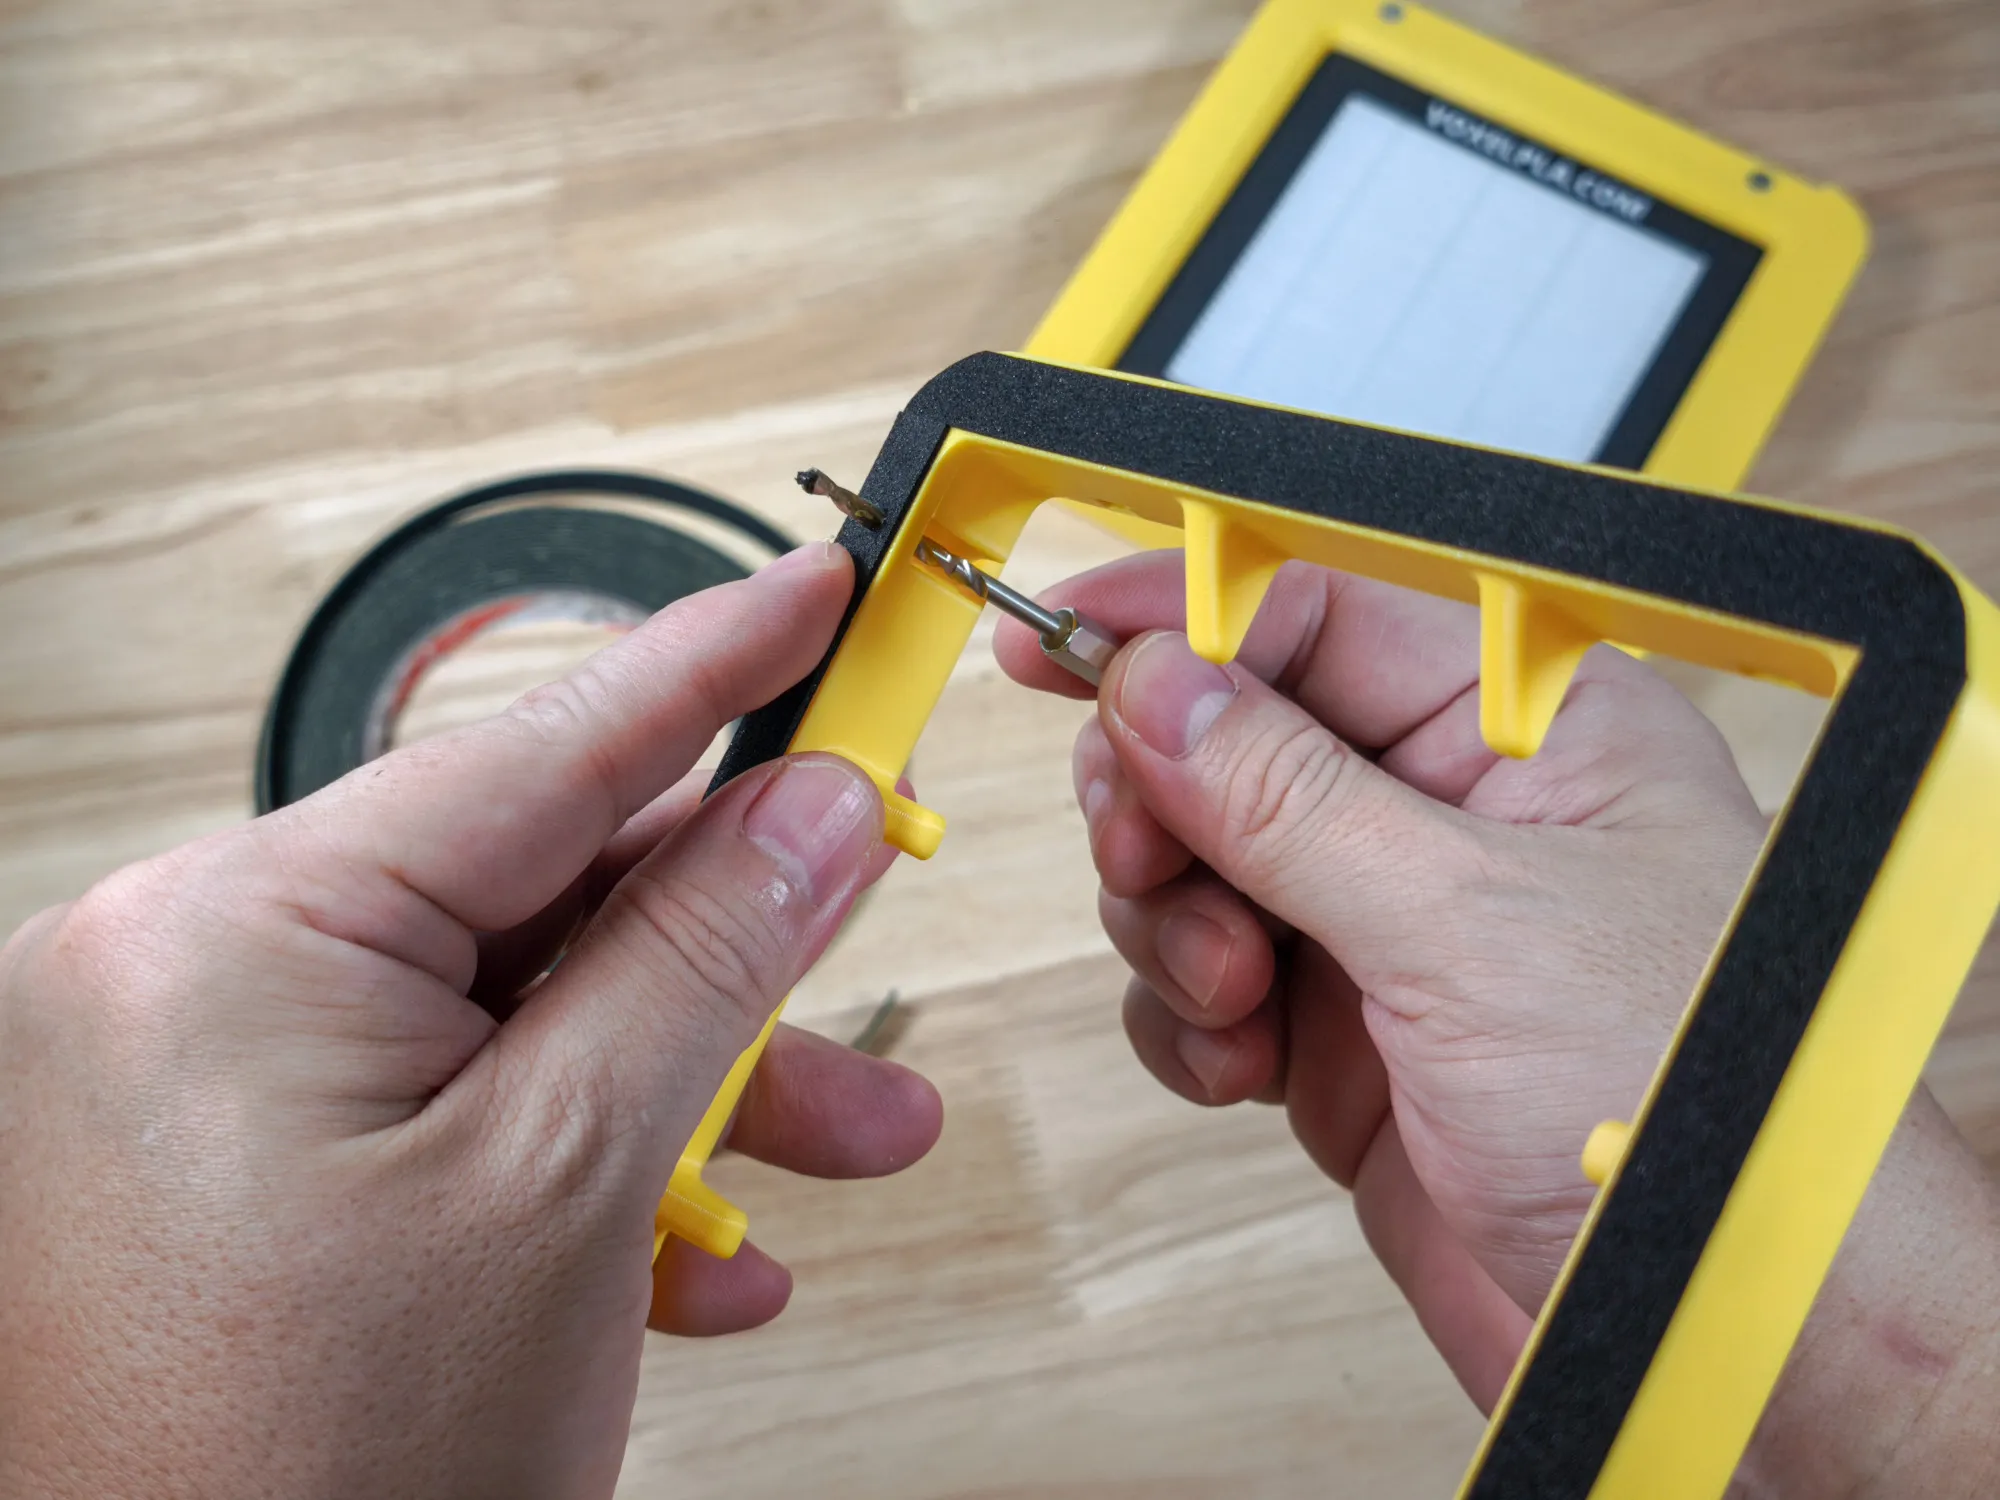
- 10mm width x 2mm thick EVA adhesive foam strip x 1:
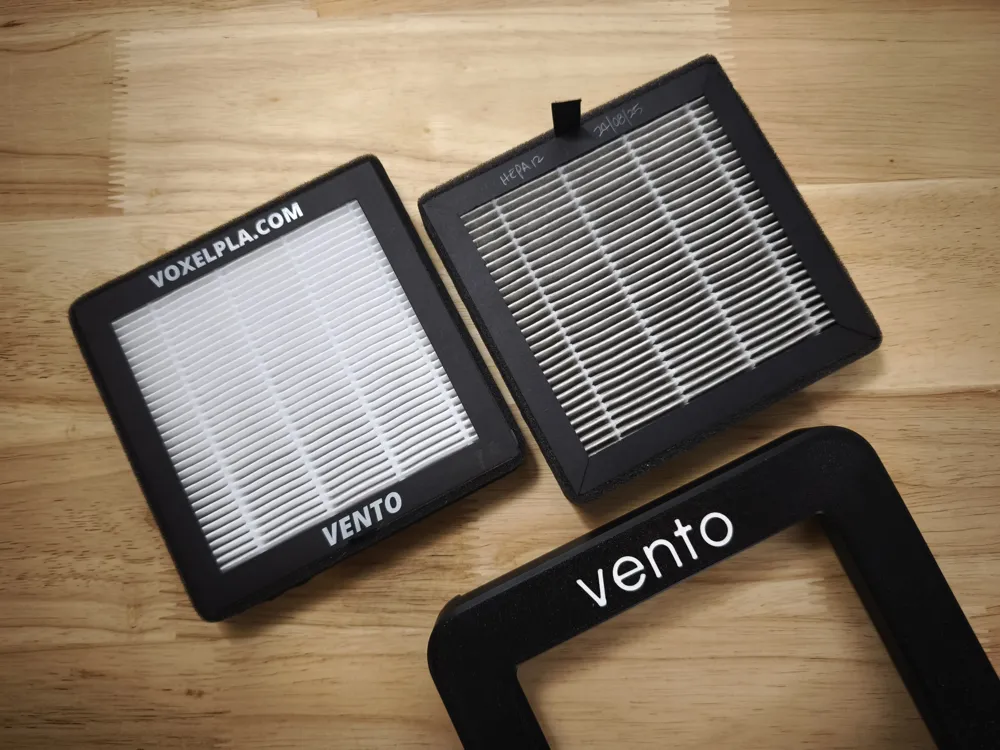
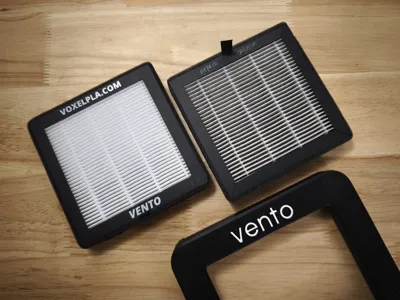
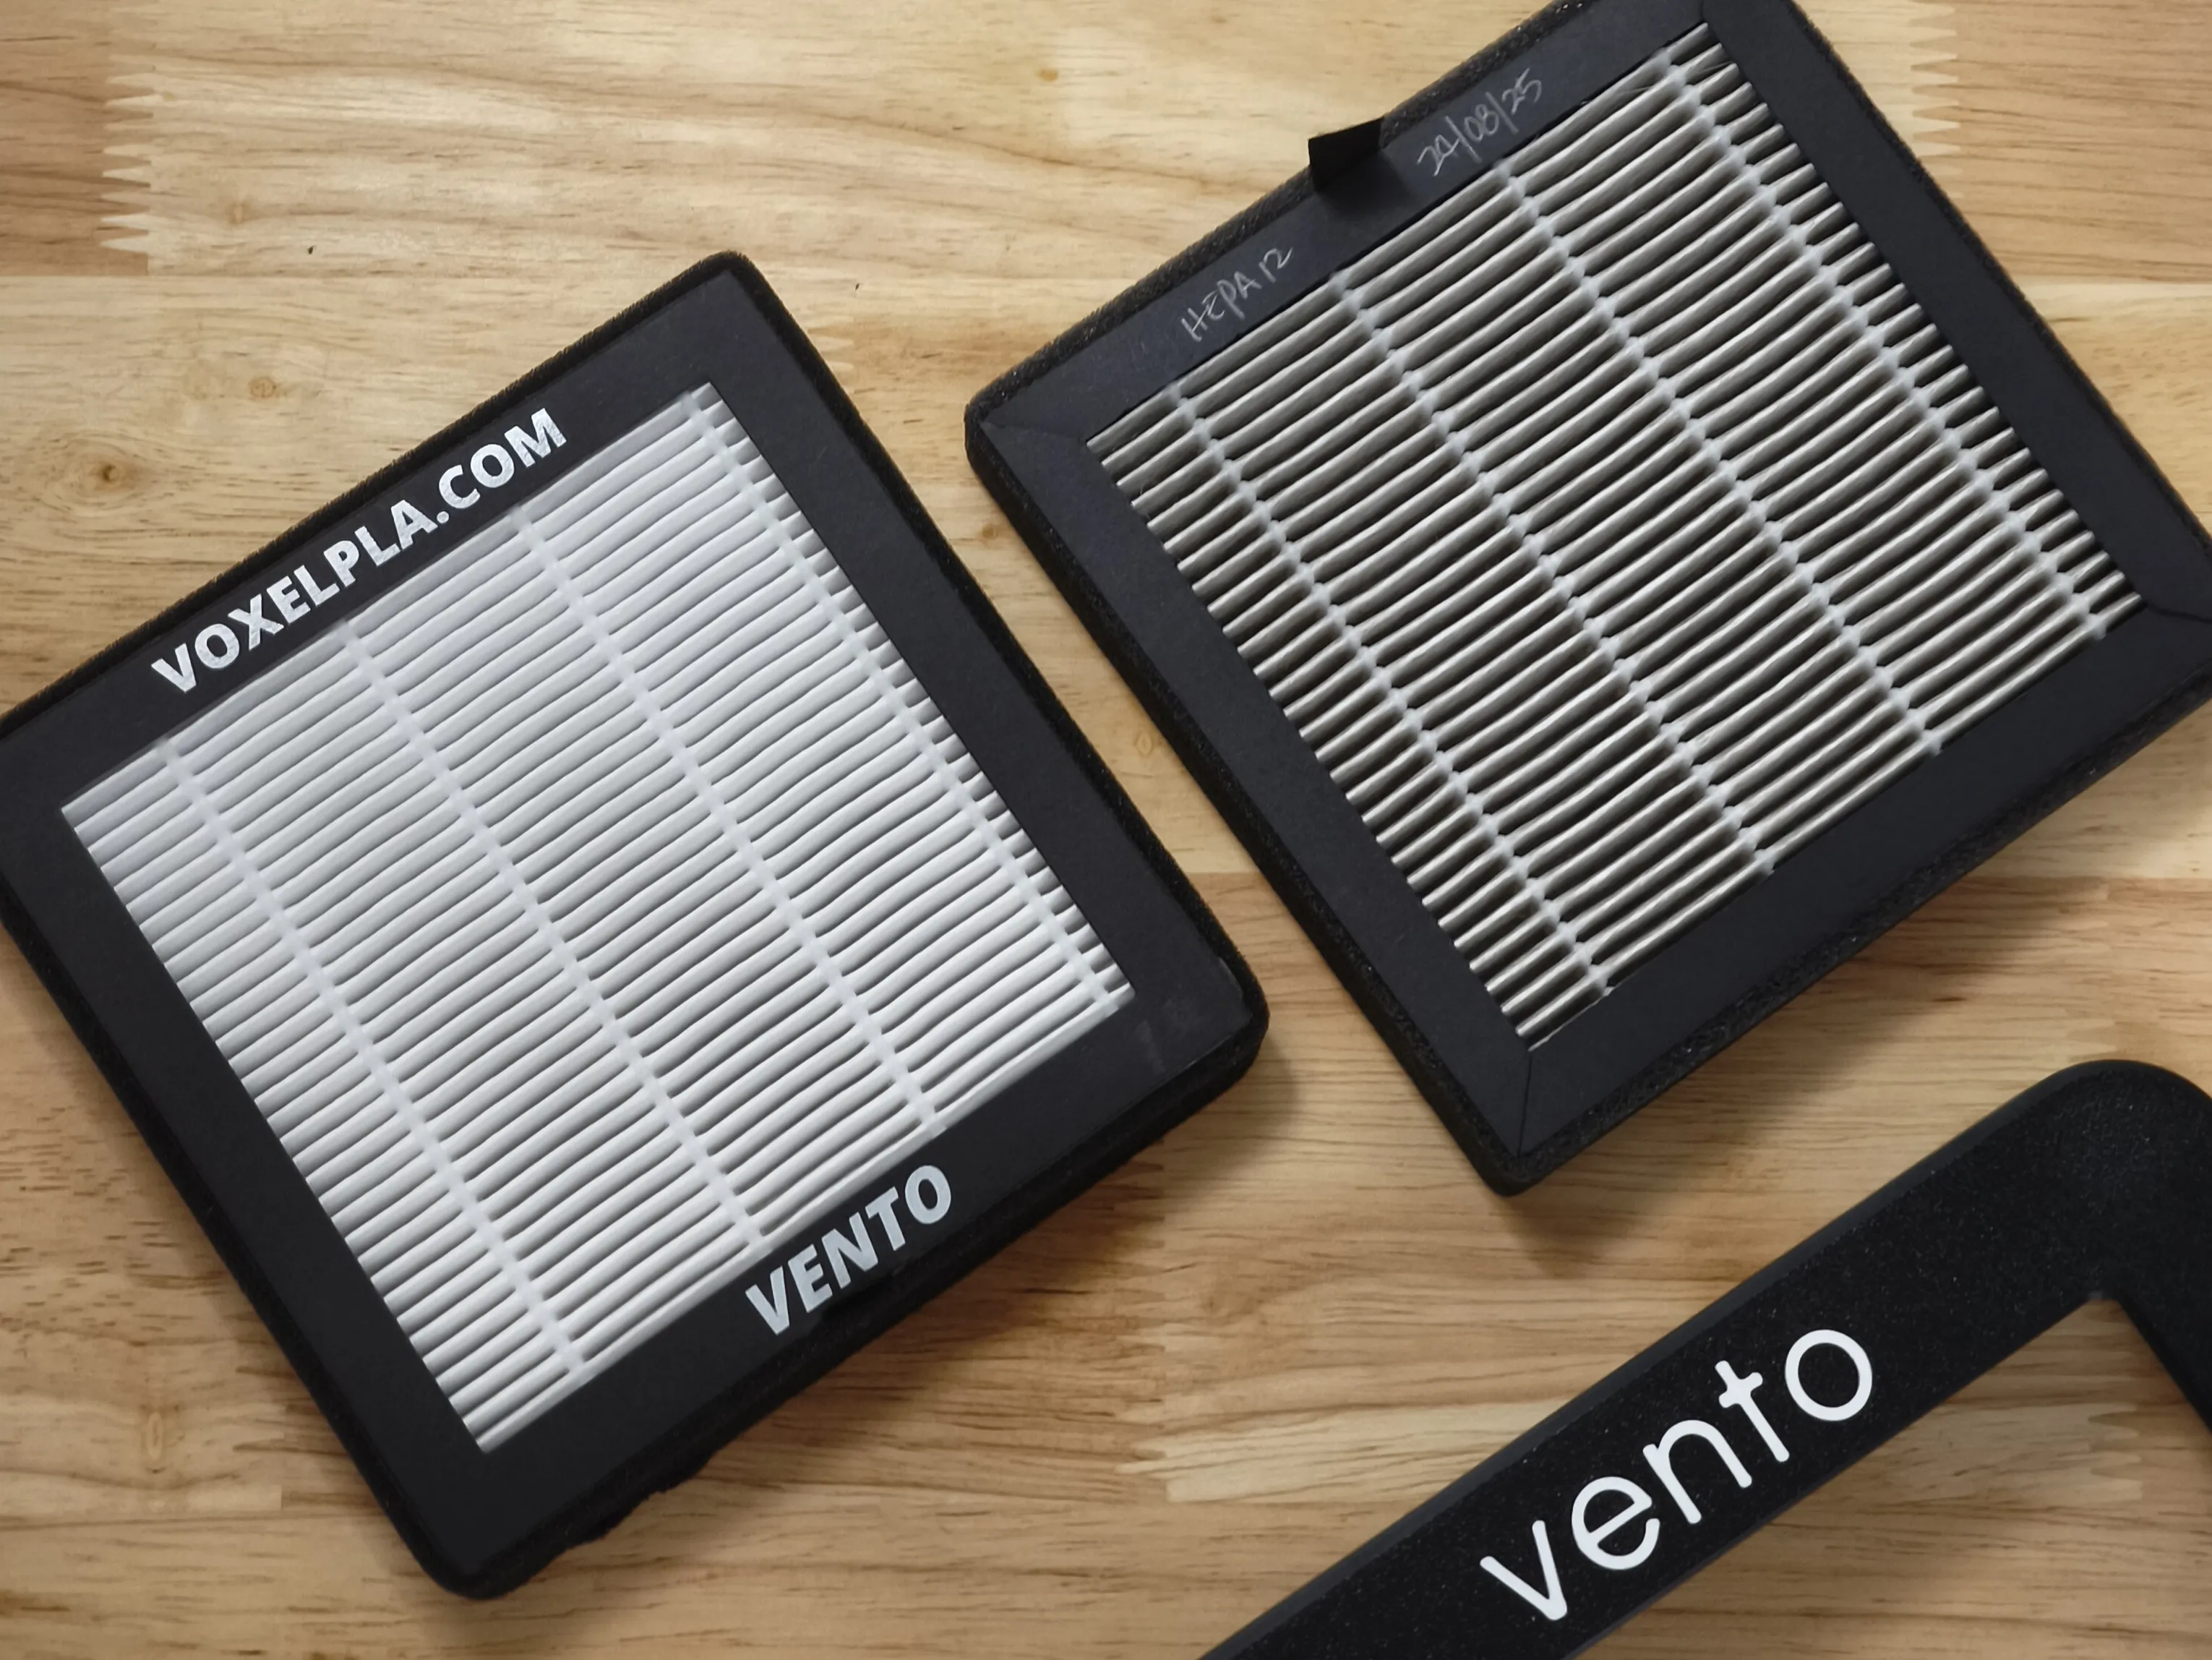
- Voxel HEPA+Activated carbon filter for Vento x 1:
Description
IMPORTANT
- Please read the PRINTING & INSTALLATION Guide below before starting the project.
- I recommend using PETG for this project. PLA is not advisable, as the exhausted warm air can cause the vento to soften.
- You can order the HEPA + Carbon filter on the Voxelpla website.
- I do my best to double-check and test the print profile I create. They are up to date with whatever changes I made to the designs. If you are using profiles created by others, please verify that they are up to date.
 |  350 hours printing PLA and PETG |
VENDORS
| US & CA | Voxelpla offers the vento HEPA+carbon filter, pre-assembled and hardware kits on VOXELPLA Store. On shipping to Canada, please contact Voxelpla directly. |
| EU | VTC3D offers pre-assembled vento and filters on their Etsy store. |
| SINGAPORE | TBA |
INTRODUCTION
Currently, my go-to printers are the BambuLab H2D and H2S, and I frequently use them with PET-G and PLA filaments. While these machines are among the best pro-consumer printers available, I had noticed that during low-temperature printing, both the top vent and switch flap open, bypassing the internal filter and allowing unfiltered air to exhaust.
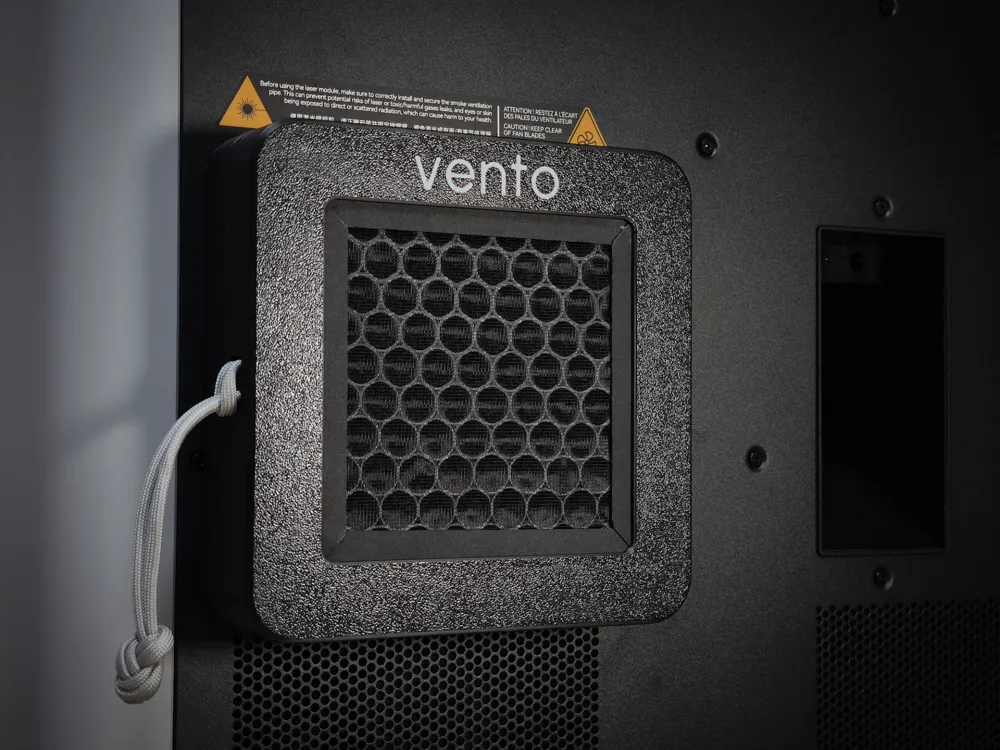
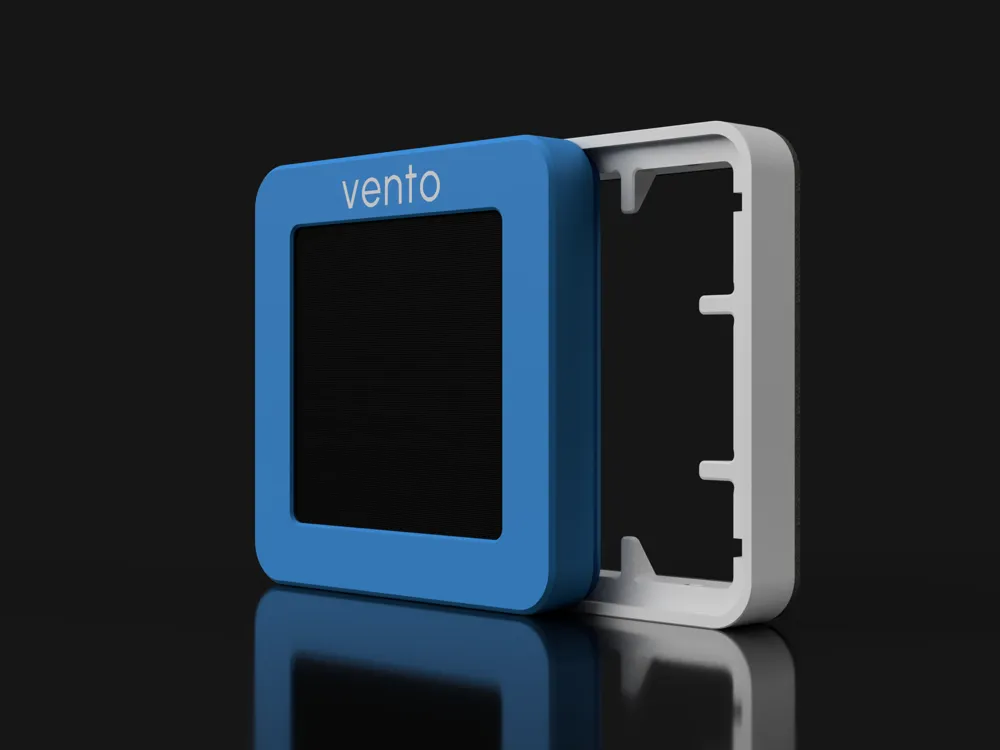
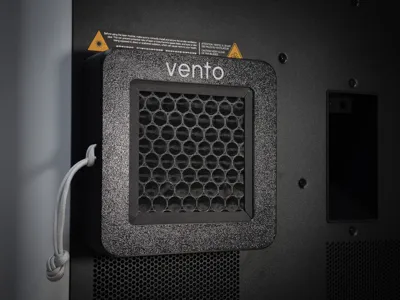
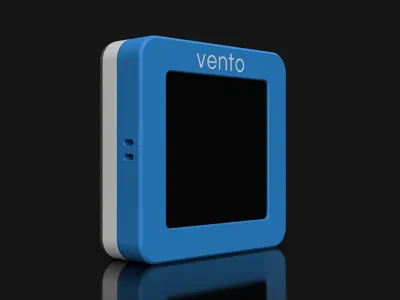
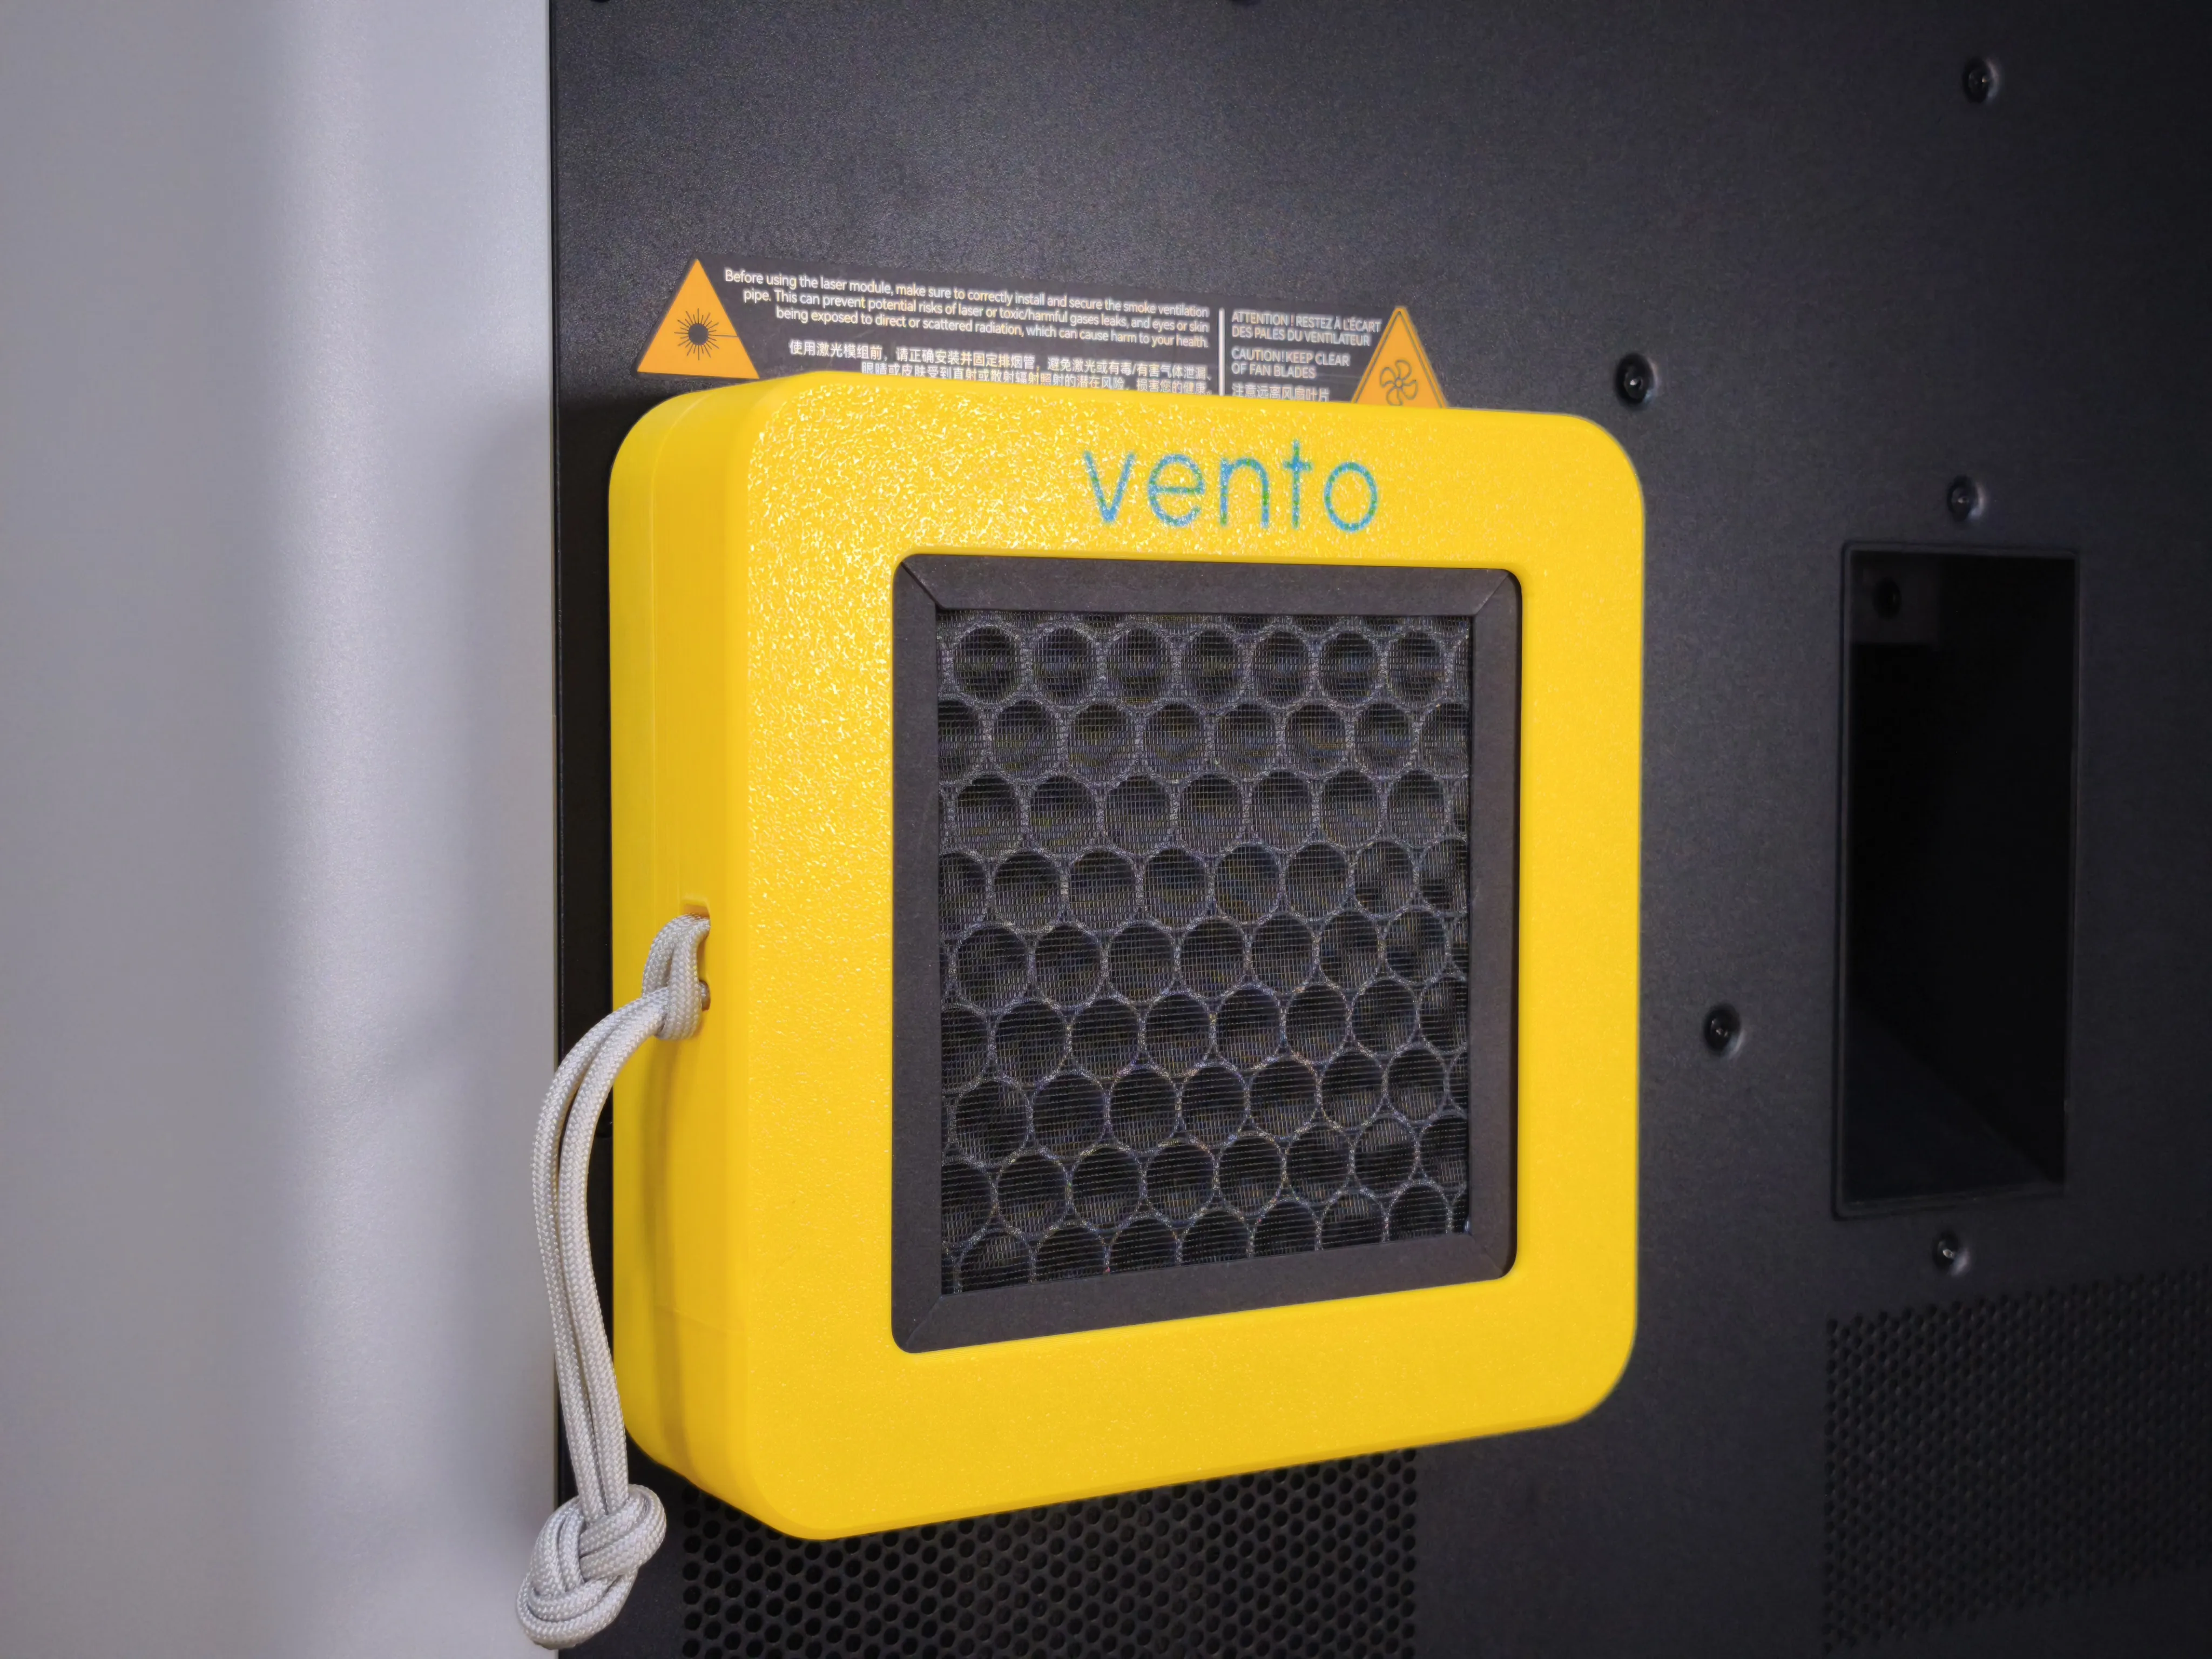
To address this, I designed vento - a HEPA + Activated Carbon filtration system for the BambuLab H2 series printers. My goal was to create a system that:
- effective in capturing emissions,
- intuitive approach to print, install and use,
- users can print the parts on their Bambu printers,
- a fast and simple weekend project.
In summary, vento adds an extra layer of ventilation that will improve the working environment and ultimately enhance the quality of life for users and their loved ones.
DESIGN APPROACH

The design approach for vento focused on usability and accessibility. The core consideration was to make it intuitive, easy to install, and simple to use. Bambu H2 printers are large and heavy, and not everyone has full access to the back of the machine when it is placed on a workbench or shelf positioned against a wall.

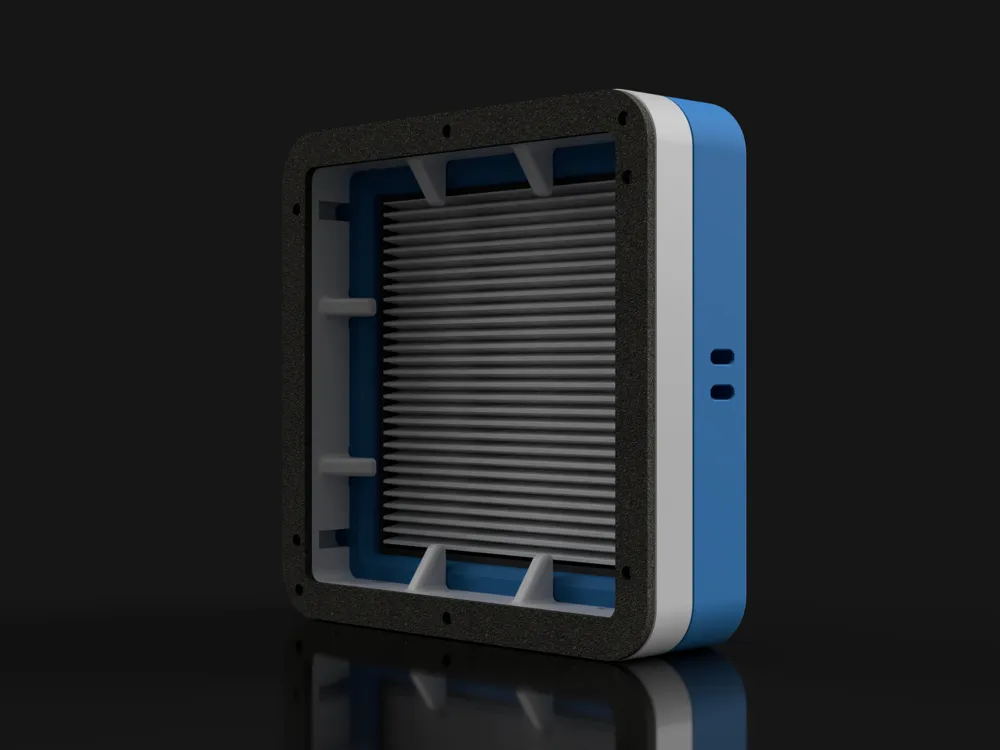
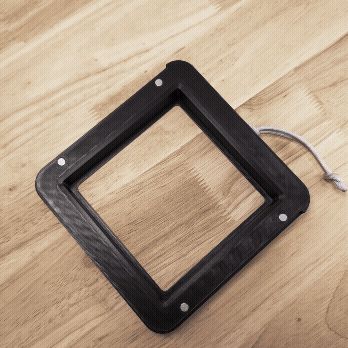
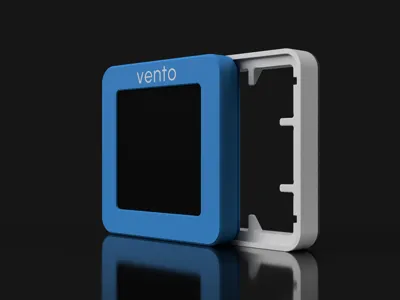
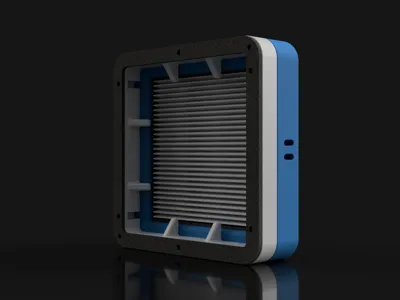
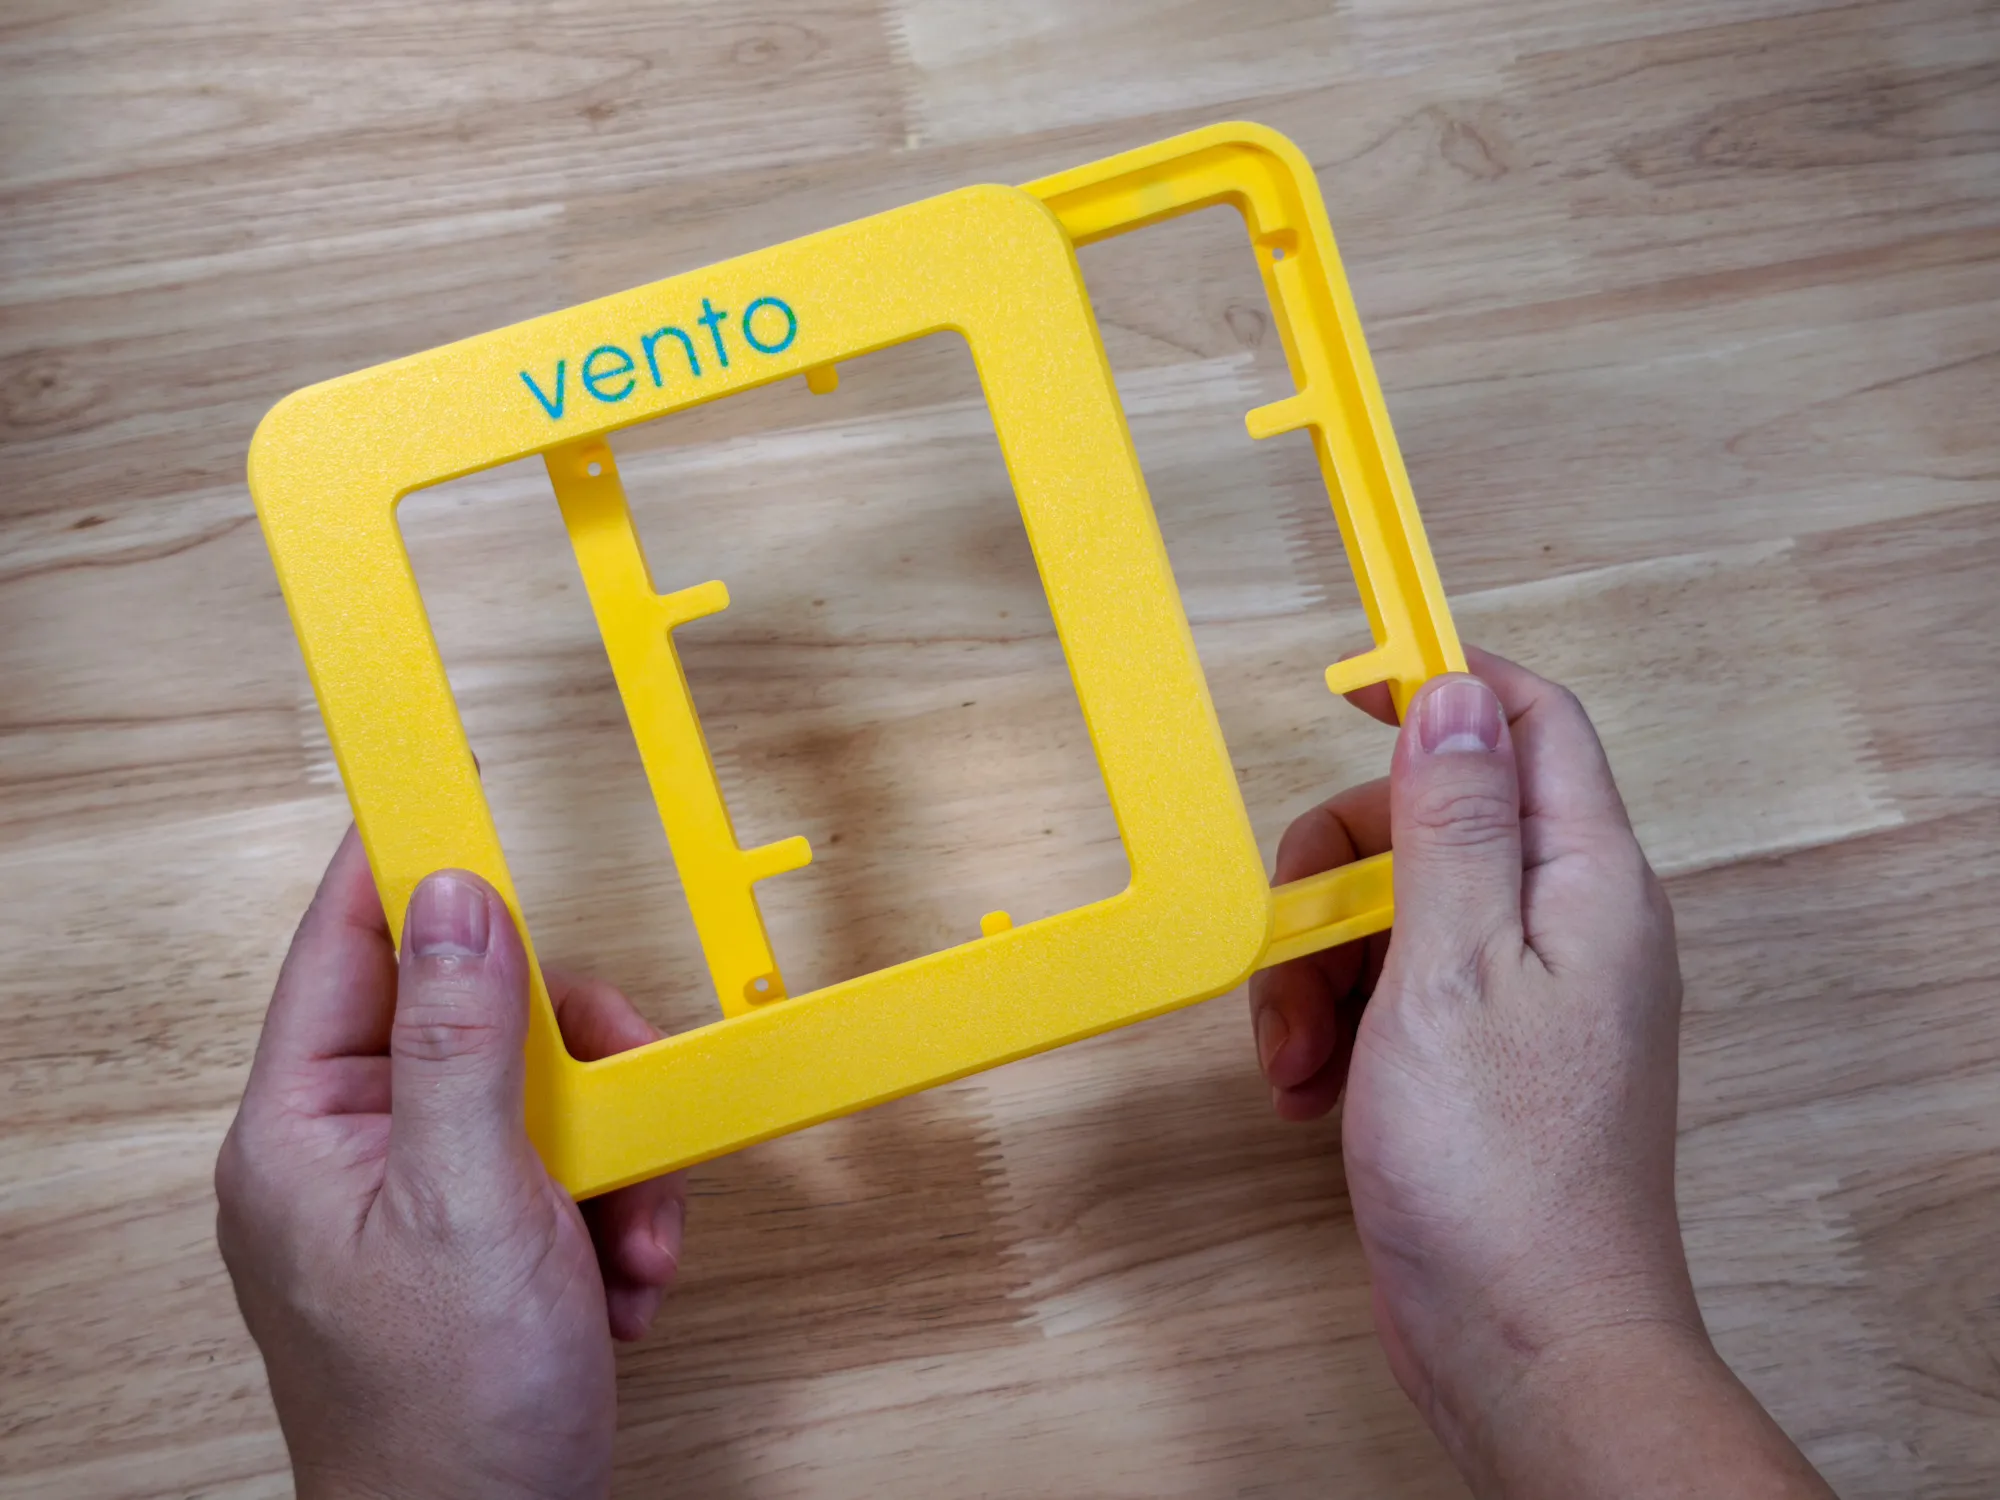
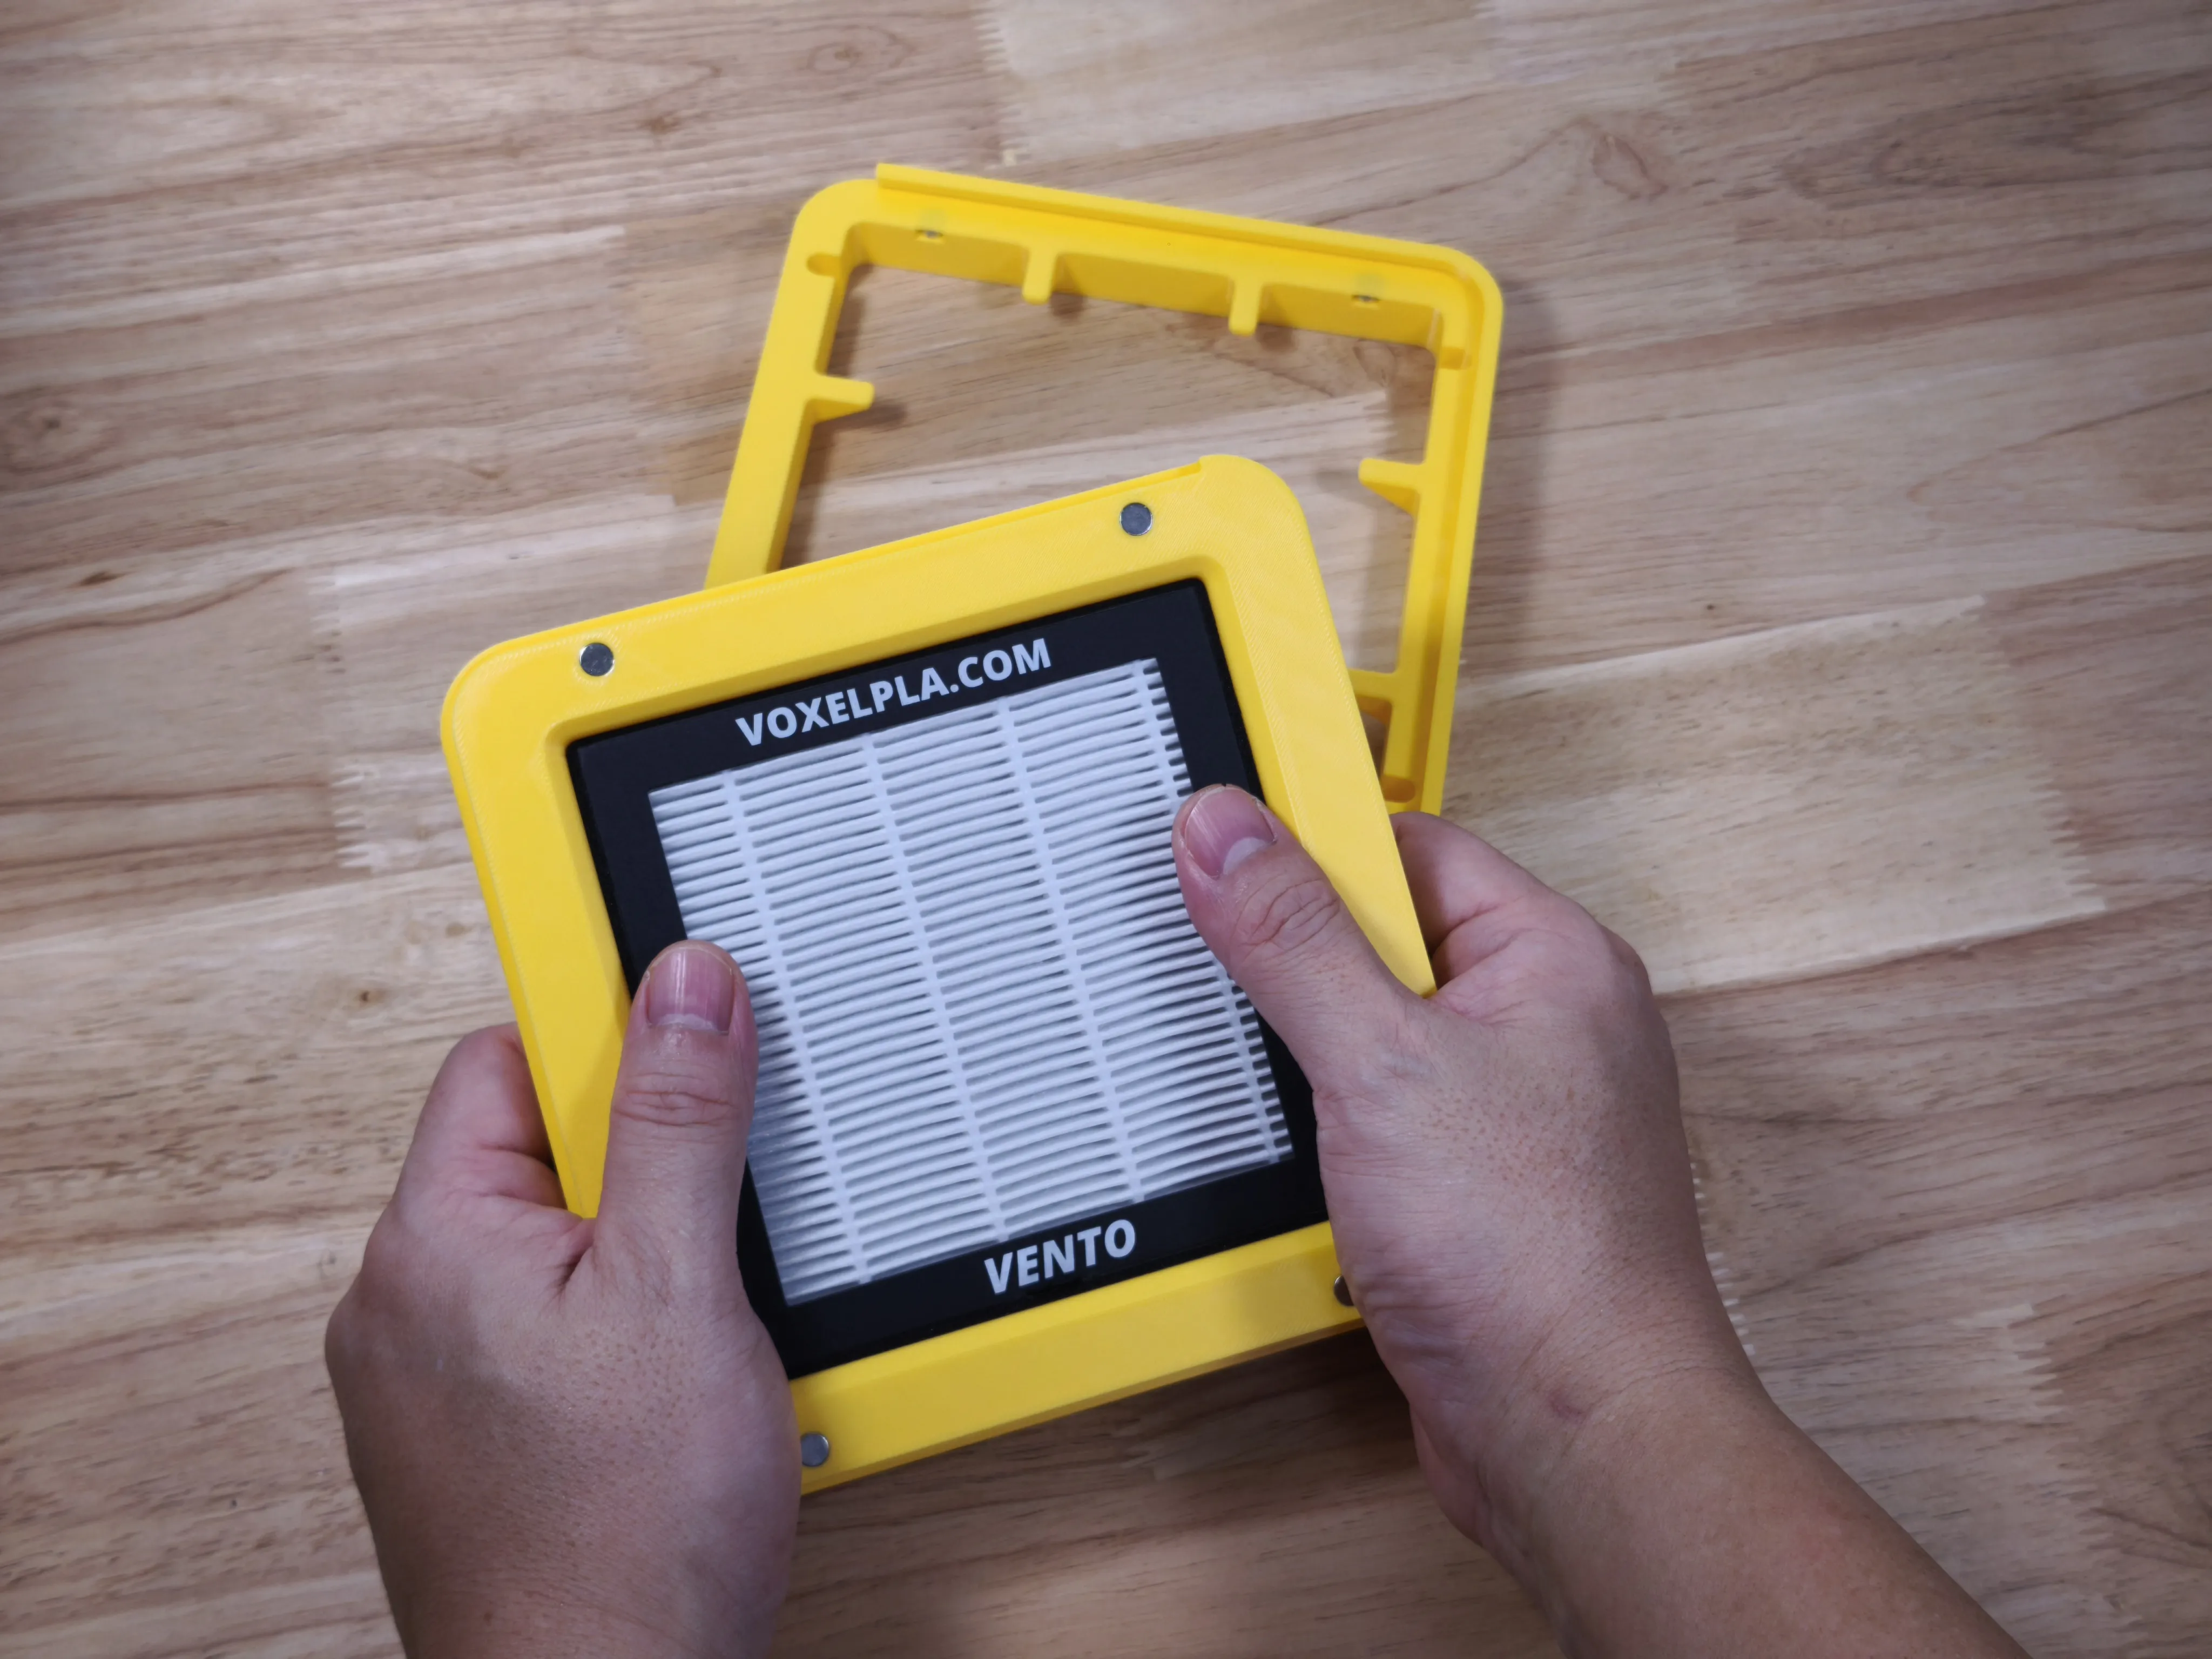
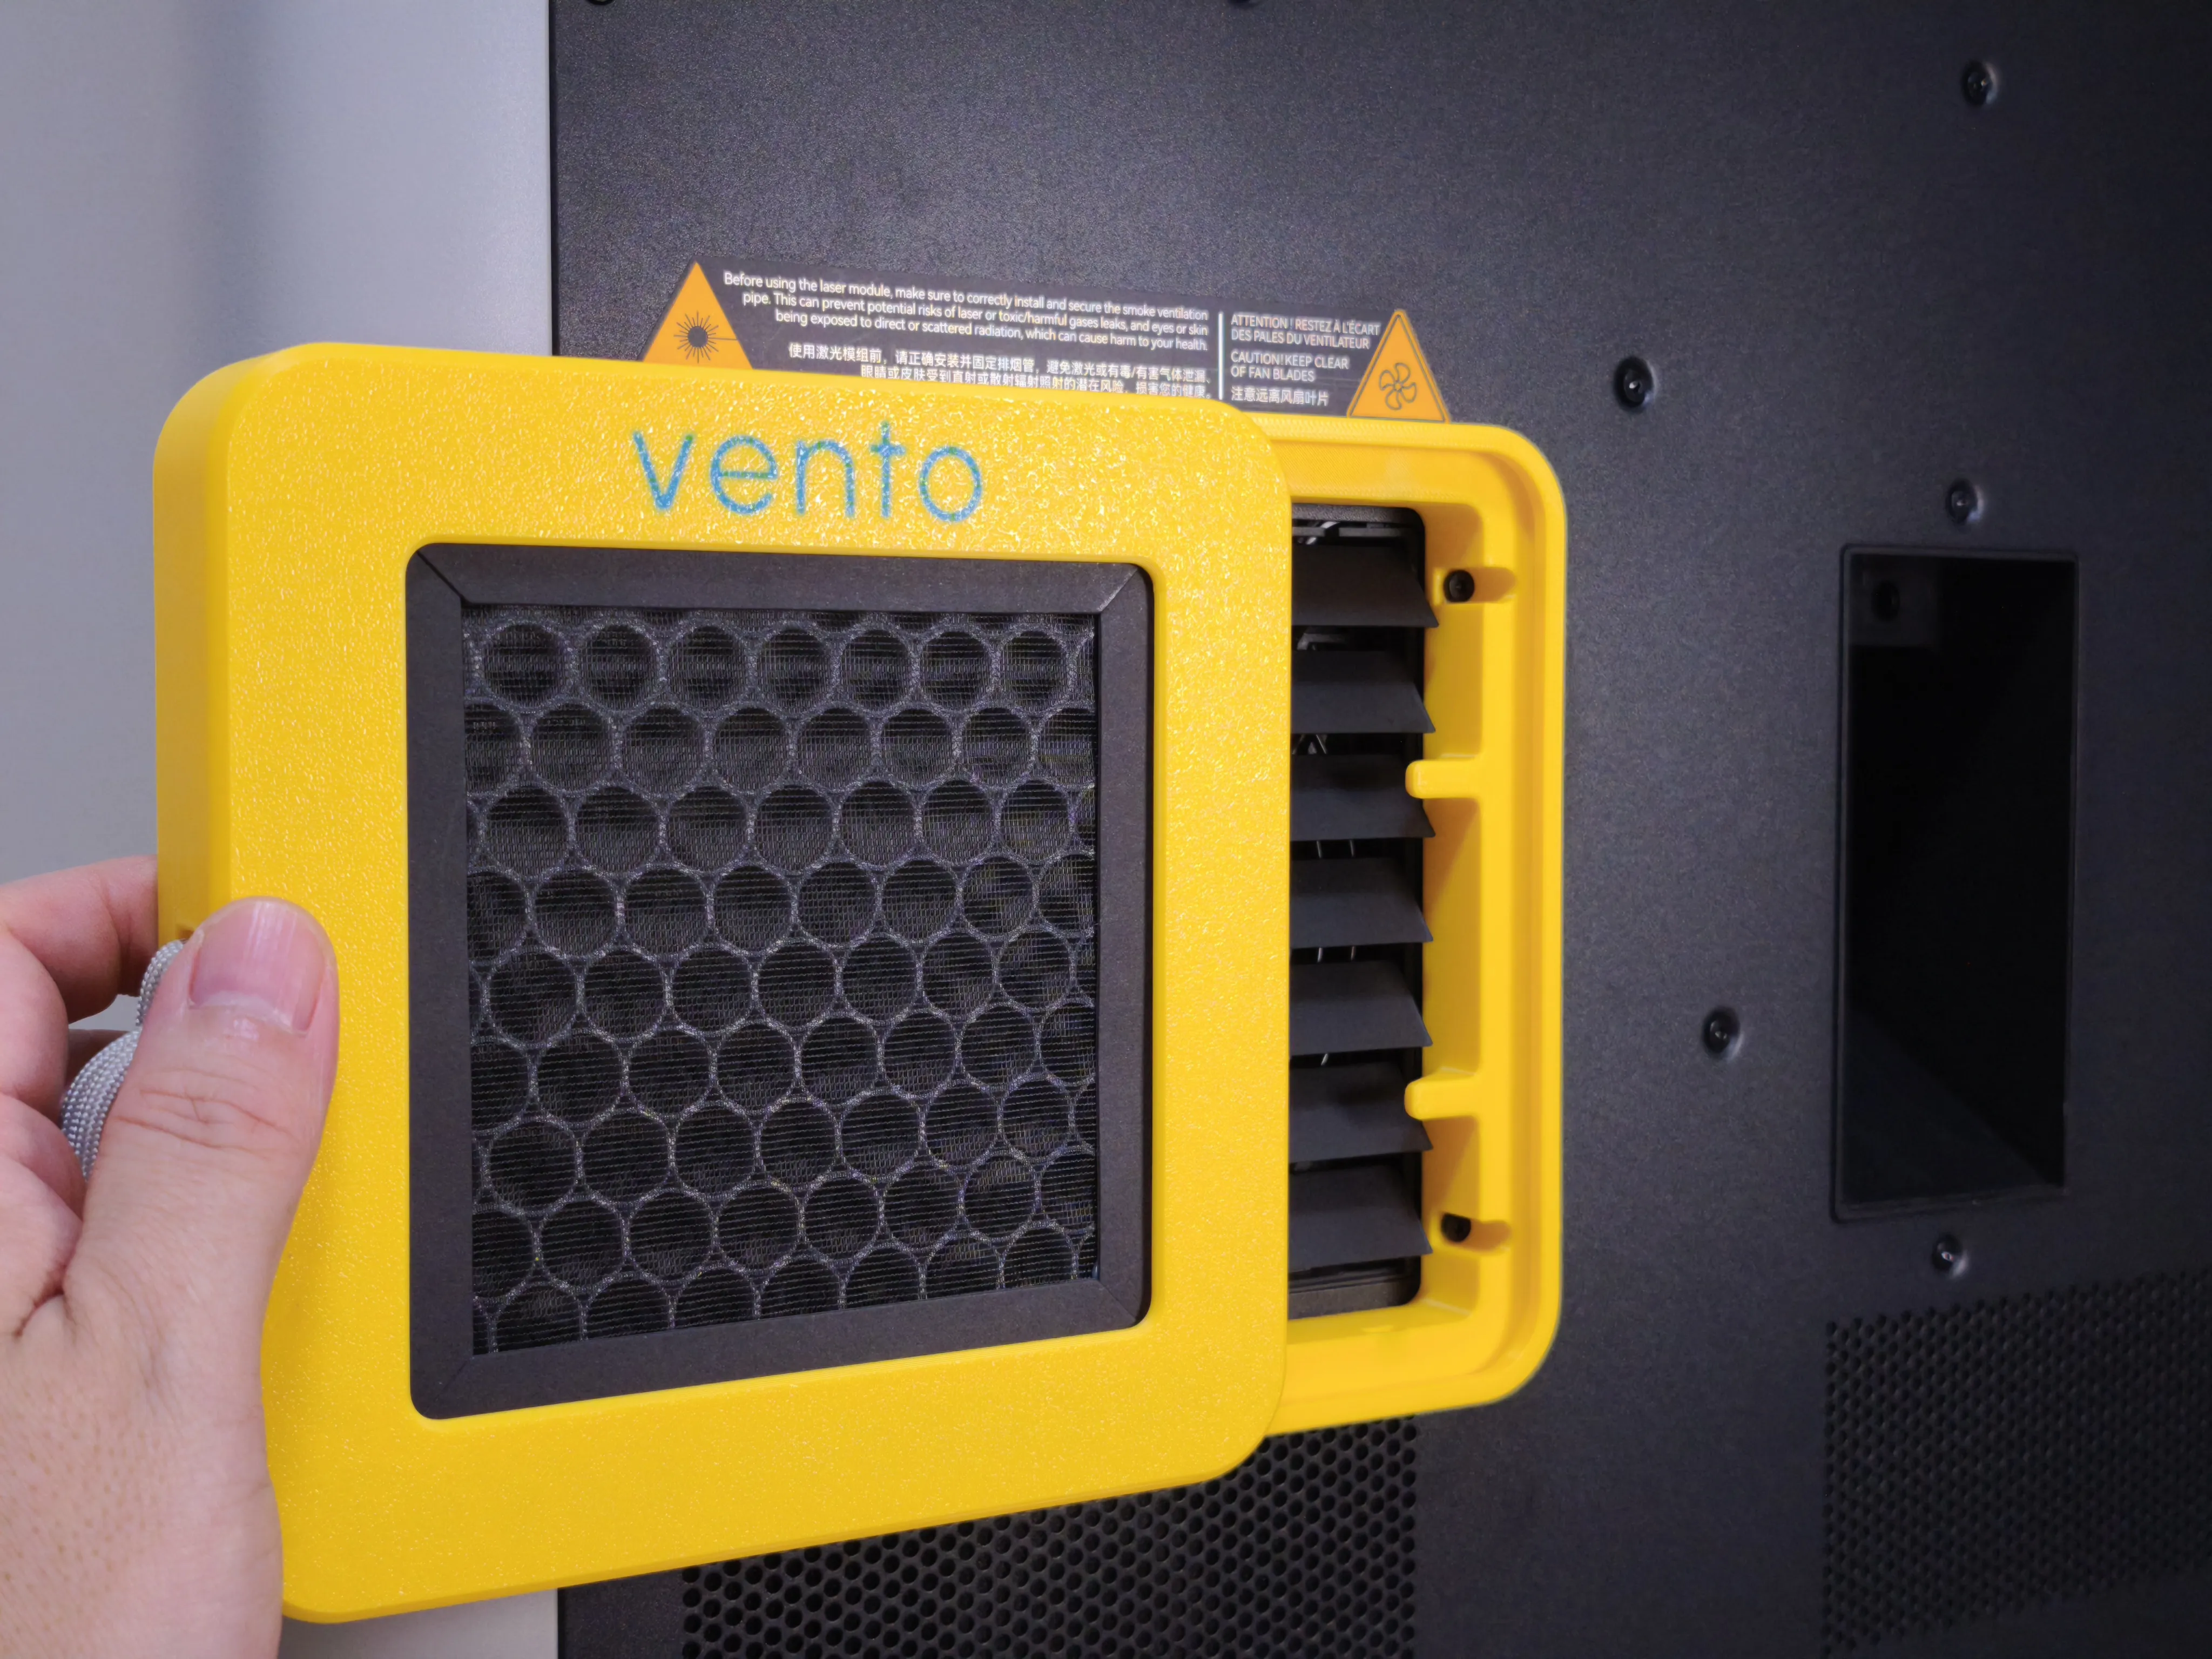
To address this, I designed a magnetic slide-lock system that allows users to reach the back of the printer and slide the filter bracket out easily when changing the filter. I also included a bracket for the BambuLab Smoke Ventilation Pipe Adapter, making it easy to remove for maintenance. These design choices ensure that vento remains practical and user-friendly without compromising functionality.
Another primary challenge was balancing airflow resistance and thermal management—ensuring that exhaust air is filtered without causing chamber temperatures to rise beyond the softening point of the filament, which would force the H2 to heavily ramp up the exhaust fan speed. I was unable to find a HEPA + carbon filter of the required size and performance on the market, so I collaborated with Voxelpla to manufacture a custom filter for this application.
Voxelpla and I strongly believe that vento is an essential tool for the H2 series printers and agreed to keep both vento and the HEPA + carbon filter affordable and accessible for the community. Currently, the filter is available in the US through Voxelpla, with plans to extend vento availability to other regions. You can order the HEPA + carbon filter for vento on the Voxelpla website.
BILL OF MATERIALS
Hardware:
|  |
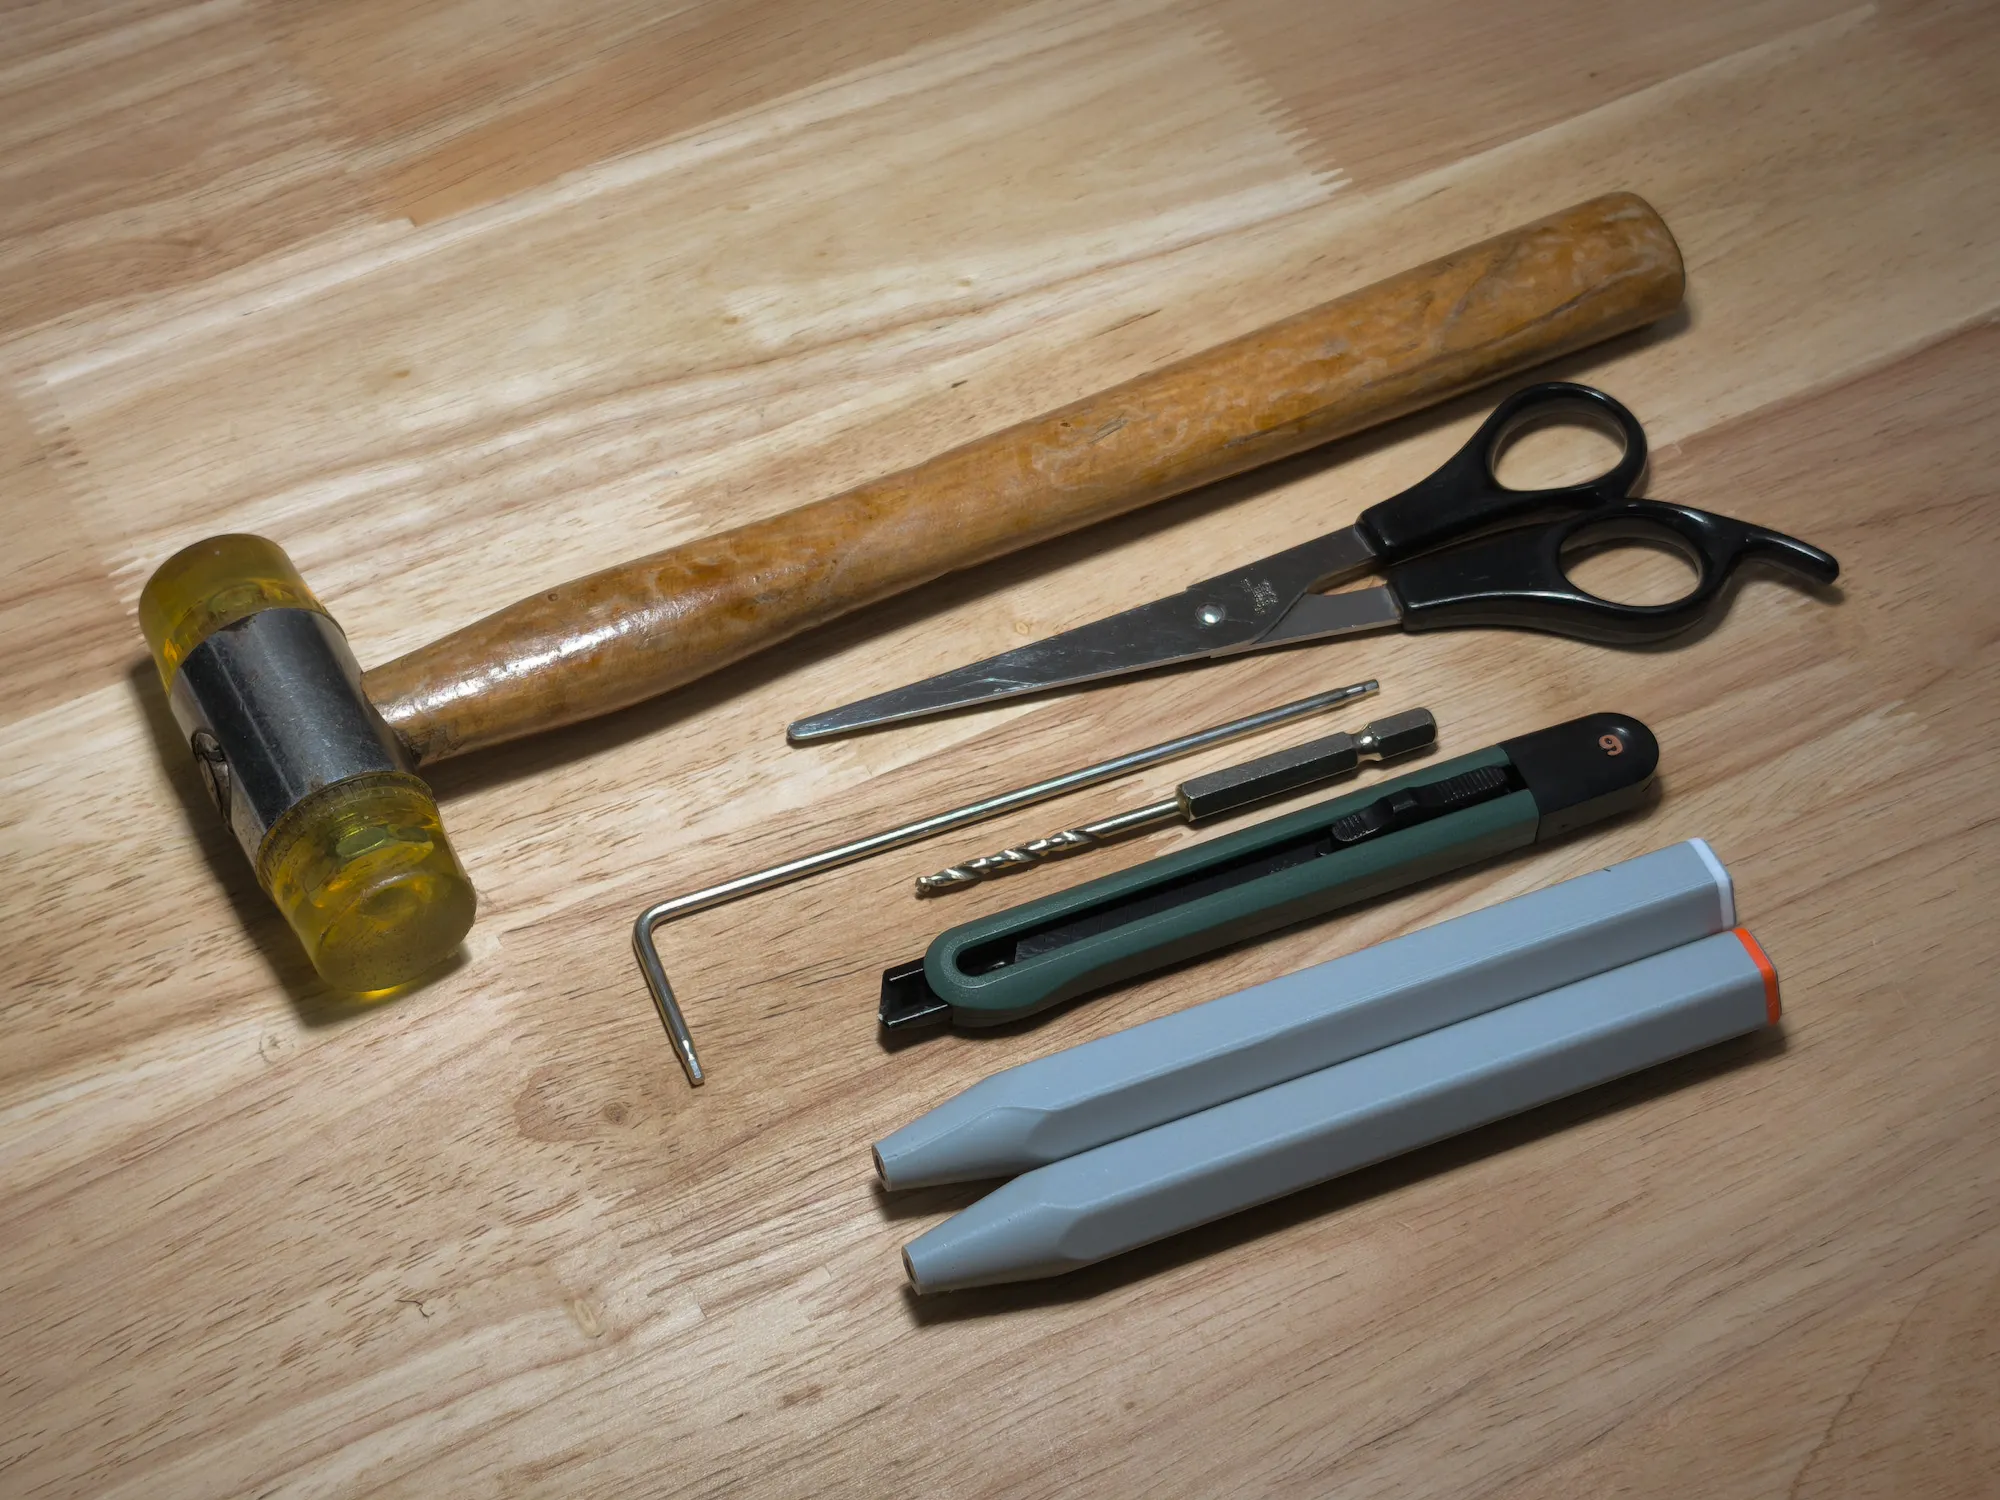
Tools:
|  |
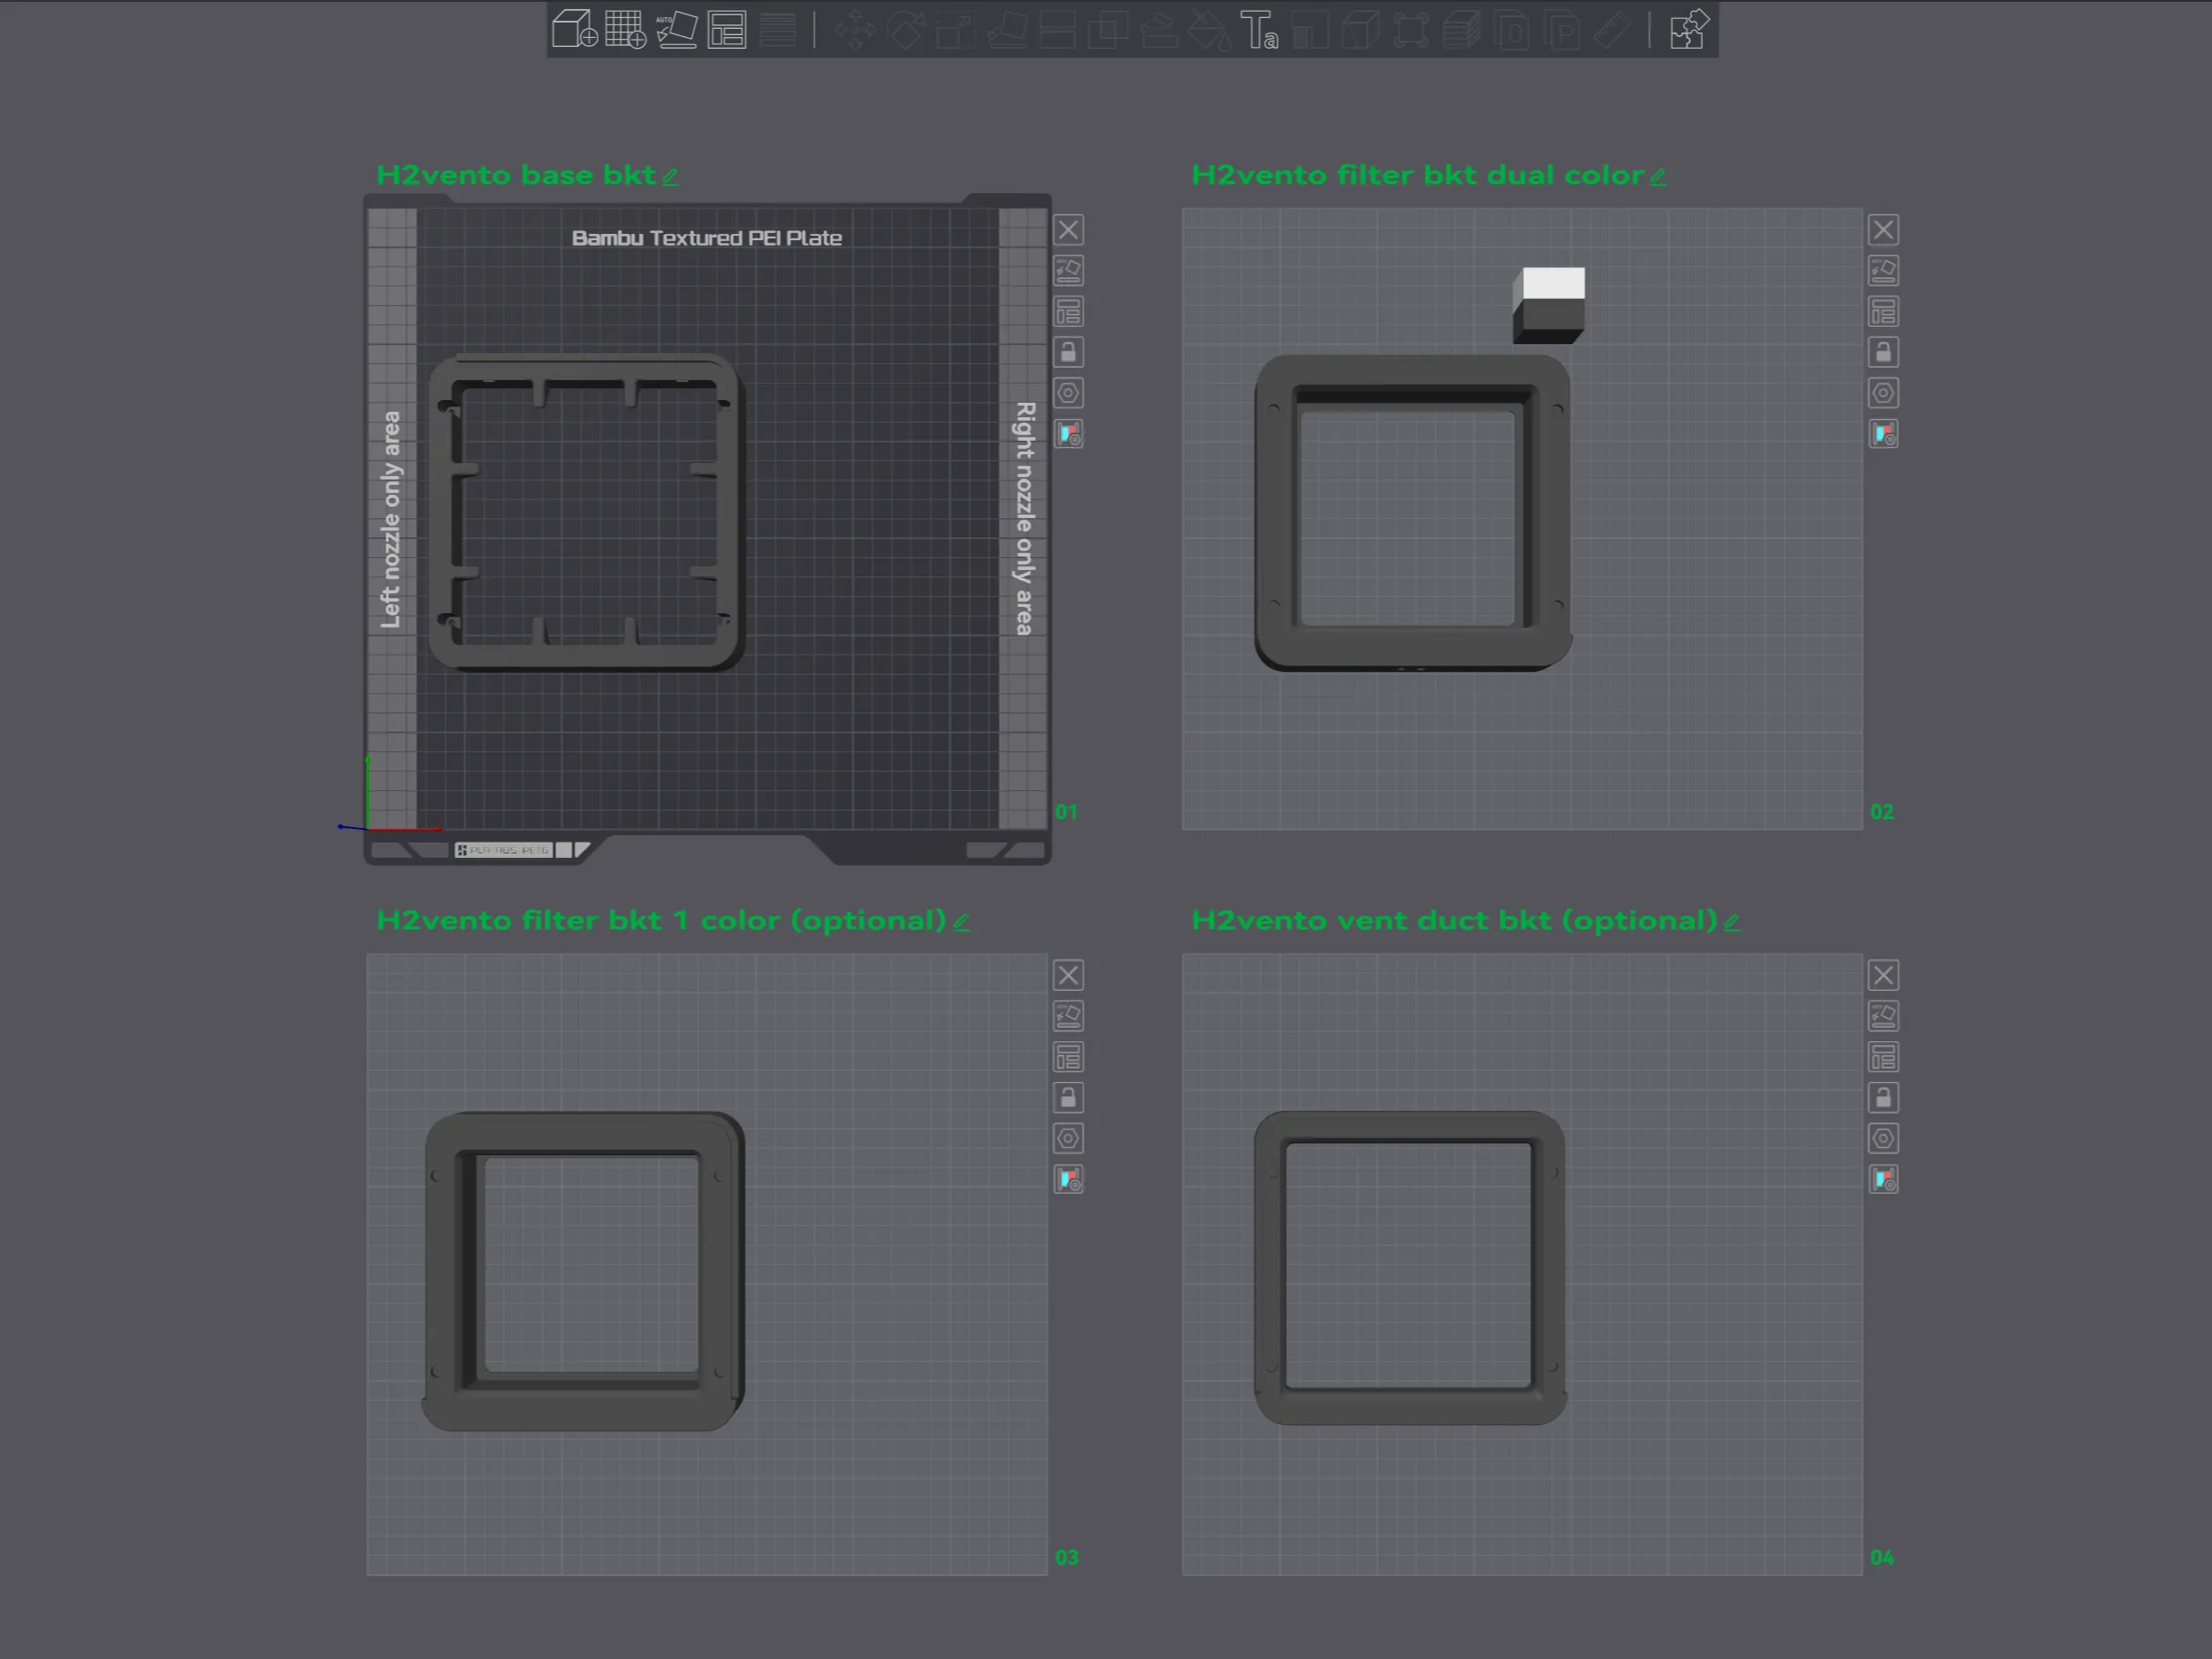
PRINTING GUDE
I recommend using PETG for this project. PLA is not advisable, as the exhausted warm air can cause PLA printed parts to soften. During prototype and final testing, I used BambuLab PETG-HF and VoxelPETG+. If you want to order BambuLab filaments, please consider using Modbot's afflink to support his YouTube channel. For VoxelPETG+, you can use my afflink
|  |
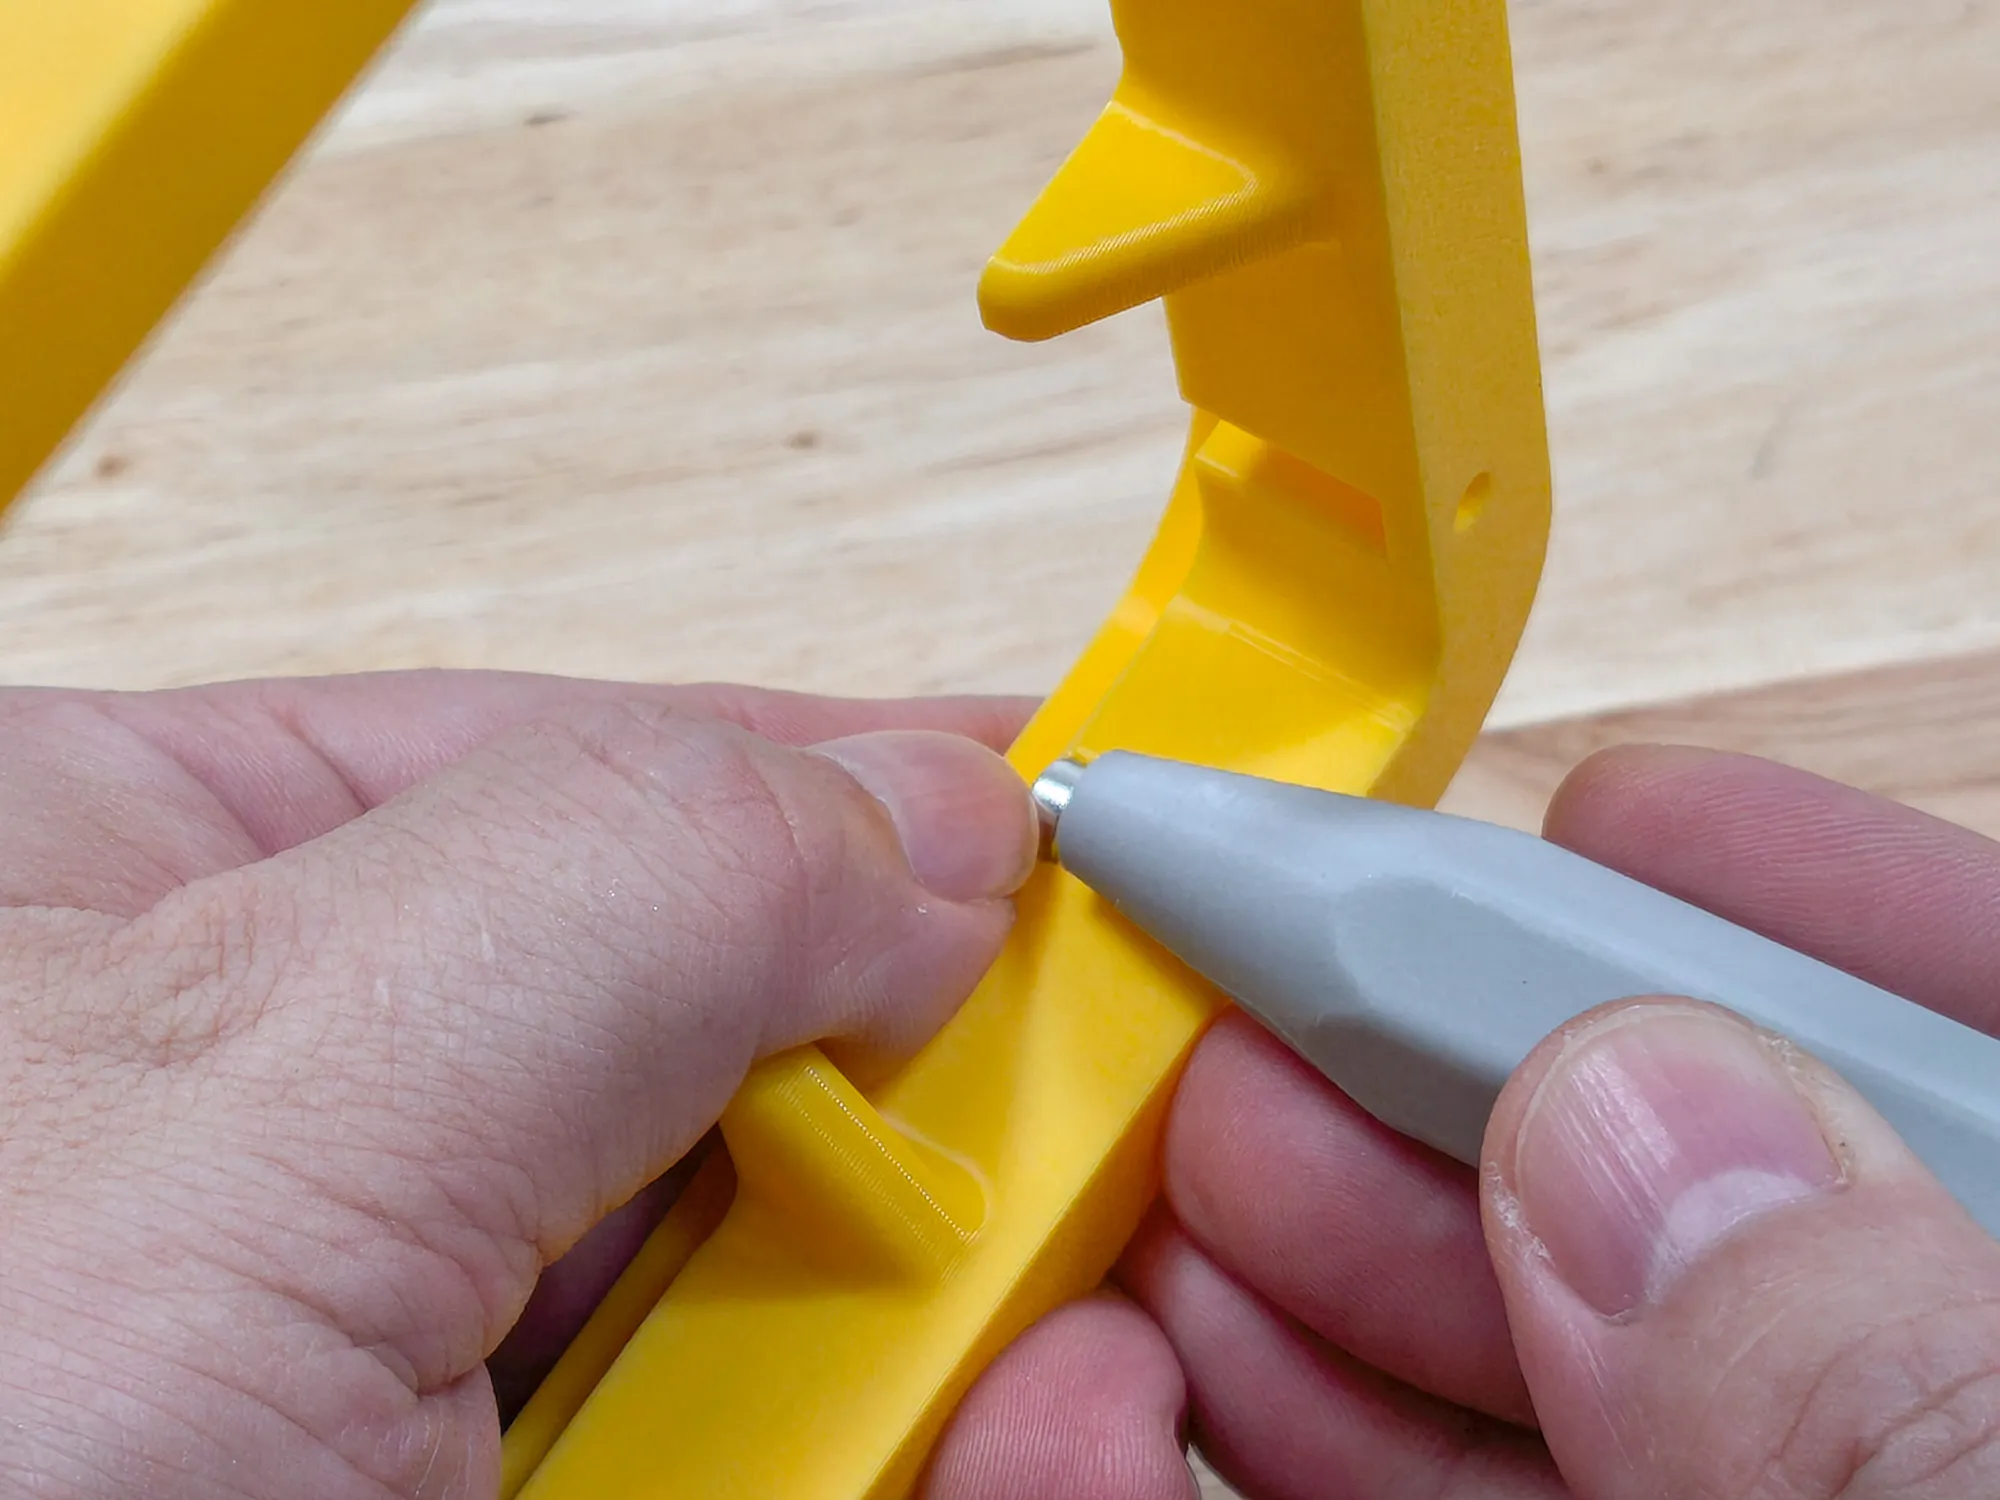
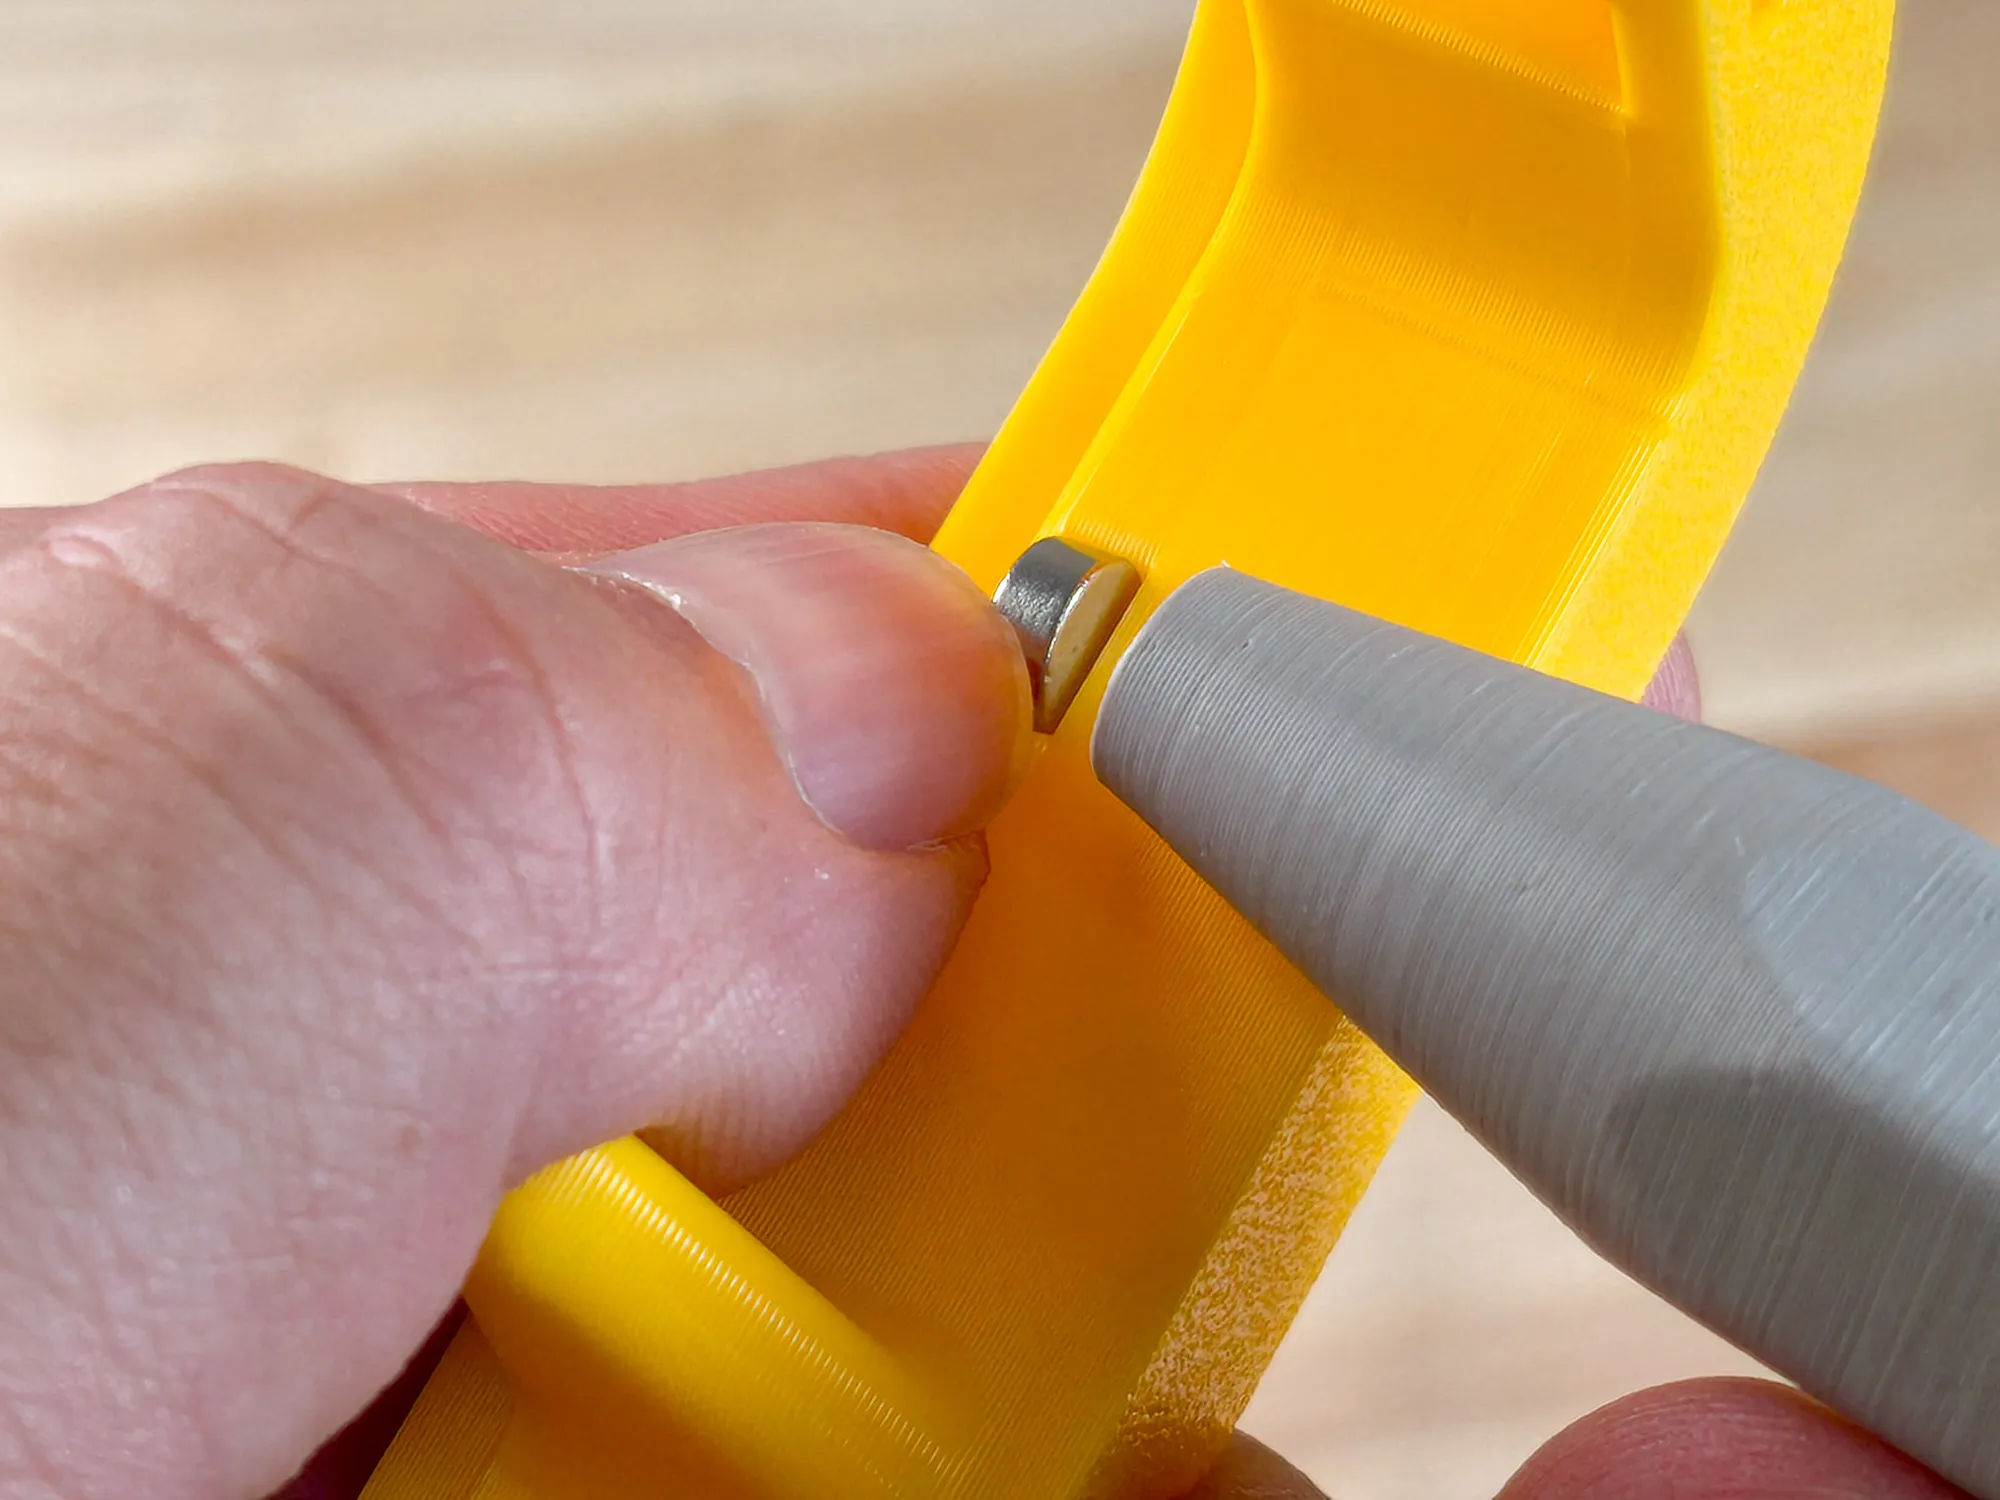
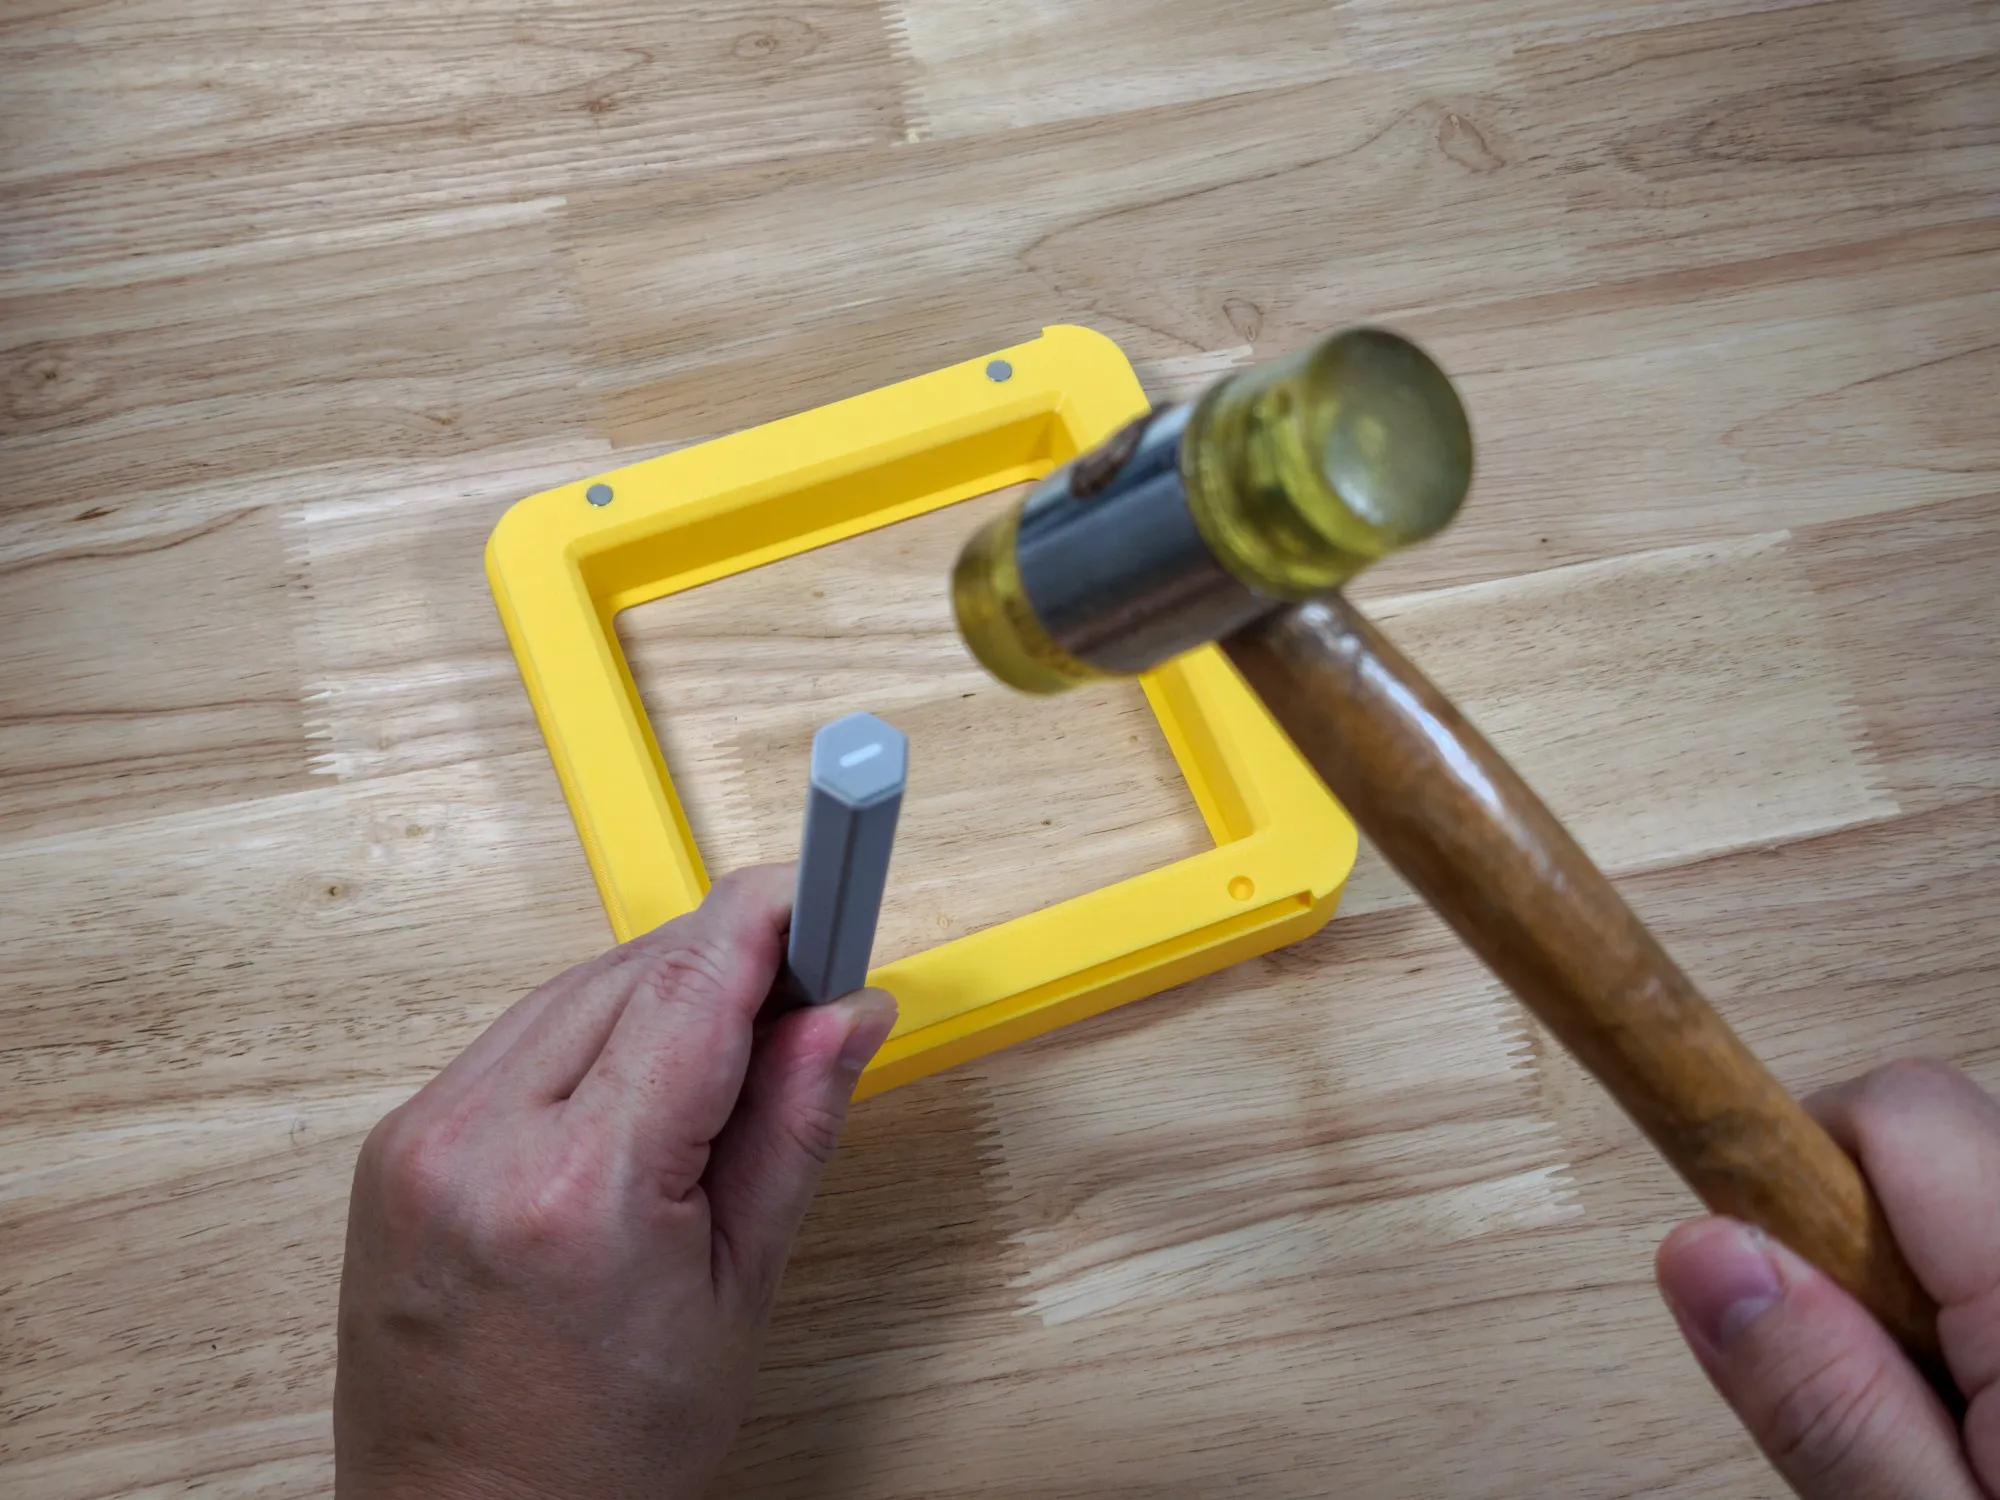
INSTALLATION GUIDE
 |  |
| |
 |  |
| |
 |  |
 |  |
| |
 |  |
 |  |
| |
FILTER CHANGE REQUIREMENTS
It is advisable to replace the filter after 500-600 hours of print time. This prevents dirt buildup that could obstruct air exhaust from the H2 printers. You can order the HEPA + Carbon filter for vento on the Voxelpla website.
CONCLUSION
To date, my designs are free to download for personal use. There is No Patreon, No Membership, No Clubs, No Subs and No OnlyFan (hahaha). If you like my designs and wish to contribute to my coffee addiction and help fund the filaments/materials needed for prototyping, doing any one of the below will be greatly appreciated:
License

You shall not share, sub-license, sell, rent, host, transfer, or distribute in any way the digital or 3D printed versions of this object, nor any other derivative work of this object in its digital or physical format (including - but not limited to - remixes of this object, and hosting on other digital platforms). The objects may not be used without permission in any way whatsoever in which you charge money, or collect fees.


Comment & Rating (193)