
ChromaThread 1.75 — 2/3-Color / Gradient Filament
Print Profile(6)


Bill of Materials












Description
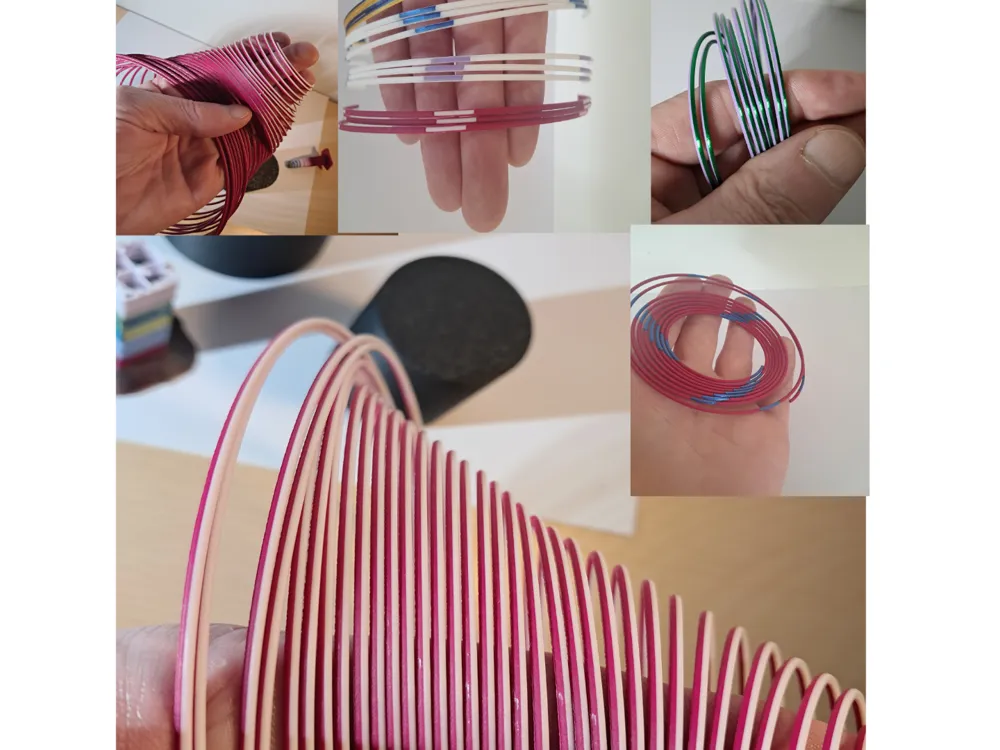
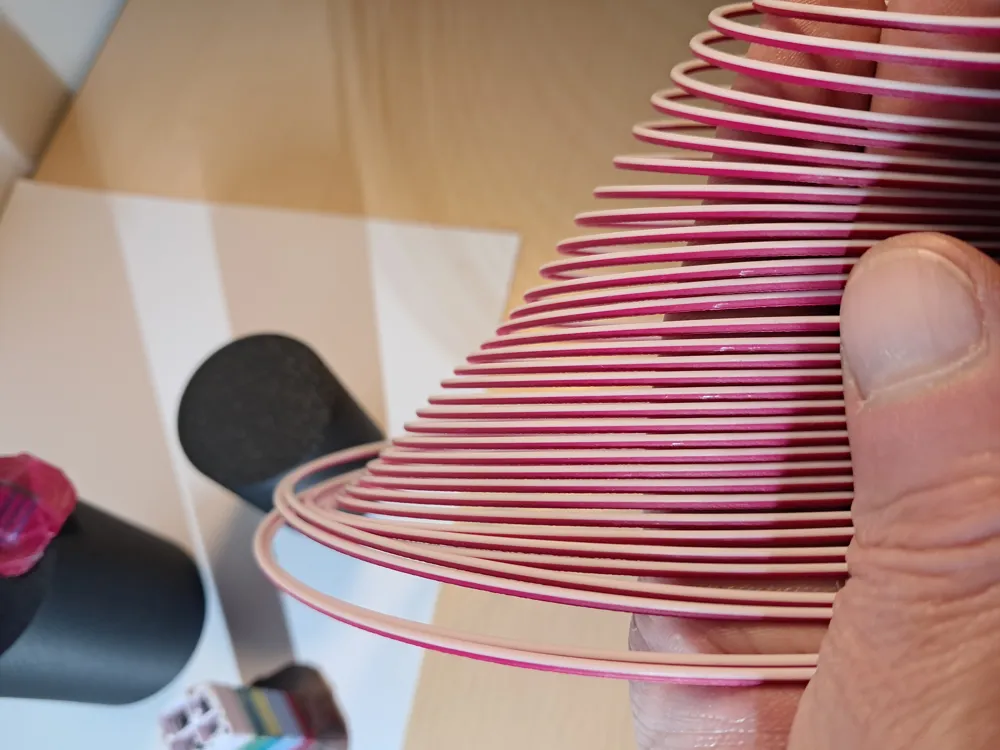
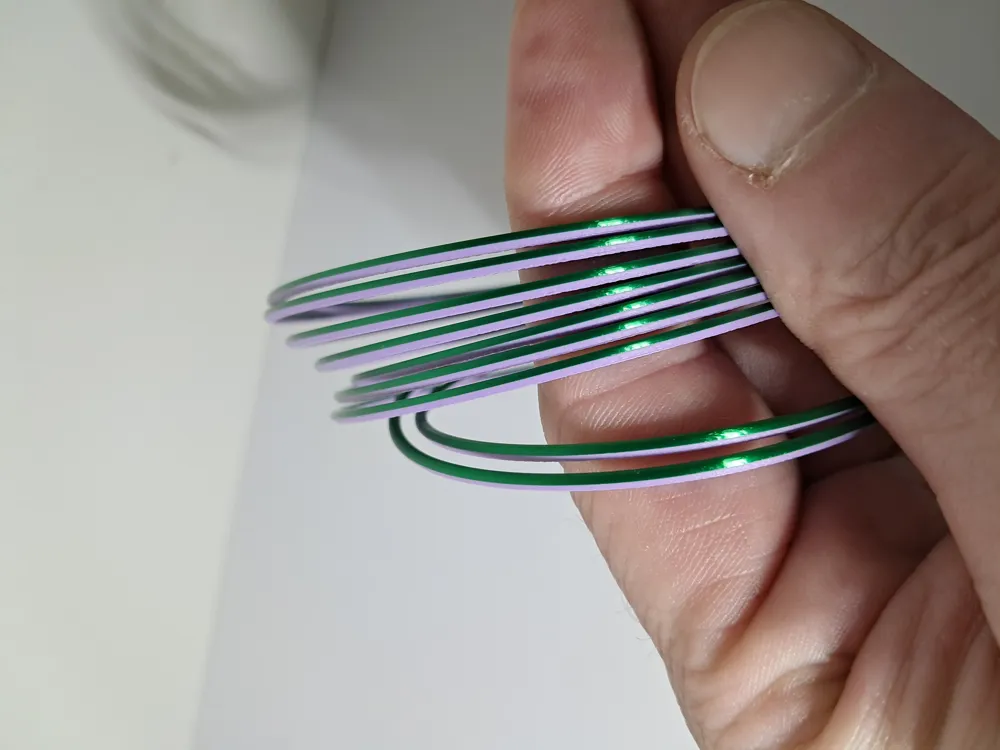
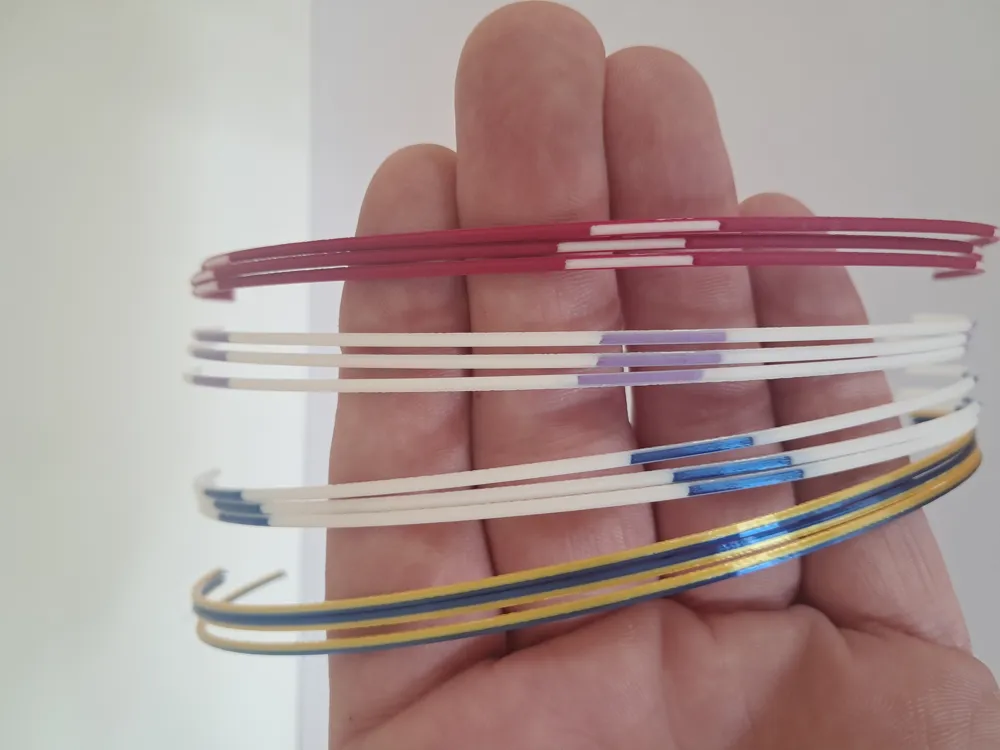
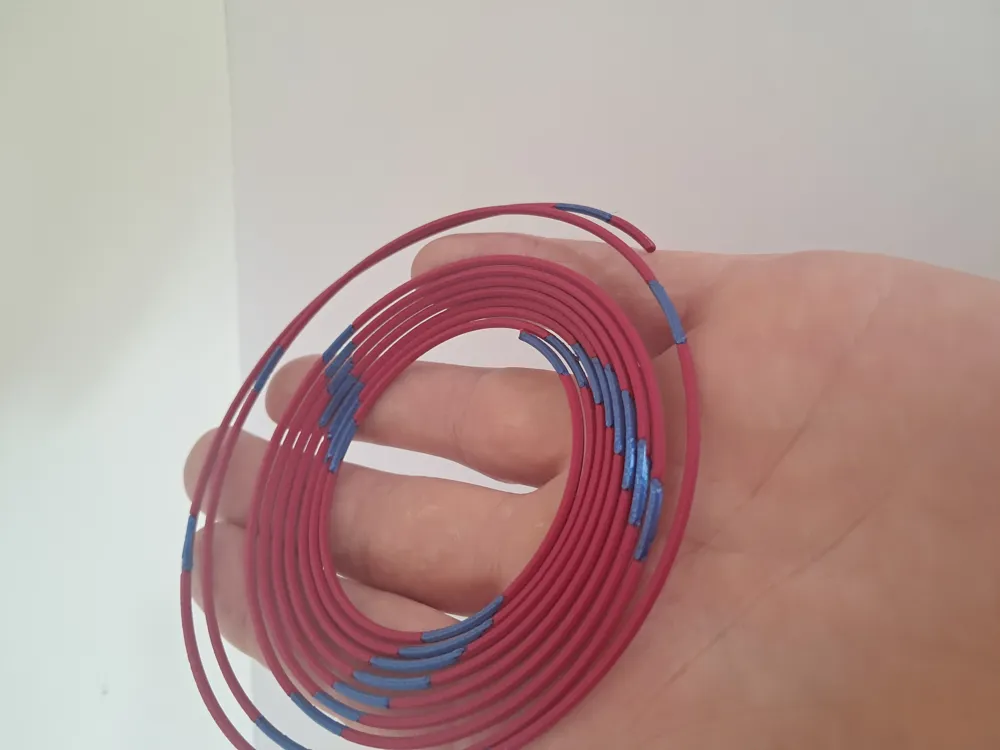
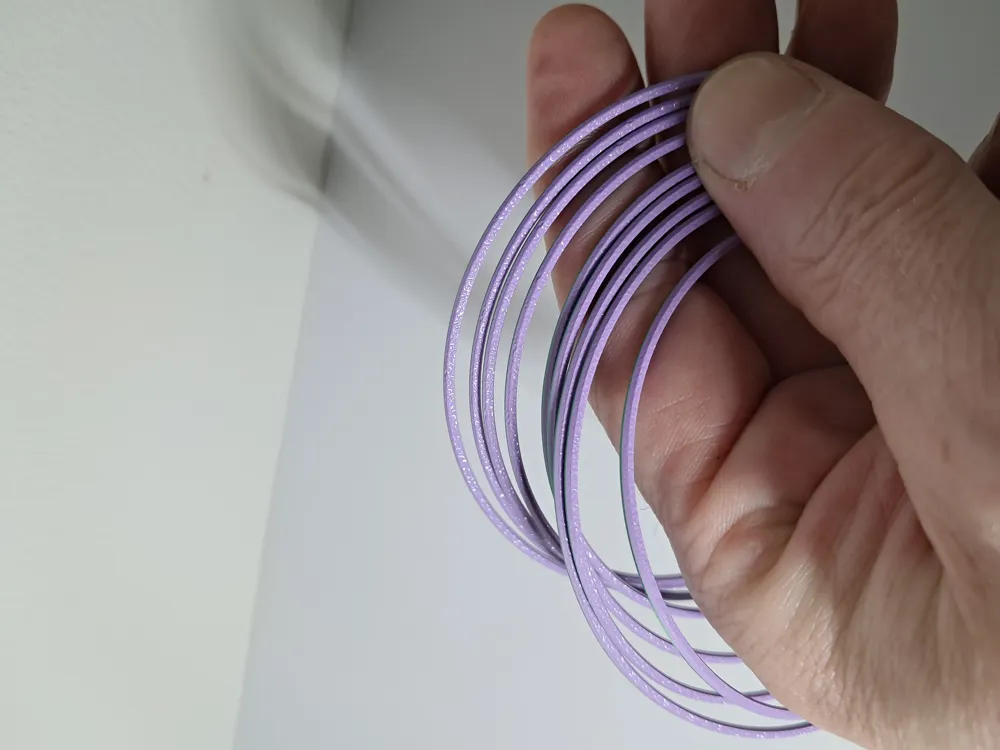
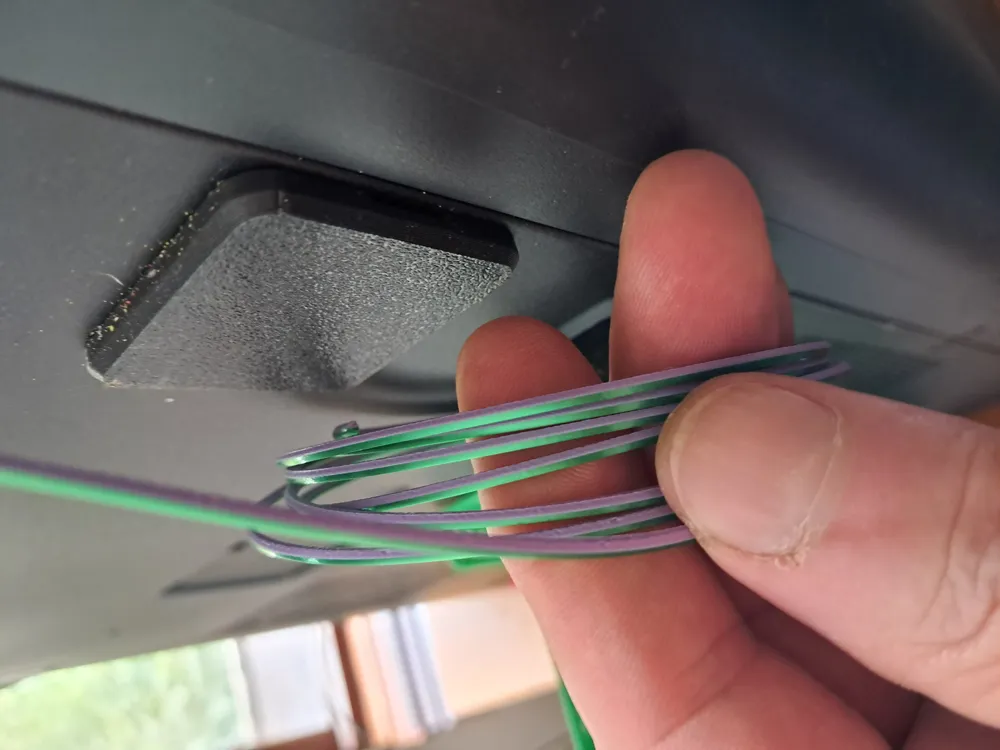
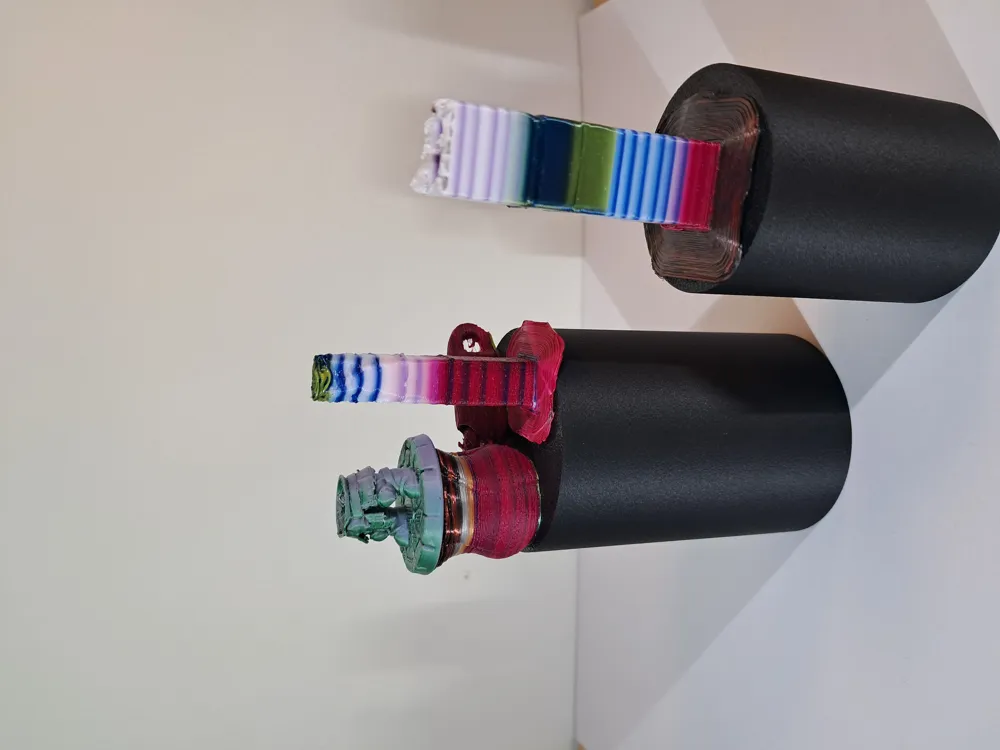
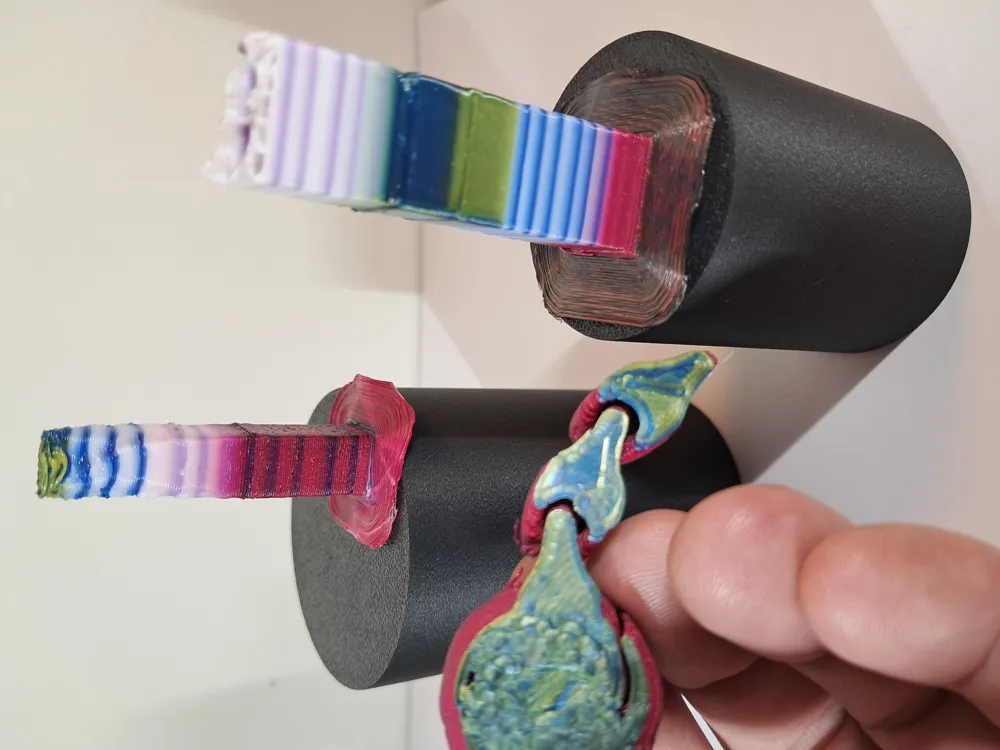
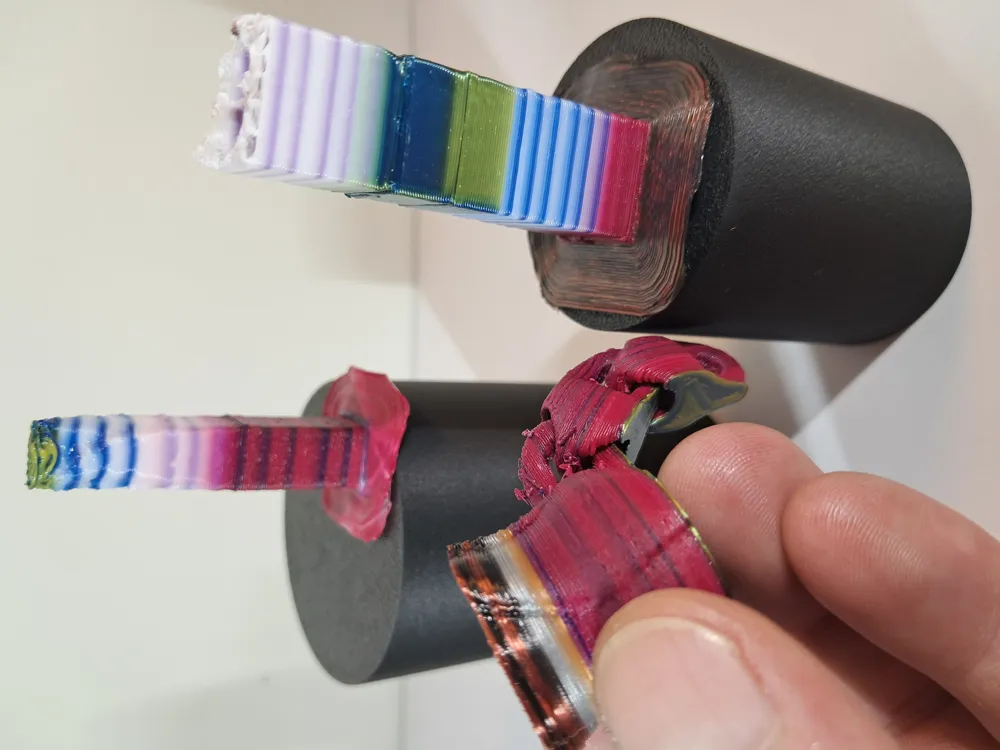
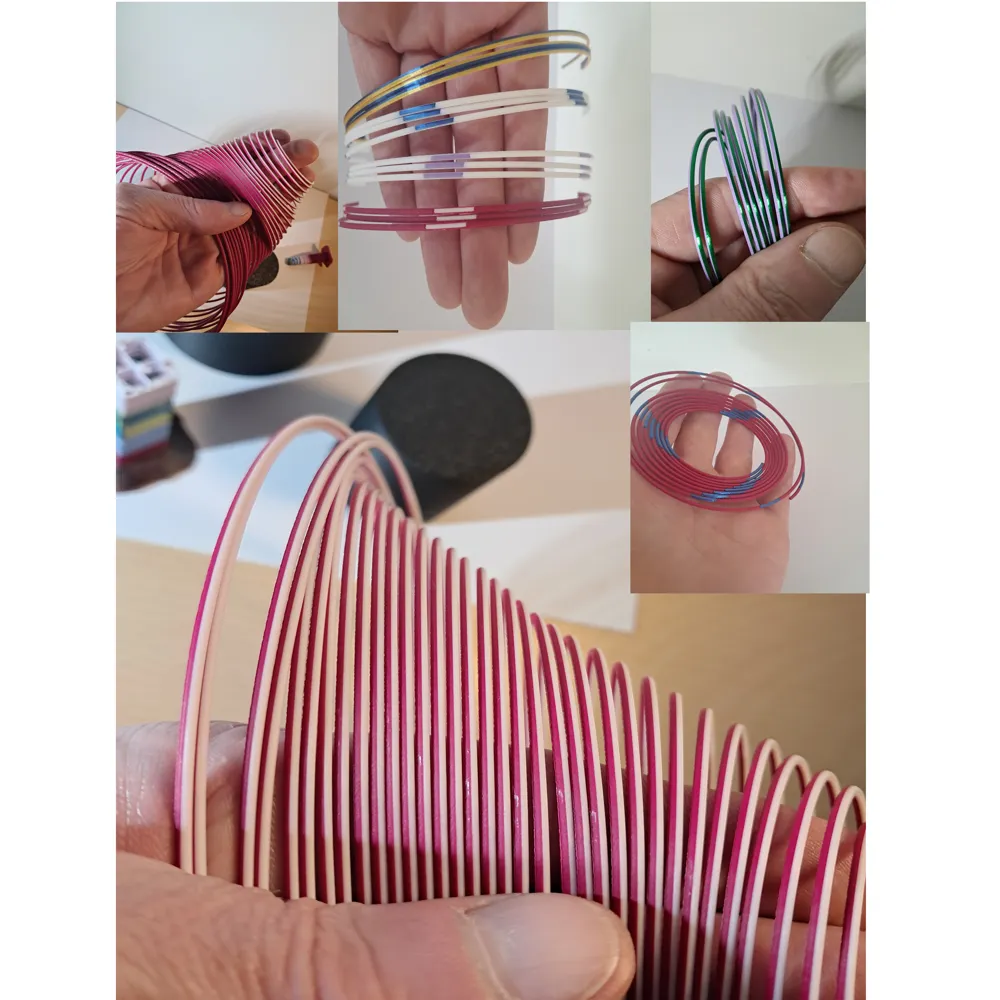
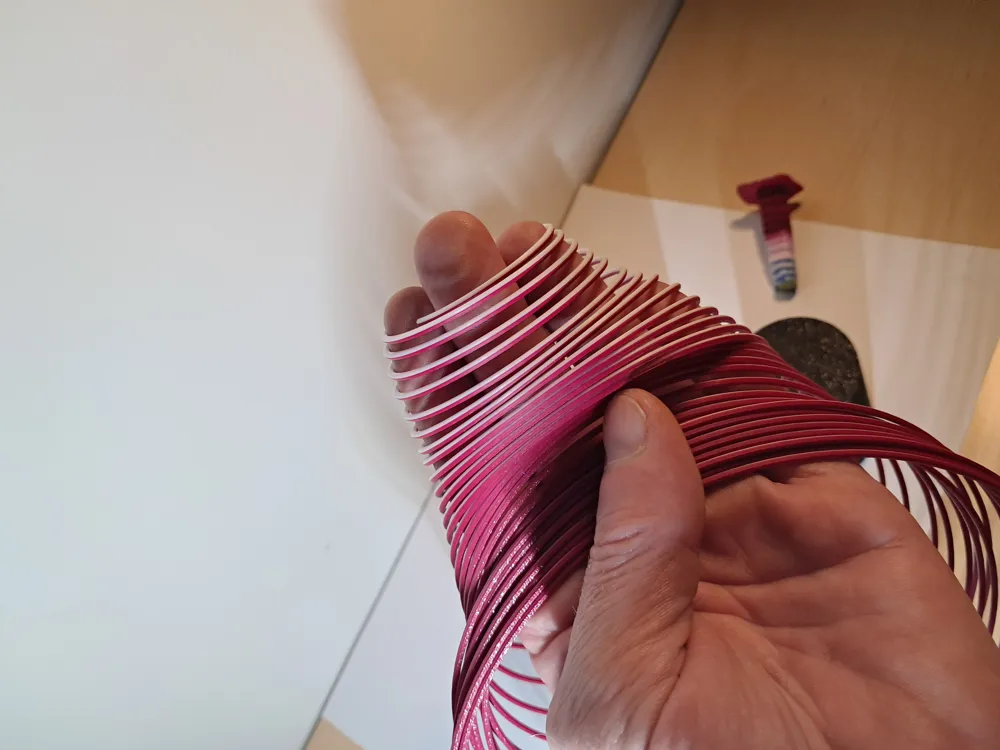
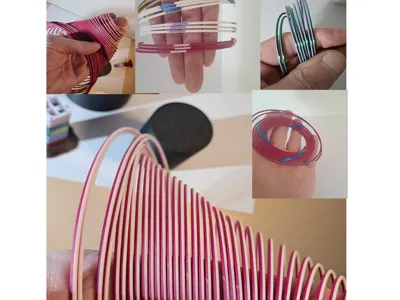
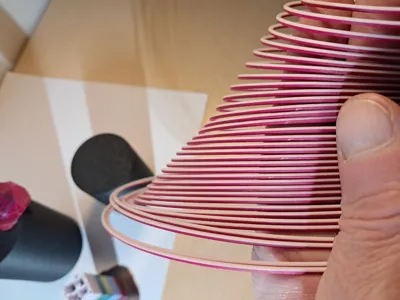
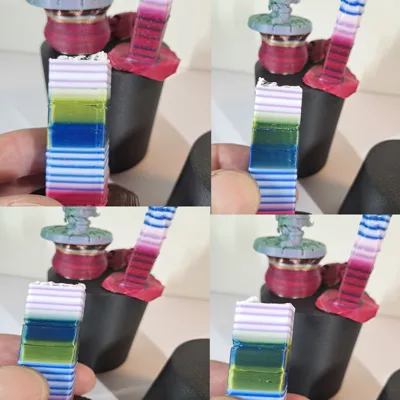
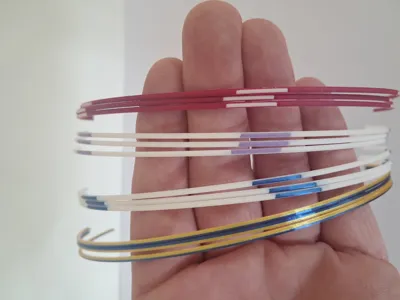
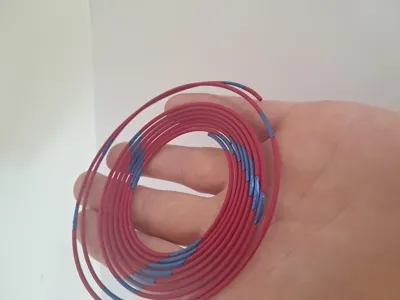
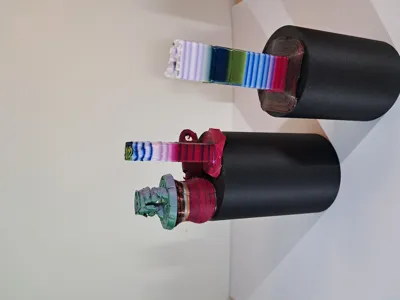
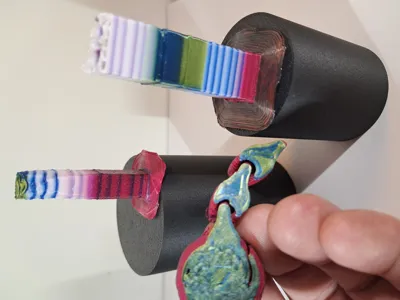
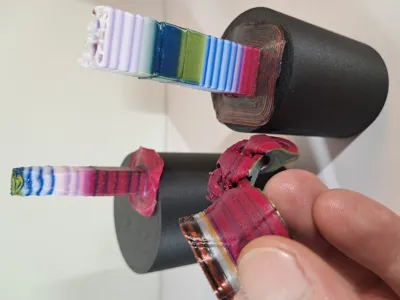
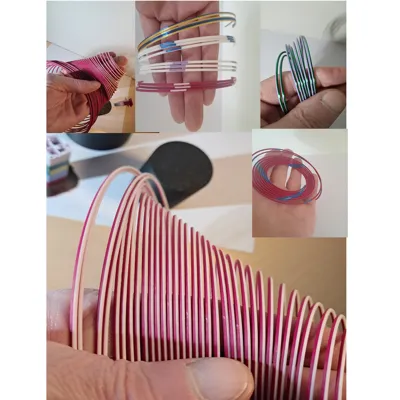
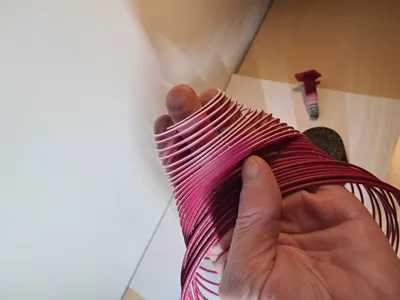
Now you can make your own custom filament in 2 or 3 color and gradient, play arround with the colors you like but be opservant on heavy colors tend to swallow the lesser color in gredient, but the other way they also stick out more.
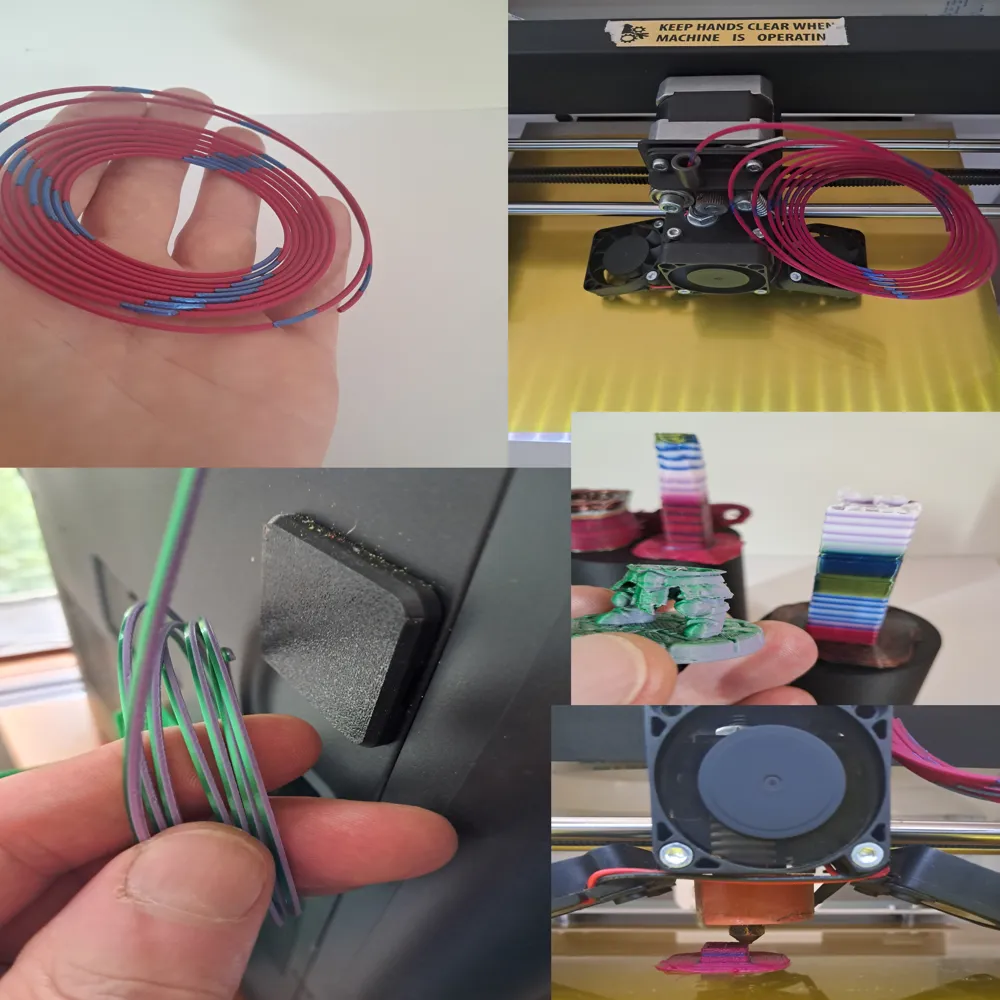
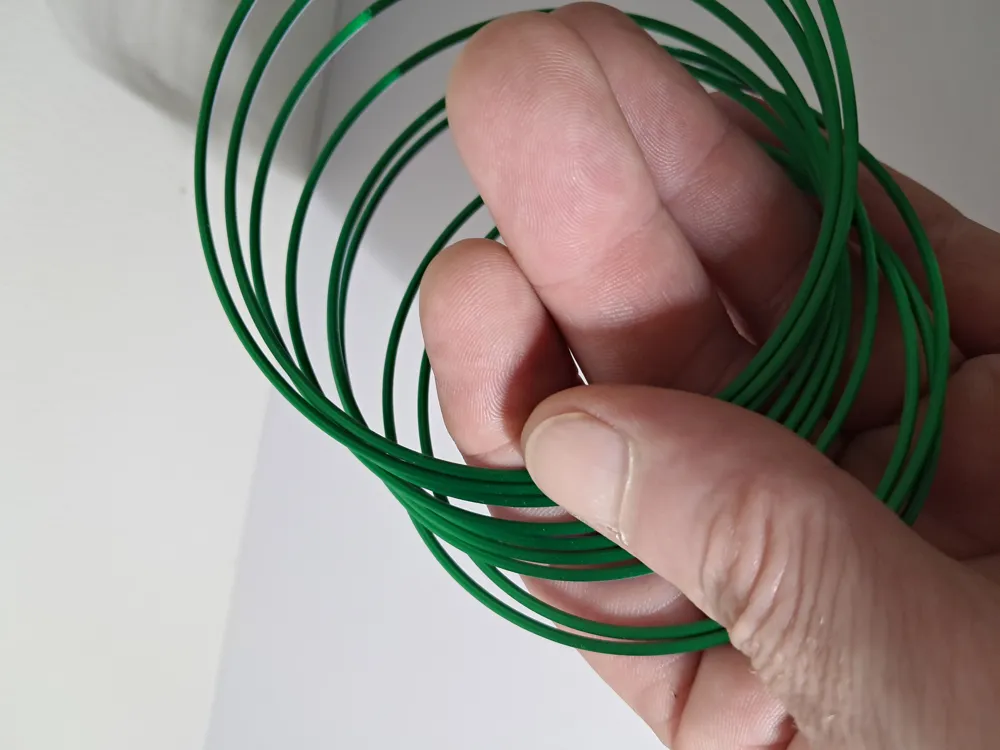
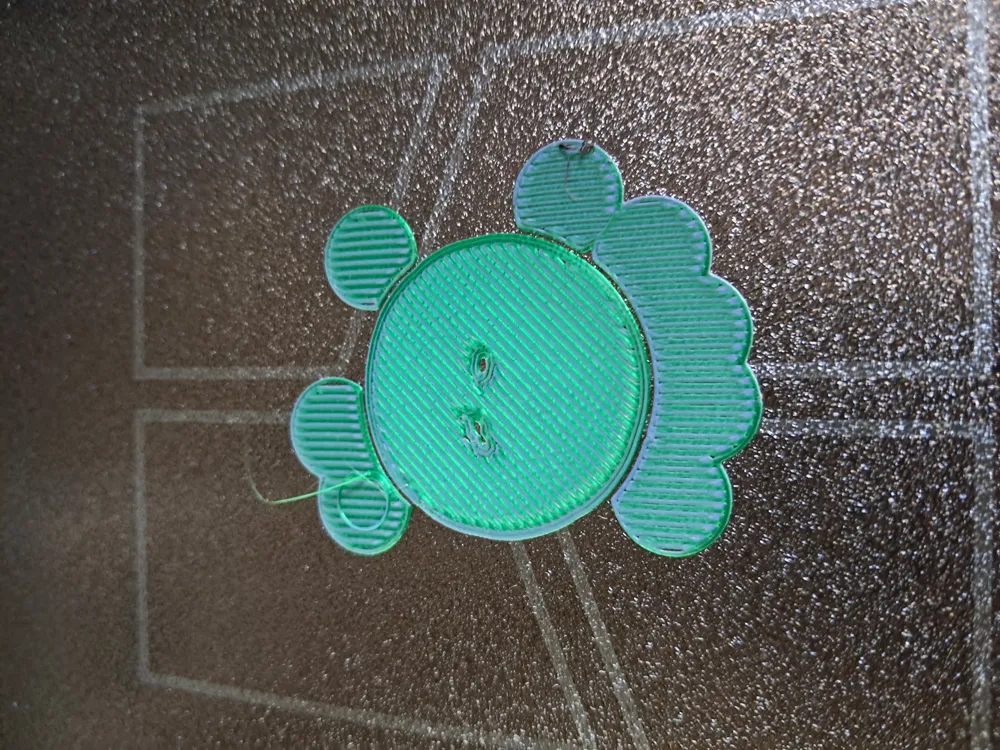
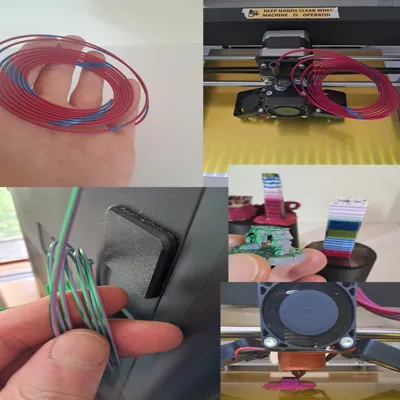
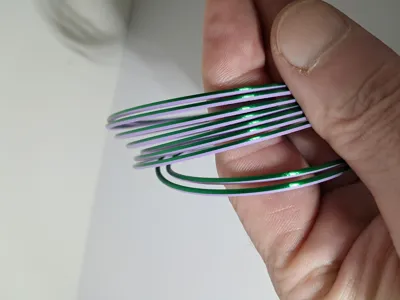
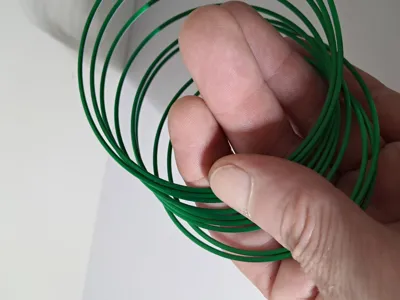
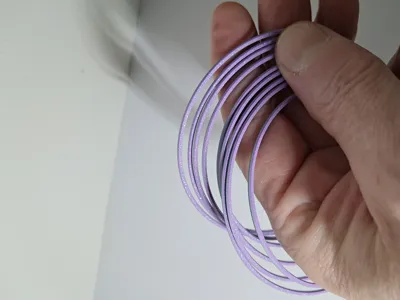
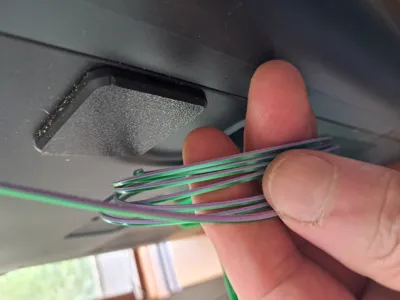
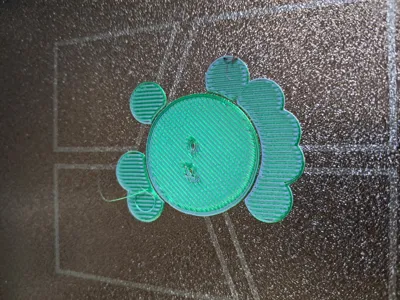
There is a large coil print, small coil print and a test string for testing out different colors..
ChromaThread 1.75 is a splice-only pack for making your own two-color, tre-color or gradient filament. It’s designed for 1.75 mm printers and pairs with any respooler/winder you like (not included
Boost Me (for free)
If your gradient worked great, tap Boost and drop your recipe in the comments.
).
What this is / isn’t
- ✅ Make the filament thread itself (two-color, steps, or smooth gradient)
- ✅ Works with 1.75 mm printers and standard empty spools
- ✅ Tested mixes: PLA basic / matte / silk → all printed cleanly
- ✅ Tested printers: CraftBot 2 & Bambu Lab P1S
- ❌ No winder/spooler included (I’ll link a good one in the description)
Quick start
- Plan the blend: half-and-half, step gradient (A→B in segments), or many short links for a smooth fade.
- Match materials: stick to PLA↔PLA (basic/matte/silk variants mix well in my tests).
- Splice at each change: cut both ends on a shallow angle, slide them into a short PTFE guide (~2 mm ID), gently heat the join (soldering iron/heat block), press, then roll the seam to ~1.75 mm.
- Respool evenly onto an empty spool with light tension (use any winder you like). or use as is for small prints
- Label the spool (material, temp, start color).
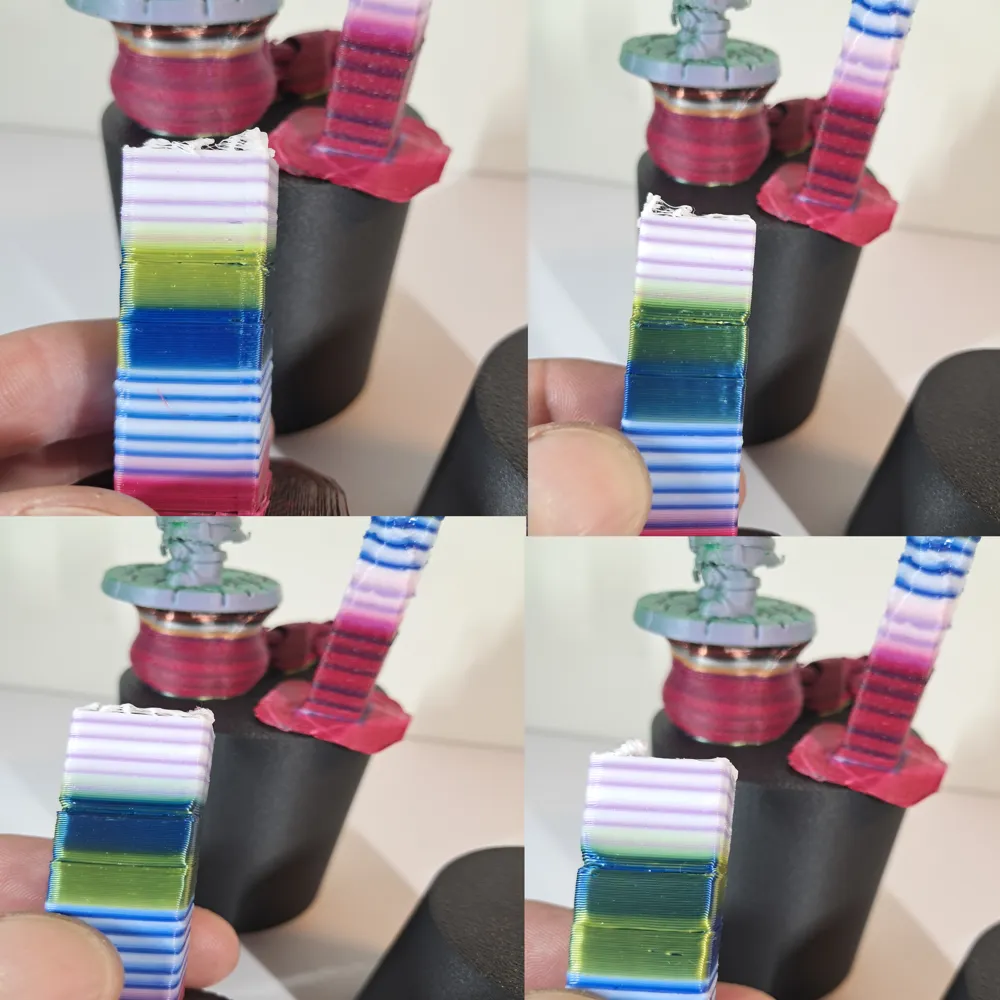
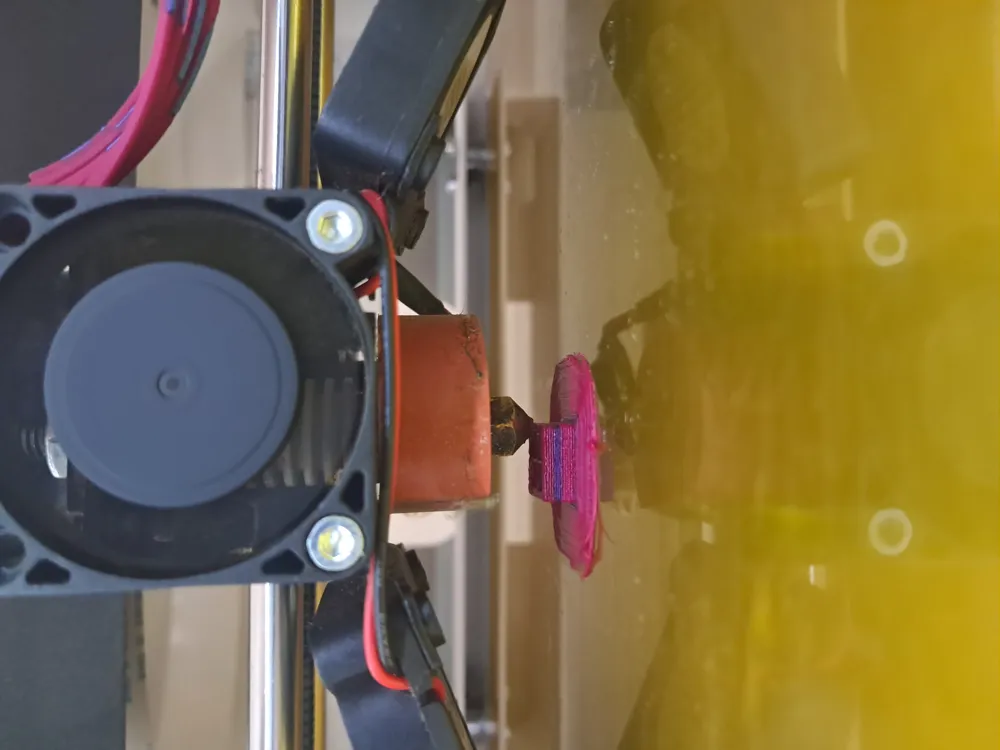
Tip: Do a short test tower to learn how far color changes travel through your printer before they reach the nozzle.
Safety & notes
- Ventilate while heating; avoid open flames.
- Keep joints close to 1.75 mm so AMS/bowden paths feed smoothly.
- Other material combos (e.g., PLA↔PETG) may work but test first; adhesion and temps differ.
Troubleshooting
- Adheasion? add brims if you have trouble having print stick, testet on PEI and foil wrap
- Seam catching? Your splice is thick—use the PTFE guide and roll smoother.
- Weak joint? Slightly more heat or longer overlap.
- Color change offset weird? Add a small calibration tower to measure, then adjust splice spacing.
License

You shall not share, sub-license, sell, rent, host, transfer, or distribute in any way the digital or 3D printed versions of this object, nor any other derivative work of this object in its digital or physical format (including - but not limited to - remixes of this object, and hosting on other digital platforms). The objects may not be used without permission in any way whatsoever in which you charge money, or collect fees.


Comment & Rating (22)